
Coaxial cables play a crucial role in transmitting signals for television, computer networks, and broadcasting. They are also widely used in other communication tools for transmitting high-frequency signals. If you’re working on projects involving coaxial cables, mastering the crimping technique can significantly cut costs.
Part 1
Step 1. Gather the necessary tools and materials.
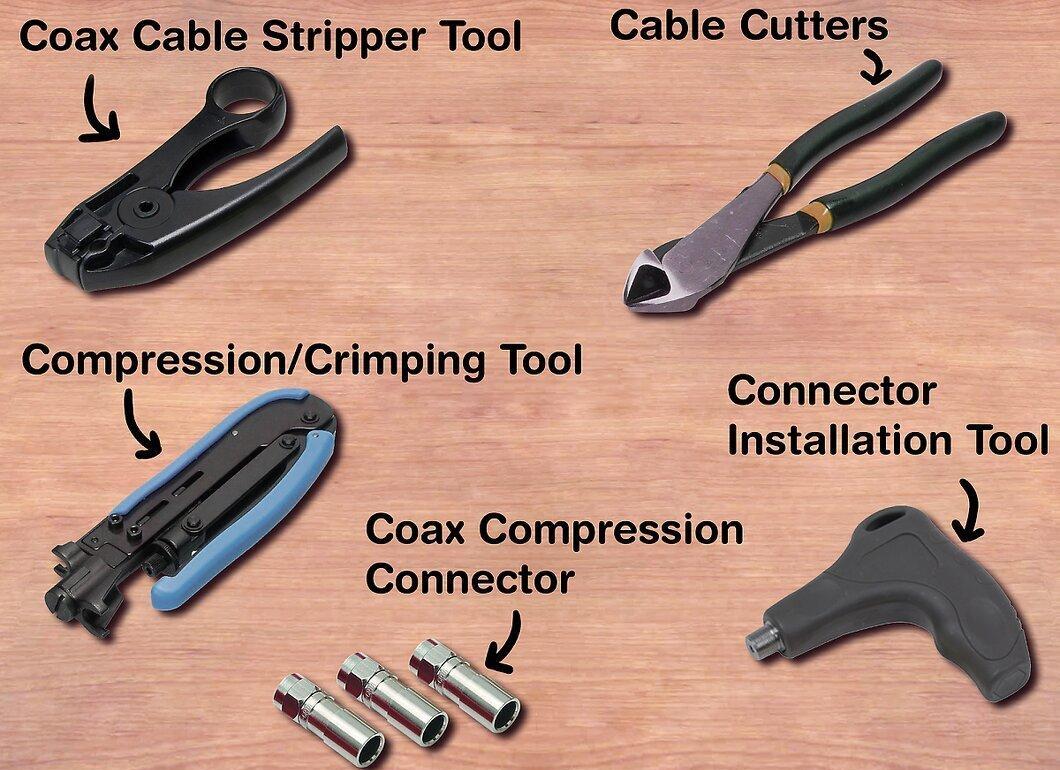
Collect all the tools and materials needed to crimp a coaxial cable. You will need:
- Coaxial cable connector (adapter) - There are many types, but compression connectors provide the best contact and aesthetic appearance. Crimp connectors are also good, while push-on and threaded connectors should be avoided.
- Crimping tool - ensure it is compatible with your connectors.
- Coaxial cable stripper
- Wire cutters or cable cutters
- Cable insertion tool - necessary for securely fitting the cable into the connector.
Step 2. Carefully cut the end of the cable.
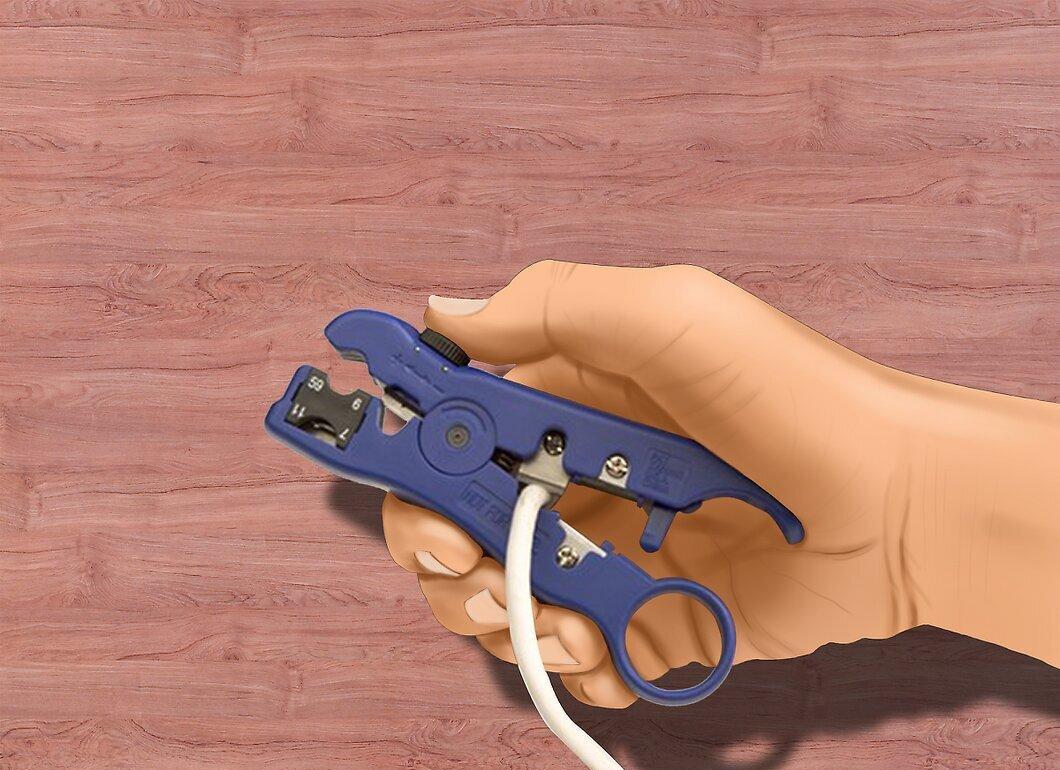
Cut the end of the cable to ensure it is straight. Use cable cutters, a universal crimper, or wire cutters to make a clean cut. Shape the cable into a round form using your fingers.
Step 3. Set the stripper to the correct cable size.
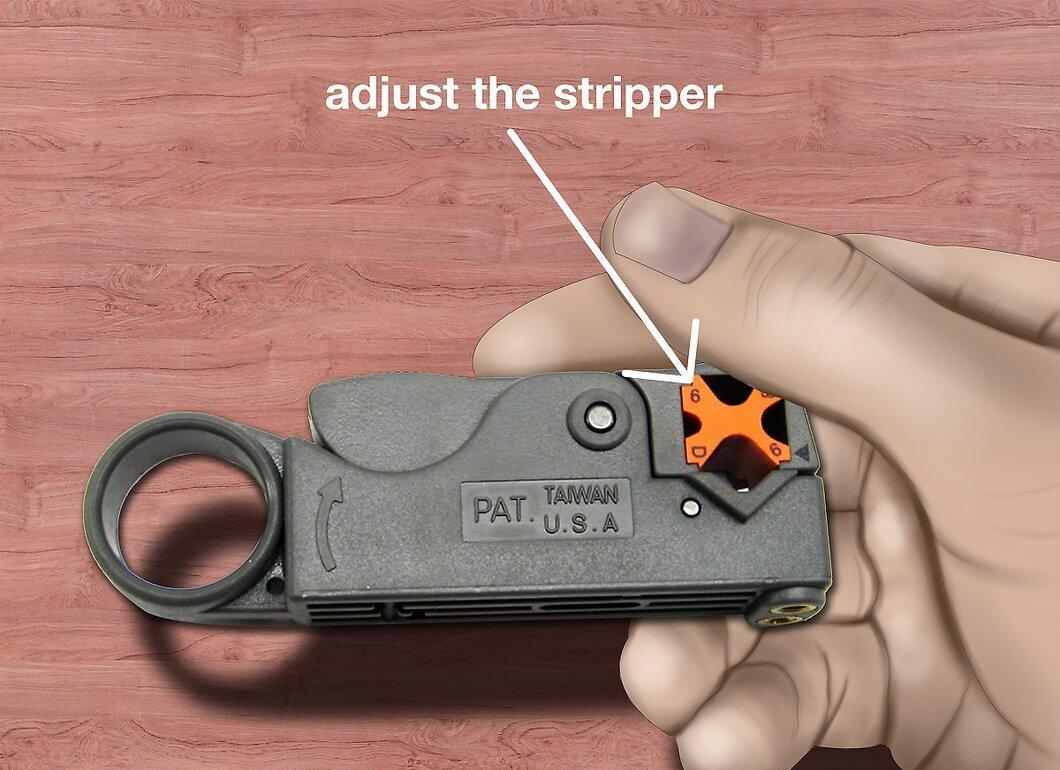
Adjust the stripper according to the size of the cable. Most strippers can handle cables with double and multiple shielding. The adjustment is done using a hex key. Incorrect settings can damage the shielding.
- The most common coaxial cable is RG-6 with multi-layer shielding. Ensure that the stripper blades are set for RG-6, not for twisted pair cables, for instance.
- If you use a stripper set for double-layer shielding on a multi-layered shield, the stripping quality will be poor.
Step 4. Strip the end of the cable.
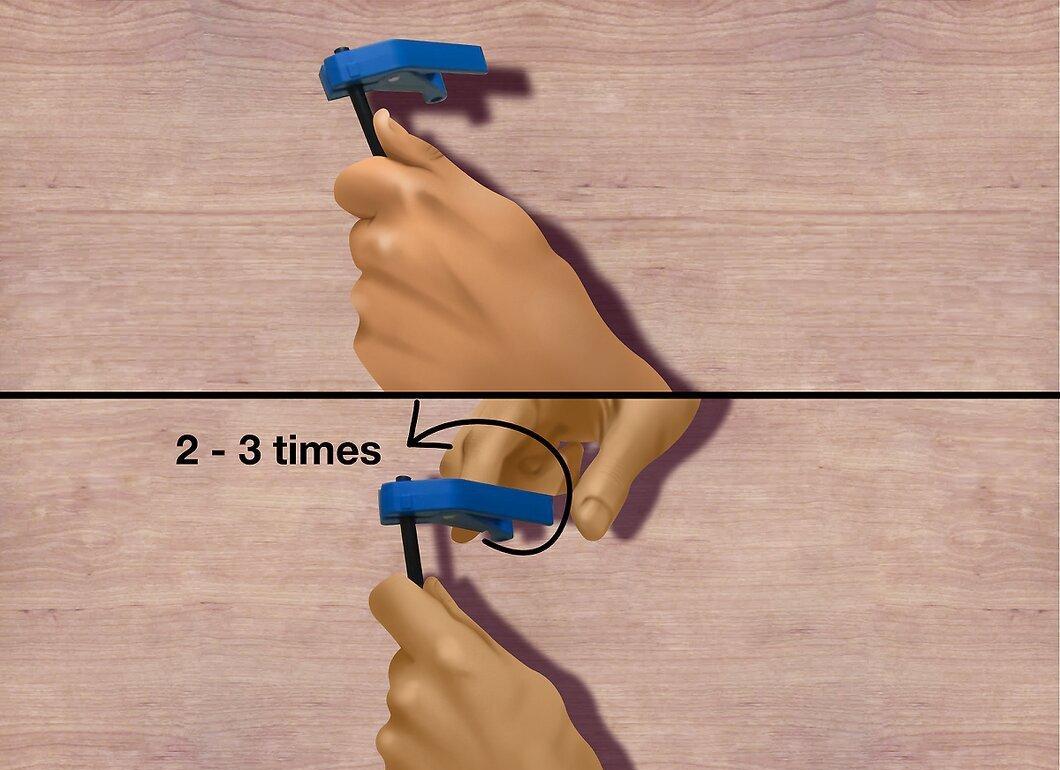
Insert the cable into the stripper so that its end is not protruding from the device. Hold the cable and rotate the stripper two to three times around it.
- Stripping is complete when you no longer feel resistance while rotating the tool.
- Carefully pull out the cable after releasing the tool.
Step 5. Remove the outer insulation.
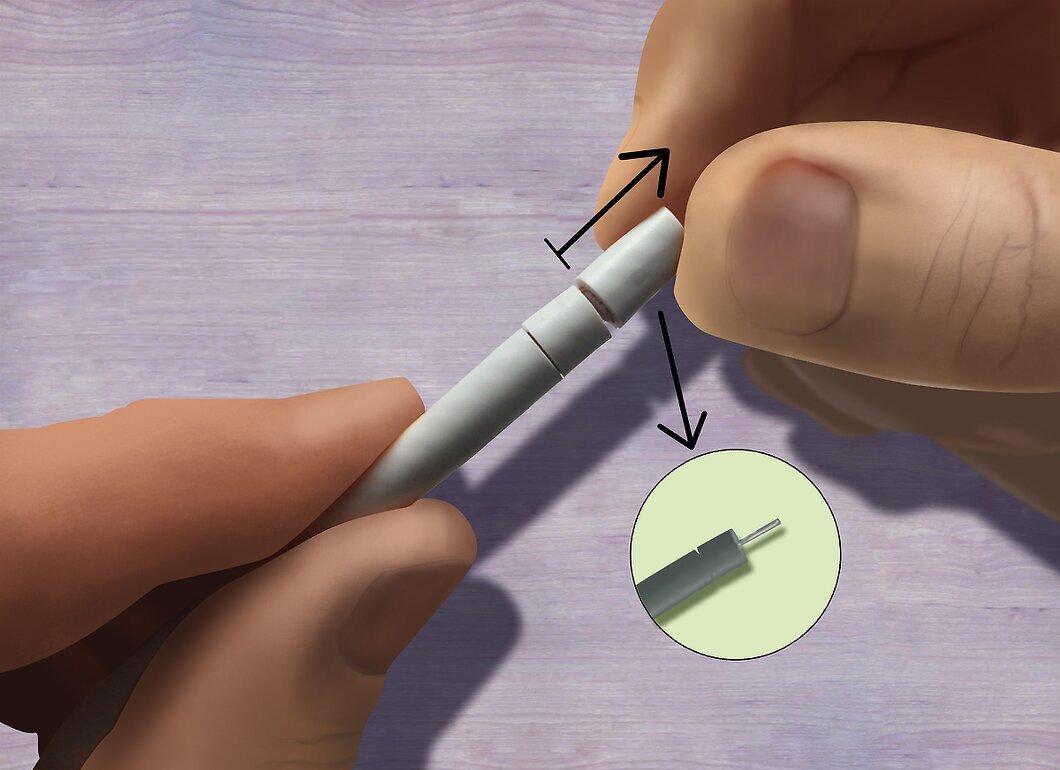
Remove the outer insulation, leaving two cuts. Take away the outermost segment to expose the center conductor.
Step 6. Remove the second segment.
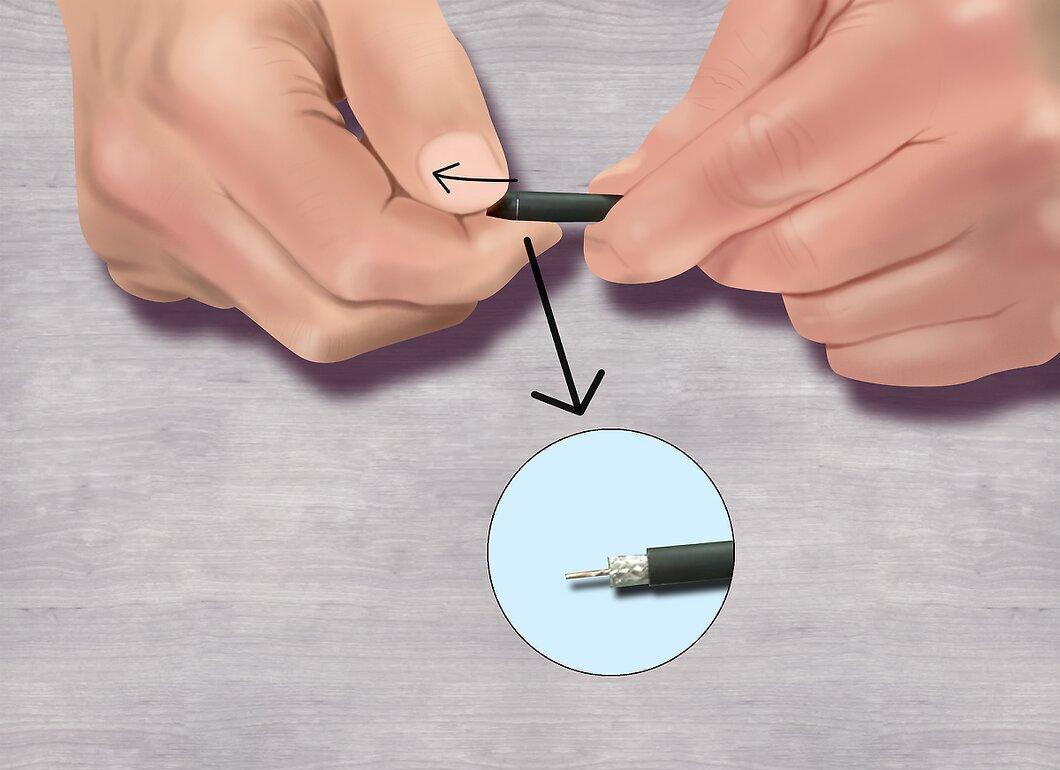
Remove the second segment to expose the shield and braid.
Step 7. Proper stripping should look like the image - braid, insulation, center conductor.
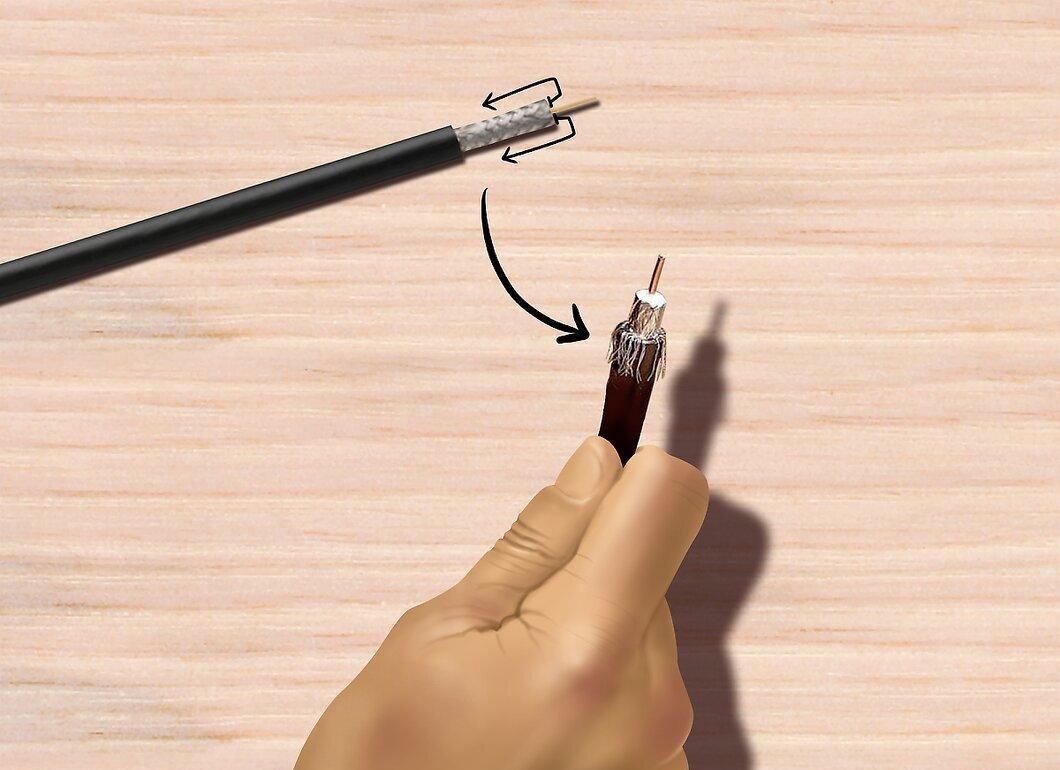
A properly stripped cable should resemble the image: braid, insulation, and center conductor. Remove the foil and fold the braid back from the dielectric, leaving the outer insulation clean.
Step 8. Trim the center conductor if necessary.
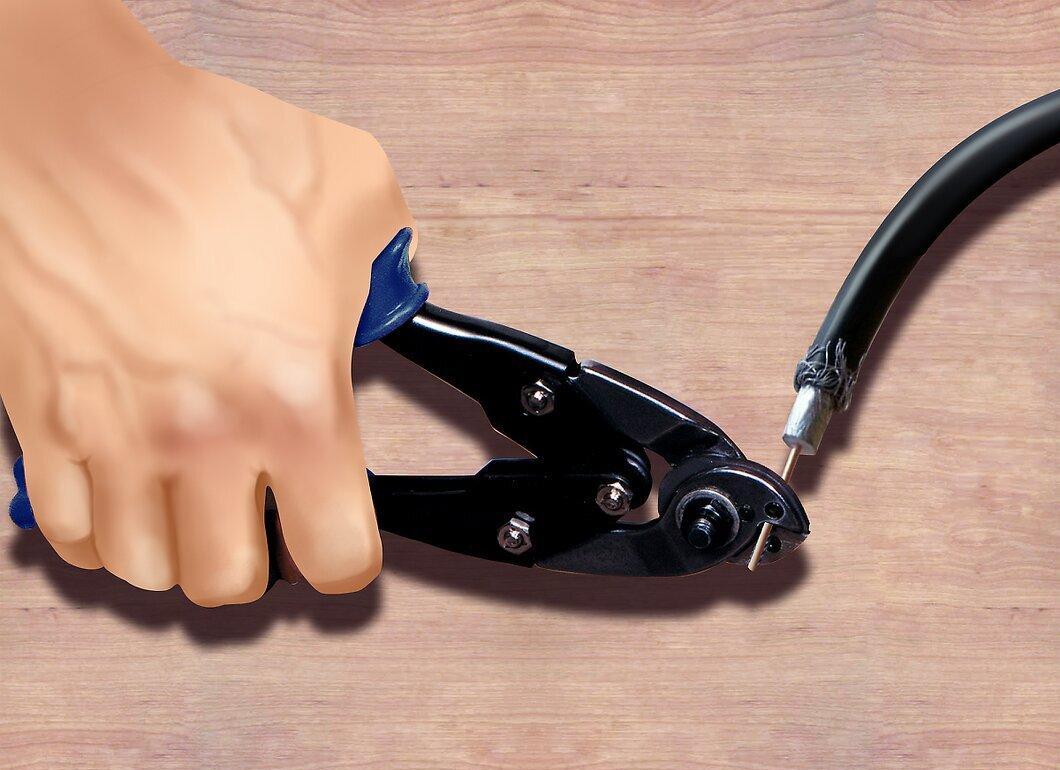
If needed, trim the center conductor. Most strippers do this already, but it's good to check the length. After stripping, the center conductor should measure 3.9 mm.
Step 9. Slide the connector onto the cable.
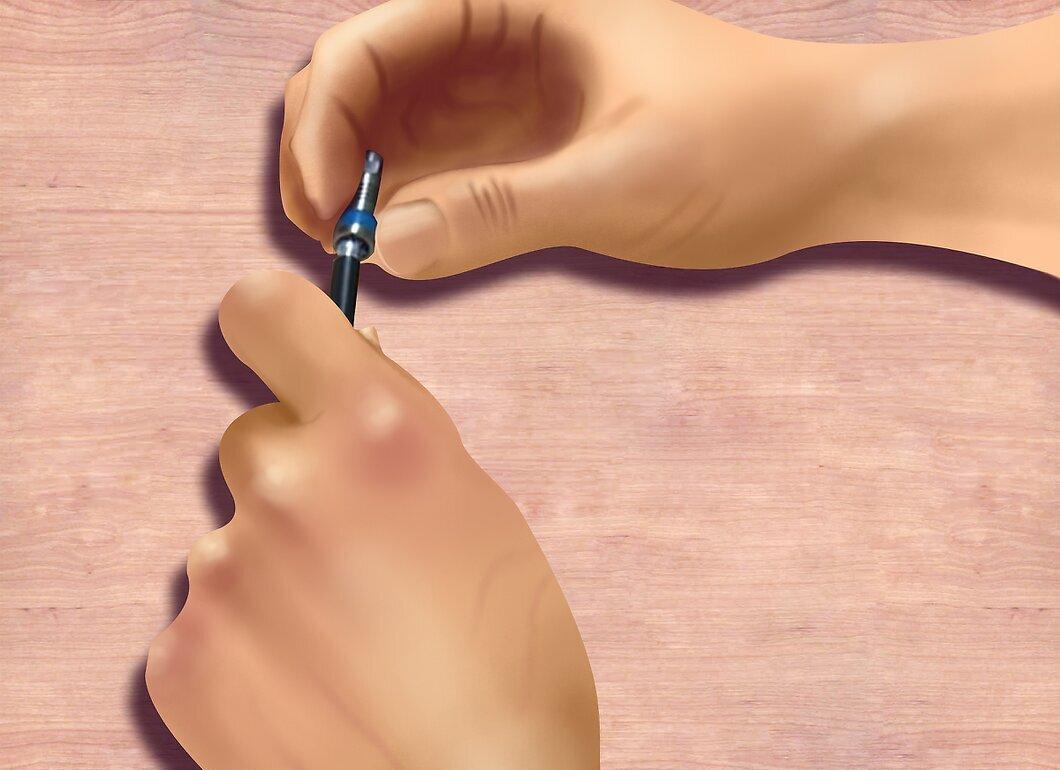
Attach the connector to the cable. Use the insertion tool to ensure a secure contact. The end of the connector should fit snugly against the edge of the insulation.
- Try not to bend the cable when installing the connector.
- To enhance the installation, you can use twisting motions.
Step 10. Crimp the connector using the crimper or compression tool.
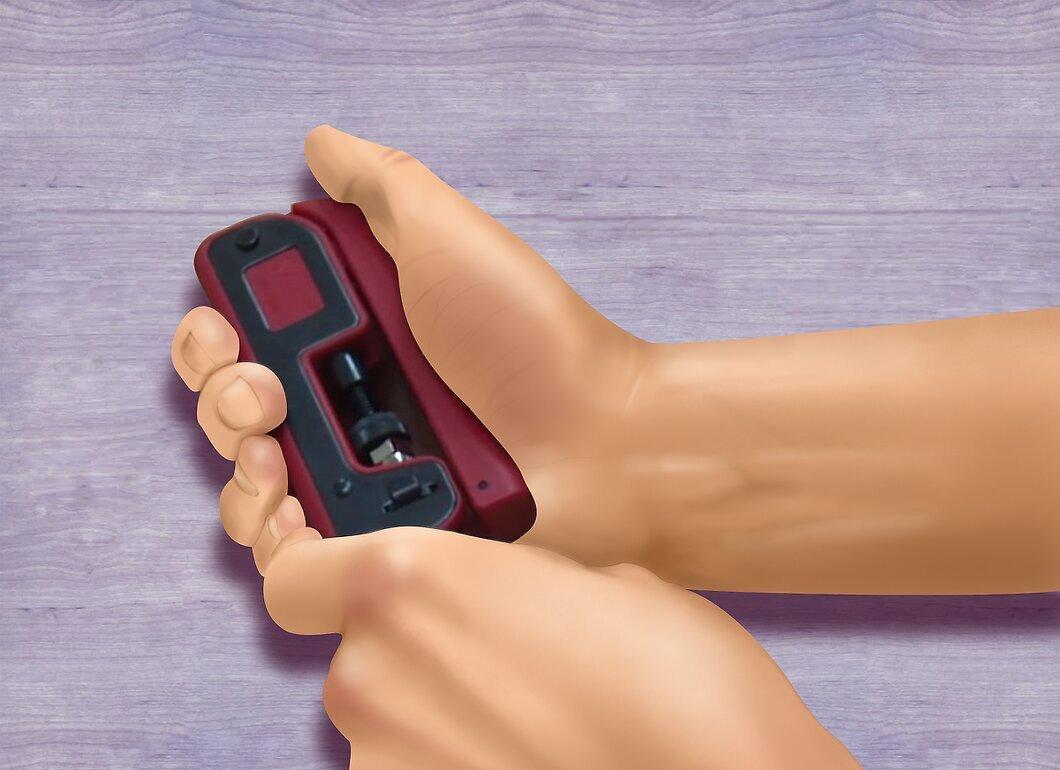
Crimp the connector using the crimper or compress it with the compression tool. The crimping method will depend on the type of connector and tool, but it is straightforward and easy to understand. Crimpers are designed for crimp connectors, while compression tools connect the parts of the connector.
- Apply the necessary force while crimping or compressing. The crimp should be done in one motion to avoid damaging the cable.
Step 11. Check the quality of the crimp.
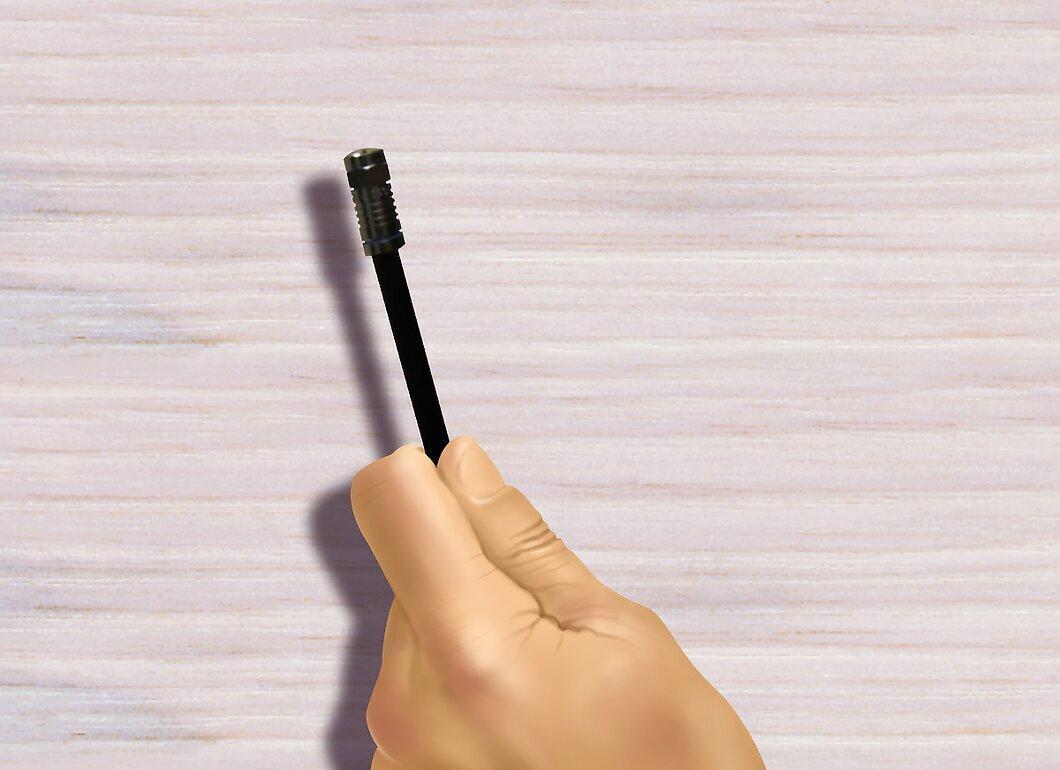
Ensure that the connector is securely attached to the cable and that there are no exposed wires. If something seems off, it may adversely affect the signal quality.


