
Power supplies often fail. In this article, you'll learn how to identify power supply issues and replace it yourself, saving on computer repair costs.
Identifying Power Supply Issues
Step 1. Check all connections.
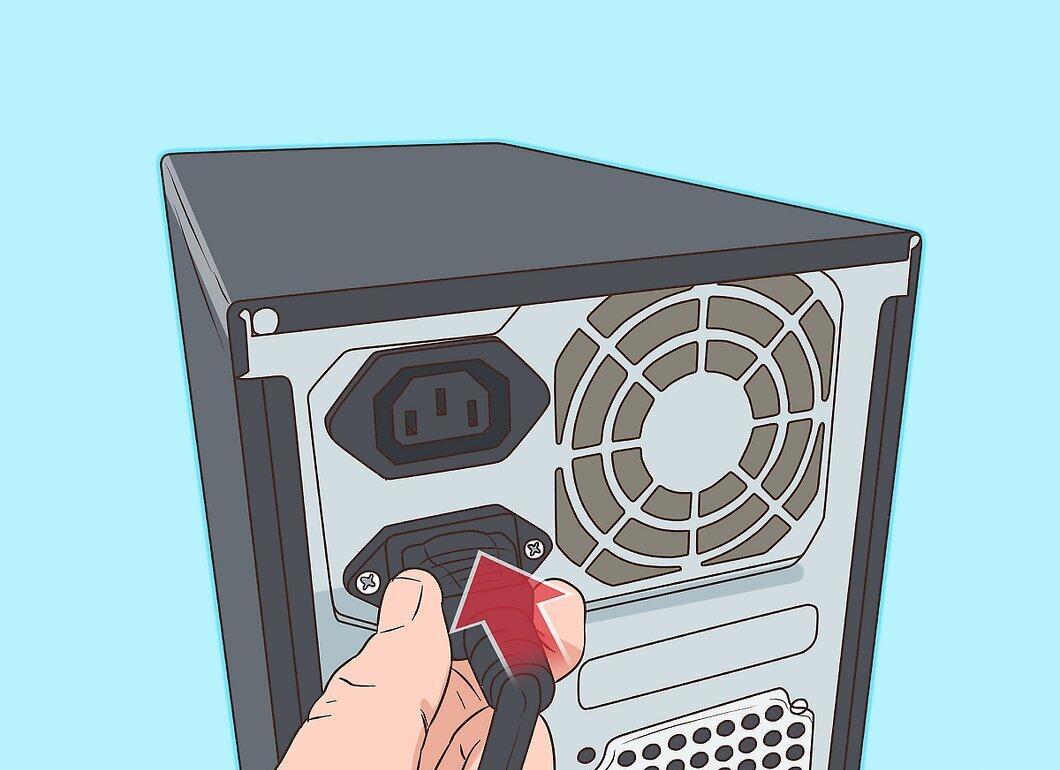
Ensure all cables are connected properly. Check if the power cable is plugged into the computer case. If the cable is not the issue and the monitor and speakers are working fine, the problem is likely with the power supply.
Step 2. Press the power button.
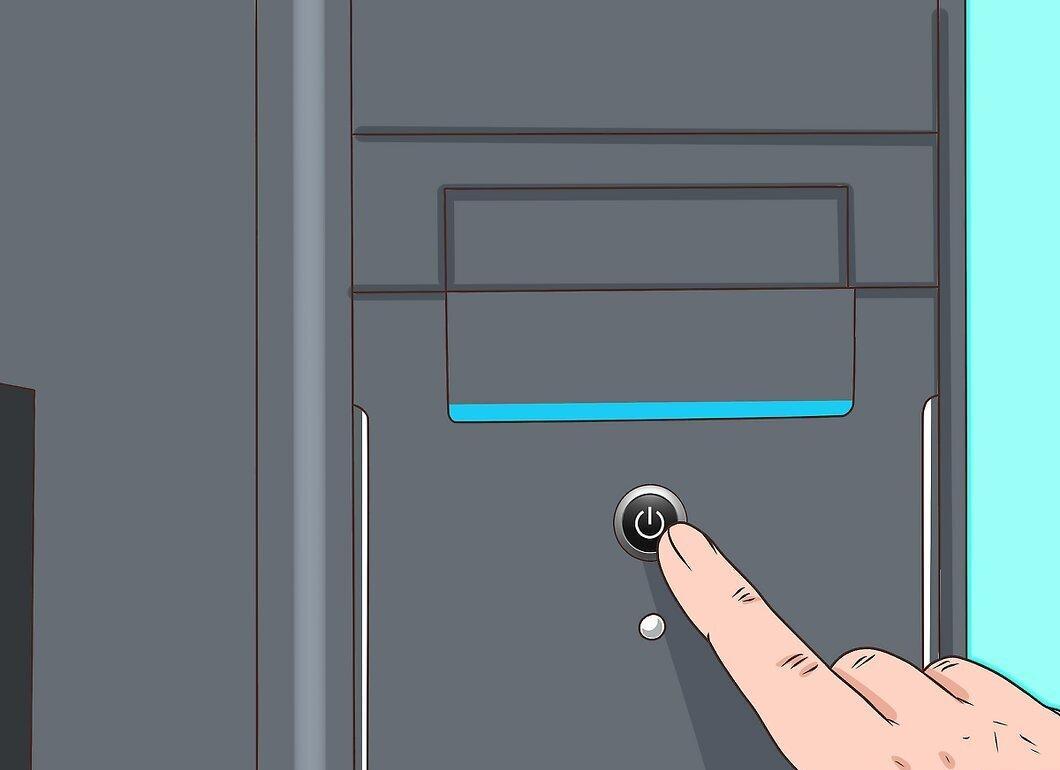
Press the power button. If the monitor doesn't turn on, the indicators on the case don't light up, and there are no sounds, the power supply is likely the culprit.
Step 3. If the computer powers on, look for these signs of a faulty power supply:

If the computer powers on, you can identify issues with the power supply by observing unusual long boot times, unexpected reboots, or shutdowns.
Step 4. Listen for beep codes.
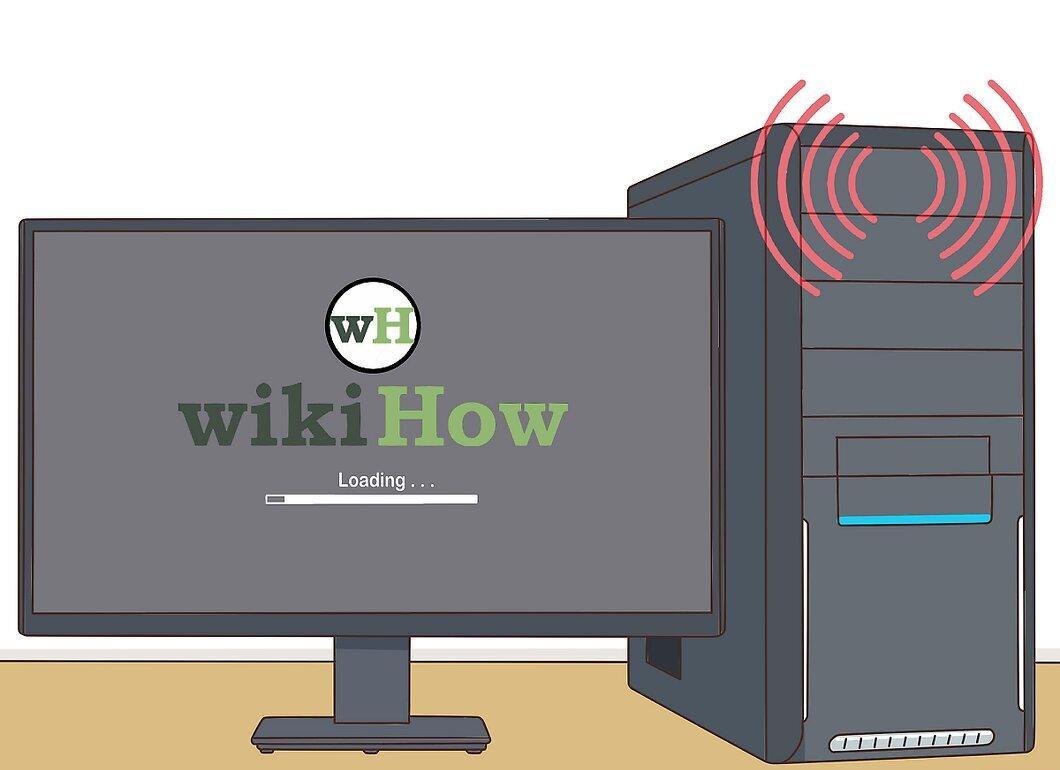
Beep codes. Short and continuous beeping sounds when powering on the computer also indicate a power supply issue.
Step 5. Boot errors.
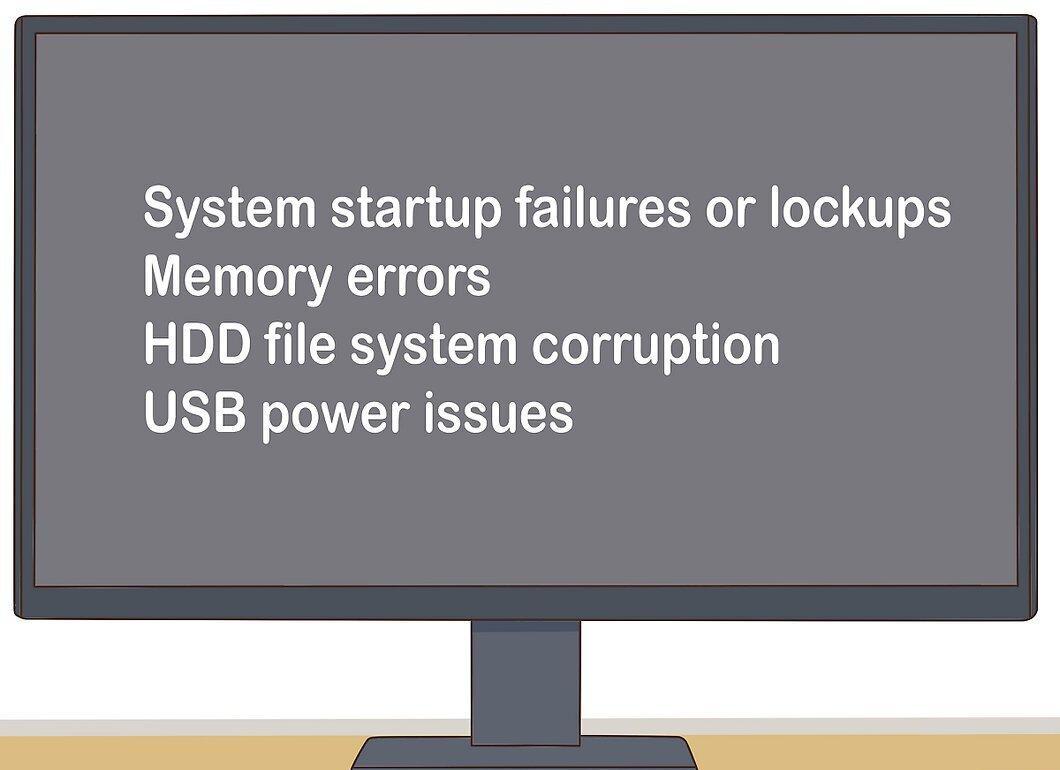
Boot errors. If the computer hangs on startup or shows messages about boot failures or errors related to memory, file system corruption, or USB issues, these all point to power supply problems.
Step 6. Check the power supply fan.
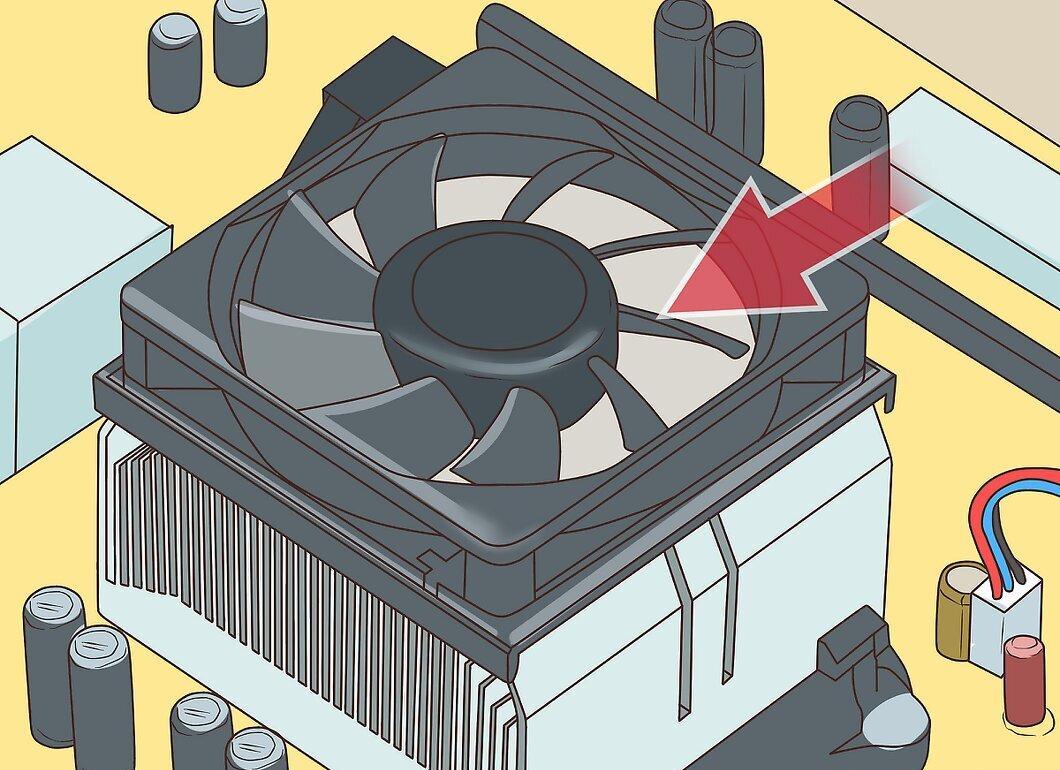
Check the power supply fan. If the fan isn't working, it can lead to overheating and failure of the power supply, and may also cause smoke.
Replacing the Power Supply
Step 1. Familiarize yourself with safety precautions for computer repair.
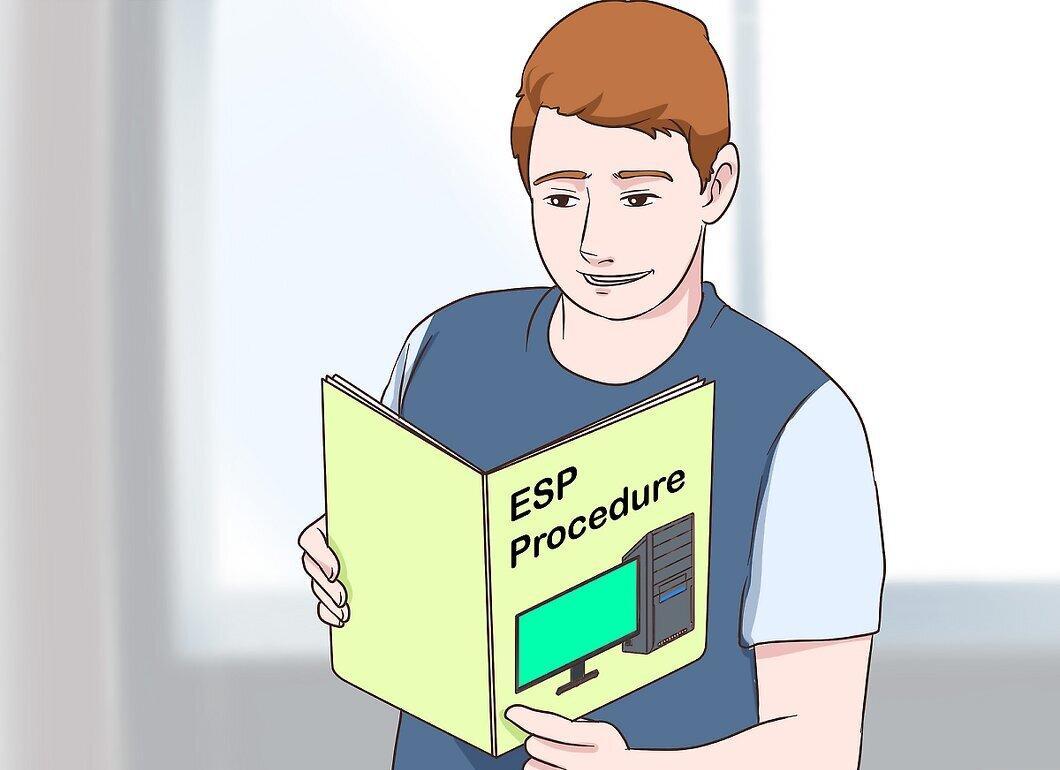
Familiarize yourself with safety precautions for computer repair. Knowing basic safety rules will help prevent damage to the computer.
Step 2. Disconnect all cables (including the power cable) from the computer:
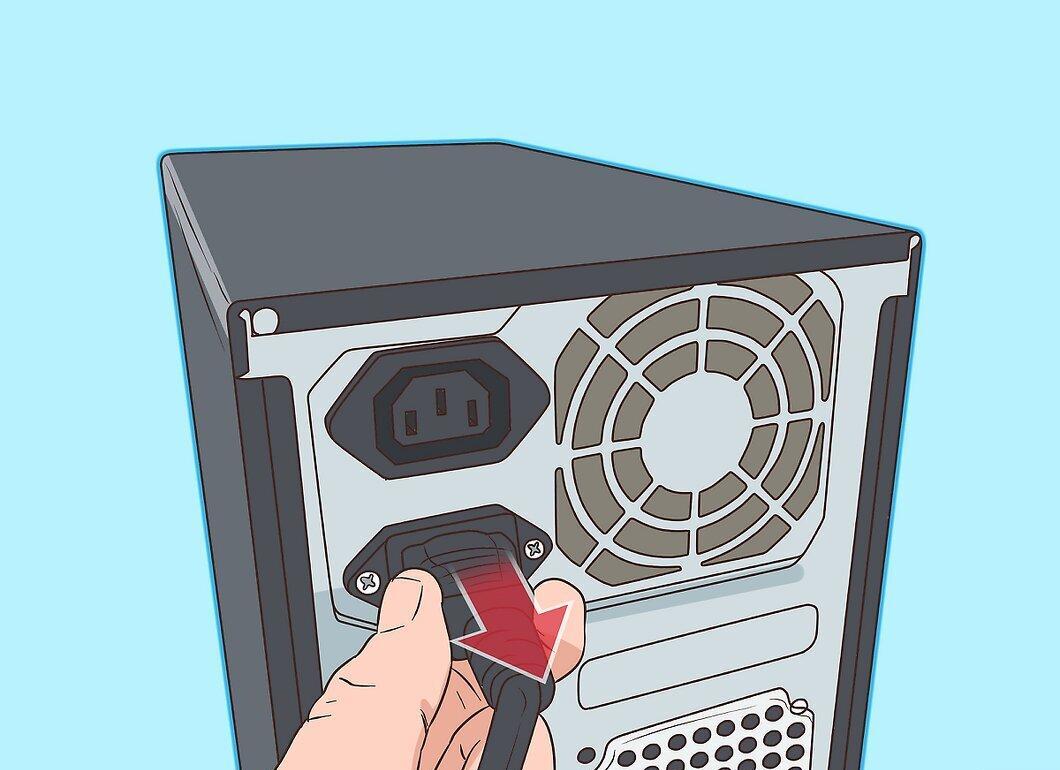
Disconnect all cables (including the power cable) from the computer: keyboard, mouse, network cable, and speakers.
Step 3. Locate the power supply.
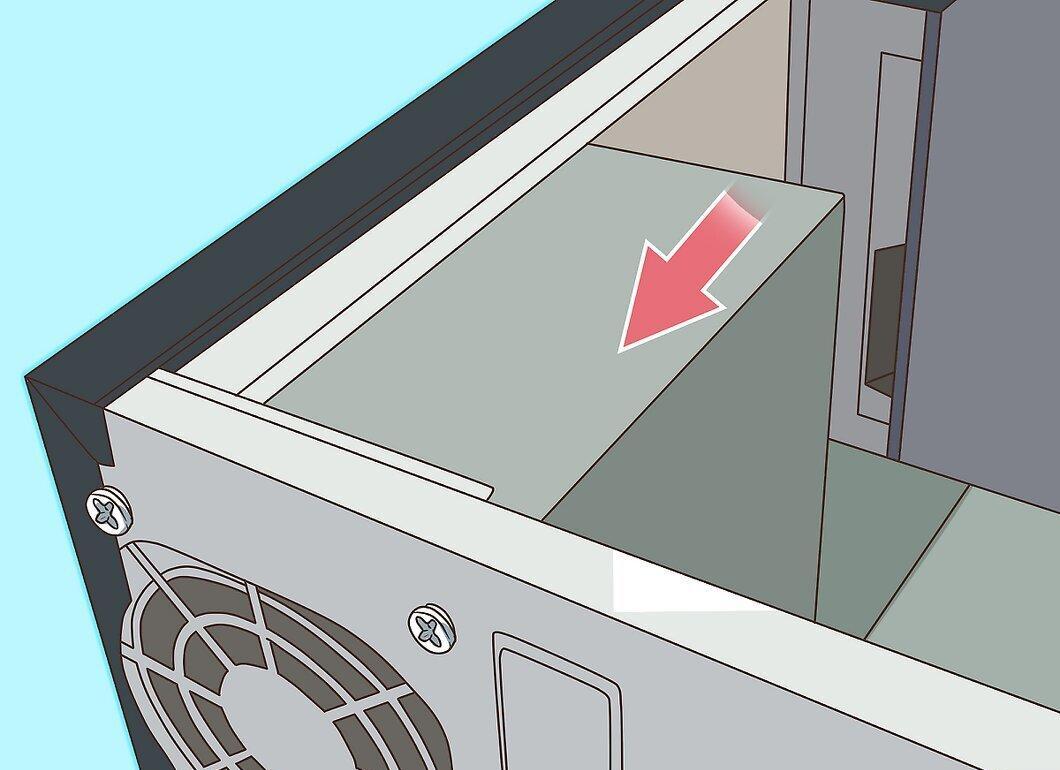
Locate the power supply. It is usually mounted at the top of the case and looks like this:
Step 4. Remove the case cover.
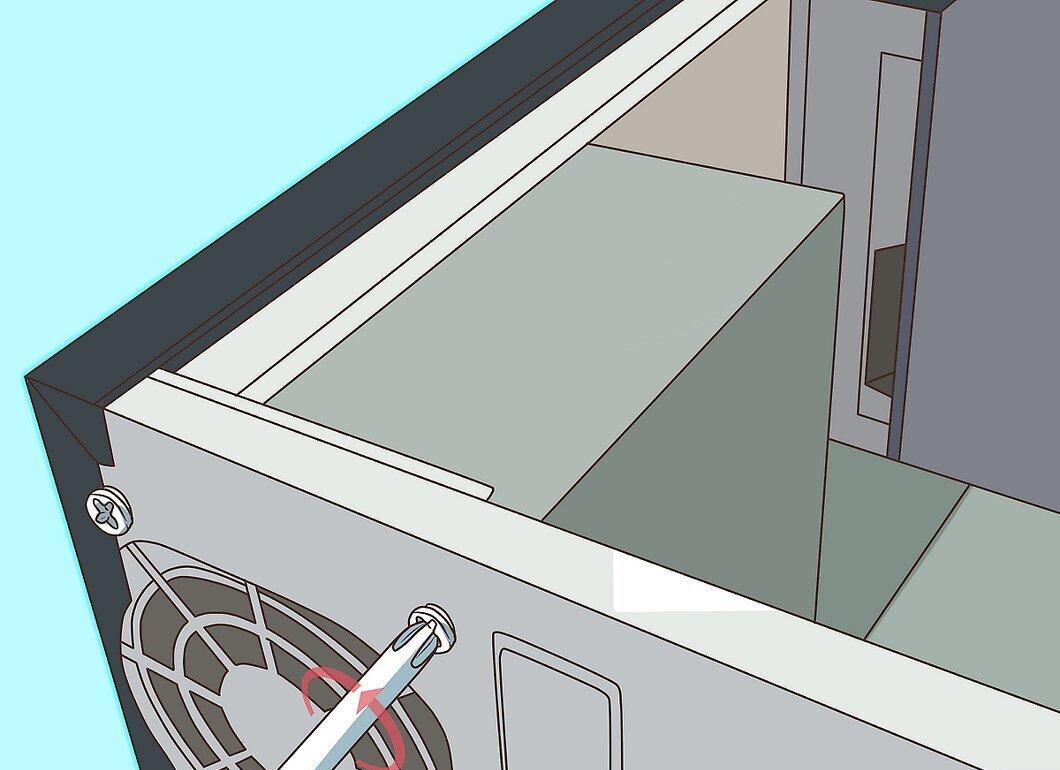
Remove the case cover. Unscrew the screws holding the power supply. Be careful not to lose the screws.
Step 5. Carefully remove the power supply.
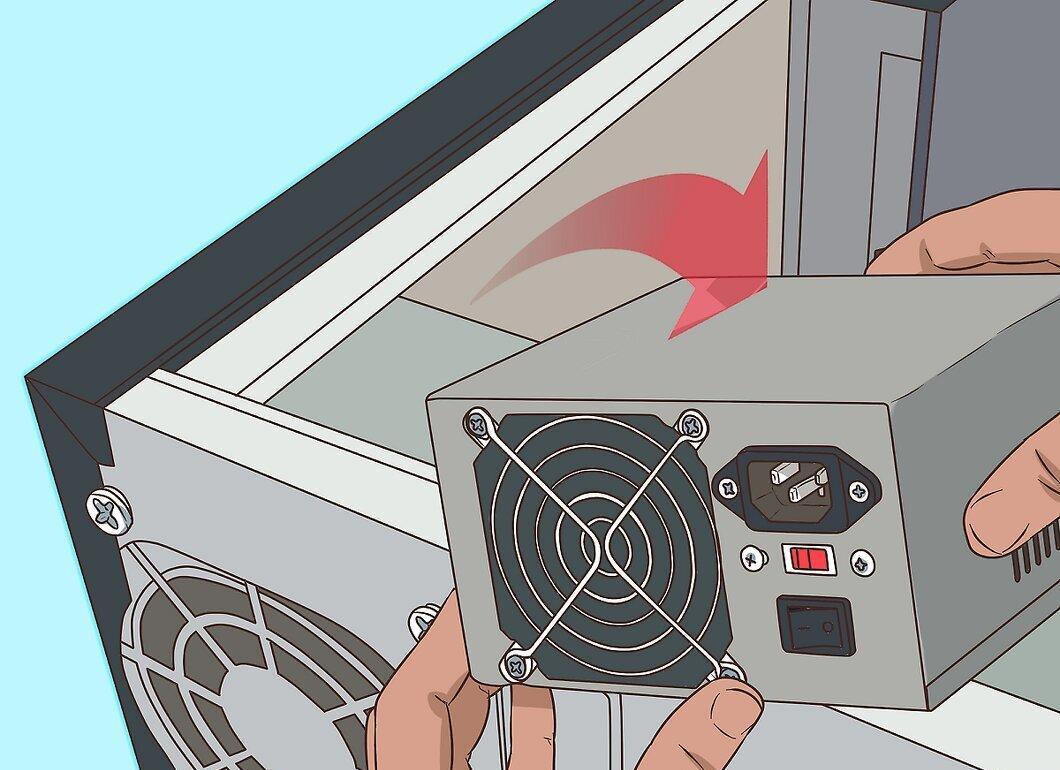
Carefully remove the power supply. Do not pull too hard. This is a straightforward process; however, in smaller cases, you may need to remove some components that obstruct the power supply's removal.
Installing the Power Supply
Step 1. Purchase a power supply of the same type.
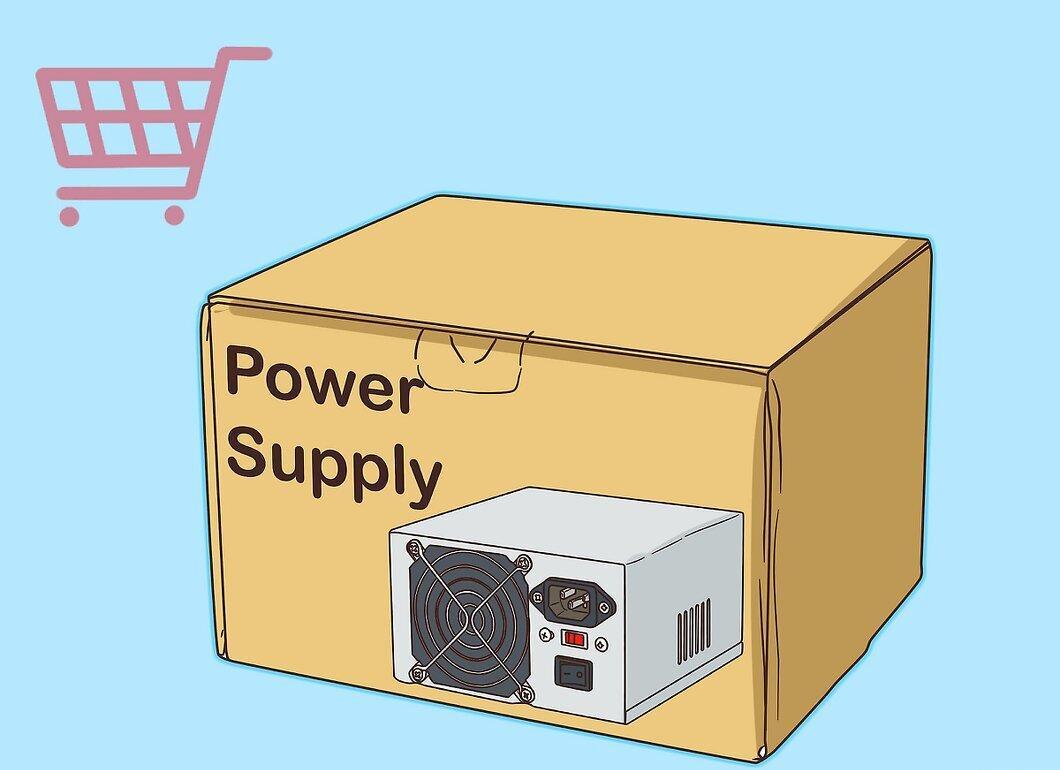
Purchase a power supply of the same type. While all modern power supplies follow the "ATX" standard, it’s a good idea to bring the old power supply with you and ask the seller for an identical type.
- The key is that the new power supply should be the same width. The length is not critical; even if it is longer than the old one, it will still fit in the case.
Step 2. Unbox the power supply and ensure it fits.
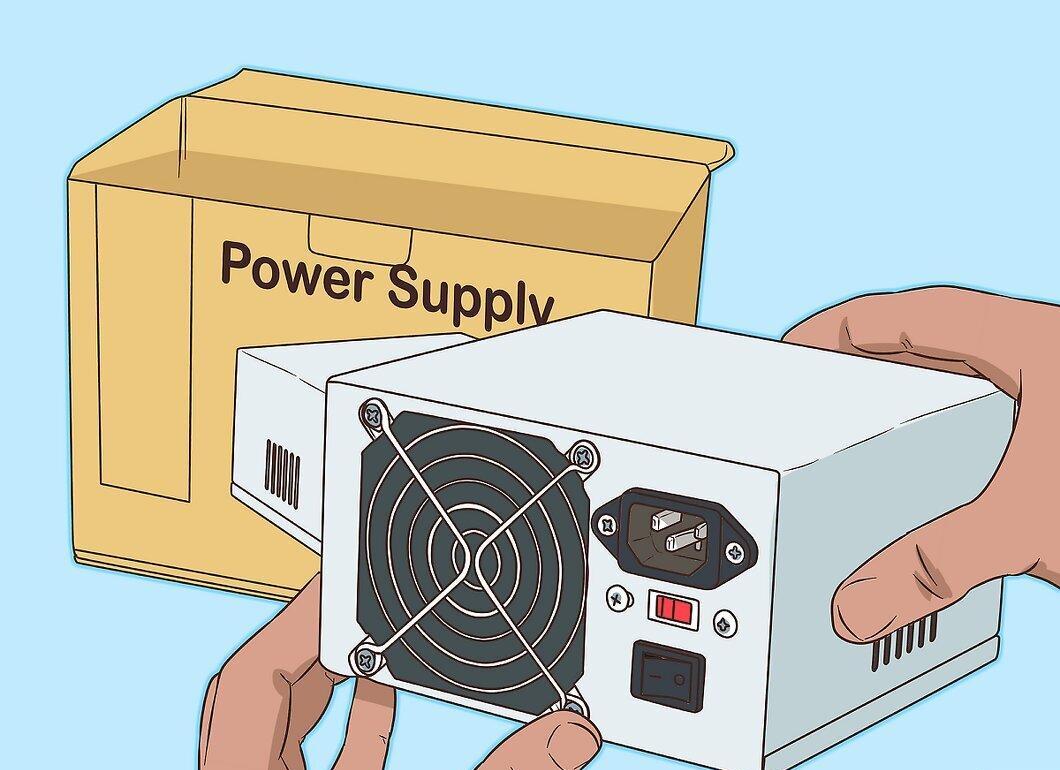
Unbox the power supply and ensure it fits. Place it in the position of the old power supply and secure it with screws.
Step 3. Follow safety protocols.
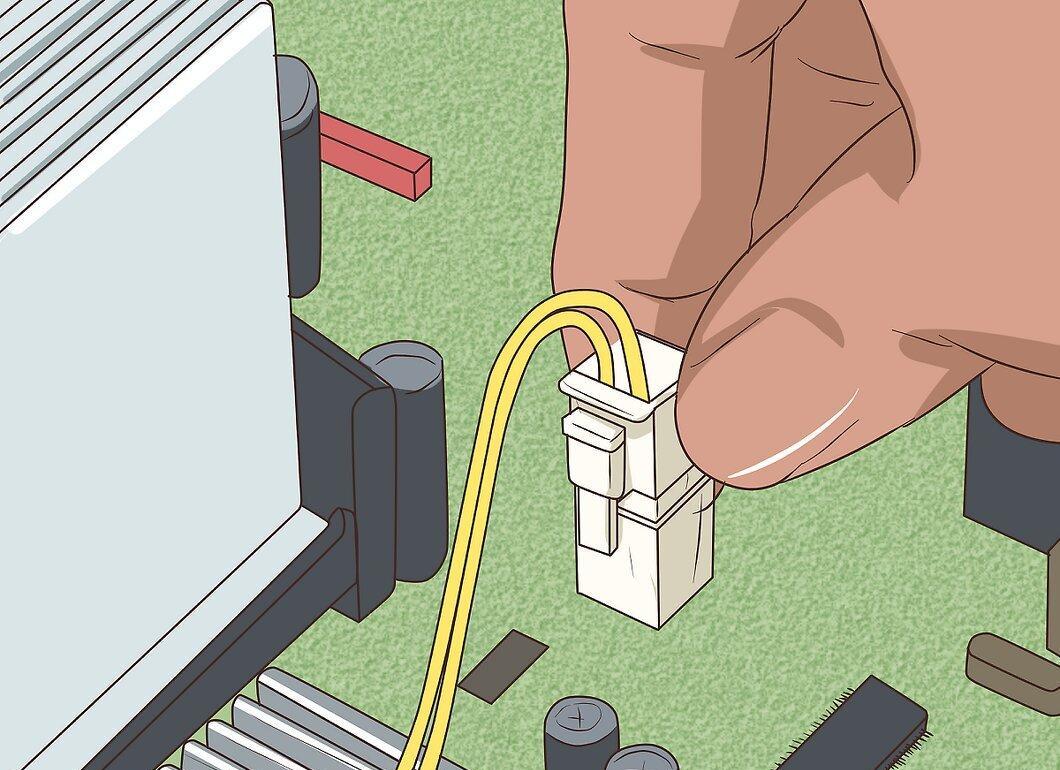
Follow safety protocols. Connect the wires in the same order. Connecting the power connectors to the motherboard may require a bit of force. However, the design of these connectors prevents incorrect connections. If you have trouble connecting a connector, try flipping it around.
Step 4. Ensure no cables are touching the CPU fan or obstructing its blades.
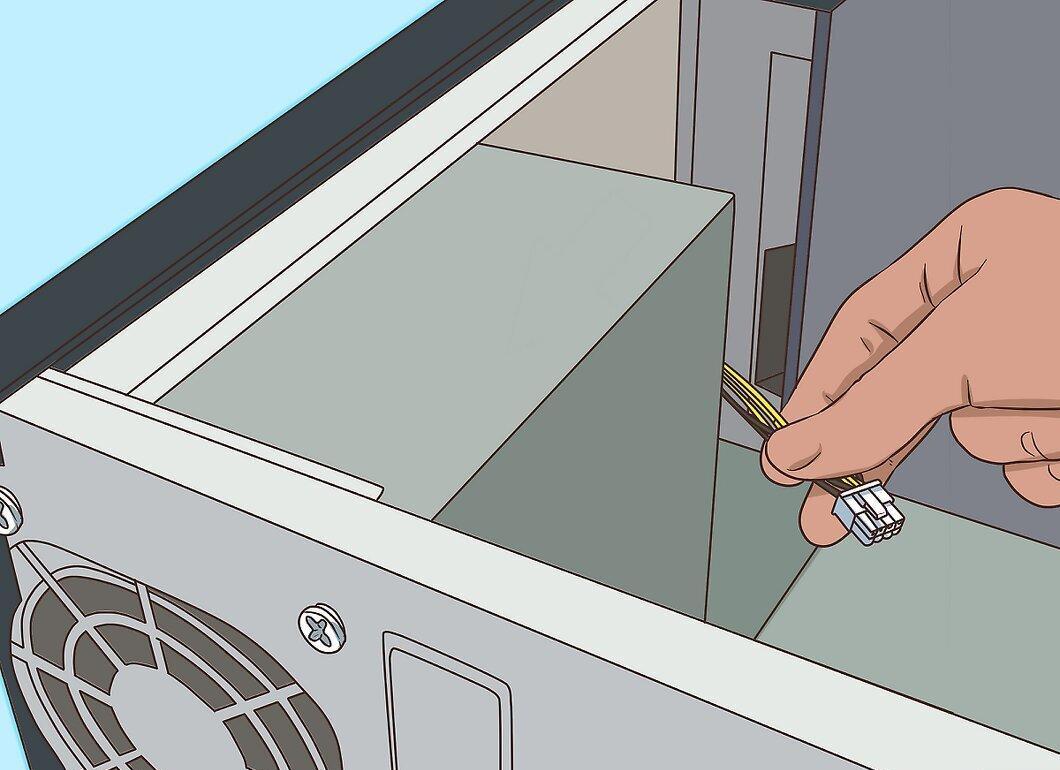
Ensure no cables are touching the CPU fan or obstructing its blades. Secure all unused wires inside the case.
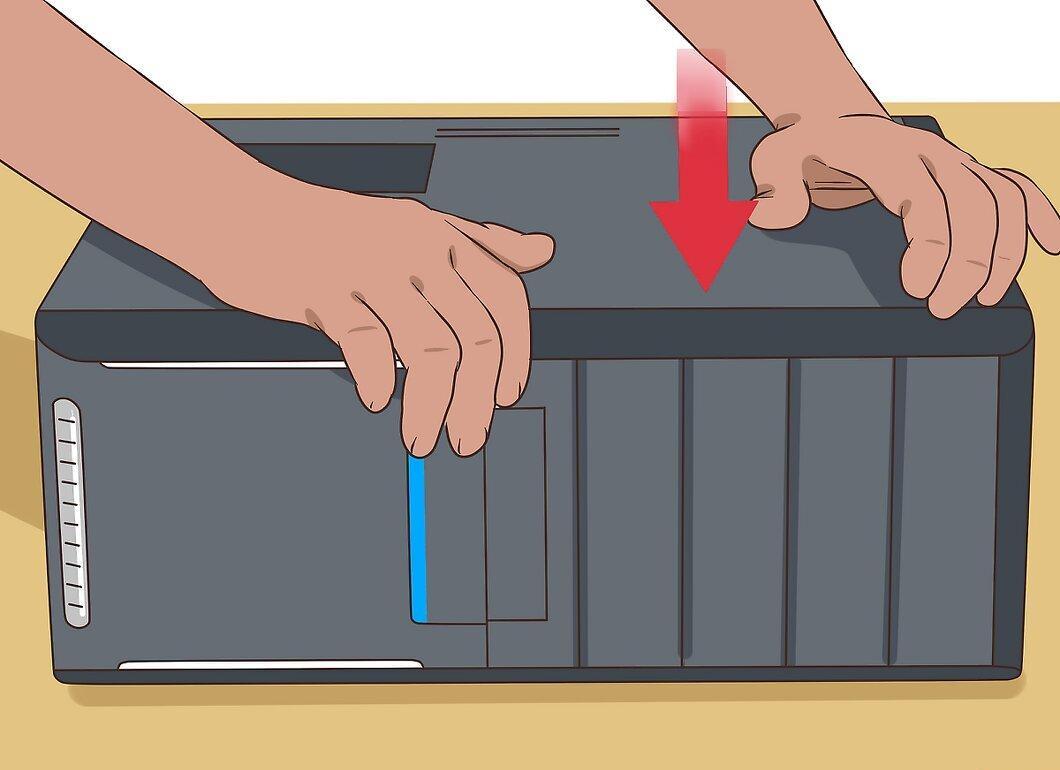
Step 5. Close the case and secure the cover.
Step 6. Connect the mouse, keyboard, monitor, power, and network cables.
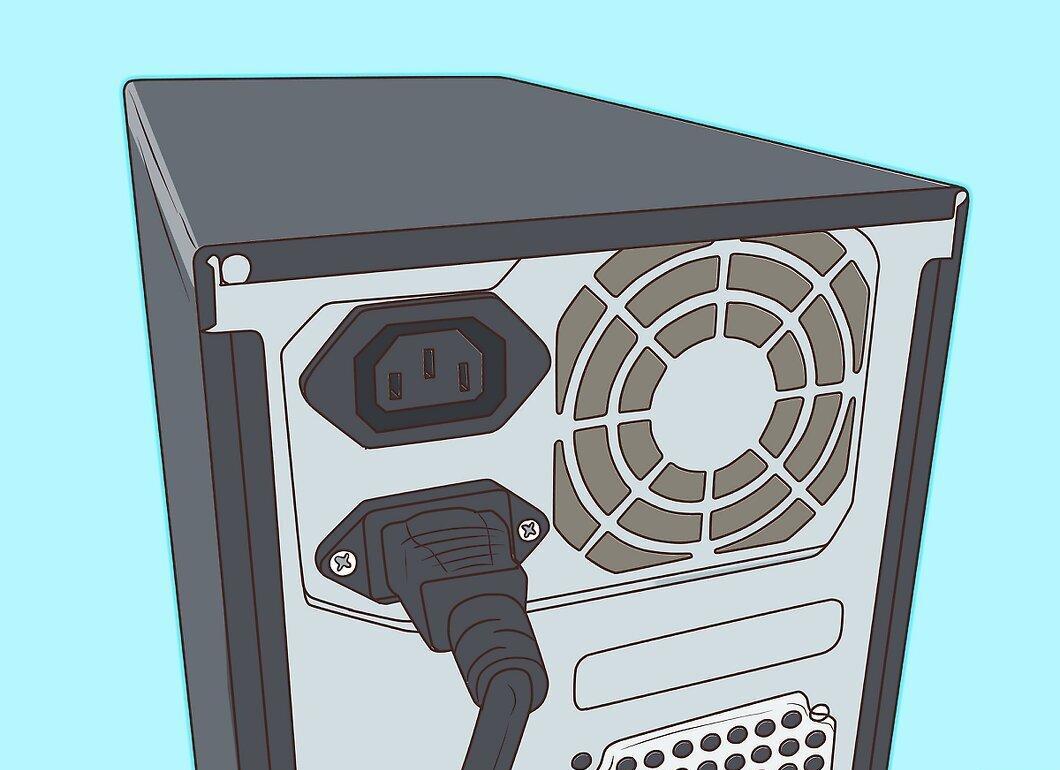
Connect the mouse, keyboard, monitor, power, and network cables. Turn on the computer and enjoy your new power supply.
- A faulty power supply can damage the motherboard.


