
Each year, between 1.8 to 2.3 billion kilograms of wood are used to produce pallets. Wooden pallets are built for durability, making them tough to dismantle. However, you can disassemble a pallet by cutting the nails with a reciprocating saw or carefully prying them out with a pry bar.
Using a Reciprocating Saw
Step 1. Find an undamaged pallet.
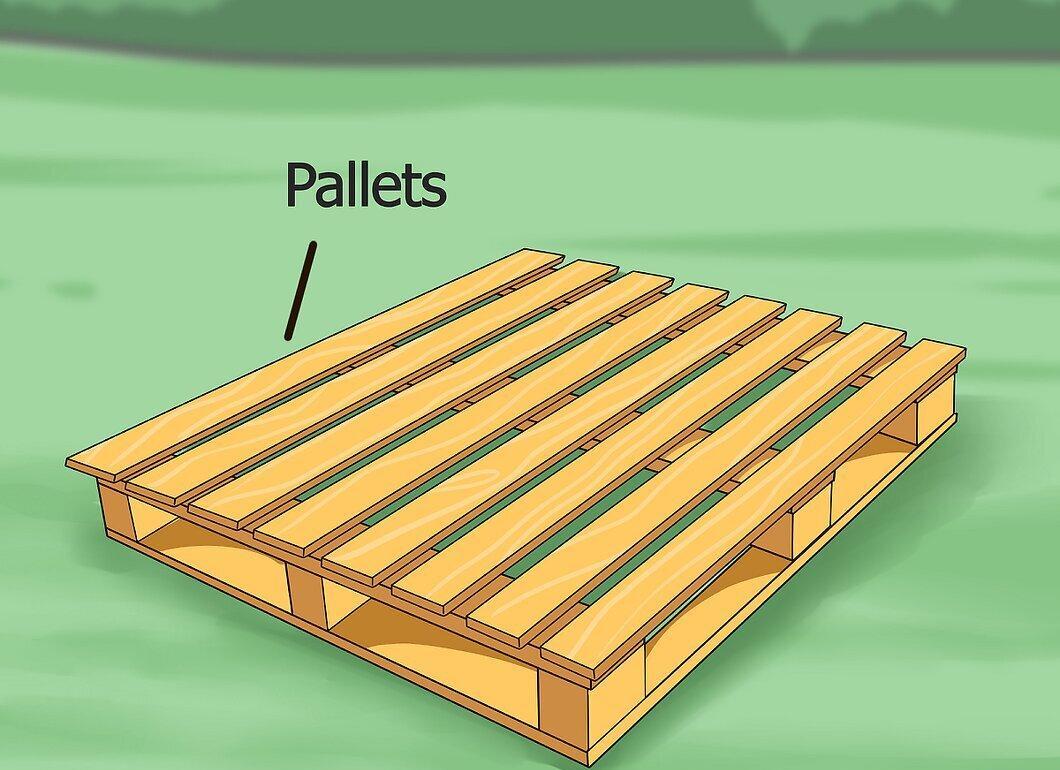
Choose a pallet that shows no visible wear. While it might seem easier to just take it apart, this can damage the boards, rendering them unusable. You can extract up to 12 feet of quality wood from a single pallet.
Step 2. Avoid using standard disassembly tools.
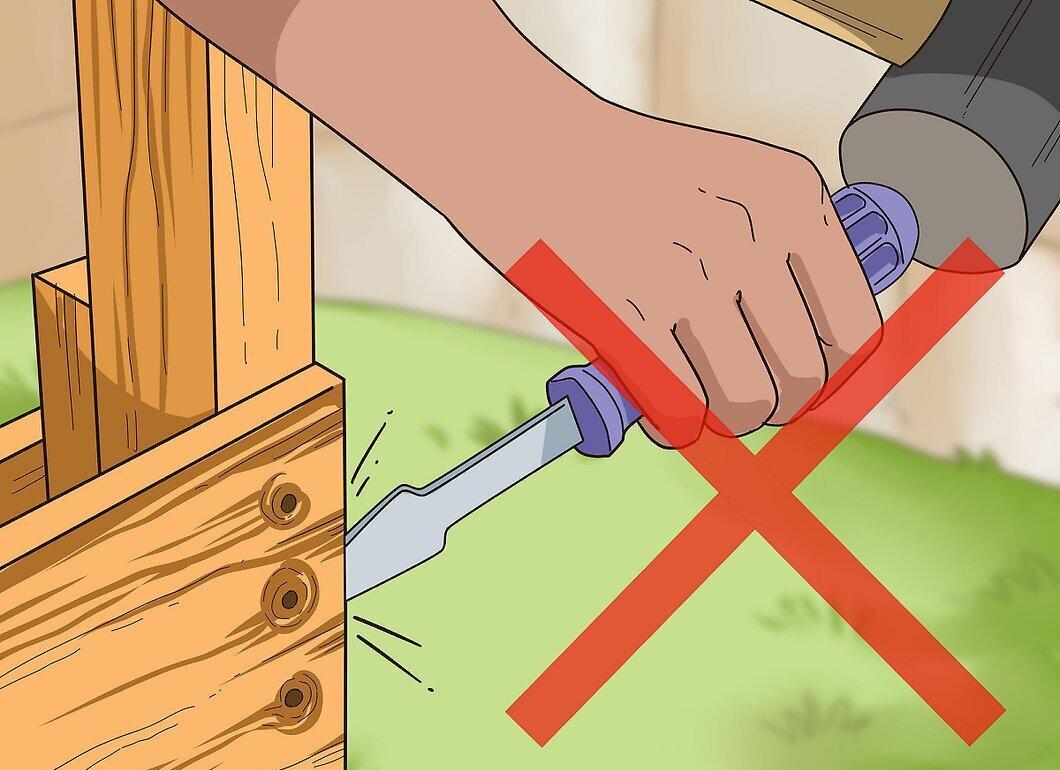
Don’t attempt to take apart pallets with regular tools. They are constructed with staples that securely hold all parts together.
Step 3. Purchase a reciprocating saw.
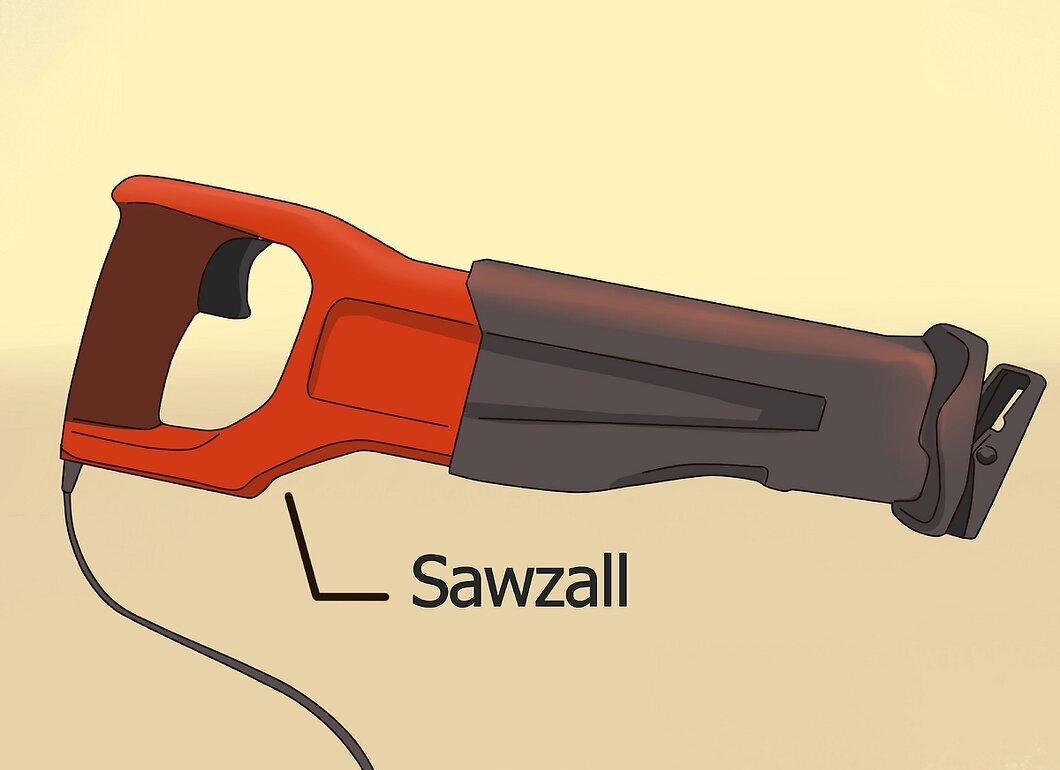
Invest in a reciprocating saw. This will reduce the time needed to dismantle a pallet from over 30 minutes to about 10 minutes.
Step 4. Buy a 12-inch metal cutting blade.
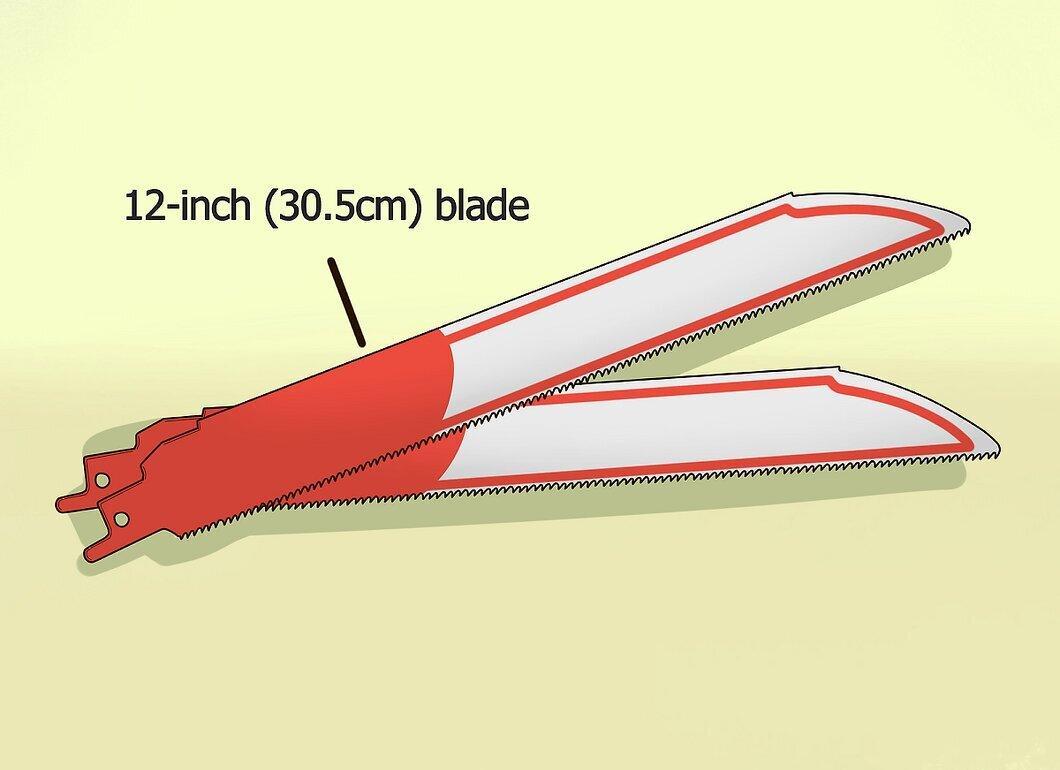
You will need a blade that is 12.5 inches long. The standard 5-inch blade that typically comes with the saw will not work, as it may damage the saw.
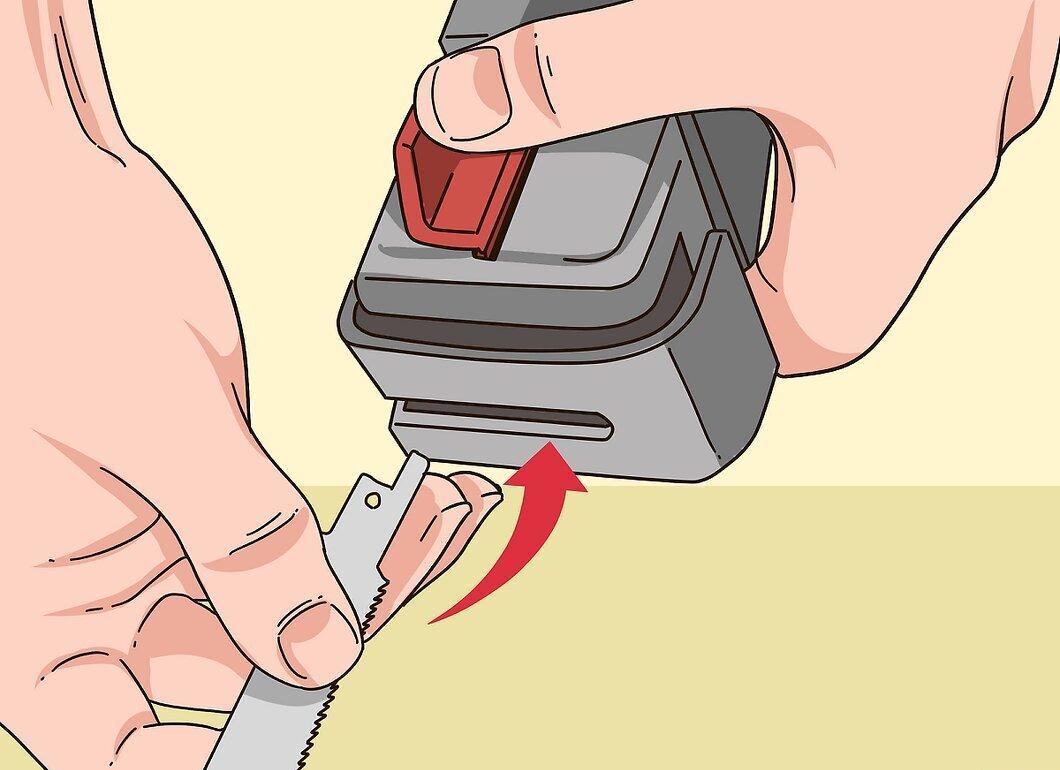
Step 5. Install the correct blade and plug in the saw.
Step 6. Always wear safety goggles and gloves.
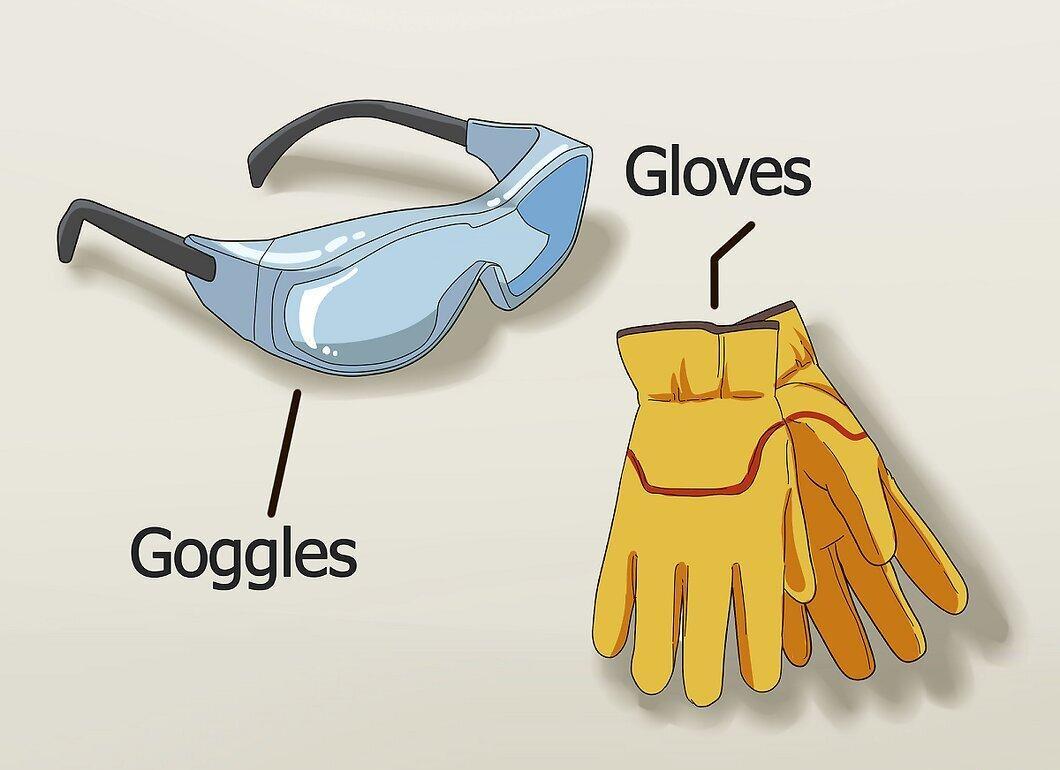
Make sure to wear safety goggles, gloves, and appropriate clothing. Using earplugs or earmuffs will help prevent hearing loss.
Step 7. Position the pallet vertically and support it.
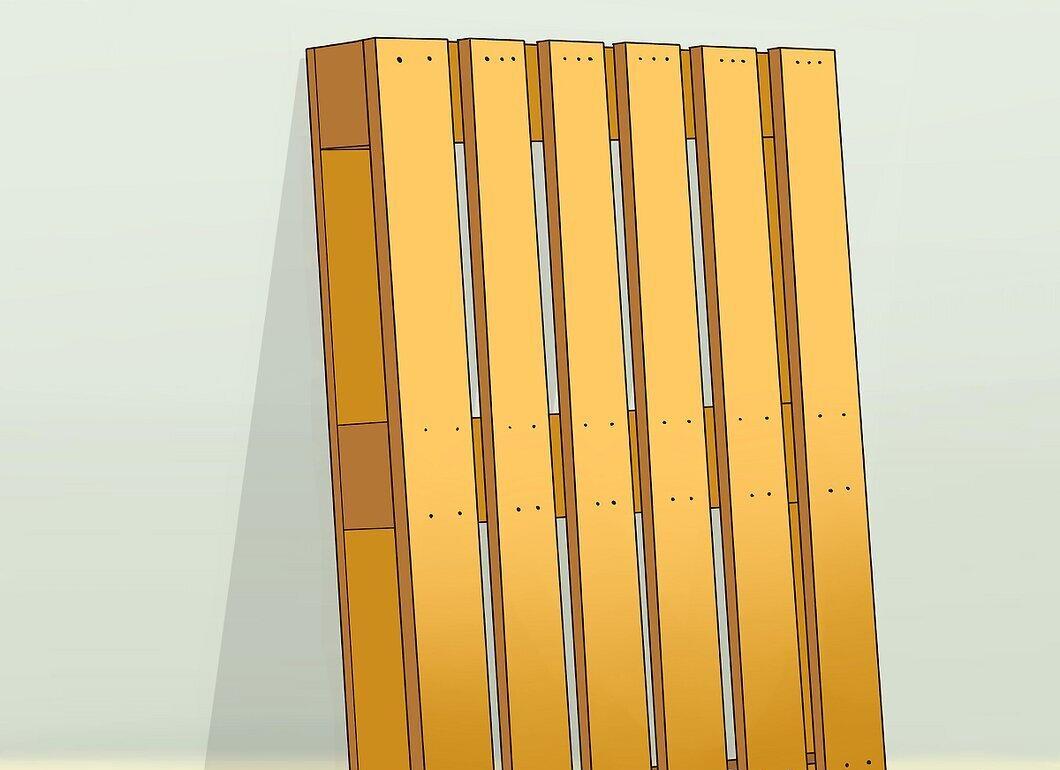
Stand the pallet up vertically and support it. If this is not possible, place it on a sturdy work surface and cut the nails with horizontal movements.
Step 8. Locate the two main vertical boards.
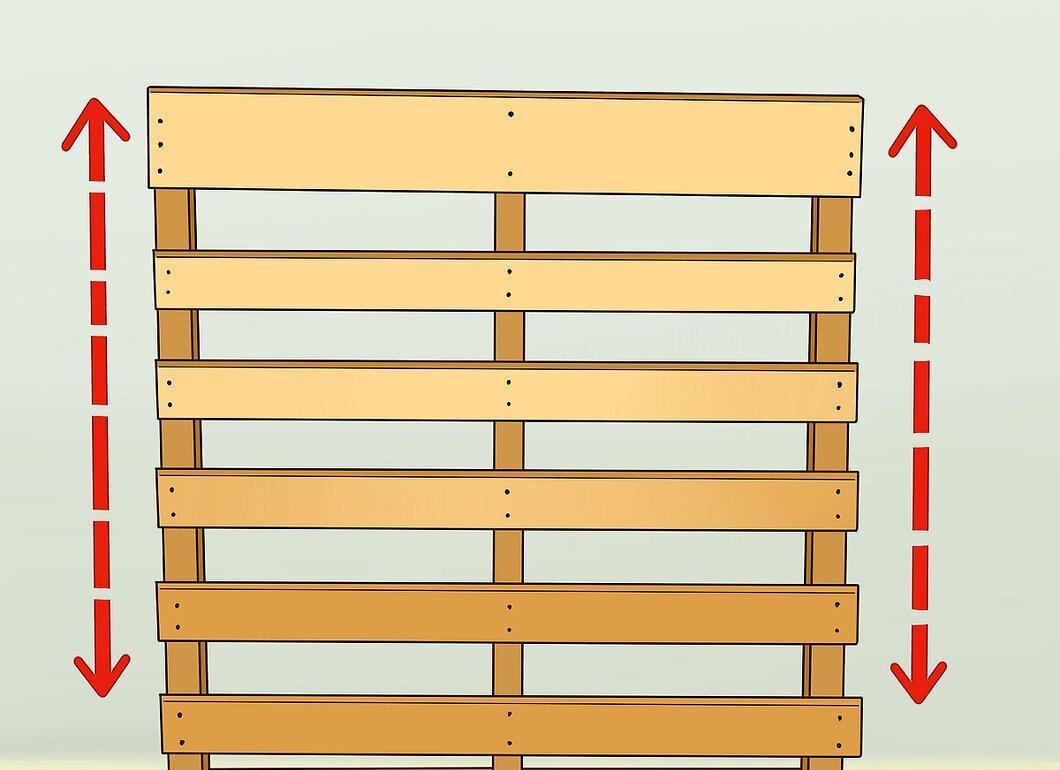
Identify the two main vertical boards of the pallet. The smaller horizontal slats, usually 2x4s, are attached to these boards to form the top. You will need to cut the nails along the vertical sections where they intersect.
Step 9. Turn on the reciprocating saw.
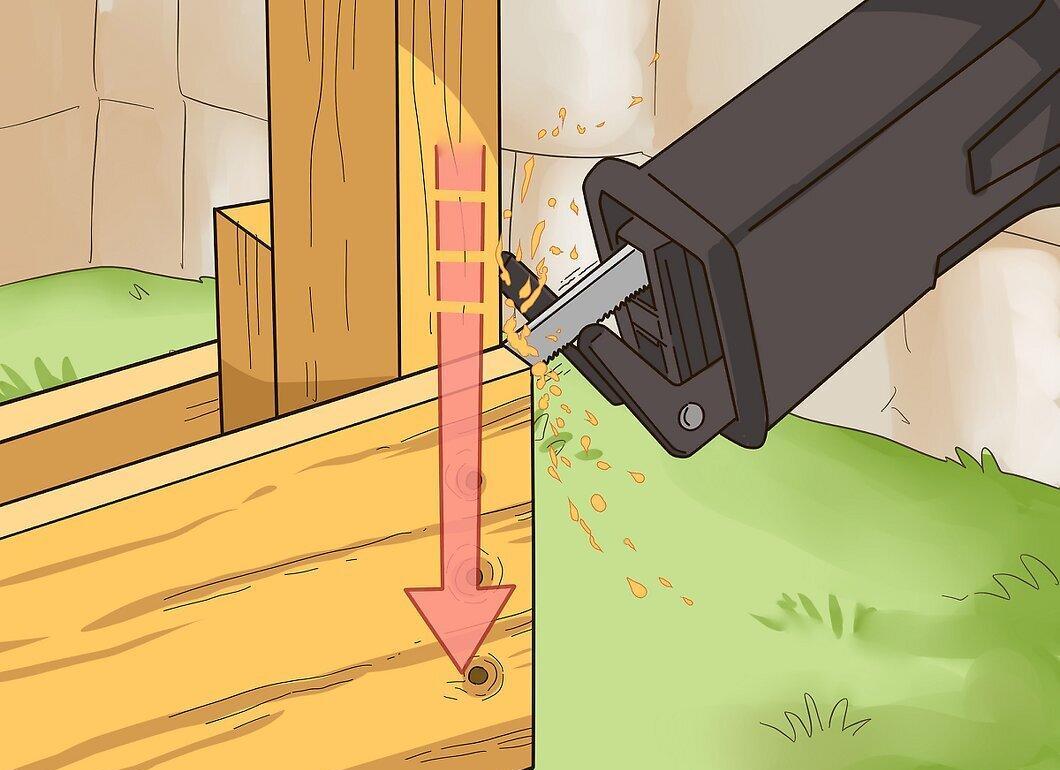
Switch on the saw and carefully guide it between the two boards with smooth downward or sideways motions. This will cut the nail that connects these two boards.
Step 10. Continue cutting one side of the vertical board until all horizontal slats are freed.
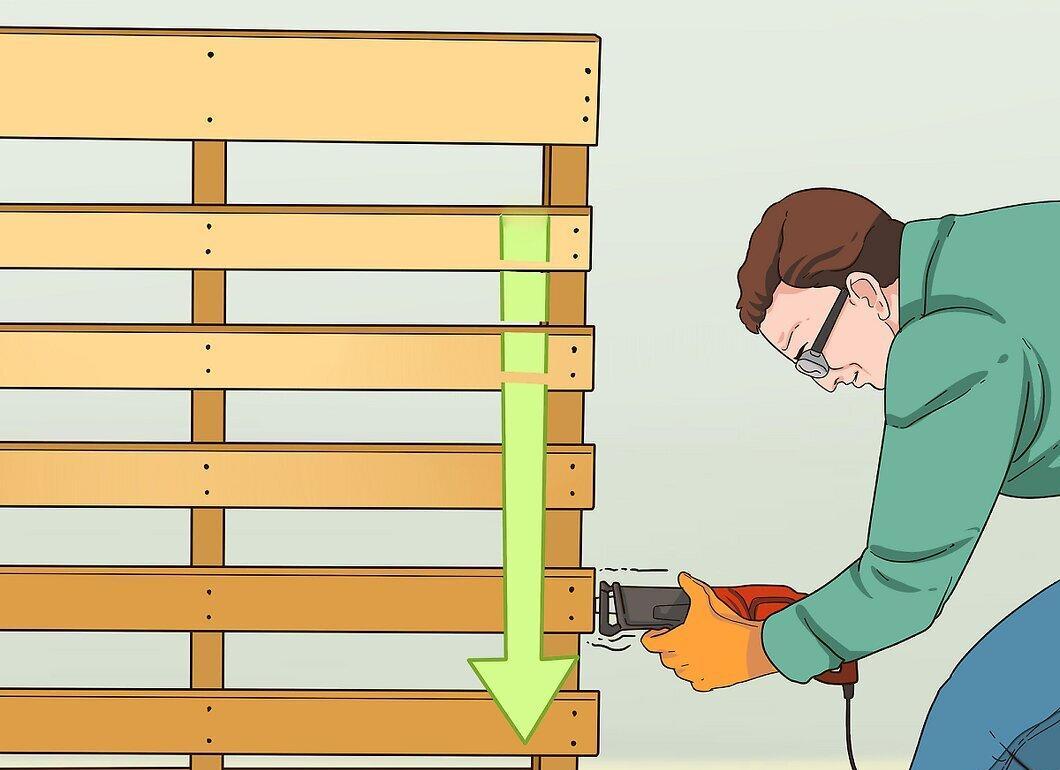
Step 11. Move to the other vertical board and repeat the process.
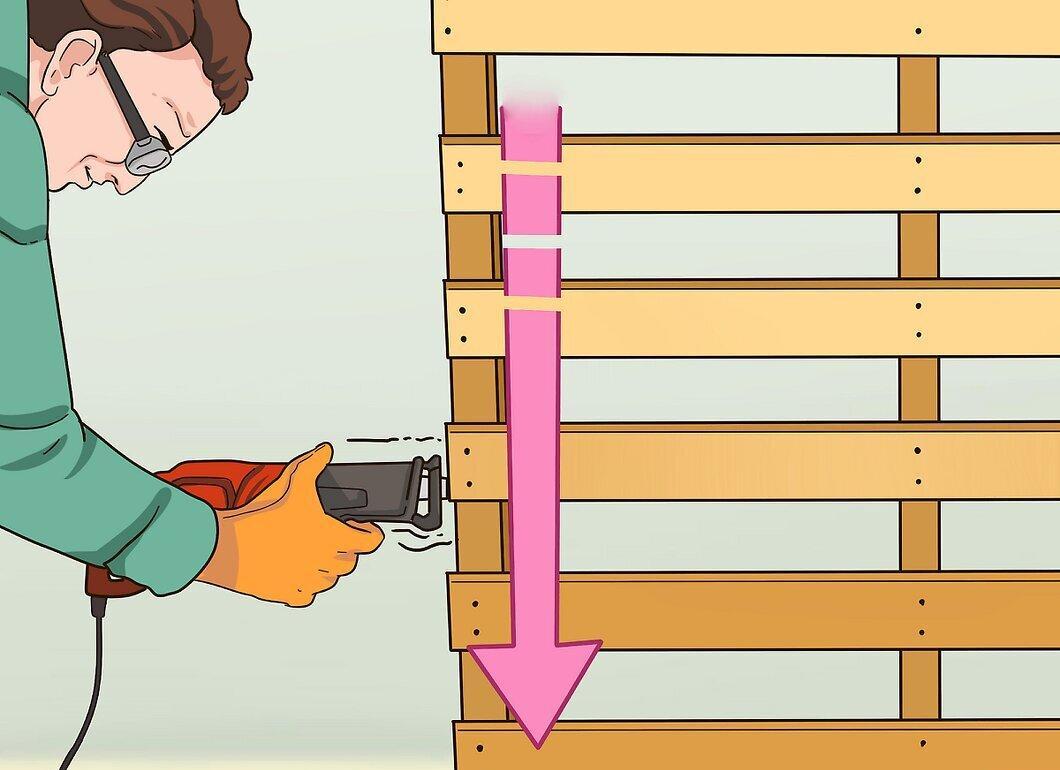
Switch to the second vertical board and repeat the same actions. The horizontal boards may start to come loose, so it’s best to ask a friend to help remove them if they’re in the way.
Step 12. Move to the back of the pallet.
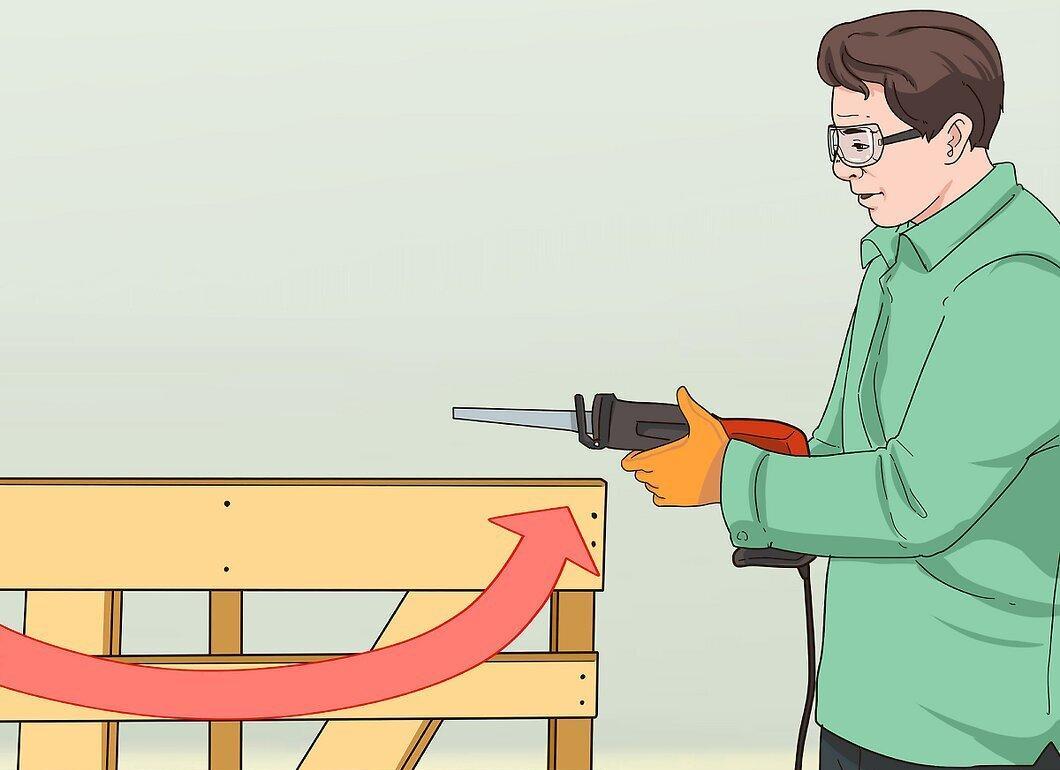
Go to the back of the pallet where the frame is located. Continue cutting the nails at the edges where the parts of the structure connect.
Using a Pry Bar
Step 1. You can find pallets in truck unloading areas.
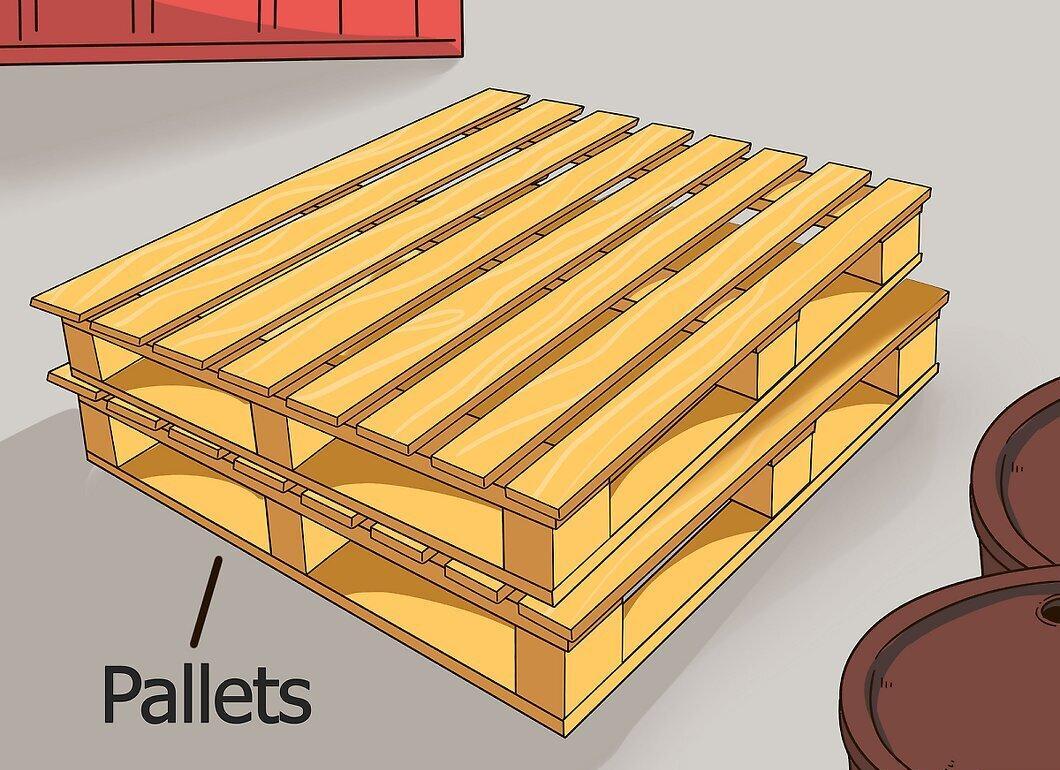
Look for pallets near backyards where trucks are unloaded. Check if you can take the pallets if they are not next to a dumpster.
Step 2. Assess the wobbly spots on the pallet.
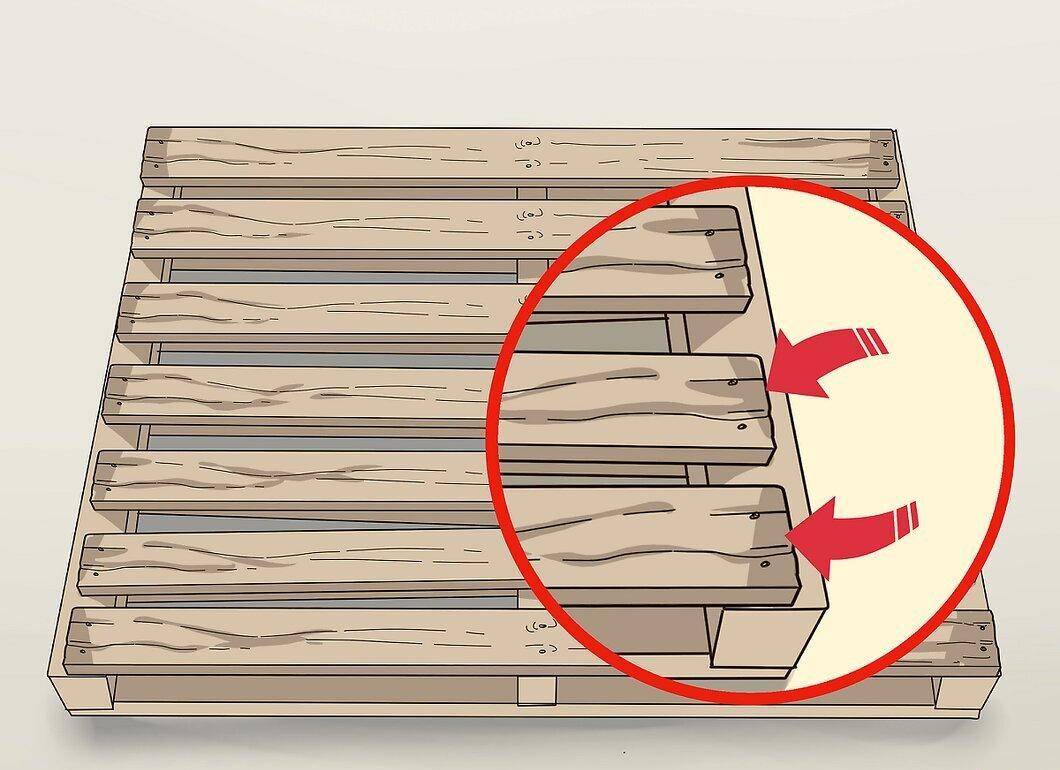
Examine all areas that look a bit loose and start disassembly from there.
Step 3. Wear safety goggles and gloves.
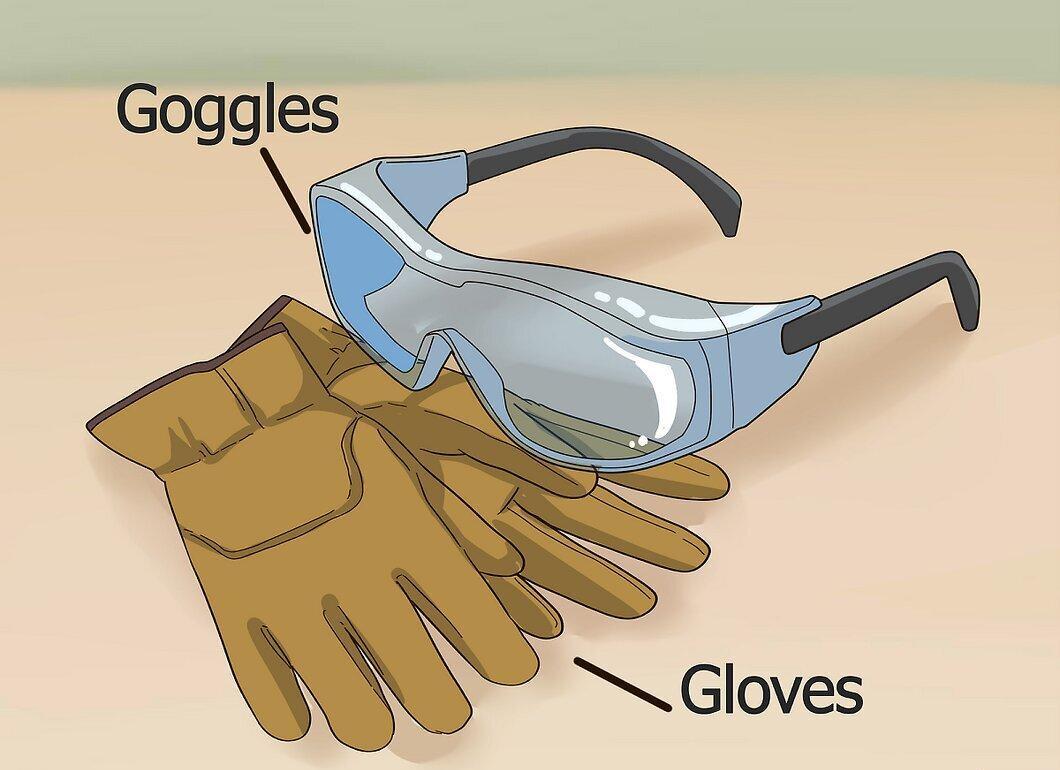
Be sure to wear safety goggles, gloves, and appropriate clothing. This method is more labor-intensive compared to using a saw.
Step 4. Place the pallet on the ground.
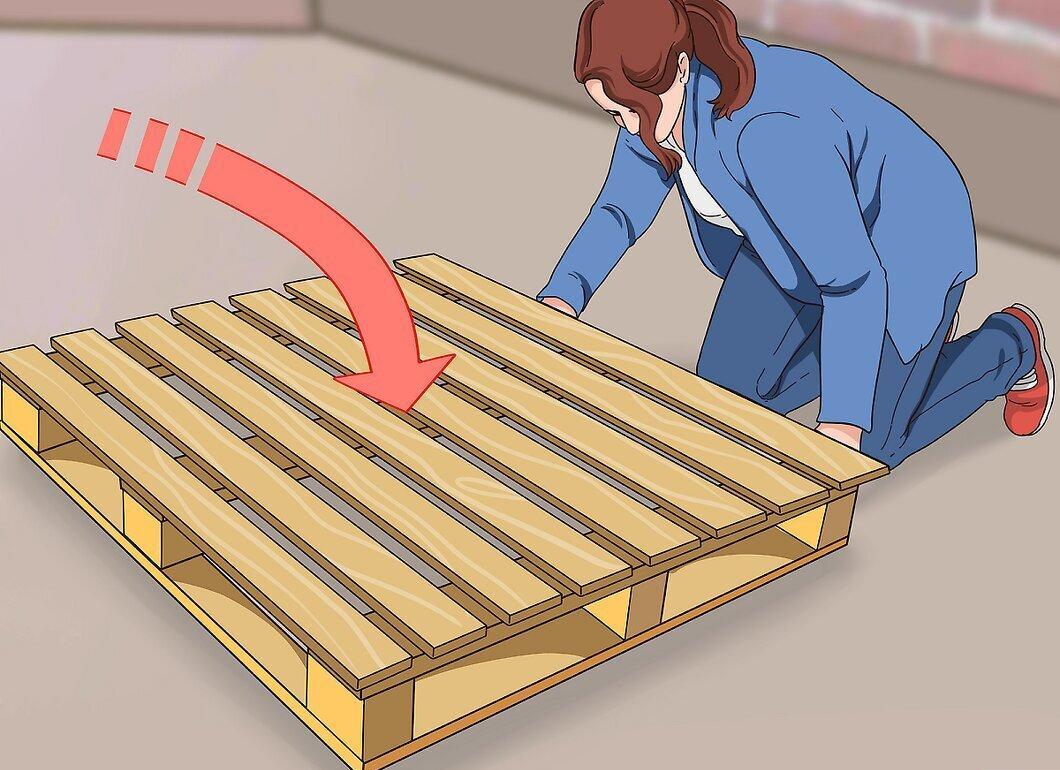
Step 5. Insert the pry bar between the boards at the loose spots.
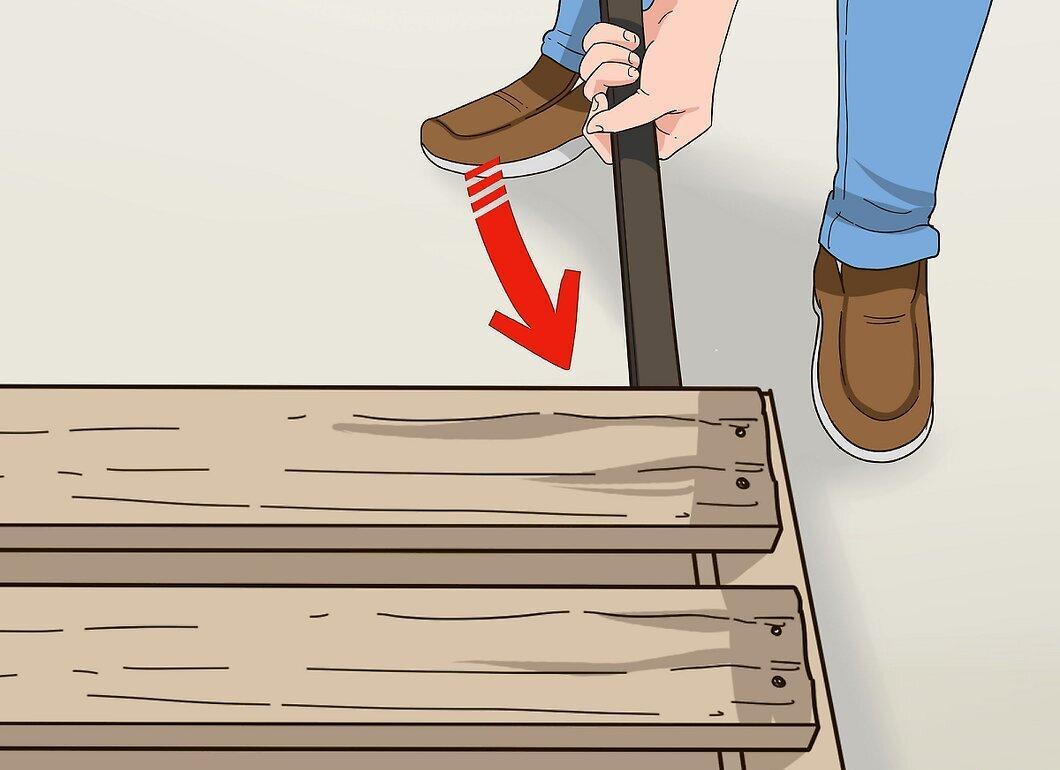
Insert the pry bar into the areas where the nails appear to be less secure. Position the pry bar at the spot where the board connects to the frame.
Step 6. Pull the pry bar back to loosen the fasteners.
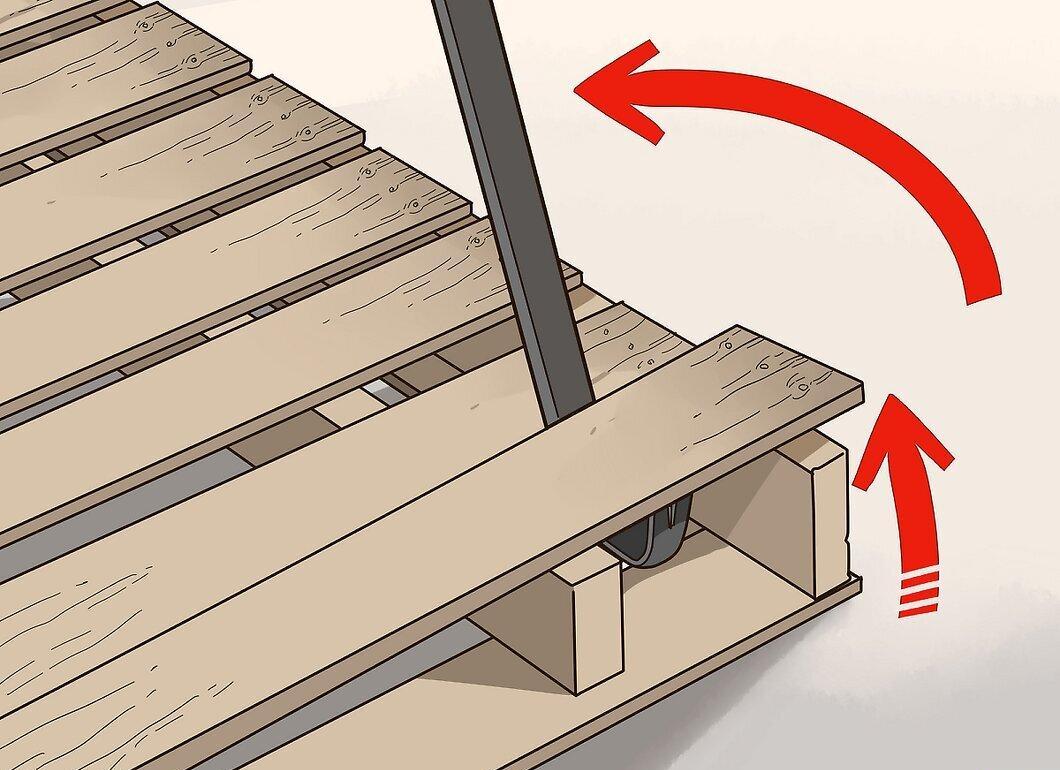
Pull the pry bar back to bend the board and weaken the fasteners. Do not attempt to bend the board completely, as this may cause it to break. Shift slightly to the side and repeat the motion for the next nail.
- Be cautious not to break the board by bending it too sharply. Move slowly and carefully.
Step 7. Repeat the same on the other side of the board.
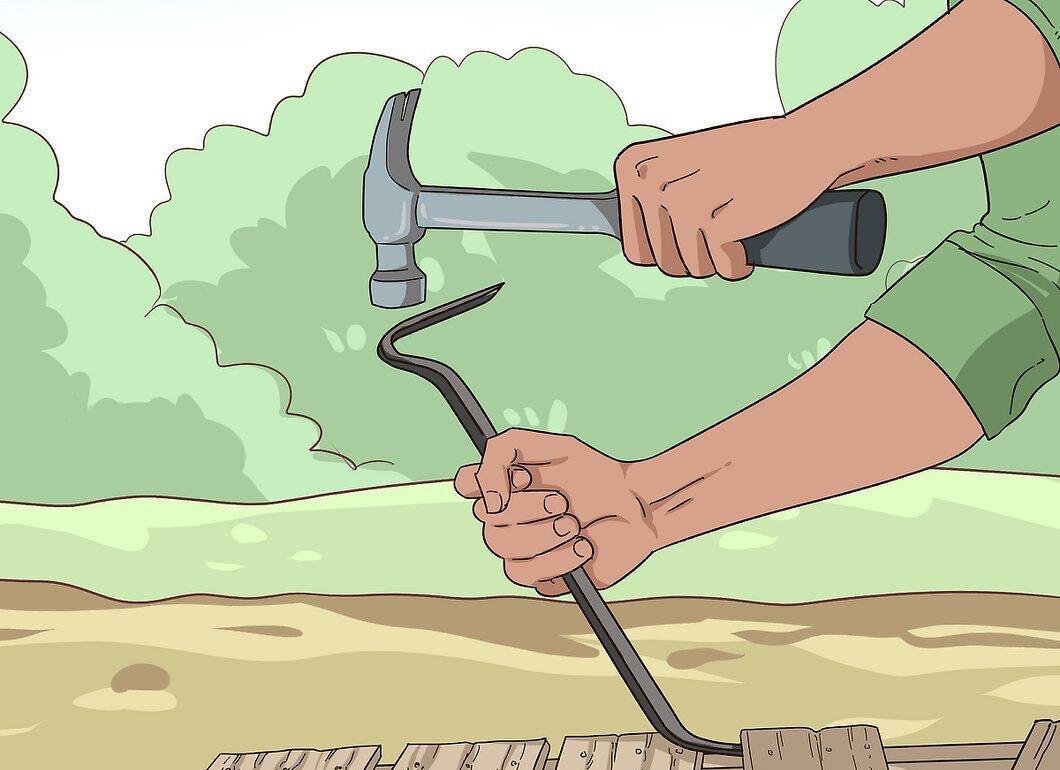
Do the same on the other side of the board. Strike the top of the pry bar with a hammer to help it secure under tightly nailed areas.
Step 8. Move to the middle of the board and loosen the nails.
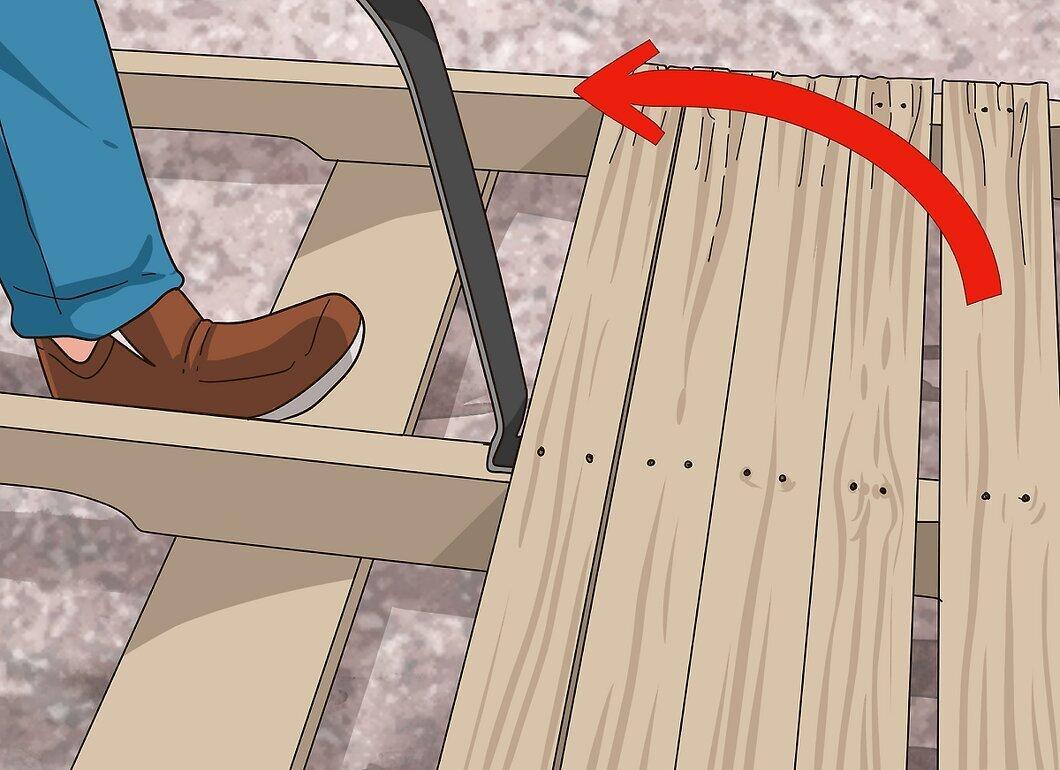
Proceed to the middle of the board and continue to loosen the nails. Once all three fasteners are loosened, push the pry bar in as deep as possible and pull the board out.
Step 9. Flip the board over and knock out the nails with a hammer.
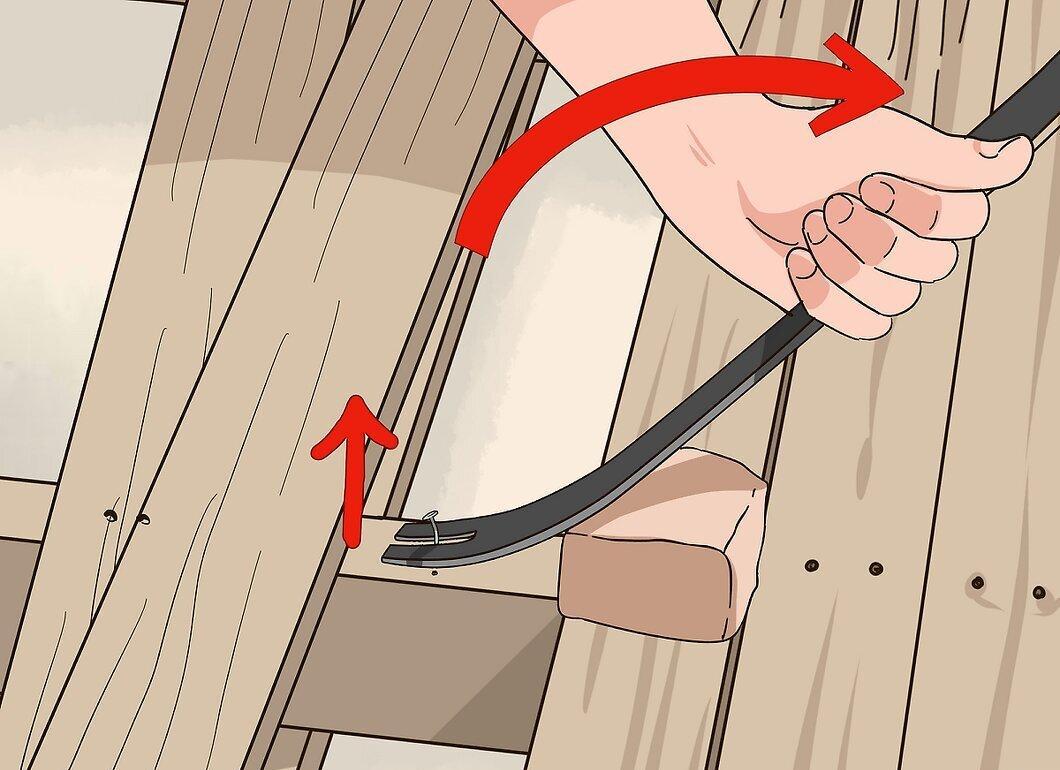
Flip the board over and knock the nails out with a hammer. Be sure to dispose of the nails properly, not leaving them on the ground.
Step 10. Repeat the process for each board, loosening the nails before pulling out each board.
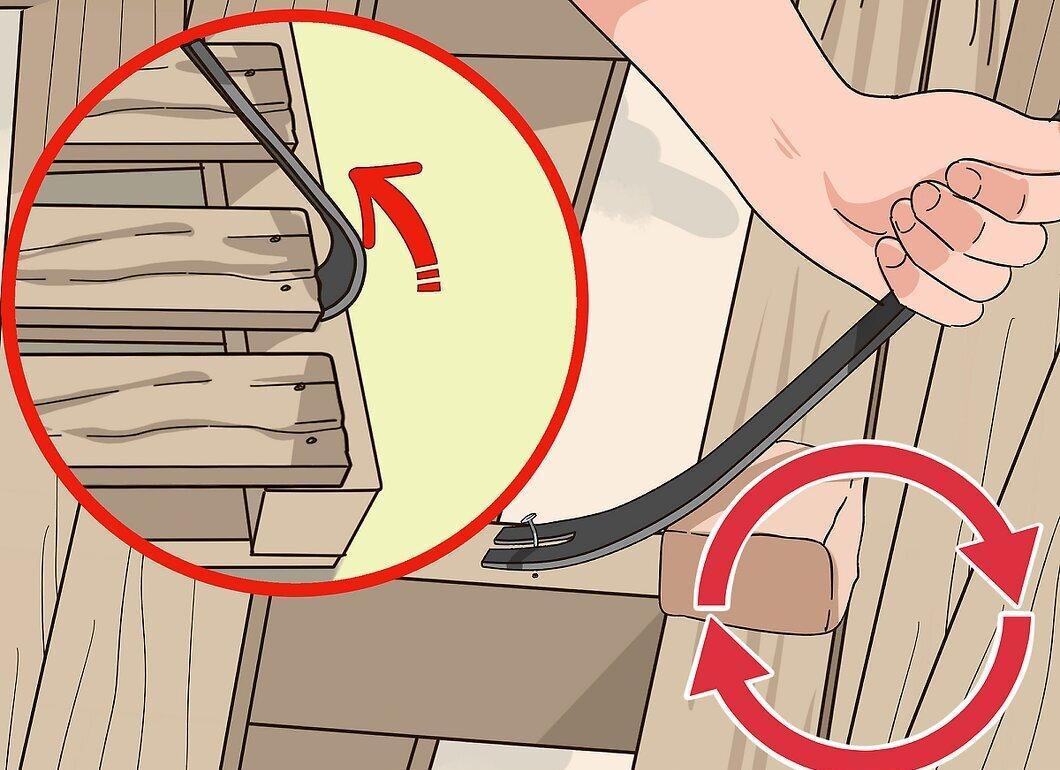
Repeat the actions for each board, loosening the fasteners on each part before pulling out the board. The entire process may take about 30 minutes or more and will require significant physical effort.


