Peonies are perennial plants that are easy to grow and can delight you with their blooms for many years. They don't require division and transplanting as frequently as some other perennials, but if your peonies have become too crowded, or if you want to move them to another part of the garden, it's best to do this in the fall.
Part 1
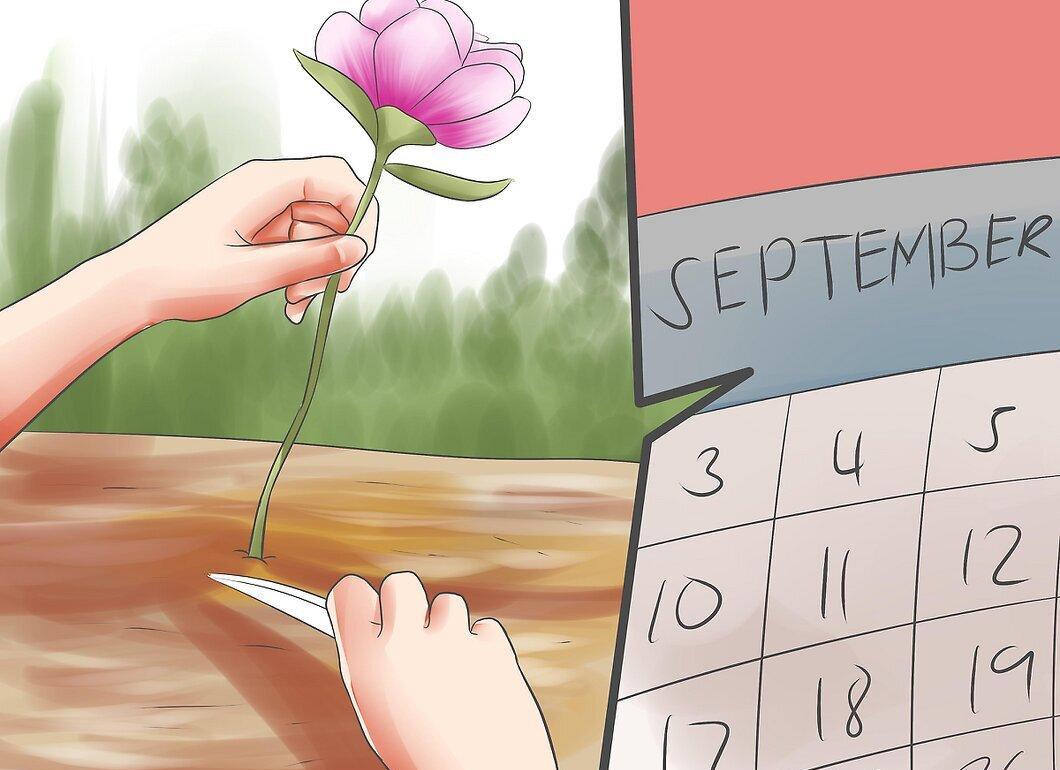
Step 1. In September, cut back the peony foliage to ground level.
Step 2. Prepare the new planting site.
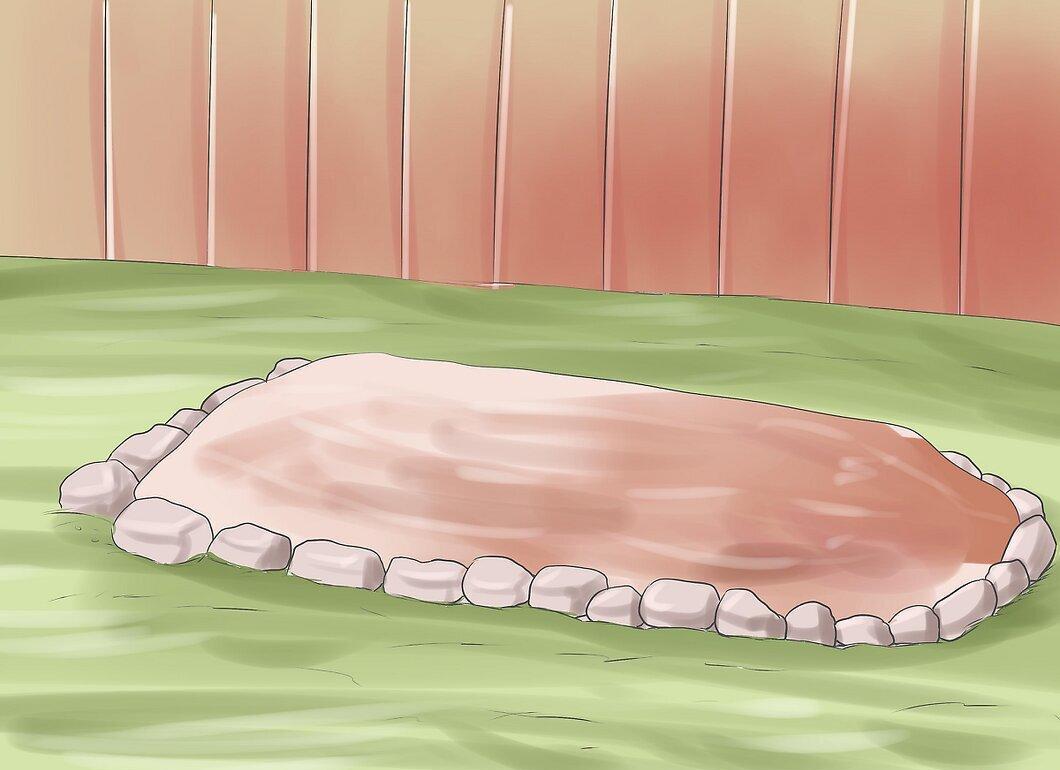
Before digging up the peonies, prepare the new planting site. This is important so that the divided plants can be planted as soon as possible; otherwise, their roots may dry out.
- Choose a spot that receives plenty of sunlight. While peonies can grow in partial shade, they thrive best in locations that get at least 6 hours of direct sunlight each day.
- Turn the soil and, if necessary, amend it with peat moss or compost. Peonies prefer well-draining soil that is rich in nutrients.
Step 3. Dig around the plant to lift it from the ground.
Step 4. Gently clean the roots to better see them.
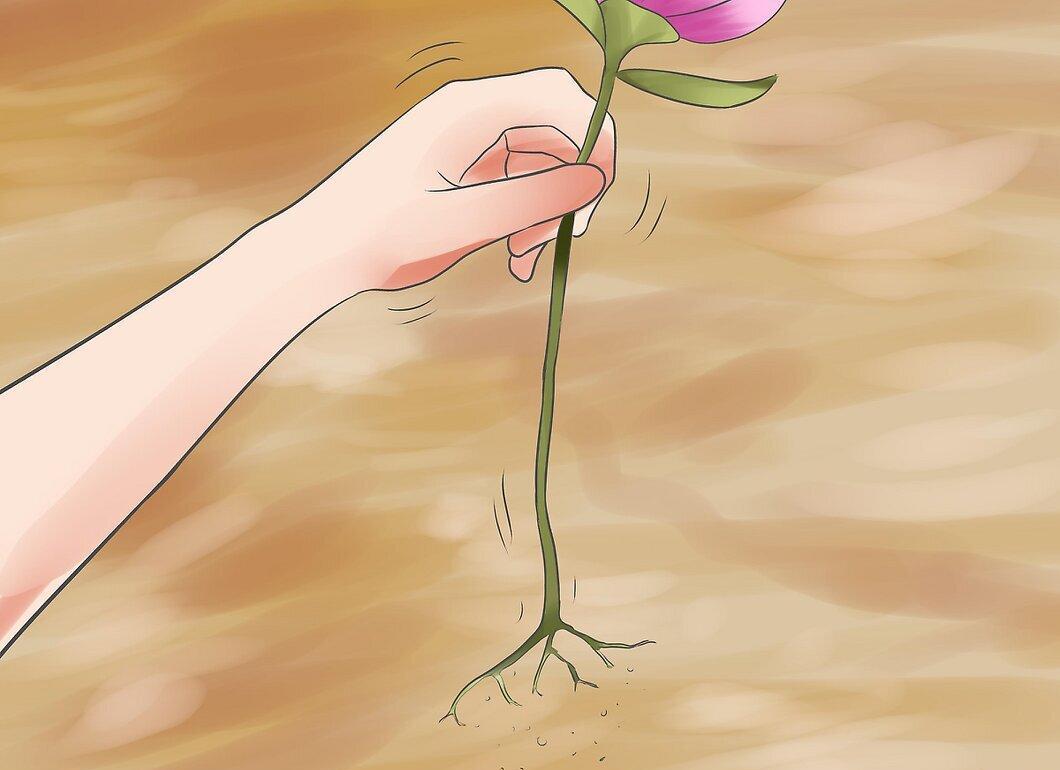
Carefully shake the soil from the roots to get a better view. You need to see the buds (eyes) on the top part of the root system. Rinse the roots with a garden hose.
Step 5. Divide the crowded plants into sections with a sharp knife.
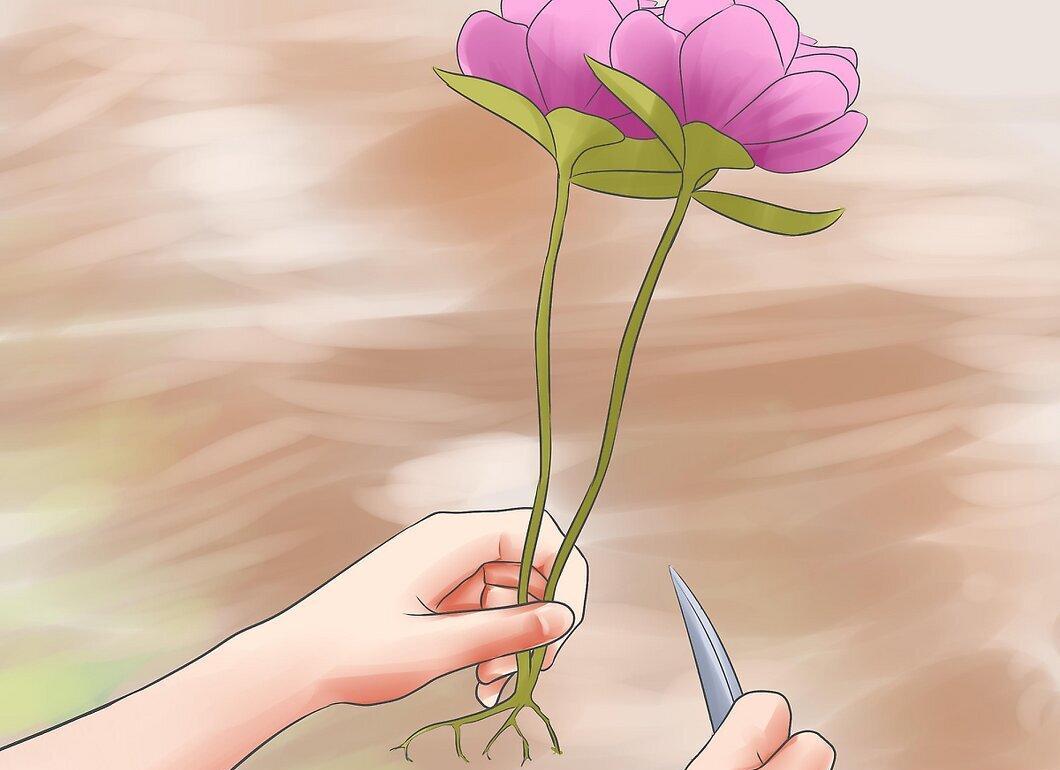
Using a sharp knife, divide the crowded roots into smaller sections. Ensure that each section contains at least three buds and a sufficient number of roots.
Step 6. Dig a hole that is slightly larger than the root system of the new plant.
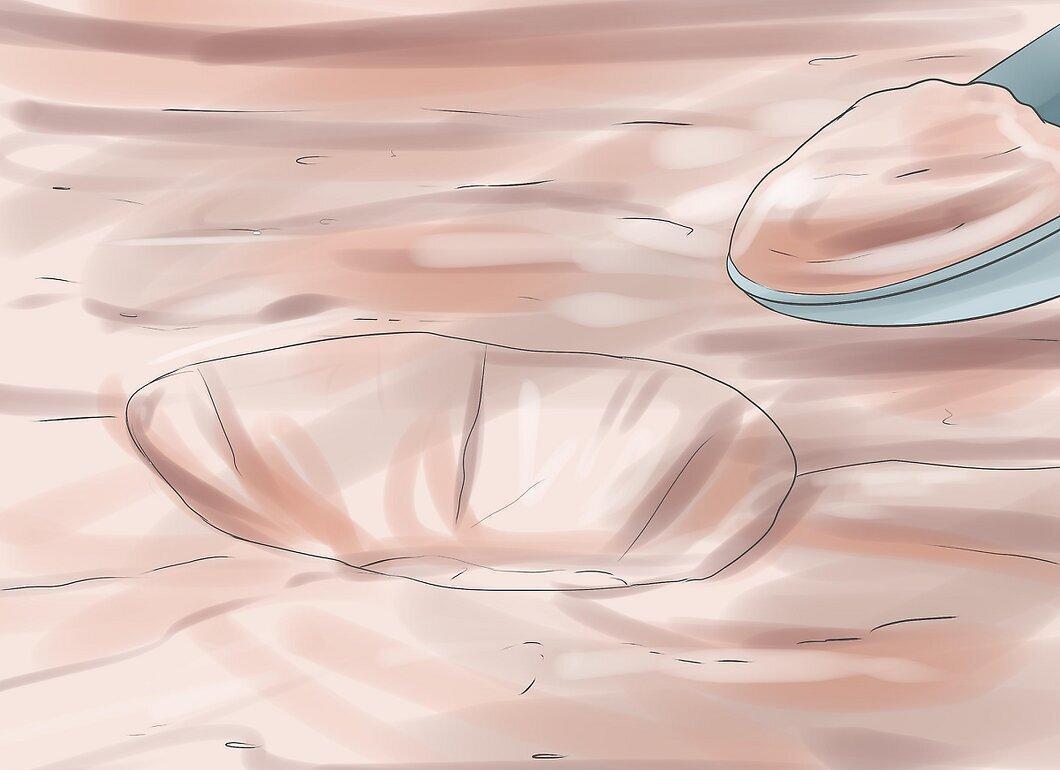
Step 7. Place the peony in the hole so that the buds are covered with 1-2 inches (2.5-5 cm) of soil.
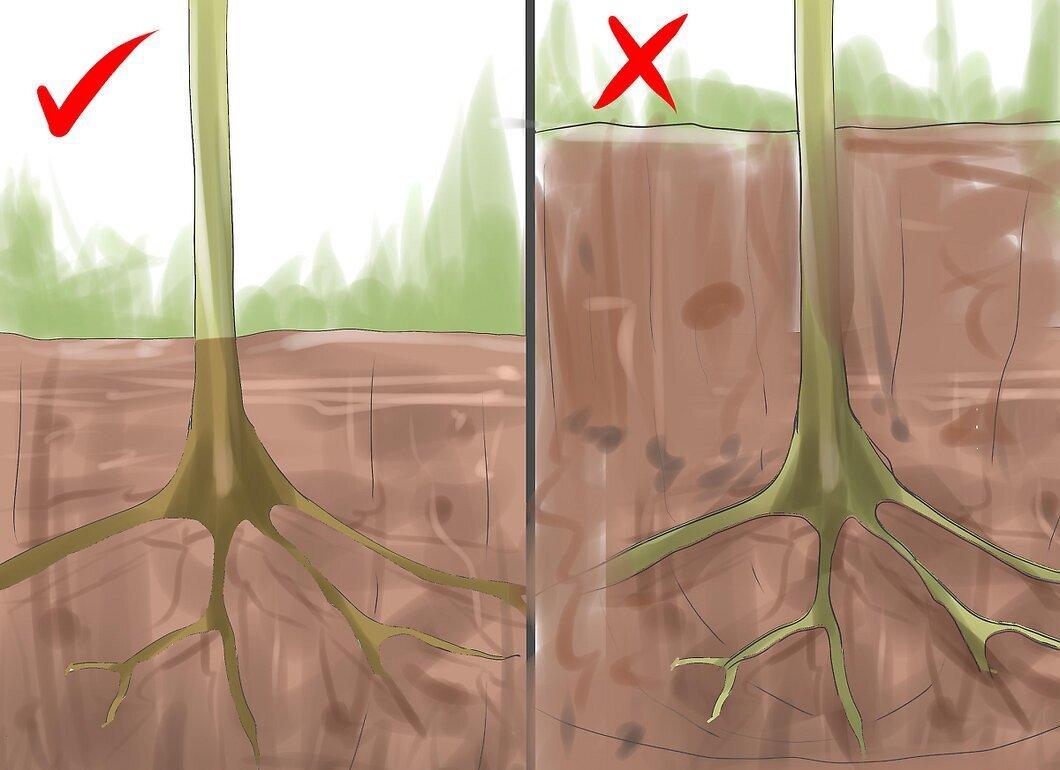
Make sure the buds are covered with a layer of soil 1-2 inches (2.5-5 cm) deep. If they are planted too deeply, dig up the plant and add soil to the hole, as peonies planted too deep may not bloom.
Step 8. Fill the hole with the remaining soil and gently pack it down.
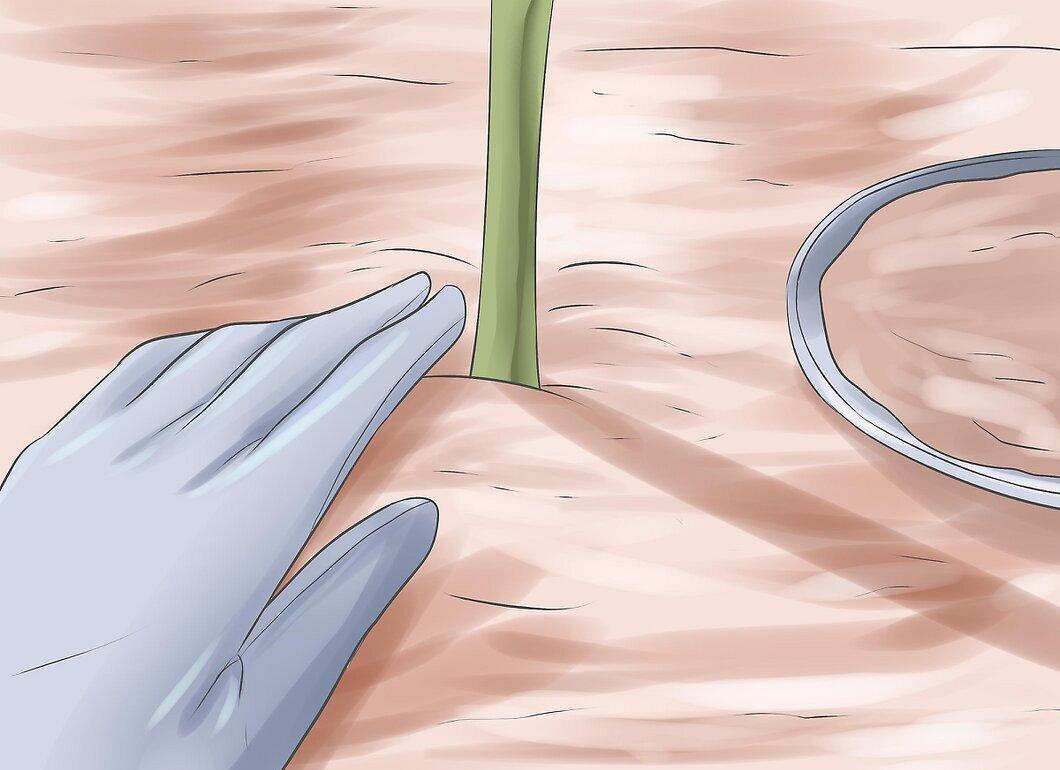
Step 9. Water the peonies thoroughly.
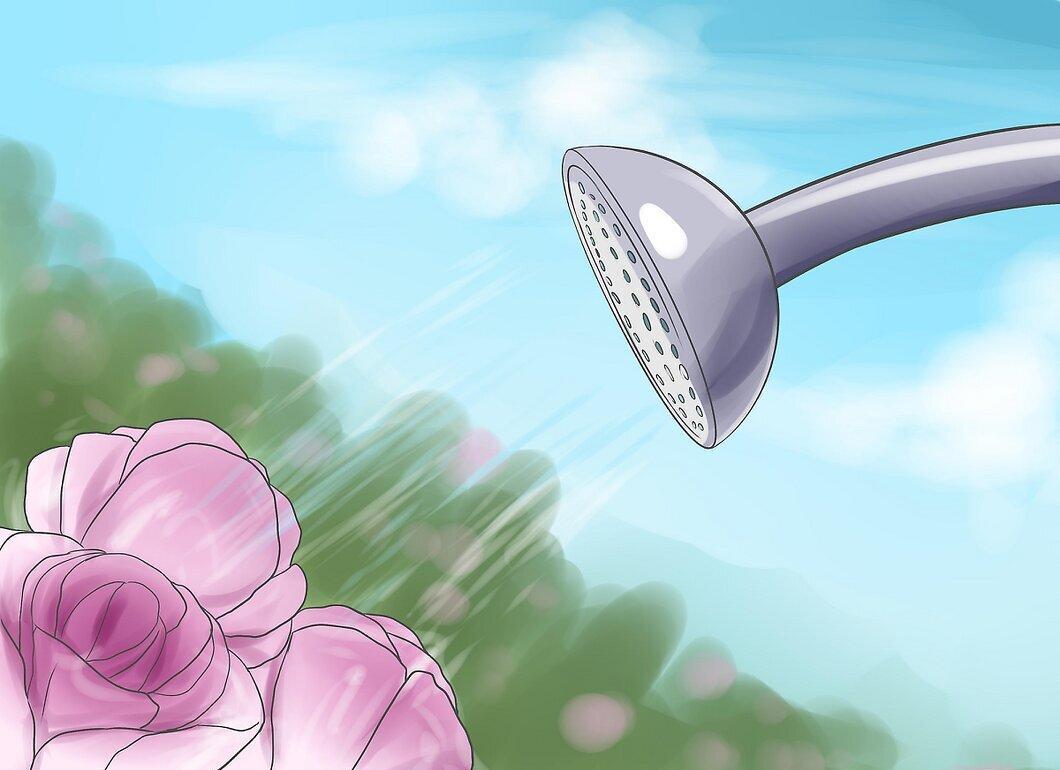
Water the peonies generously, especially for the first few weeks after planting, to help them establish their root system.
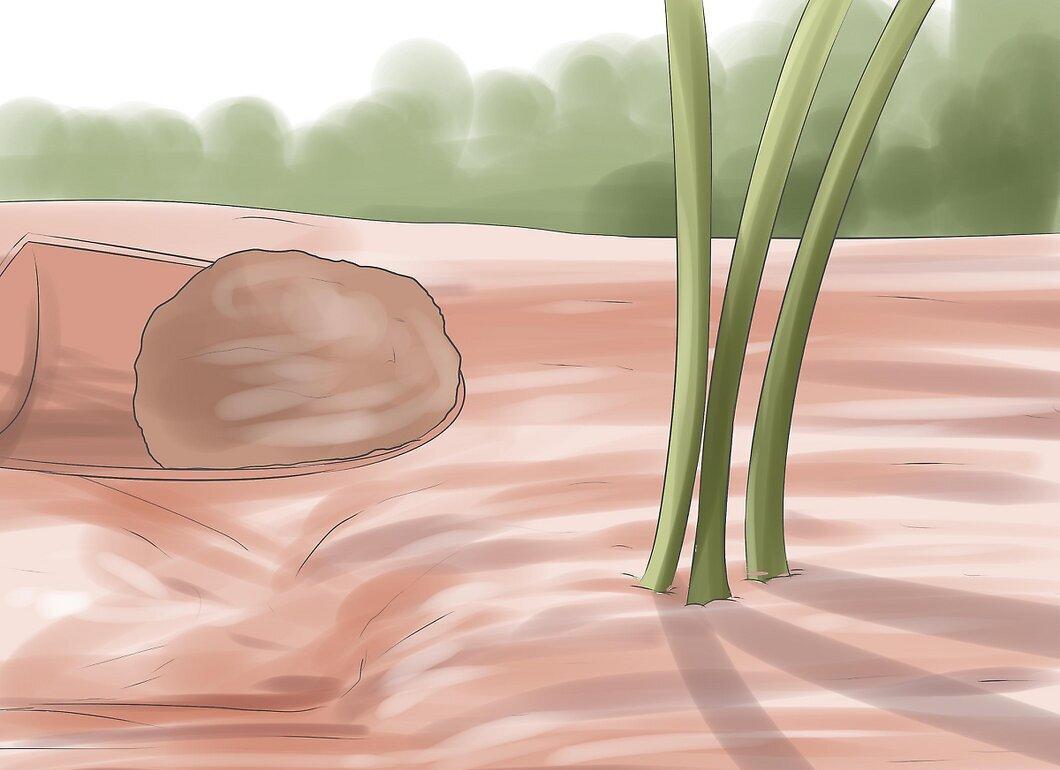
Step 10. Mulch the area around the plant with a layer of 3-5 inches (7-12 cm) of straw or organic mulch.
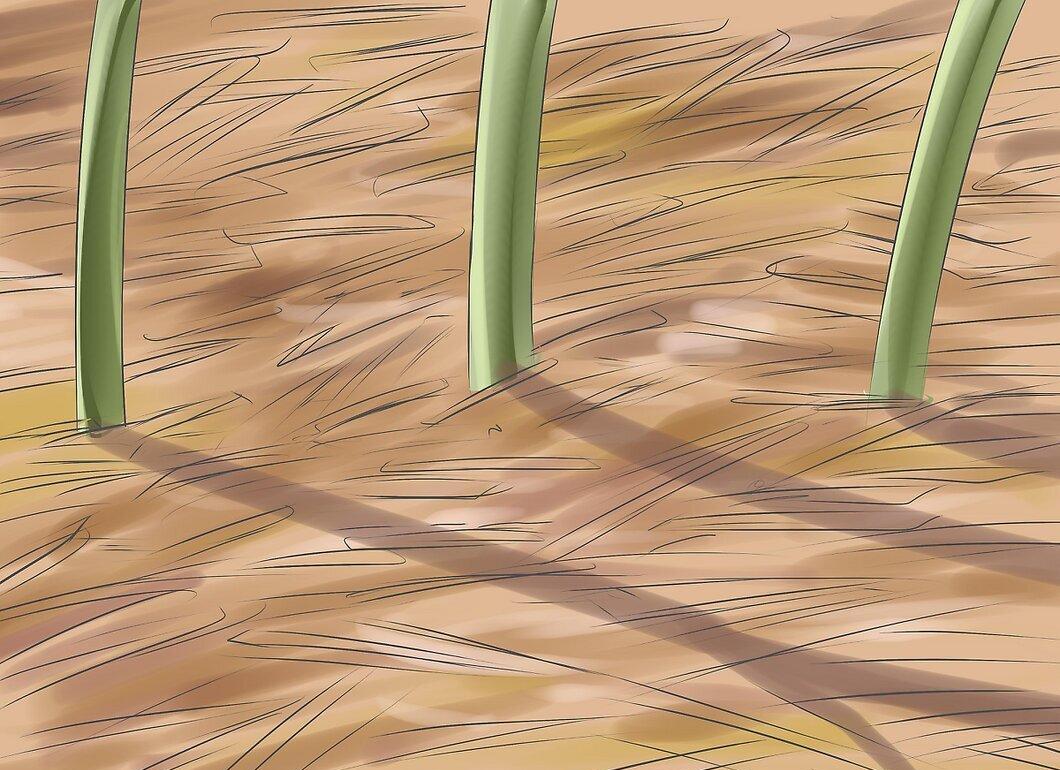
Mulch the area around and over the plant with a layer of 3-5 inches (7-12 cm) of straw or other organic mulch. This will help protect the soil from freezing and thawing during the winter months, which can harm the plant.
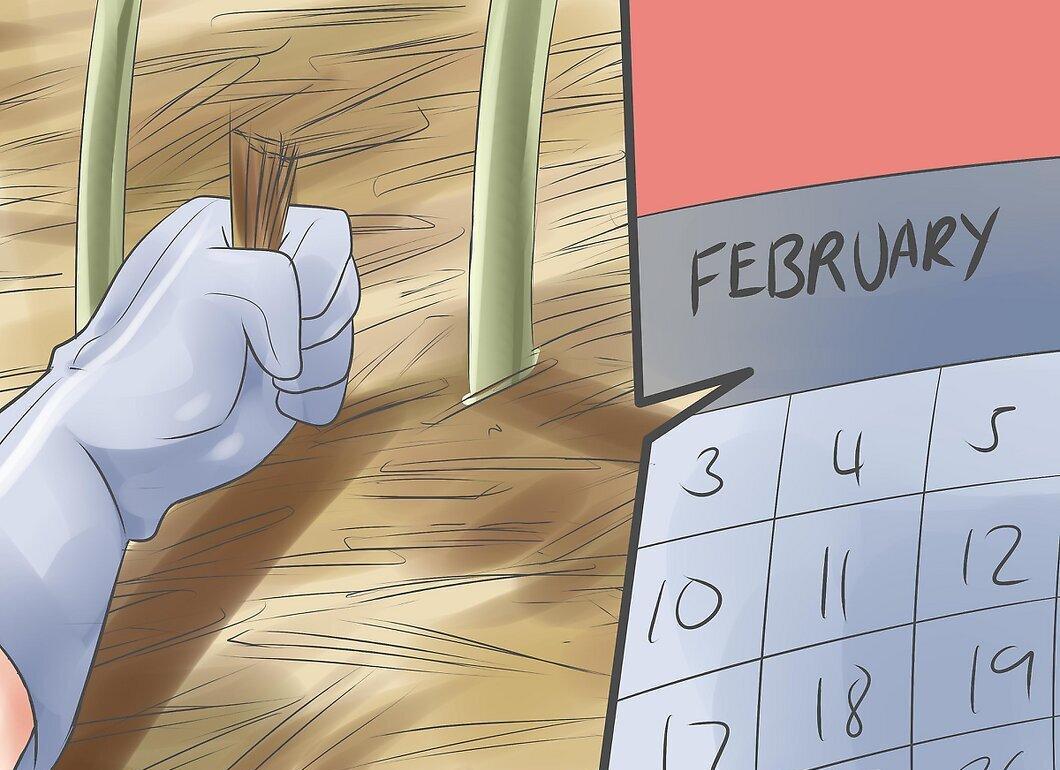
Step 11. Remove the mulch in early spring, before new growth begins.