
If you're planning to replace your hard drive or suspect that your old one might be failing, you should consider cloning it. This action allows you to keep all your information safe and sound on a new storage device. Let's break down how to do it.
Part 1
Step 1. Back Up Important Data.
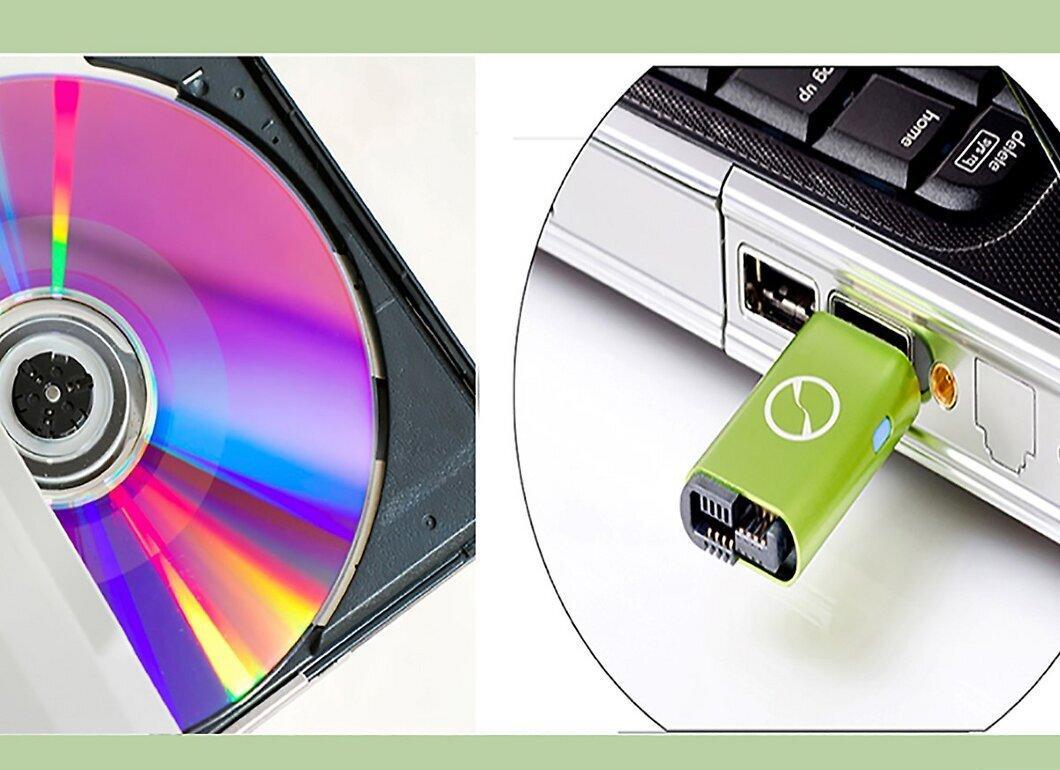
Before you begin the cloning process, it’s recommended to back up all critical data. Although the chance of data loss is low, it's always better to be prepared. Save your files to an external hard drive, DVD, or cloud storage.
Step 2. Install the New Hard Drive.
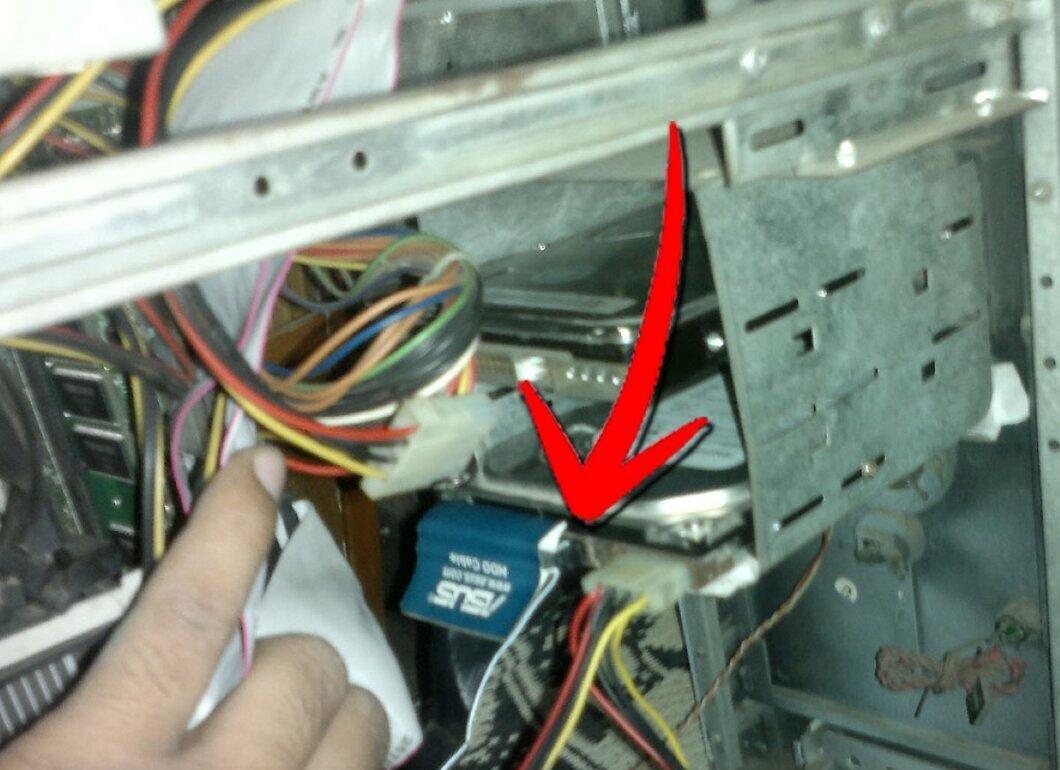
Connect the hard drive to which you plan to transfer the data. During the cloning process, the information will be copied from the old drive to the new one. Make sure to install the new drive before starting the cloning.
- The new hard drive does not need to be formatted before cloning.
Step 3. Install Cloning Software.
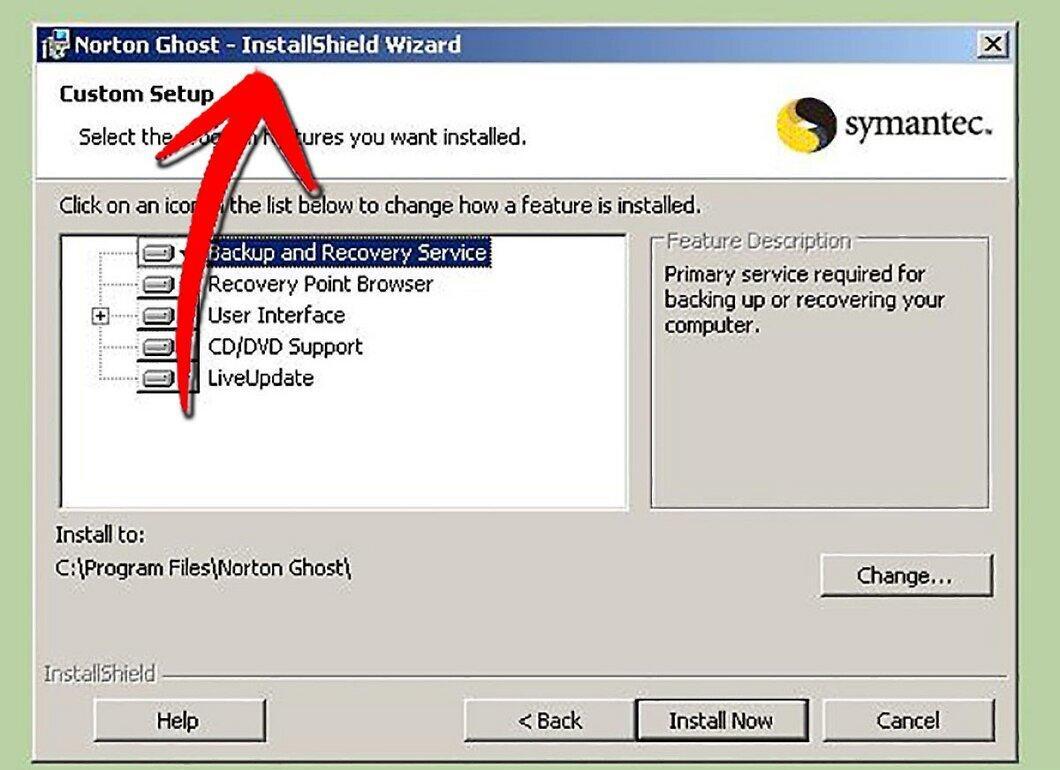
To create a copy of your hard drive, you will need special software. You can either purchase a professional version like Norton Ghost or download a free alternative like HDClone. In this article, we will explain how to use both programs.
- Norton Ghost will help convert the remaining free space on the new disk so that it becomes usable by the system without the need to create a new partition.
Step 4. Cloning Process with Norton Ghost.
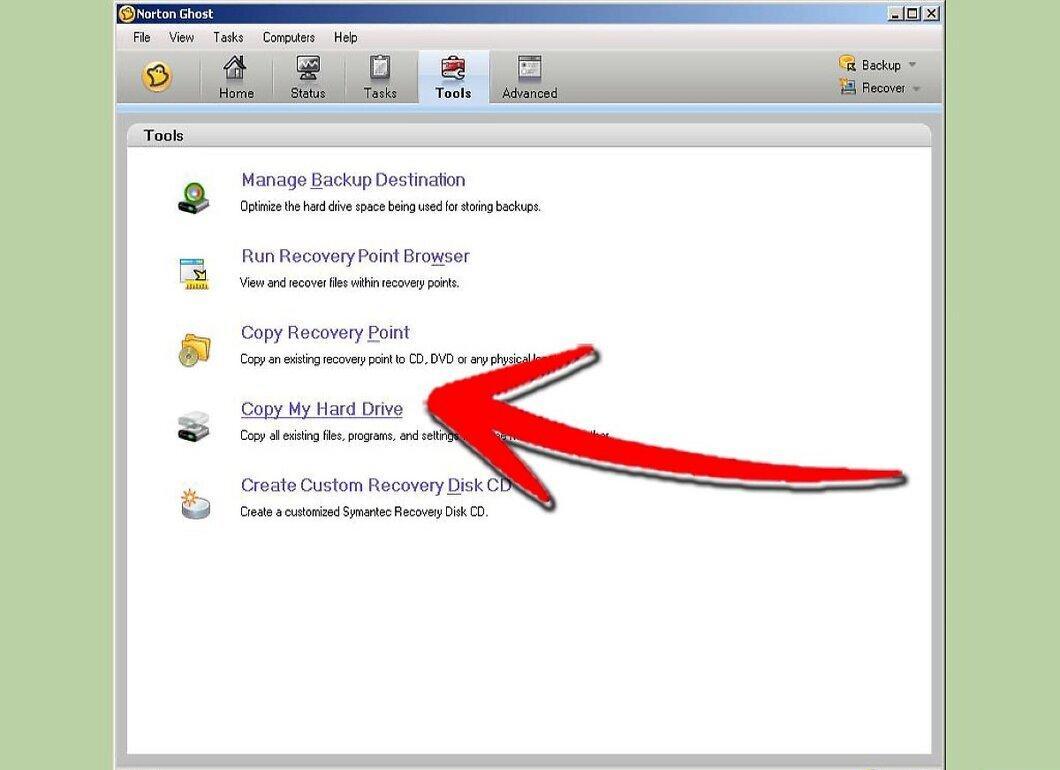
Launch Norton Ghost and select the Ghost Advanced option. Then click the Clone button to start the cloning.
- Ensure you select the correct source disk, as this is where the data will be copied from. A mistake could result in overwriting the old disk with empty data.
- Next, select the target disk where you will clone the information. You can see the model and size of each disk to avoid confusion.
- Click Next to proceed to the final screen, where you can double-check the cloning parameters. If everything looks good, click Run Now to start the process. Your system will reboot, and Norton Ghost will run in DOS mode.
- Wait for the cloning to finish. The duration will depend on the amount of data. Once finished, reboot your system and check the new disk through "My Computer" to ensure all data is present.
Step 5. Cloning with HDClone.
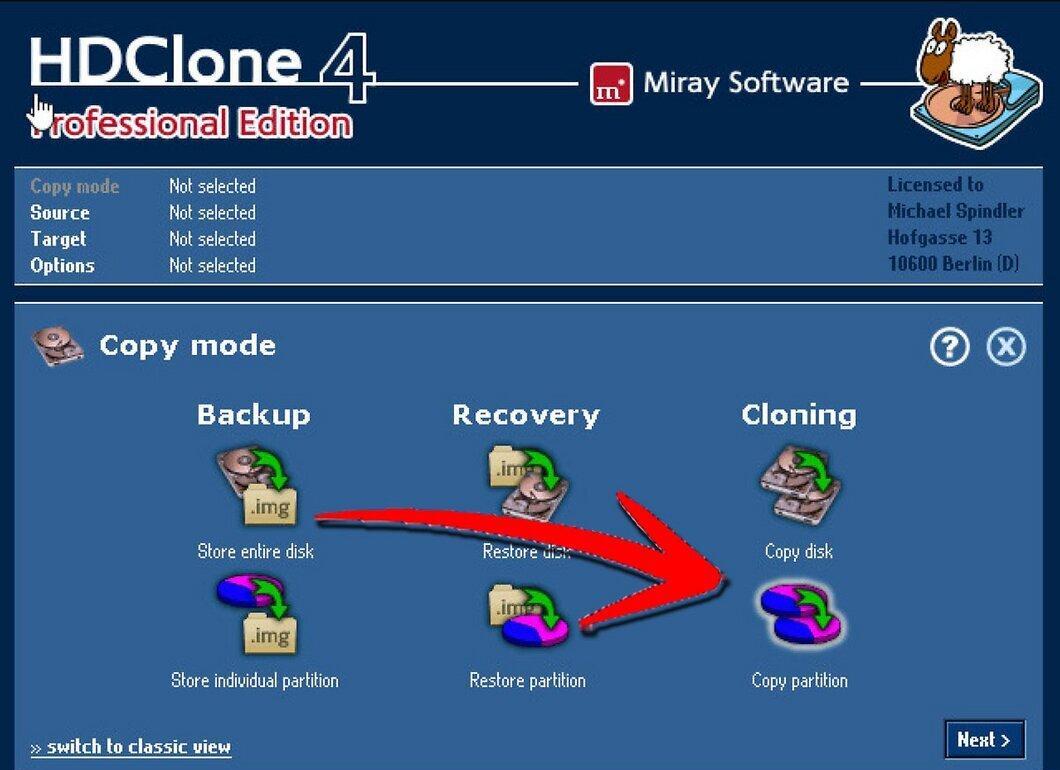
Burn the HDClone image onto a CD to boot the program from the disk. Upon startup, you will see a DOS interface.
- Select the source disk using the arrow keys or mouse. This is the disk from which you are copying data.
- Select the target disk where the cloning will take place. Make sure it's the correct disk to avoid data loss.
- Confirm your selections, using additional options for reliable cloning.
- Click "Start" to begin the cloning process. This may take a while, especially if there's a lot of data on the old disk. Once completed, your new disk will be an exact copy of the old one, with any remaining space left unallocated.
Step 6. Remove the Old Disk.
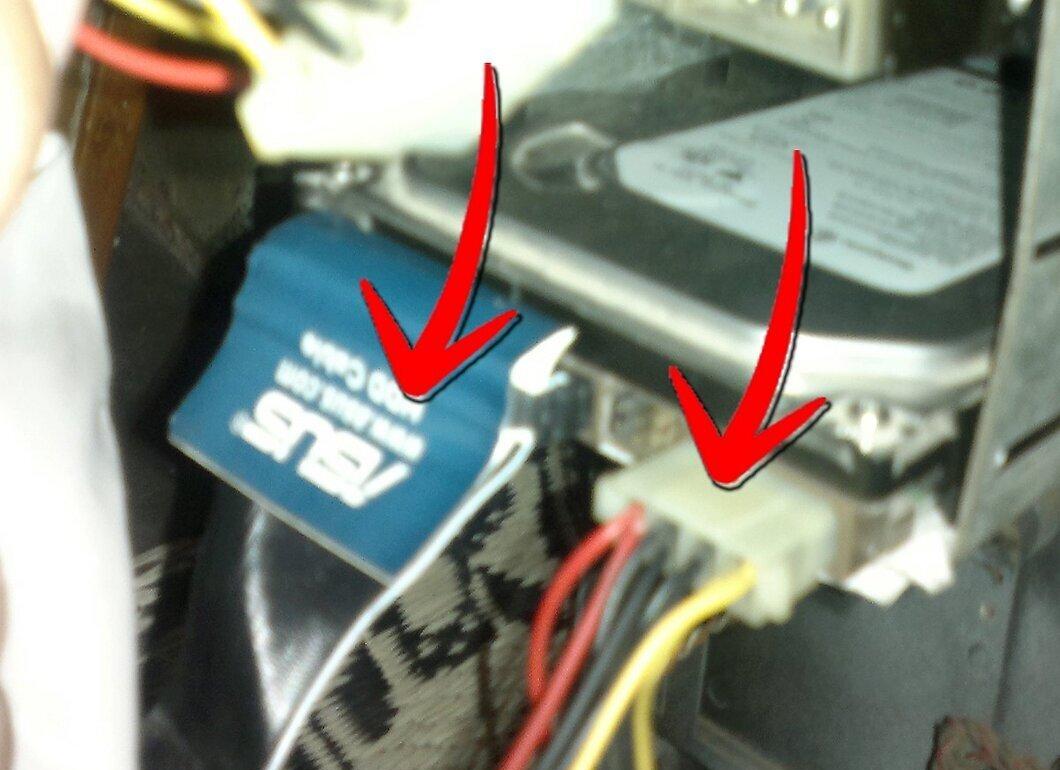
After successful cloning, turn off the computer and remove the old hard drive. Ensure that the jumpers on the new disk are set correctly.
Step 7. Turn On the Computer.
Turn on the computer and check that everything is working properly. If the new disk is not recognized, check the jumper settings to ensure they are set to "Master." You may need to reactivate Windows, but this doesn't always happen. If necessary, contact Microsoft to obtain an activation code. In the case of cloning to a new computer, you may need to restore Windows XP for the system to function correctly, which will also require an activation code from Microsoft.


