
Testing Resistors: A Step-by-Step Guide
Resistors play a crucial role in regulating current in electrical circuits. These components create resistance or impedance, allowing control over current flow and protecting devices from overloads. To ensure they function correctly, it's important that resistors are operational and have the required resistance value. Let's go through how to check a resistor's functionality.
Part 1
Step 1: Disconnect Power
Step 2: Remove the Resistor from the Circuit
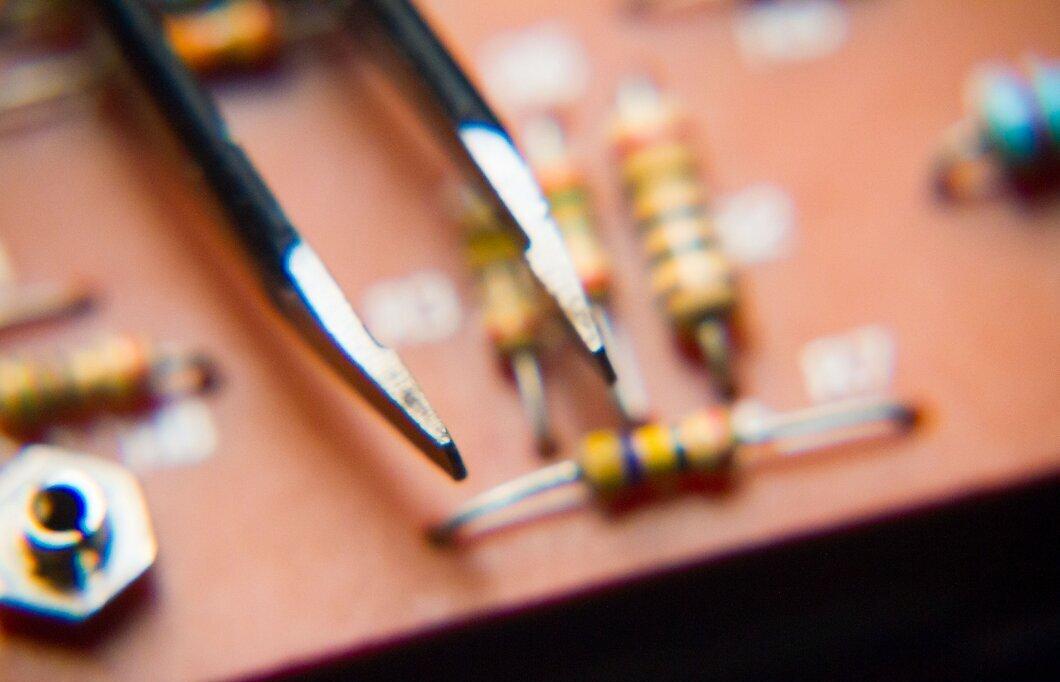
For an accurate resistance measurement, it's crucial to disconnect the resistor from the circuit. If it remains connected, readings may be distorted due to the influence of other components.
- Disconnect one lead of the resistor. It doesn't matter which lead you choose. If the resistor is soldered, gently melt the solder with a soldering iron and remove it with tweezers. You can find a soldering iron at any store that sells electronic supplies.
Step 3: Inspect the Resistor's Appearance
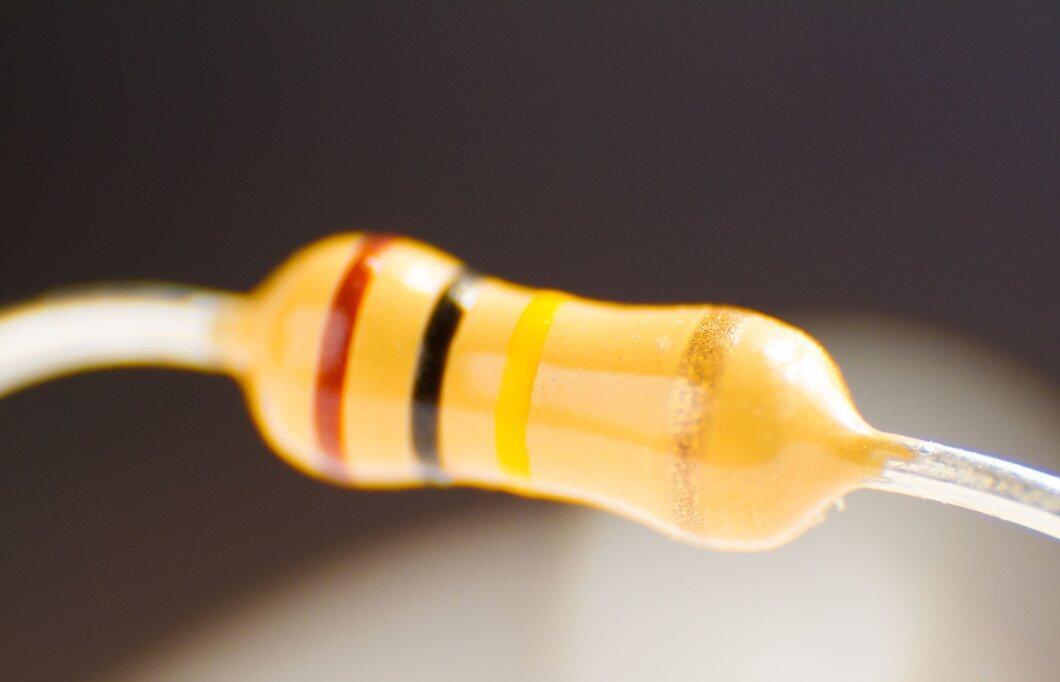
Carefully examine the resistor. If it appears burned or discolored, this may indicate damage due to excessive current, and it should be replaced.
Step 4: Determine the Resistor's Resistance Value
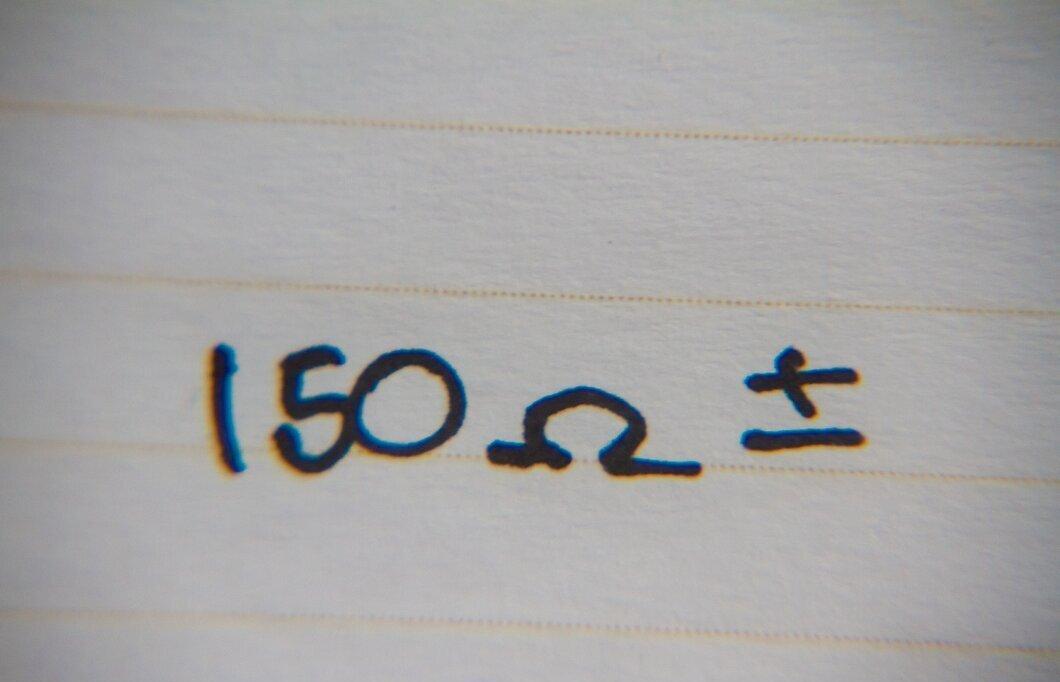
The resistor's body usually indicates its resistance. For small resistors, this value may be represented by color bands.
- Identify the acceptable tolerances. Resistors do not have an exact resistance value as indicated. The tolerance shows the range within which the resistance may vary. For example, if a resistor has a value of 1,000 ohms with a tolerance of 10%, its resistance should be between 900 and 1,100 ohms.
Step 5: Prepare the Digital Multimeter
Before you begin measuring, ensure your digital multimeter is functioning properly and the batteries are charged.
- Set the multimeter scale so that its maximum value slightly exceeds the resistance of the resistor being tested. For example, for a resistor with a resistance of 840 ohms, set the range to 1,000 ohms.
Step 6: Measure Resistance

Connect the two multimeter probes to the leads of the resistor. The order doesn't matter — resistors are not polarized.
Step 7: Check the Multimeter Readings

Look at the measurement results. Ensure that the obtained value falls within the acceptable tolerance specified on the resistor.
Step 8: Reinstall the Functional Resistor in the Circuit
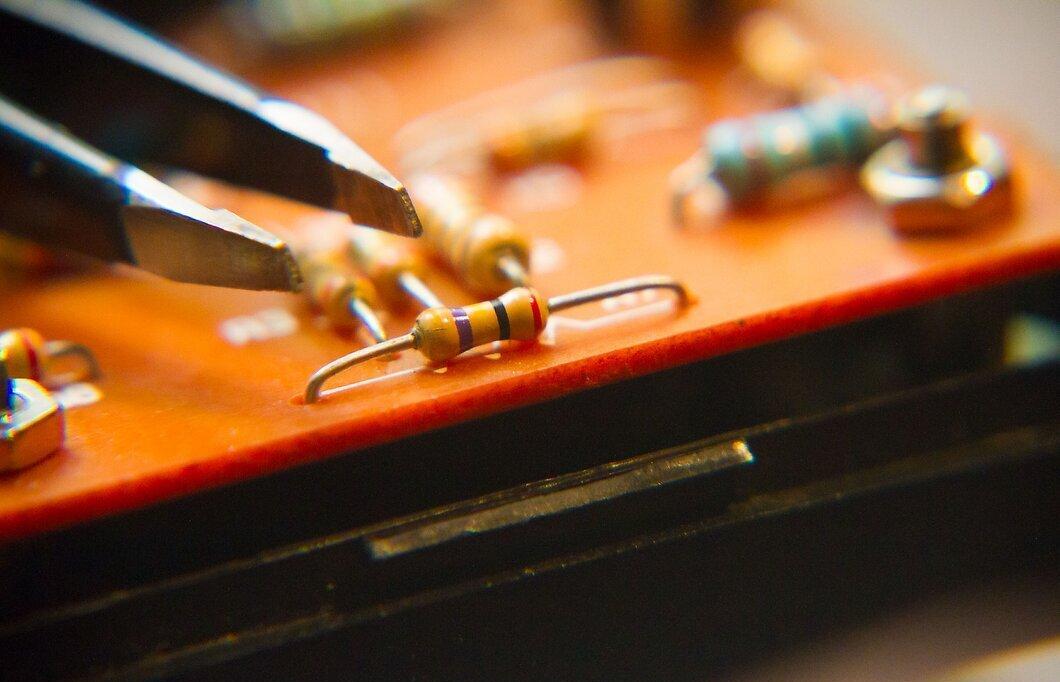
If the resistor is functional, insert it back into the electrical circuit. If you desoldered it, carefully solder it back in place.
Step 9: Replace the Faulty Resistor

If the resistor indicated an incorrect resistance value, replace it with a new one. You can easily find new resistors at any store specializing in electrical goods.


