
In this article, we will unveil the secrets of opening RAR files. RAR is an archive format that contains several compressed files. To extract the contents of a RAR archive on your computer or mobile device, you will need a special archiving program.
For iPhone Users
Step 1. Install the iZip App.
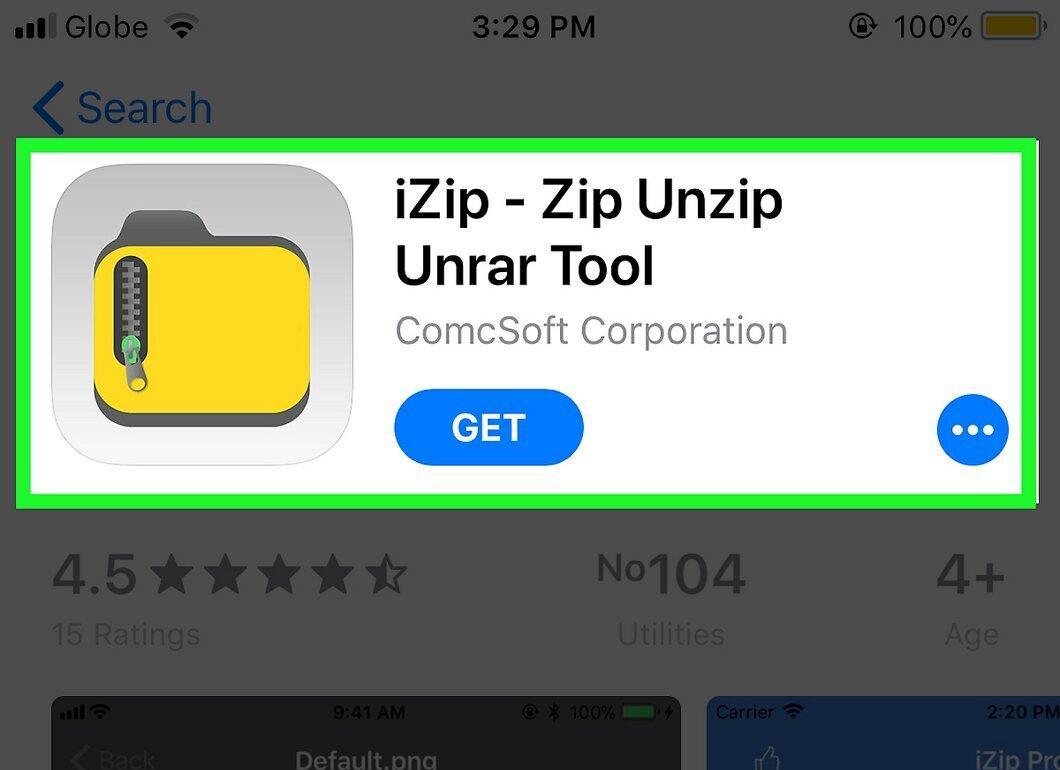
First, you need to install the iZip app. This is a free tool for extracting RAR archives. To install it:
- Open the App Store;
- Tap on the "Search" tab;
- Type "izip" in the search bar and hit "Search";
- Select "Download";
- Enter your Apple ID or use Touch ID.
Step 2. Locate and Open the RAR File.
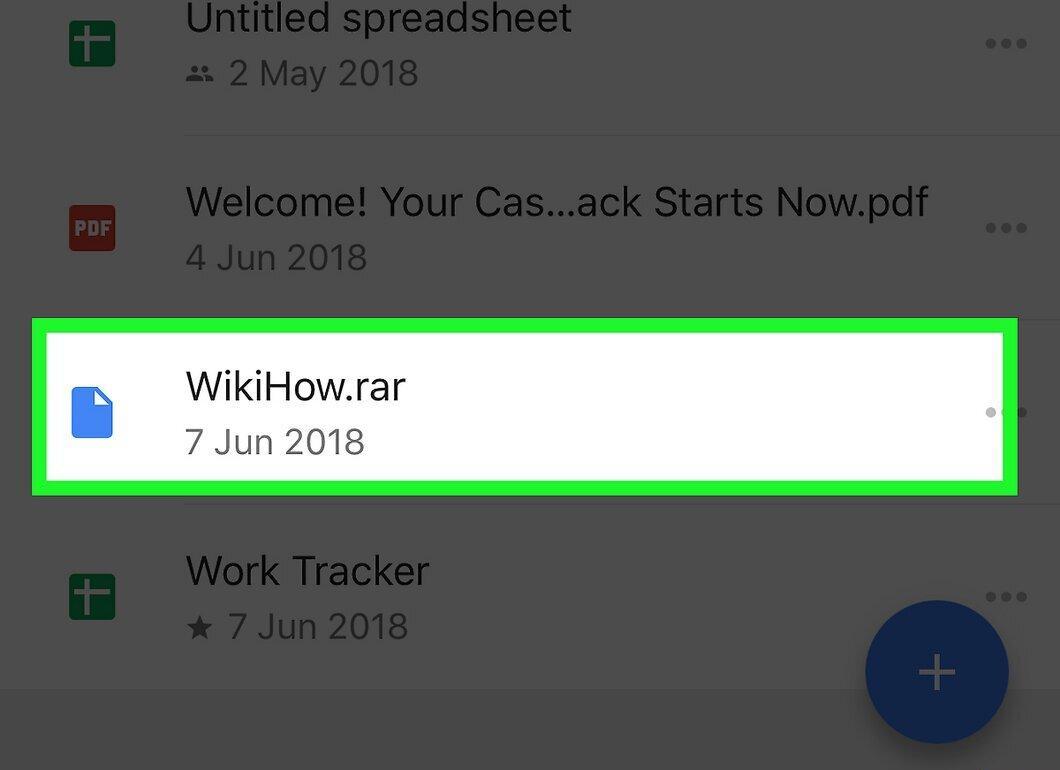
Open the app where your RAR file is saved and tap on it. The archive name will appear in the middle of the screen.
- Note that there are no file managers on iPhone, so the file may be in your email app or cloud storage.
Step 3. Tap the "Share" Icon.
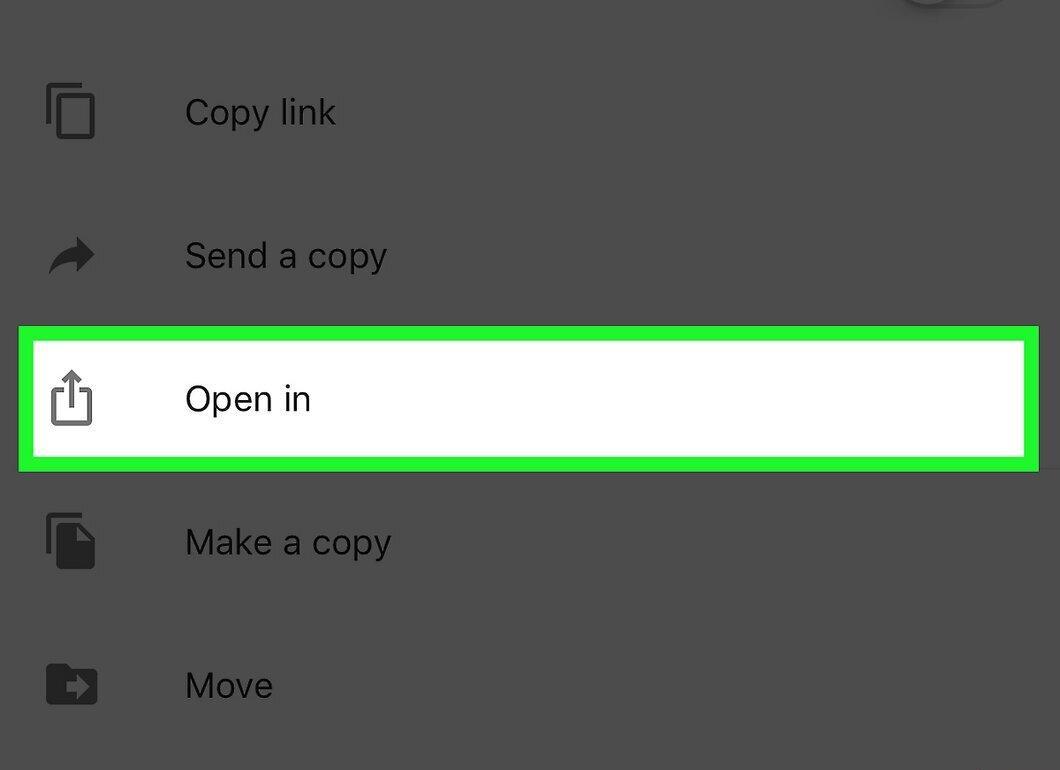
Tap the icon that looks like a square with an arrow, located in the bottom left corner. This will open a menu.
Step 4. Scroll the Top Menu.
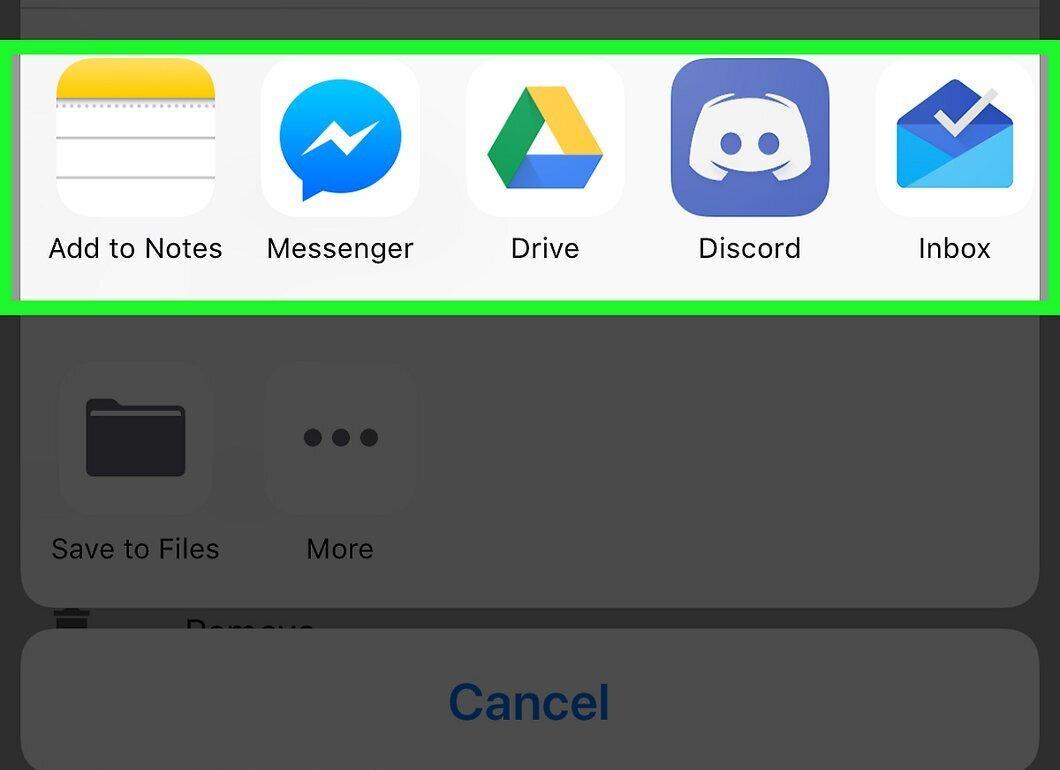
Swipe left across the top row of apps. Find and select the iZip icon.
Step 5. Choose "Copy to iZip".
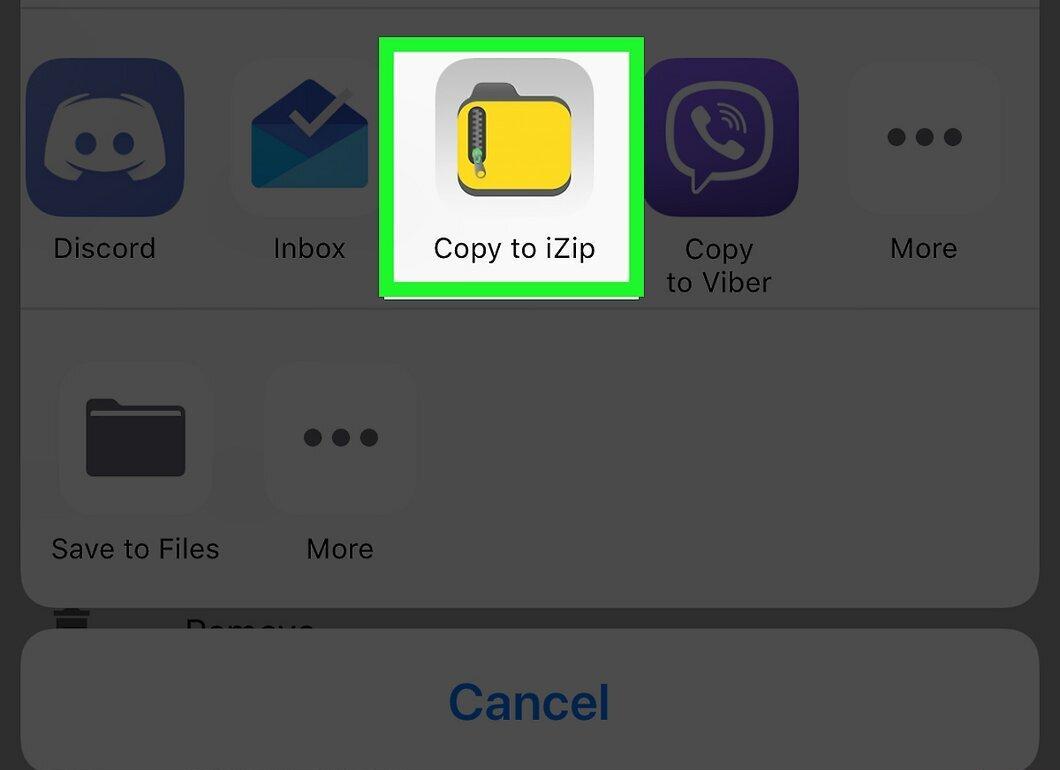
Tap on "Copy to iZip". This icon in the shape of a yellow folder is at the end of the list of apps. Your RAR file will open in iZip.
- If this option is not available, tap on "⋯", toggle the switch next to "iZip", and then tap "Done".
Step 6. Confirm Extraction.
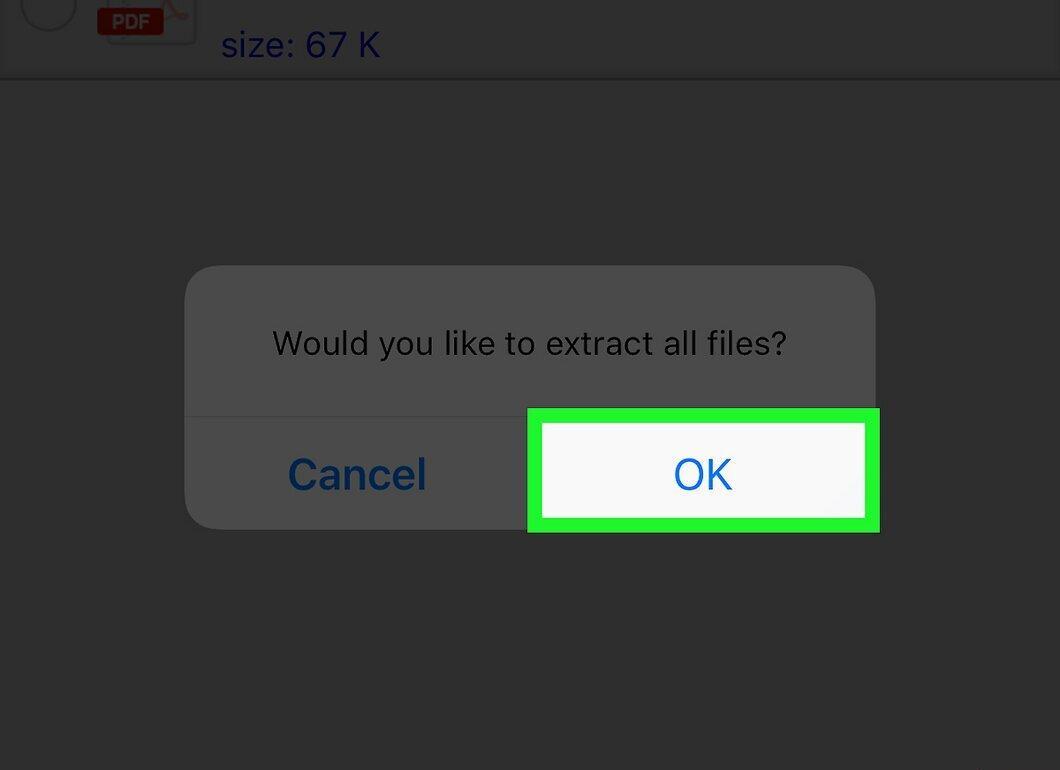
When prompted, tap OK. The archive will be extracted, and you will have access to its contents.
- If the extraction prompt doesn’t appear, tap the icon in the circle to the left of each file in the archive;
- Select "Extract" at the bottom of the screen.
For Android Users
Step 1. Download the RAR File to Your Device.
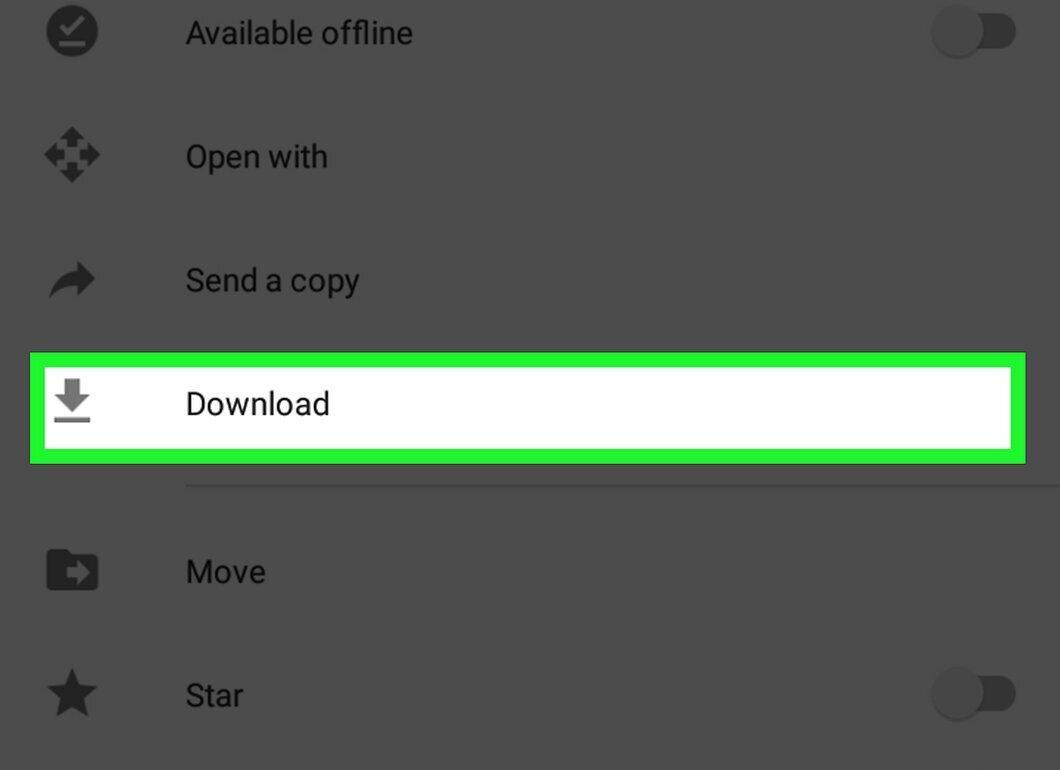
First, download the RAR file to your Android device. Launch the app where the archive is stored (like Gmail or Google Drive), find the file, and download it.
- If the file is already downloaded to your device, you can skip this step.
Step 2. Install WinZip.
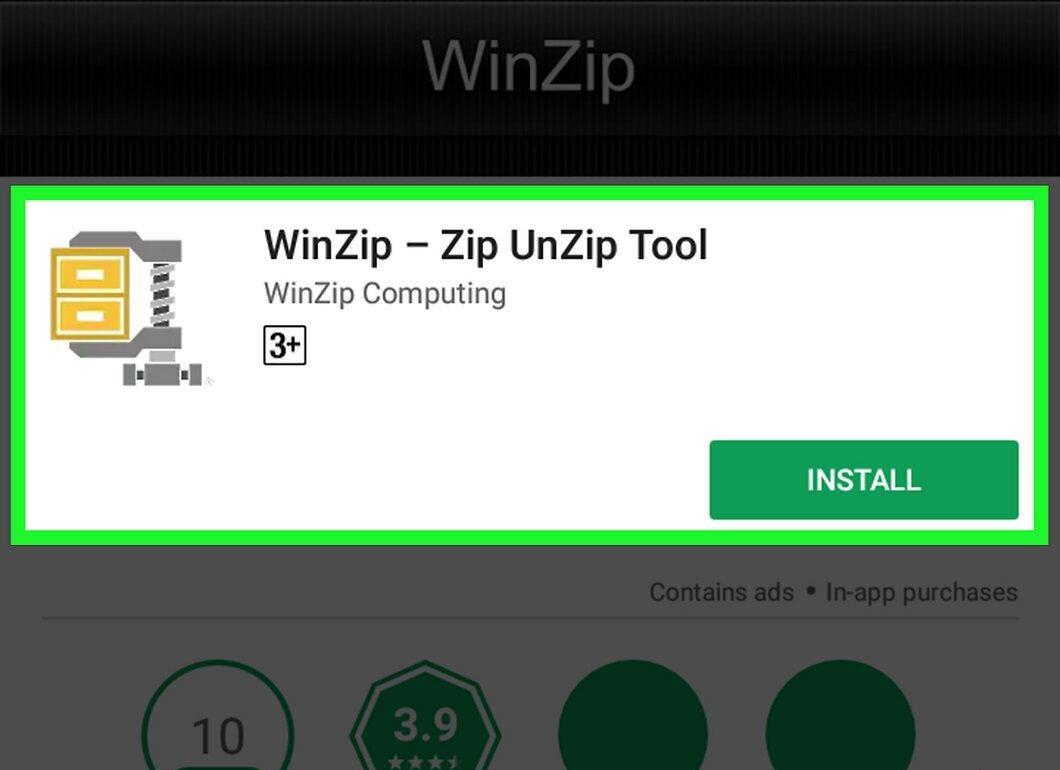
Now, you need to install WinZip, a free app for working with archives, including RAR. To download WinZip:
- Open the Play Store;
- Find the search bar;
- Type "winzip";
- Select "WinZip - Zip UnZip Tool";
- Tap "Install";
- Confirm by tapping "Accept".
Step 3. Open WinZip.
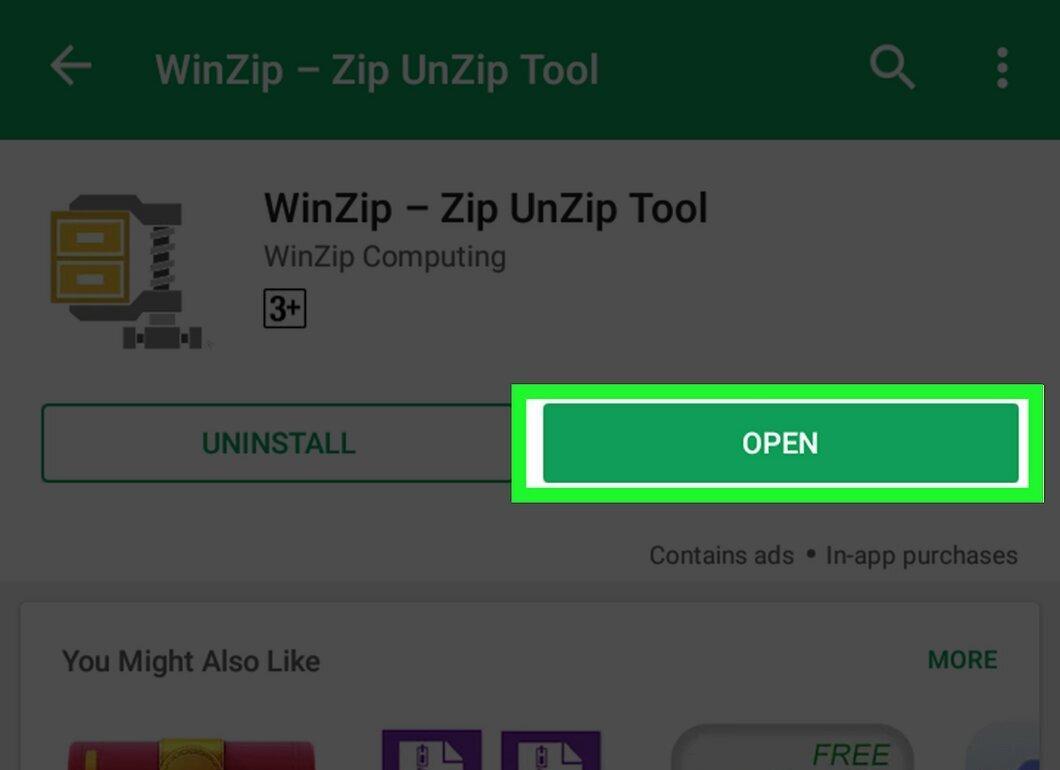
Tap the green "Open" button at the top of the WinZip app screen. This will launch the app.
Step 4. Tap START.
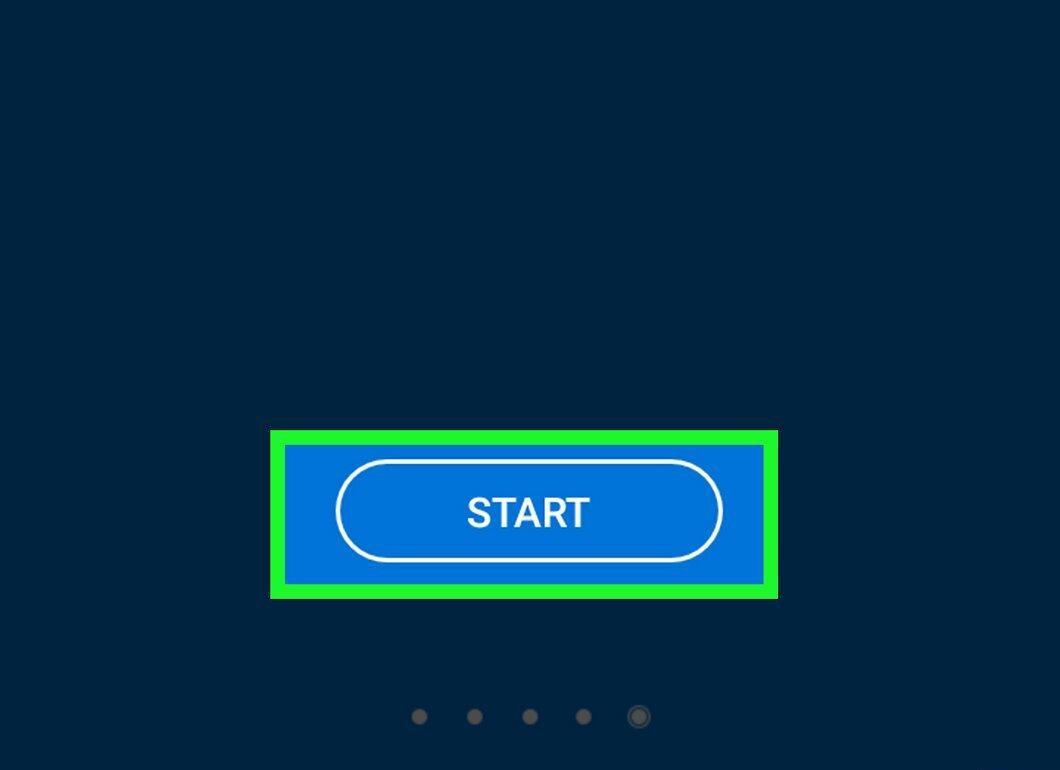
Select the START option at the bottom of the main WinZip screen.
- You may need to scroll through a few pages of advertisements.
Step 5. Locate Your RAR File.
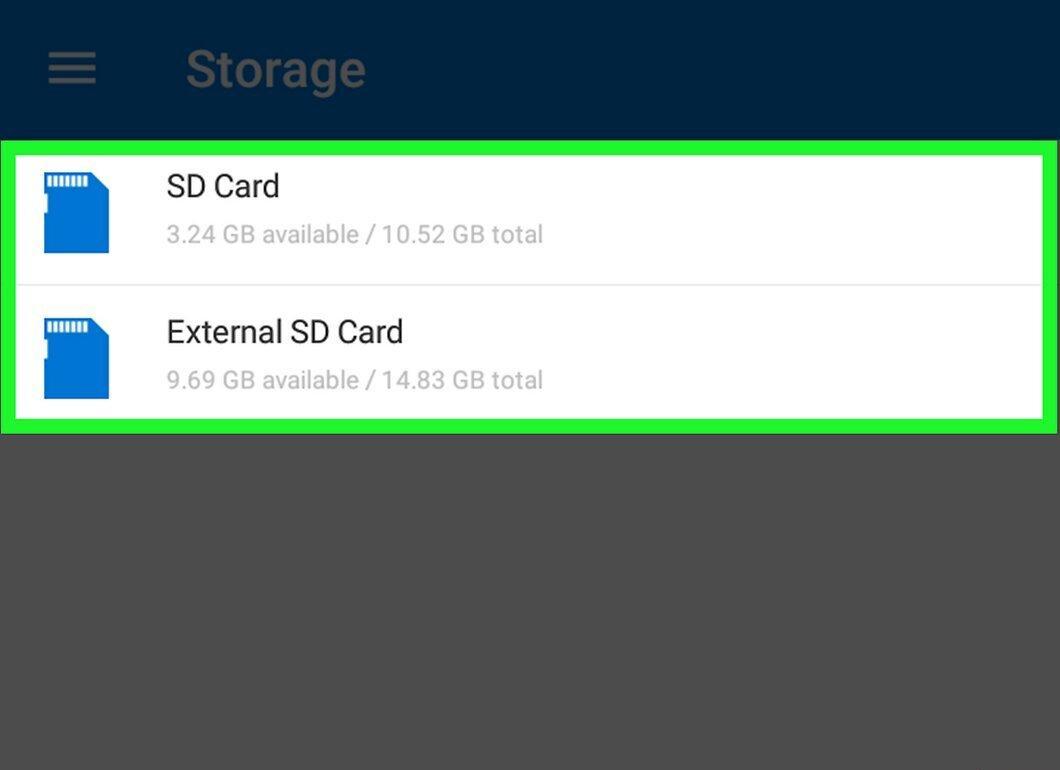
Go to the "SD" or "Internal" section, and open the folder where the archive is located.
- To find the RAR file, check the "Downloads" folder and look in the app folder from where you downloaded the file.
Step 6. Long Press the RAR File.
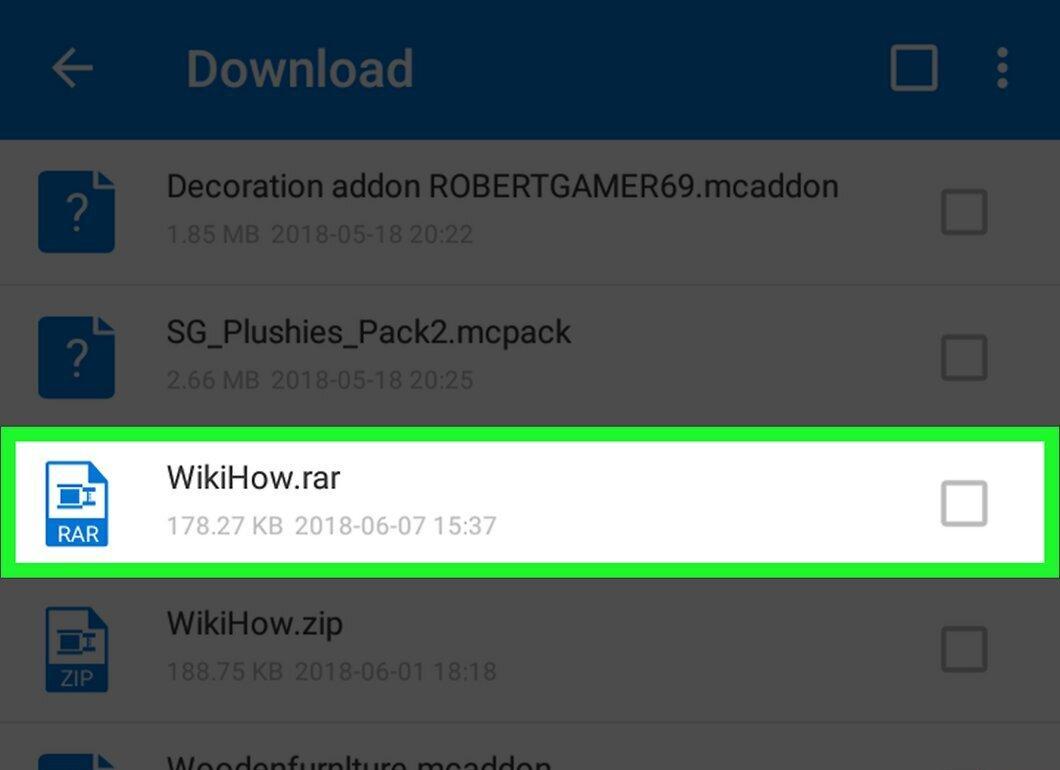
Press and hold the RAR file to open the menu.
Step 7. Select "Extract".
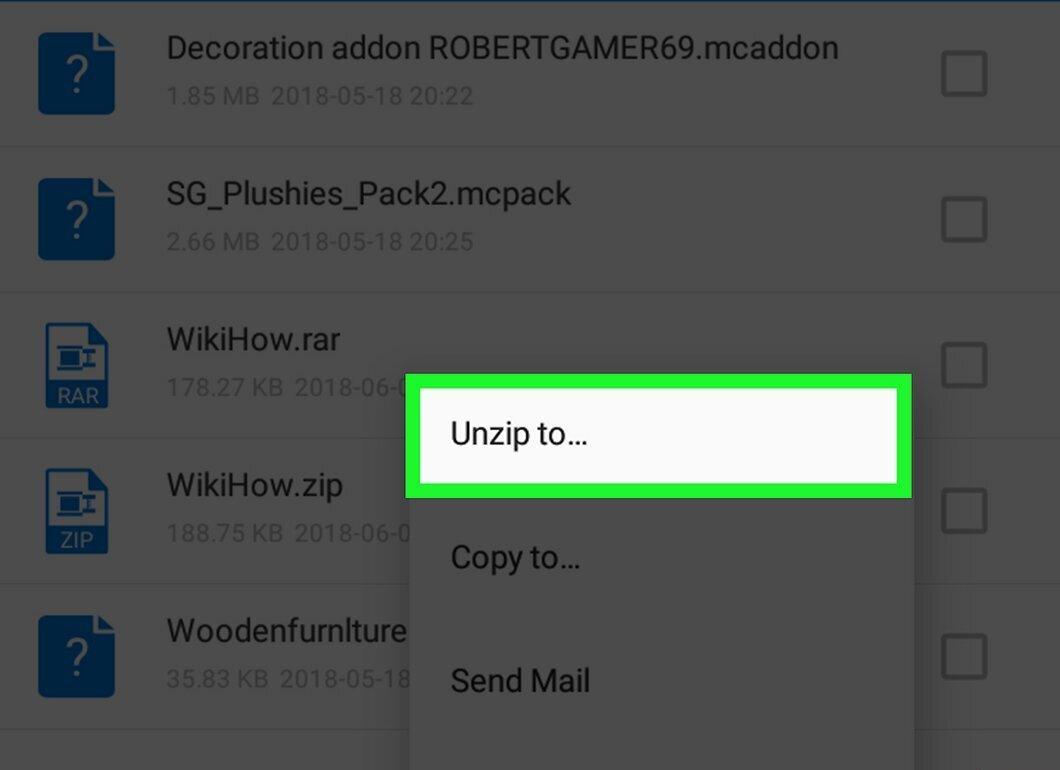
Tap "Unzip to" at the top of the menu.
Step 8. Choose the Destination for Extracted Files.
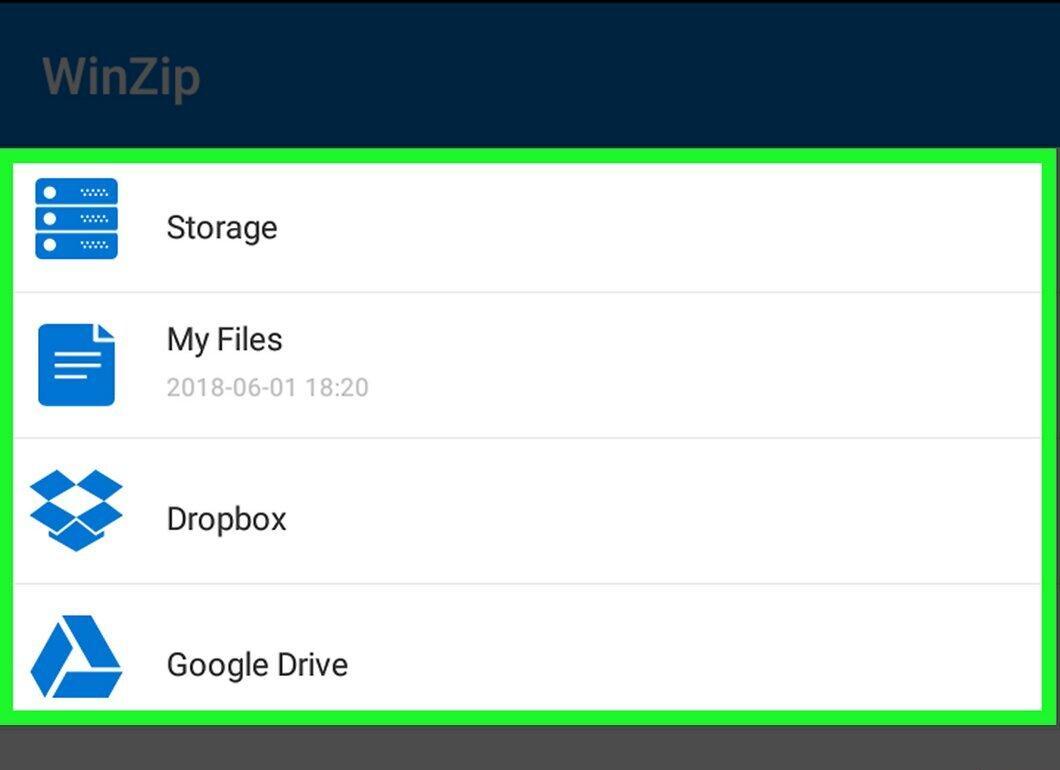
Choose where to extract the files by tapping one of the following options:
- Storage: files will be extracted to the chosen folder;
- My Files: files will be in the "My Files" folder on your device;
- Google Drive: files will be saved in your Google Drive folder;
- Dropbox: files will go to your Dropbox account. If you don’t have an account, create one.
Step 9. Tap "Unzip Here".

Tap the "UNZIP HERE" button in the bottom right corner. The archive will be extracted, and you will be able to work with the extracted files.
For Windows Users
Step 1. Determine Your System Type.
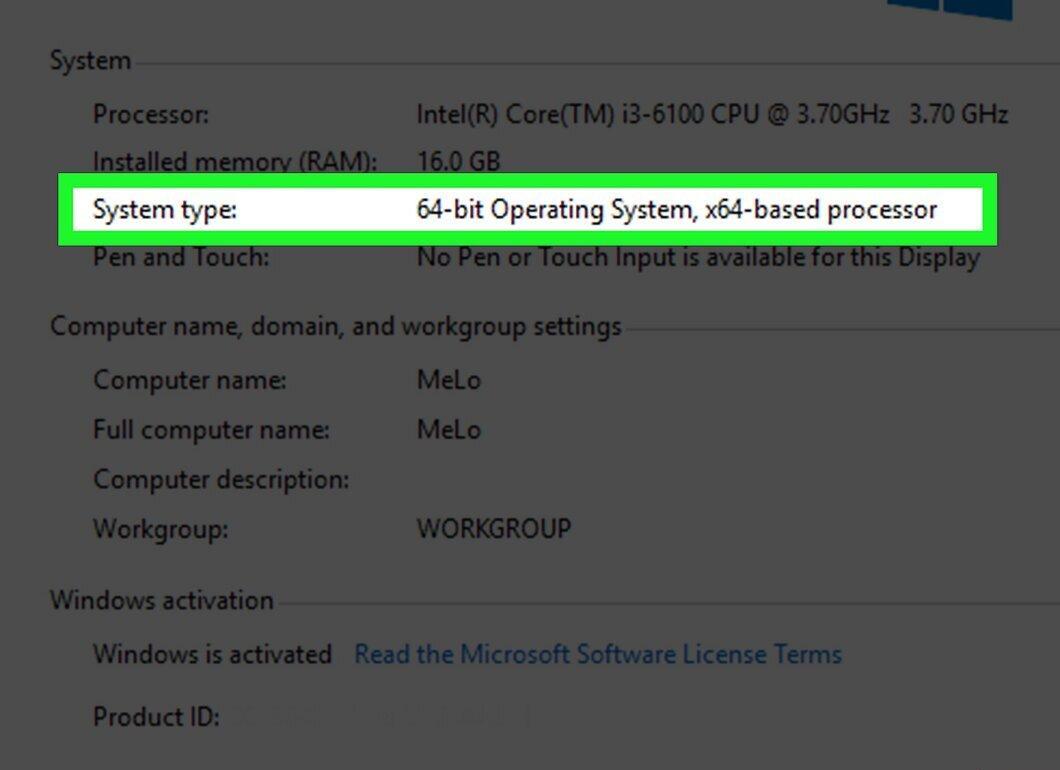
Check whether your Windows is 32-bit or 64-bit. This is necessary to download the correct version of the installer for your system.
Step 2. Go to the WinRAR Download Page.
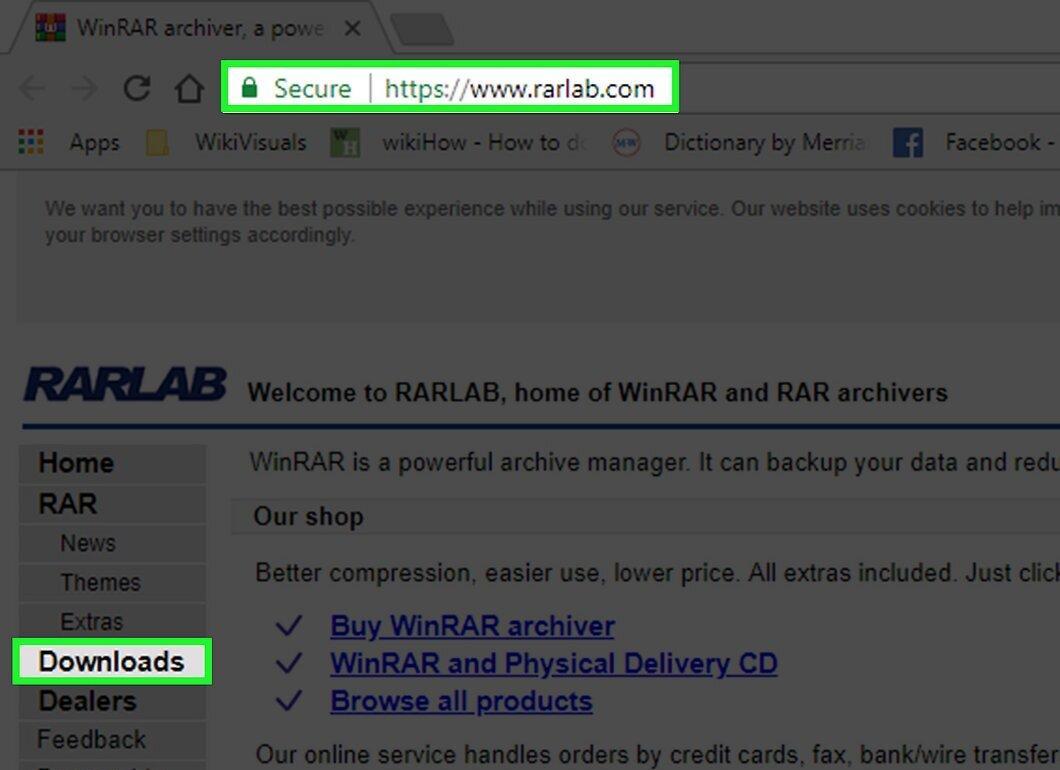
Open the website https://www.rarlab.com/download.htm/. WinRAR is a powerful free archiver for Windows that allows you to extract RAR files.
- If the link doesn't work, go to https://www.rarlab.com/ and select "Downloads" from the left menu.
Step 3. Download the File for Your System.
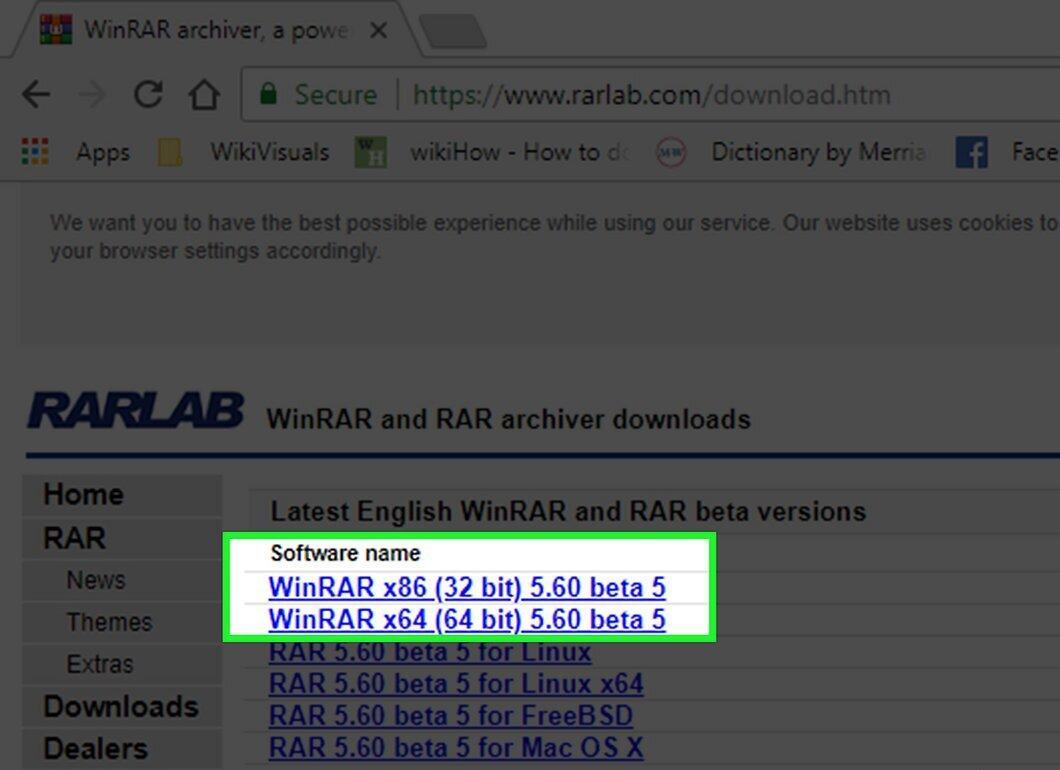
Click the link that corresponds to your operating system's architecture. If you have a 64-bit version, choose "English (64 bit)"; for 32-bit, select "English (32 bit)". The WinRAR installer will start downloading to your computer.
- You may need to confirm the download by clicking "Save".
Step 4. Run the WinRAR Installer.
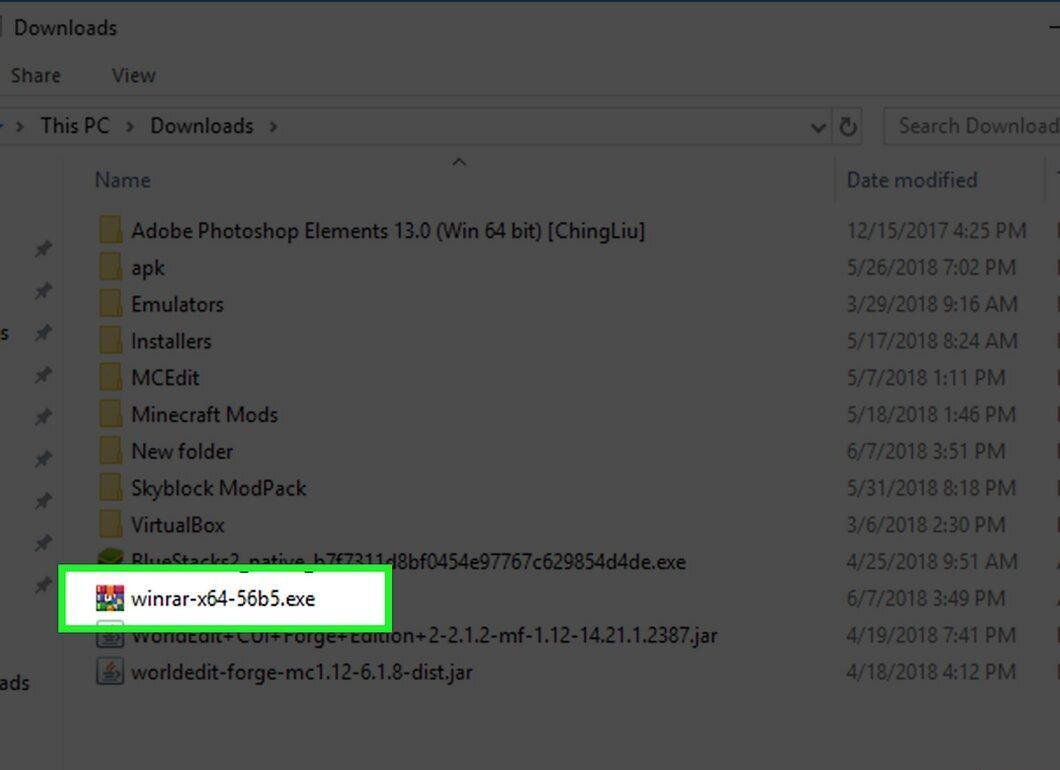
Double-click the downloaded WinRAR file found in your downloads folder. The installer window will open.
Step 5. Install WinRAR.
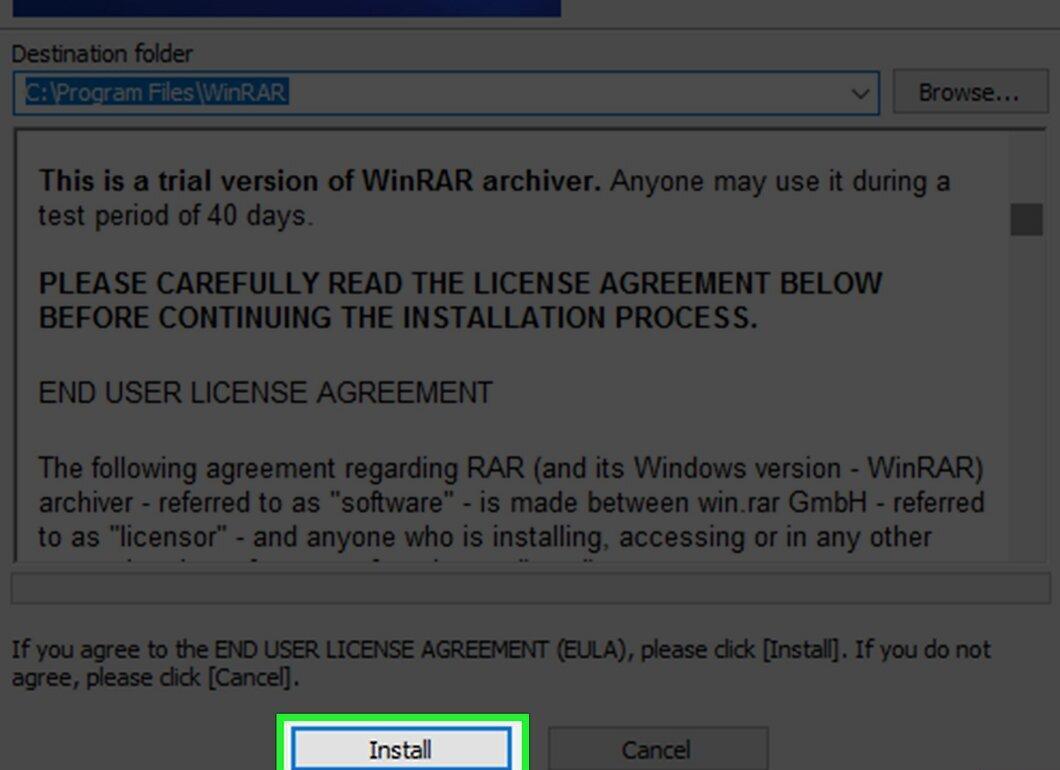
To install WinRAR, follow these steps:
- Click "Yes" when prompted;
- Click "Install";
- Check the box next to the "RAR" option in the upper left corner;
- Click "OK";
- Select "Done".
Step 6. Locate Your RAR File.
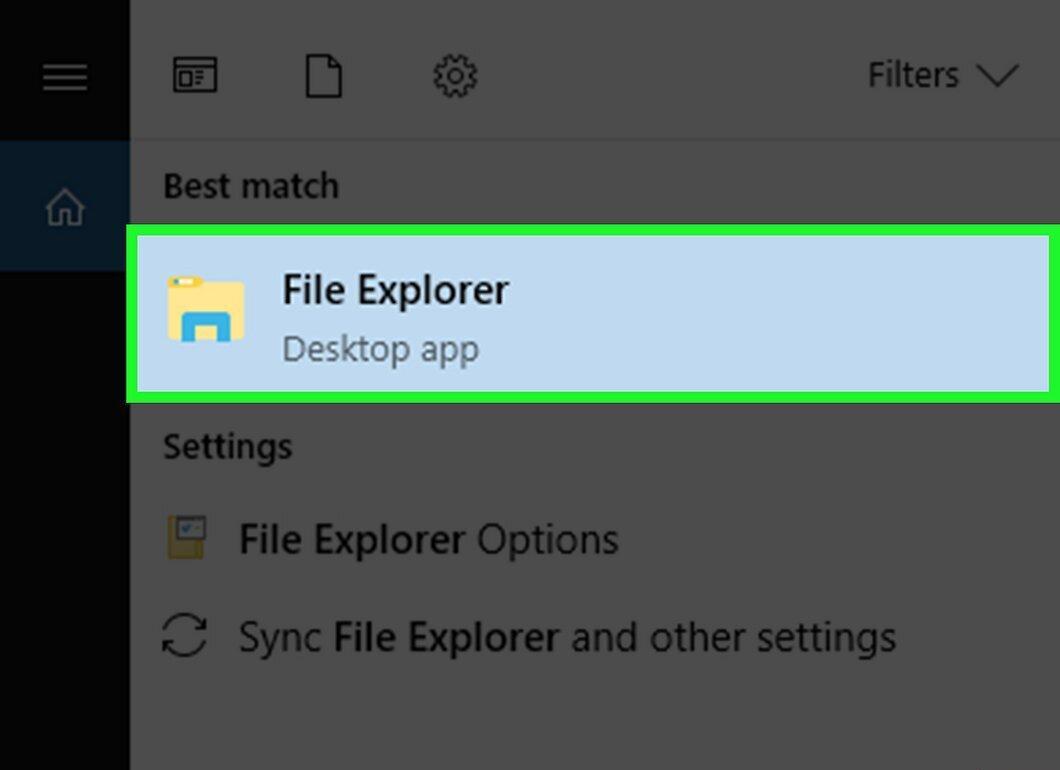
If the file is on your desktop, proceed to the next step. Otherwise:
- Open the Start menu;
- Launch File Explorer;
- Find and open the folder containing your RAR file; you may need to open several folders.
Step 7. Double-Click the RAR File.
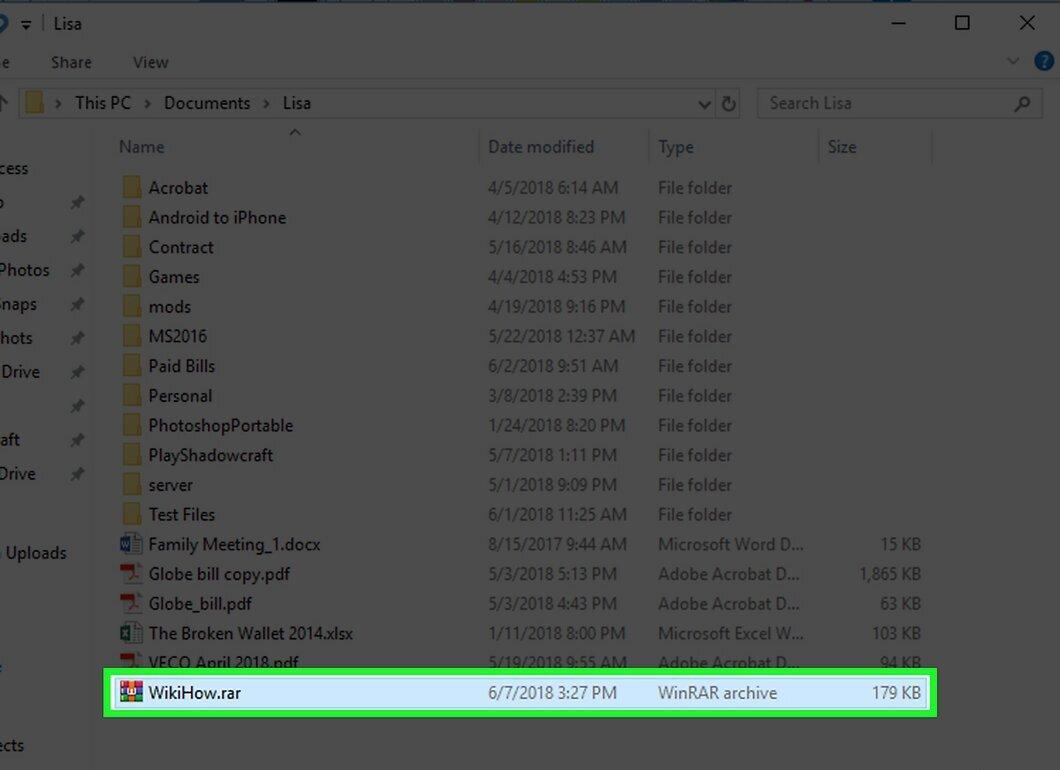
Double-click your RAR file, and it will automatically open in WinRAR.
- If you are opening WinRAR for the first time, a window may appear prompting you to purchase the program. Simply close it by clicking "X" in the upper right corner.
Step 8. Select the Archive to Extract.
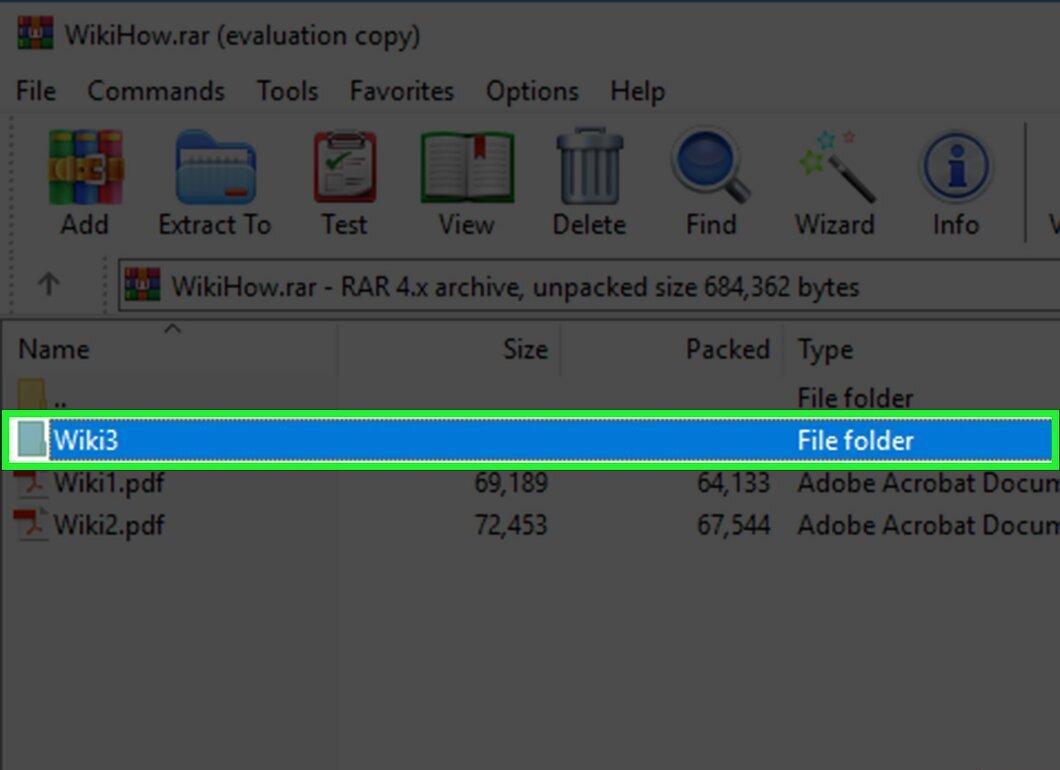
Click on the desired RAR file by clicking its name in the WinRAR window.
Step 9. Click the "Extract" Button.
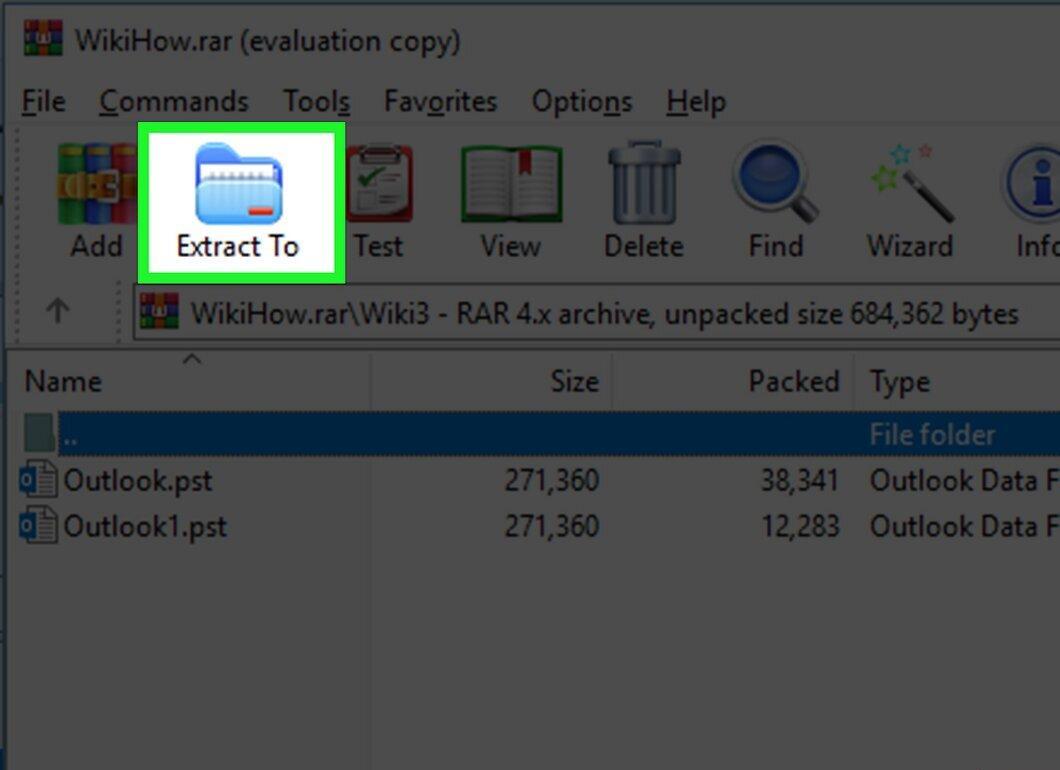
Click the "Extract" icon in the upper left corner of the WinRAR window. A new window will open.
Step 10. Choose the Folder for Extracted Files.
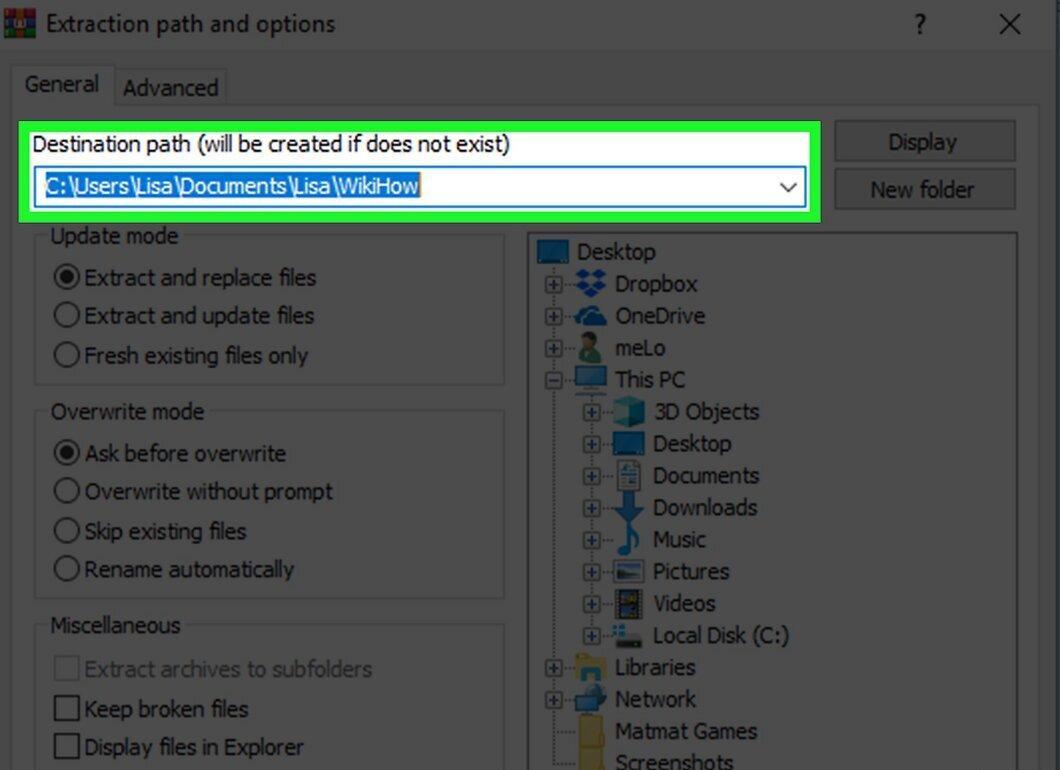
On the right side of the window, select the folder where you want to extract the files (e.g., "Desktop").
Step 11. Confirm Extraction.
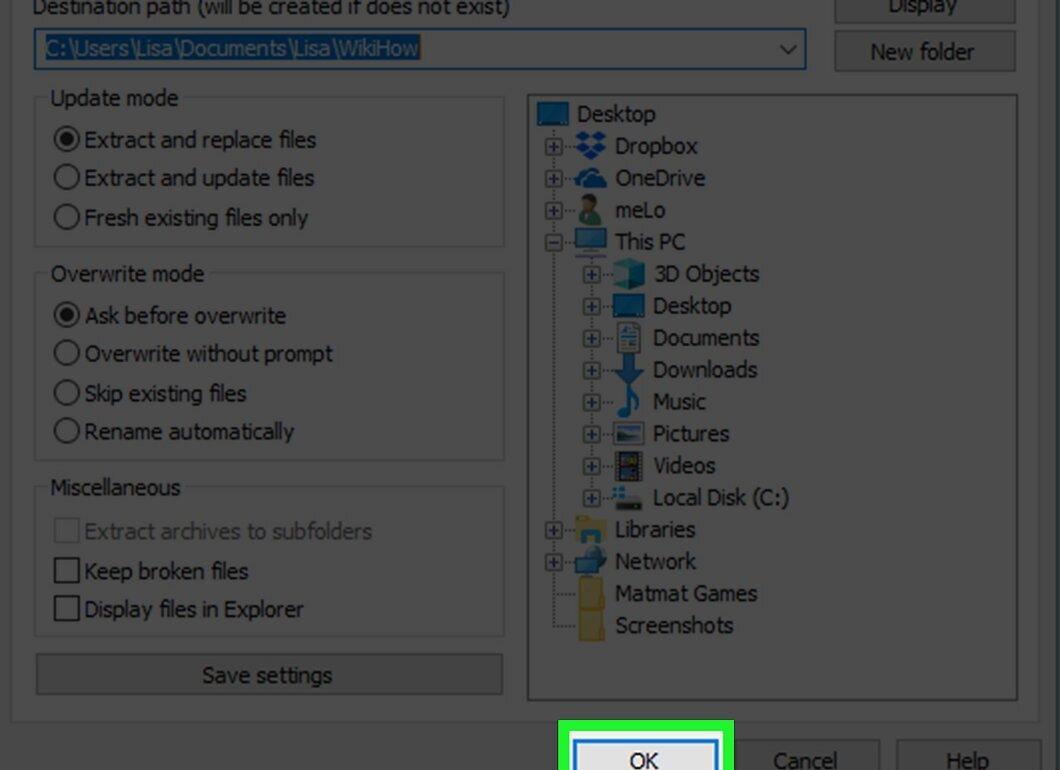
Click OK at the bottom of the window. Your archive will start extracting to the chosen folder, and you will be able to work with the extracted files just like regular files.
For Mac OS X Users
Step 1. Install Unarchiver.
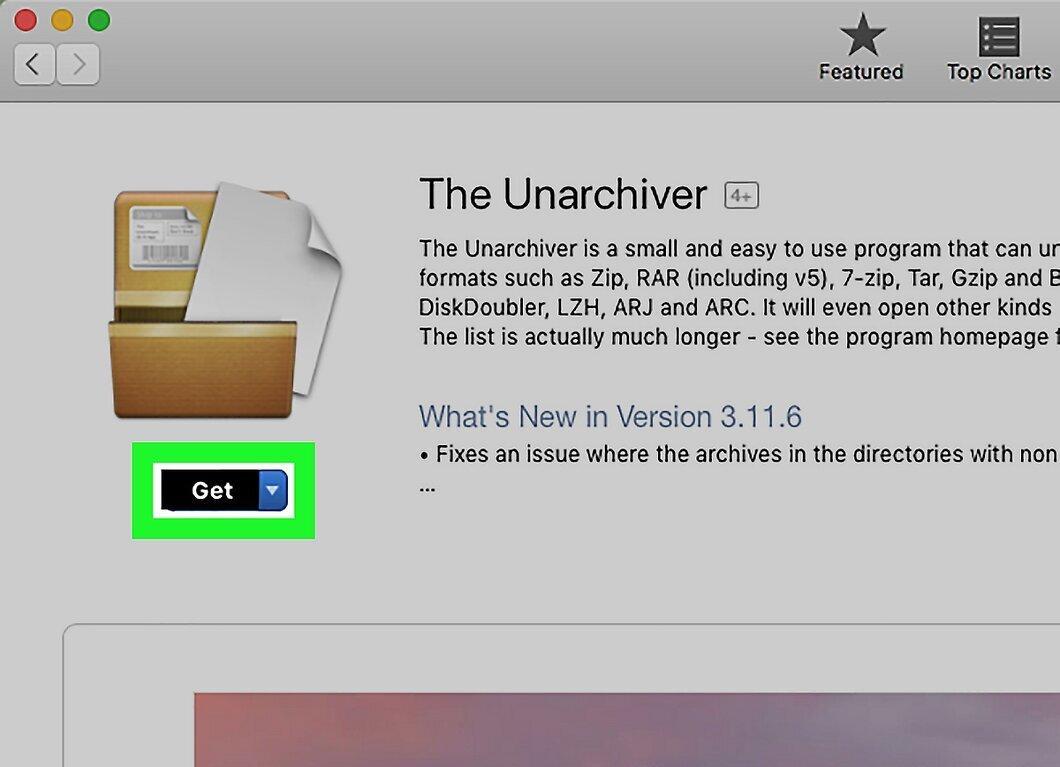
Download the Unarchiver program as follows:
- Open the App Store;
- Type "unarchiver" in the search bar and press Enter;
- Click "Install" next to Unarchiver.
Step 2. Open Spotlight.
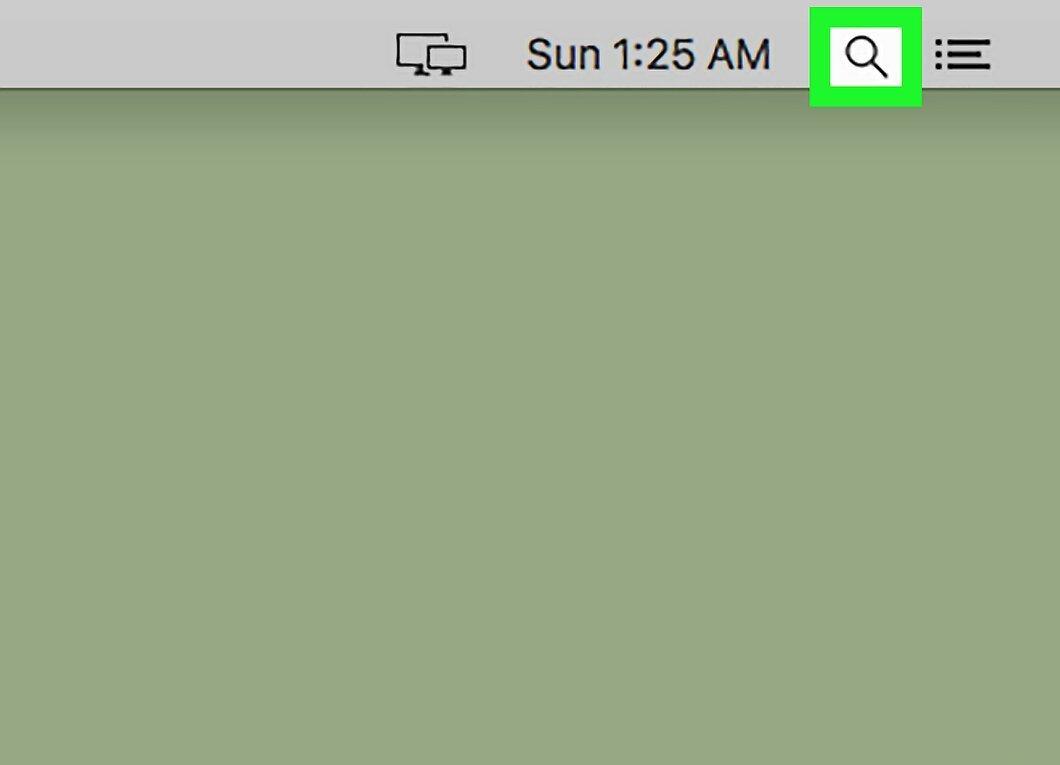
Launch Spotlight by clicking the magnifying glass icon in the upper right corner. A search bar will appear.
Step 3. Find Unarchiver.

Type "unarchiver" in the search bar. The program will appear in the results.
Step 4. Launch Unarchiver.

Click on Unarchiver at the top of the list. A pop-up window will appear.
Step 5. Configure Extraction Settings.

Select the "Always Ask" option when prompted. This will allow you to choose which folder to extract files to.
Step 6. Locate the RAR File.

Using Finder (the face icon in the dock), open the folder containing your RAR file.
- Make sure to open all necessary folders to find the file.
Step 7. Select the RAR File.

Click on the RAR file in the Finder window.
Step 8. Click on the "File" Menu.

Select the "File" menu in the upper left corner of the screen.
Step 9. Find "Open With".

In the "File" menu, find and select "Open With". This will open a new menu.
Step 10. Launch Unarchiver.

Select Unarchiver from the new menu. Your RAR file will open in the application.
Step 11. Choose the Folder for Extracted Files.

Select the folder where the files will be extracted by clicking on the desired directory on the left.
Step 12. Extract the Files.

Click "Extract". Your archive will be unpacked to the specified location, and you can now work with the files like regular files.


