
Toilet issues like leaking or inadequate flushing can be frustrating and lead to unnecessary water expenses. The good news is that most flush mechanisms can be easily repaired. Although flush designs may vary, most toilets operate on a valve system to control the flush. Scroll down to learn how to check and fix your toilet valve.
Part 1
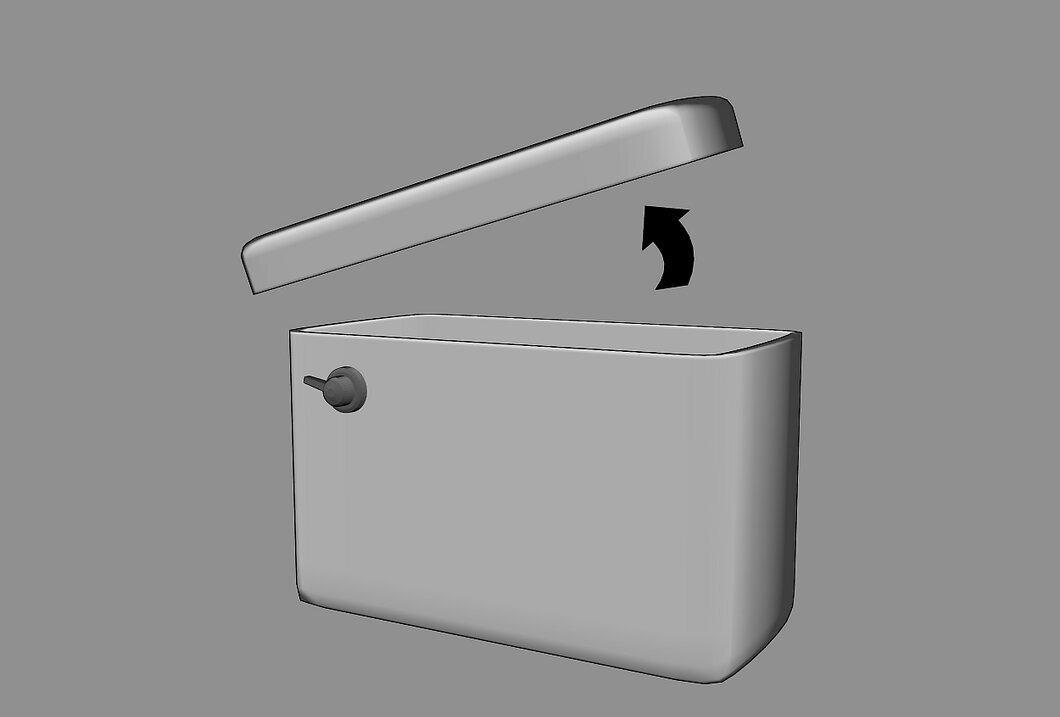
Step 1: Carefully remove the toilet tank lid and place it in a safe position.
Step 2: Inspect the condition of the toilet tank.
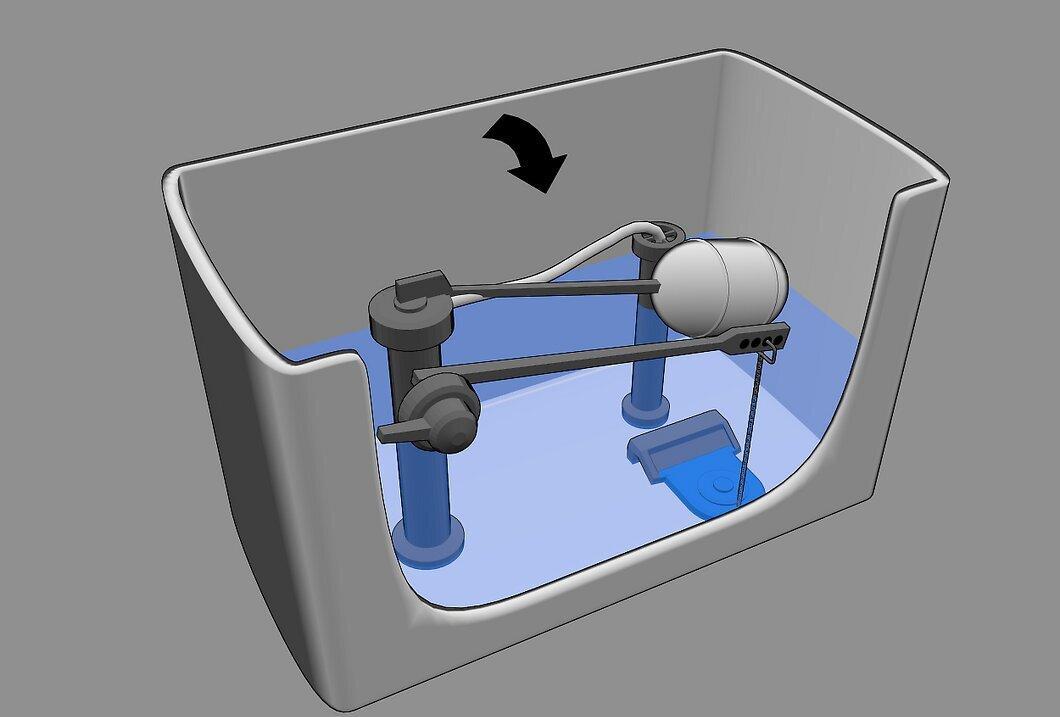
- You will see a white plastic tube known as the overflow tube.
- Attached to the tube are the valve guides, which are two arms holding both sides of the rubber flapper located at the bottom of the overflow tube.
- The valve is a round rubber component that should seal tightly over the hole at the bottom of the tank.
- At the top of the flapper, you will see a chain or metal rod.
- The chain or rod is connected to a lever at the top of the tank, which is typically attached to the overflow tube mechanism.
- There is another rod that controls the on and off flow of water into the tank. The water level is regulated by a float ball or a specific mechanism.
Step 3: Flush the toilet and observe the process.
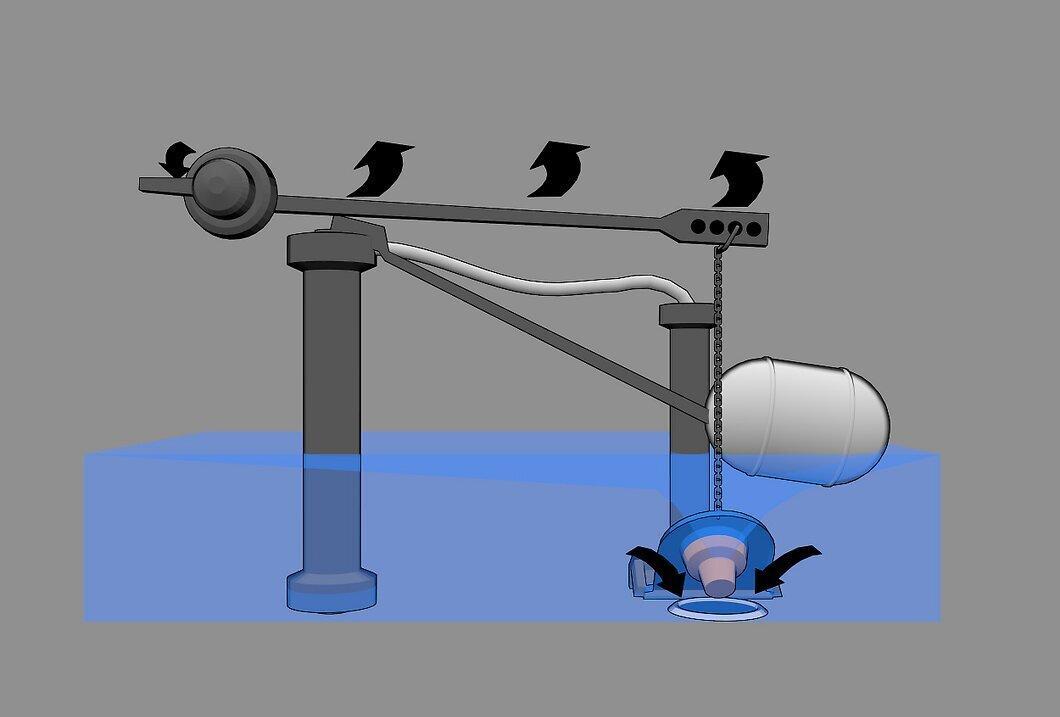
- Press the flush handle to lift the flapper and open the hole.
- The flapper will rise, but once the water drains, it will return to its place, sealing the hole.
- After the hole is sealed, the toilet will refill with water up to the top of the overflow tube, and then the filling will stop.
Step 4: Replace the chain or rod on the lift lever if the flapper did not rise and they are not connected.
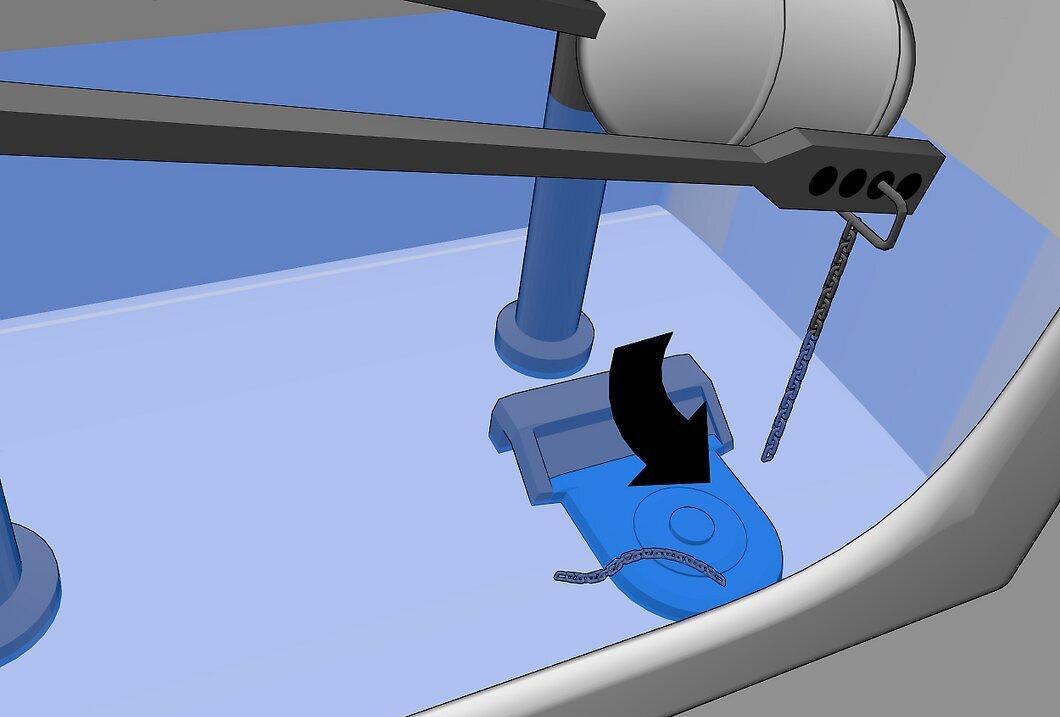
If the flapper did not rise, replace the chain or rod. They are usually connected to holes on the lever. Start with the middle hole and try others if the flapper doesn't seal properly.
Step 5: Untangle any kinks in the flapper chain if it does not return to the hole after flushing.
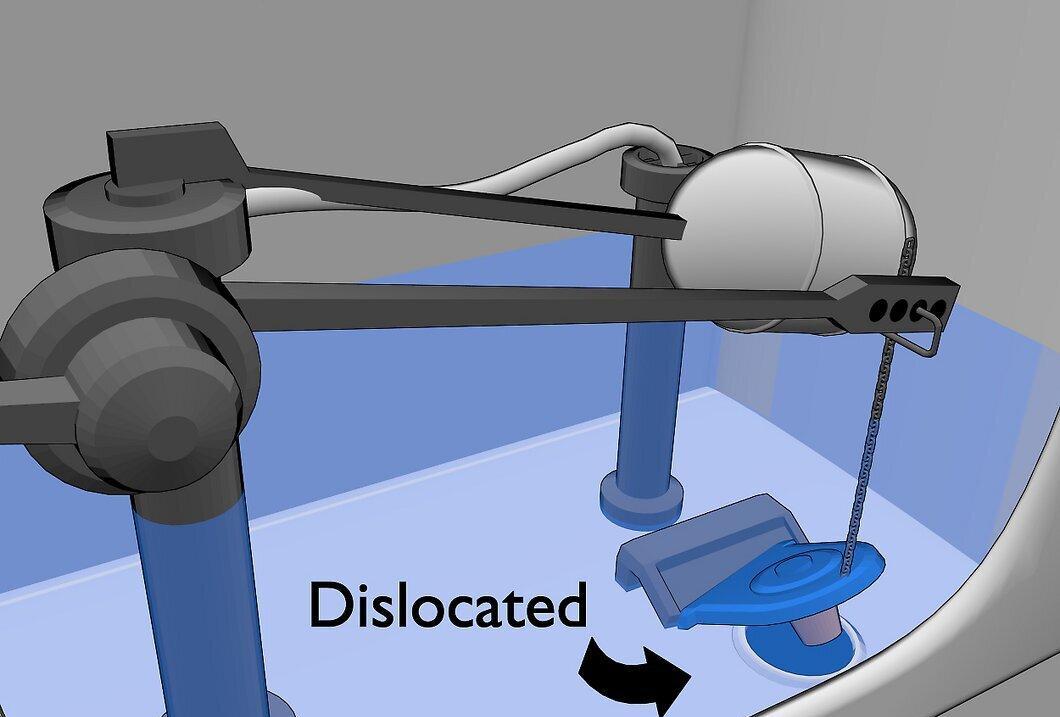
Step 6: Adjust the length of the flapper chain so it does not sag into the hole, compromising the seal.
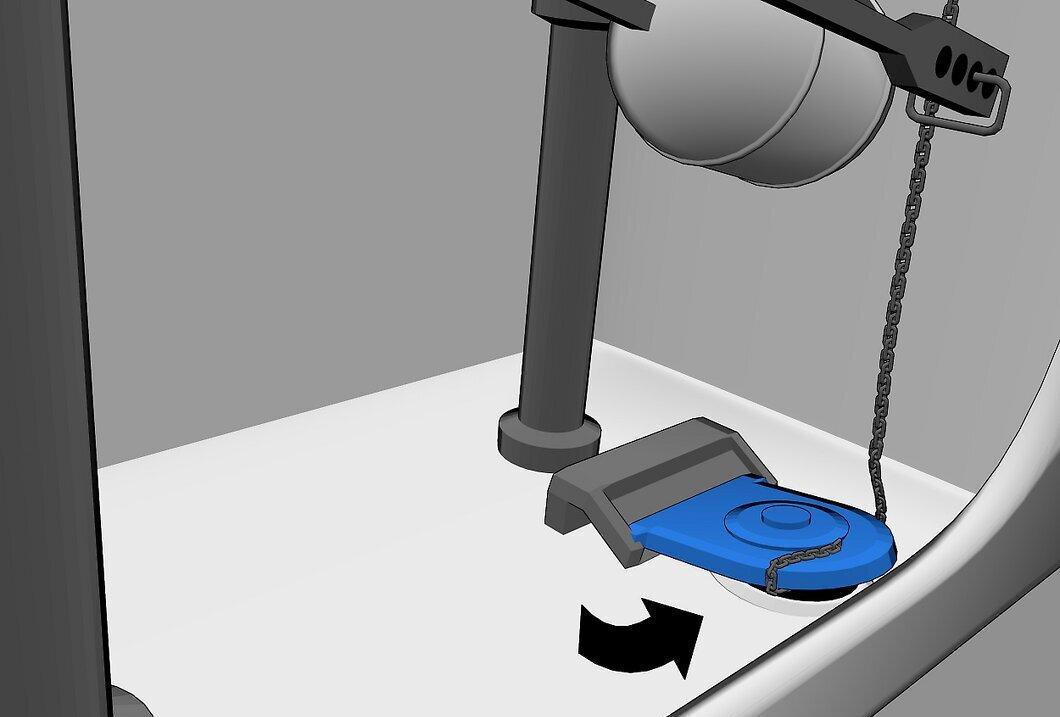
Adjust the length of the chain to ensure it does not interfere with the flapper. There are two methods:
- Move the chain hook to a different hole on the lever.
- Slide the hook further along the chain to shorten it.
- The chain between the flapper and the lever should remain straight when the flapper properly seals the hole.
Step 7: If it is a rod, move it to a different hole on the lever to see if that fixes the issue.
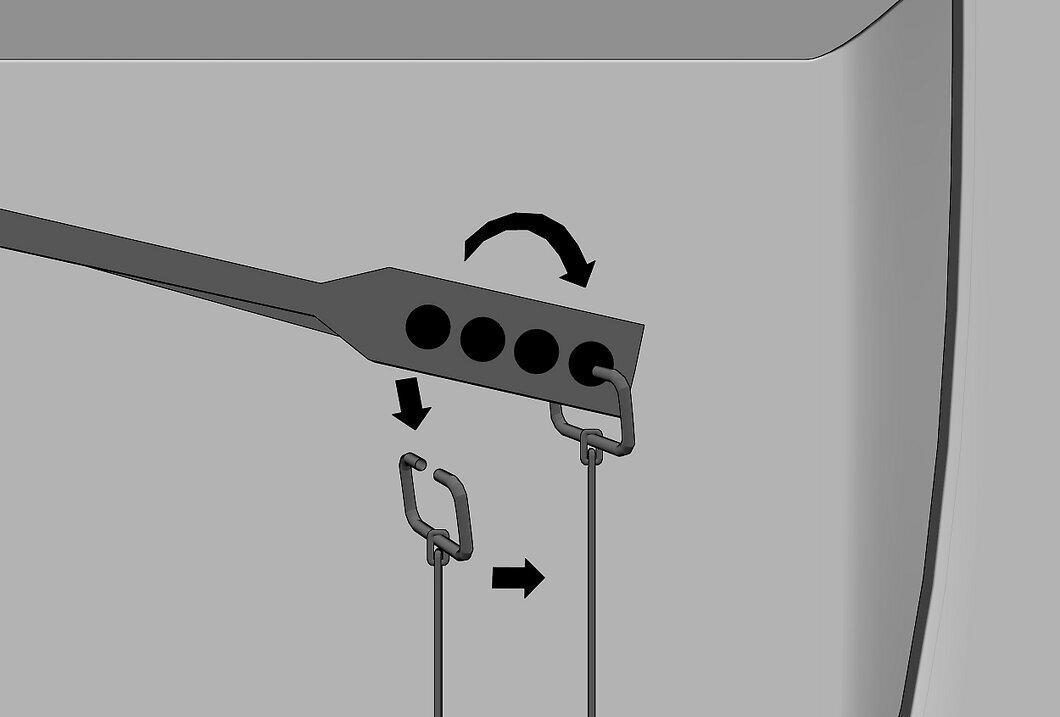
If it is a rod, try moving it to a different hole on the lever. If the problem persists, straighten the rod and shorten it a bit.
Step 8: Flush the toilet again to check if the issue is resolved.
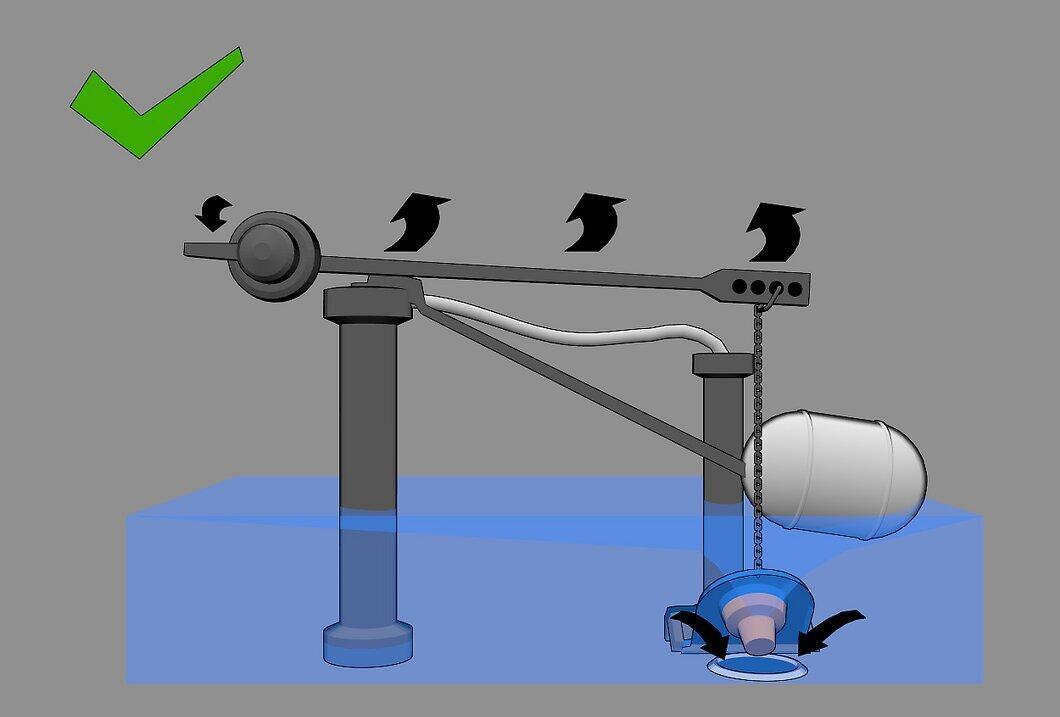
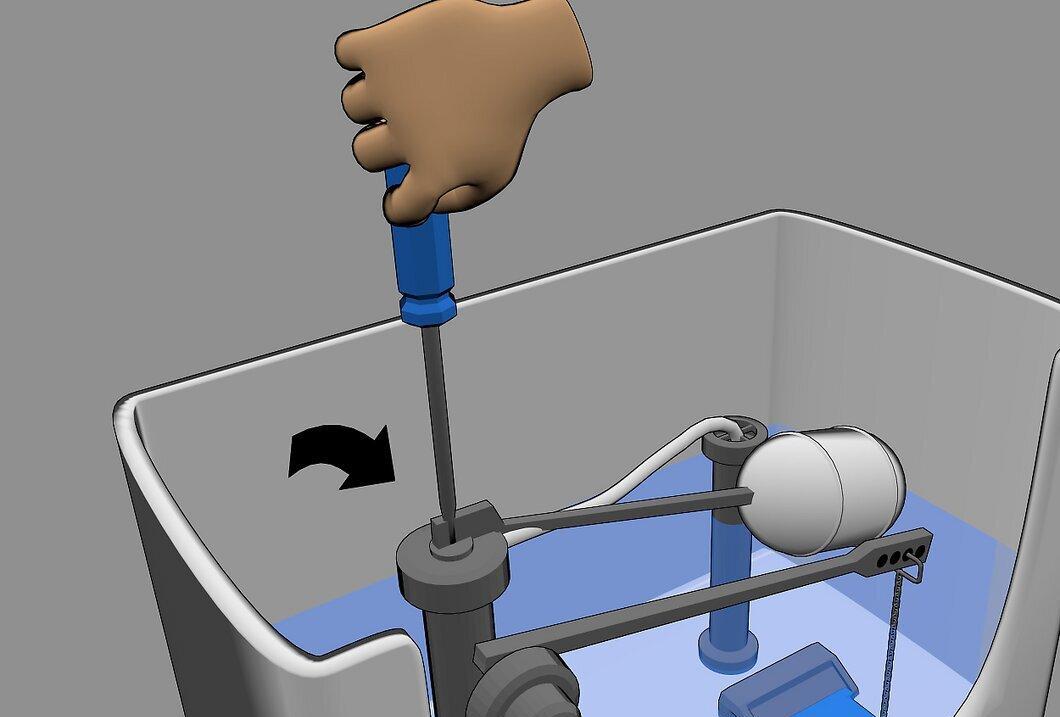
Step 9: Adjust the adjustment screw if the valve sits in the hole but the water level rises above the overflow tube and continues to overflow.
Step 10: Turn off the water supply to the toilet if none of the methods worked.
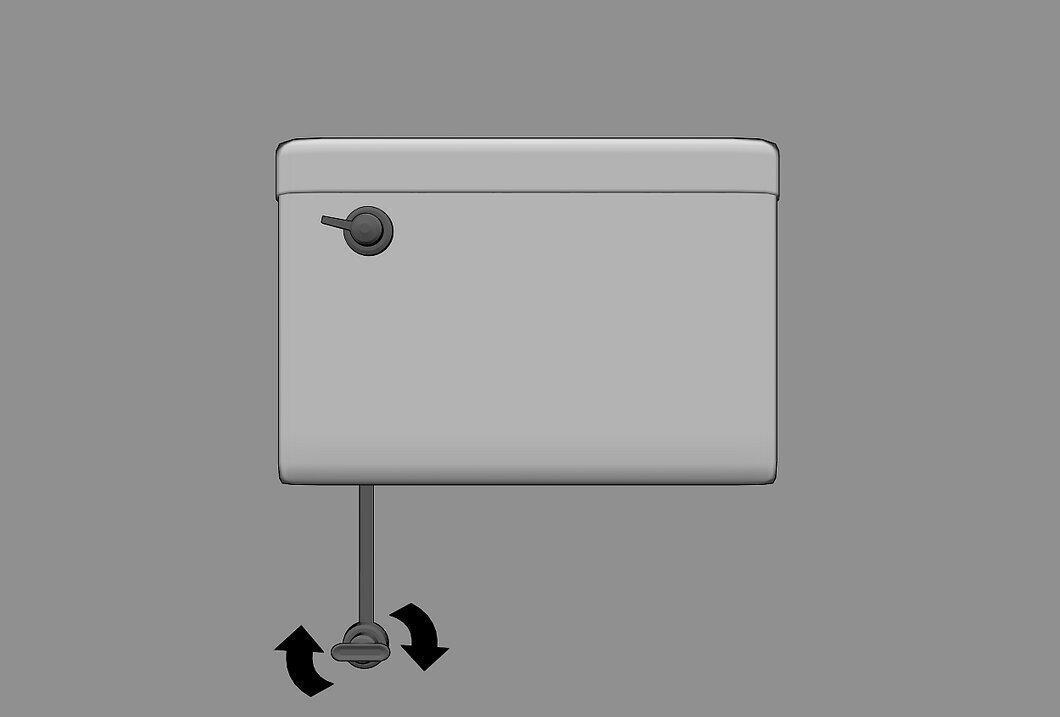
If nothing helped, turn off the water supply to the toilet. There is usually a valve under the tank. In some cases, you may need to crawl to the base of the toilet to find it.
Step 11: Flush the toilet to empty the tank after turning off the water.
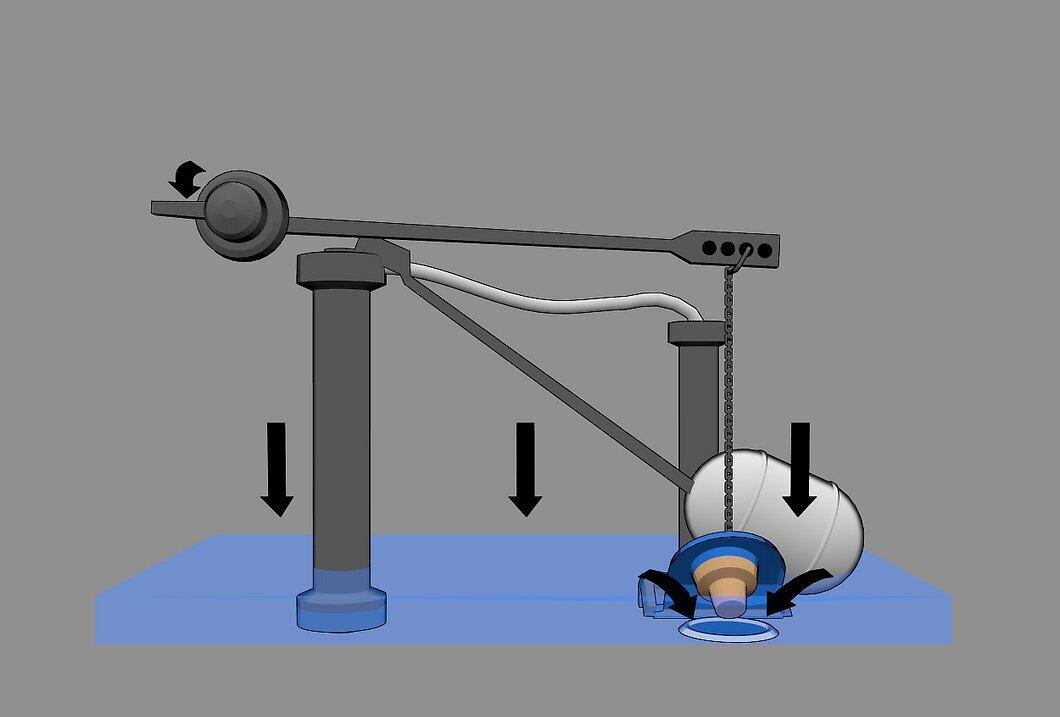
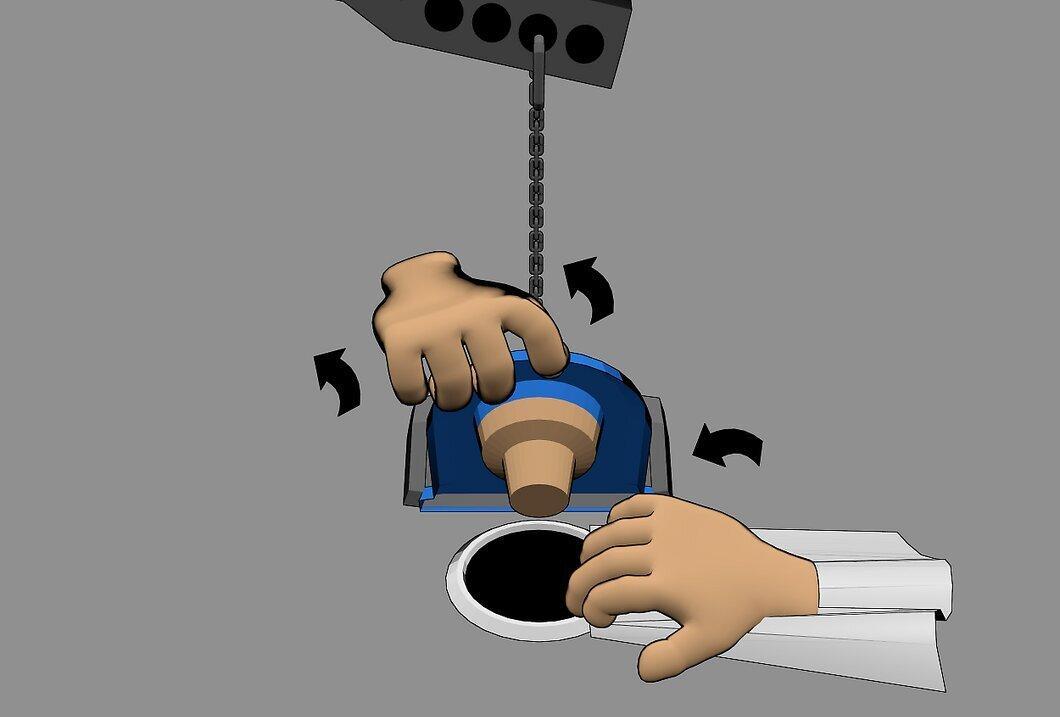
Step 12: Lift the valve and clean the edges of the hole (only inside) first with a cloth, then with a soft sponge.
Step 13: To test, turn the water back on and flush the toilet.
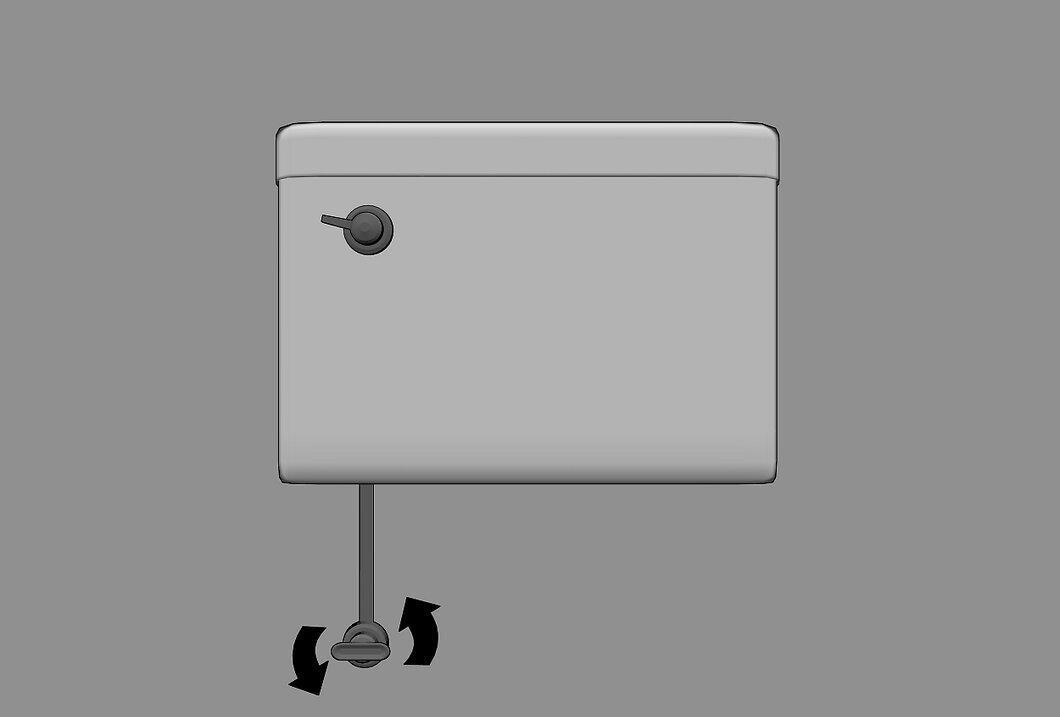
To check functionality, turn the water back on and flush. You may need to repeat the process if the problem persists.
Step 14: If the flapper ball continues to leak water after adjustment, you may need to replace it.
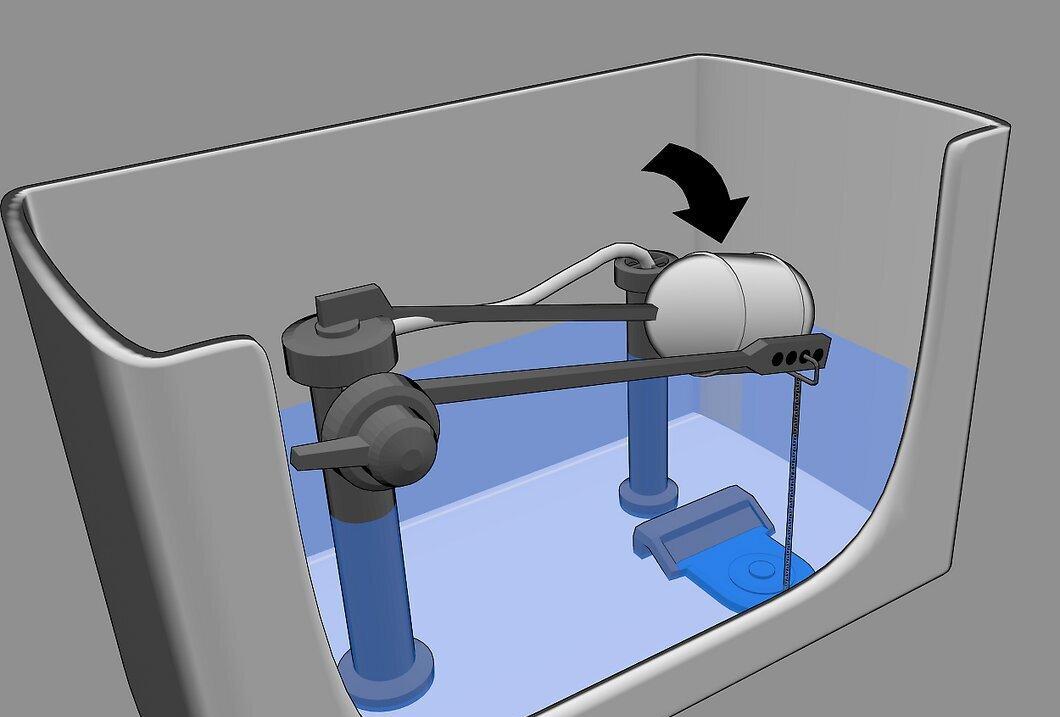
If the flapper ball continues to allow water to leak, it is likely that it should be replaced. This is a straightforward task. Just follow the instructions on the packaging.


