
A double switch allows you to control two light sources or devices from one location. These devices, also known as "double poles", enable separate control of the power supply to different devices. For example, you might want to turn on the bathroom light separately from the ceiling fan. Connecting a double switch may seem straightforward, but it's essential to know how to do it correctly and safely to avoid accidents.
Removing Old Switches
Step 1. Turn Off the Power in the Room
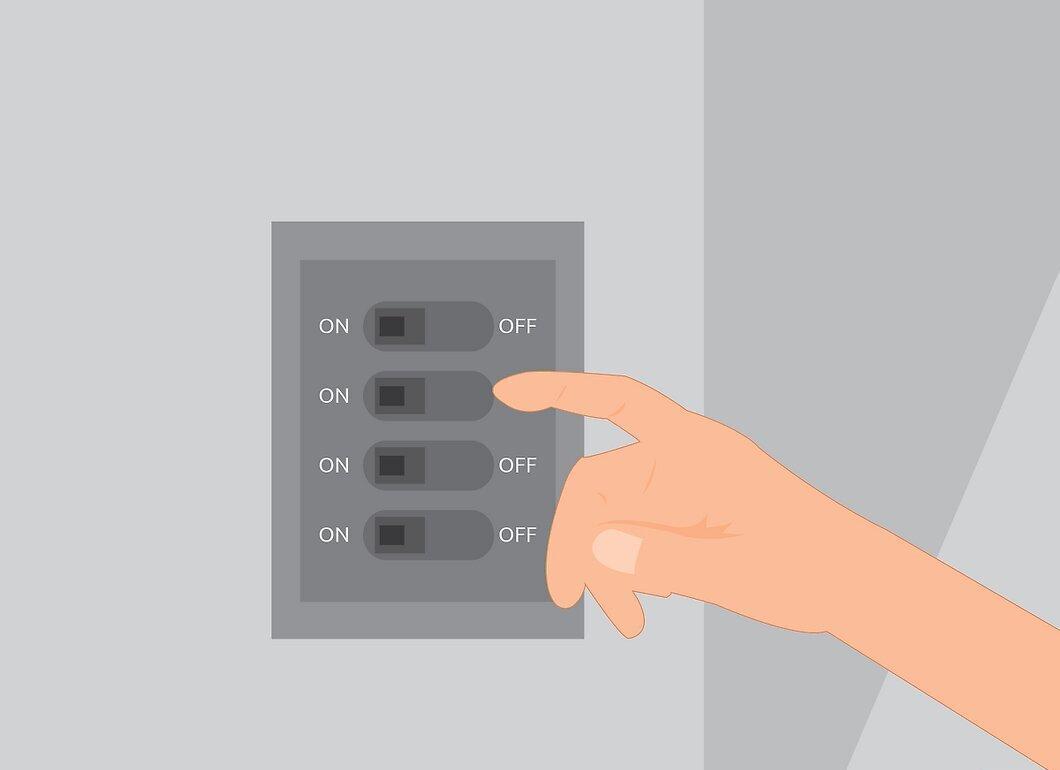
Before starting work, be sure to turn off the power in the room. Locate the circuit breaker panel and identify which fuse controls power to this area, then turn it off. Sometimes fuses are labeled, but if they aren’t, it’s safer to turn off all power to ensure your safety.
- Be cautious with electricity, as it can pose a serious health risk.
- It’s advisable to wear rubber gloves and shoes with rubber soles for added safety.
Step 2. Check Wires with a Voltage Detector
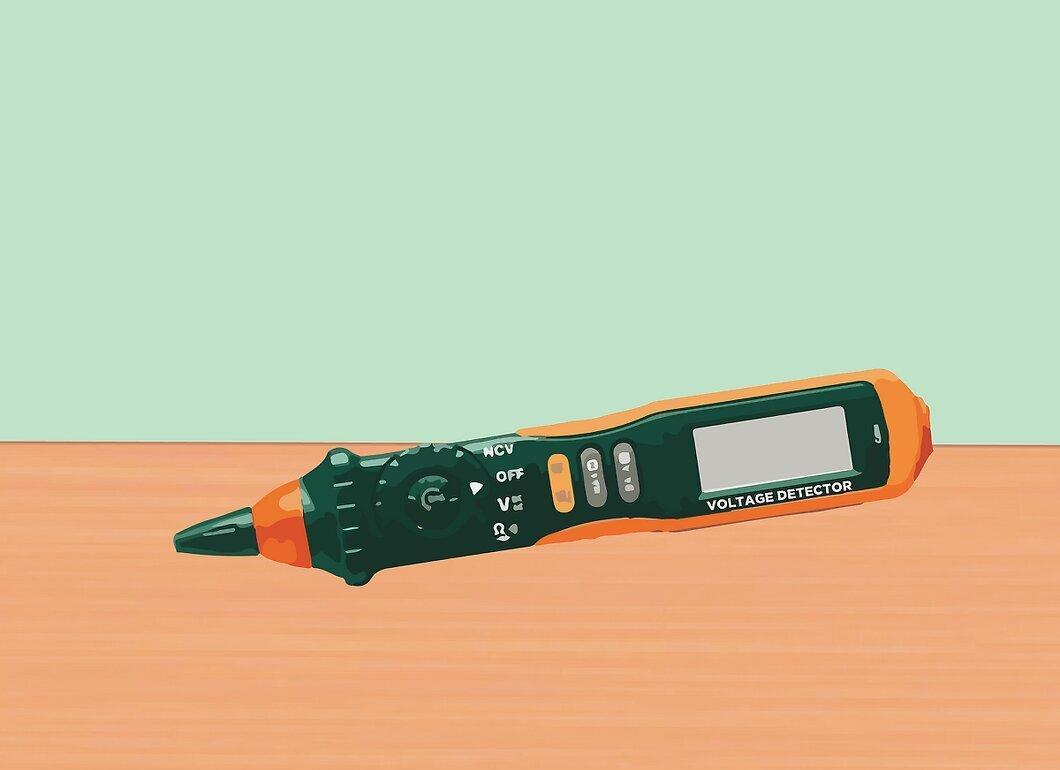
Using a voltage detector, ensure that no electricity is flowing to the wires in the junction box where the double switch will be installed. Bring the detector close to the old switch to check that it’s not live. Sometimes wiring can be configured so that hallway lights may be connected to the bathroom. Therefore, it’s crucial to make sure that you’ve turned off the exact switch you’ll be working on.
- Touch the detector in several places on the fixture. If the indicator lights up, it means electricity is still flowing.
- Always check the wire for voltage again — extra caution when working with electricity is never a bad thing.
Step 3. Remove the Old Switch
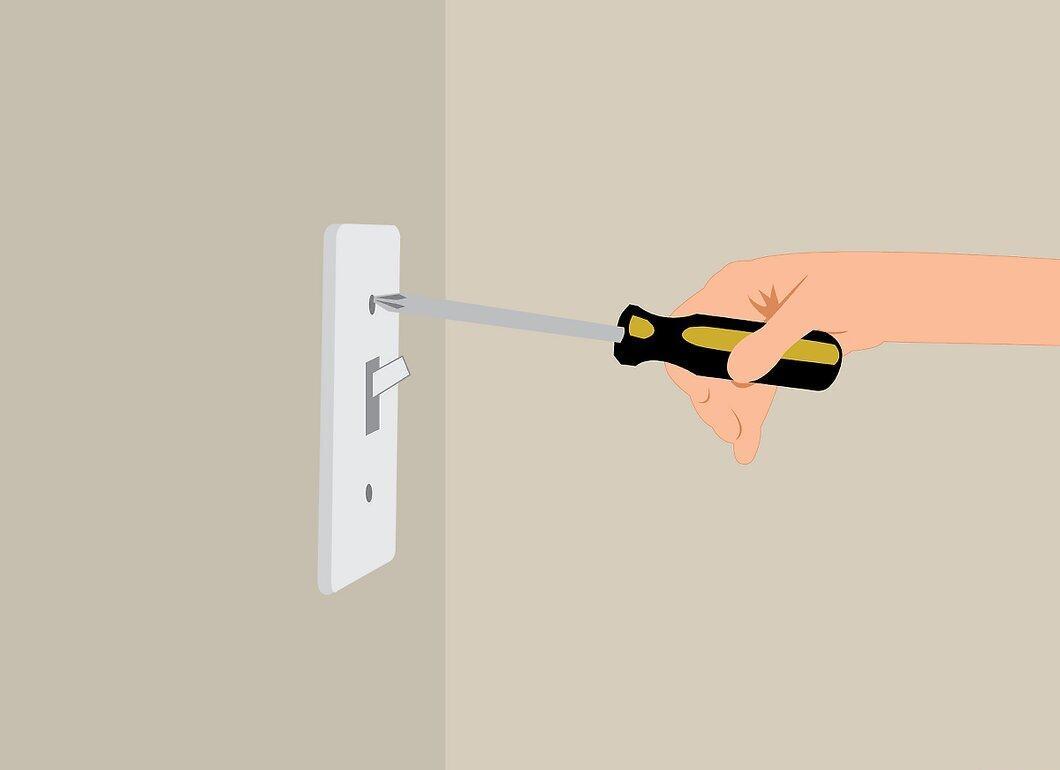
Unscrew the old switch and carefully remove it from the wall. Take out all screws and set them aside. Gently pull the electrical fixture out of the box built into the wall. You will see three or four wires attached to the switch. These wires are usually unmarked, so you’ll need to determine their purpose — simple tests will be described later.
- The "hot" wire is the "live" wire carrying current, which sends an electrical signal to the switch that controls the power to the chandelier, fan, or other device. Often, but not always, these are marked in red or black.
- Two neutral wires connect to the devices, each corresponding to a specific switch on your new double switch. These wires are usually white, but that’s not always the case.
- The grounding wire, often green or yellow, or even bare copper, protects the switch and the home from short circuits. Older homes may not have grounding wires due to outdated building codes.
Step 4. Document Wire Layout
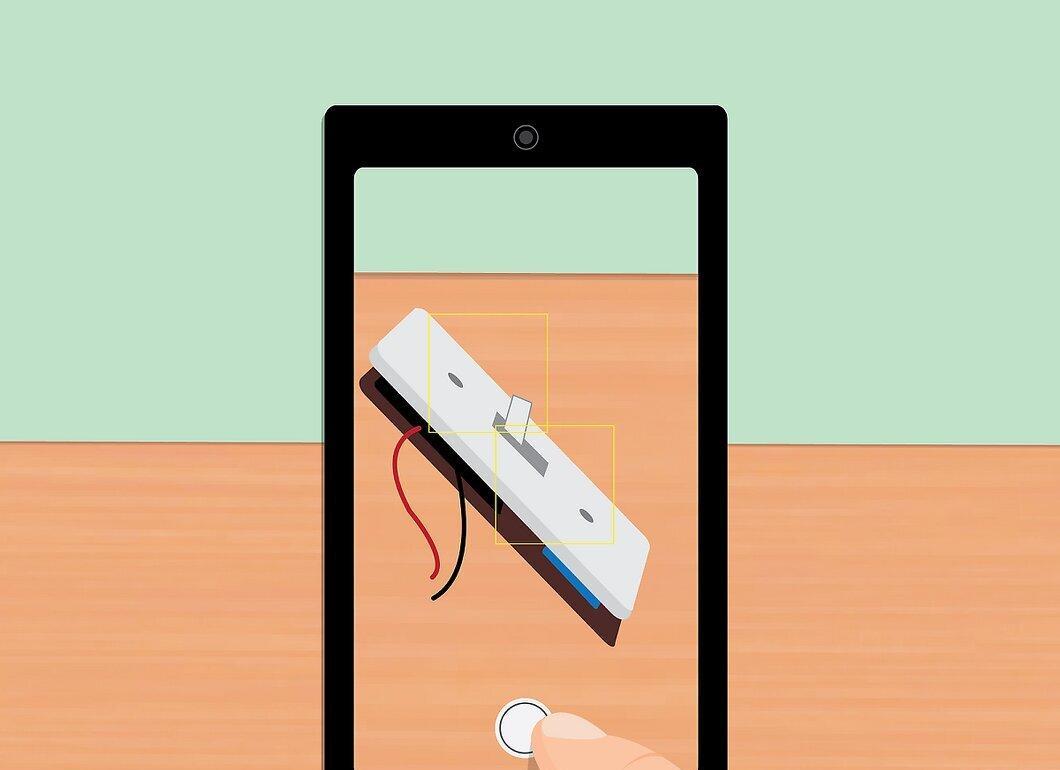
Take a photo or remember the current layout of the wires; this will be useful later. If you are not an experienced electrician, it’s best to take a picture of the wiring so you know how to reconnect the wires. You can also draw a simple diagram and label each wire.
Step 5. Unscrew and Disconnect Wires from the Old Switch
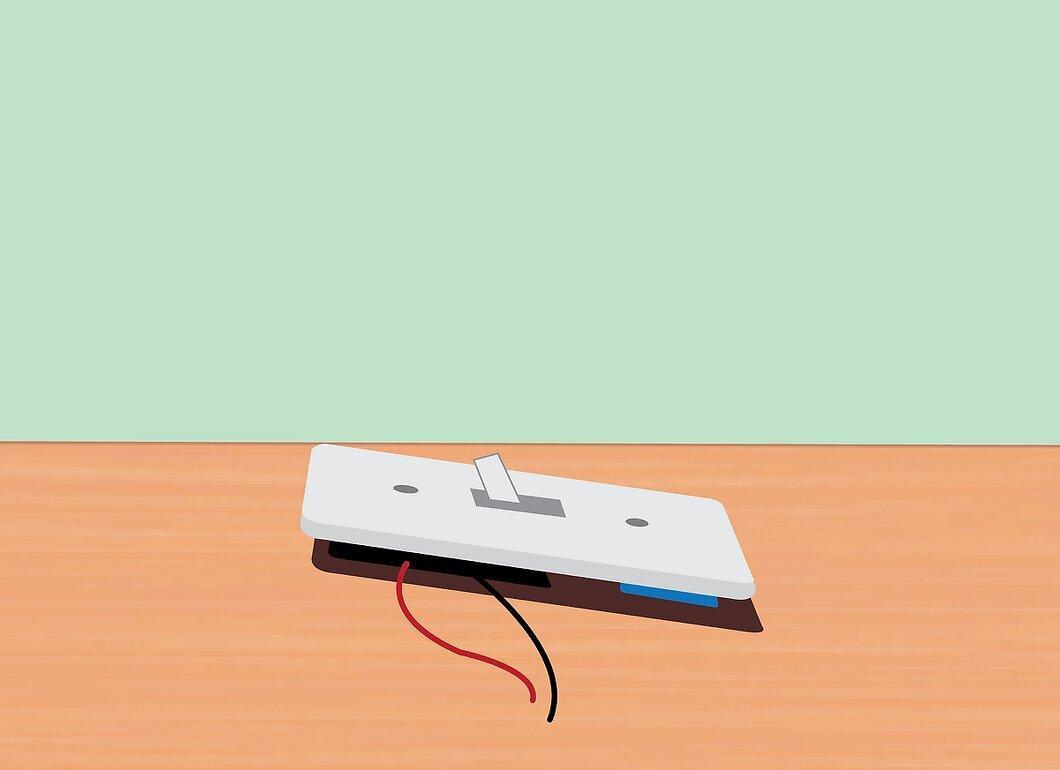
Unscrew and disconnect all wires from the old switch. All wires are attached with bolts known as "terminals", which tighten the exposed ends of the wires, completing the power circuit and the switch. To free the wires, unscrew the bolts and gently pull the wires from the terminals.
- If you can maintain the bends in the wires, it will greatly simplify reconnection.
- You should have 3 or 4 bare wires sticking out of the box.
Step 6. Separate Connected Wires

Mark and separate any connected wires. This may be how two devices or lights are controlled by one switch. One of the wires may be for the fan and the other for the light. These wires are often joined together in one terminal and wrapped around one bolt. We will need to separate them into individual terminals later.
Installing the Double Switch
Step 1. Ensure Wires Do Not Touch Metal Parts
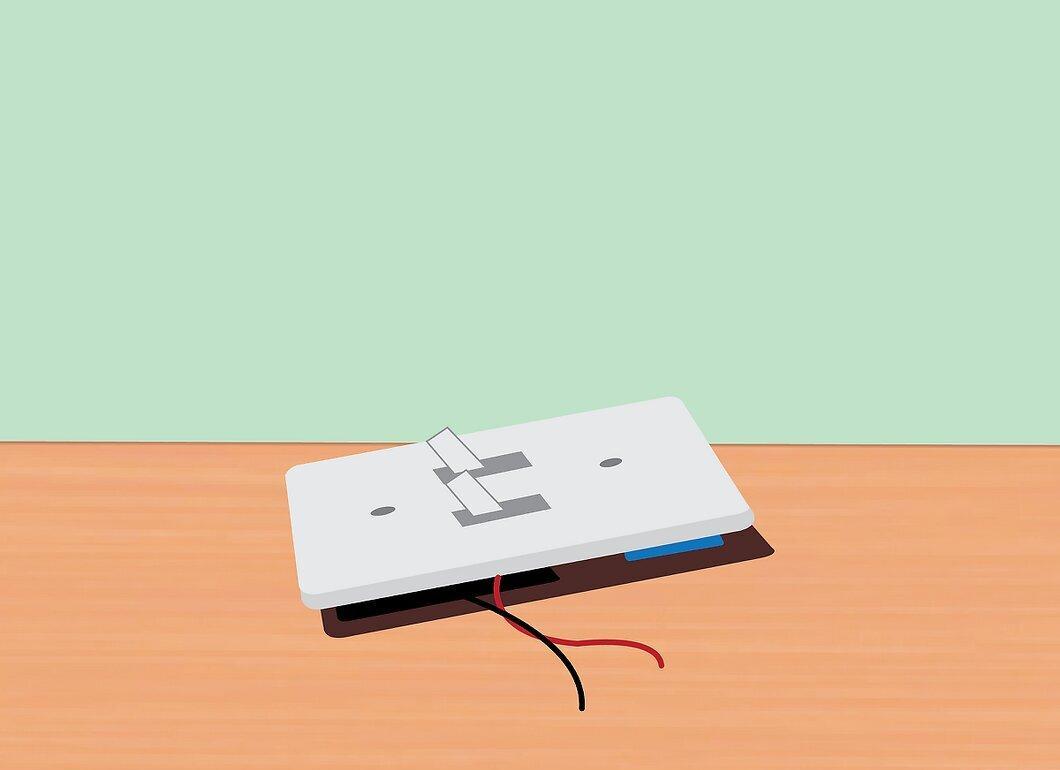
Check that none of the wires are touching the metal parts of the switch box. This could lead to a short circuit. Make sure the wires are routed outward to avoid contact with metal elements. You may need to turn the power back on to identify which wires are live (if you’re unsure).
Step 2. Turn On Power to Identify "Hot" Wire
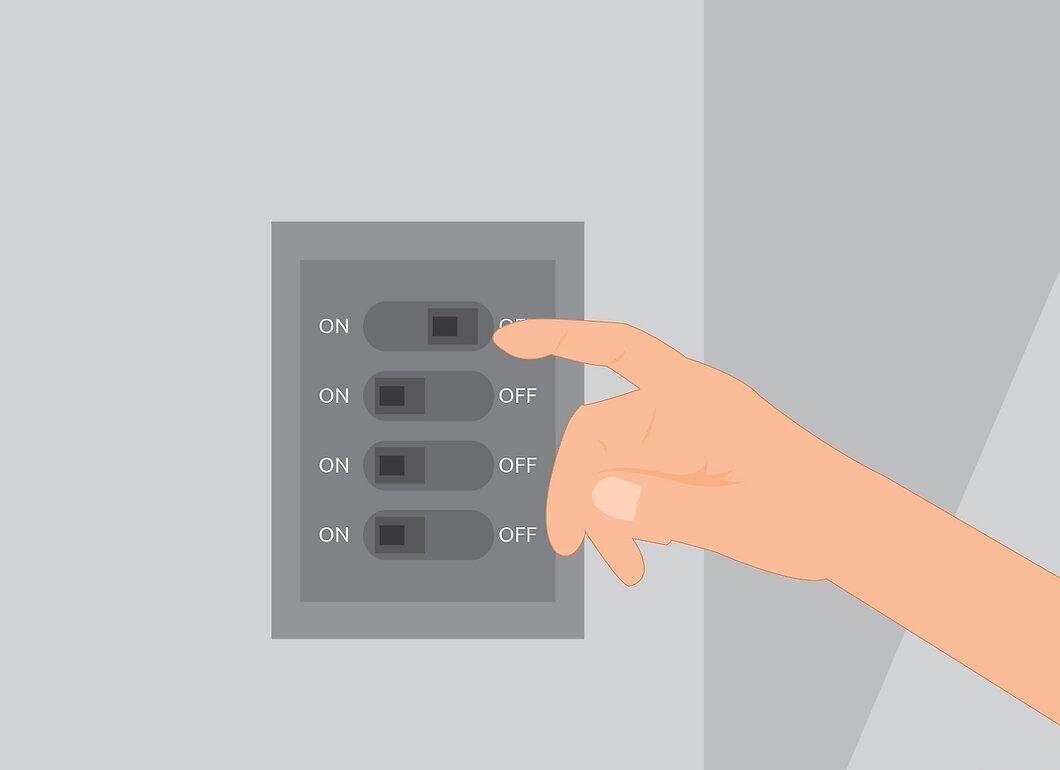
If you’re not sure which wire is the "hot" wire, turn the power back on. If the wires are unmarked, you’ll need to determine which one carries electricity to the switch. Typically, the live wire is black or red, and the neutral wires are white. If they are unmarked, turn on the power and use a voltage detector to check each wire. The light should only illuminate when touching the "live" wire. Once you identify it, turn off the power again.
- Be extremely cautious when the power is on. Only touch the wires with the voltage detector and work while wearing protective gloves.
Step 3. Determine Where to Connect Wires
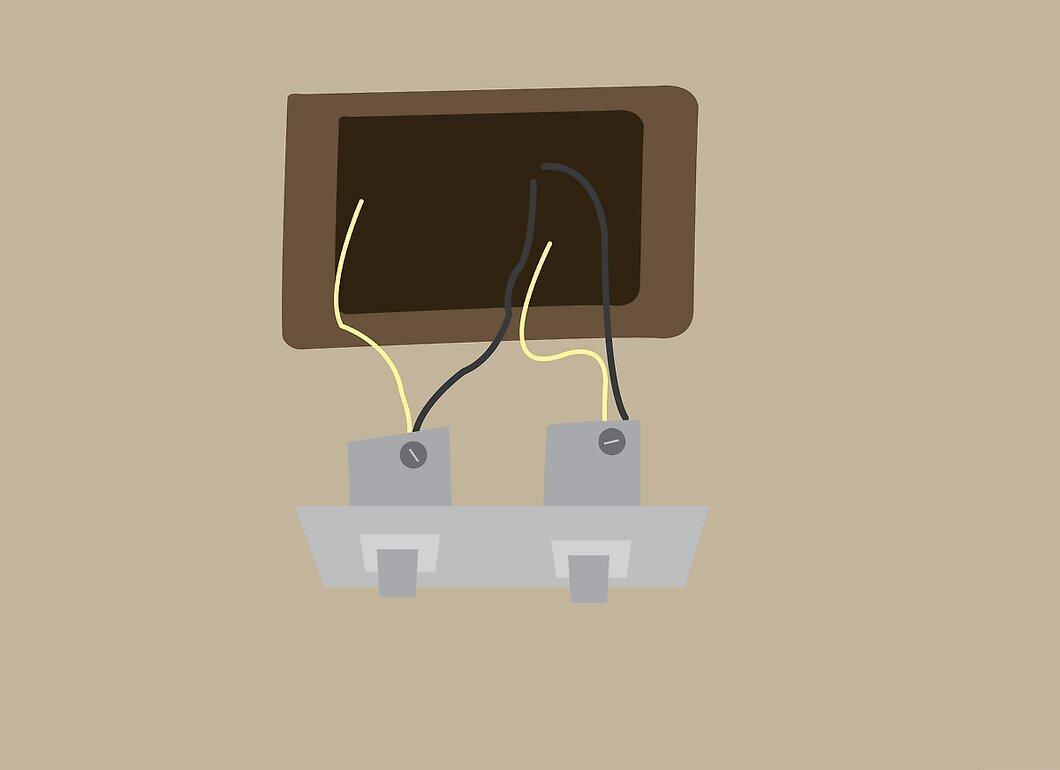
On double switches, there should be a metal plate indicating where to connect the live wire. This location is intended for connecting all devices. The opposite side is for neutral wires.
- Typically, the terminals for live wires are black or silver.
- Neutral terminals are often copper.
- The green bolt is usually for the grounding wire.
Step 4. Bend Wire Ends and Attach Them
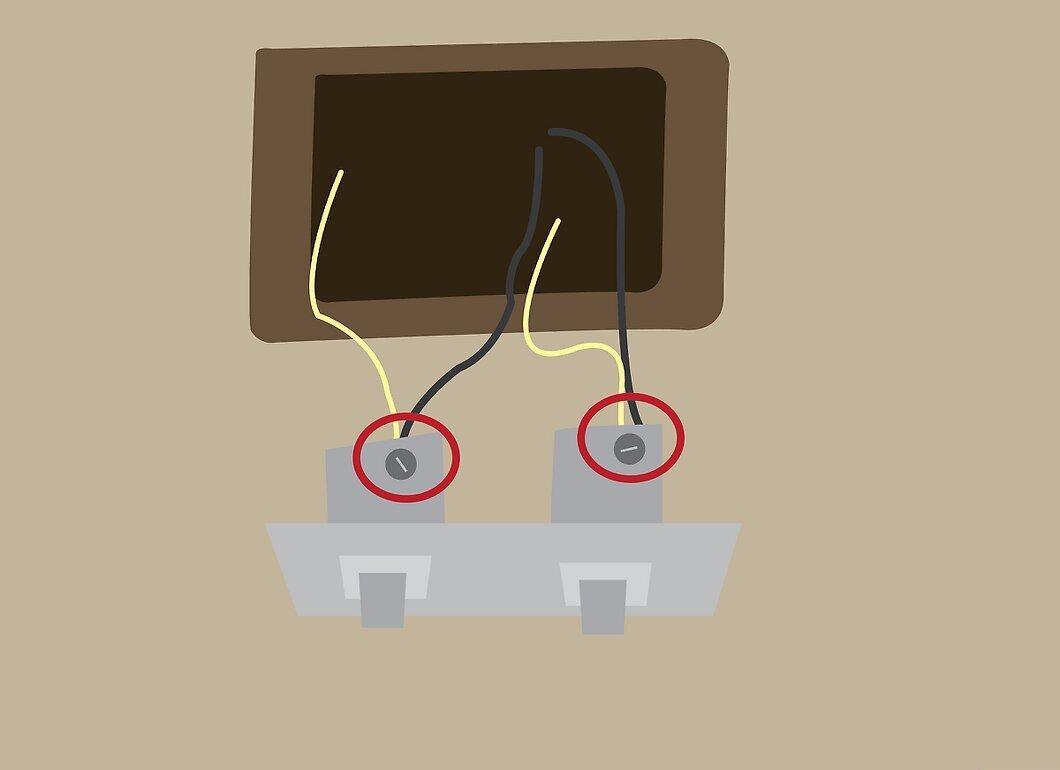
Bend the ends of the wires into a hook and attach them under the bolts. It’s best to bend them in a clockwise direction, as this will simplify tightening. It doesn’t matter which wire you connect first, but it’s better to start with the grounding wire.
- Only connect one wire to each terminal.
- Don’t forget to attach the grounding wire.
Step 5. Tighten Bolts Firmly
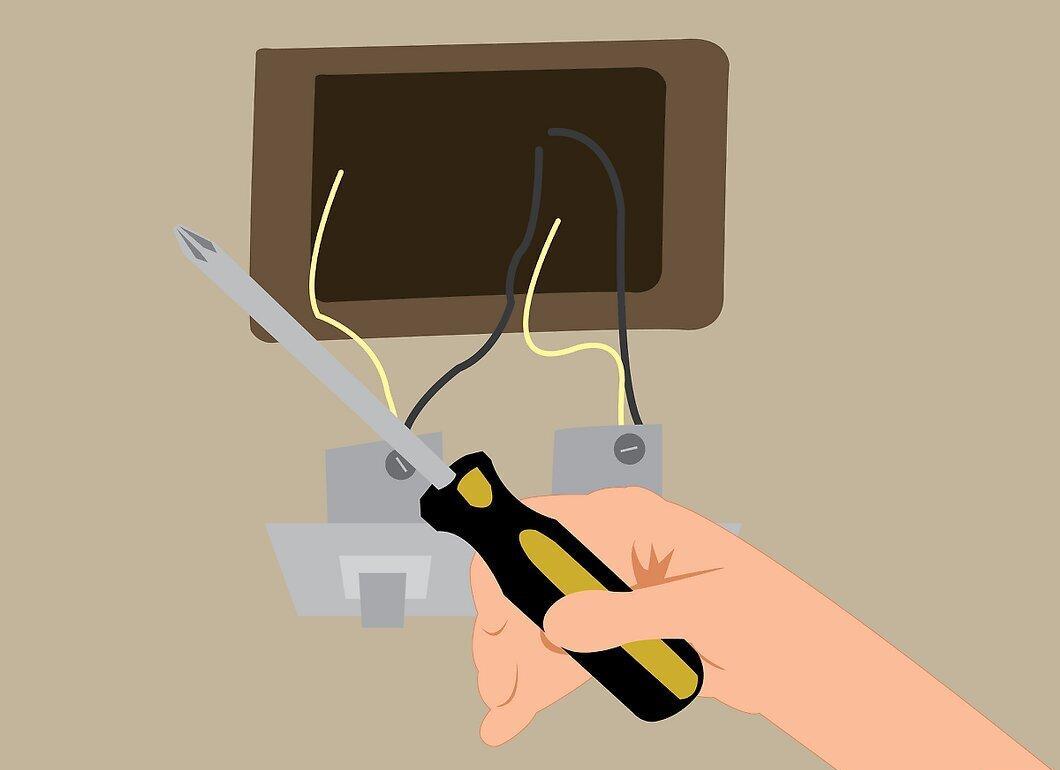
Tighten the bolts securing the wires as tightly as possible to prevent them from moving. Ensure that the wires are securely fastened in the terminals.
Step 6. Check Connections
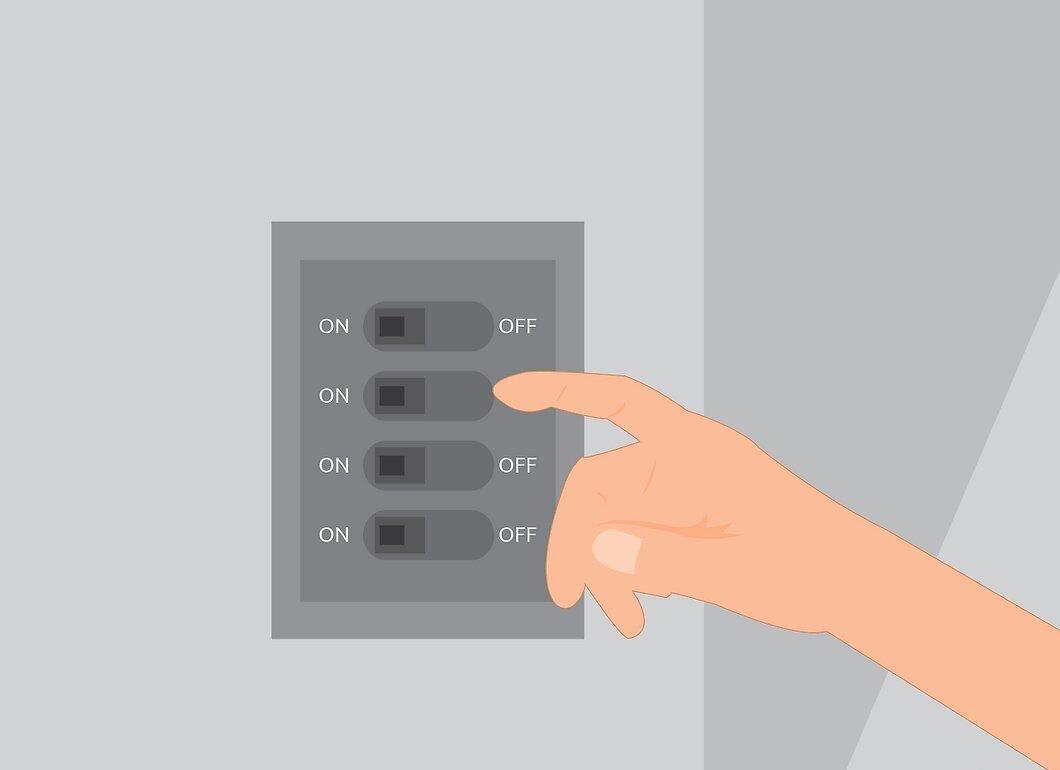
Turn the power back on and test the switches. Flip them to the "off" position and then turn on the power. Each device should turn on separately.
Step 7. Wrap Terminals with Electrical Tape
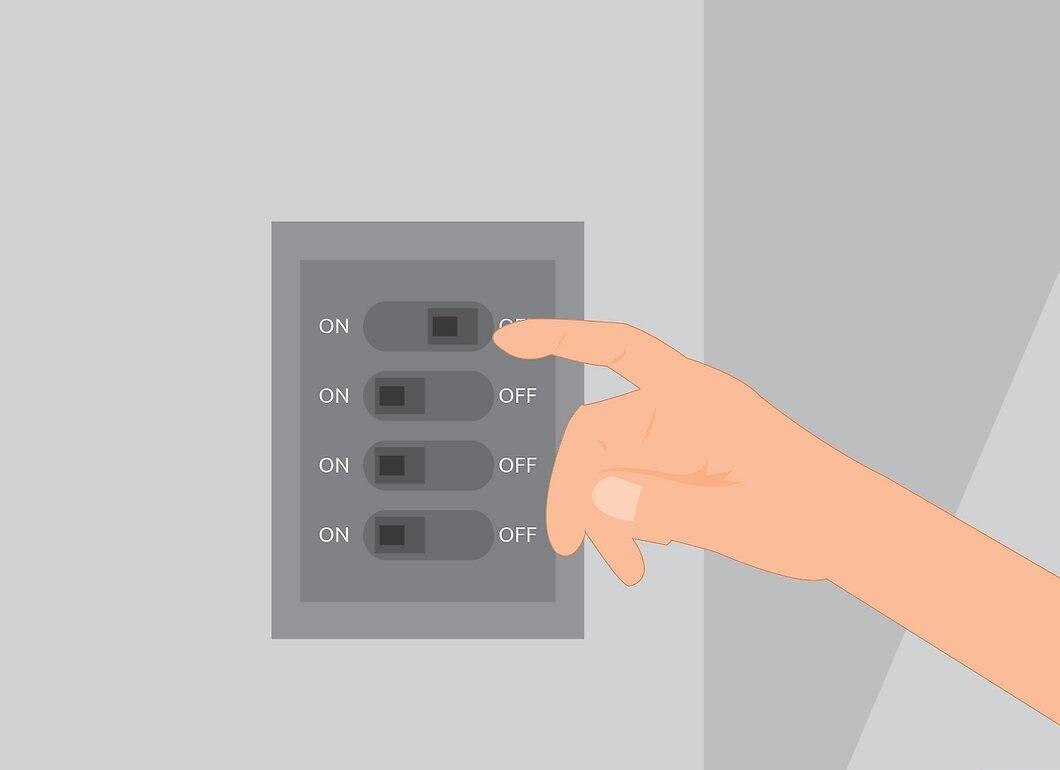
Turn off the power again and wrap each terminal with electrical tape to prevent short circuits.
Step 8. Install New Decorative Cover Plate
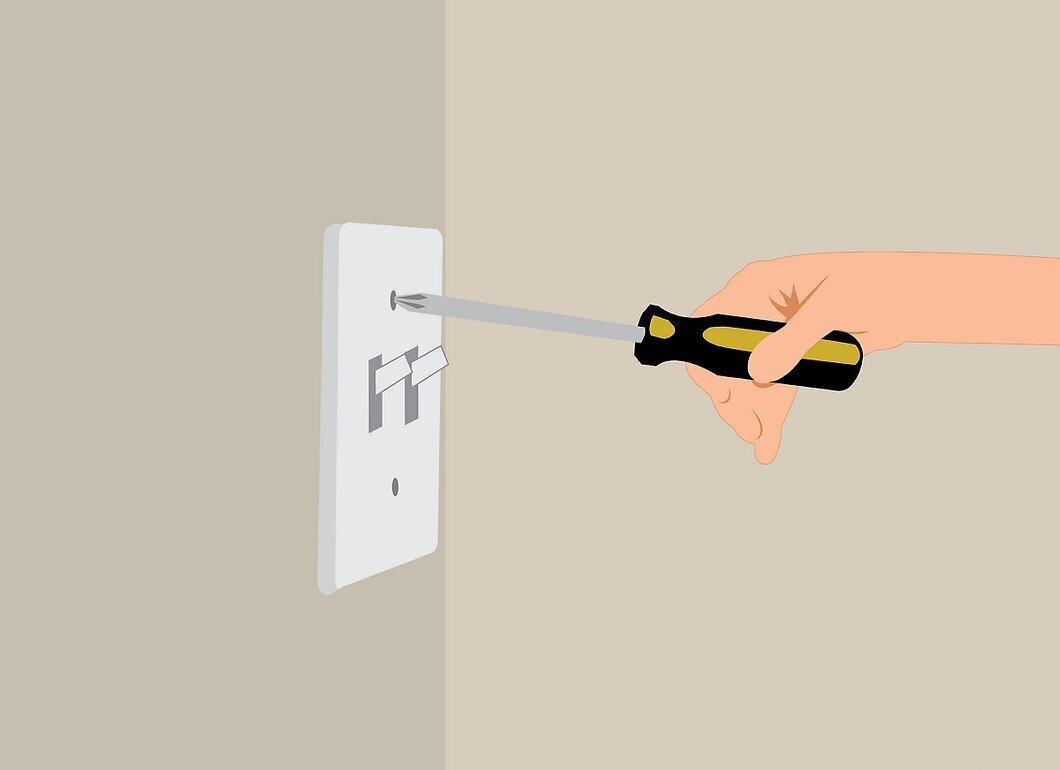
Attach the new decorative cover plate while the power is off. Use the provided screws for mounting. Turn the power back on and enjoy the result — you now have a double switch.
- If the plate mounts to the wall, mark the screw locations and drill holes.
Troubleshooting Possible Issues
Step 1. Turn Off Power Before Troubleshooting
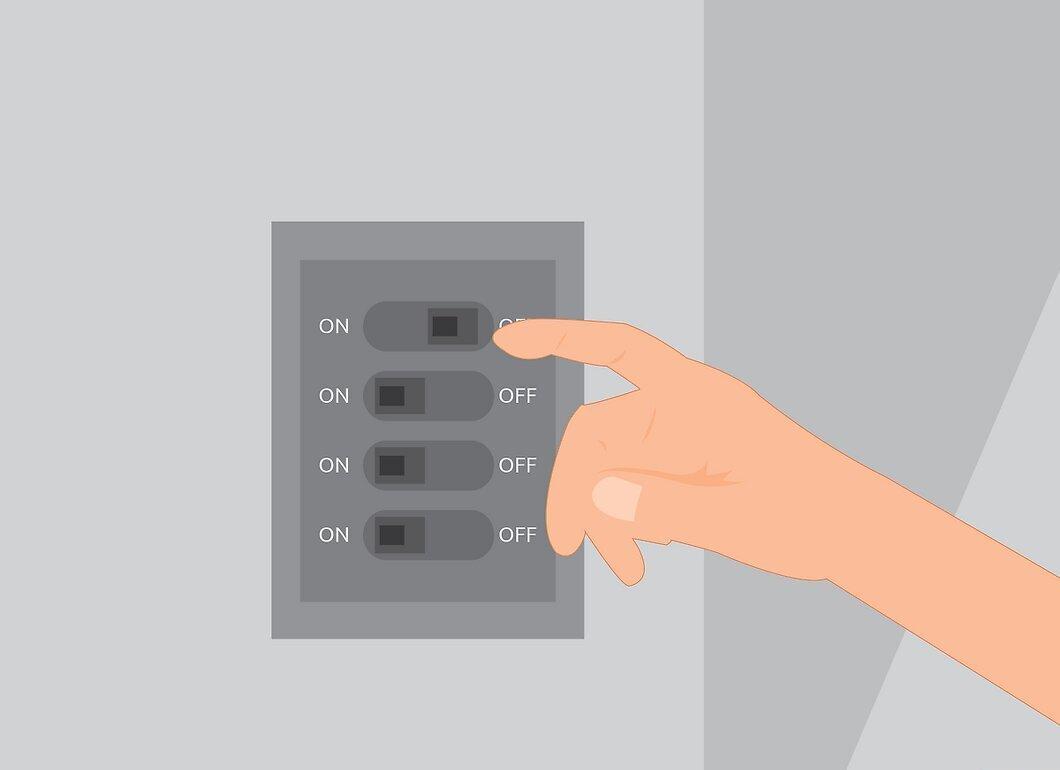
Before addressing any issues, be sure to turn off the power. Make sure there’s no voltage on the switch you’re working on.
- Check the bulb or device before disassembling the switch — the problem might lie there, not with the switch itself.
Step 2. Ensure Wires Don’t Touch Metal
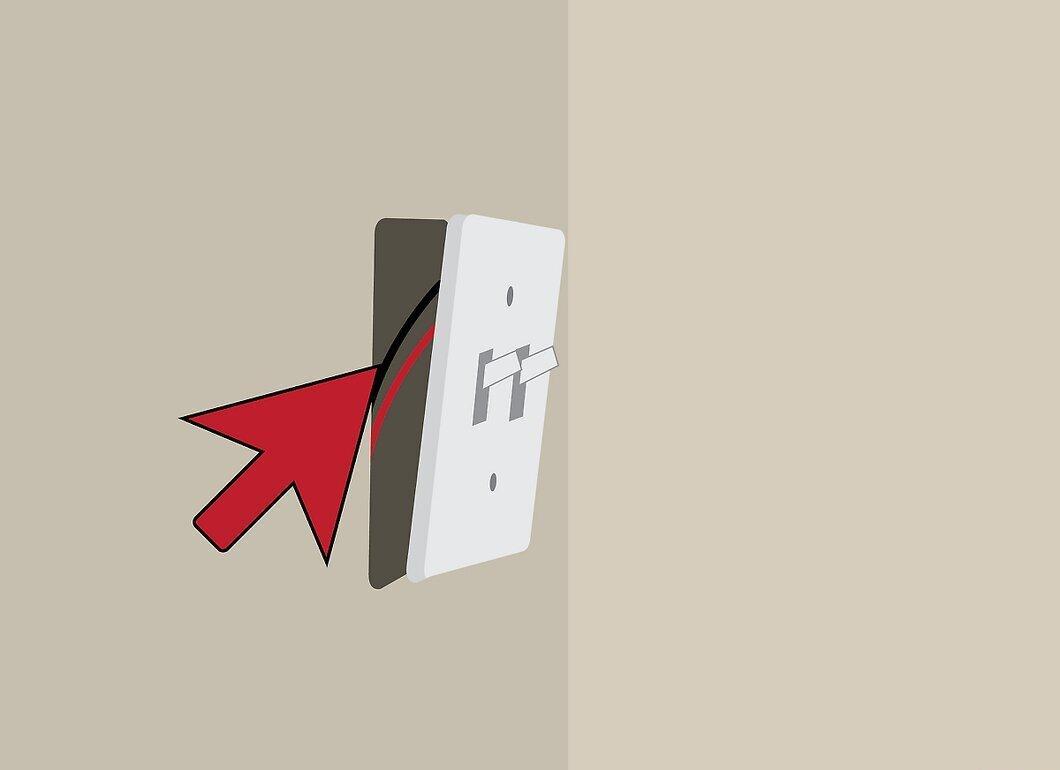
Ensure that exposed wires do not touch the metal parts of the box to avoid short circuits. Wrap any exposed wires with electrical tape and cut off any excess if necessary.
Step 3. Check Wire Connections
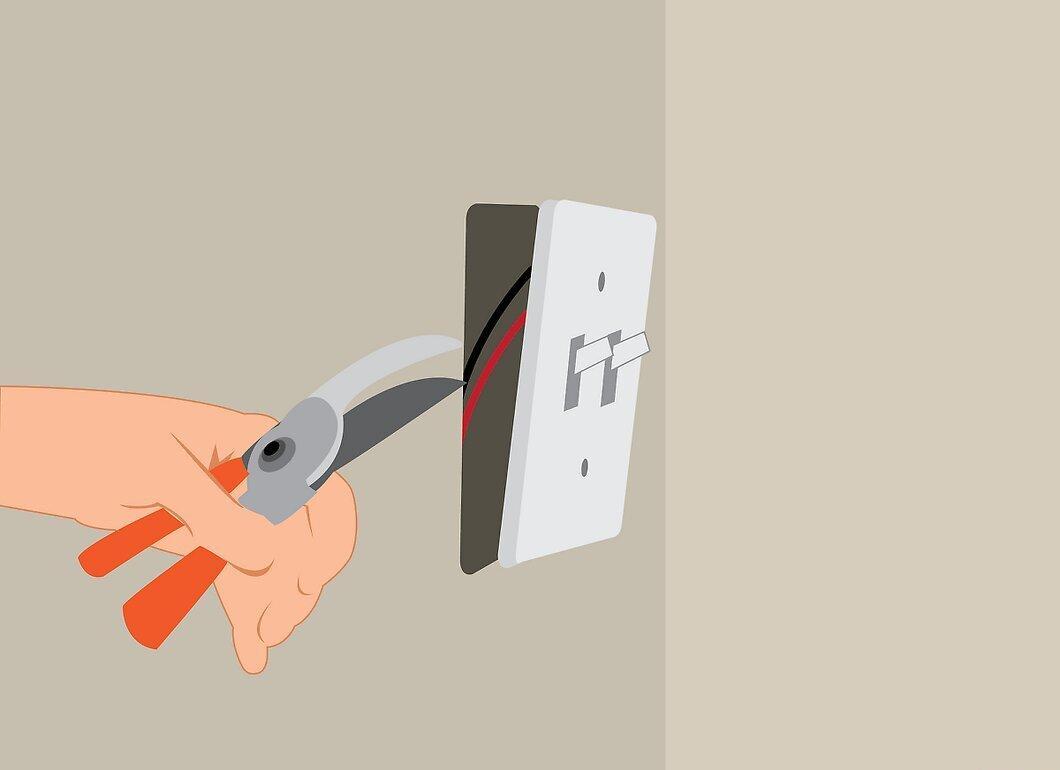
Switch issues often arise from insufficiently tightened wires. Loosen the bolts slightly and ensure the wires are securely wrapped around them, then tighten again.
- Use needle-nose pliers to secure the ends of the wires.
- Make sure the length of the exposed wire is sufficient — typically about 1.3 cm.
Step 4. Check for Multiple "Hot" Wires
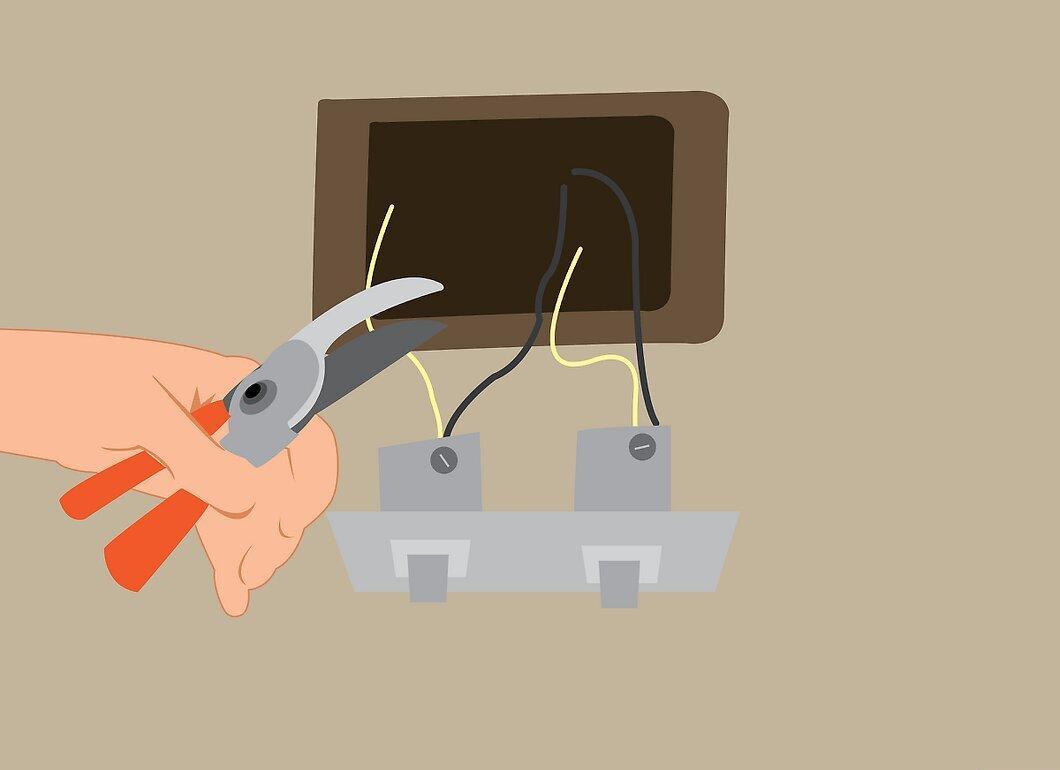
If you have multiple "hot" wires, this may be due to old installations where two single switches are connected instead of one double switch. The live wire will exit the wall and connect to one switch, then the other. Just connect it as it was.
Step 5. Ensure the Live Wire is Connected Correctly
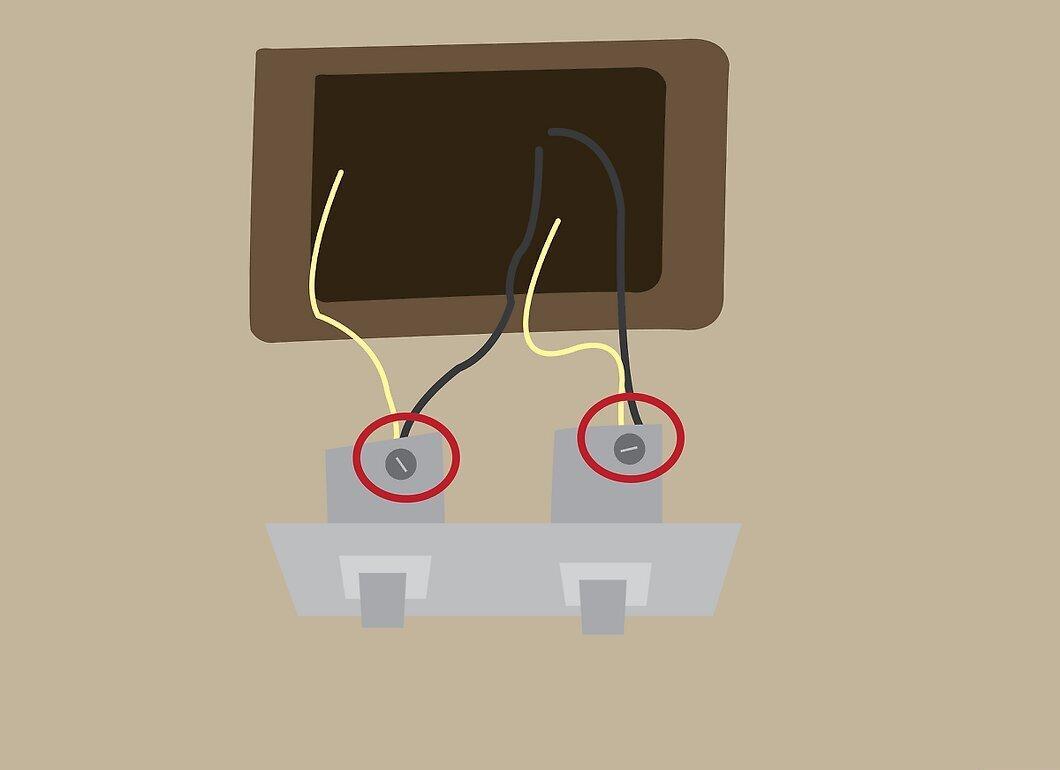
If the switch isn’t working, check that the live wire is connected on the correct side. If there are no markings, look for the metal plate. Typically, the bolts are black.
Step 6. No Ground Wire
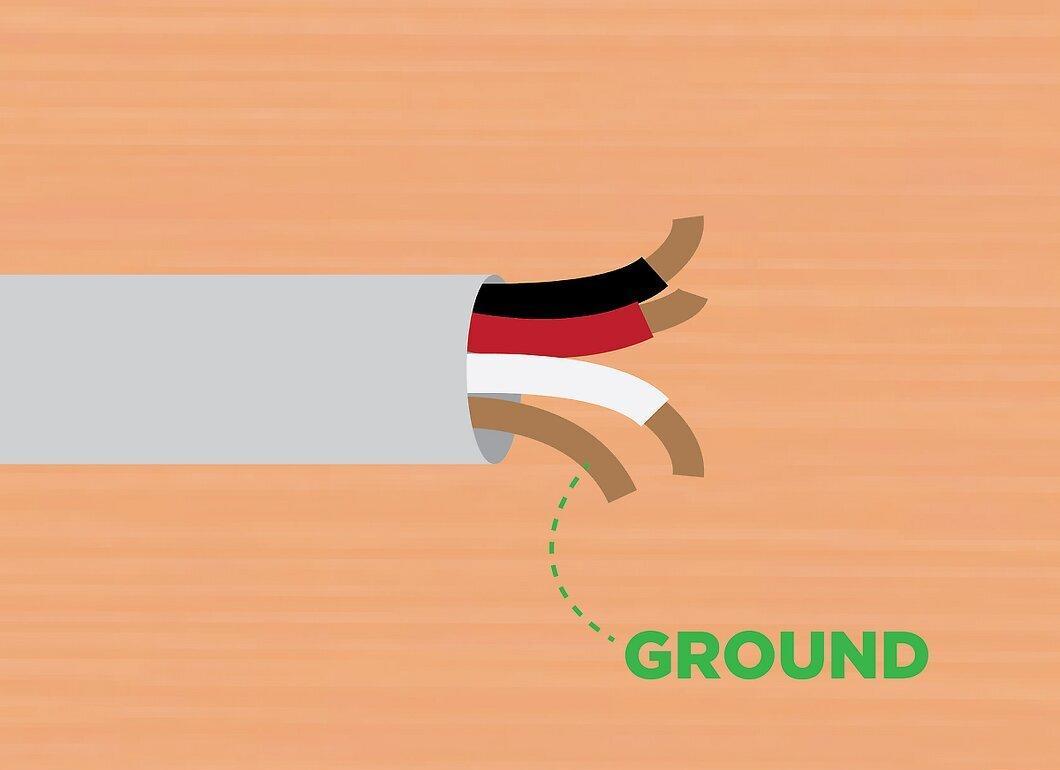
Many older homes lack a ground wire, but this is not an issue. The box is grounded to the building, and you don’t need to worry about grounding.


