
Creating your own CD covers with your recordings and information, or replacing old worn-out covers, offers a great opportunity for creativity. You can print a computer-made cover in the desired size or create it manually. You can even learn to make your own envelopes. With some effort and a little time, you can bring almost any idea to life.
Printing Covers
Step 1. Choose Software.
Choose your software. Today, there are many computer programs available for creating and printing custom CD covers, most of which are free. You can edit your own photos, add text, and adjust them to the right size for different types of cases. Any of the following programs will do a great job:
- Adobe Illustrator
- CD Label Designer
- CD & DVD Label Maker
- CD Cover Creator
- Print Master Gold
Step 2. Select the Size.
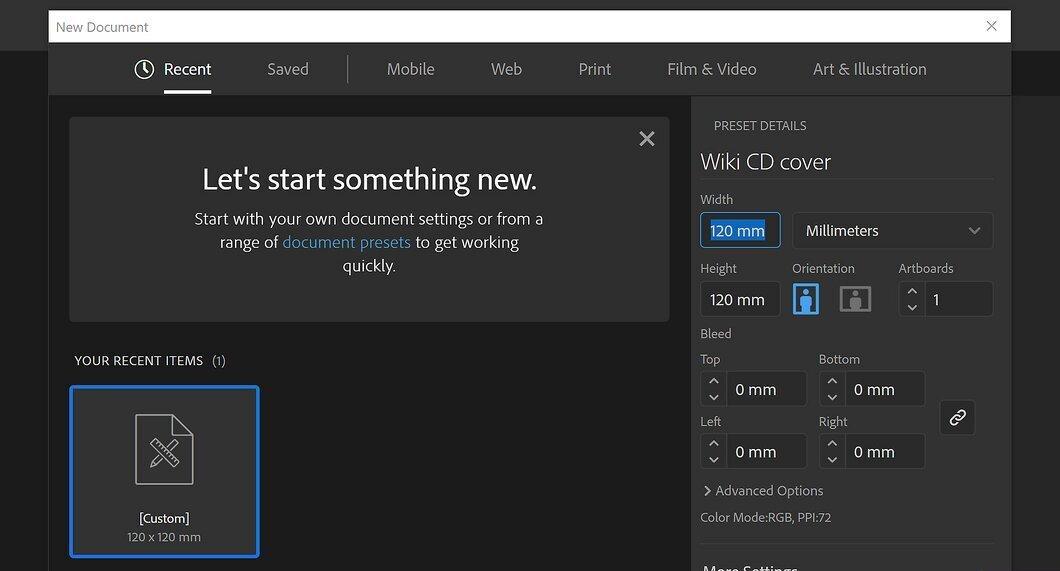
Select the size. In some programs, the size of the future cover is chosen right after launching, but when using universal programs like Illustrator, you’ll need to set the size manually. The cover is square and measures 120 x 120 mm, so input these numbers in the corresponding field.
- You can also change the background color to dark gray or another color that fits the basic color scheme of your future cover.
- If you also want to create a back cover, its size will be 150 x 118 mm to allow for the fold line. Follow the same steps for creating the back cover as you did for the front.
Step 3. Create a New Layer and Import a Cover Photo.
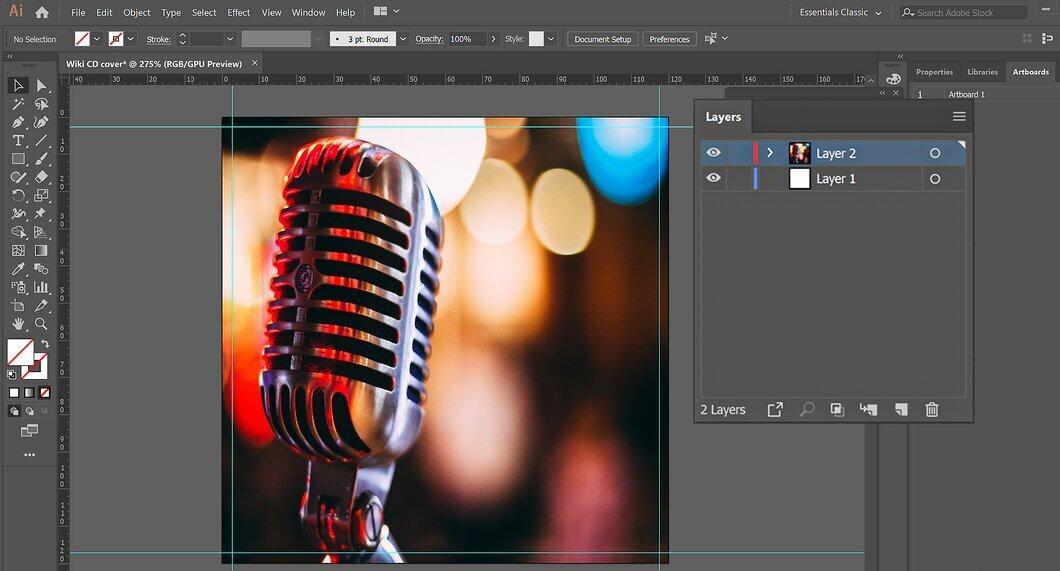
Create a new layer and import a photo for the cover. For the sake of this article, let’s assume you’re using a program like Illustrator, but you should refer to your own program. Typically, you need to create a new layer above the base layer and then select a suitable image for the cover.
- Browse your saved photos or search for images online. Usually, the simpler the image, the better it is. If necessary, you can change your background color scheme later to match the chosen image.
- Select "Import Image," resizing it as needed to fit your template. This action is usually done by dragging the image.
- If you want to replace a lost cover, you can find and save such an image from the internet, then import it into the program. In this case, skip the next steps and go directly to printing.
Step 4. Add Text.
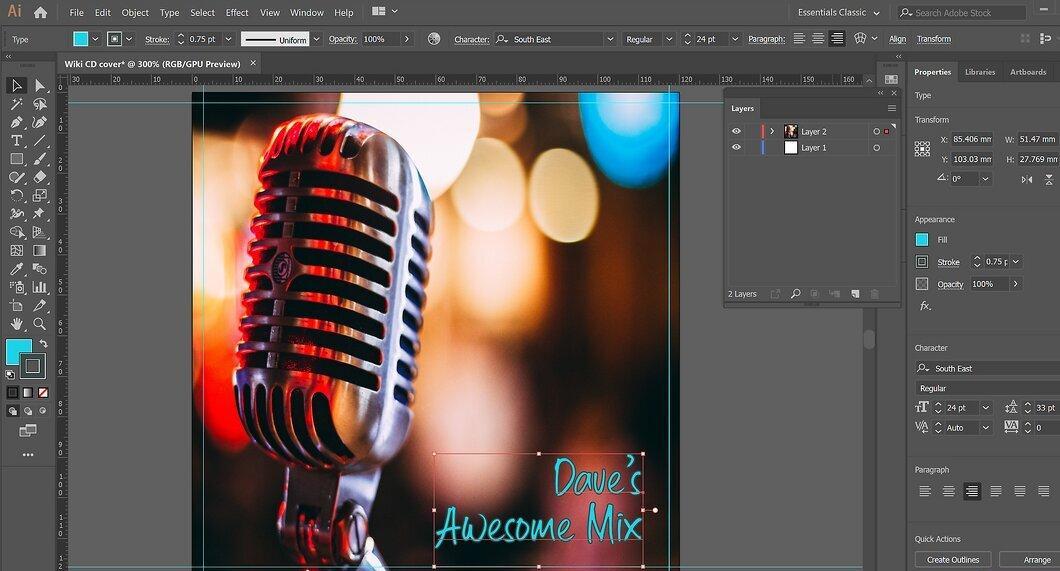
Add text. Add another layer above the image and create a text field on the cover. Use different fonts, adjusting size and color to match your image. Typically, text is added just for the album title and artist, or you can simplify things by just writing “Cool Remix by Sergey” on a disk with your own music. You can also skip text altogether to keep the cover as artistic as possible.
Step 5. Watch the Edges.
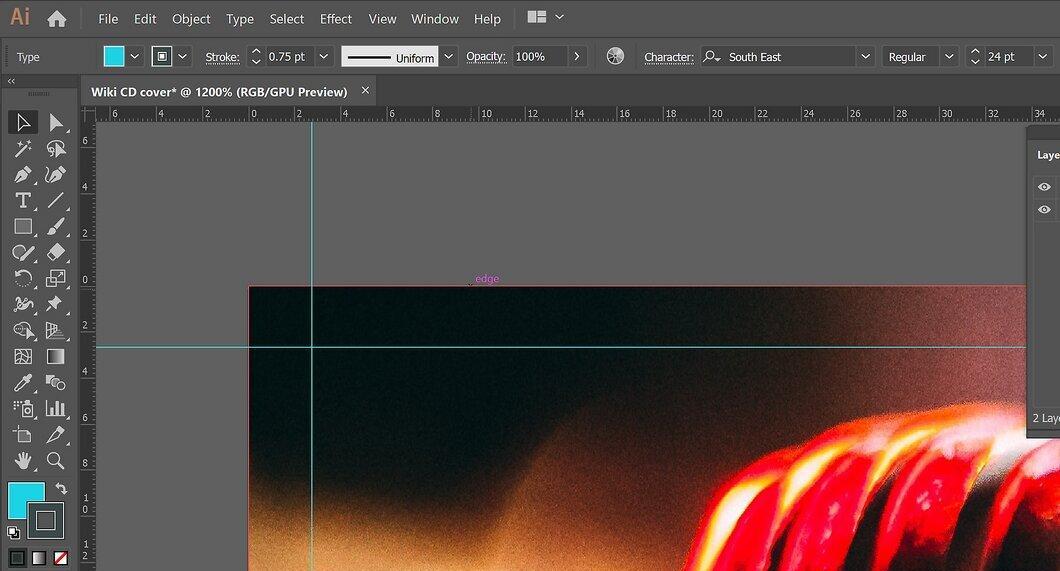
Watch the edges. During printing and trimming, there’s a chance of slightly ruining the edges of the cover, so it’s best to place important elements closer to the center. Try not to place anything important closer than 5 mm from the edge.
Step 6. Print the Cover.
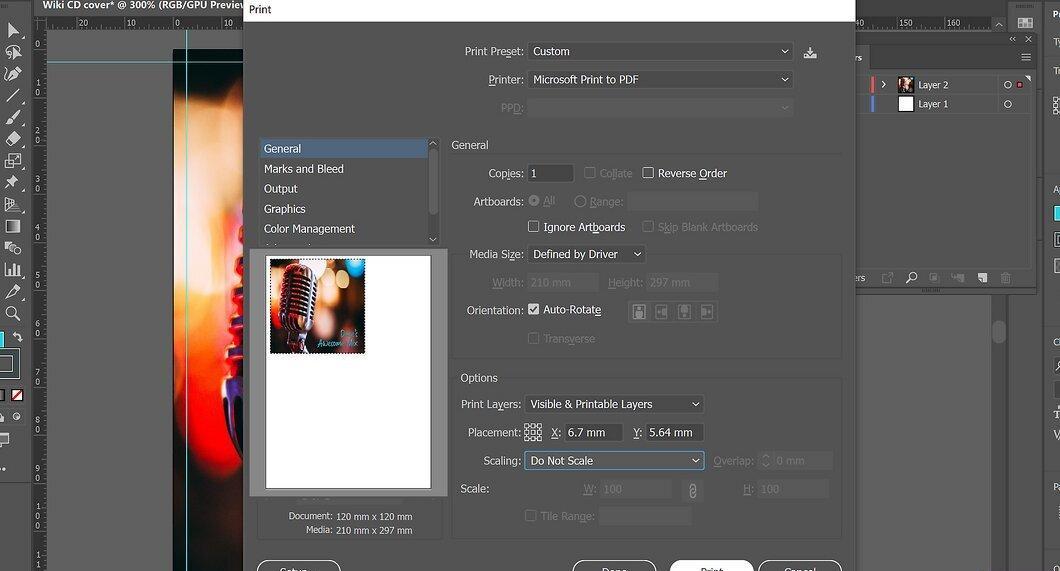
Print the cover. Ensure that the required cover sizes are maintained during printing. Select “Print Preview” to check the correctness of all sizes before creating a physical copy.
Step 7. Print on Special Sturdy Paper.

Print on special sturdy paper. This paper can be purchased at art supply stores or stationery. Cover paper usually has perforations along the edges to make it easier to separate the front and back covers.
- You may need to adjust your printer settings.
- You can also use regular printing paper if you plan to place the cover in a fairly sturdy case. It will look good enough.
Making Covers by Hand
Step 1. Prepare the Case.
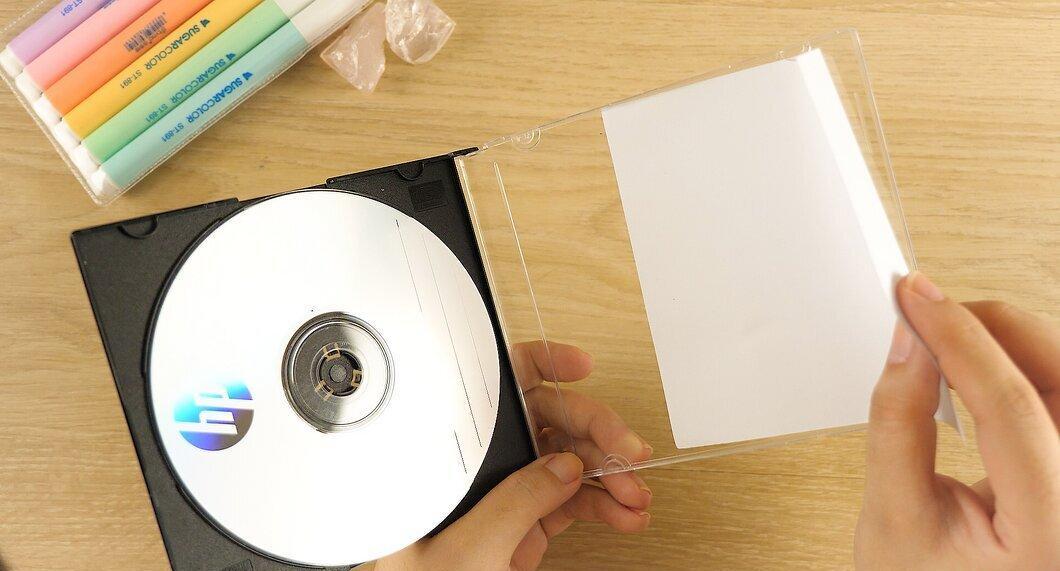
Prepare the case. If you want to make a new cover for a CD case, remove the old cover and prepare the case. Remove stickers, fingerprints, and other marks using a clean cloth and a small amount of isopropyl alcohol.
- You can also buy a new case for your disk. Cases come in full-size with room for a back cover, as well as slim cases with only a front cover. They are usually sold in bulk. As they deteriorate over time, it’s a good idea to buy new cases.
Step 2. Use Quality Cardboard.
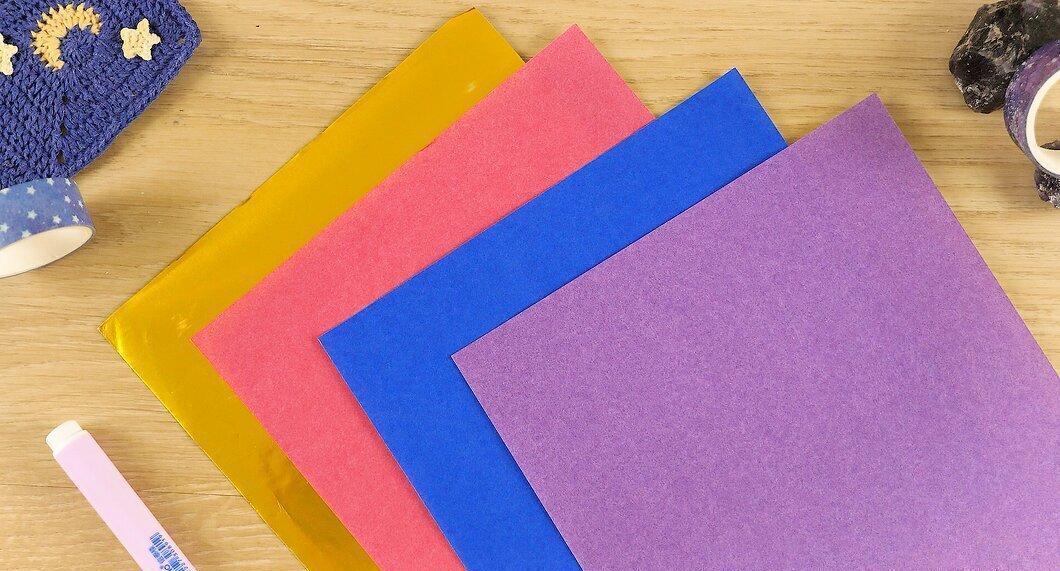
Use quality cardboard. Choose sturdy yet thin cardboard that will fit inside the case, cutting it to size. Follow these measurements:
- Front cover: 120 x 120 mm
- Back cover: 150 x 118 mm
Step 3. Plan the Cover.
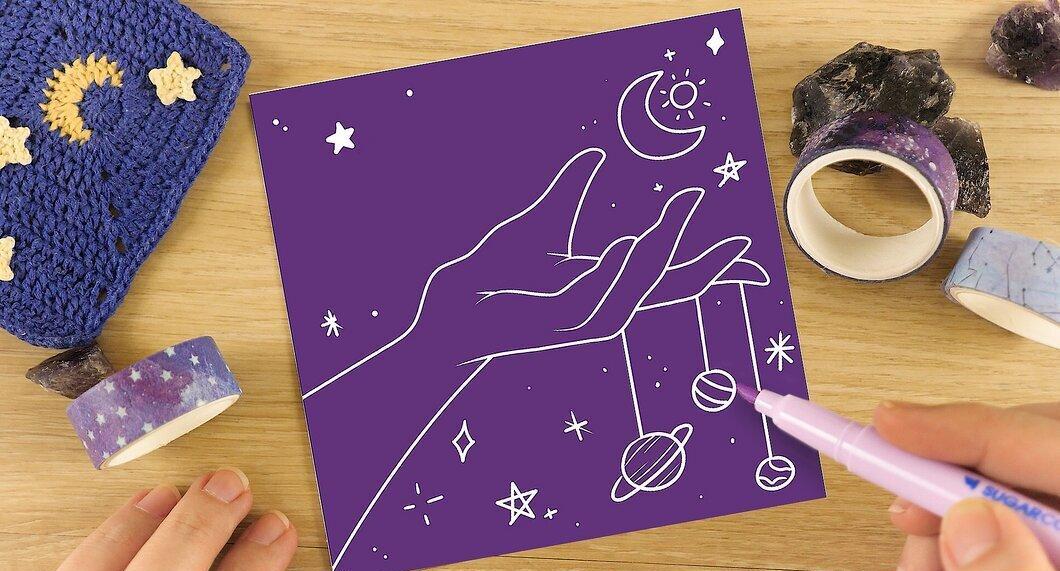
Plan the cover. The image you create can be simple or complex, depending on your desire. Considering the songs recorded on the disk and the images they might evoke, start reviewing old magazines, textbooks, photos, and other materials for your collage. It’s recommended to outline the boundaries of where different elements will go on the cover with a pencil as a template, but you can also just improvise.
- Old textbooks can be an excellent source of unexpected images and drawings that will make a great base for the cover. You can buy old textbooks at flea markets or collect discarded materials from the library.
- Try combining completely different elements to create a quirky cover. An image from an oatmeal box might unexpectedly look great on a punk rock music disk if you cut out the eyes from everyone in the picture.
- Once you gather all the images, start gluing them down with a regular glue stick. This may seem too simple, but a quality glue stick or rubber glue usually works best for adhering elements to the base.
Step 4. Decide on the Text.
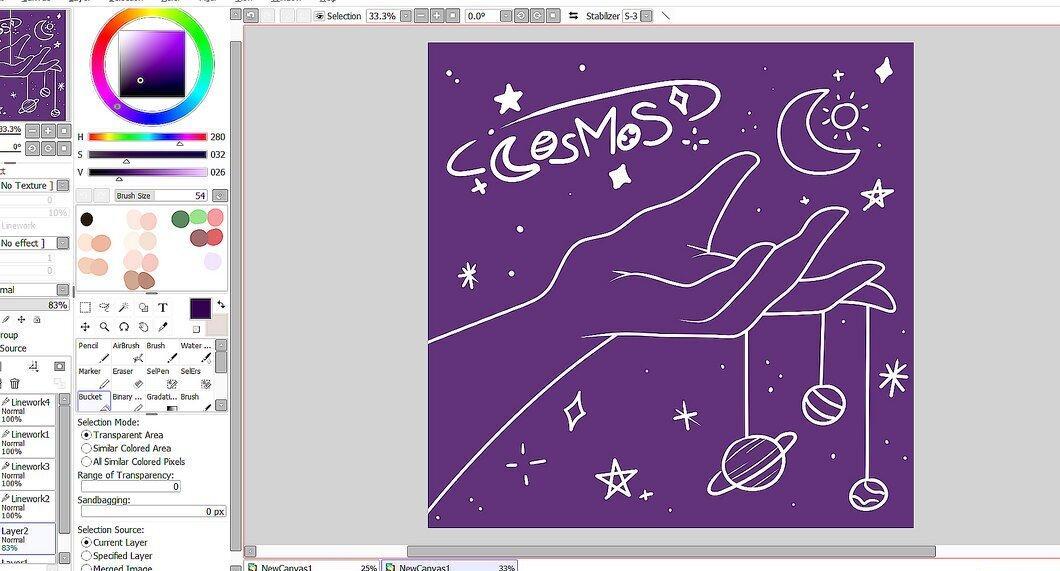
Decide on the text. You can outline the text by hand with a pencil and then trace it with a dark marker, or you can print out individual words and stick them alongside the images for a more homemade look.
- You can use stencils for creating text. Stock up on stencils and stamps at your local art store.
- Want a truly punk version? Make a ransom note. Cut out individual letters from newspapers and magazines to spell out the album and band name. This will look really unconventional.
Step 5. Scan the Finished Image.
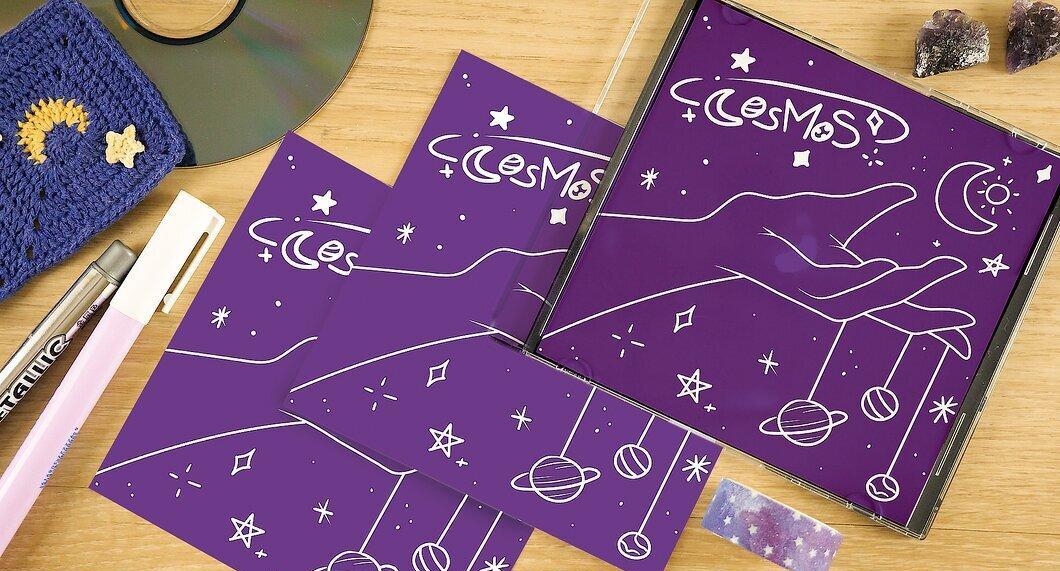
Scan the finished image. To reproduce your handmade cover, it’s best to scan the finished version, save it to your computer, and use the above instructions. This will be much easier than trying to recreate the final result manually.
- If you want to create a three-dimensional image that includes a collage and handmade elements, it’s also best to scan it and print it in two dimensions for the case.
Making a CD Envelope by Hand
Step 1. Use Regular Paper for the Envelope.
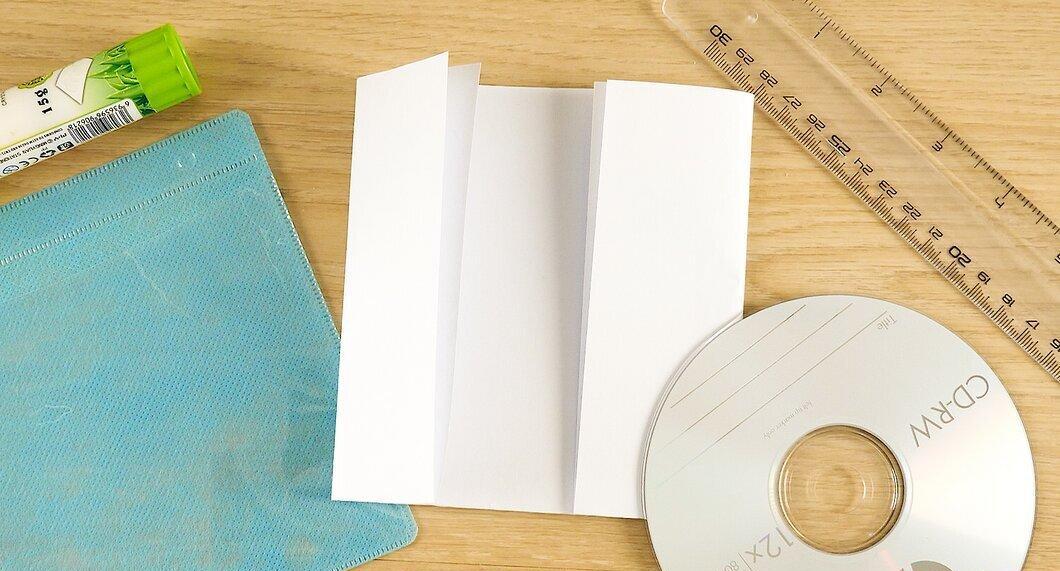
Use regular paper for the envelope. To make a standard CD envelope, you’ll need a sheet of paper, glue, and a folding tool. A ruler or a CD will suffice. Here’s what you need to do:
- Fold an A4 sheet of paper horizontally, leaving a 2.5 cm overlap.
- Fold both edges inward about 4.5 cm.
- Unfold the paper and refold the two vertical side strips, then place the disk in the pocket created by the longer edge under the vertical side strips.
- Fold it horizontally again and tuck the 2.5 cm overlap inside to create a square.
- Tuck the overlap into the resulting pocket and smooth it down with pressure.
Step 2. Secure the Folds with Staples or Glue.
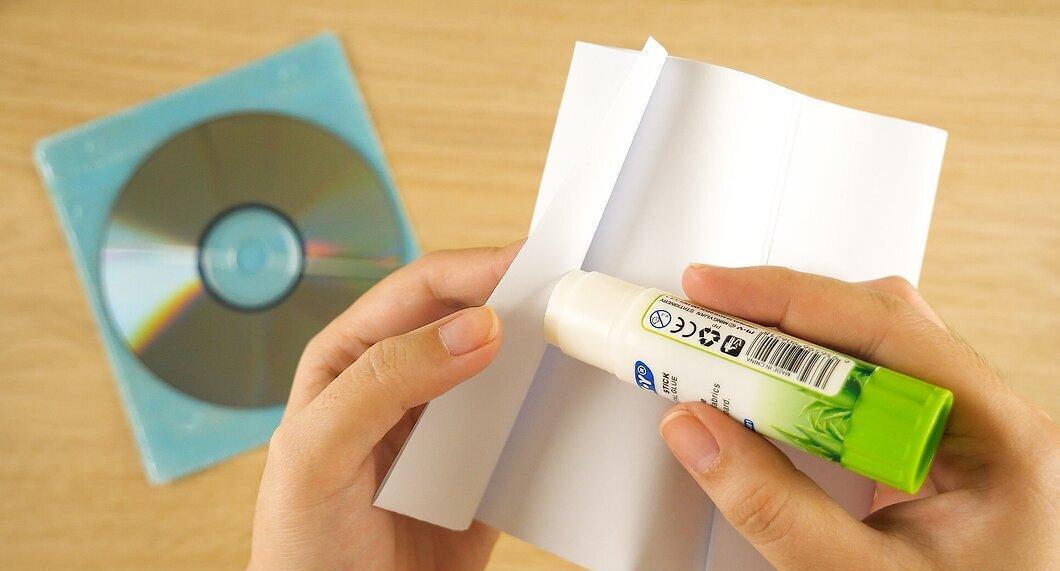
Secure the folds with staples or glue. Once the envelope is ready, it’s a good idea to secure it in its current position to keep the disk inside, so it doesn’t fall apart when you give it to someone. Use staples, glue, or just tape.
Step 3. Decorate the Envelope.
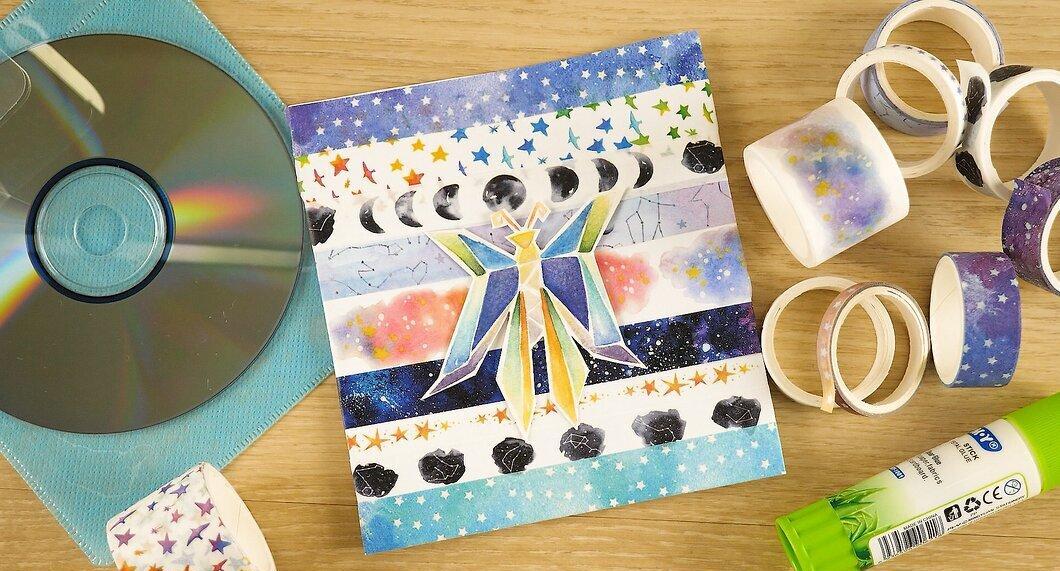
Decorate the envelope. To create a unique design, use the above tips, armed with old photos or drawings to embellish the outside of the envelope. It’s best to remove the disk from the envelope while you work to avoid accidentally damaging it with glue or ink.
- You can also decorate the paper before making the envelope, which will allow the image to wrap around the outside. Your envelope will turn out quite unique, as you won’t know where the folds will occur.
Step 4. For Protection, Place in Plastic.
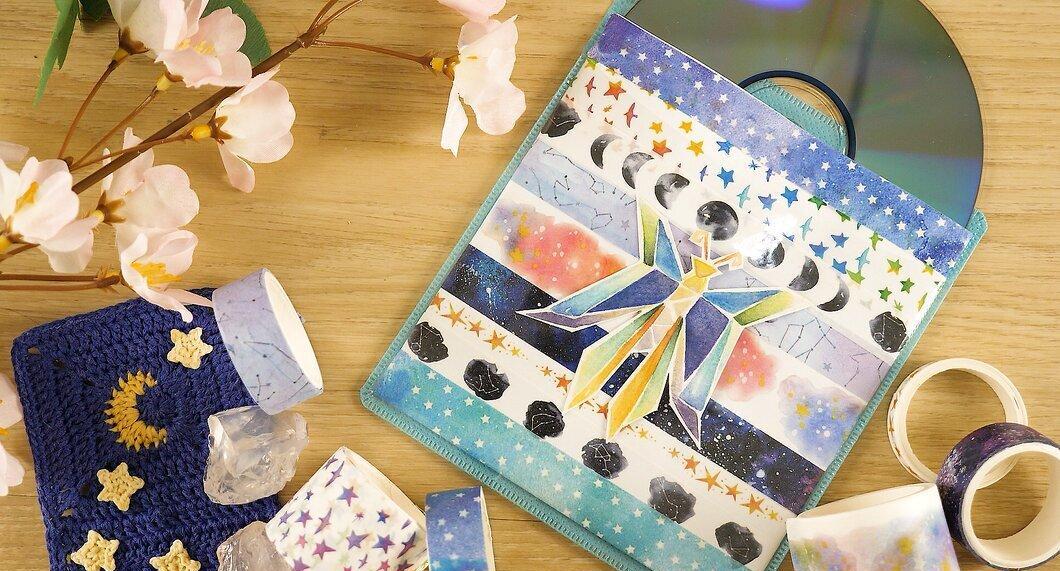
For protection, place in plastic. A little trick to protect your handmade envelope is to take pages from old CD brochures where they used to store them without cases and carefully cut out pockets. You can even use just these pockets, simply placing a card with the tracklist next to the disk.


