How to Make Cold Porcelain at Home: A Step-by-Step Guide
Creating cold porcelain is an accessible and fun process that doesn’t require real porcelain. This material has great elasticity, dries quickly, and becomes strong at room temperature without the need for high heat.
Required Ingredients
Step 1: Mix Cornstarch and Glue
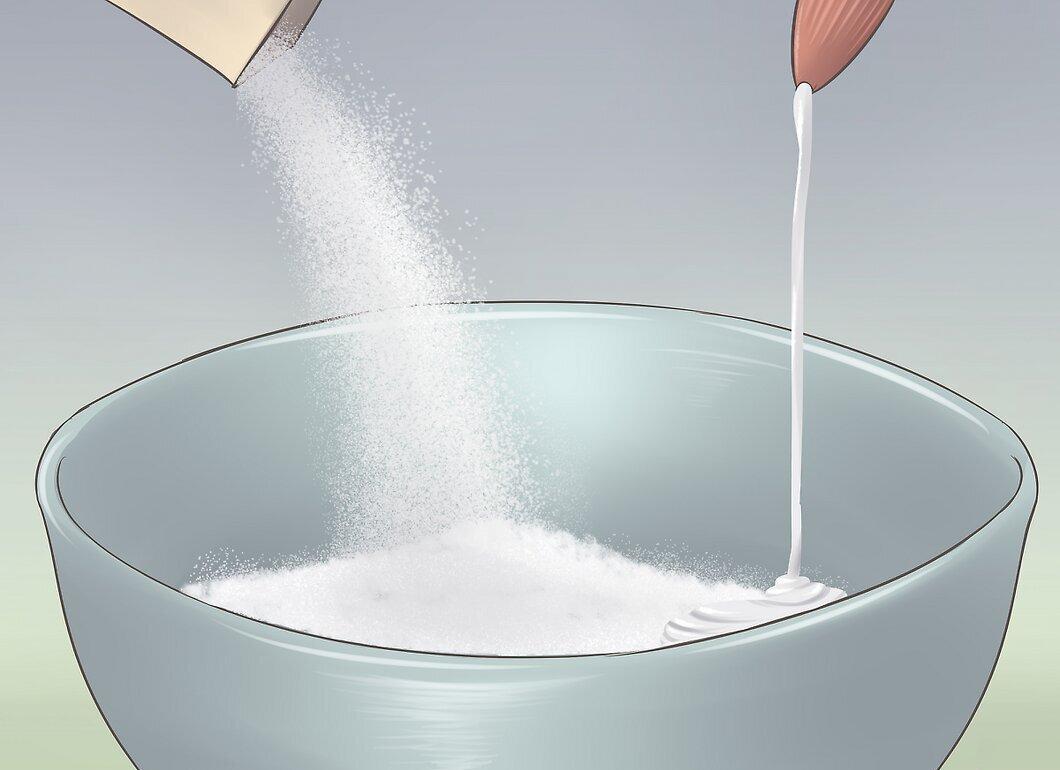
Take 1 cup (240 ml) of cornstarch and 1 cup (240 ml) of PVA glue. Make sure to use microwave-safe containers.
Step 2: Add Baby Oil and Lemon Juice
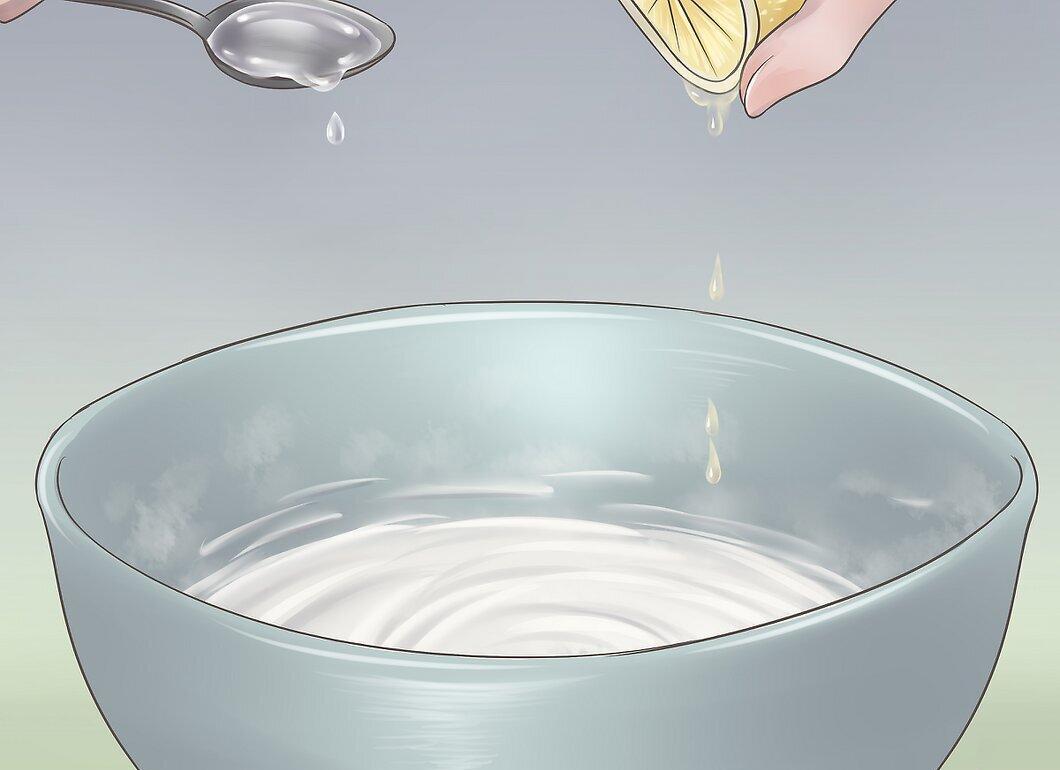
In another bowl, mix 2 tablespoons (30 ml) of baby oil and 2 tablespoons (30 ml) of lemon juice. You can use alternative ingredients listed in the “Ingredients” section. Stir well until you achieve a uniform consistency.
- Lemon juice is optional, but it helps prevent mold.
Step 3: Heat the Mixture in the Microwave
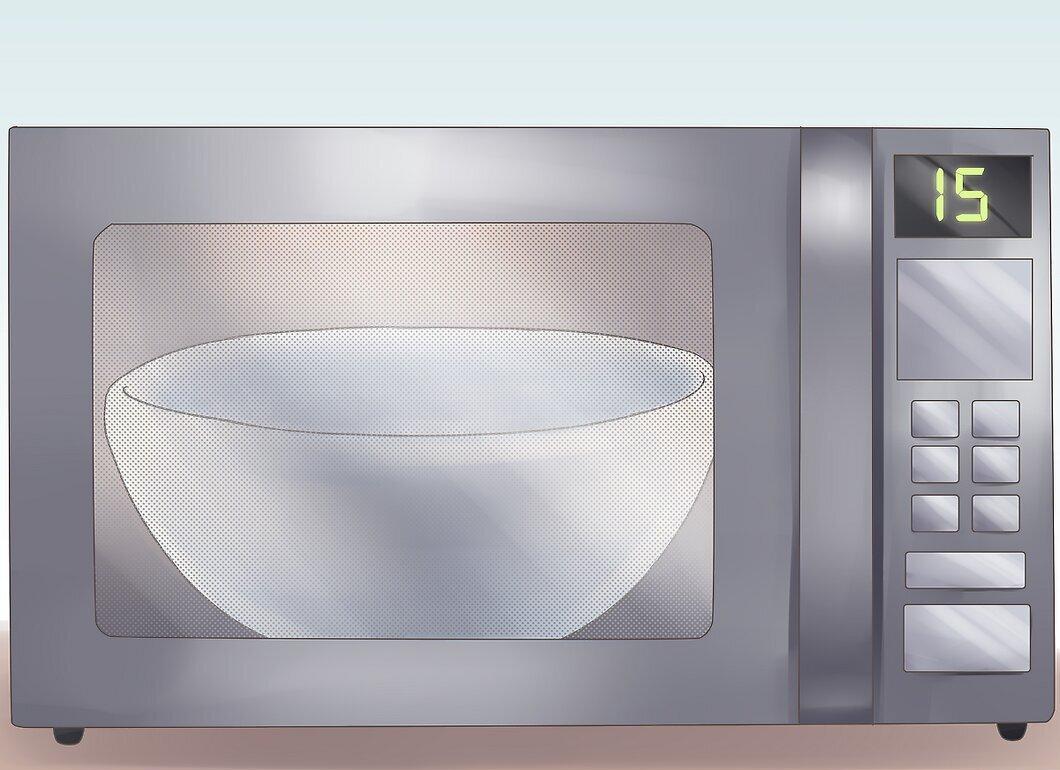
Place the bowl with the mixture in the microwave for 15 seconds. Then take it out, stir, and return it to the microwave for another 15 seconds. Depending on your microwave's power, you may need to repeat this process 3-9 times for 15 seconds each.
- During heating, lumps may form, so be sure to stir the mixture frequently.
- When the mixture becomes sticky and lumpy, it’s time to move on to the next step.
- It’s better to slightly undercook than overcook, as you can fix the latter.
Step 4: Prepare Your Work Surface
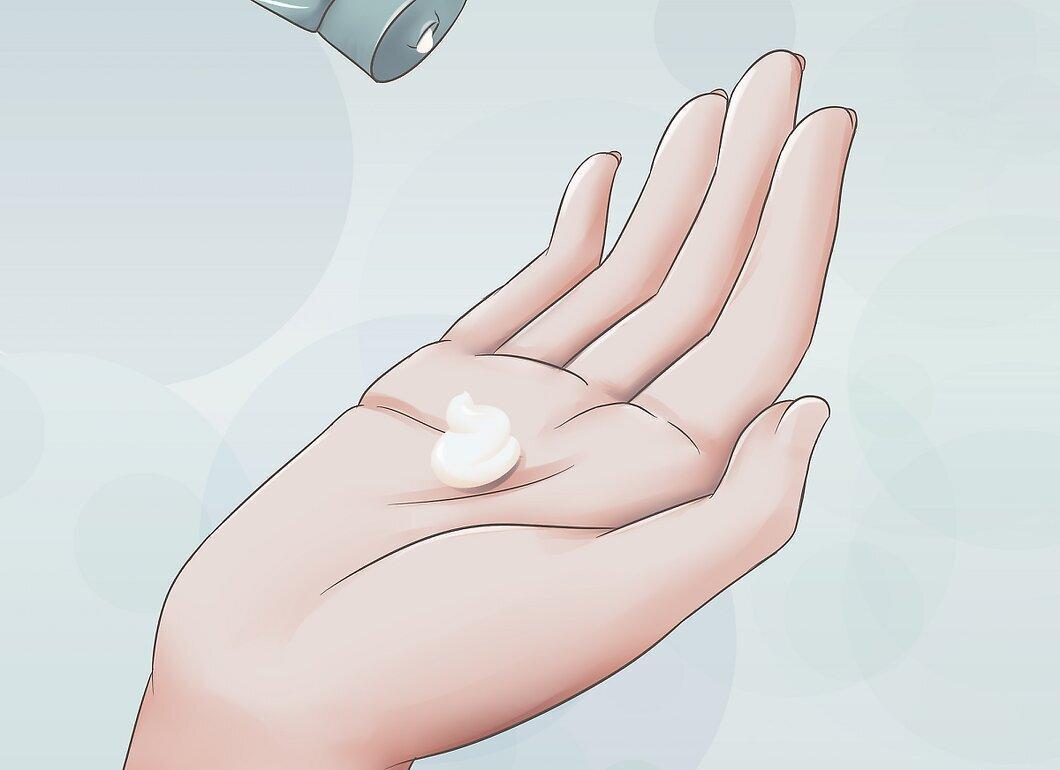
Apply some lotion to your hands and the surface you will be working on. This will help prevent the mixture from sticking to your hands and the table. You can prepare the work surface while the mixture heats in the microwave.
Step 5: Knead the Mixture
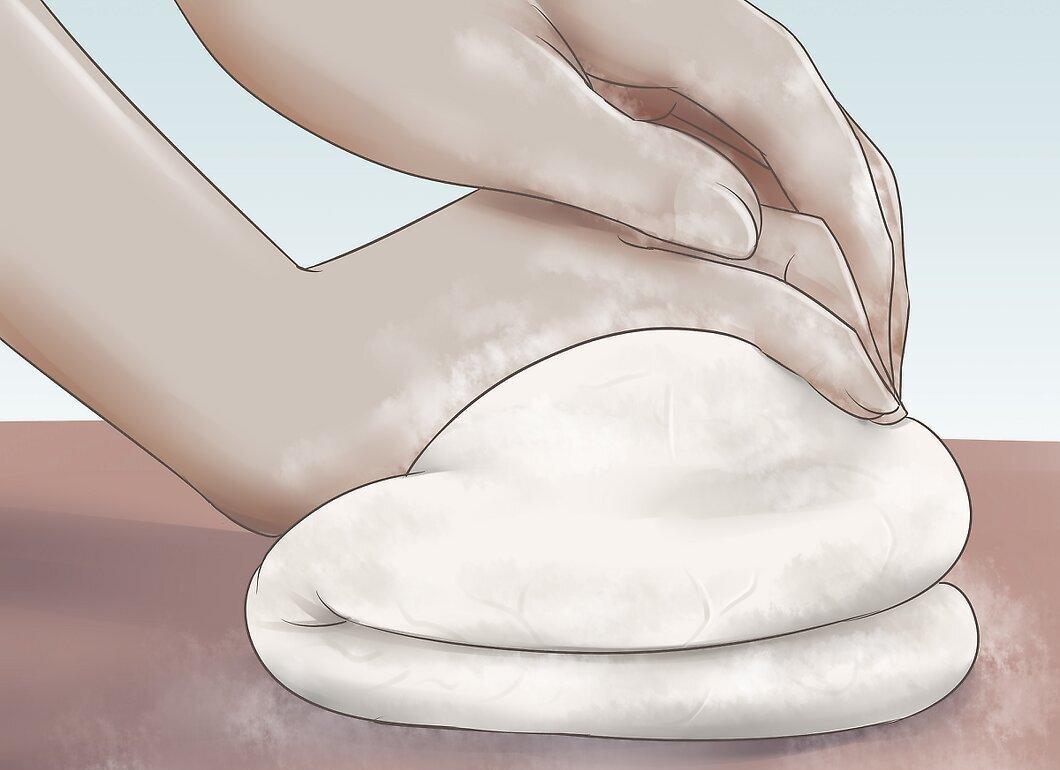
Start kneading the mixture as soon as you take it out of the microwave. Knead until it cools down.
- Typically, the mixture cools to room temperature within 10-15 minutes. Knead it actively during this time.
Step 6: Wrap the Mixture and Let It Rest
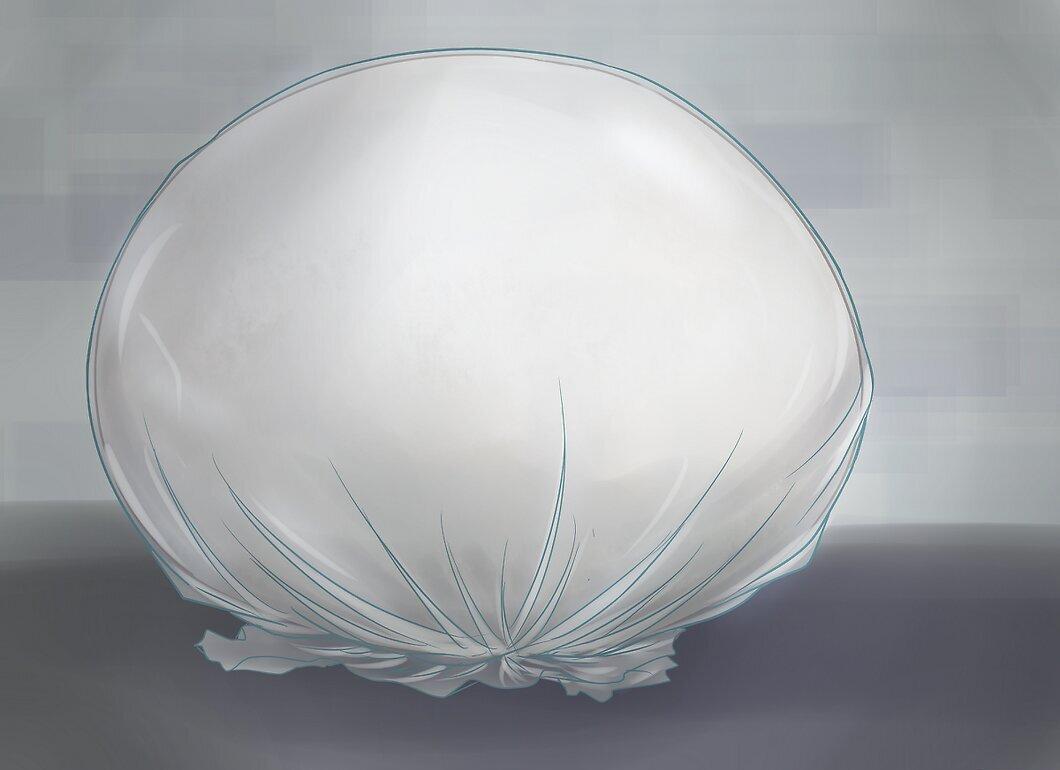
Wrap the mixture in plastic wrap and leave it for 24 hours. Place the dough in an airtight bag or wrap it in food film. Store it in a dry, cool place for a day.
- Before wrapping, coat the film or bag with lotion.
- For better sealing, roll the mixture into a “log” and wrap it, tying the ends.
- Store the mixture in the refrigerator or in a dark place away from heat and moisture.
Step 7: Check Readiness
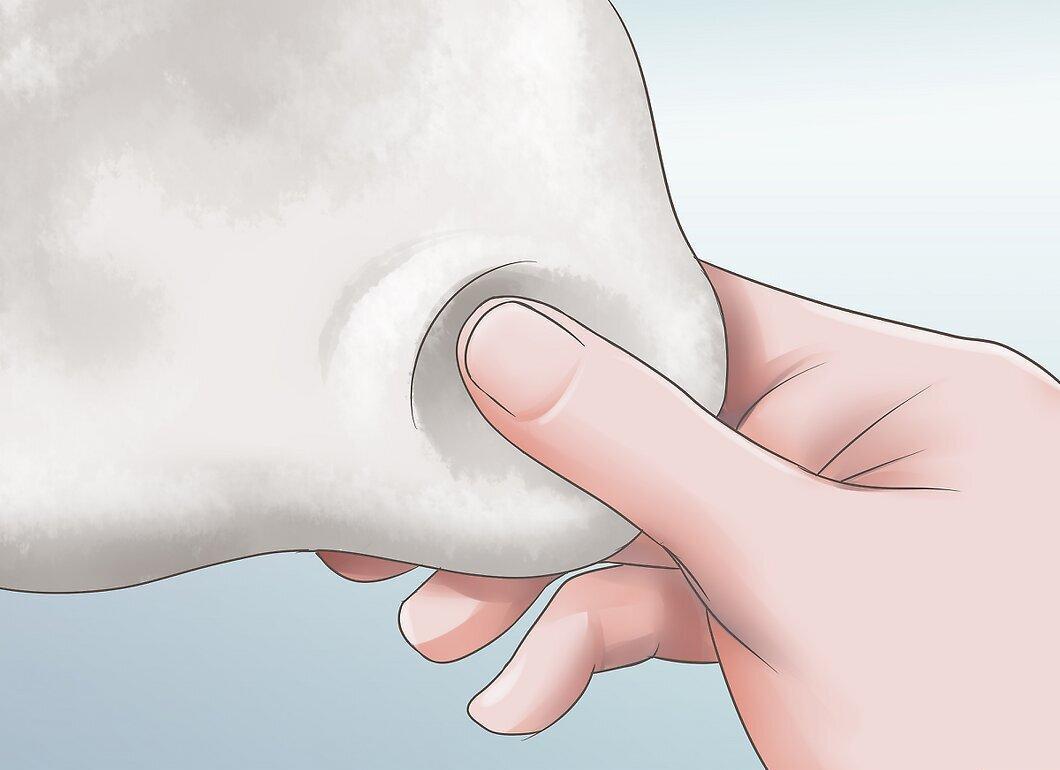
After a day, check the consistency. Take out the cold porcelain and assess it. It should be ready for use.
- Try to pinch off a small piece and gently tear it. If done correctly, the cold porcelain will stretch, and you’ll have little tear-shaped bits in your hands.
- If it’s too sticky, roll it in cornstarch and knead it again.
- If the porcelain looks dry or brittle, you probably over-dried it. In that case, add a bit of oil or mix it with a new, less prepared batch.
Microwave Method
Step 1: Mix Ingredients
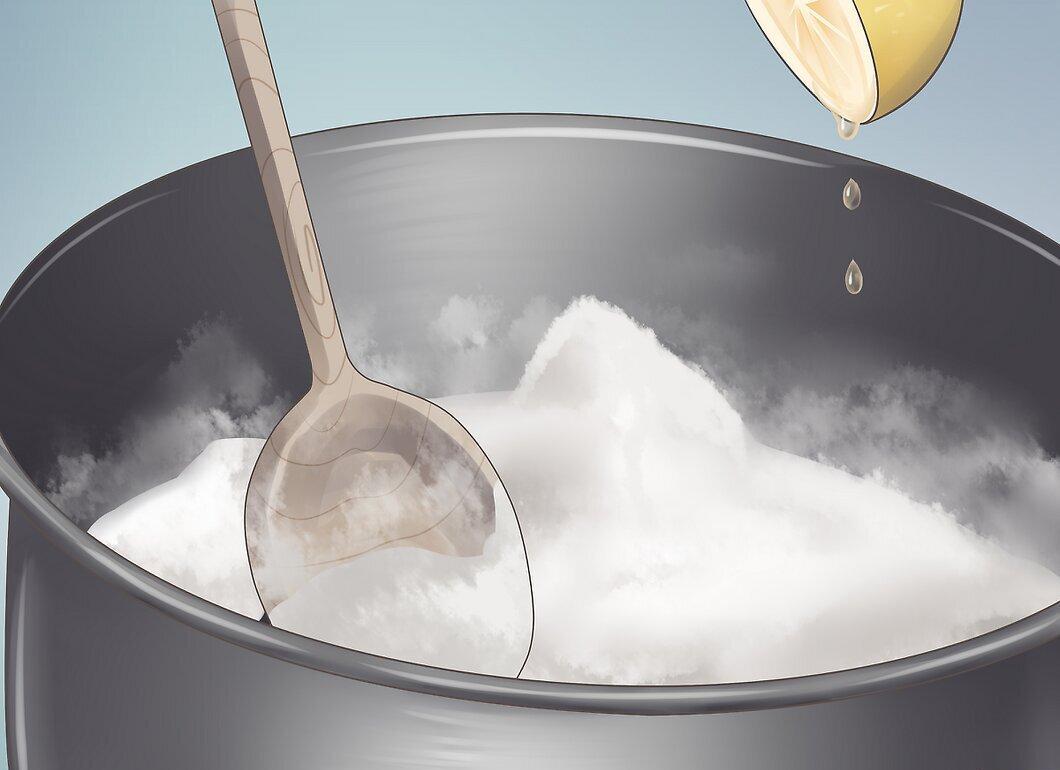
In a pot, mix all the components: 1 cup of cornstarch, 1 cup of PVA glue, 2 tablespoons of olive oil, and 2 tablespoons of lemon juice.
Step 2: Cook Over Low Heat
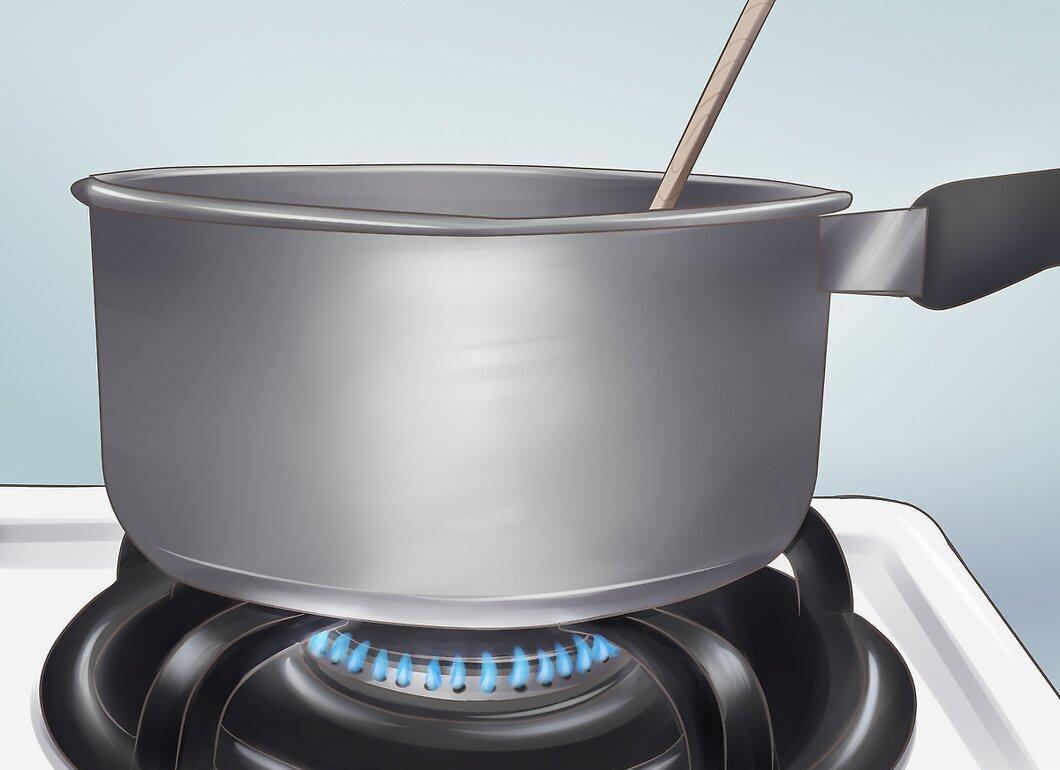
Cook the mixture over low heat for 10-15 minutes. Remove the pot when the mass no longer sticks to the sides. It should resemble ricotta cheese.
Step 3: Knead the Cool Mass
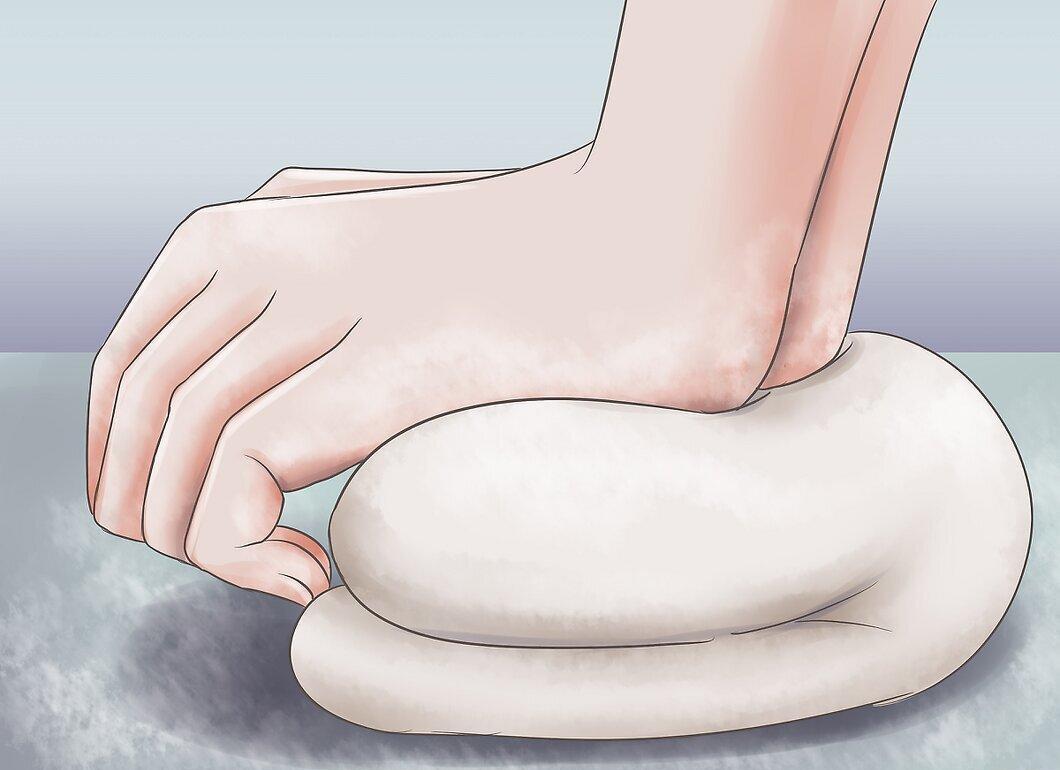
Let the mass cool slightly to avoid burning your hands, then start kneading until completely cool.
Step 4: Store in an Airtight Container
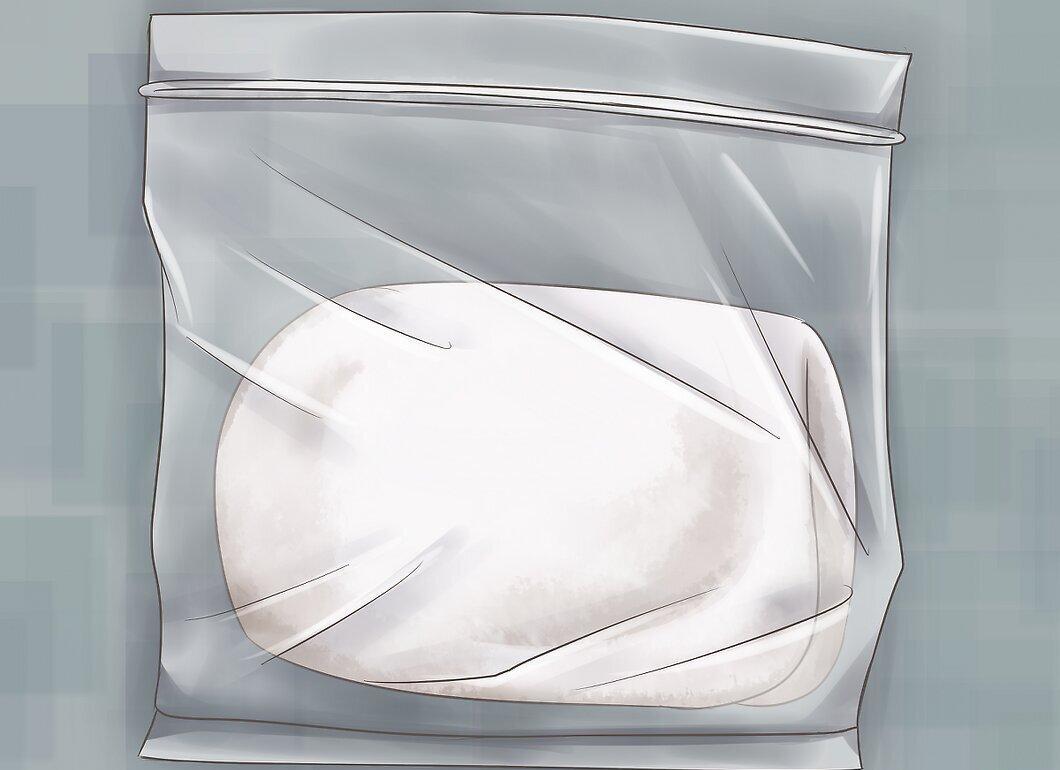
Place the mass in an airtight bag or wrap it in plastic. Store in a cool, dark place.
Step 5: Ready in 24 Hours
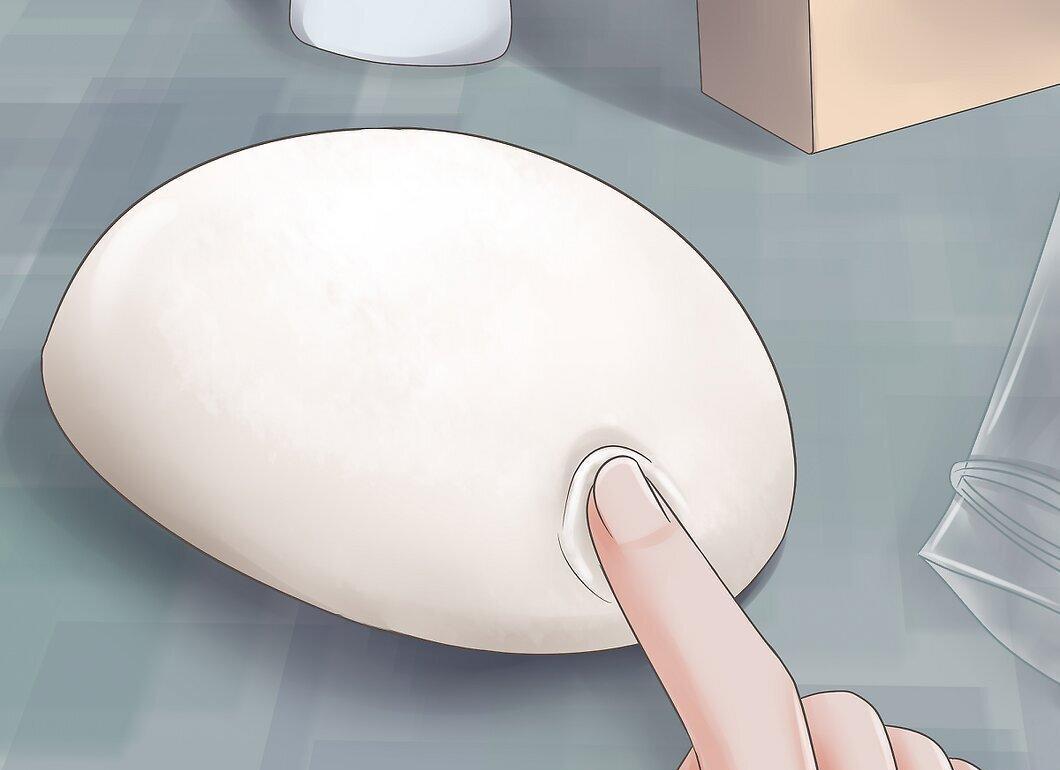
Cold porcelain will be ready after 24 hours. If it’s too dry, add oil and knead; if it’s too sticky, add cornstarch and knead again.
On the Stove
Step 1: Adding Colors
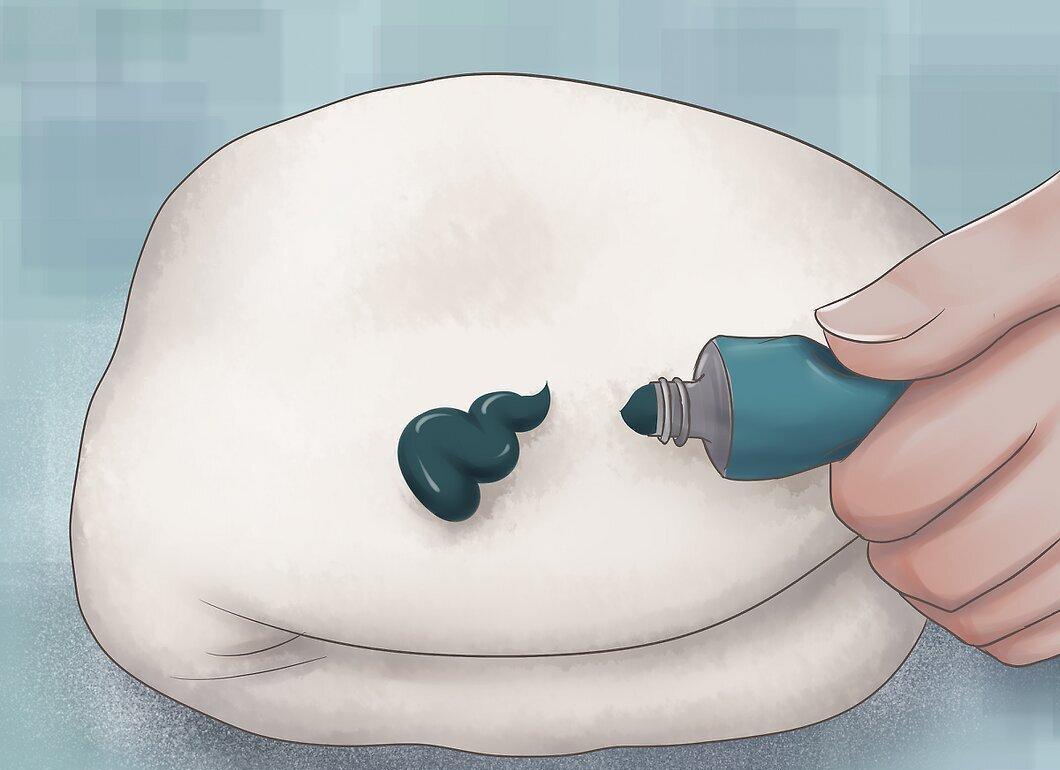
If you want colored porcelain, add acrylic or oil paints to the mass and mix well.
- Adding colors for the first time will reduce the shelf life of the porcelain.
Step 2: Stir Before Shaping
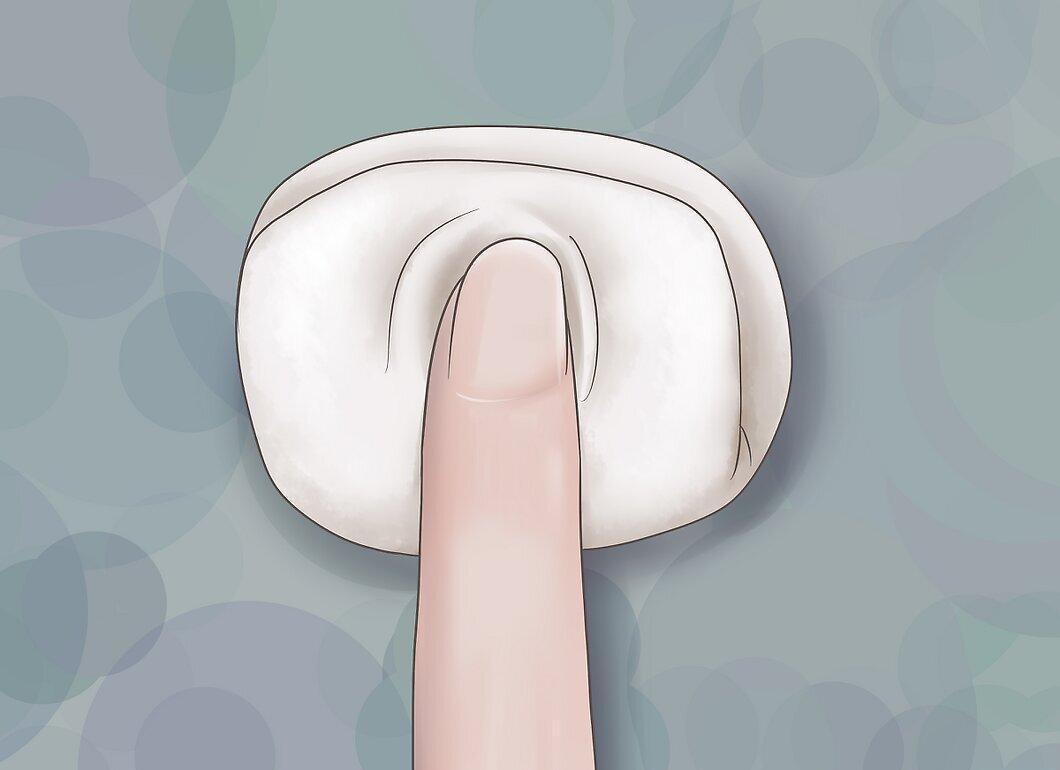
Before shaping a new piece, knead it thoroughly to improve elasticity.
Step 3: Shape the Item
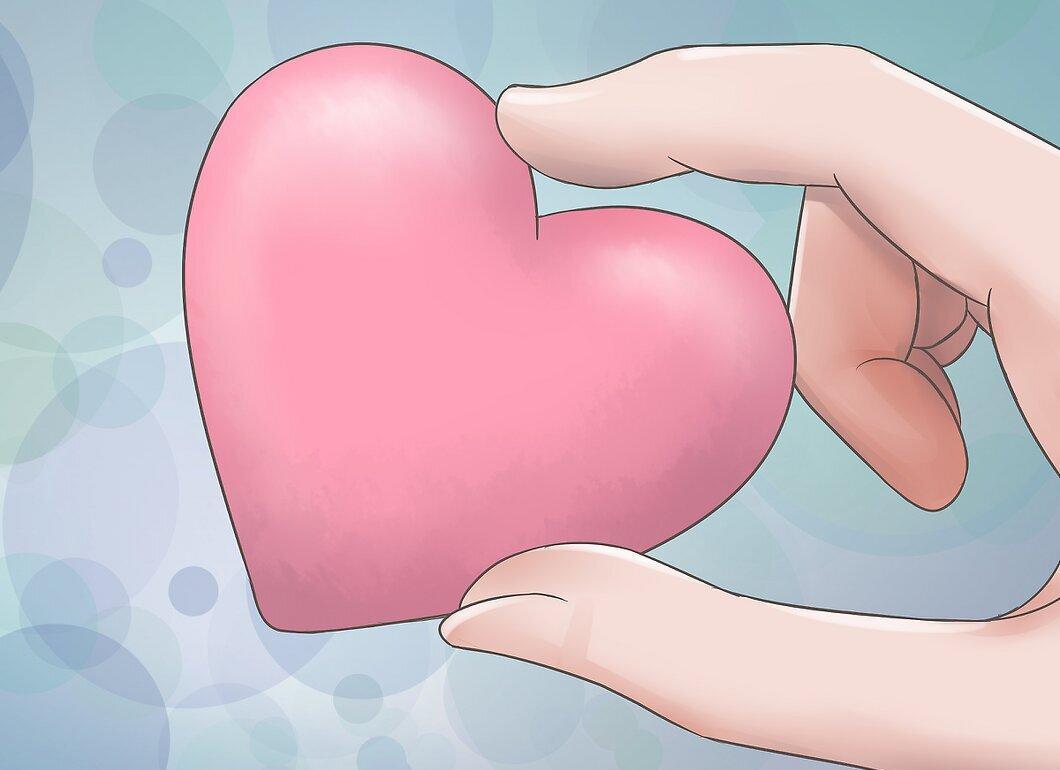
Give the porcelain the desired shape. When prepared correctly, you can sculpt even the thinnest details.
Step 4: Join Parts
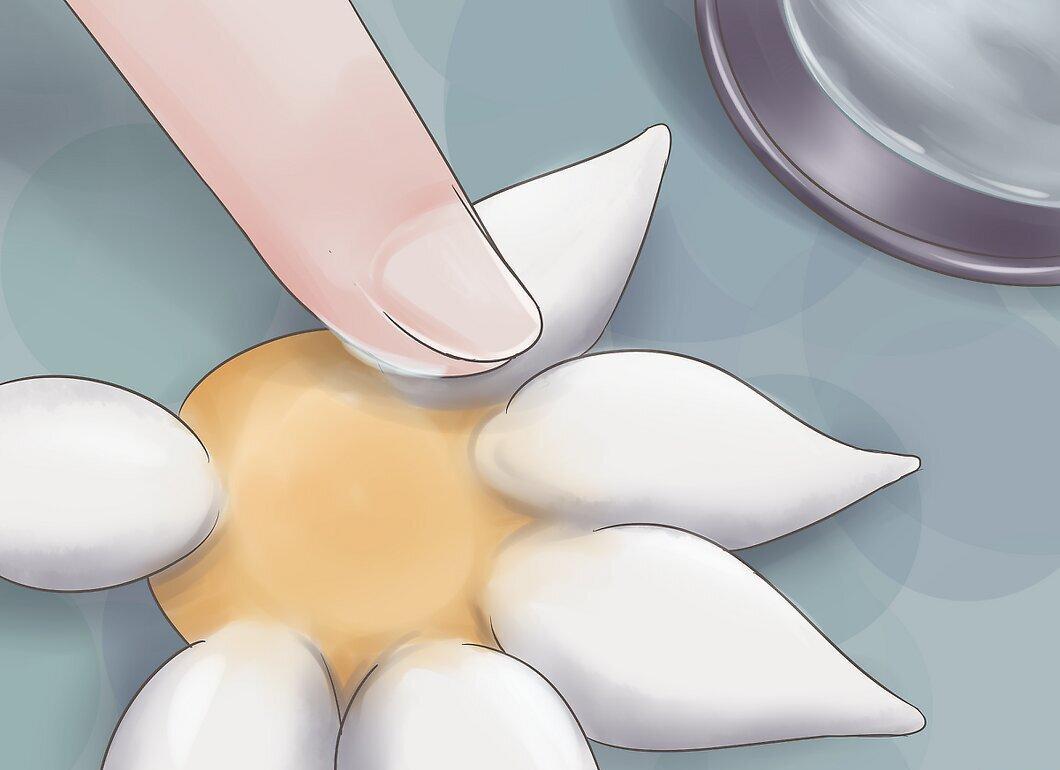
Join parts of the item using water: spray them and smooth the seams with wet fingers.
- You can use PVA glue to bond dry parts.
Step 5: Use a Base for Larger Items
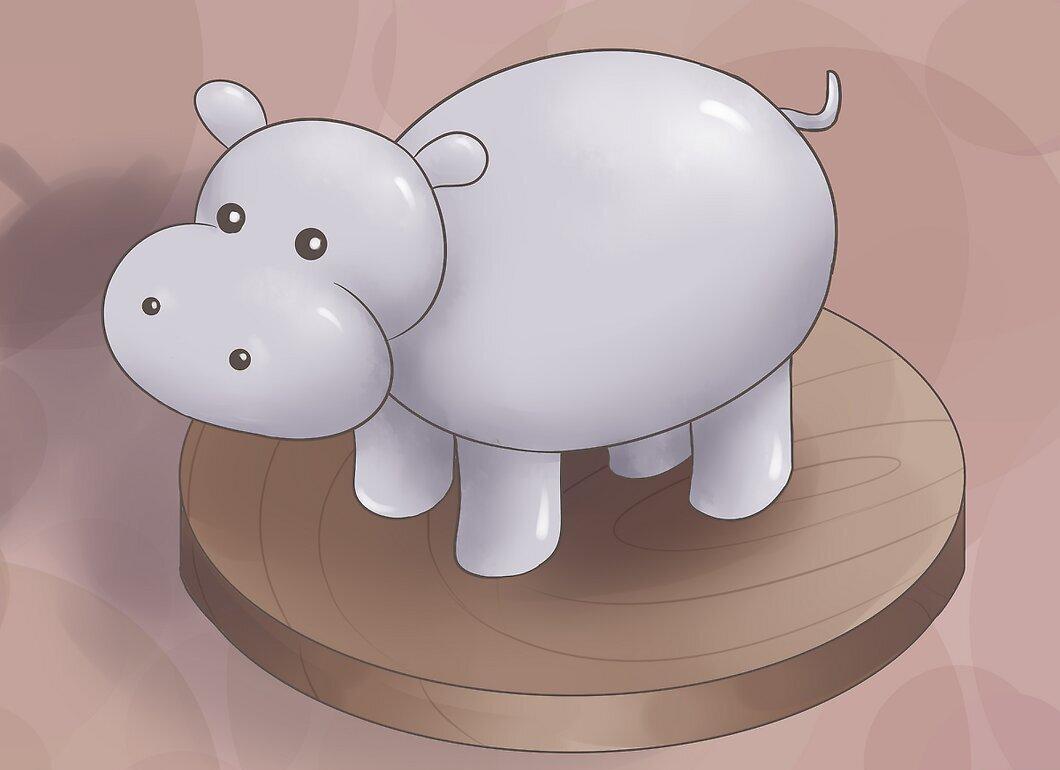
Note that cold porcelain shrinks as it dries. For larger parts, use a thin layer of clay.
Step 6: Let the Item Dry
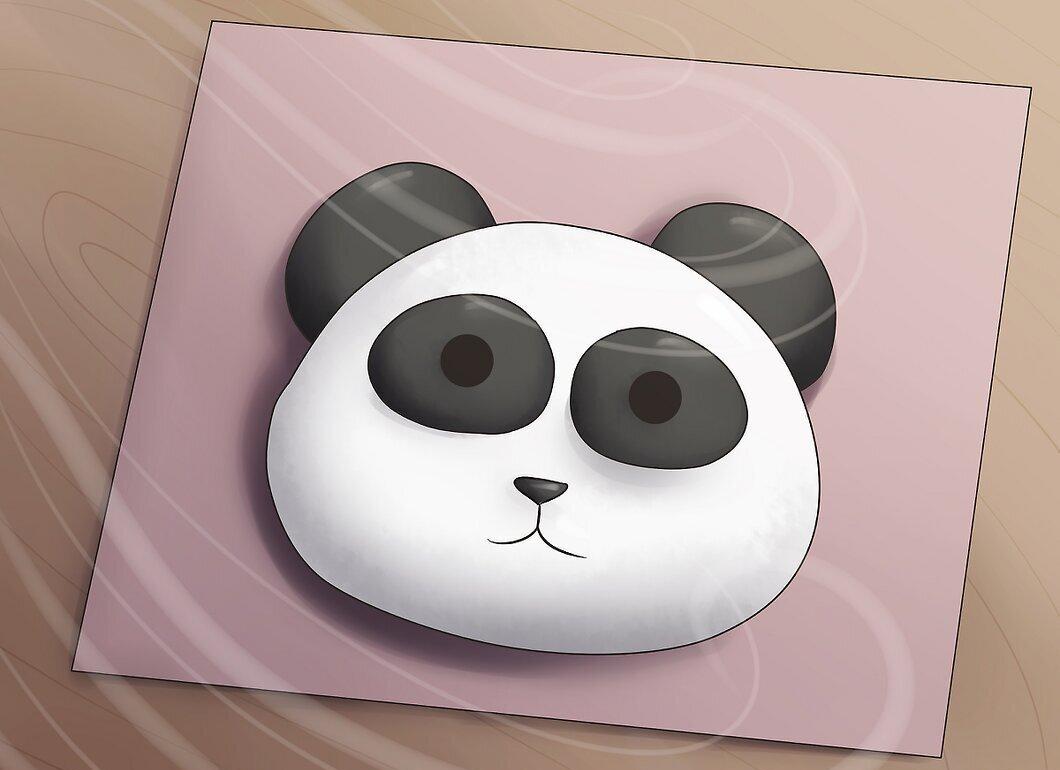
Cold porcelain dries at room temperature without additional heating.
- Drying time depends on the size of the item and environmental conditions. Check its readiness regularly.
Step 7: Apply a Finish
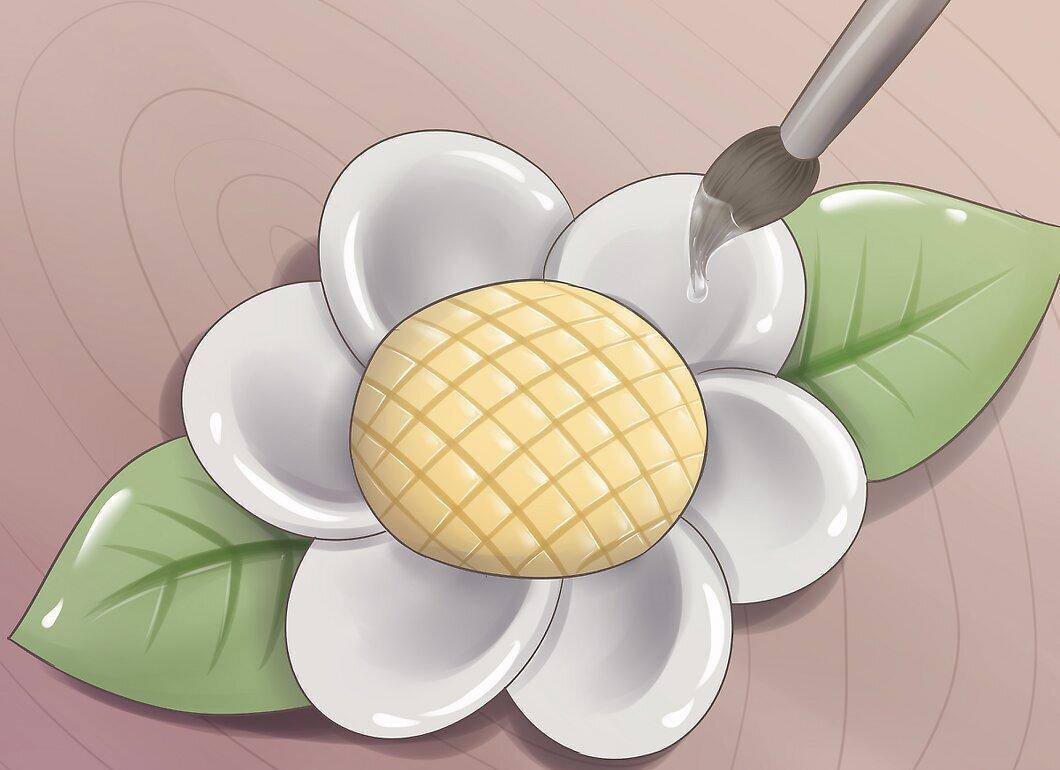
Coat the finished item with varnish to protect it from moisture and high temperatures. Store in a dry place if possible.
- There are many types of varnish available, including matte and glossy, suitable for coating clay items. A clear acrylic sealer will also work.