
Some gardeners believe that liquid fertilizer is an excellent way to boost plant growth and enhance soil quality, as cow manure is rich in nutrients. Although some argue that this type of fertilizer is less effective than compost tea and may not meet organic farming standards, you can use this method for your garden if you plan to grow vegetables and fruits for yourself. This article will explore different ways to turn cow dung into useful liquid fertilizer.
How to Make Fertilizer in a Bag or Net (Anaerobic Method)
Step 1. Follow Safety Precautions.

Make sure to follow safety precautions. Wear gloves when handling manure of any kind. Always protect your skin from contact with manure to avoid harmful microorganisms. If you have immune system issues, are pregnant, or feel unwell, it's best to postpone this task. If you're concerned about inhaling harmful particles, wear a mask.
Step 2. Place the Container in a Remote Location.
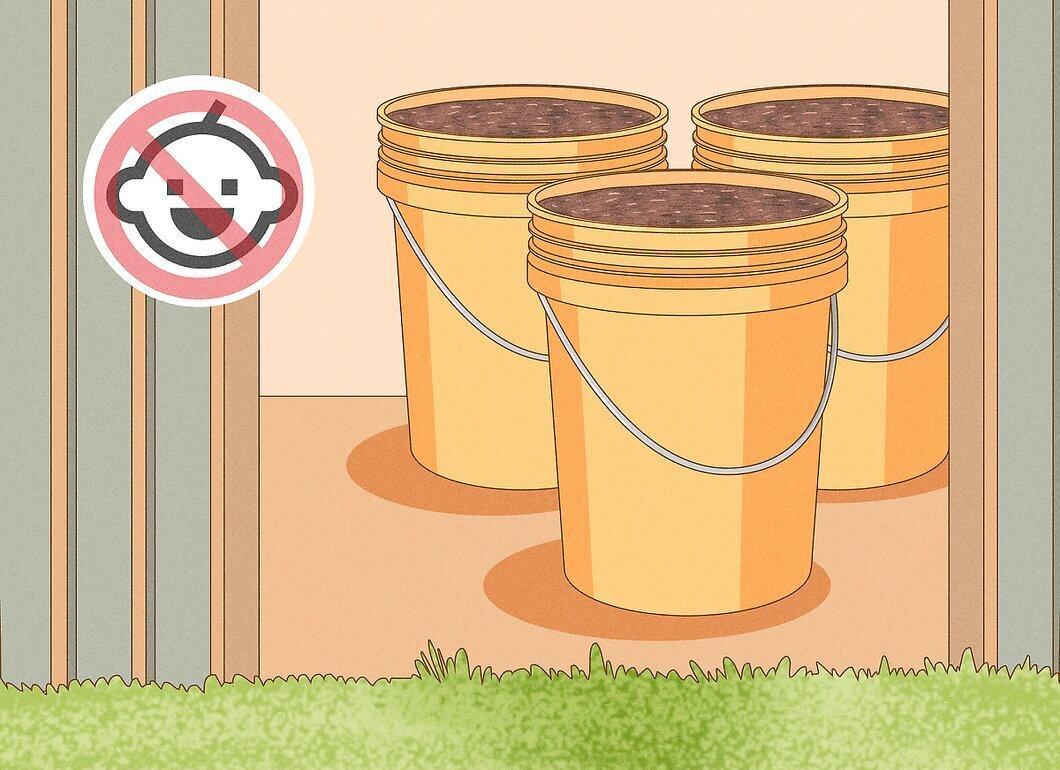
Try to place the container away from your living area. The smell can be strong, so it’s better to keep it in the backyard or behind a shed. Ensure that children and pets cannot access it. Be sure to inform your family members about what you are doing so that no one accidentally stumbles upon the container.
Another Anaerobic Method
Step 1. Collect Sun-Dried Cow Dung.
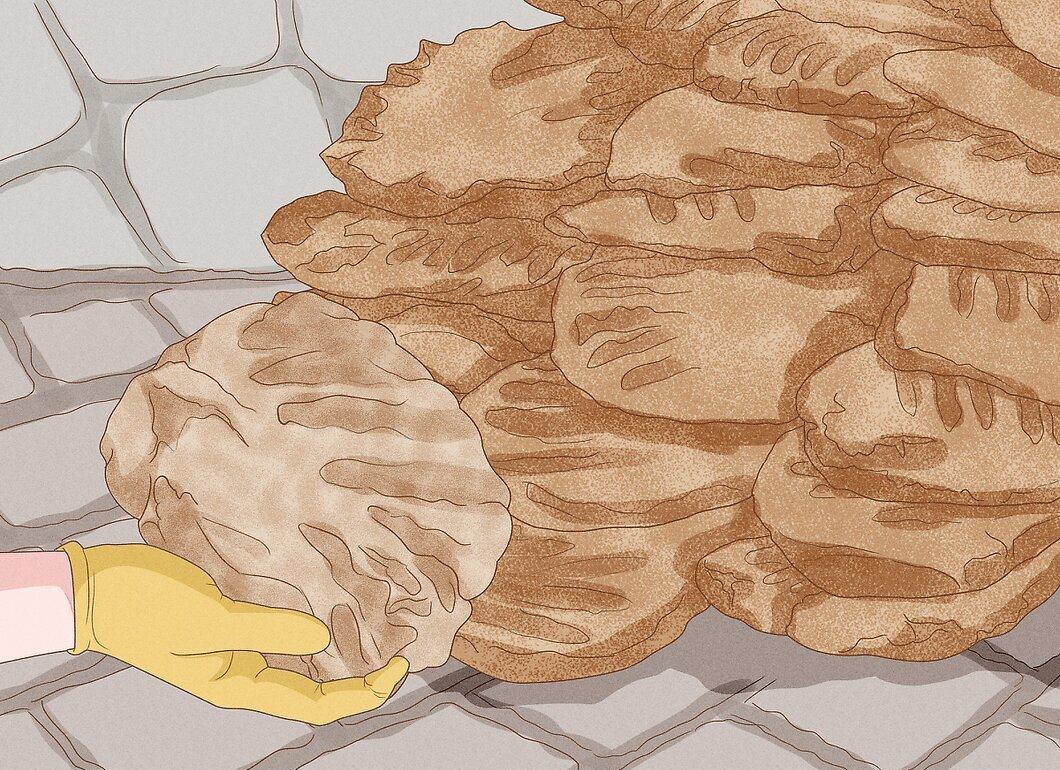
Gather a few completely dried cow dung patties. They should not have an unpleasant odor. You can find them in the pasture or dry them yourself in your backyard. Do not use patties that are still wet!
Step 2. Chop the Patties into Small Pieces.
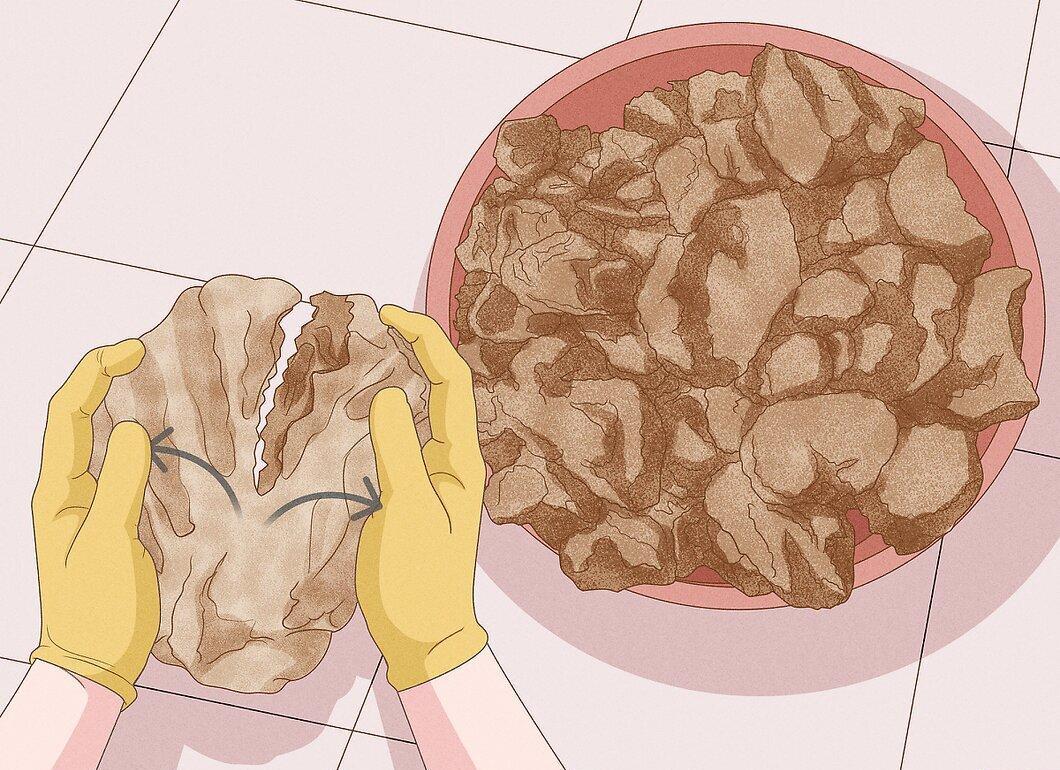
Step 3. Pack the Pieces in a Net or Bag.
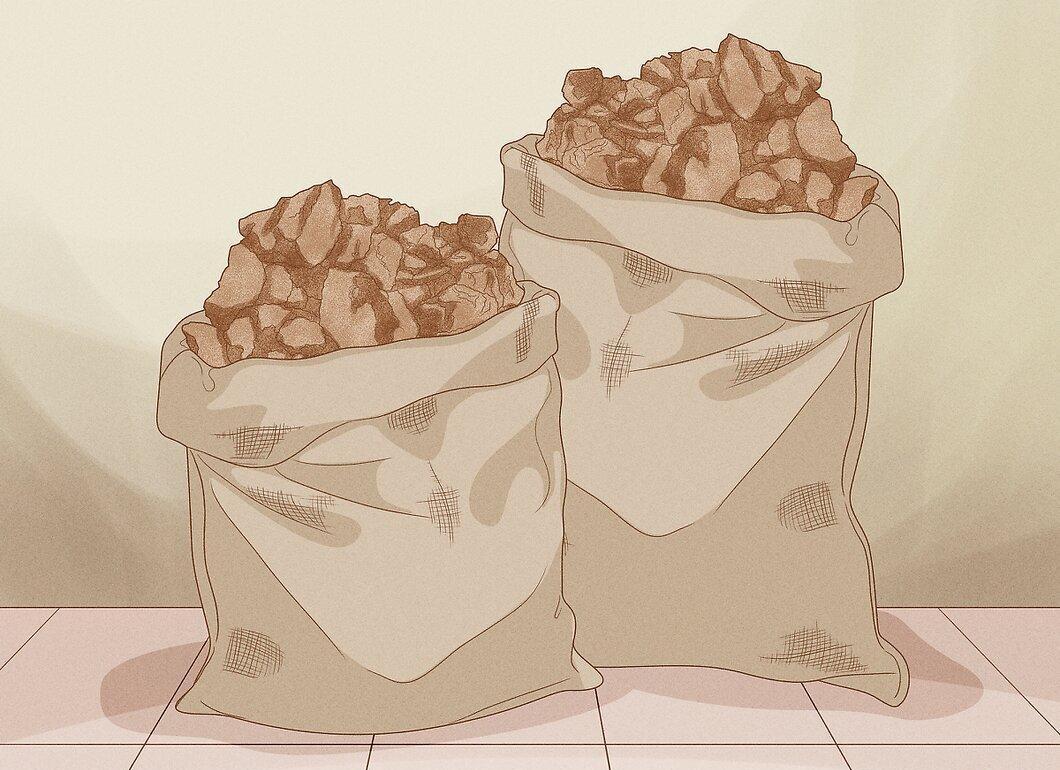
Place the chopped pieces in a mesh bag. Onion or orange bags work well if they are large enough. Fill the bag to the brim.
Step 4. Submerge the Bag in a Large Barrel of Water.
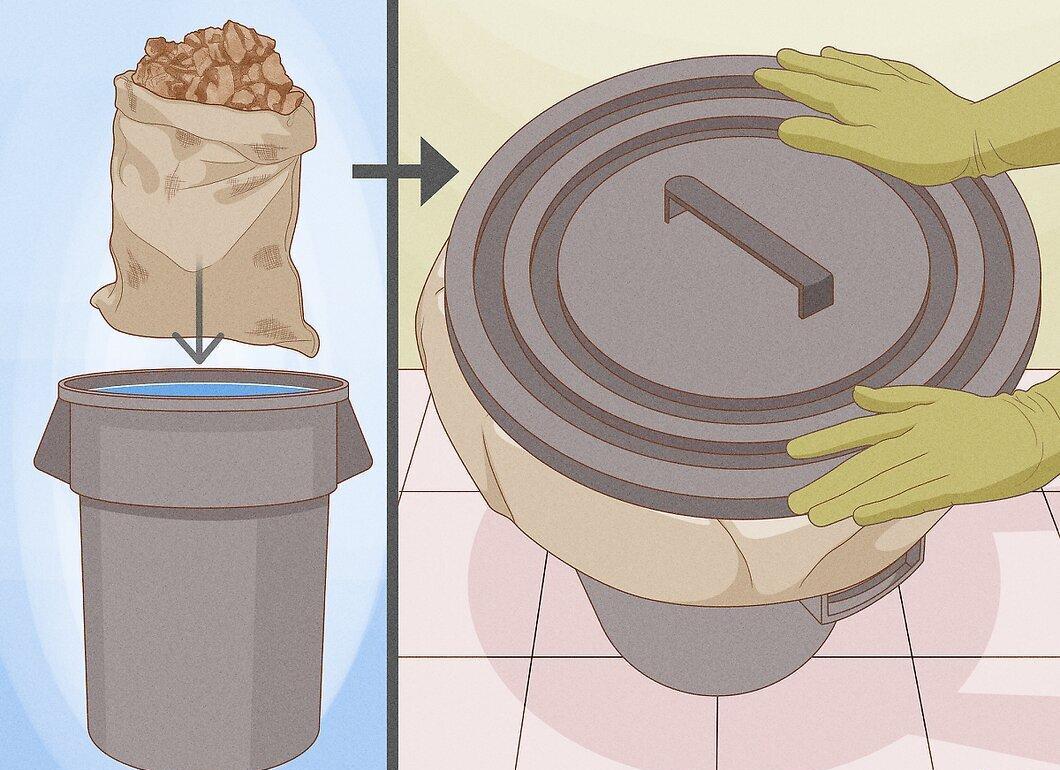
Hang the bag in a large trash barrel filled with water. Cover it with a lid to prevent flies and other unwanted visitors from getting in.
Step 5. Leave the Bag in the Barrel for Three Weeks.
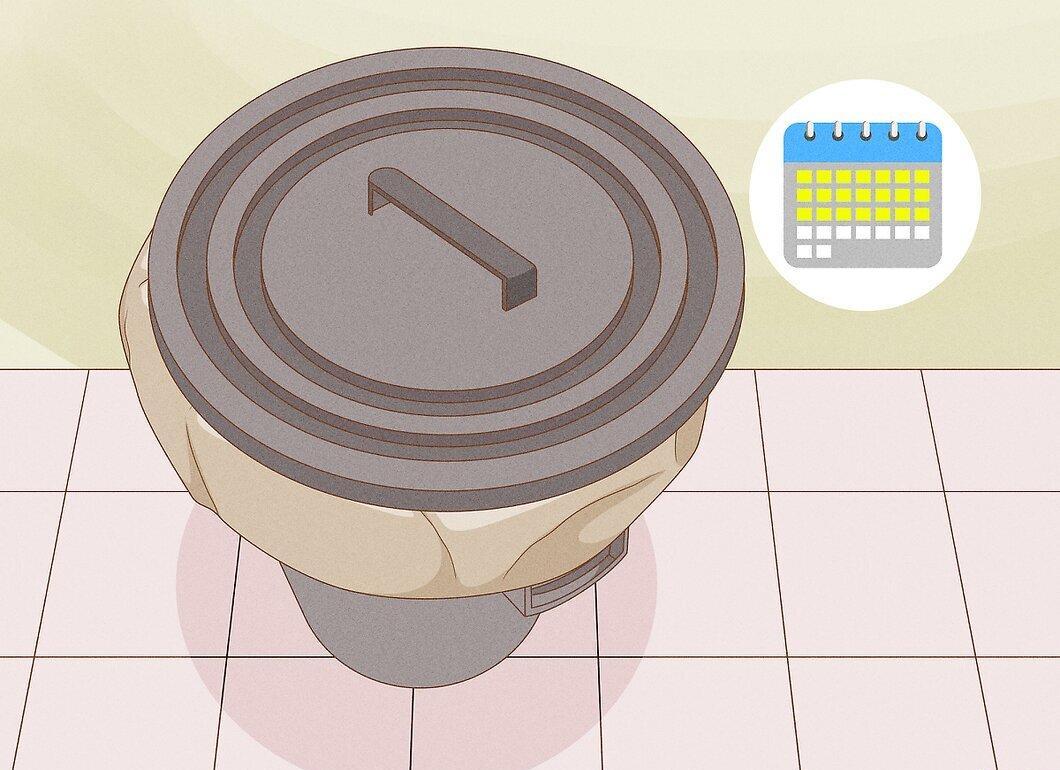
Leave the bag in the water for three weeks. This time will allow the manure to decompose and dissolve in the water. During this period, remember to gently lift and lower the bag to speed up the process.
Step 6. Apply the Liquid.
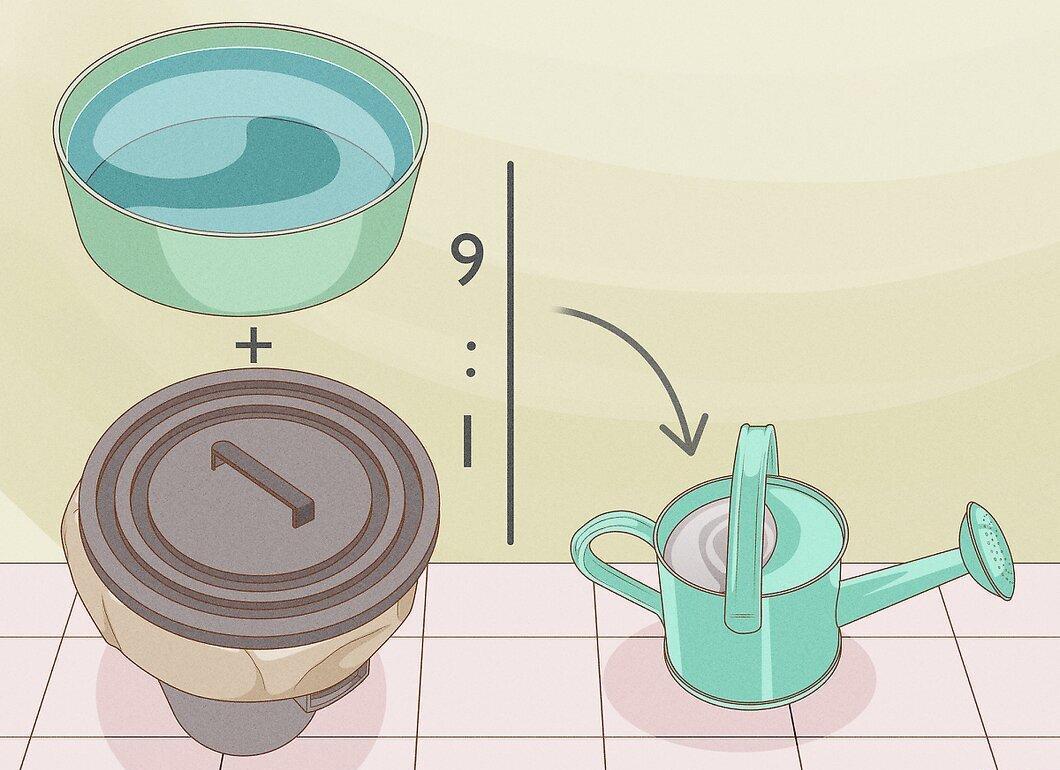
After three weeks, you can use the resulting liquid fertilizer to feed your plants. Be sure to dilute it at a ratio of 9 parts water to 1 part fertilizer before applying. This diluted form is suitable for most plants, including seedlings.
Alternative Methods
Step 1. Use a Barrel, Bucket, or Other Suitable Container.
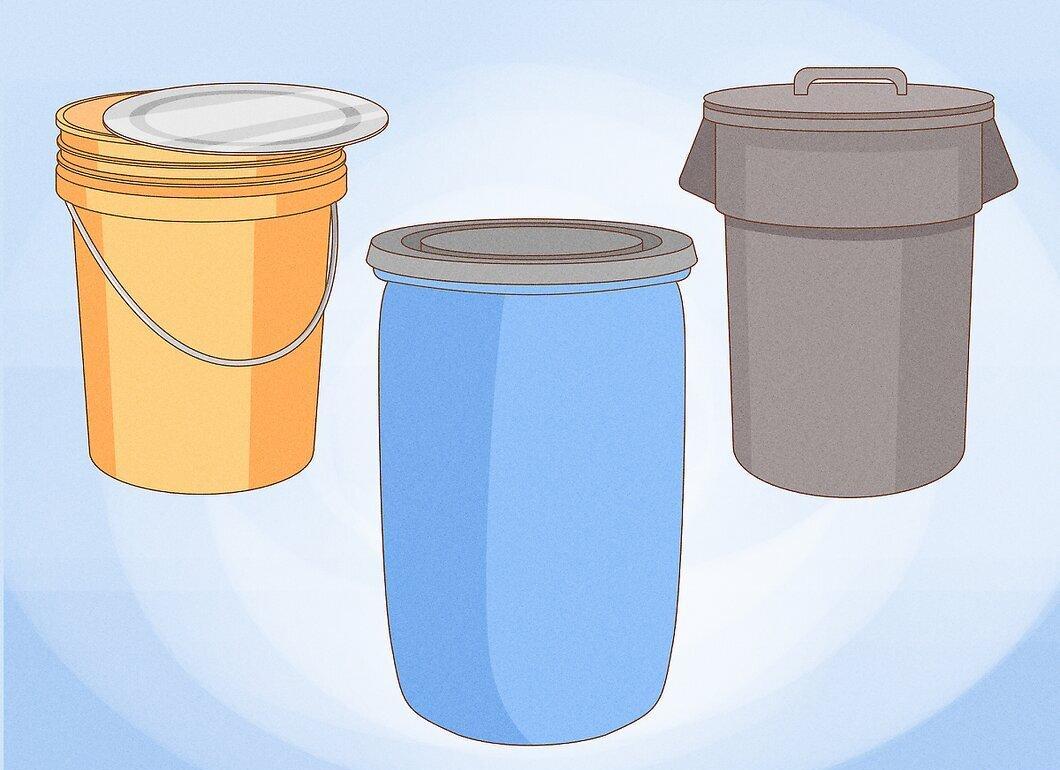
You will need a barrel, bucket, or another container with a lid.
Step 2. Add Dry Cow Dung (or Fish Waste).
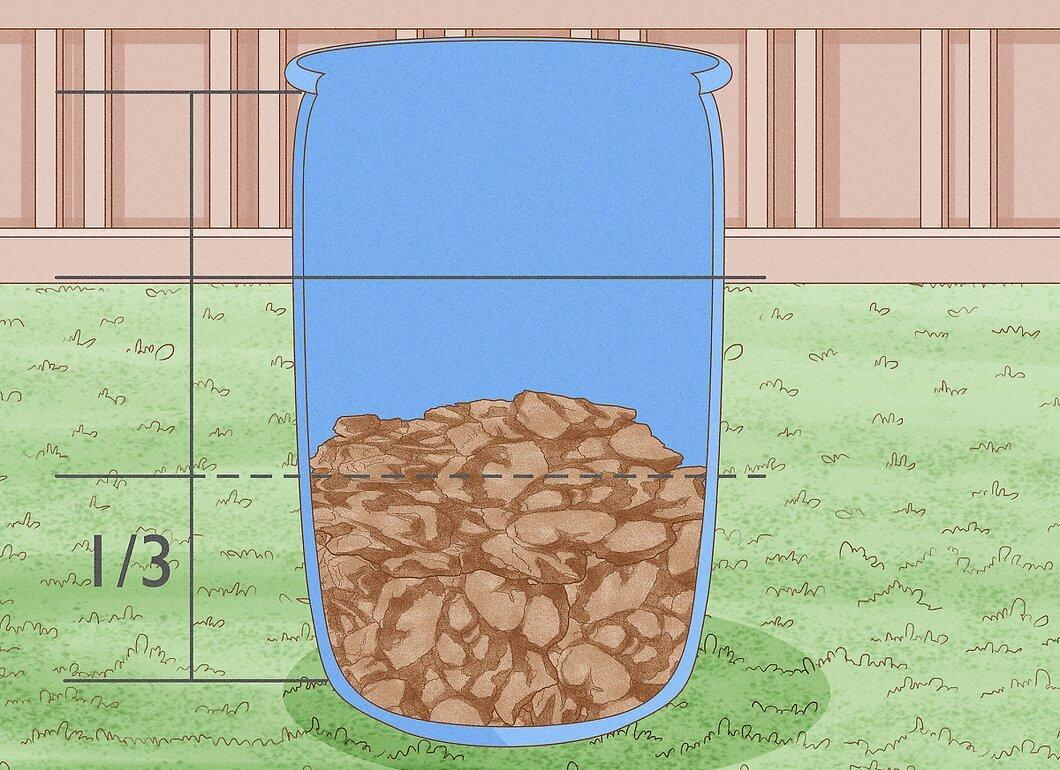
Fill the container one-third full with dry cow dung or fish waste.
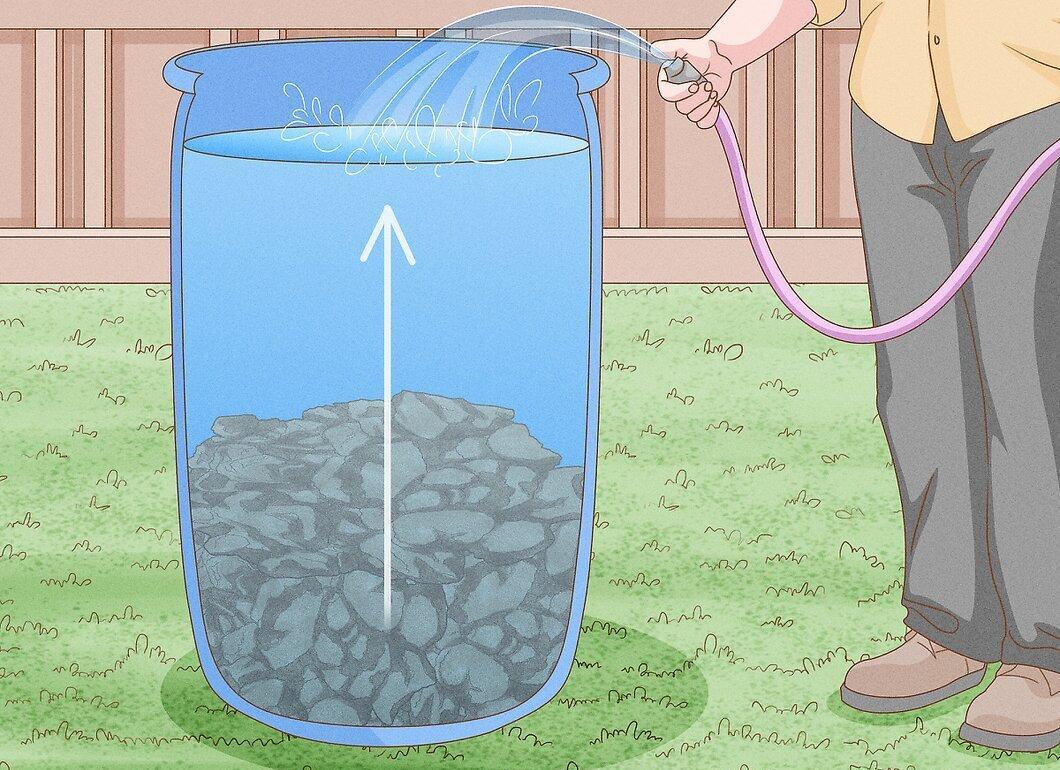
Step 3. Fill the Container with Water to the Brim.
Step 4. Close the Lid.
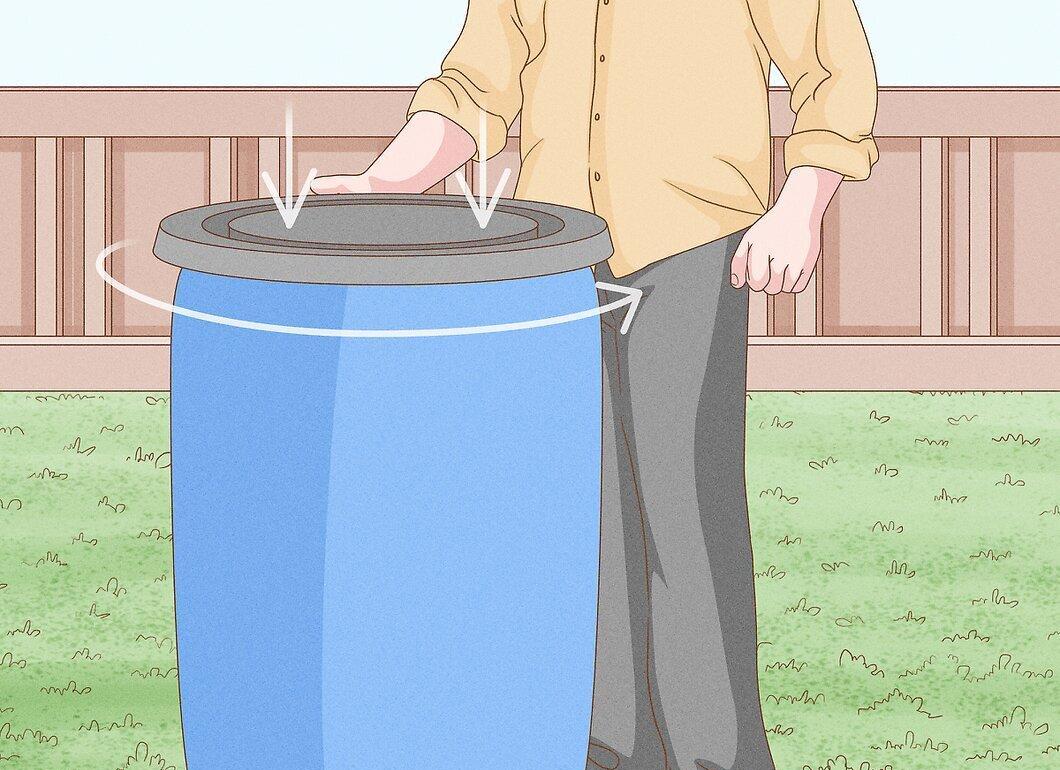
Close the lid to protect the contents from flies and other insects.
Step 5. Stir the Contents Every Three Days.
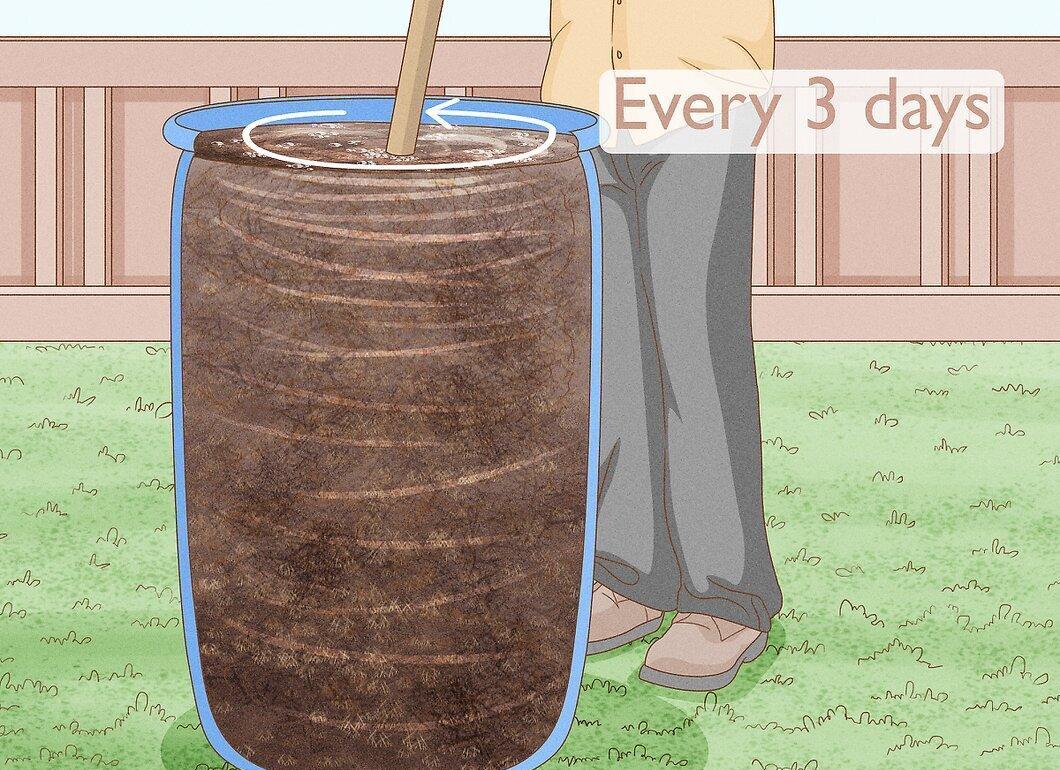
Stir the contents every three days. For the first three days, you can stir daily, and then weekly thereafter.
Step 6. Wait Until the Smell Disappears.
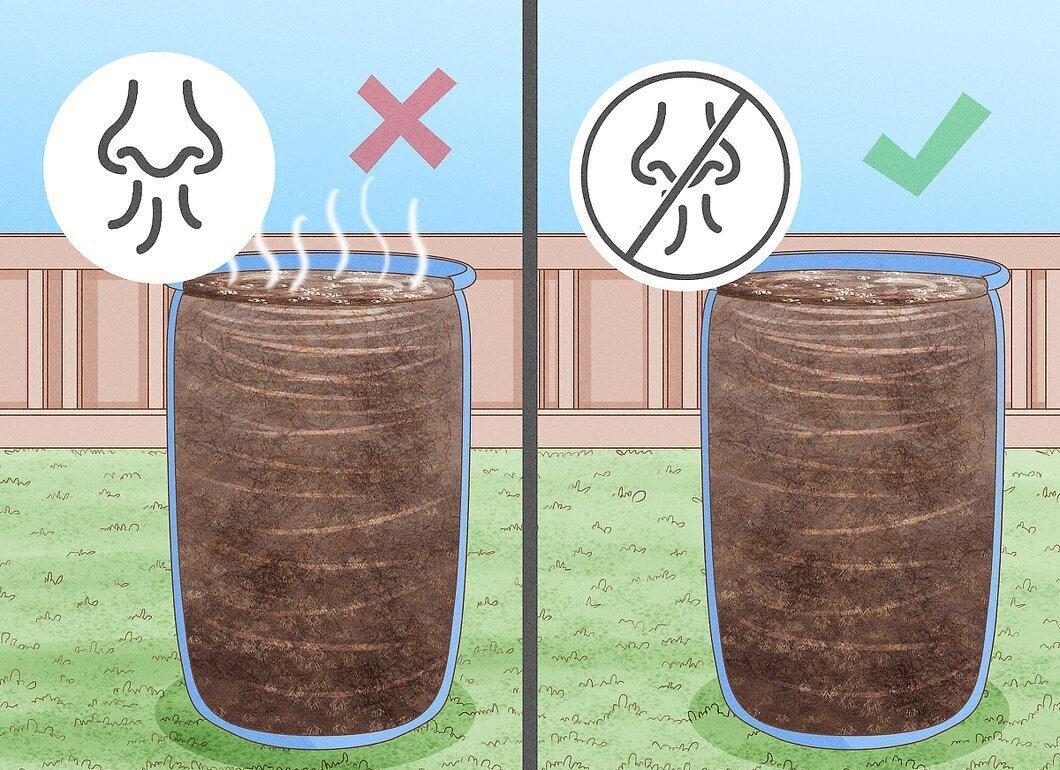
Wait until the smell disappears. When the unpleasant odor is gone, your fertilizer will be ready. Although the barrel itself may still have a smell, the ammonia scent should completely vanish. If it doesn’t, let the container sit a little longer.
Step 7. Use the Fertilizer.
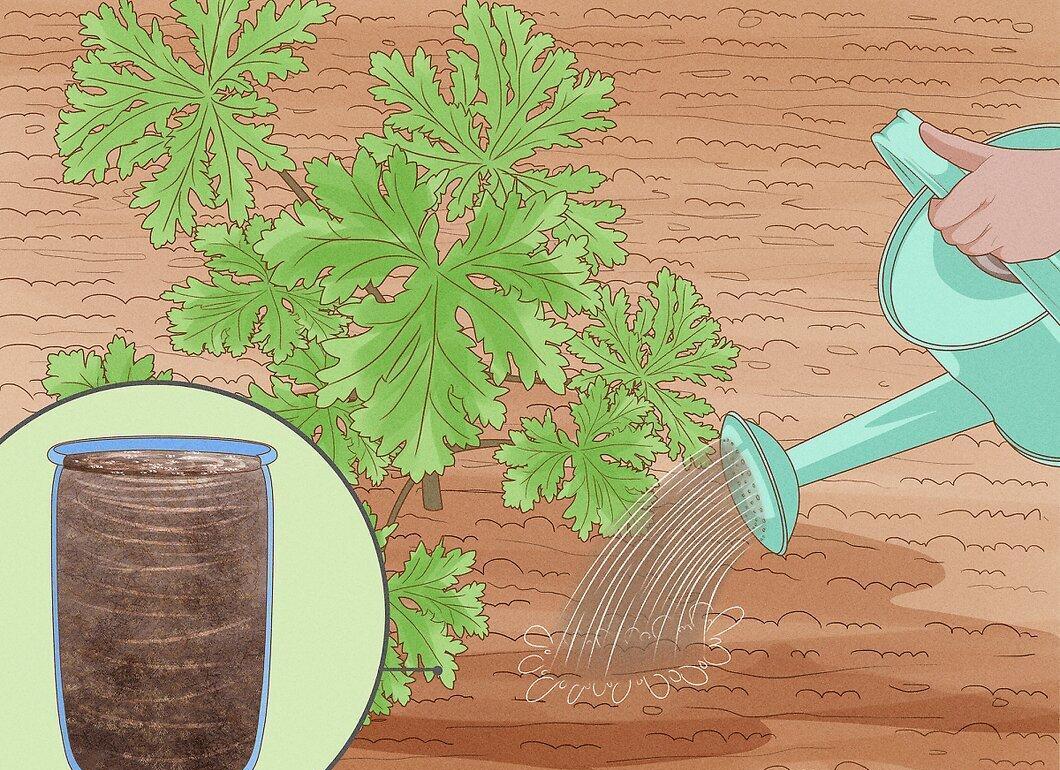
Before use, dilute the liquid fertilizer. Pour it into a watering can, sprayer, or irrigation system, depending on your plants’ needs:
- Some vegetables require more frequent feeding.
- Use heavily diluted fertilizer once a week or less diluted every two to three weeks.
Part 4
Step 1. Learn the Recipe for Compost Tea as an Alternative Method.
Explore how to make compost tea, which many organic gardeners prefer. Also, consider creating seaweed fertilizer or liquid fertilizer based on green plants.


