
fake" acrylic paint.
Making Acrylic Paint
Step 1. Gather All Necessary Materials.
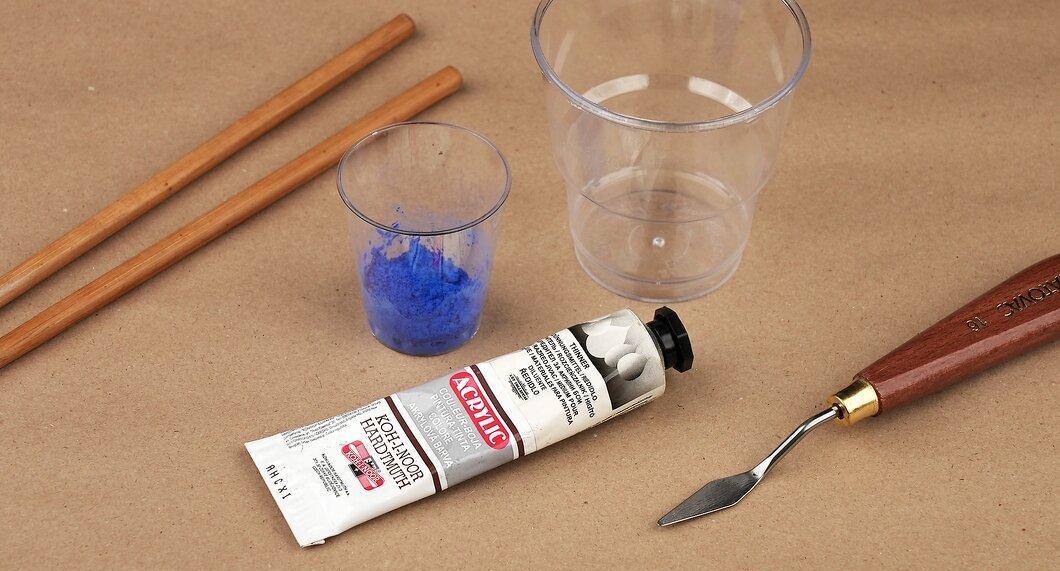
Prepare all the required items. You will need:
- a plastic mixing container;
- a wooden stick;
- dry pigment;
- a paint spatula;
- acrylic medium;
- a solvent (water or rubbing alcohol);
- an acrylic paint retarder.
Step 2. Grind the Dry Pigment.
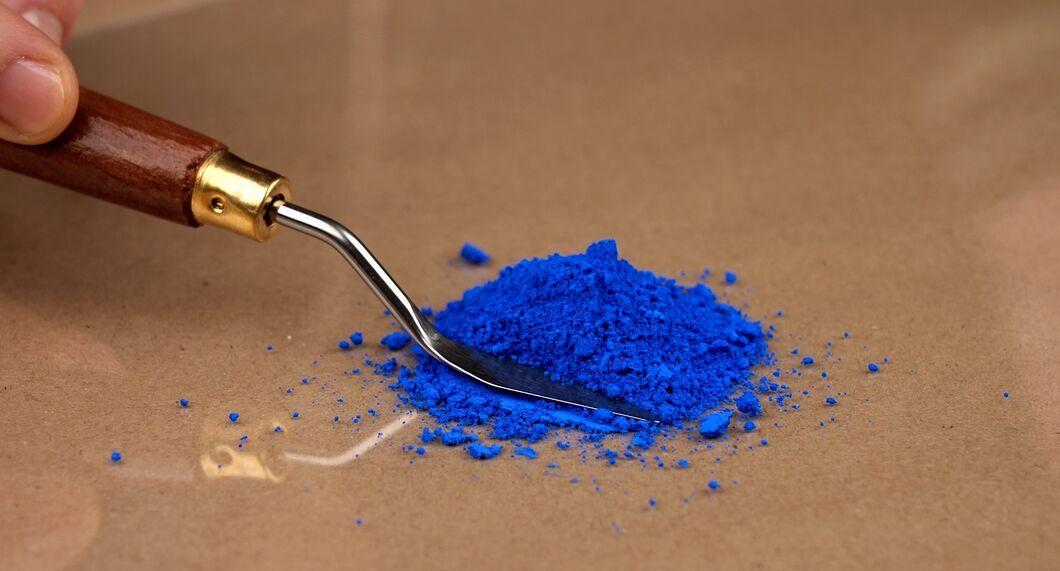
Grind the pigment to a uniform consistency. Use the flat side of the spatula to crush it until it no longer squeaks. Pigments are usually sold in powdered form, and many artists also use pigments from dried plants and other materials.
- Ensure that the pigment is free of lumps and easy to grind.[3] X Source
- If the pigment is already in powder form and has no lumps, further grinding is not necessary.
Step 3. Measure and Remember the Amount of Pigment and Medium.
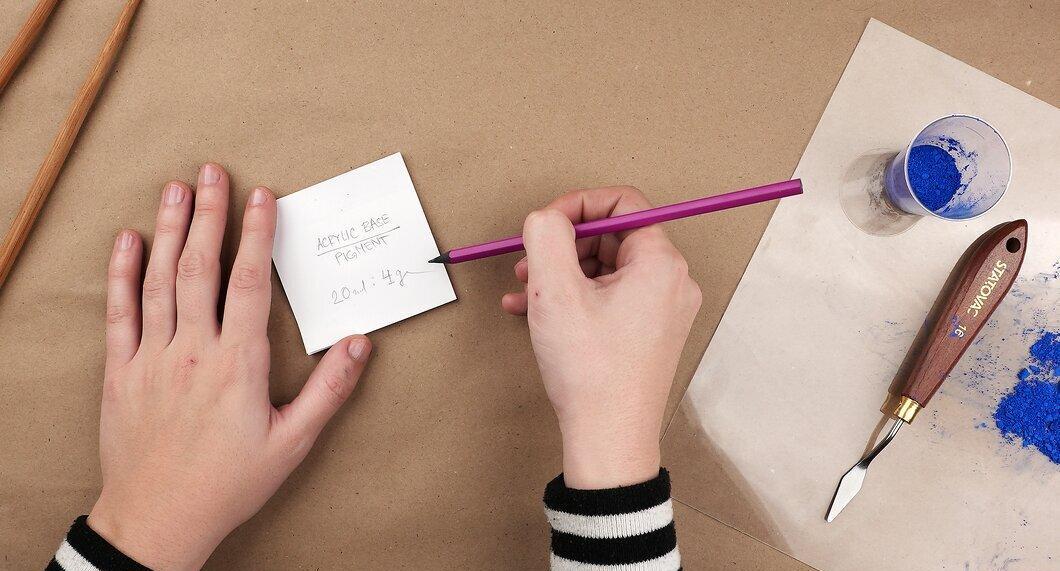
Measure and note the amount of pigment and medium before mixing the components. This is important for repeating the recipe or finishing your painting later. Remember that the medium for acrylic paint is the same paint but without pigment, usually white and sold in tubes. There are several types of medium (matte or glossy), so decide which one suits you best.
Step 4. Mix the Pigment with the Medium.
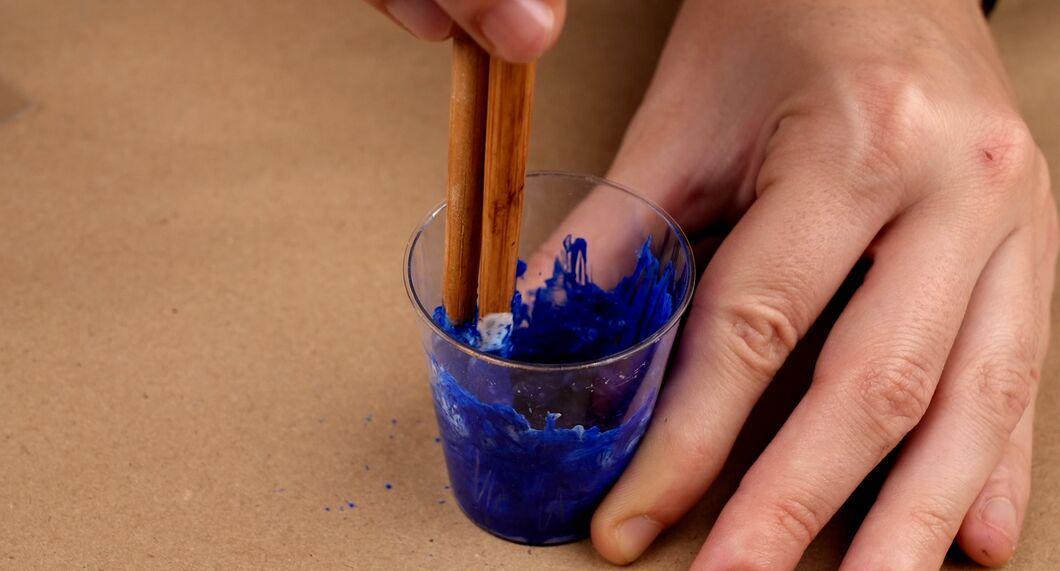
Mix the pigment with the medium in the plastic container. Use the wooden stick to stir thoroughly so that the pigment is evenly distributed throughout the medium.
Step 5. Mix the Pigmented Medium with the Solvent.
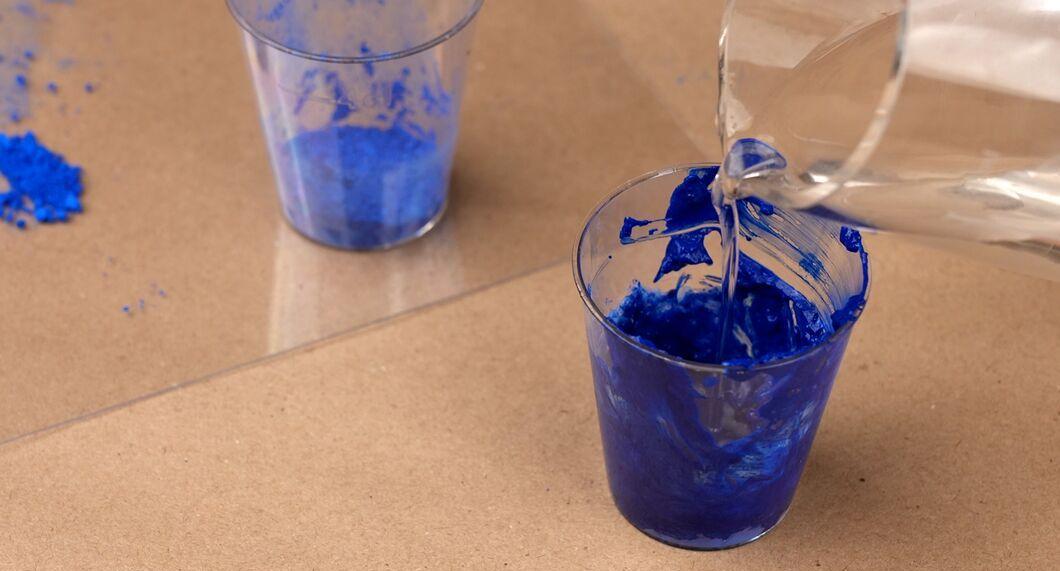
Mixing the pigmented medium with the solvent is crucial. Check the instructions on the acrylic binder packaging, as different brands may have varying ratios of medium to solvent.
- Some pigments, especially organic ones, may float in water, so using alcohol is preferable in that case. Use the solvent according to your chosen pigment.[5] X Source
- Remember that alcohol can speed up the drying time of the paint. If you're using a pigment that is diluted with alcohol but want to slow down the drying process, mix it with alcohol first before adding water.
- Do not add too much water or alcohol to avoid thinning the acrylic binder.
Step 6. Add the Retarder.
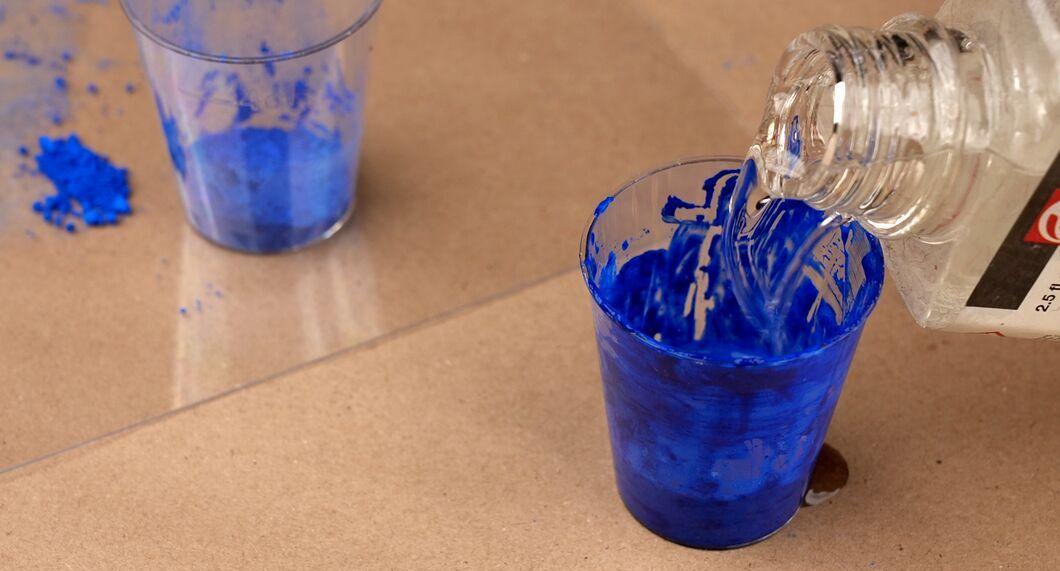
Add the acrylic paint retarder according to the instructions on the packaging. Generally, the more retarder you add, the slower the paint dries. Over time, you'll learn to adjust the amount of retarder based on your needs.
- This is especially important if you want to create a photorealistic painting or portrait. When painting complex figures, colors need to be mixed on the canvas, but acrylic can dry faster than you can add a second color.[6] X Source
Creating "Fake" Acrylic Paint from PVA Glue
Step 1. Gather All Necessary Materials.
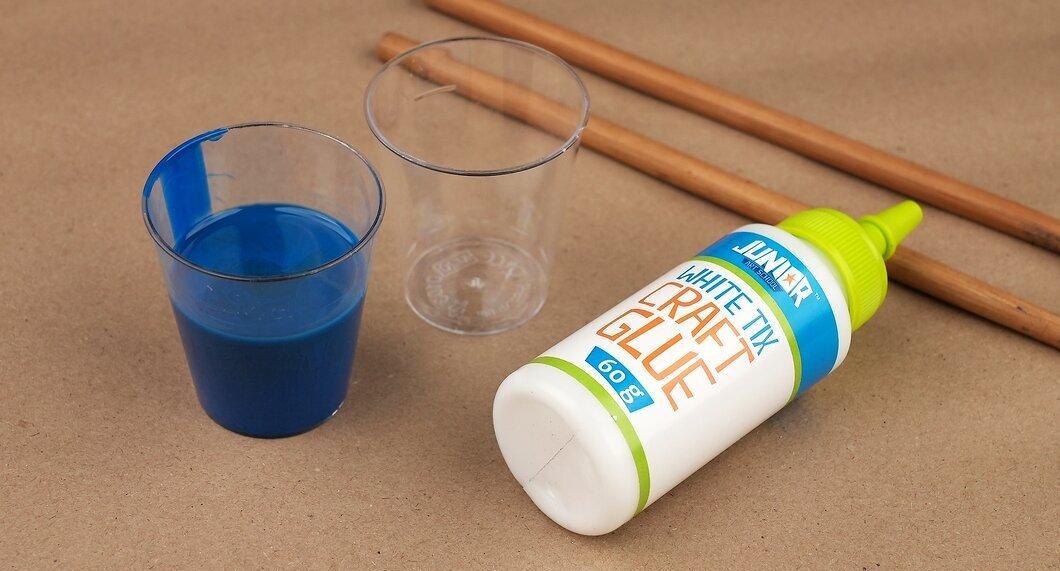
Collect all the necessary items in one place. Although this is not real acrylic paint, it is easier to use, making it a great option for beginner artists. You will need:
- a plastic mixing container;
- a wooden stick;
- liquid paint;
- regular PVA glue.
Step 2. Mix Liquid Paint and PVA Glue.
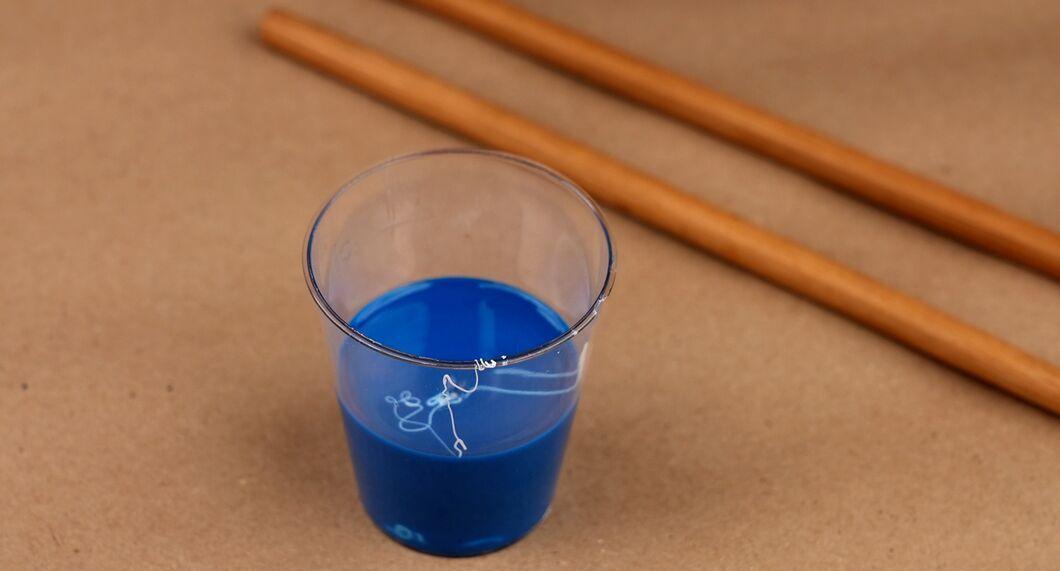
Pour equal parts of liquid paint and PVA glue into the container. You can slightly adjust the ratio to achieve the desired color brightness, but be careful not to add too much water-based paint, as it may damage the glue.
- Some types of PVA glue become clearer as they dry. If you need the colors to be more vibrant, choose glue that becomes less visible.[7] X Source
Step 3. Thoroughly Mix the Paint and Glue.
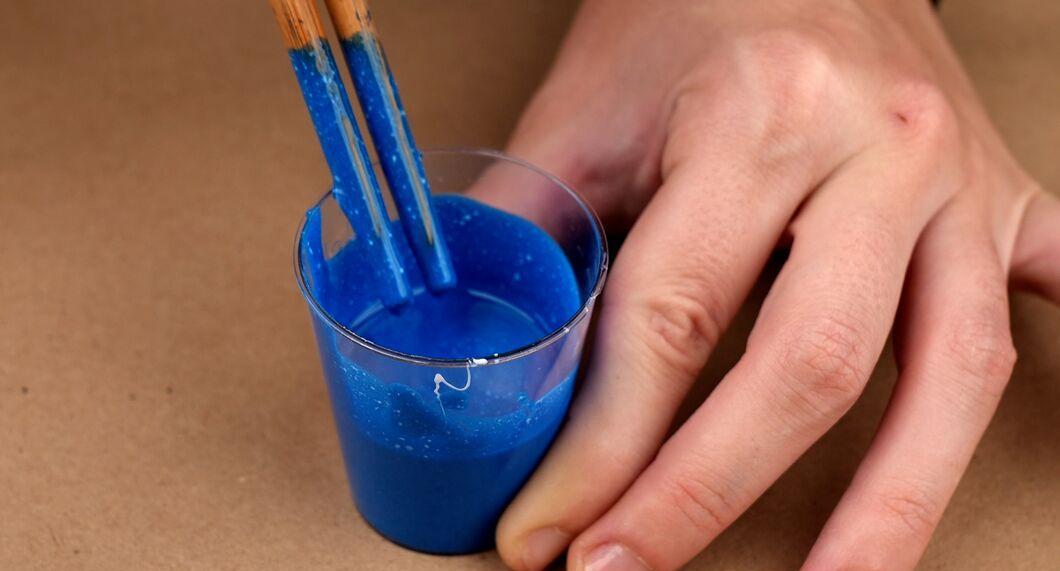
Mix the paint with the glue using the wooden stick. Your "fake" acrylic paint will be ready in just a few minutes.
Step 4. Use with Caution.
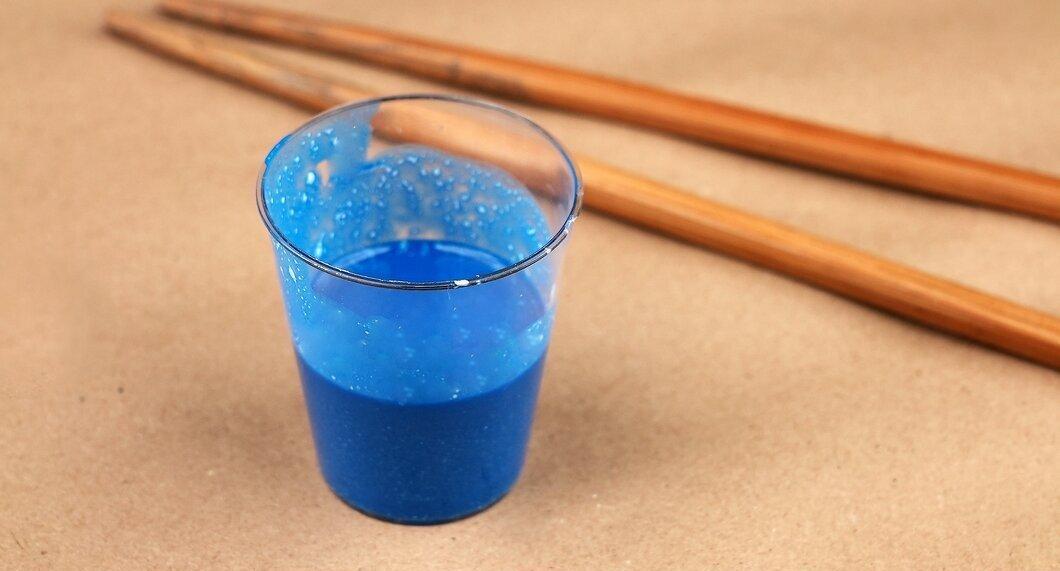
Note that this new paint adheres to almost any surface, unlike water-based paints.


