Whether you're showcasing your own work or that of other artists, hosting an exhibition is a unique and enriching experience. However, bringing together all the elements into a cohesive and meaningful whole can be quite challenging. Therefore, when organizing an exhibition on your own, having a clear action plan is essential. Once you've settled on the theme of the exhibition, you can start accepting applications from interested artists, selecting a suitable venue, and launching a marketing campaign to ensure that as many people as possible see and appreciate your collection.
Finding Artworks
Step 1. Choose a unifying theme.
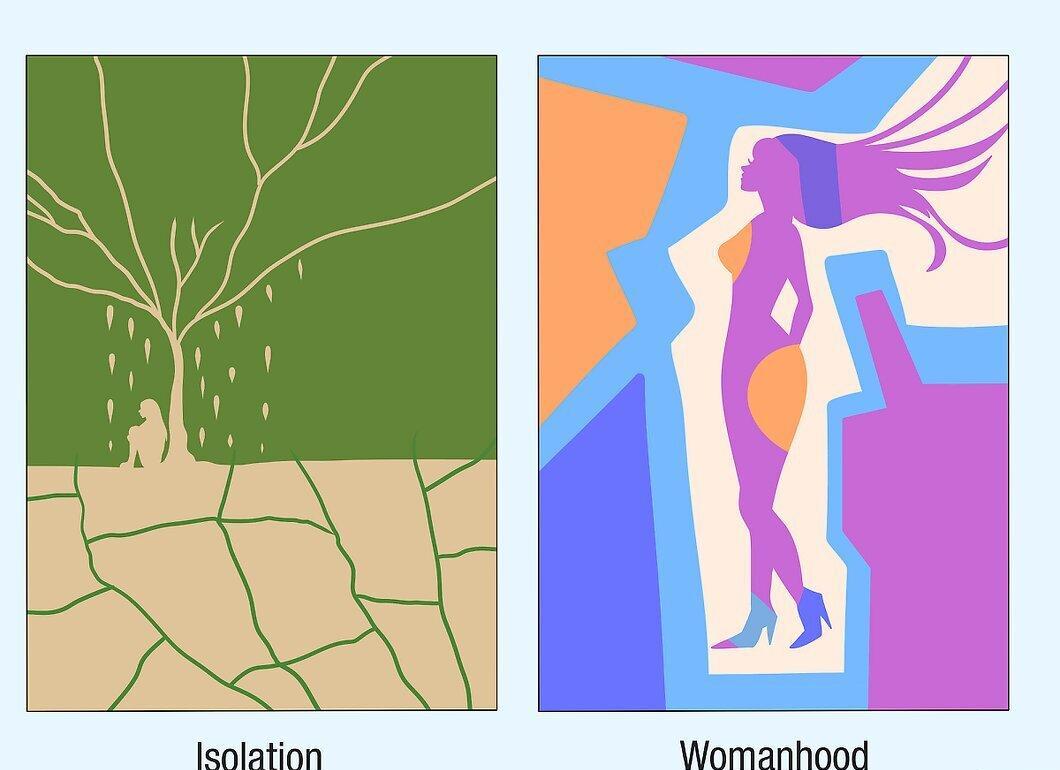
Choose a unifying theme. A well-thought-out art exhibition is characterized by a clear theme that ties together different pieces, giving a sense that they are part of a cohesive whole. Consider what message your exhibition should convey. This could be an image or phenomenon, a feeling, or a particular artistic technique.
- The clearer the theme, the better. For instance, "Black and White" is too vague to make a strong impact, while "Isolation and Femininity" reveals much more intriguing conceptual pairs.
- Think about the title of the exhibition. A catchy title like "Neon Dreams" can attract attention and clarify the theme being presented.[2] Source
Step 2. Select the most impressive work.
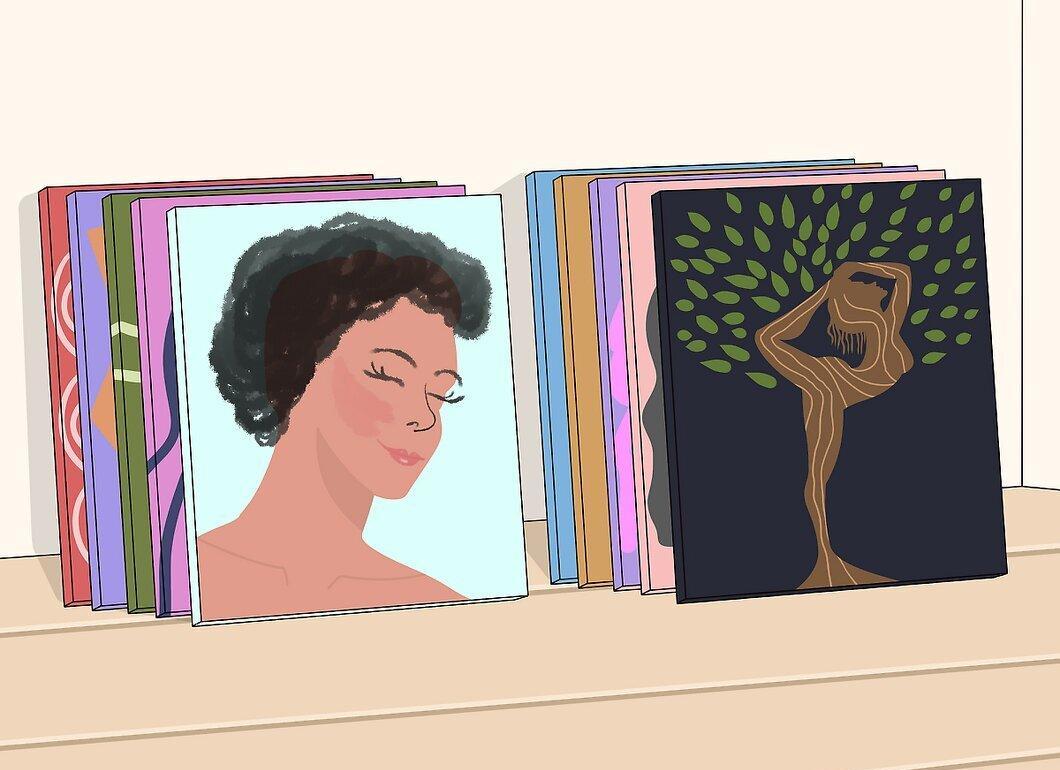
Select the most impressive work. Curate a selection of your best or most recent pieces for display. If you are holding a solo exhibition that will primarily feature your own work, you’ll need between 10 and 30 pieces to present to the public. Each piece should reflect the theme of the exhibition.
- Over the months leading up to the exhibition, focus on creating original works that you will debut to the public on opening day.[4] Source
- If your works are small in size, consider displaying more pieces.
Step 3. Reach out to local artists for contributions.
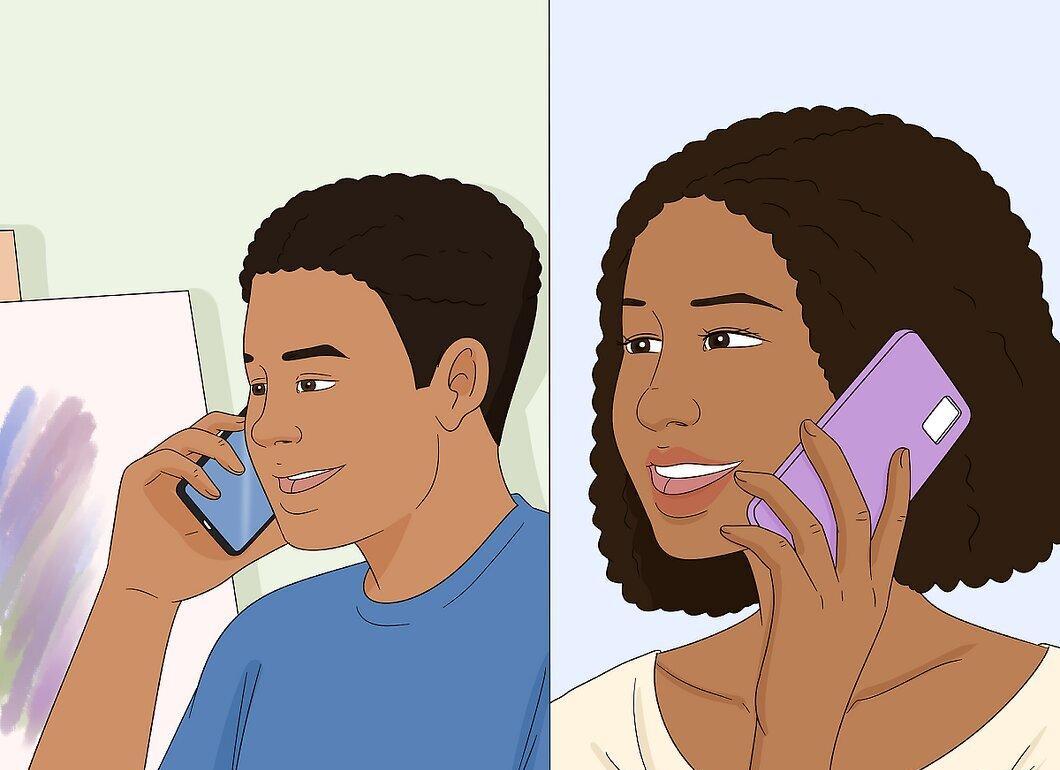
Reach out to local artists for contributions. Do some research to find creative individuals in your area who might be interested in participating in your exhibition. Collaborative efforts can provide a great opportunity for many different artists to showcase their work at one event, resulting in a more diverse and comprehensive collection.
- Narrow down the pool of artists by focusing on those whose style is similar to yours or who create works related to the theme.
- Co-hosting an exhibition with other artists also allows you to share costs for venue rental, licensing fees, framing, and promotional materials.[6] Source
- Acknowledge all participants for their contributions.
Step 4. Work across various channels.
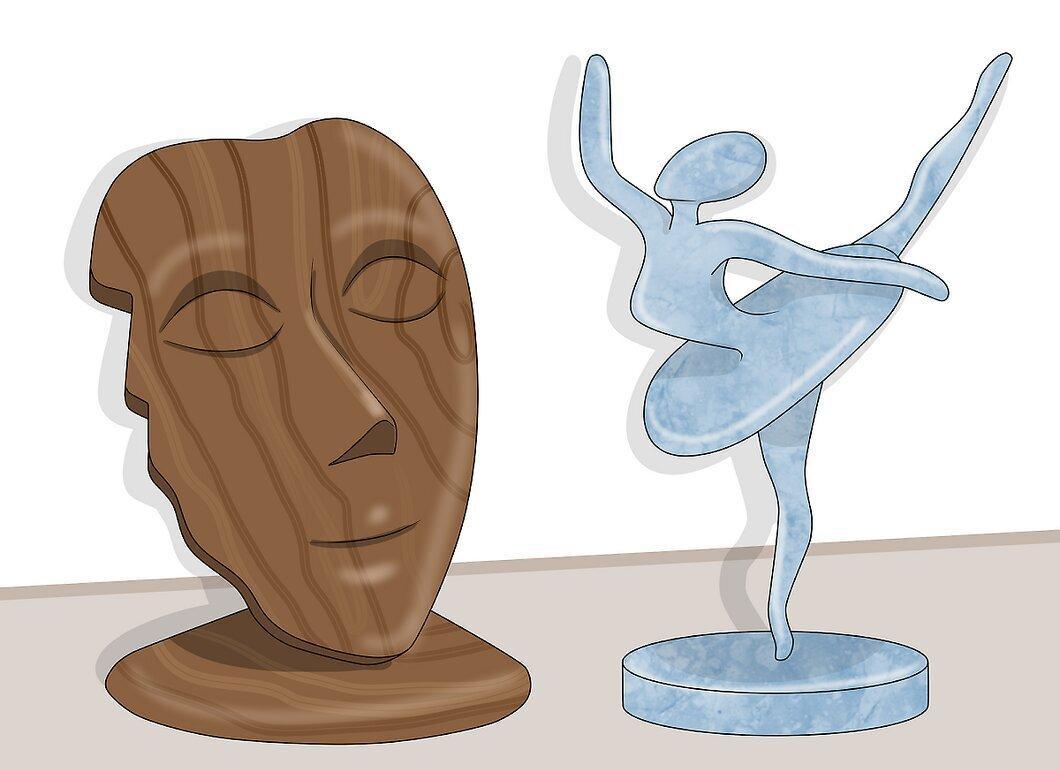
Work across various channels. Your exhibition shouldn’t be limited to paintings and drawings. Feel free to include works from photographers, sculptors, and other visual artists. A wide selection of works will create a dynamic atmosphere and bring more joy to your audience.
- The best approach is to include works that can be framed, hung on walls, and sold. However, you can also invite poets or musicians to perform at the event, especially if their work complements the theme of the exhibition.
Organizing the Event
Step 1. Set a date and time.
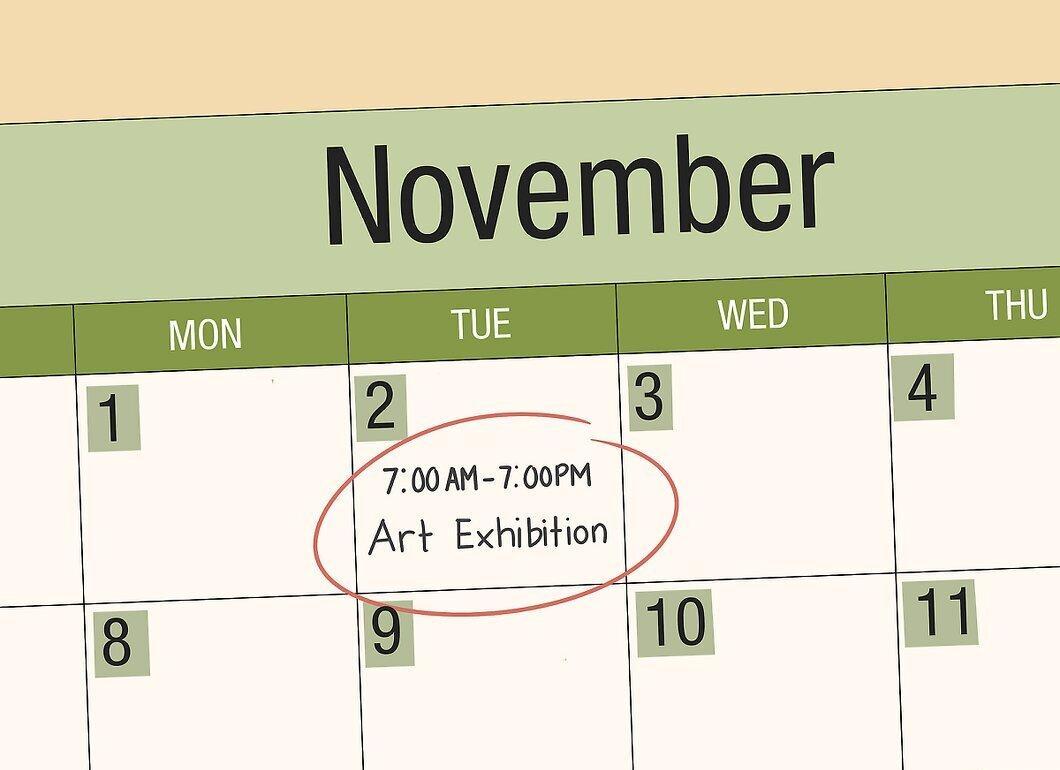
Set a date and time. Organizing an art exhibition requires intense coordination, so be realistic about the timeline you set for yourself. Start planning the event at least 2-3 months in advance to give yourself enough time to prepare. If possible, choose a date closer to the weekend when many people have time off and are looking for things to do in the city.
- Try to avoid scheduling the exhibition on holidays, as you’ll have to compete for the public’s attention.[8] Source
- You should have a clear date set before moving on to the next phases of planning, such as reserving the venue and starting your marketing campaign.
Step 2. Book the venue.
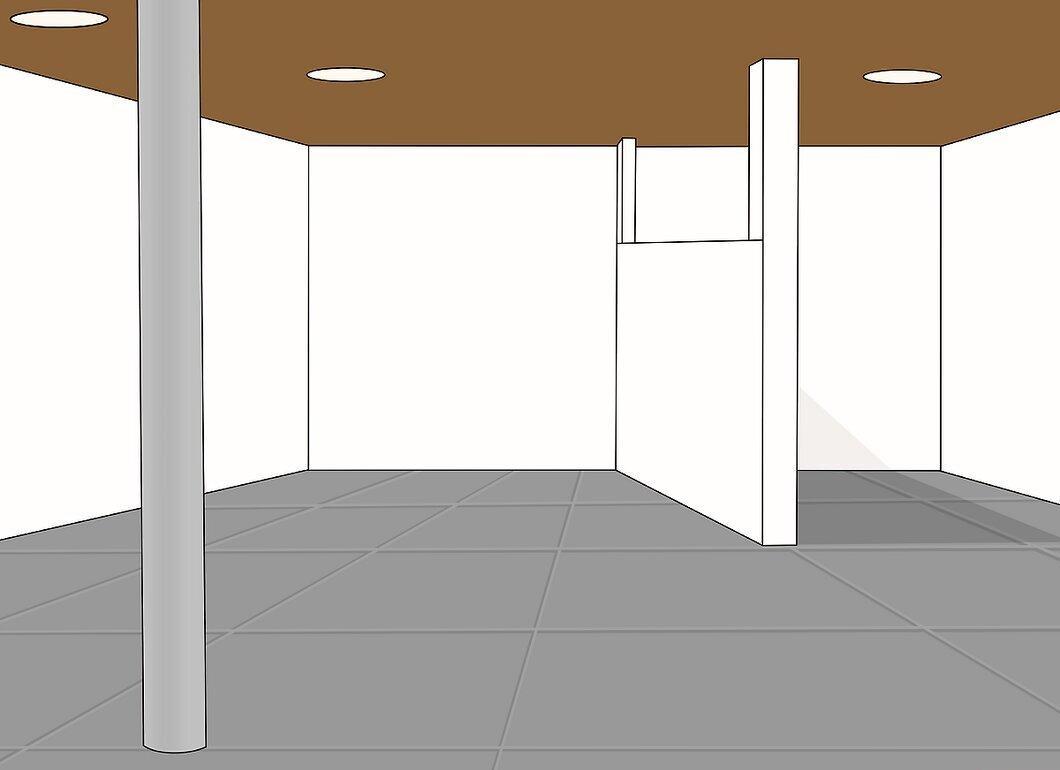
Book the venue. Start looking for a suitable place to host the exhibition. The most obvious choice is to rent a studio or art gallery, but don’t limit yourself to traditional art locations. You can inquire at restaurants, cafes, cultural centers, churches, and business centers to see if they would be willing to help host the event.
- Hosting your first exhibition in a more casual setting, like a restaurant or café, can help ease your nerves.[10] Source
- Make sure the venue you choose is clean, well-lit, and spacious enough to accommodate all the artworks you plan to display.
Step 3. Price your works for sale.
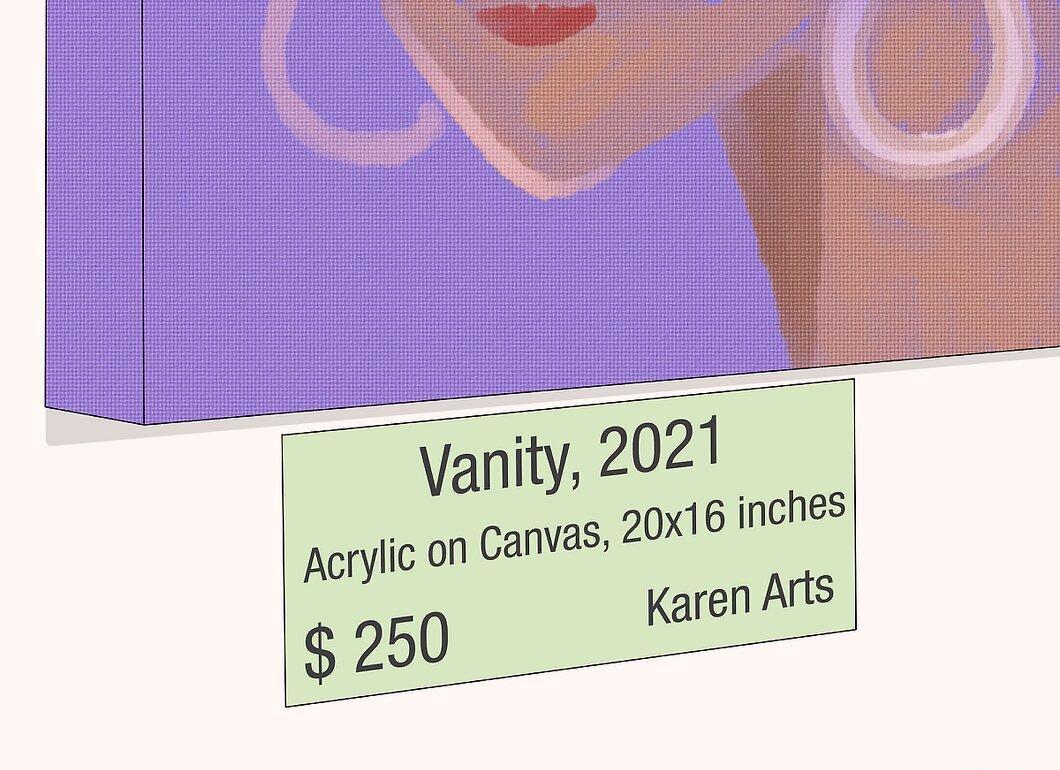
Price your works for sale. The goal of the exhibition is not only to showcase the artist's work but also to sell it. Once you have your collection assembled, consider how you want to price each piece. Aim to set prices that are acceptable for both you and the buyer, taking into account the painting technique, technical difficulty, and the effort put into creating each piece.
- If you are collaborating with other artists, you will need to discuss pricing for the works they contribute.
- Not everyone can afford a full-sized painting or an original photograph. Therefore, it’s a good idea to have more affordable pieces on hand, such as small paintings, drawings, and prints that can be sold at a lower price.[12] Source
Step 4. Create promotional materials.
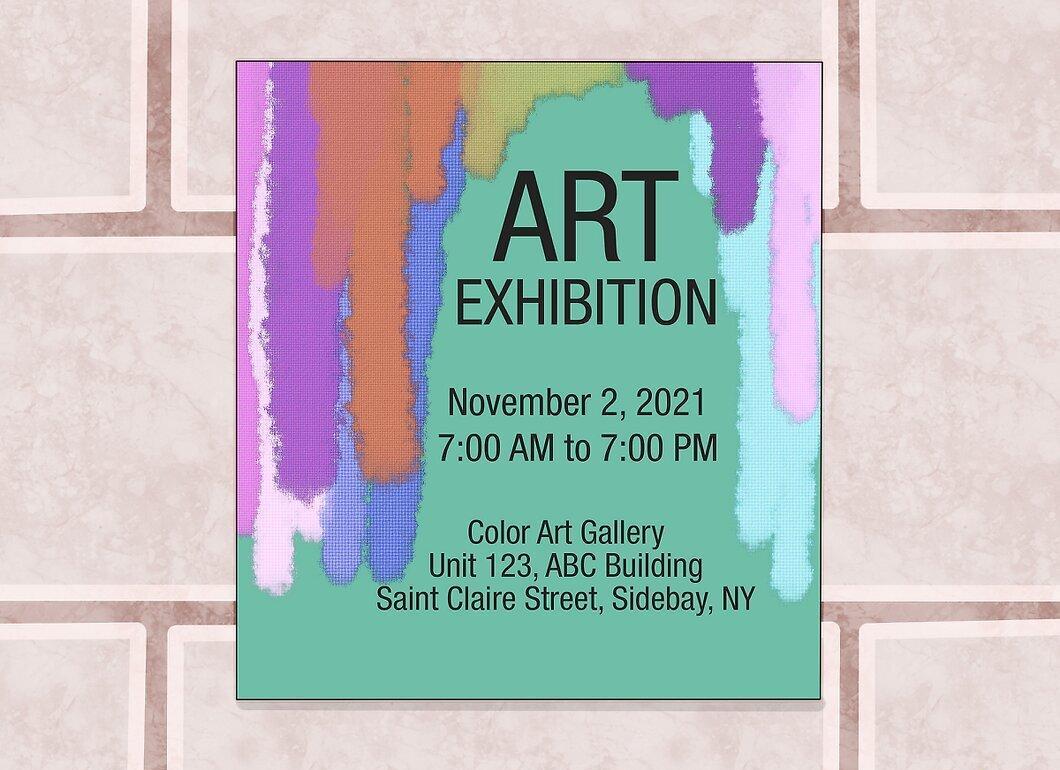
Create promotional materials. Print posters, flyers, brochures, and one-page informational announcements that briefly describe the exhibition and the artworks on display. Ensure that all key details are included, such as the date and time, venue, dress code, and admission fee (if applicable). If your exhibition is a high-profile event, consider creating a press release or featuring an interview in local news publications.
- Place your advertisements in public spaces, such as local universities or schools, coffee shops, clubs, or even on community bulletin boards near supermarkets.
- Send photo cards with artists’ bios and samples of their work as personal invitations.[14] Source
Step 5. Spread the word.
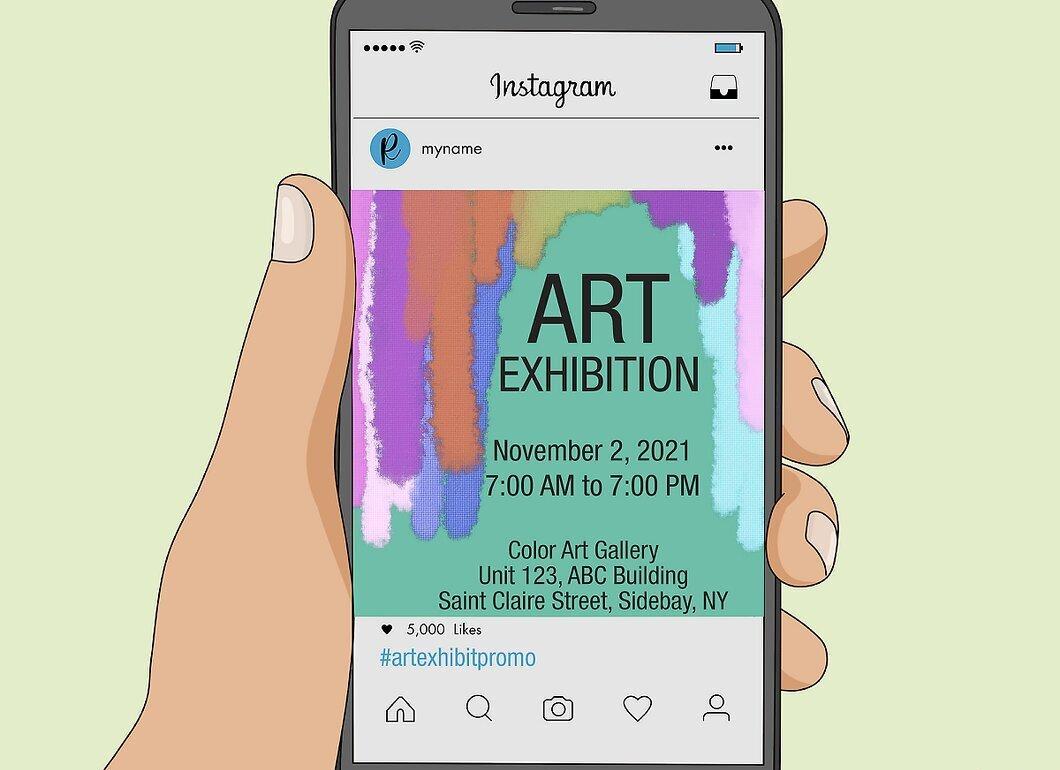
Spread the word. Let people in your circle know that you’re working on the exhibition. You can mention it in person or post information about the event on your social media pages. In some cases, it may be possible to collaborate with the venue’s management—they can help spread the news to a wider audience via their website, press releases, and official announcements.
- Use media-sharing apps like Instagram, Snapchat, and Tumblr to preview the upcoming exhibition.[16] Source
- You can also ask friends, family, classmates, or colleagues to help "spread the word" about the upcoming exhibition.
Conducting a Successful Exhibition
Step 1. Ask for help.
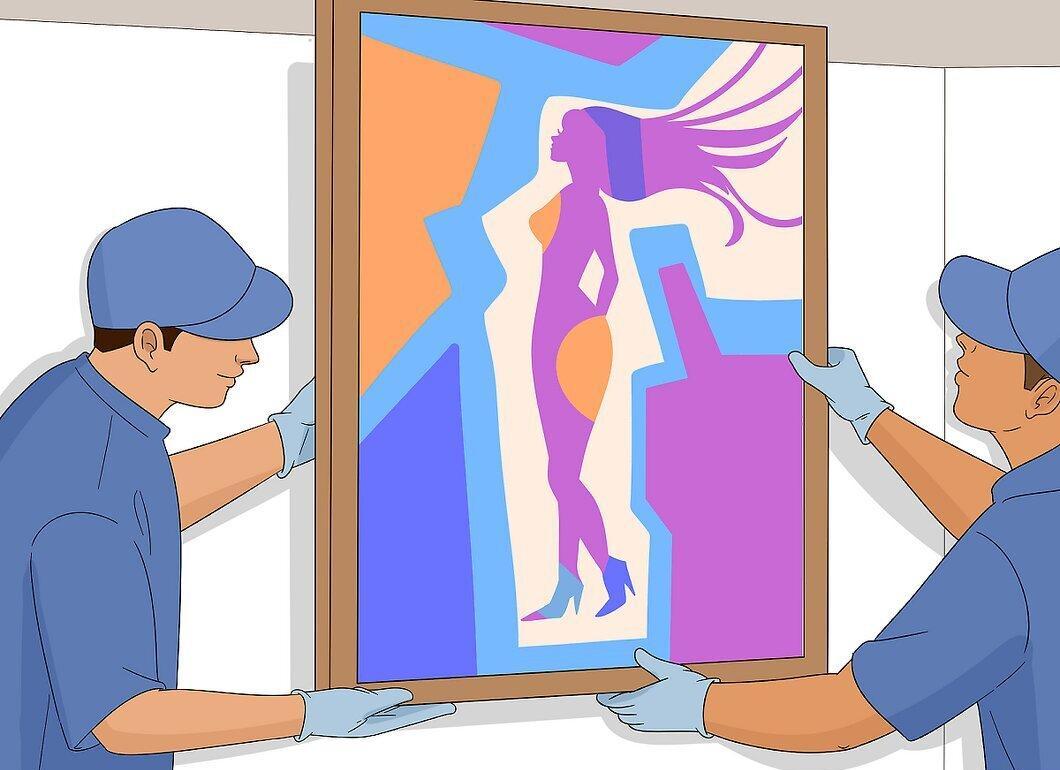
Ask for help. Enlist the support of volunteers and professionals: movers, framers, and lighting experts. It will be easier to coordinate the unloading and loading of artworks, setting up necessary equipment and displays in the designated space, and monitoring the artworks to prevent damage or theft. A dedicated team can lighten your load, and their presence ensures that the event runs smoothly.
- In addition to movers, it’s also a good idea to hire a photographer or videographer to capture the event, as well as a band or DJ for unobtrusive musical accompaniment.
- Delegate tasks and responsibilities to your team of volunteers so that you can focus on the final touches of the preparations.
Step 2. Prepare the exhibition space.
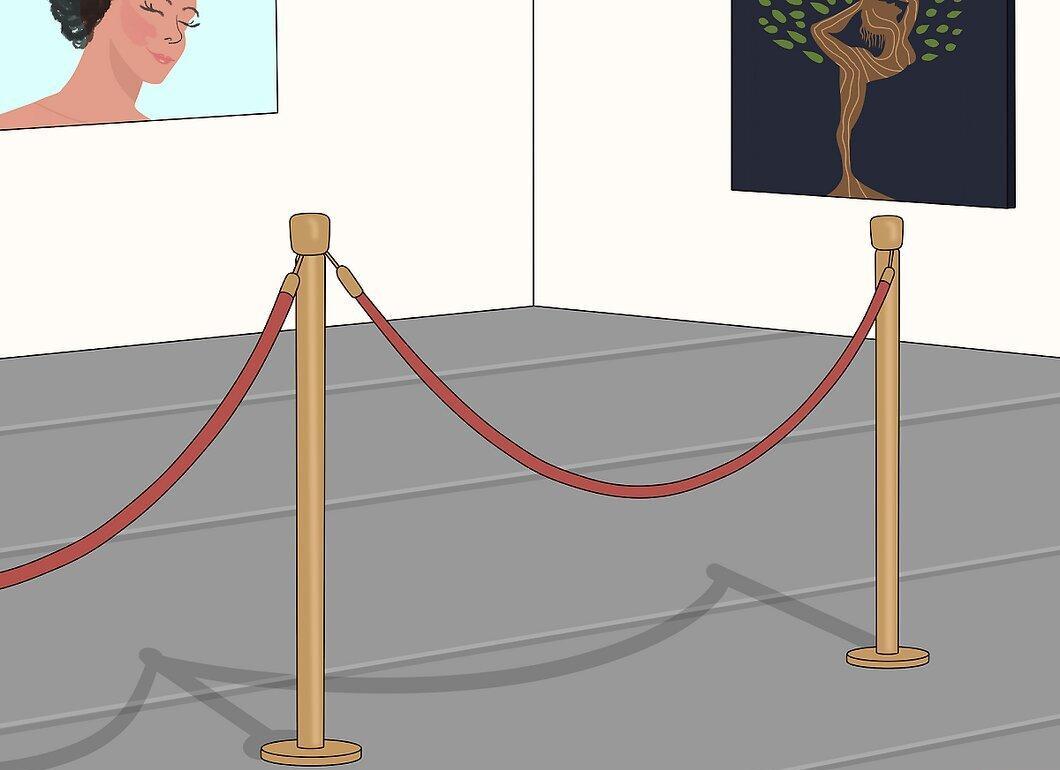
Prepare the exhibition space. Your first task will be to install and arrange the artworks in the designated area. Based on this, you can adjust the lighting so that each piece is well-lit and clearly visible. Imagine how you want visitors to see and interact with the space, then consider the final layout that will meet these goals.
- The theme of your exhibition should be reflected in the layout of the space. For example, for an installation about oppression from government institutions, you might place signs or ropes to restrict or control the movements of your guests.[19] Source
- Don’t forget to allocate space for guest reception, sales tables, or other resources that may be needed.[20] Source
Step 3. Engage with the audience.
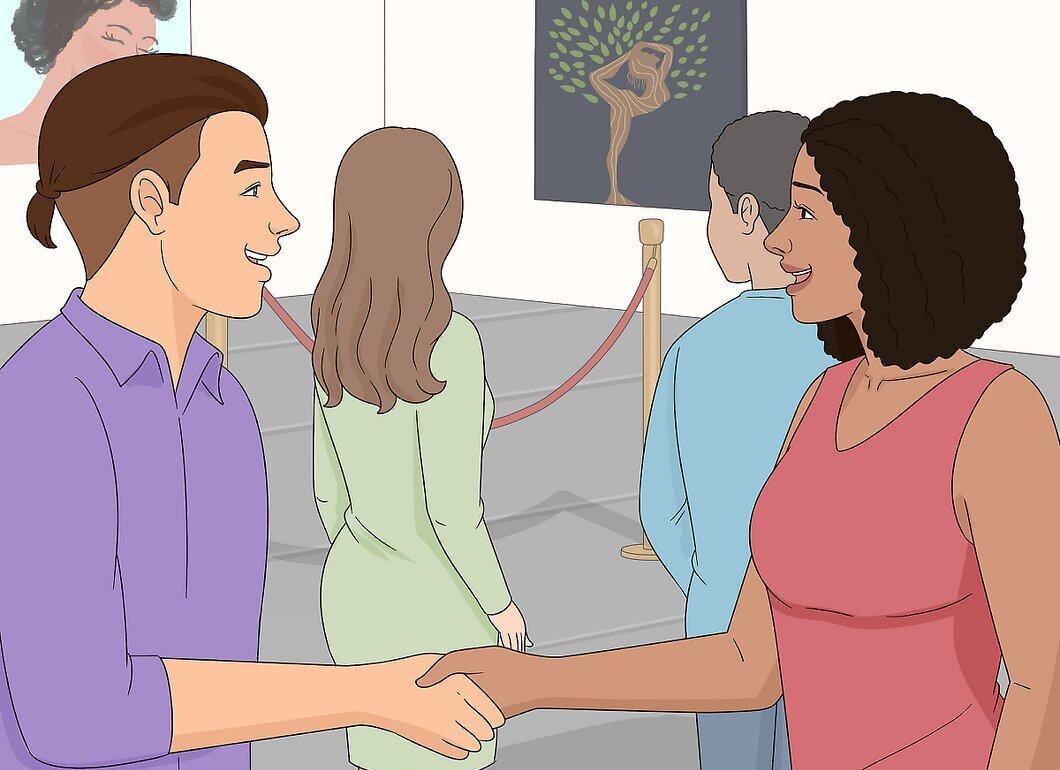
Engage with the audience. As guests begin to gather, take time to answer questions and describe the artworks they will be viewing. This is often the most exciting part of the exhibition for many artists, as you have the opportunity to meet people who will buy and critique your work, discuss the nuances of your style, and shed light on your creative process.
- If you are presenting your own works, be nearby so you can be easily recognized as their creator.
- Art exhibitions are social events by nature, so don’t hesitate to interact and enjoy the experience.[22] Source
Step 4. Arrange light refreshments.
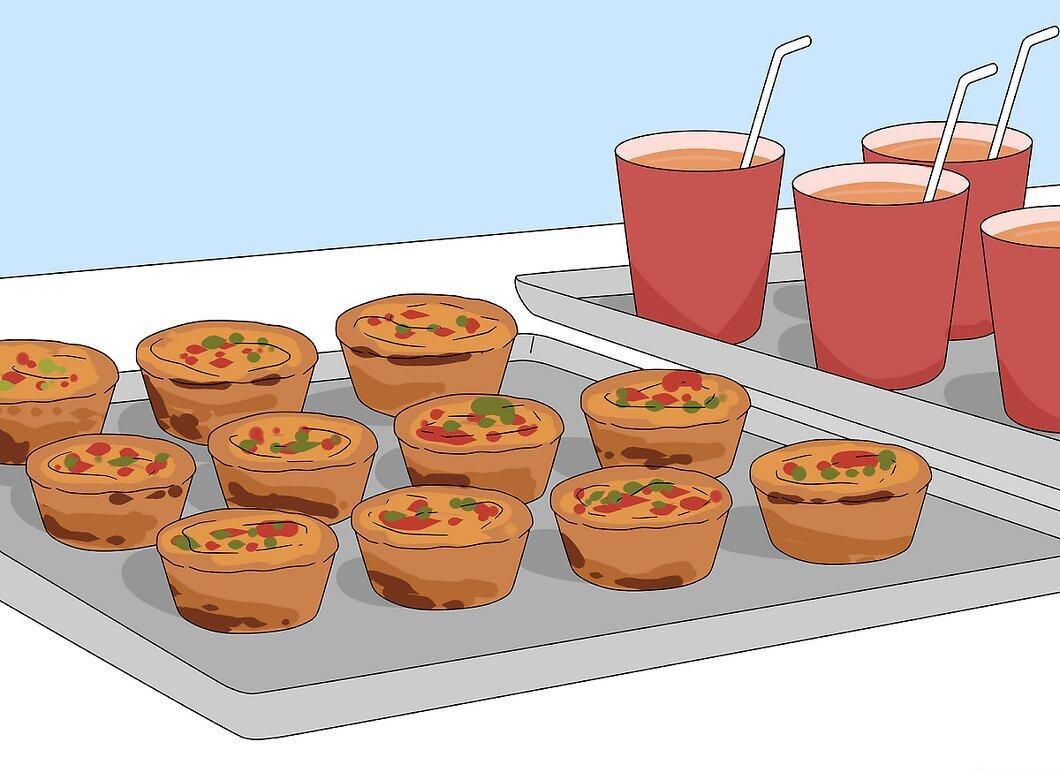
Arrange light refreshments. Serve food and drinks for guests while they enjoy the exhibition. Simple snacks like cheese, fruits, canapés, and wine will suffice in most cases. If a large number of visitors are expected, consider ordering cocktail shrimp, miniature pies, hummus, and other more substantial popular dishes.
- As with everything concerning the exhibition, consider the location when planning the menu. Also, think about what atmosphere you want to create (casual or formal) and how attendees should be dressed.
- More prestigious art galleries sometimes cover the cost of food for large events.