
Painting aluminum siding can be a more cost-effective option than replacing it entirely. And it’s a task you can definitely tackle yourself! If you take the time to prepare and paint properly, you’ll likely not need the help of professionals.
Preparing the Siding
Step 1. Confirm that you have aluminum.

First, make sure you are indeed dealing with aluminum. Other metals and vinyl materials require entirely different approaches, so it's crucial to know exactly what you are about to paint.
- Oil-based paints are not suitable for galvanized steel; instead, use an all-purpose enamel or a paint specifically for metal.
- Check if the siding has been previously painted and what type of paint was used. If possible, consult an expert and provide them with a sample.
- New aluminum siding can resemble vinyl, so check for cracks or dents. If you notice any damage, it might be a sign of vinyl. Dents and bumps on the surface indicate aluminum.[1] X Source
- Tap on the siding—aluminum makes a characteristic metallic sound.[2] X Source
- Use a magnet to determine the material: it will stick to steel but not aluminum. Also, steel may develop rust which is reddish-brown in color.[3] X Source
Step 2. Clean the siding.
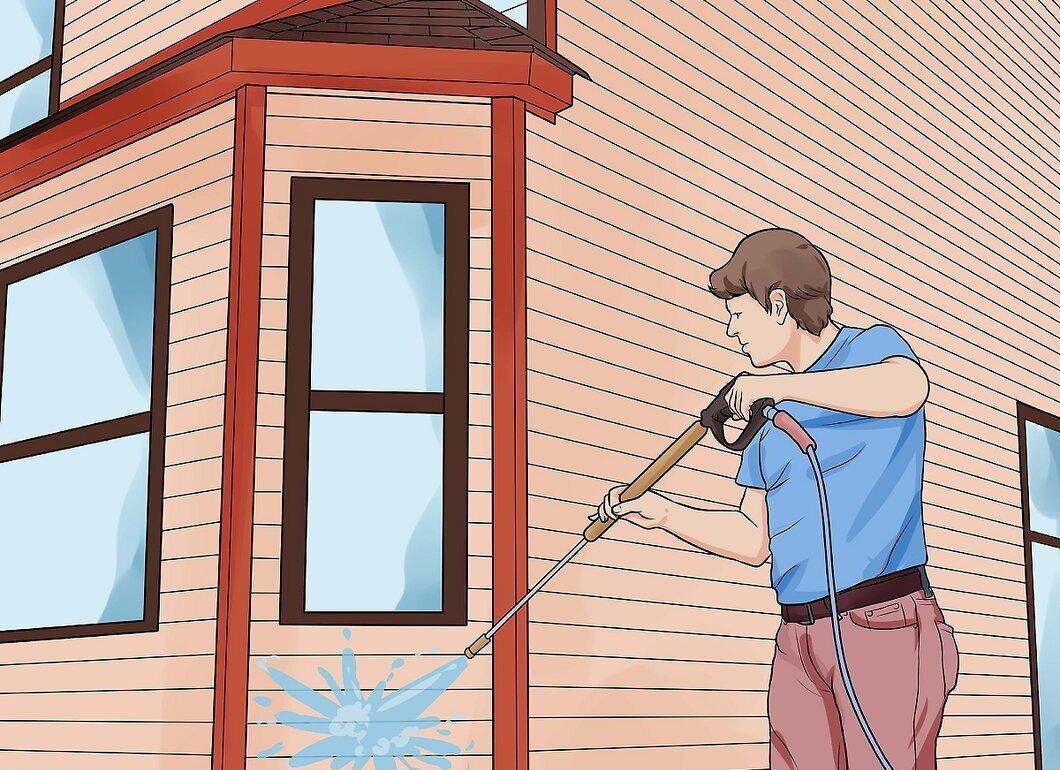
Thoroughly wash the siding. A pressure washer works best—direct the spray in the direction that rain typically falls to avoid damage. If you plan to use cleaning agents, ensure you rinse them off thoroughly to prevent interference with the paint.
- For stubborn stains, you can try removing them with a biodegradable powder: mix about ¼ cup (60 ml) of powder with 16 liters of water.[5] X Source
- Once the siding is dry, run your hand over the surface to check for chalky residue (this is common). If it rubs off, that’s chalk protecting the siding from dirt. Remove it using a trisodium phosphate-based cleaner.[6] X Source
- Address any damages: remove dents and sagging areas or completely replace heavily damaged sections.
Step 3. Sand the siding.
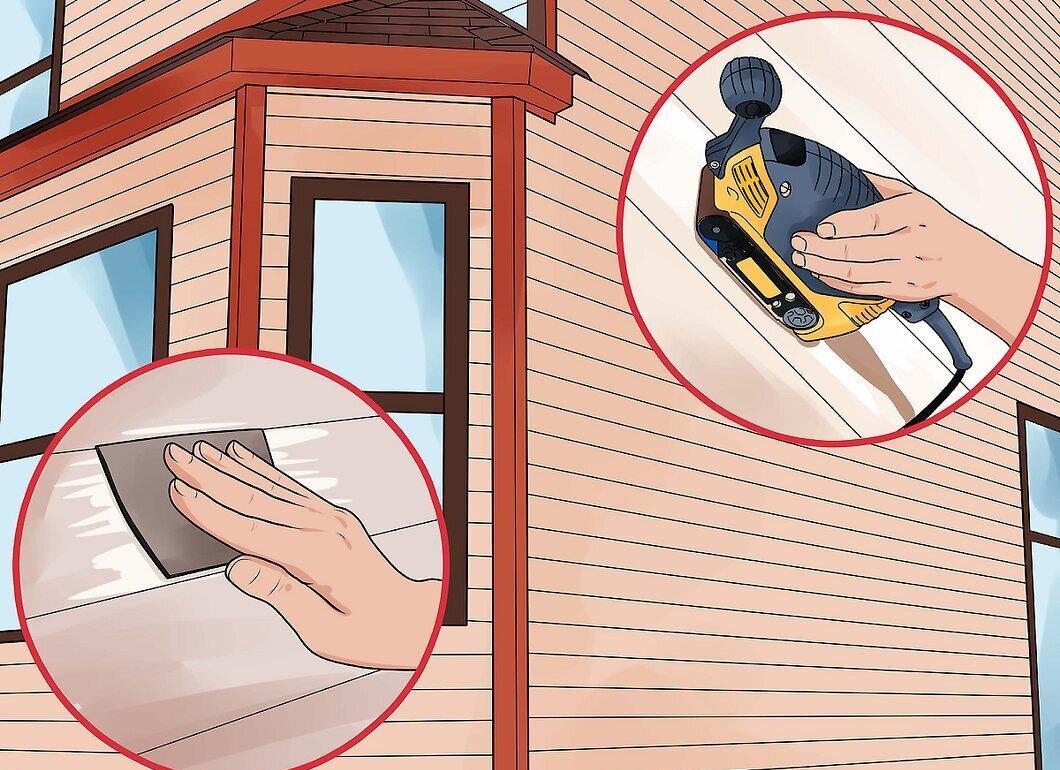
Sand the surface of the siding. If you plan to paint a large area, you may need a sander. Start with coarse sandpaper and then move to finer grit. Avoid creating rough spots and pits that could damage the siding. After sanding, sweep the surface to remove metal dust and old paint remnants.
- Begin with 80-grit paper, sanding in one direction across the entire surface.
- Then use 220-grit paper and repeat the process.
- If using a sander, be careful not to apply too much pressure to avoid damaging the siding.
- Do not use sandpaper with a grit higher than 80, as this can damage the surface.[7] X Source
Choosing the Right Tools
Step 1. Use a pressure washer for cleaning the siding.

A pressure washer is the best option for cleaning the siding. You can borrow one from friends or rent it if you plan to use it just once.
- Electric washers can be rented cheaply from appliance rental shops. Call nearby locations to check availability and pricing.
- Water pressure usually ranges from 90 to 200 bar. The higher the pressure, the more powerful the washer, though it can also be noisy, which might disturb neighbors.[8] X Reliable Source Consumer Reports
- Don’t forget safety: wear waterproof shoes, goggles, gloves, and earmuffs or earplugs—these often come with the pressure washer.
Step 2. Choose the right primer.
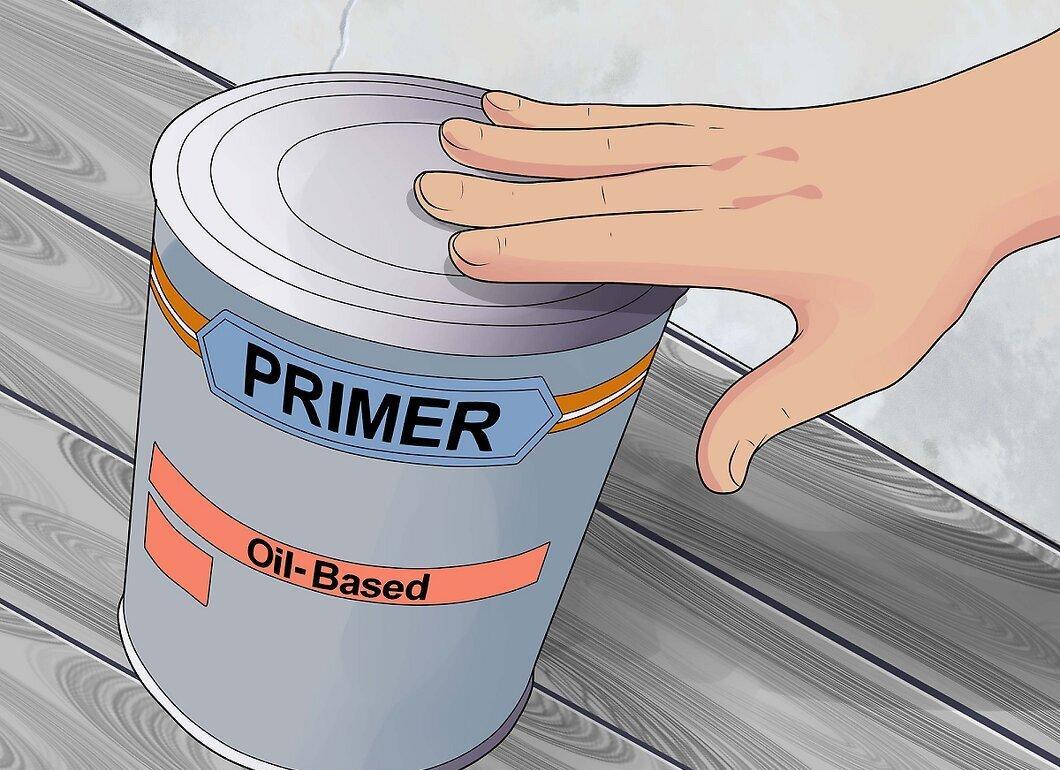
Decide on a primer. An oil-based primer will absorb chalk and create a protective layer on the aluminum.
- You can also use an acrylic primer that adheres well to metal and protects against oxidation.[10] X Source But remember that acrylic primers are only compatible with acrylic paints.
- Avoid latex primers, as they may contain ammonia that can react with aluminum over time, leading to gas bubbles and premature degradation of the primer.
Step 3. Select the right paint.
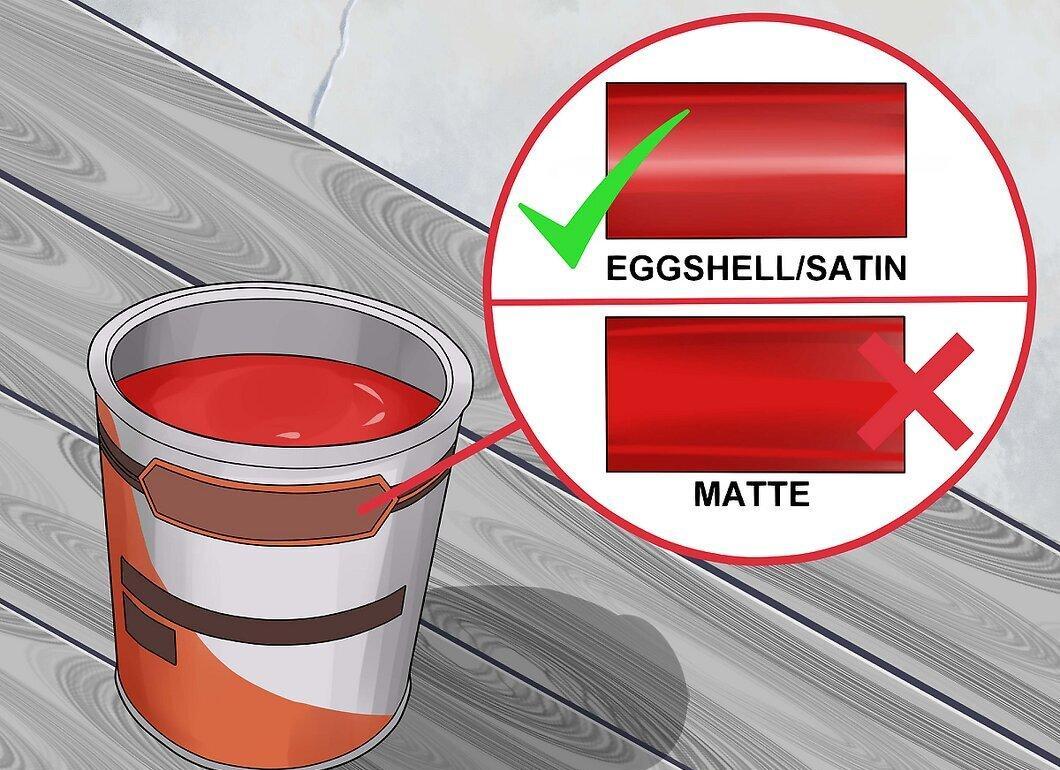
Choose an acrylic paint designed for exterior aluminum surfaces. Such paints are weather-resistant, bond well with metal, and maintain their color for a long time.
- Avoid glossy paints that reflect sunlight unless you live in a hot climate and want to reduce heat in your home.
- Opt for lighter shades, such as pale yellow, which are more suitable for home exteriors than darker colors.[12] X Source
Step 4. Determine your painting method.
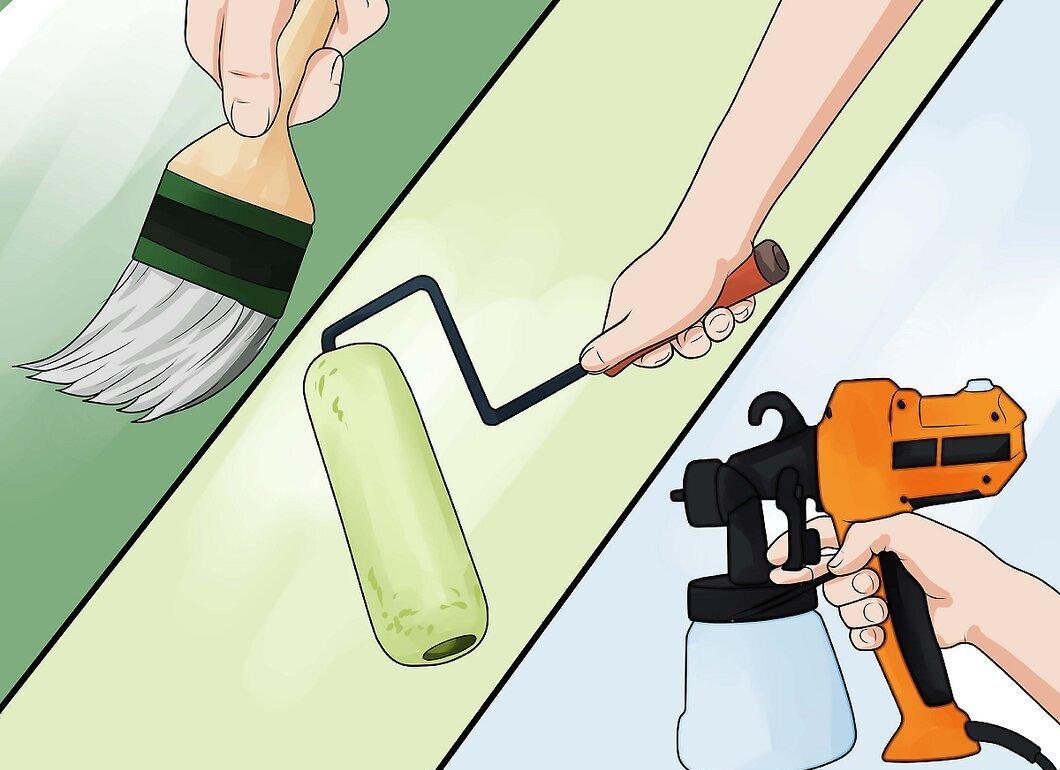
Decide how you will paint: with a brush, roller, or sprayer. Learn how to properly use your chosen tool. Brushes are the cheapest but slowest option; sprayers save time but cost more. Rollers can be a middle ground: they are affordable and fairly easy to use.
- If you choose brushes or rollers, prefer synthetic fibers or a roller made from fine sheep wool.[13] X Source This will allow you to apply paint in an even and smooth layer.
- If you go with a sprayer, choose an airless one with a 0.4 mm nozzle diameter for an even coat. Compare the rental prices of various tools at local rental centers.
Step 5. Consider if you need a ladder.
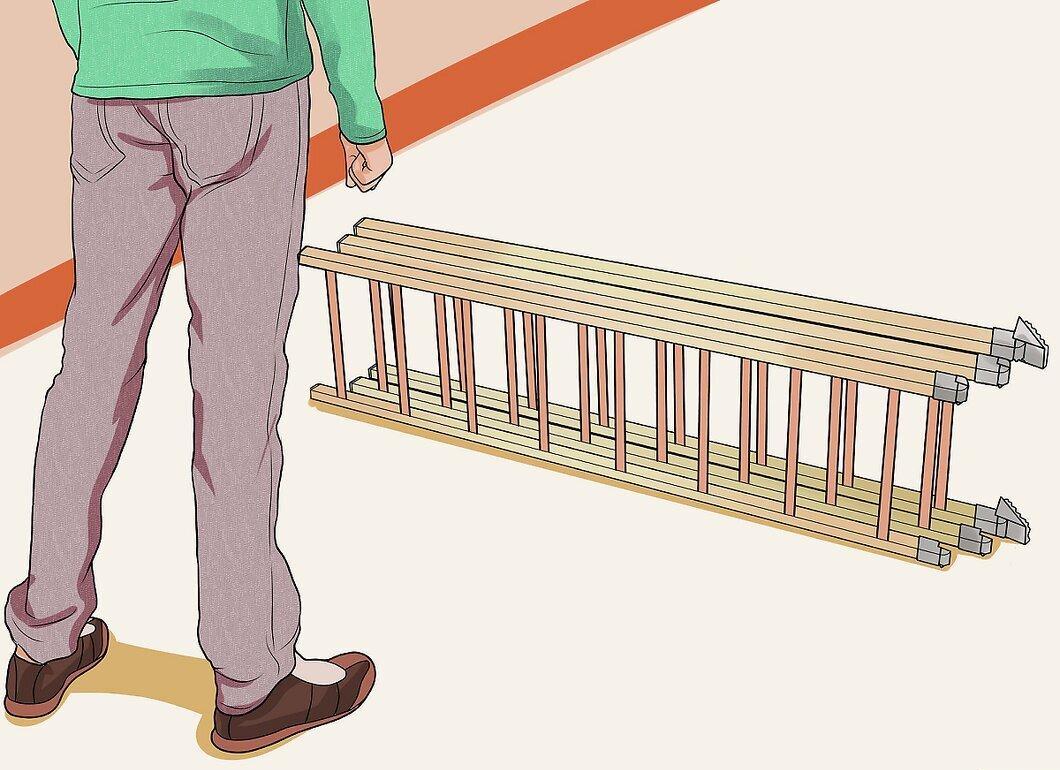
Decide if you will need a ladder. Regardless of the tool you choose, a ladder may be necessary to easily reach the upper sections of the siding and avoid uneven paint application.
- If using a roller, don’t forget to buy an extension pole to avoid the need for a ladder if your house isn’t too tall. For multi-story homes, the extension will reduce the height of the ladder needed to access the upper siding.
Painting the Siding
Step 1. Choose a good day for the job.
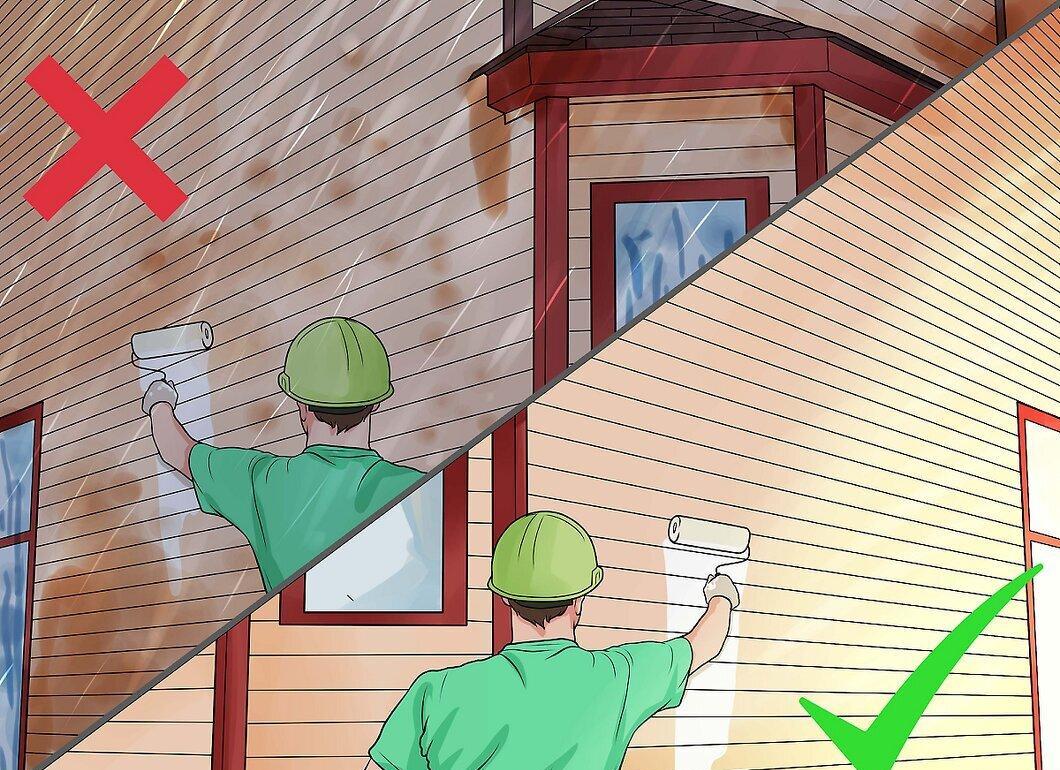
Pick a day for applying primer and paint, considering the weather conditions. Each product has its own temperature range: generally, it's advised not to paint when the temperature is below 10°C or in rainy weather. Dew or rain can hinder the paint's adhesion to the surface.
- When applying primer or paint, start with an area shielded from the sun, as direct sunlight can dry the paint too quickly, leading to cracks and bubbles.[14] X Source If such defects do occur, they can be sanded down after drying.
Step 2. Apply the primer and wait for it to dry.
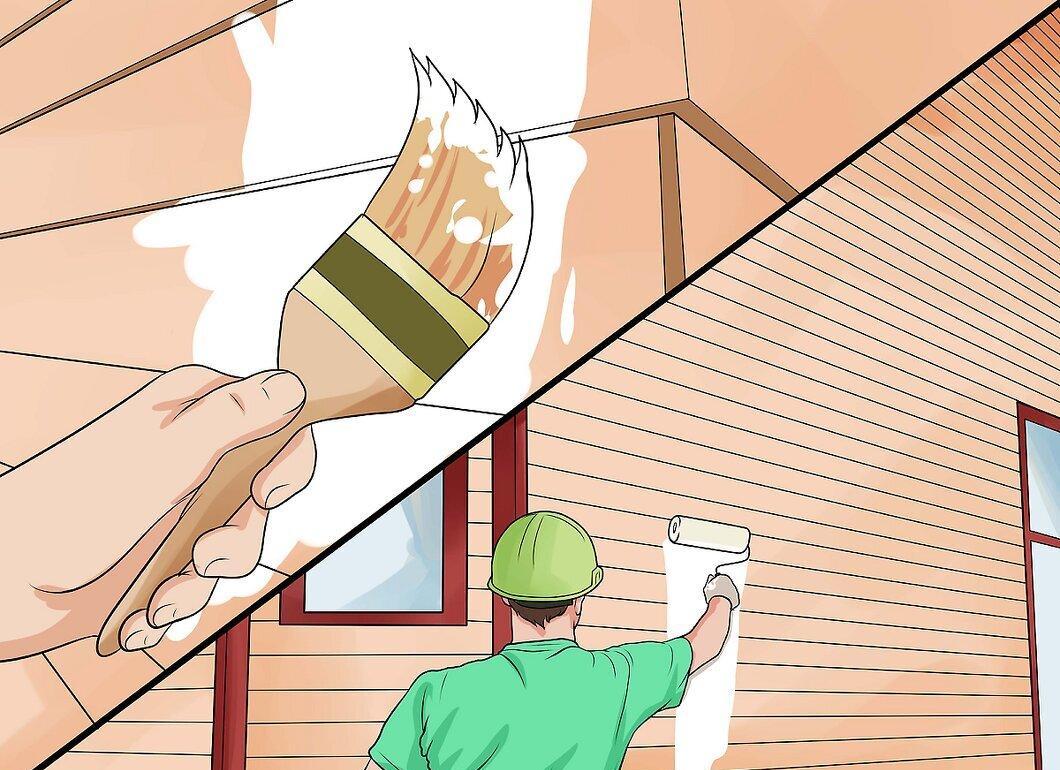
Evenly apply primer on the siding and wait the recommended drying time. Soak the roller in the primer and quickly roll it along the panel, applying even pressure. Then roll in the opposite direction to achieve a uniform layer. You should cover an area of about 30 cm within a few seconds. Apply at least two thin coats for even coverage.
- Don’t be alarmed if metal or old paint shows through the primer. The primer layer should be thin enough to dry quickly but noticeable to the eye.
- Start covering from one side of the siding, moving left to right or right to left, not from the middle, to ensure even drying and avoid visible lines that dry faster than other areas.
- Before applying the next coat, wait for the previous one to dry completely. If you apply the next coat too soon, the primer may peel or bubble. Usually, drying time is around four hours.
- The primer will be covered by paint, making it great practice for using the sprayer.[16] X Source
Step 3. Start painting the siding.
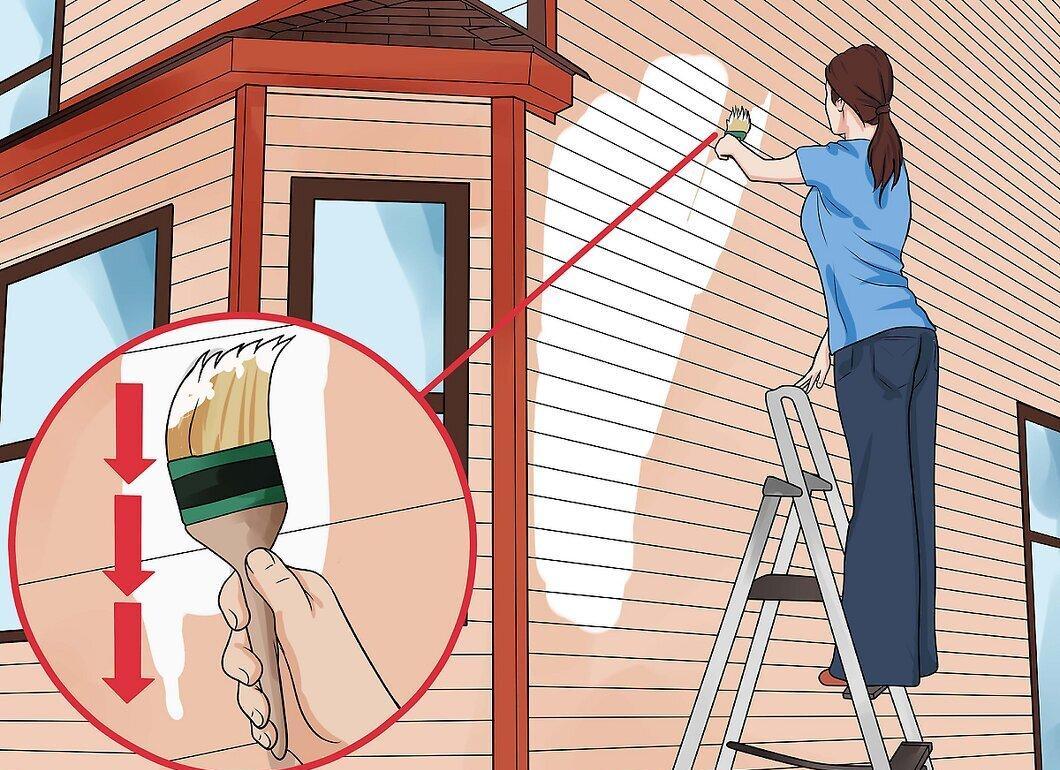
Begin painting. Apply paint in long, even strokes, ensuring there are no excesses. If the paint starts to drip, you are applying too much.
- Apply paint from top to bottom to avoid damage from dripping paint.
- If the siding is horizontal, paint it from left to right; vertical panels should be painted from top to bottom. This will help apply the paint in even layers and avoid missed spots.[17] X Source
- Typically, paint dries in about two hours.[18] X Source To check, touch the siding in an inconspicuous area: if the paint doesn’t leave marks and isn’t tacky, it’s ready for a second coat.
- Remember to take breaks. Leaving partially painted siding can result in noticeable lines. To avoid this, try to finish painting each section at once.
Step 4. Apply a second coat of paint.
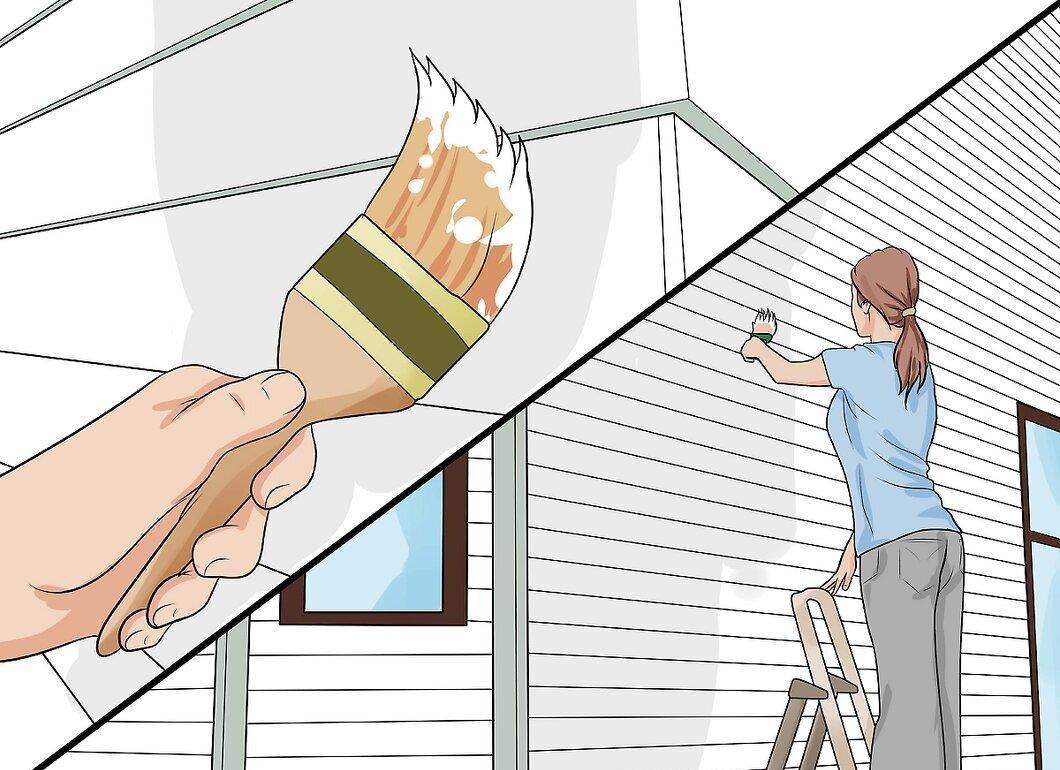
Start applying the second coat of paint. If there are flaws in the first coat, correct them with light sanding before applying the second coat. Be careful not to remove the paint completely. Check if the paint is dry before continuing.
- Try not to completely remove the paint while fixing imperfections. If this happens, apply some primer to the exposed area to protect the aluminum.
- Although a second coat isn’t always necessary, it greatly enhances appearance, increases durability, and protects the new siding.[19] X Source
- If there are visible streaks in the first coat, you may have painted too slowly. To remedy this, try reducing the painting area while keeping the edges wet and smoothly painting adjacent panels without breaks between strokes.[20] X Source Apply the second coat carefully to conceal any flaws in the first layer.


