Polished brass looks stunning, but over time it can lose its shine and become dull. Fortunately, you can often restore its luster with minimal effort. Here are several different methods to do so.
Polishing Lacquered Brass
Step 1. Wipe the brass with a soft damp cloth
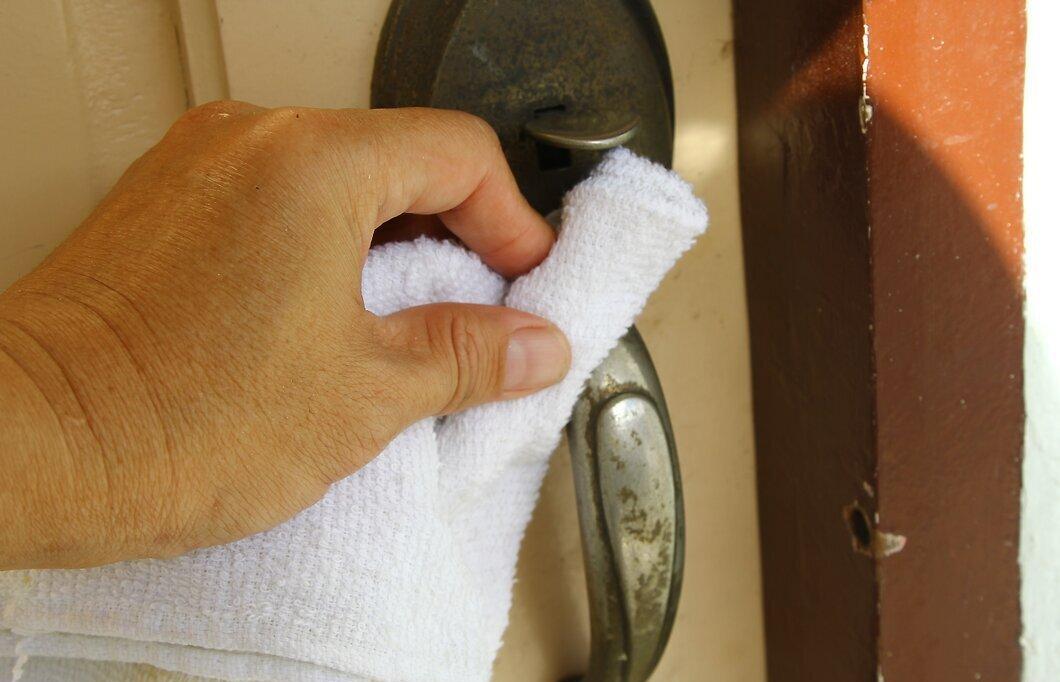
Wipe the brass with a soft damp cloth. Moisten a piece of soft fabric in slightly warm water, wring it out, and gently rub the brass in small circular motions.
- Lacquer is a protective coating, and in most cases, dullness of lacquered brass is easier to remove with physical means than with chemicals, unless it’s excessively tarnished. In fact, using any cleaning or polishing product risks damaging the lacquer finish.
- The best results will come from a soft cotton or terry cloth.
Step 2. Gently polish the lacquered brass with a dry cloth
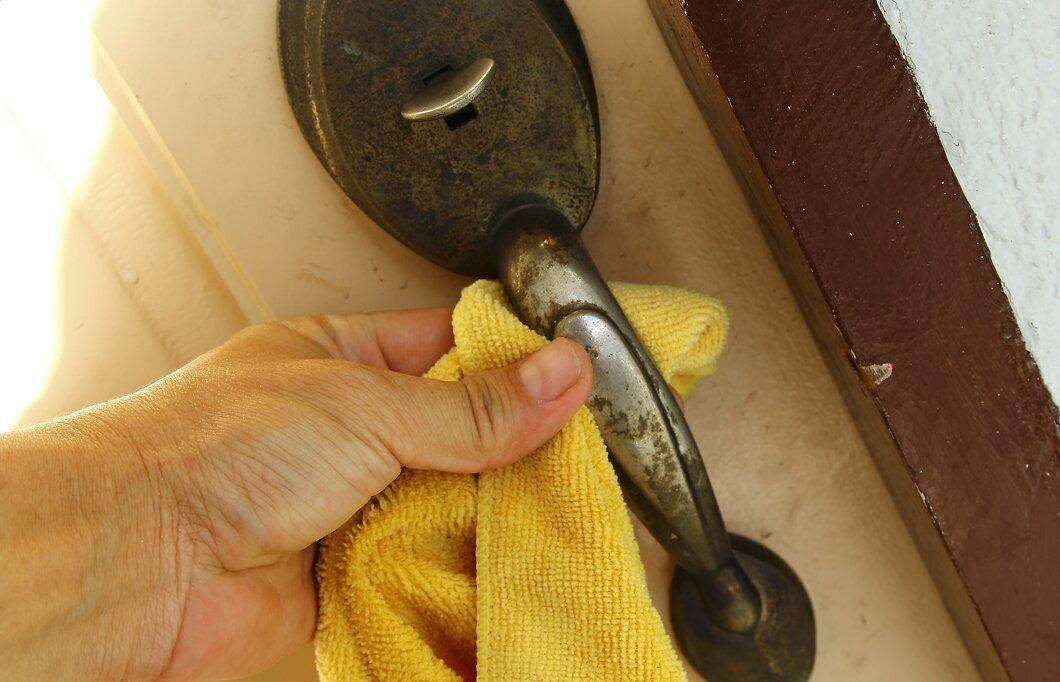
Gently polish the lacquered brass with a dry cloth. If it still appears dull, take a dry cloth and polish the surface for a few minutes, working over the entire area in small circular motions.
- At this stage, consider using a cotton cloth or a jewelry cleaning cloth. Such a cloth has a soft flannel outer layer and an inner layer embedded with hematite, which acts as a mild abrasive.
- Note that when polishing with a jewelry cleaning cloth, you should first use the abrasive side and then polish with the soft side to finish off the residue left by the hematite.
Step 3. Assess the appearance of the brass
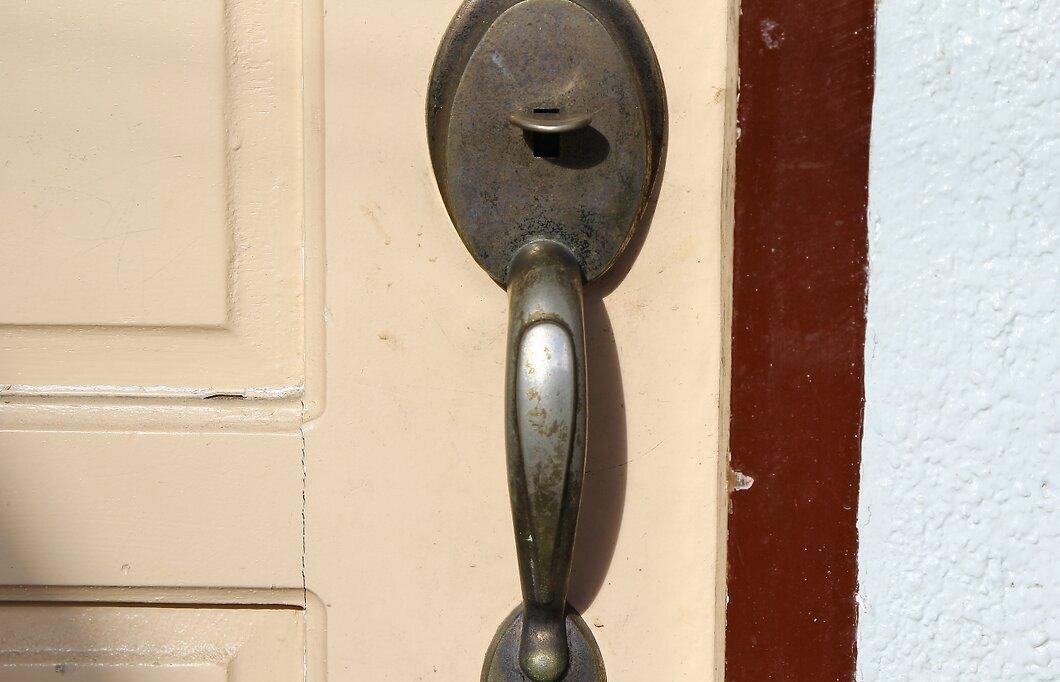
Assess the appearance of the brass. By this point, the brass should look fairly well-polished. However, if it’s still dull, you may need to strip the lacquer completely and clean the brass more thoroughly.
Using a Commercial Brass Polish
Step 1. Choose the right polishing product
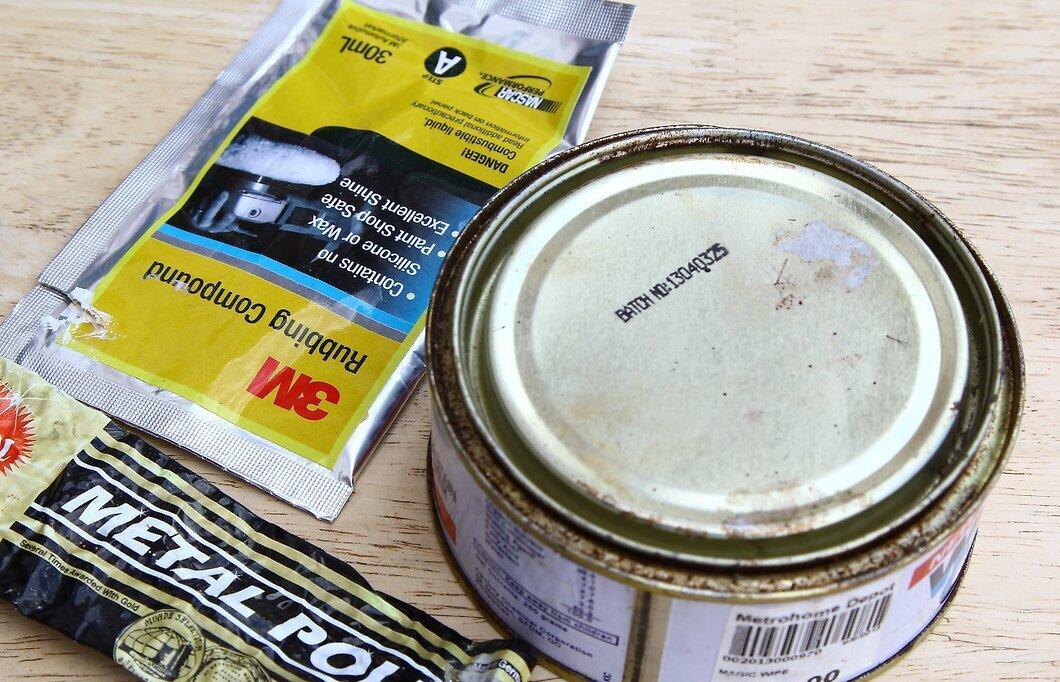
Choose the right polishing product. Many metal polishes contain abrasives that are too harsh for some brass items. To be safe, look for pastes specifically designed for brass. The best choice is a product formulated for the type of item you are working on.
- If possible, use a non-abrasive polishing product. Other types of commercial polishing pastes may be too coarse because they were formulated for cleaning stainless steel or automotive parts.
- Avoid products that contain dullness suppressants, as they tend to leave a film on the surface of the brass.
- Also, steer clear of products containing ammonia: it dissolves the copper component of brass.
- Some of the most popular brands include Brasso, Bar Keepers Friend, Never Dull, Cameo, Hagerty, and Blitz.
Step 2. Apply a small amount of polishing product to a soft dry cloth
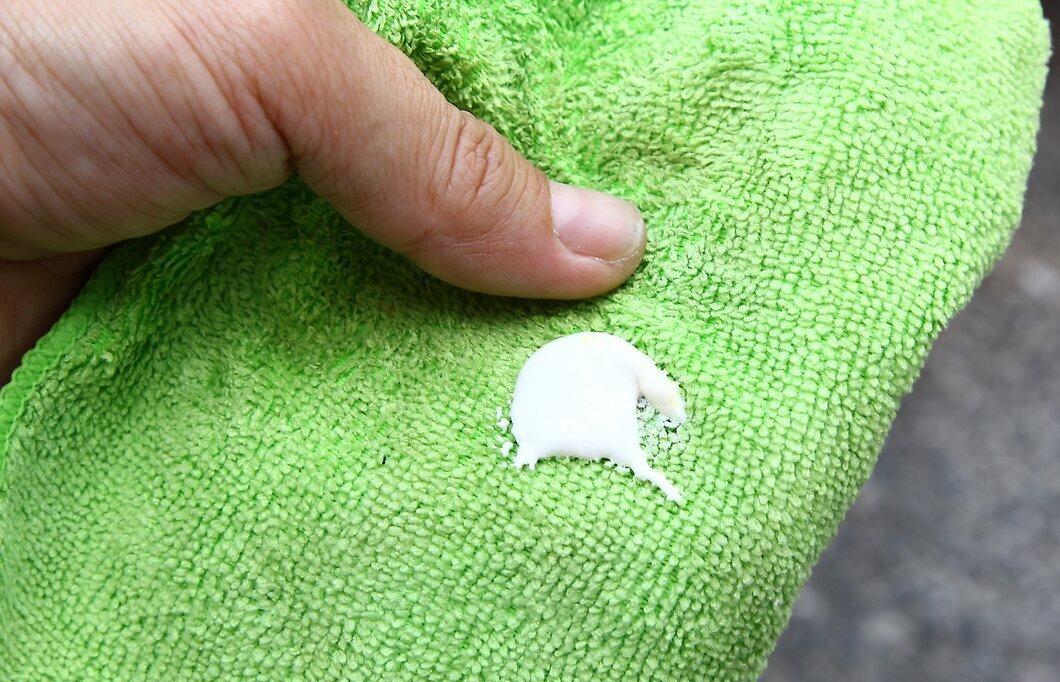
Apply a small amount of polishing product to a soft dry cloth. A small amount is sufficient for a large area, so don’t squeeze out too much.
- The best results will come from using a cotton or terry cloth.
- It’s recommended to apply the polishing product not directly, but first on a piece of cloth. Otherwise, it will be much harder to distribute the product evenly, and some areas of the brass will be polished better than others due to higher concentration.
Step 3. Polish the brass
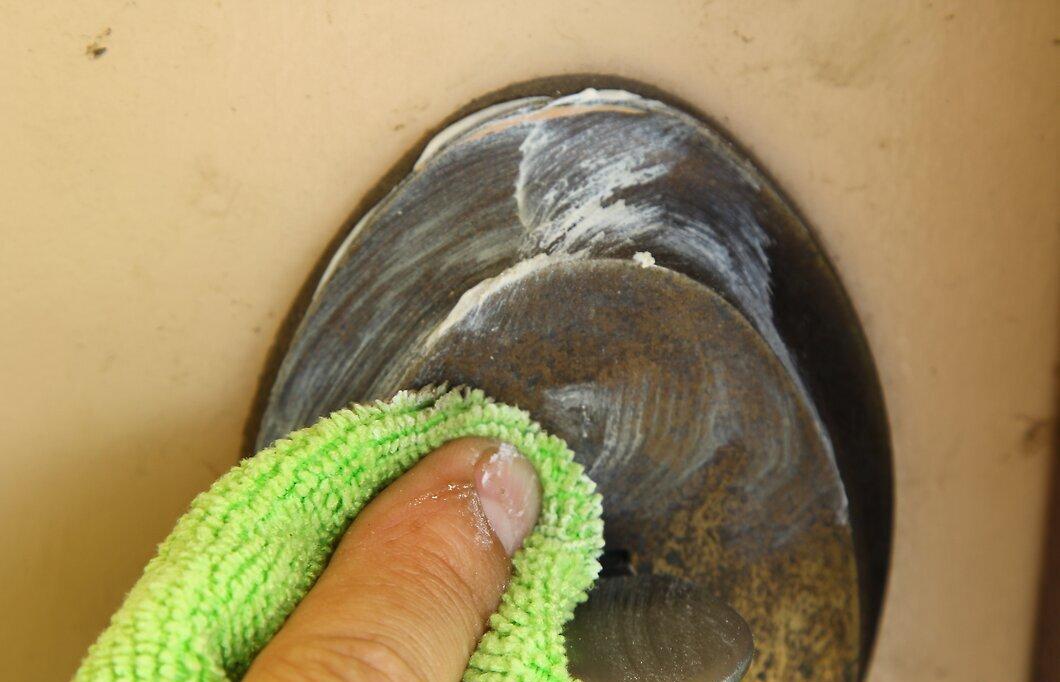
Polish the brass. Using small circular motions, rub the brass with the cloth that has the polishing product applied to it. Work over the entire surface.
- Follow the instructions provided with the polishing product, even if they differ from the ones given here. Most pastes are applied similarly, but differences in chemical composition may require slightly different actions. If you don’t follow the instructions, you may end up damaging the brass.
Step 4. Wipe the brass first with a damp cloth, then with a dry cloth to remove residue
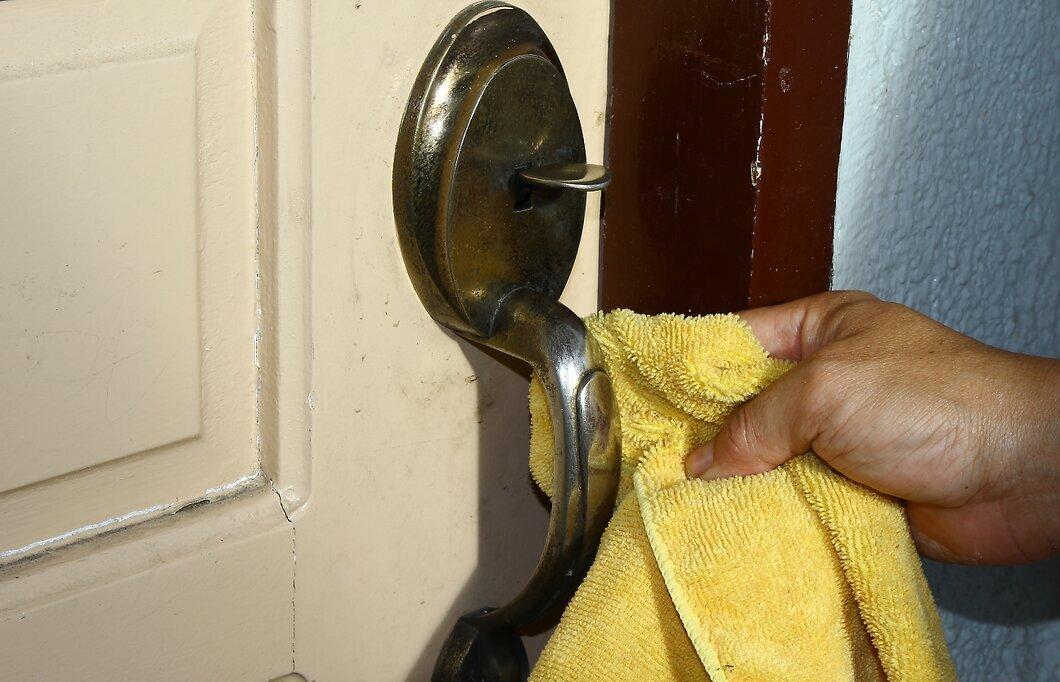
Wipe the brass first with a damp cloth, then with a dry cloth to remove residue. Some polishing products must be wiped off the brass surface with a damp cloth before you begin soft polishing with a clean dry cloth.
- Some polishing products do not need to be rinsed off. But even with those, you still need to polish the surface with a dry cloth.
Polishing with a Vinegar and Flour Mixture
Step 1. Mix white distilled vinegar and flour
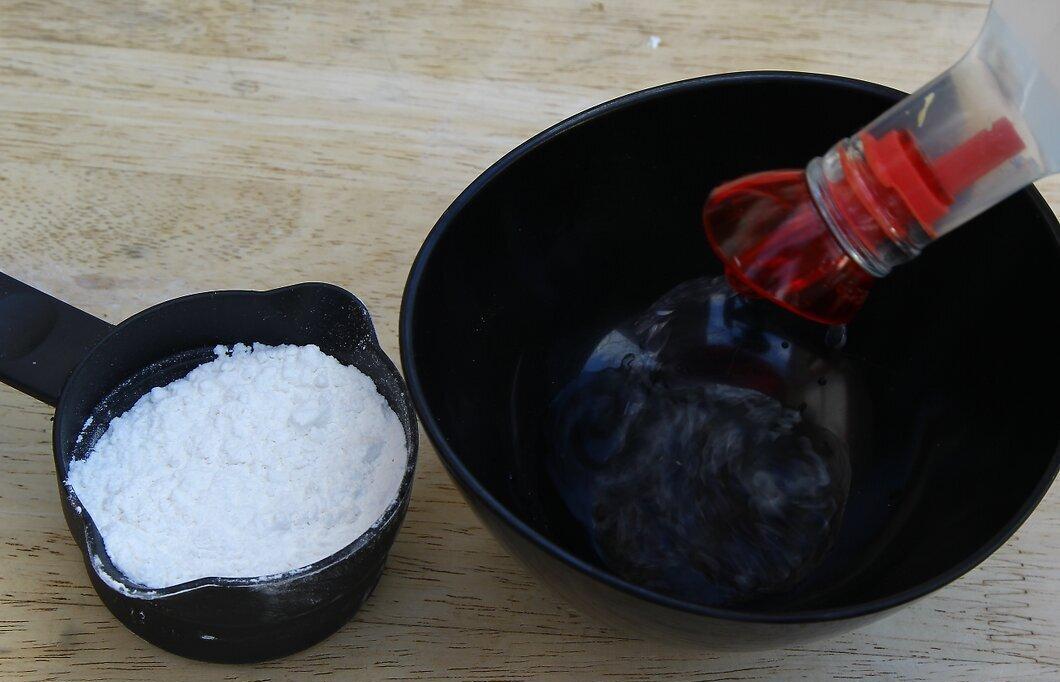
Mix white distilled vinegar and flour. Combine 2/3 cup (160 ml) of white distilled vinegar with 2/3 cup (160 ml) of flour. Stir the ingredients in a plastic or glass container until you achieve a smooth consistency.
- Never use metal containers for mixing these ingredients. If possible, use a plastic or wooden spoon or spatula for stirring instead of metal.
- Vinegar is an acid, and its acidic properties can dissolve the substances that make brass dull. The flour adds a bit of abrasiveness to the mixture, but its main function is to make the vinegar mixture pasty.
Step 2. Add a bit of salt
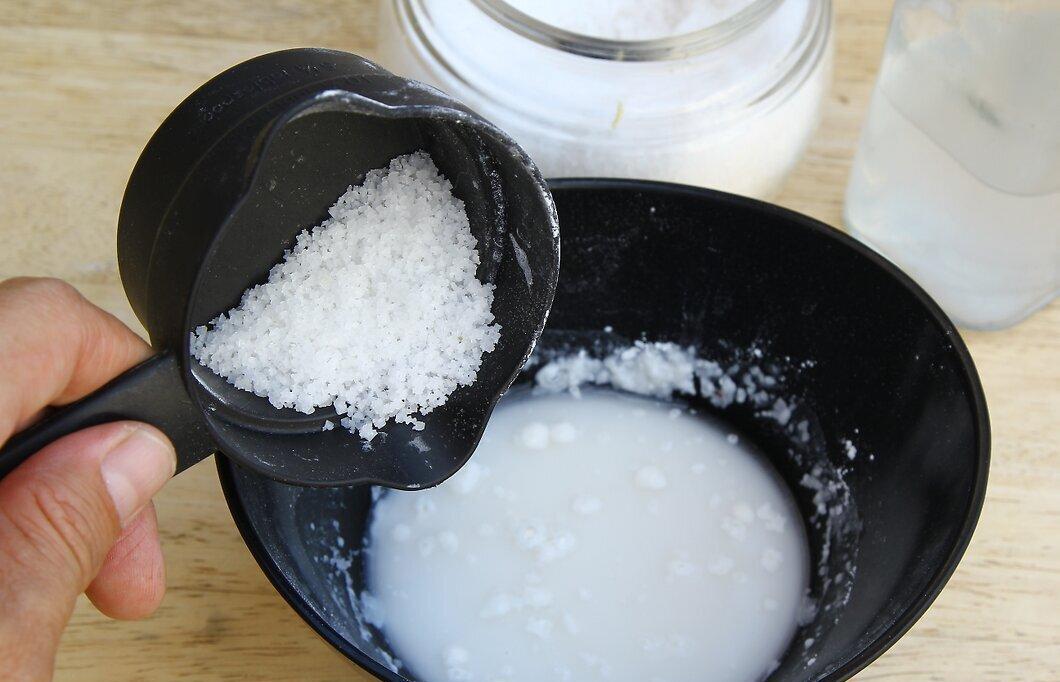
Add a bit of salt. Mix 1/2 cup (125 ml) of salt into the paste until it’s evenly distributed.
- Salt adds an abrasive component to the paste. It makes the mixture more effective both chemically and physically.
- Note that this paste does not store well, so only create as much as you need at the moment.
Step 3. Place brass items on a large flat dish
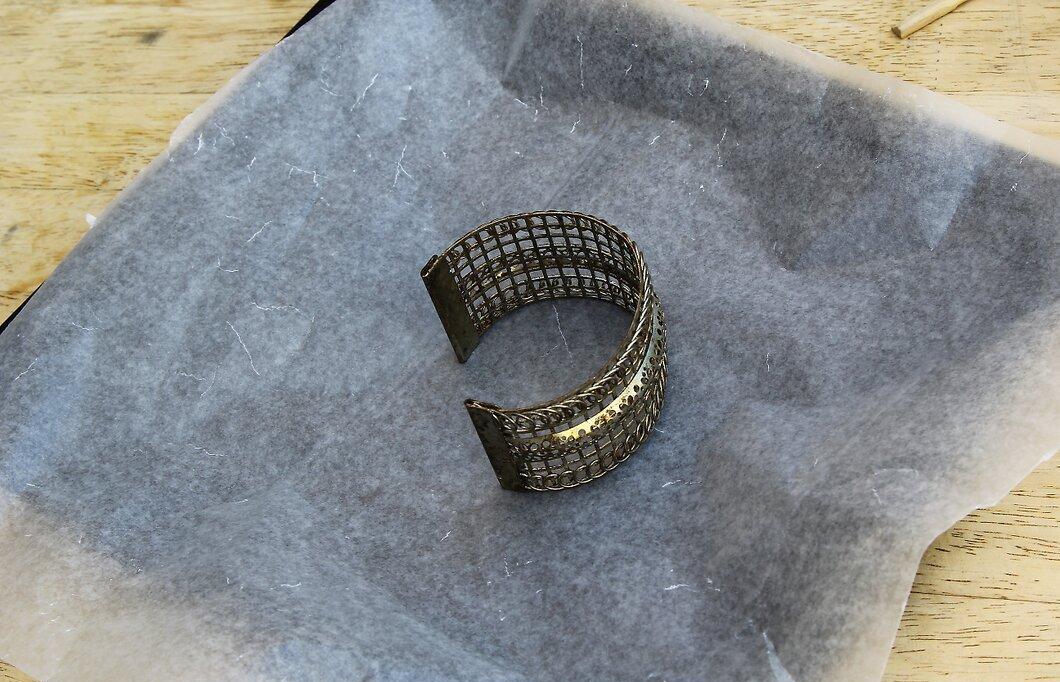
Place brass items on a large flat dish. You will need to keep the polishing paste on the brass for an extended period, so it will be more convenient to lay the brass items in one layer on a plastic or glass dish or tray.
- If you decide to use a metal baking sheet, cover it with parchment paper to prevent direct contact between the brass and the paste with the metal surface.
Step 4. Apply the paste and leave it
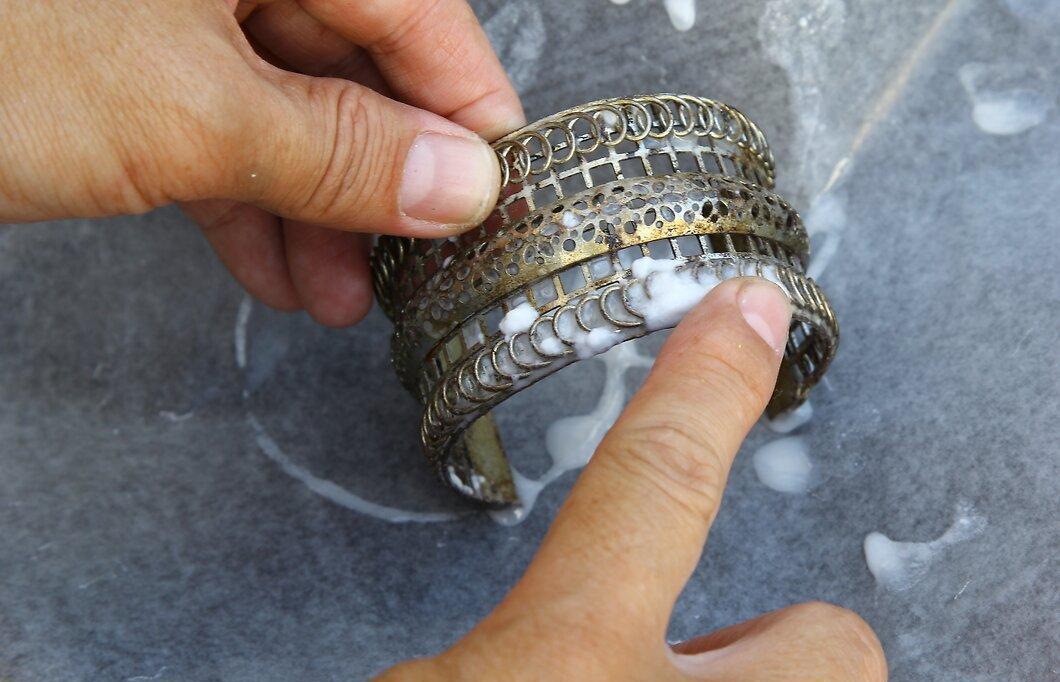
Apply the paste and leave it. Using a spoon or your fingers, spread the paste over all parts of the brass item so that it is covered with a thick layer. Leave it on the metal for at least 1-2 hours.
- If the brass has darkened significantly, you can leave the paste on overnight.
- As the paste works, you will see it take on a greenish hue. This is a natural result of a chemical reaction and indicates that the tarnishing substances on the brass are dissolving.
Step 5. Rinse off the dried paste
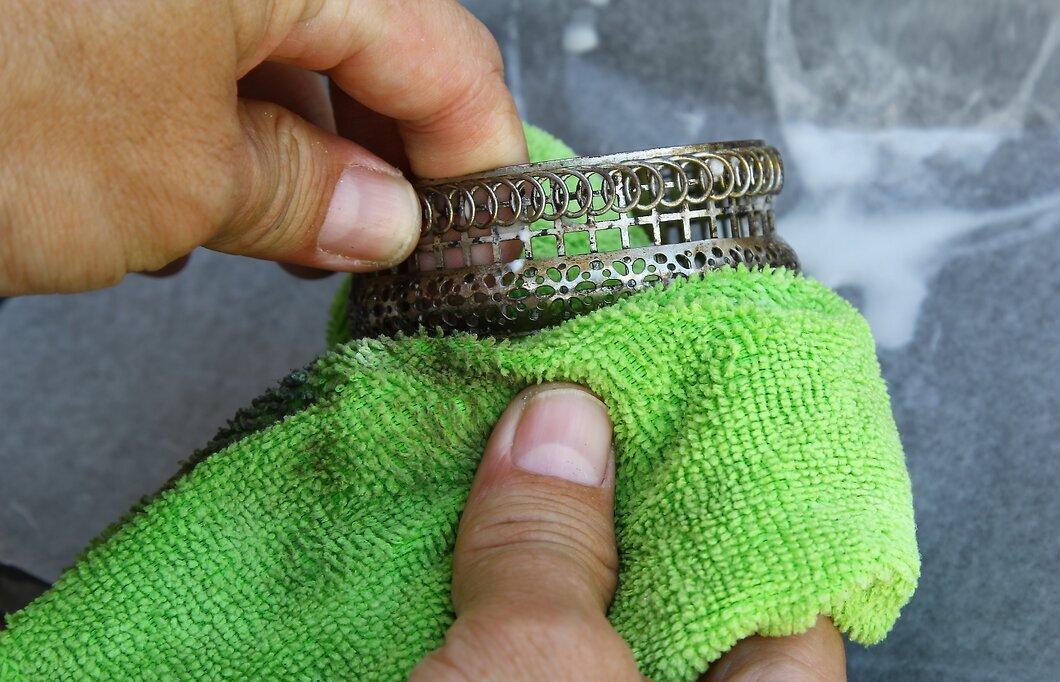
Rinse off the dried paste. Once the process is complete, gently wash off the paste with a soft cloth under warm running water. Lightly polish the surface of the brass in small circular motions while rinsing it.
- A cotton or terry cloth is the best choice.
- Thoroughly wipe the brass surface: all the paste must be removed. If the paste layer was substantial and does not rinse off easily, you may try scrubbing it with your thumbnail.
Step 6. Polish the brass with a dry cloth
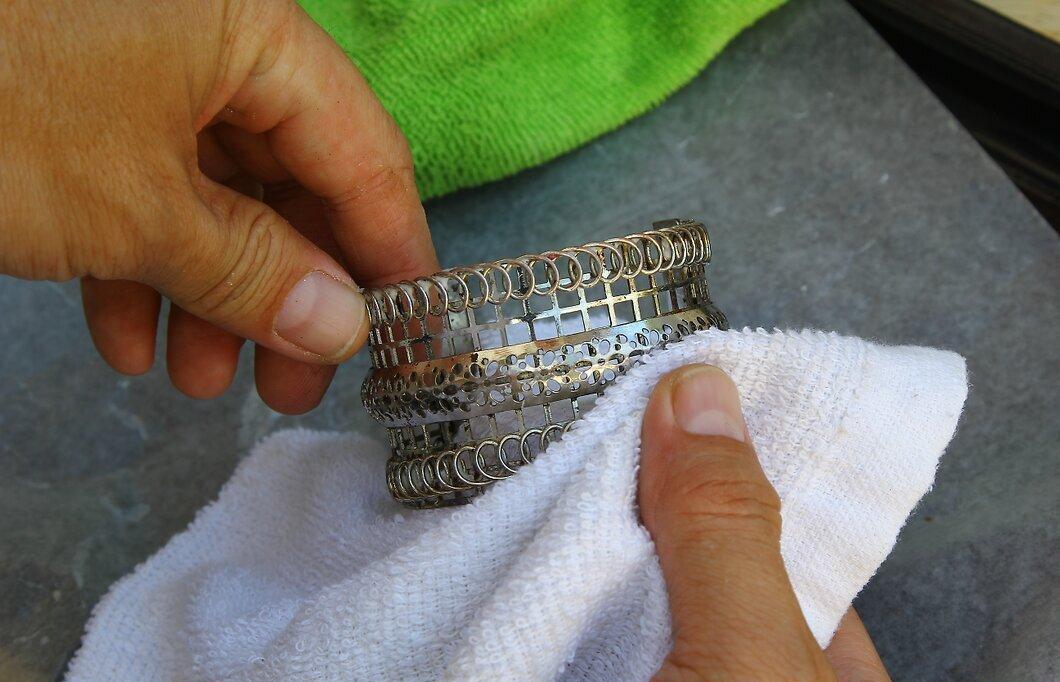
Polish the brass with a dry cloth. To dry the metal and give it maximum shine, polish the entire surface in small circular motions.
Polishing with Ketchup
Step 1. Squeeze some ketchup onto a soft cloth
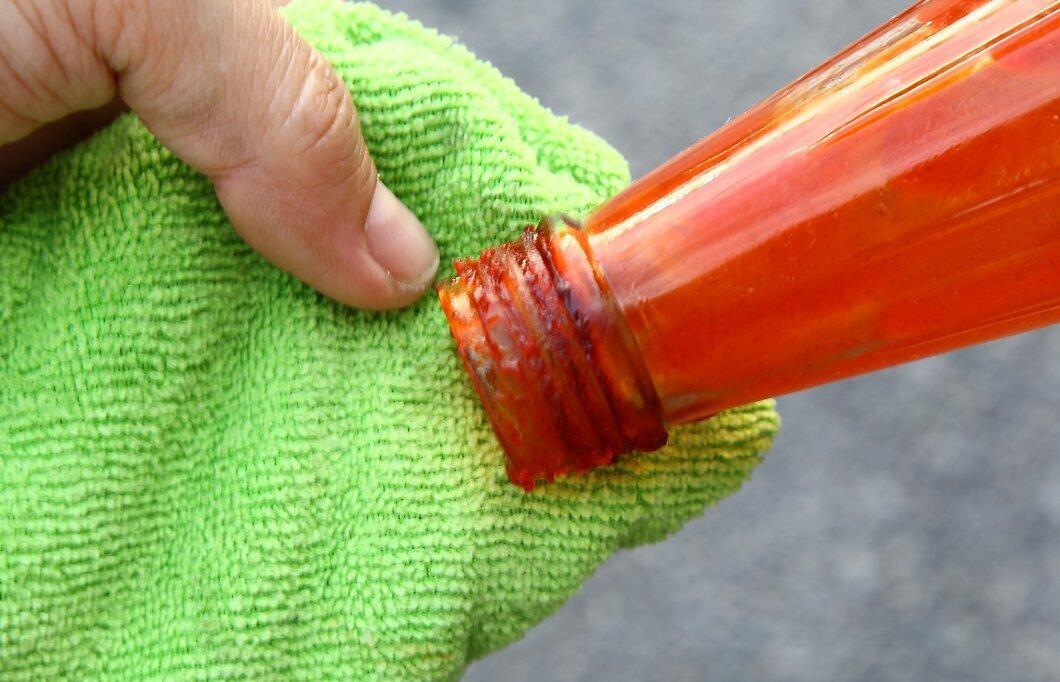
Squeeze some ketchup onto a soft cloth. You will need about 10 milliliters, or even less: too much will only hinder the process.
- A cotton or terry cloth works best.
- Tomato juice is a mild acid, so tomato-based products can help dissolve the substances that make your brass dark and dull.
- Ketchup is the best choice due to its thickness, but in the absence of this product, you can try tomato paste or tomato juice.
Step 2. Cover the surface of the brass with ketchup
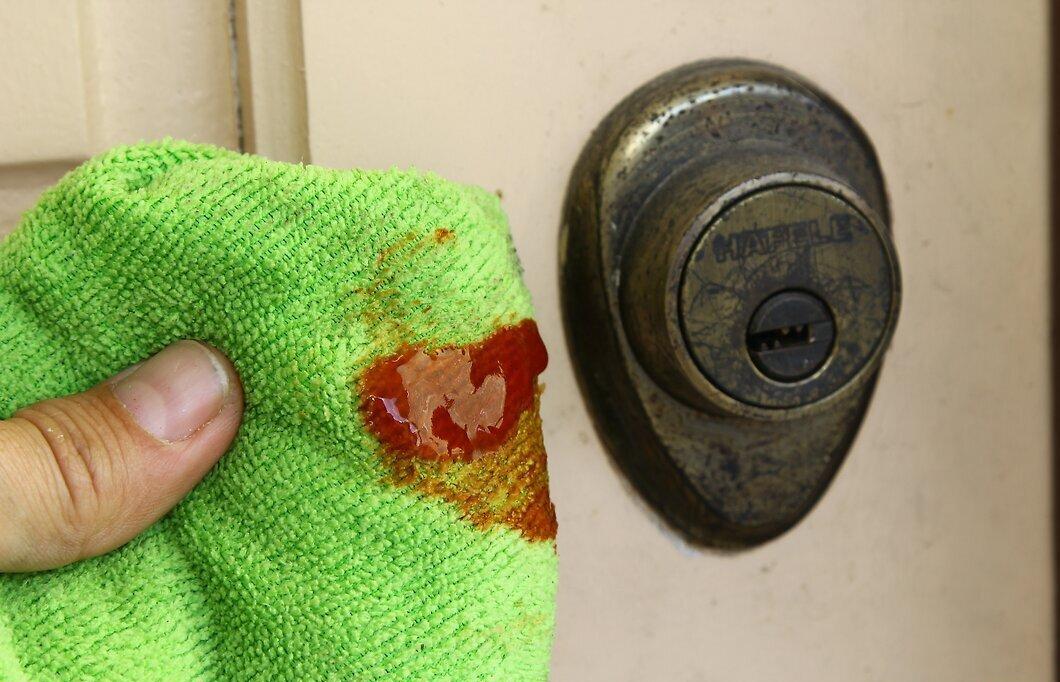
Cover the surface of the brass with ketchup. Rub the brass with the ketchup-covered cloth on all sides.
- It’s more effective to slide the ketchup-covered cloth in one direction rather than rubbing it back and forth or in circular motions.
Step 3. Wipe off the excess
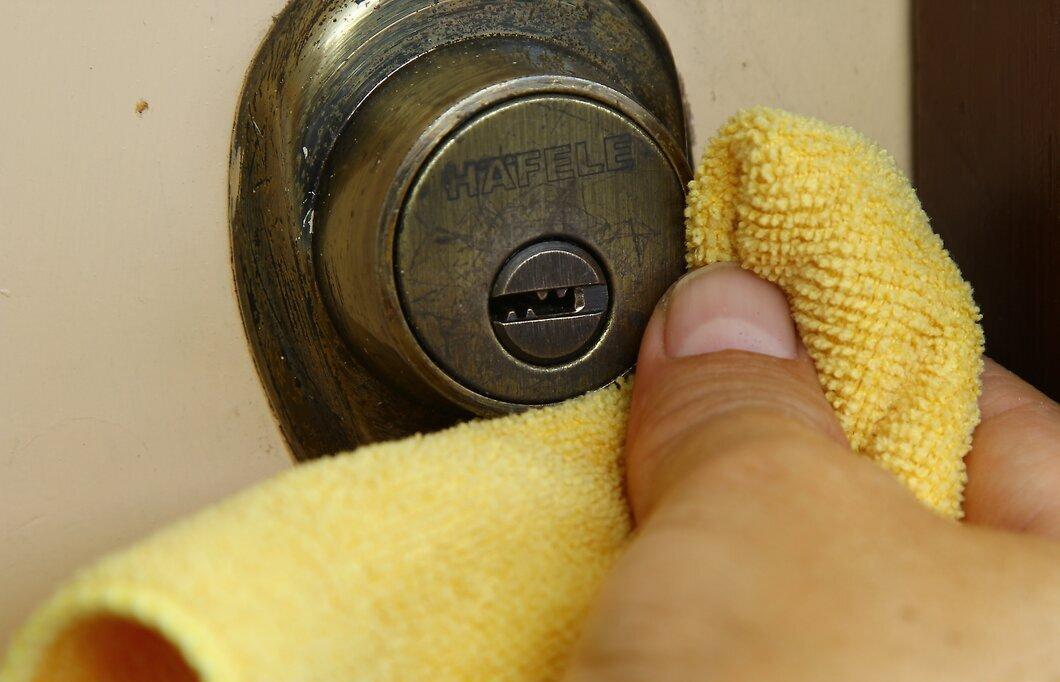
Wipe off the excess. Take a damp cloth and wipe off the ketchup after leaving it on the brass for a couple of minutes.
- You can rinse the ketchup under running water, but using a damp cloth will allow you to further polish the brass.
Step 4. Polish the brass until it is dry and shiny
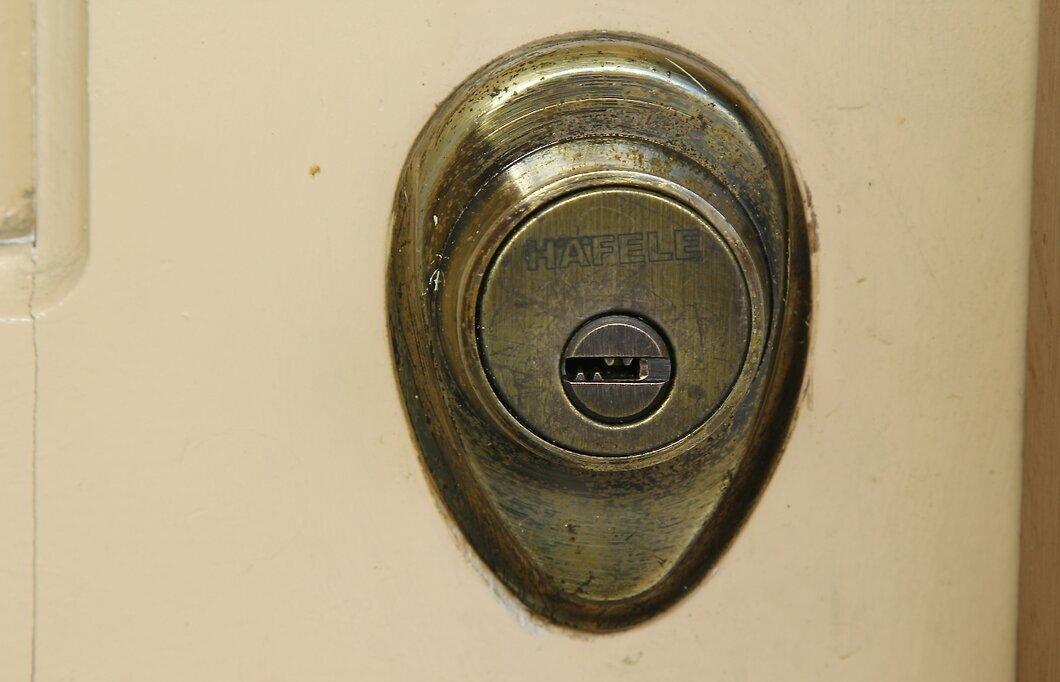
Polish the brass until it is dry and shiny. Use a dry, soft cloth to dry the brass and give it a final luster. Thoroughly polish the entire surface in small circular motions.
Polishing with Lemon Juice
Step 1. Combine lemon juice with a mild abrasive
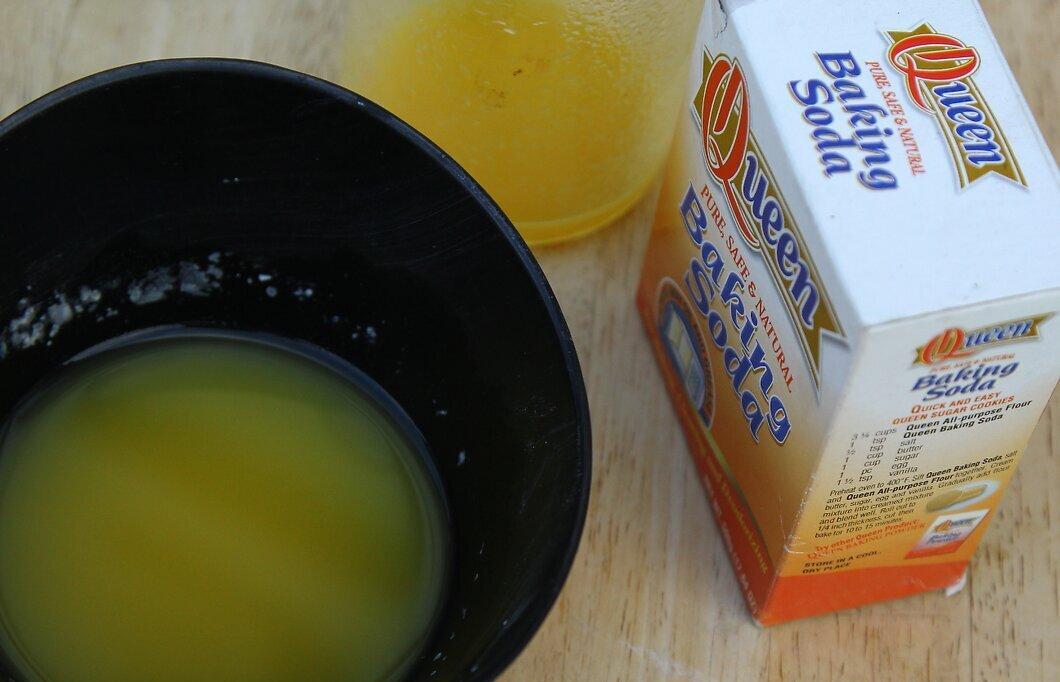
Combine lemon juice with a mild abrasive. Baking soda and cream of tartar are commonly used for this. Alternatively, you can use half a lemon and some salt.
- Mix 1-2 teaspoons (15-30 ml) of lemon juice with 1-2 teaspoons (5-10 ml) of baking soda. This mixture will fizz at first but will gradually settle down.
- Stir 1 teaspoon (15 ml) of lemon juice and 2 teaspoons (30 ml) of cream of tartar until you achieve a smooth paste.
- If you want to use lemon and salt, cut the lemon in half and remove the seeds. Generously sprinkle salt on the cut surface.
Step 2. Cover the brass with the lemon paste
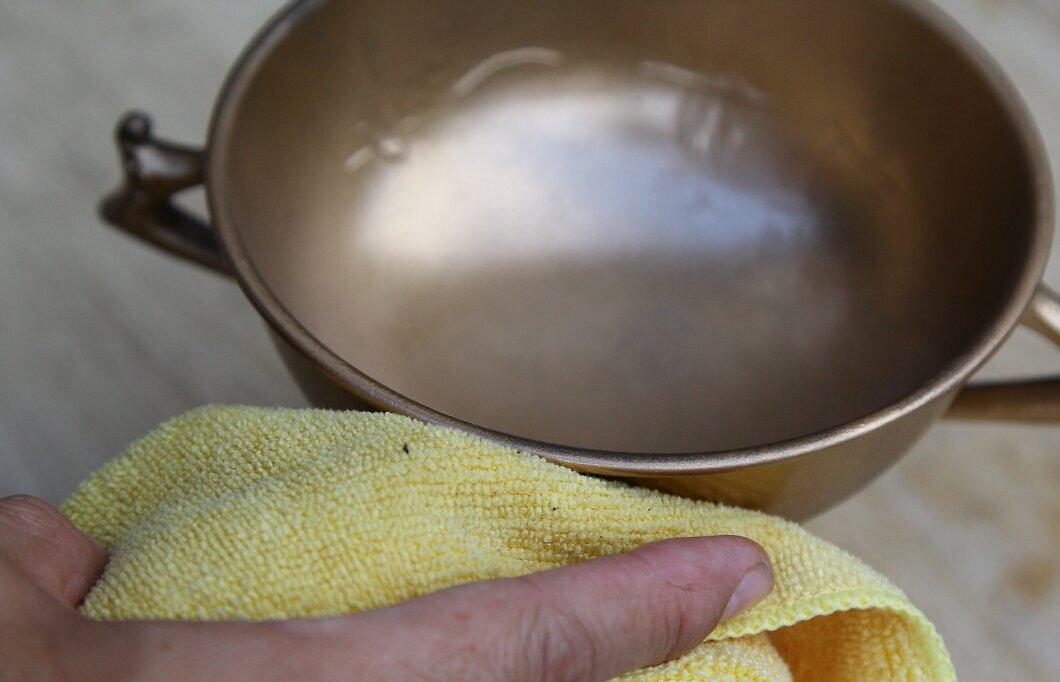
Cover the brass with the lemon paste. Using your fingers or a soft cloth, spread the lemon paste over the entire surface of the brass. Apply it in one direction for the best results.
- The best effect will come from using a cotton or terry cloth.
- The lemon juice and baking soda paste only needs to be left for a few minutes, while the cream of tartar paste should be left for about half an hour.
- If opting for the lemon and salt method, rub the heavily salted lemon over the entire surface of the brass. Add more salt as needed until the whole item is polished.
Step 3. Rinse off the residue
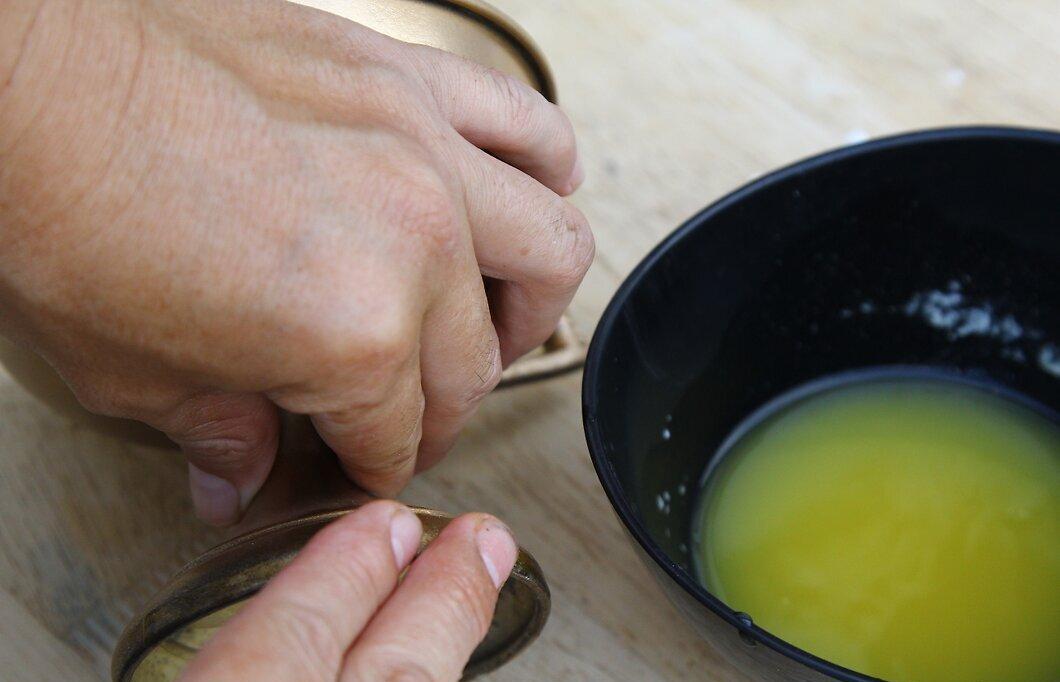
Rinse off the residue. Wash the brass under warm running water, gently rubbing it with your fingers.
- If any parts of the brass still appear dull, you can reapply one of the lemon solutions for additional shine.
Step 4. Wipe and polish the brass with a soft cloth
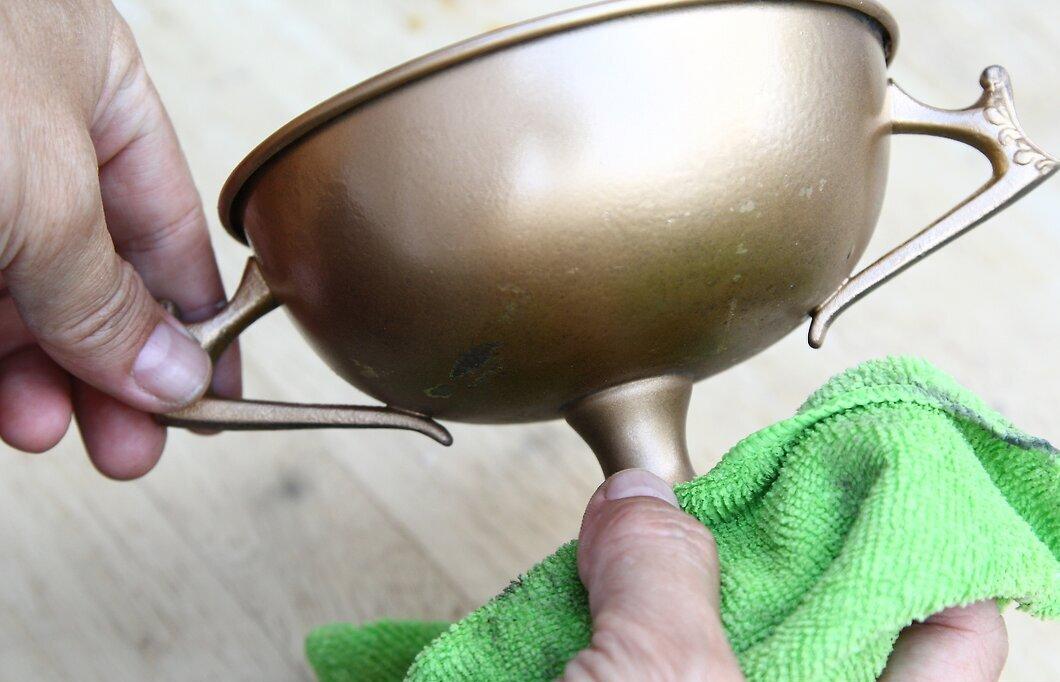
Wipe and polish the brass with a soft cloth. Dry the brass thoroughly with a soft, clean cloth. To give the metal a special shine, use strong, small circular motions, evenly distributing the pressure across the surface.