
In this article, you will learn how to correctly eject an external storage device connected to your computer. The process of ejecting the drive is akin to its 'removal'. However, remember that you cannot eject a hard drive that contains your operating system.
On Windows
Step 1. Open the Start Menu.
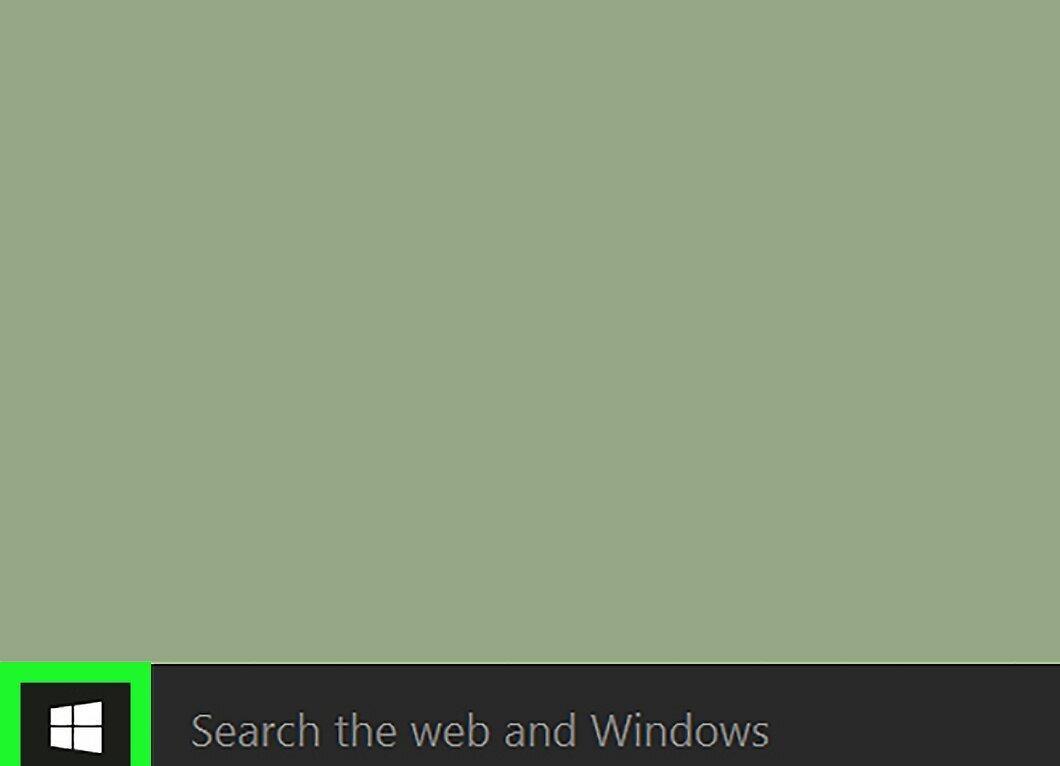
Launch the Start Menu by clicking the Start button (or ) in the bottom left corner of your screen.
- You can also use the ⊞ Win key.
Step 2. Open File Explorer.
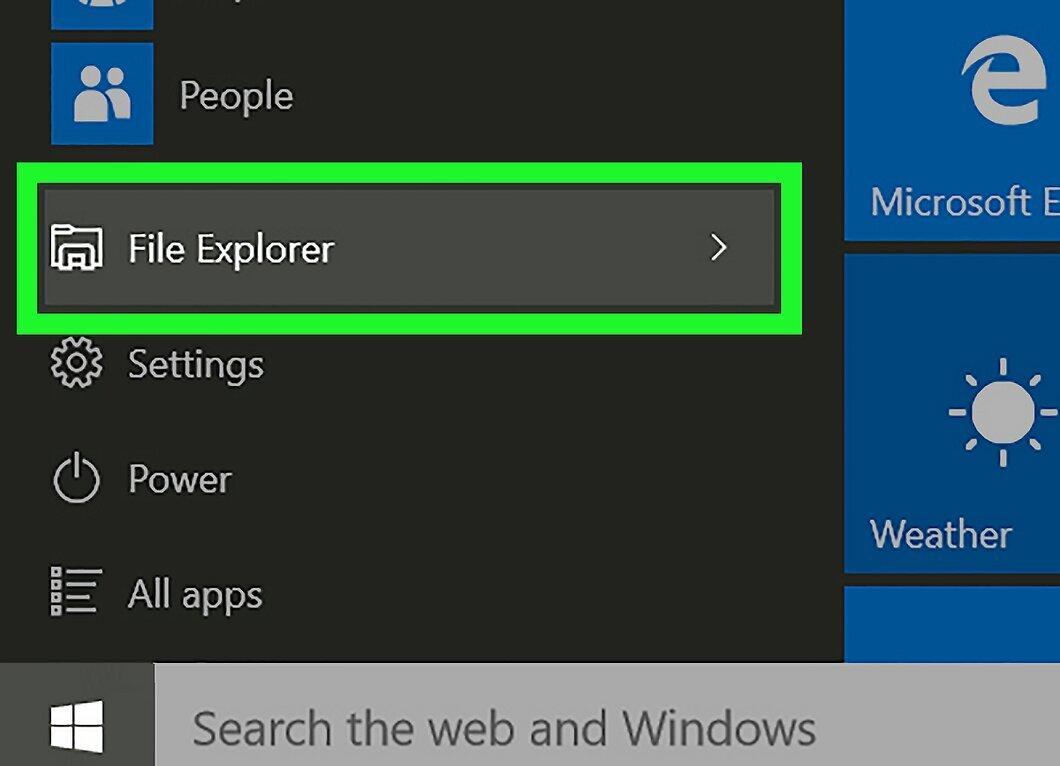
Open File Explorer by clicking its icon. In versions newer than Windows 10, this icon is labeled (as shown in the image above).
- In Windows 7/Vista, select Computer from the right column.
Step 3. Ensure You're in This PC, Computer, or My Computer.
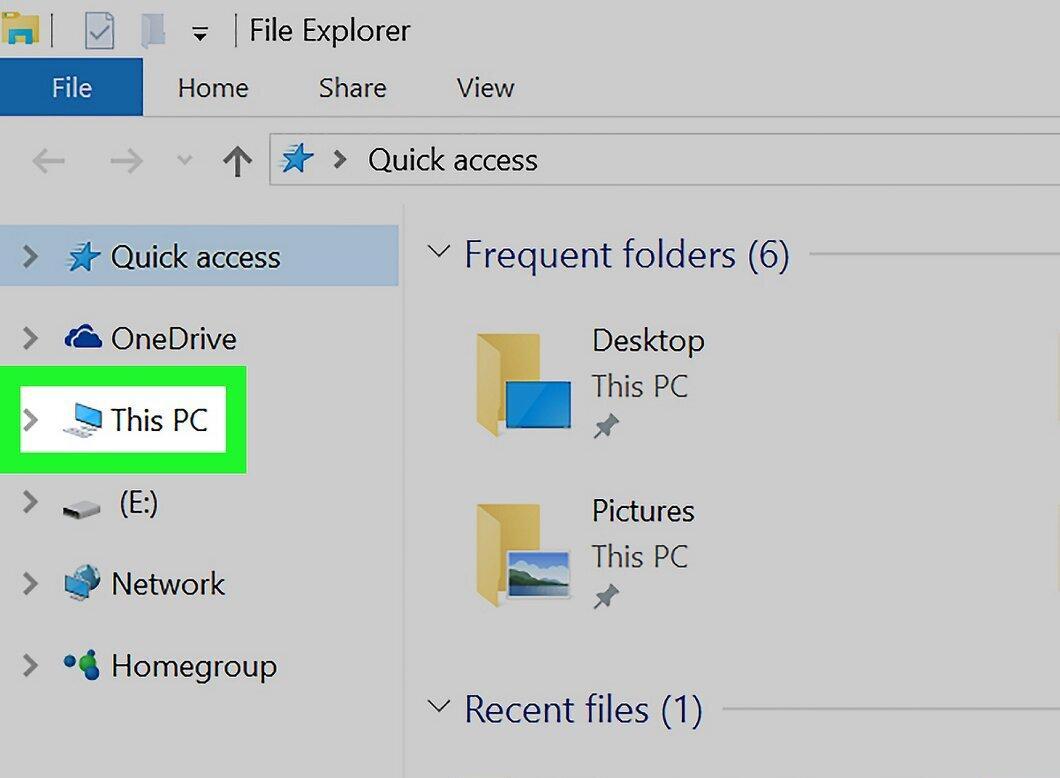
Make sure you are in the This PC, Computer, or My Computer window. The title will be visible on the left panel.
- The name may vary depending on the version of Windows.
Step 4. Select the Drive You Want to Eject.
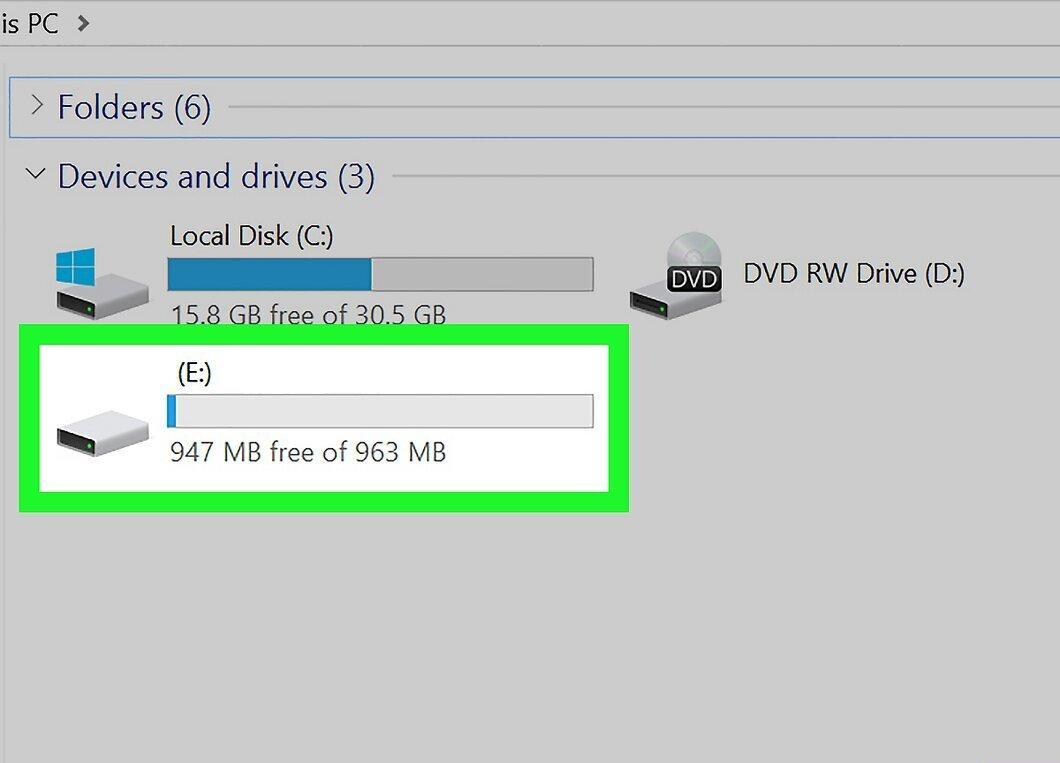
Click on the drive you wish to eject. All connected drives will be displayed in the 'Devices and drives' section in the center of the window.
- The drive can be external (like a flash drive, SD card) or an additional internal one.
Step 5. Go to the Manage Tab.
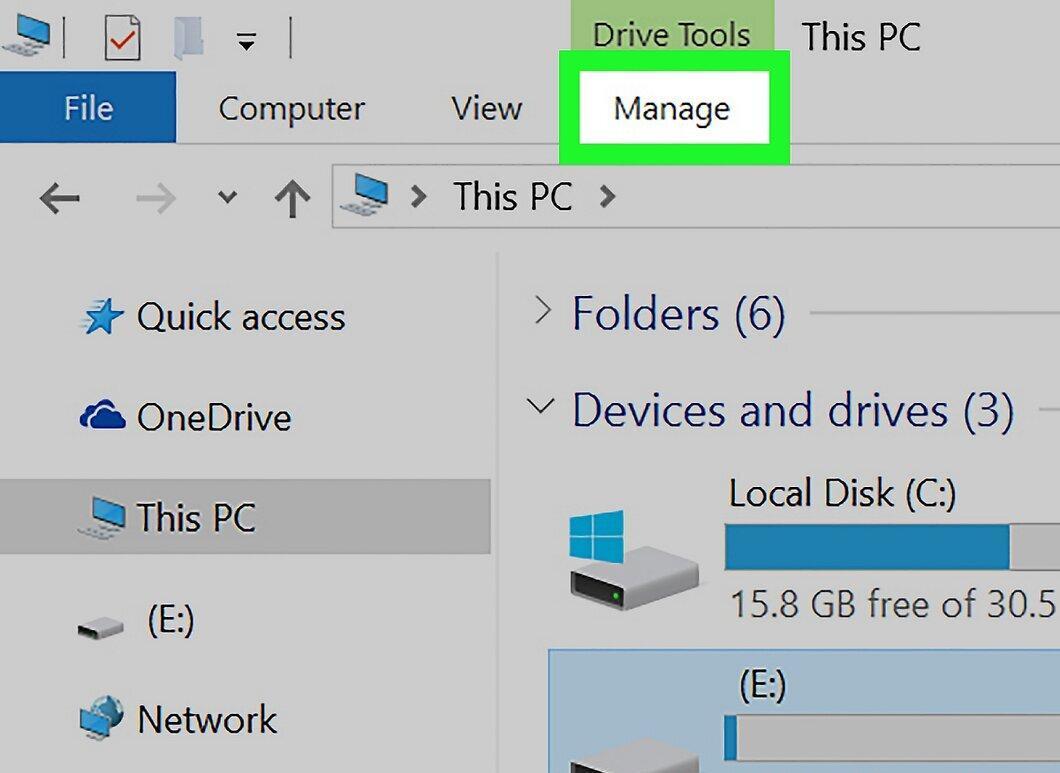
Navigate to the Manage tab located at the top of the File Explorer window.
- If you don't see the tab, right-click on the drive.
Step 6. Click ⏏ Eject.
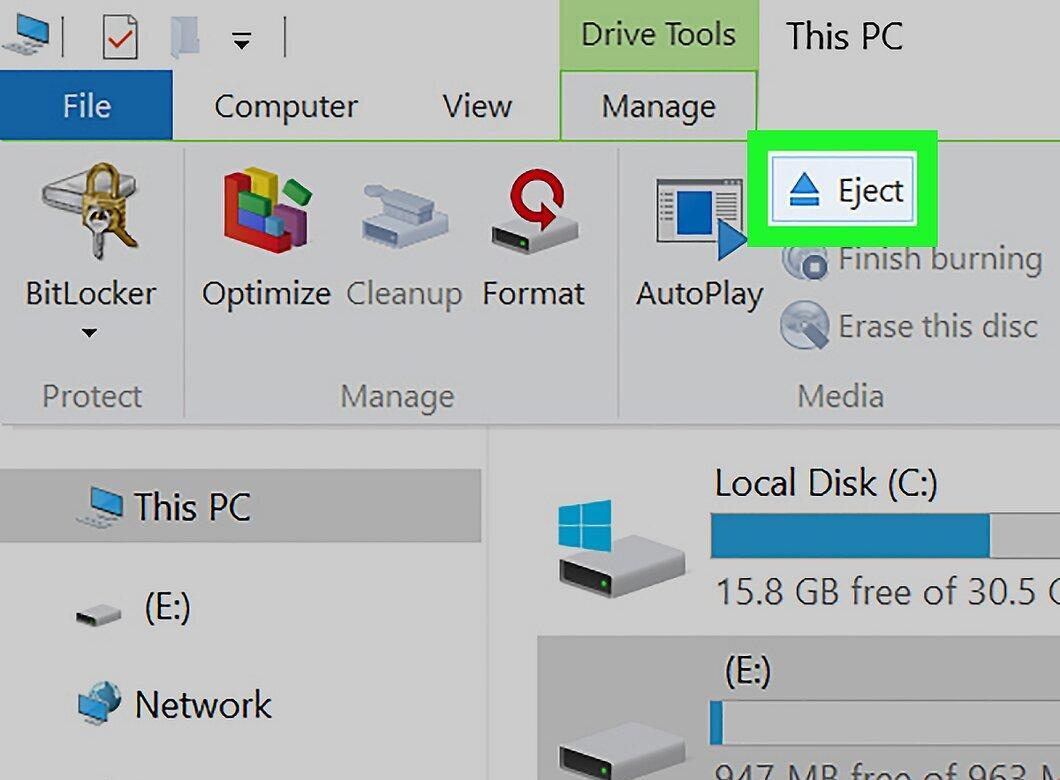
- This option is available in the 'Media' section.
Step 7. Eject the Drive.
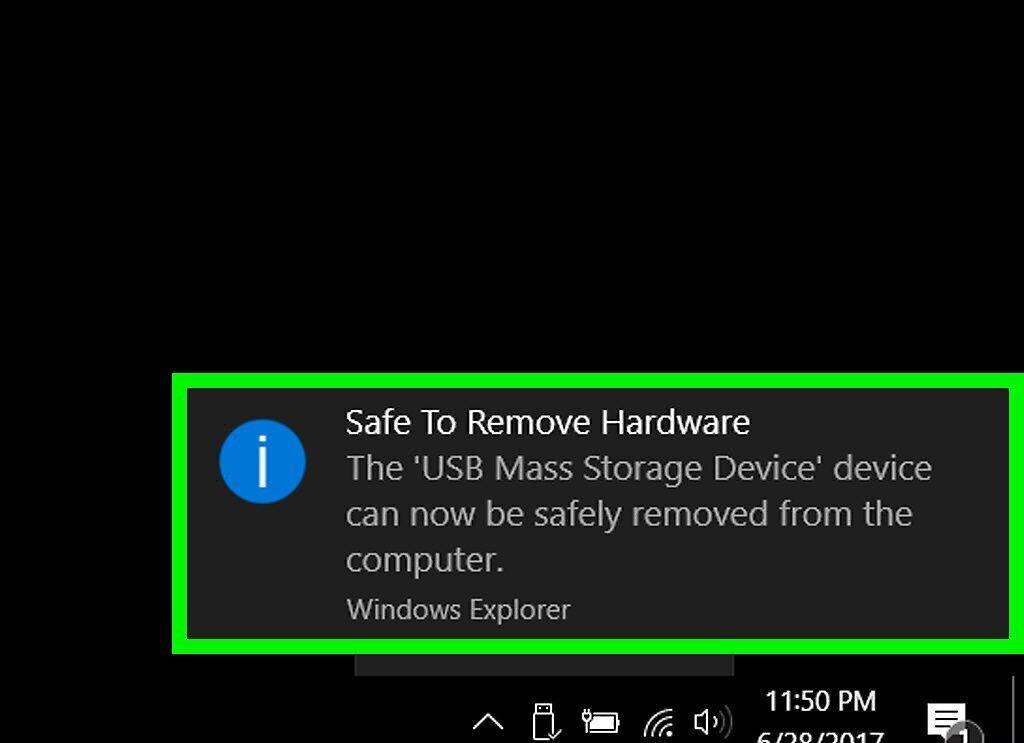
Complete the drive ejection. After clicking the button, the drive icon will disappear from the File Explorer window, and a notification will appear indicating that it is safe to disconnect.
- Carefully remove the drive from your computer to finalize the process.
On Mac OS X
Step 1. Open Finder.
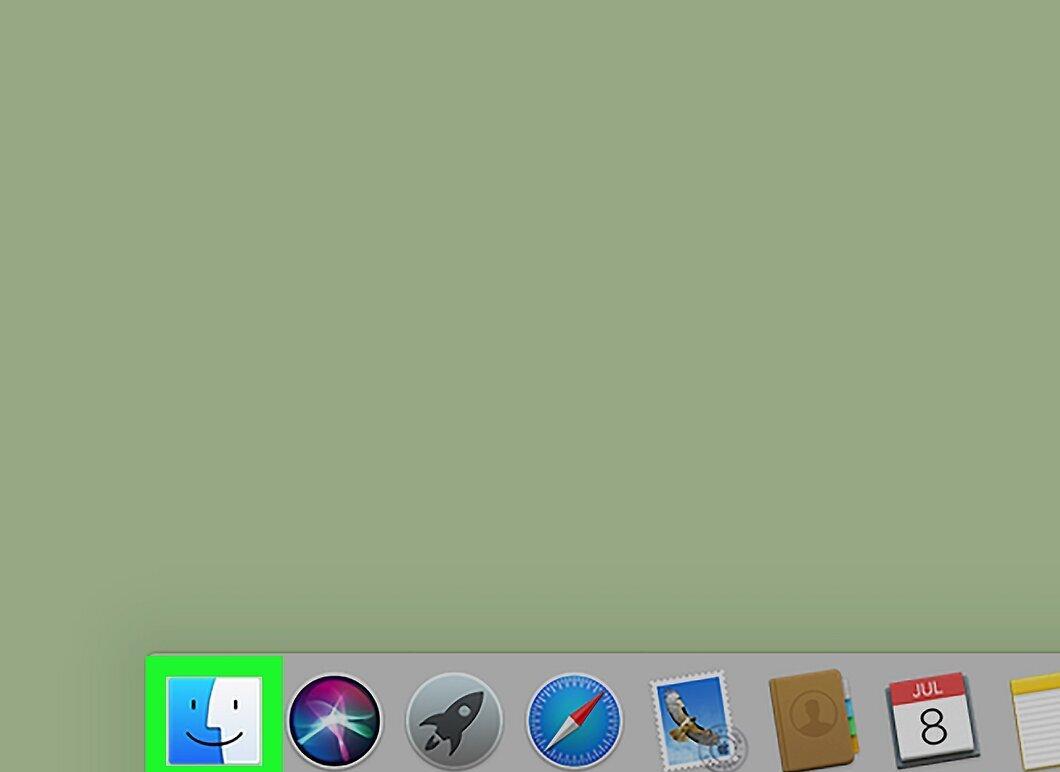
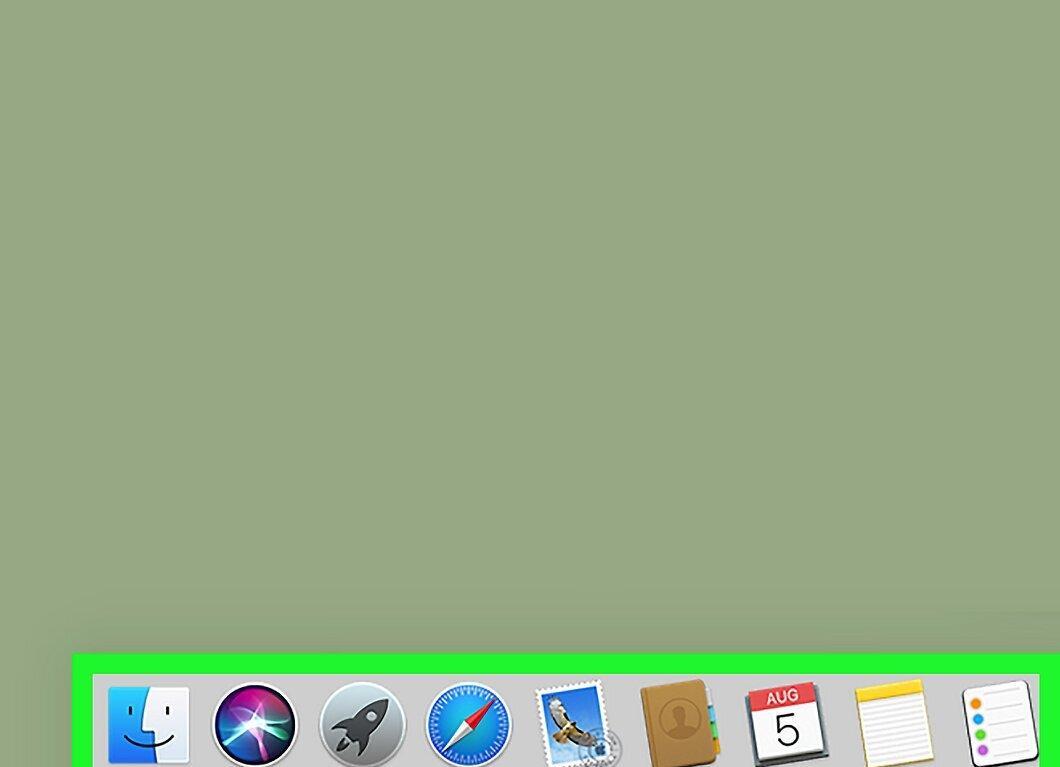
Launch Finder. The app's icon features a blue-gray face and is usually located in the dock (bottom left).
Step 2. Find the Desired Drive.
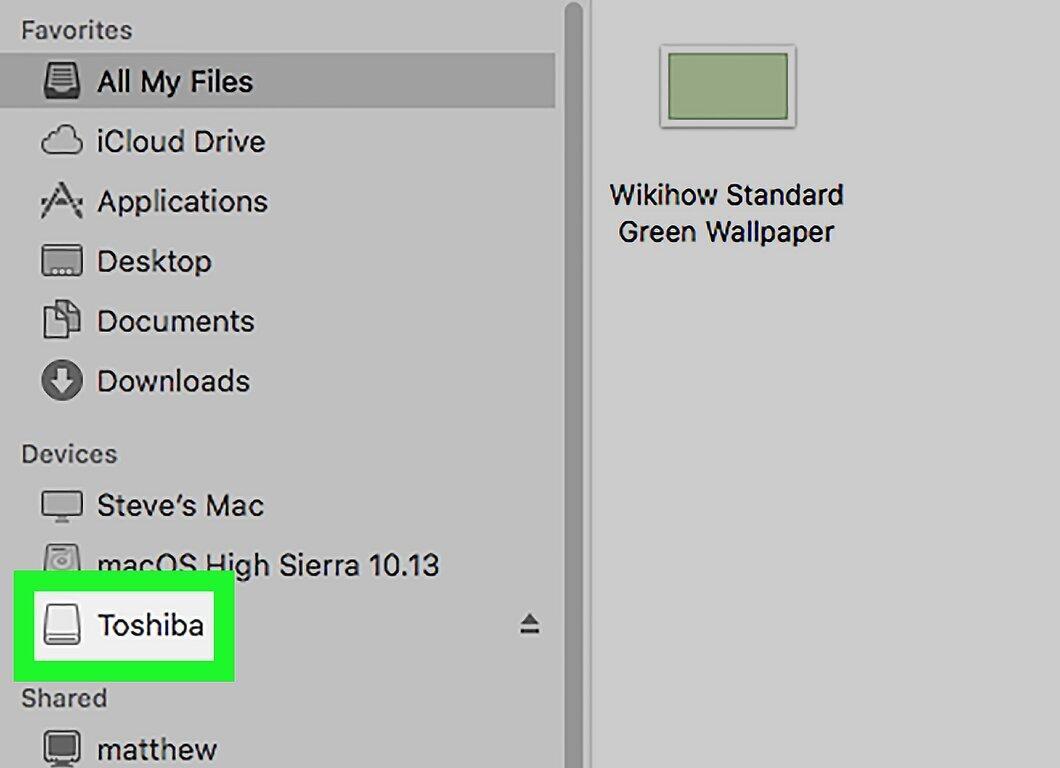
Look for the drive, which will appear on the left side of the Finder window under the 'Devices' section.
- The drive should be removable (like a flash drive, external hard drive, or connected virtual disk).
Step 3. Click ⏏.
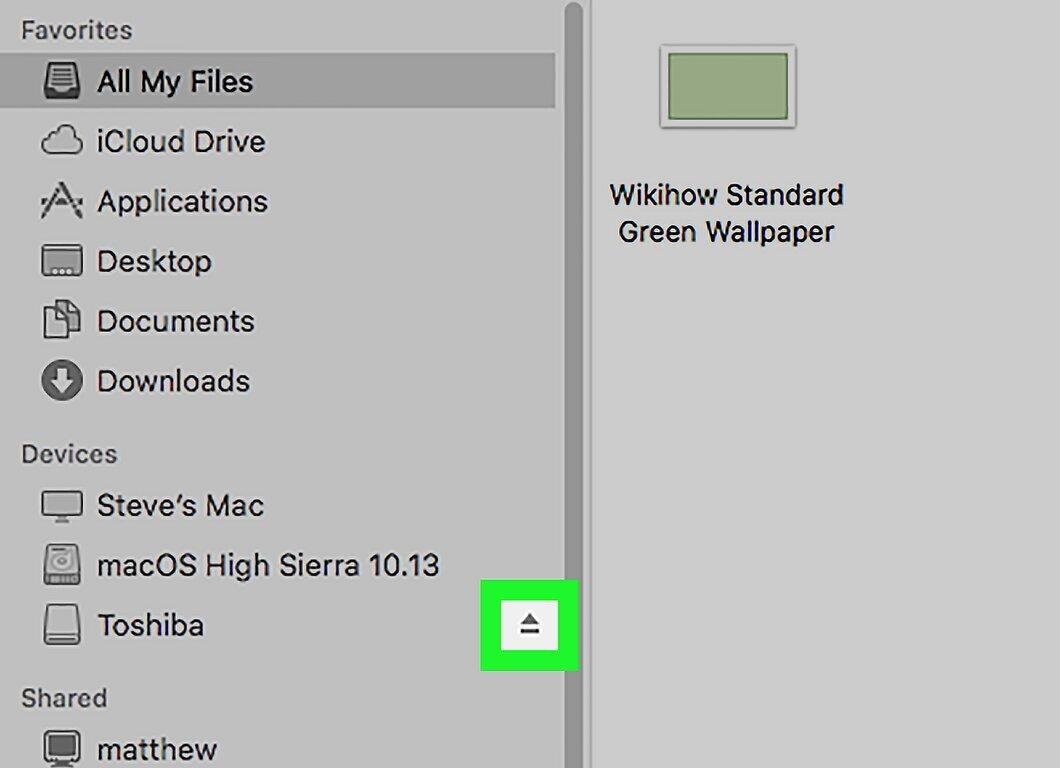
Click the ⏏ icon located to the right of your drive's name. This will allow you to safely eject the device.
Step 4. Remove the Drive from the Computer.
After safely ejecting, gently disconnect the drive from the computer.


