
In this article, you'll find out how to correctly format an SD card used in various devices such as cameras, tablets, and smartphones. Remember that formatting will erase all data stored on the card, so be sure to back up all important files, like photos and videos.
On Android
Step 1. Make sure the SD card is inserted into the device.
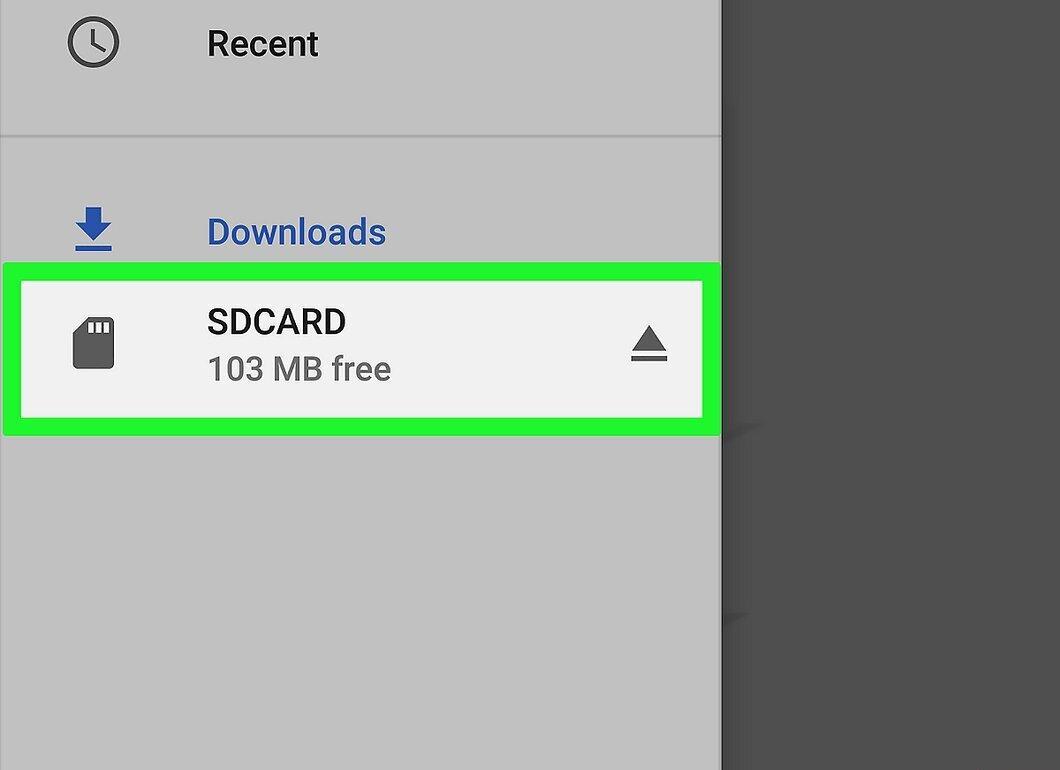
Check that the SD card is properly inserted into your device. If it needs to be installed, you may need to remove the back cover.
- Tablets and smartphones use microSD cards, which are smaller versions of the SD cards used in cameras.
- In some cases, you may need to remove the battery to access the card slot.
Step 2. Open the Settings app.
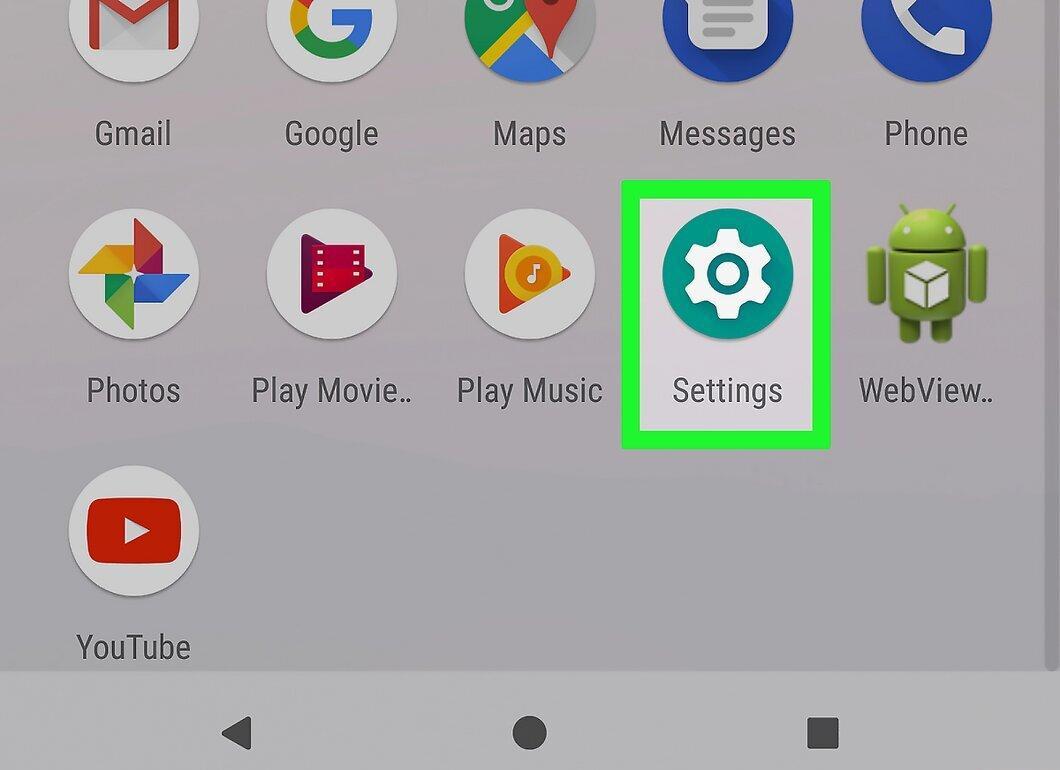
Launch the Settings app, which is represented by a gray gear icon and is usually located on the home screen or in the app list.
Step 3. Go to the Storage section.
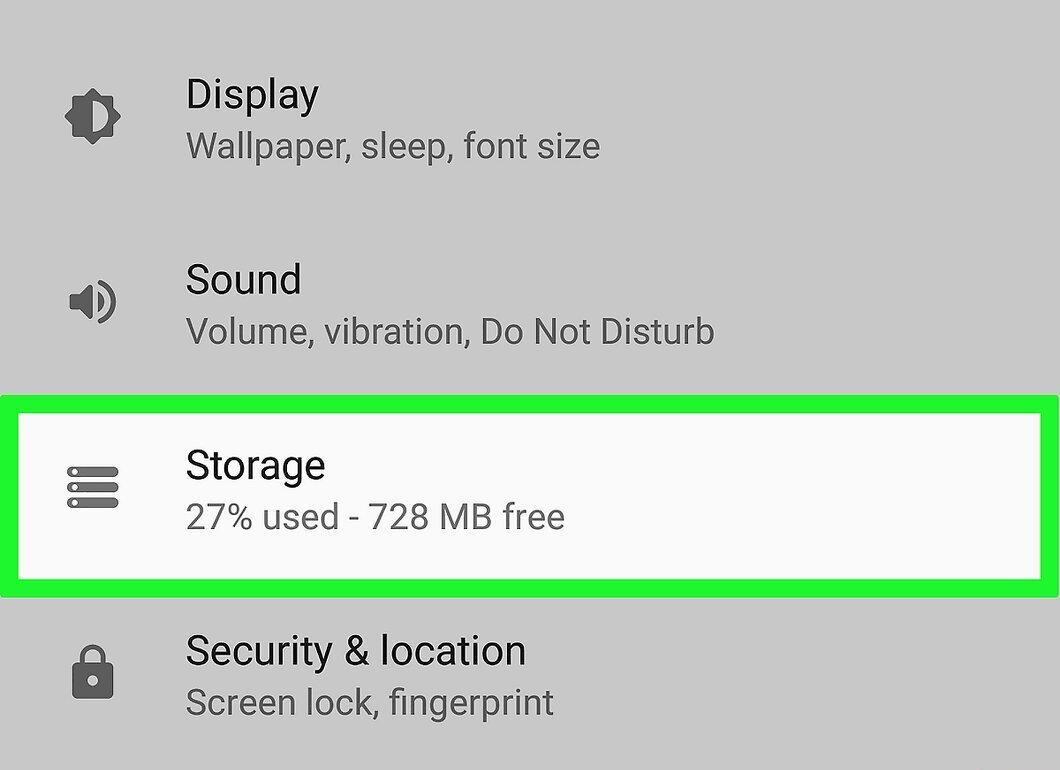
Scroll down and select the Storage section, located in the middle of the screen.
- If you have a Samsung device, tap on "Device care" instead.
Step 4. Tap on the name of your microSD card.
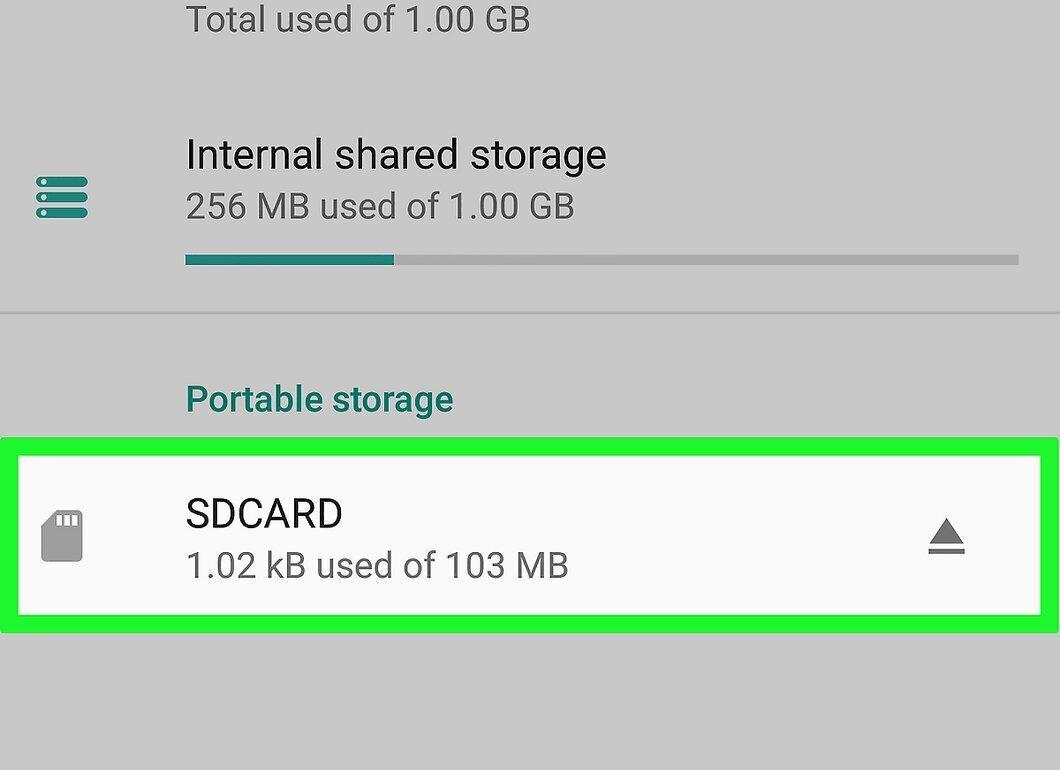
Tap on the name of your microSD card, which will appear under the "Portable storage" section.
Step 5. Tap the ⋮ icon.
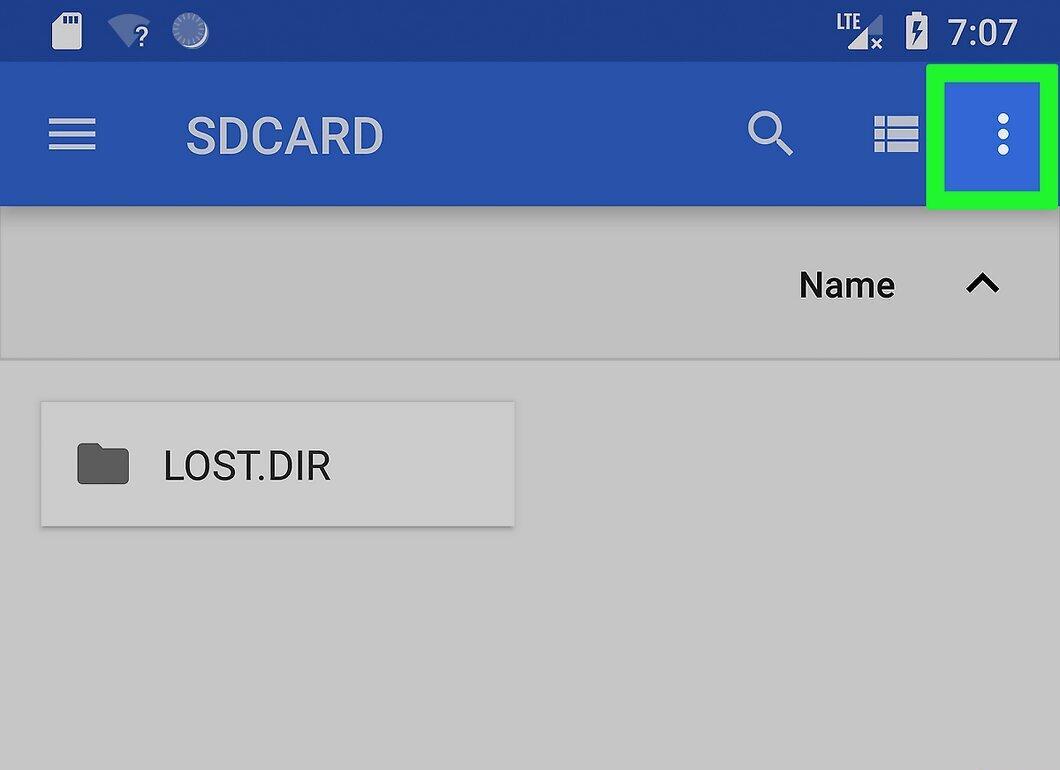
Tap the ⋮ icon in the upper right corner of the screen.
Step 6. Select Settings.
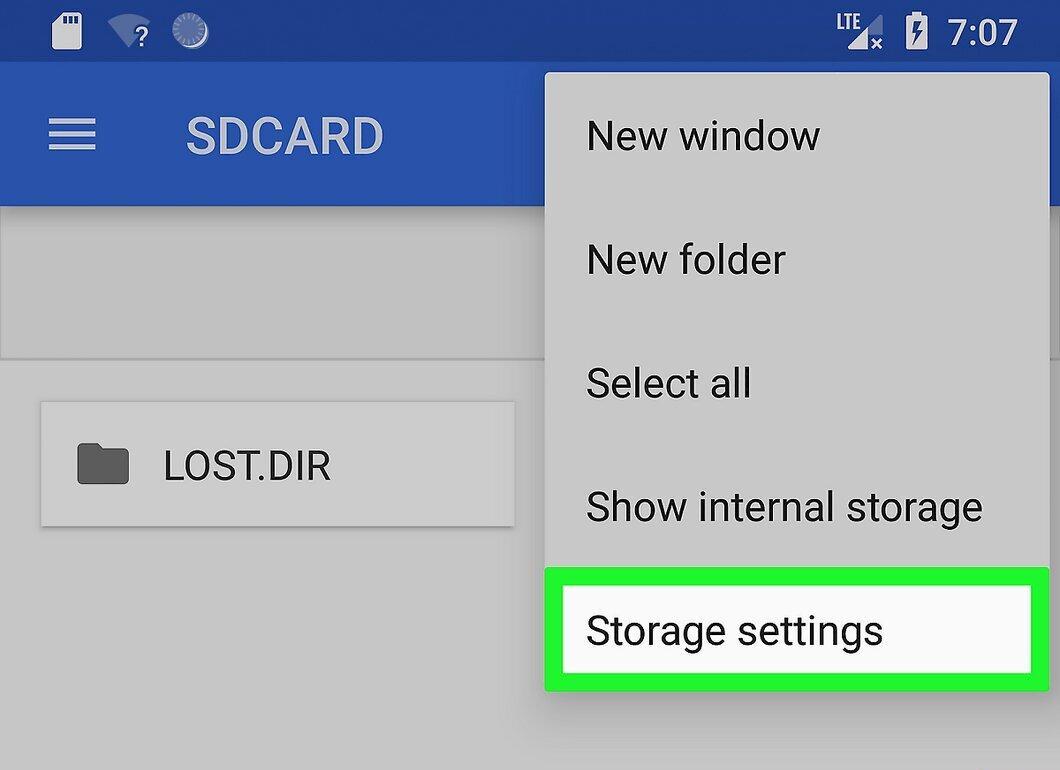
Choose the Settings option from the dropdown menu.
Step 7. Tap Format.
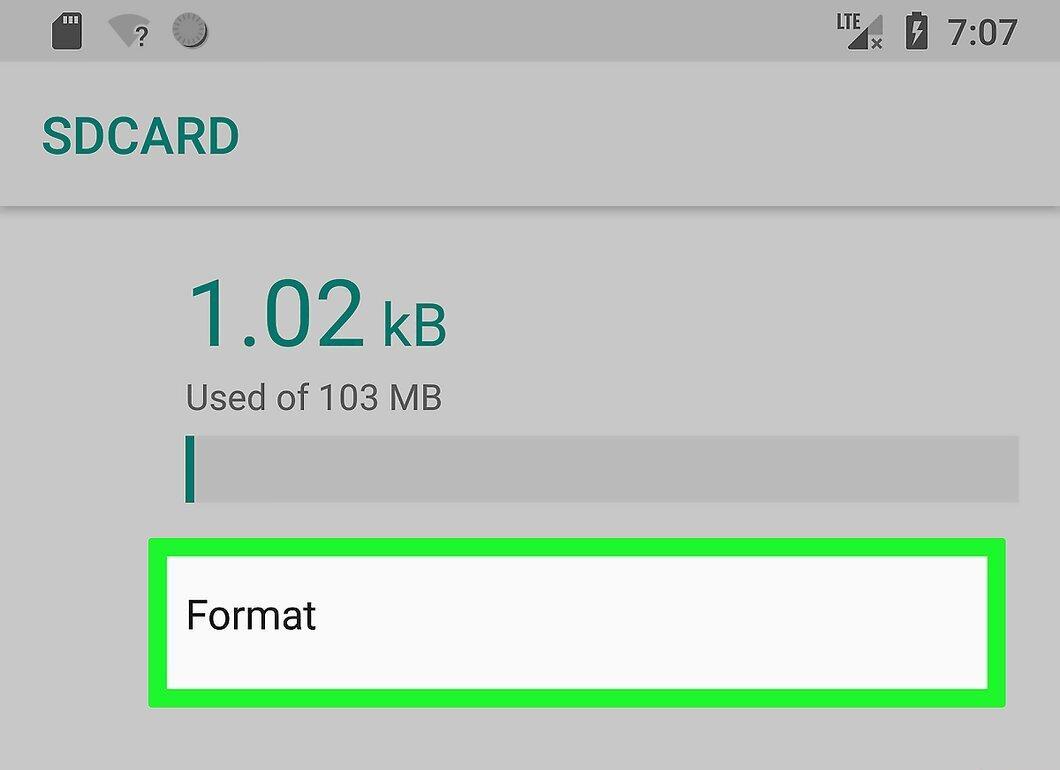
Select Format or Format as internal if you want to use the SD card as internal storage. For a simple data wipe, just select "Format".
- If you are using a Samsung device, first tap "Storage" at the bottom of the screen.
Step 8. Tap Erase & Format.

Tap Erase & Format to start the formatting process.
- It will take just a few seconds, and once completed, your SD card will be formatted.
On Windows
Step 1. Insert the SD card into your computer.
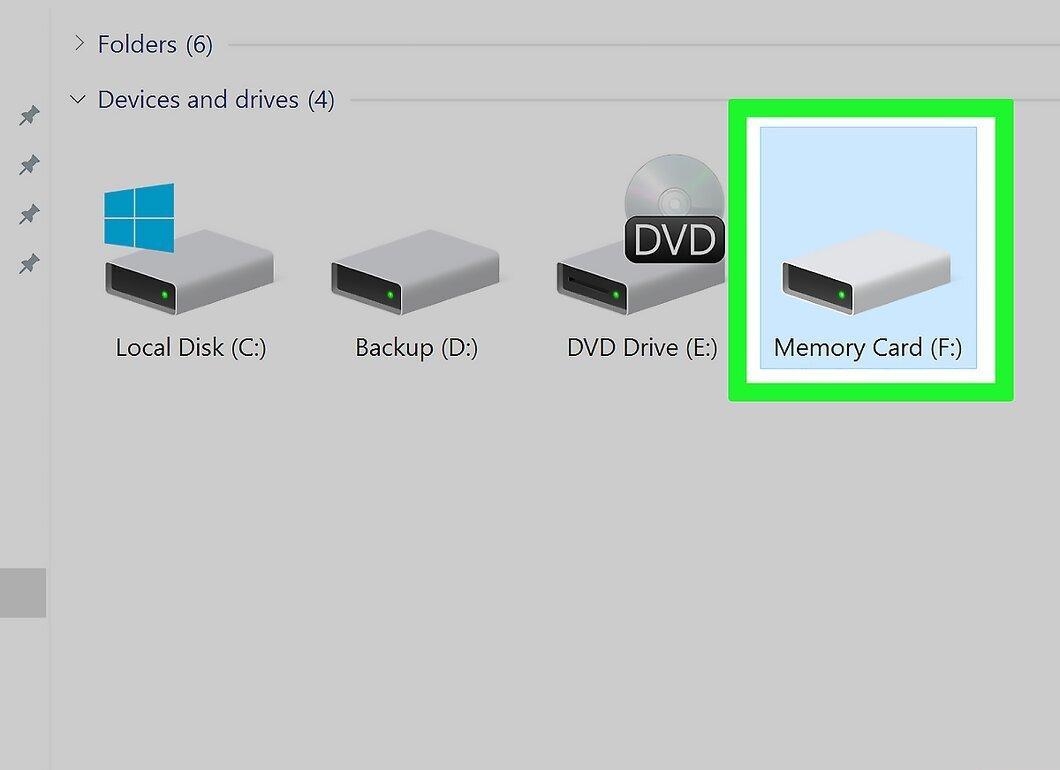
Insert the SD card into your computer. There should be a card slot on your PC.
- Before inserting, make sure the card is facing up and the beveled corner is pointing forward.
- If your computer doesn't have an SD card slot, you can use an SD to USB adapter that connects to a USB port.
Step 2. Open the Start menu.
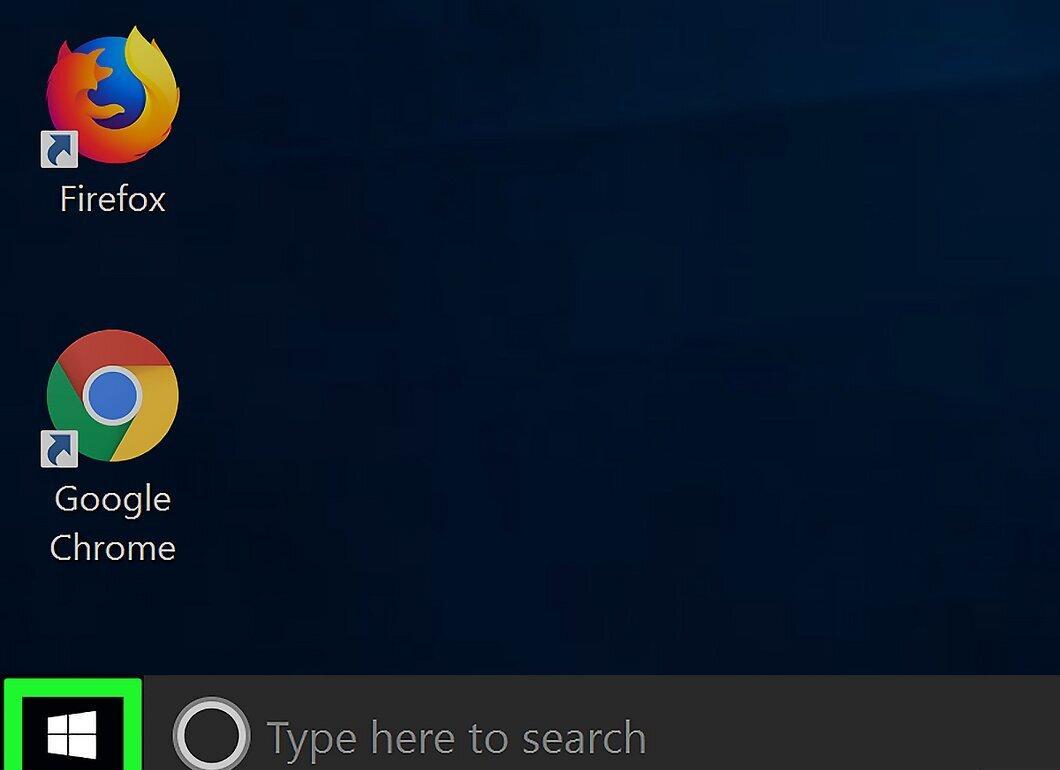
Click the Windows logo in the lower-left corner of the screen to open the Start menu.
- Alternatively, you can press the ⊞ Win key.
Step 3. Launch File Explorer.
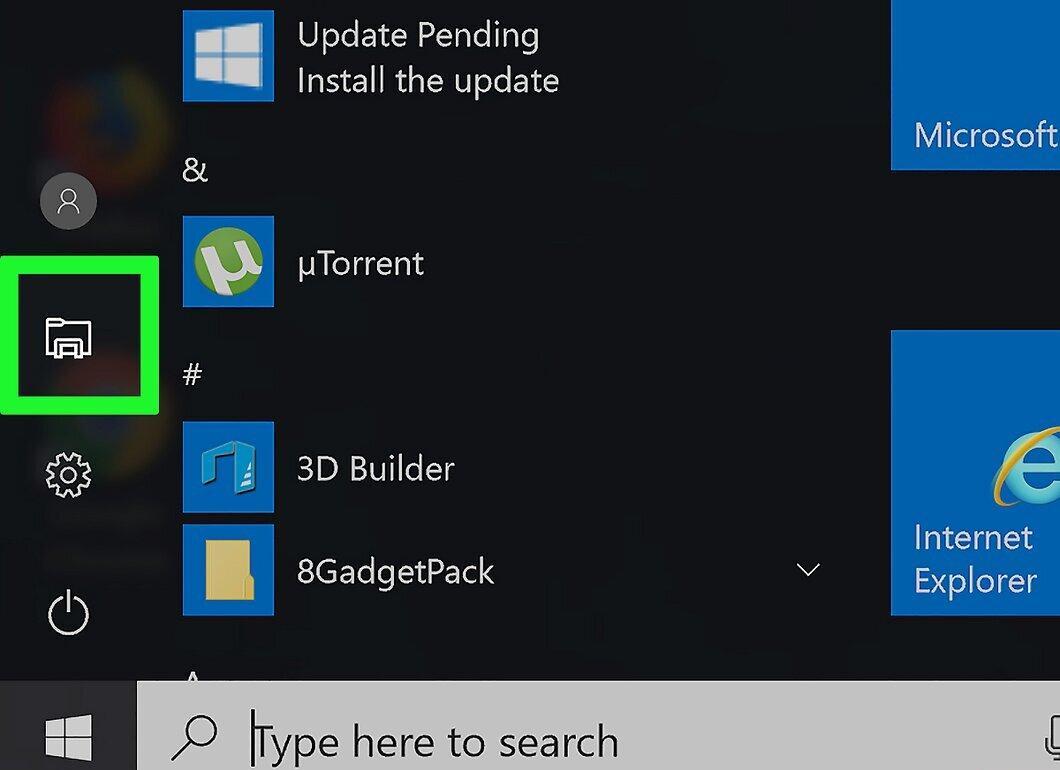
Click the File Explorer icon located on the left side of the Start menu.
Step 4. Select This PC.
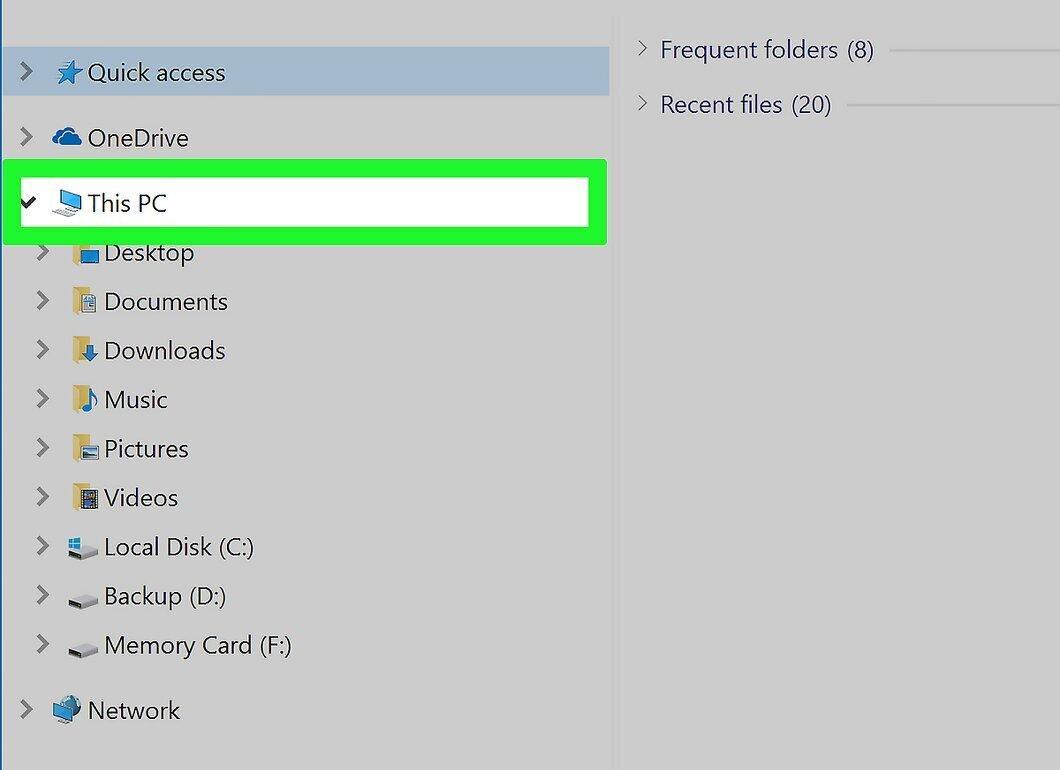
Click on the This PC icon, which looks like a monitor and is located on the left side of the File Explorer window.
Step 5. Locate your SD card.
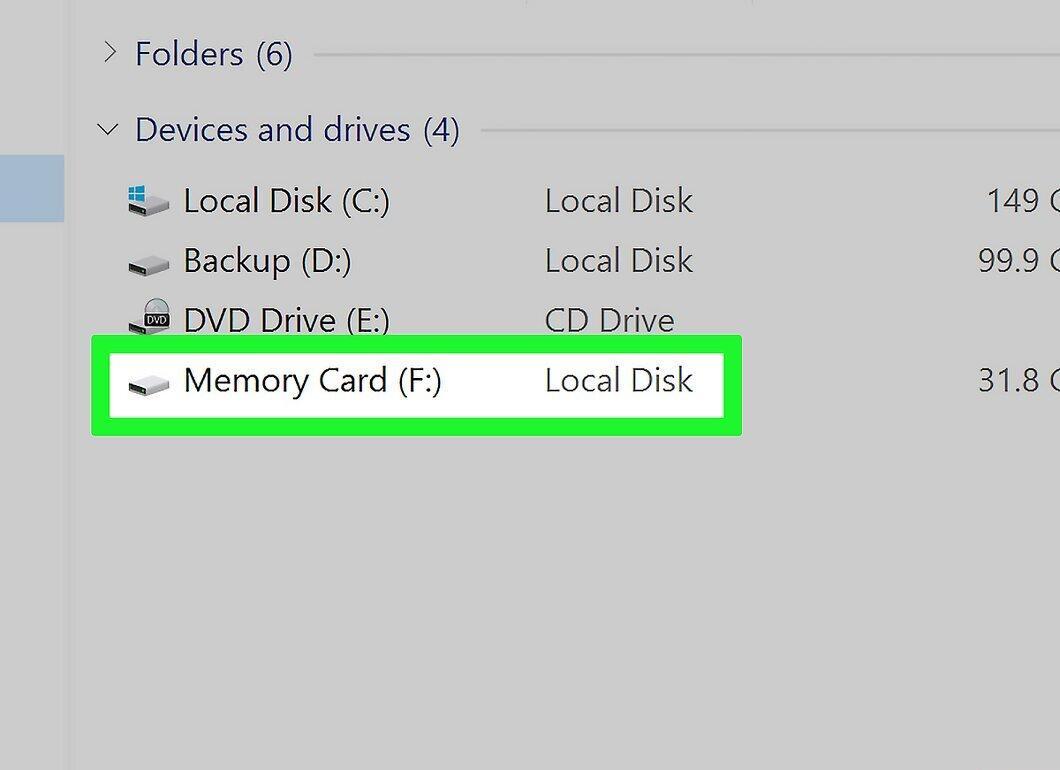
Select the name of your SD card from the "Devices and drives" section in the center of the window.
Step 6. Go to the Manage tab.
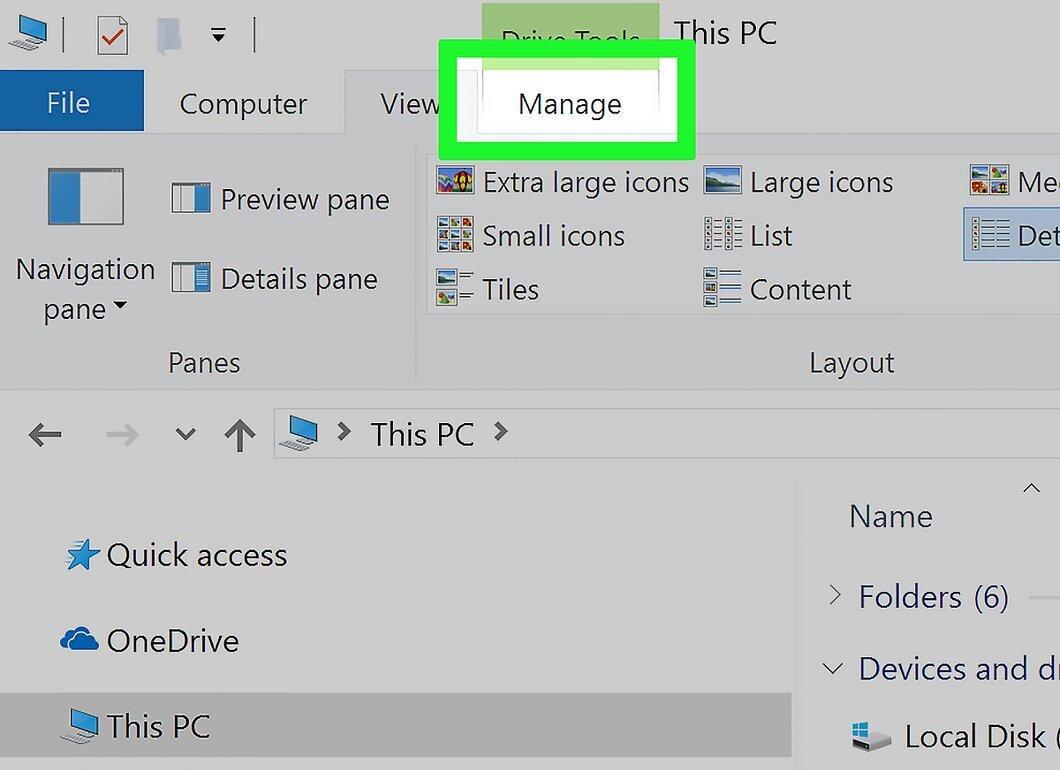
Click the Manage tab at the top of the window.
Step 7. Click Format.
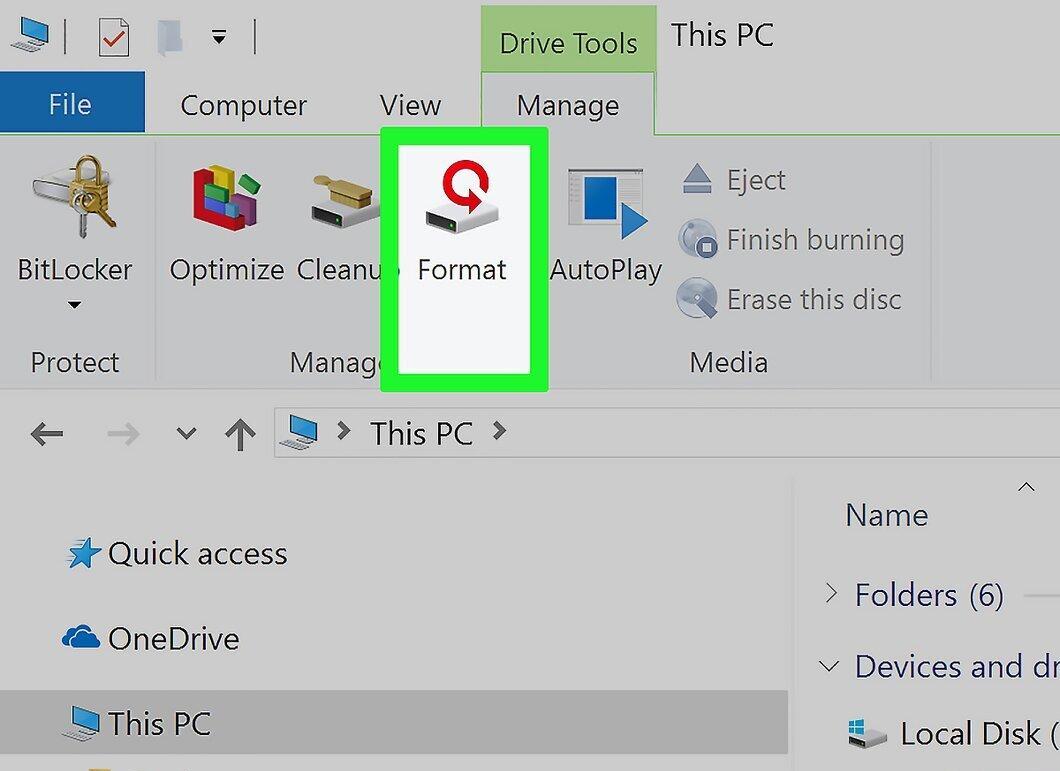
Select Format, represented by an icon that looks like a flash drive with a red arrow. A formatting window will open.
Step 8. Choose the file system.
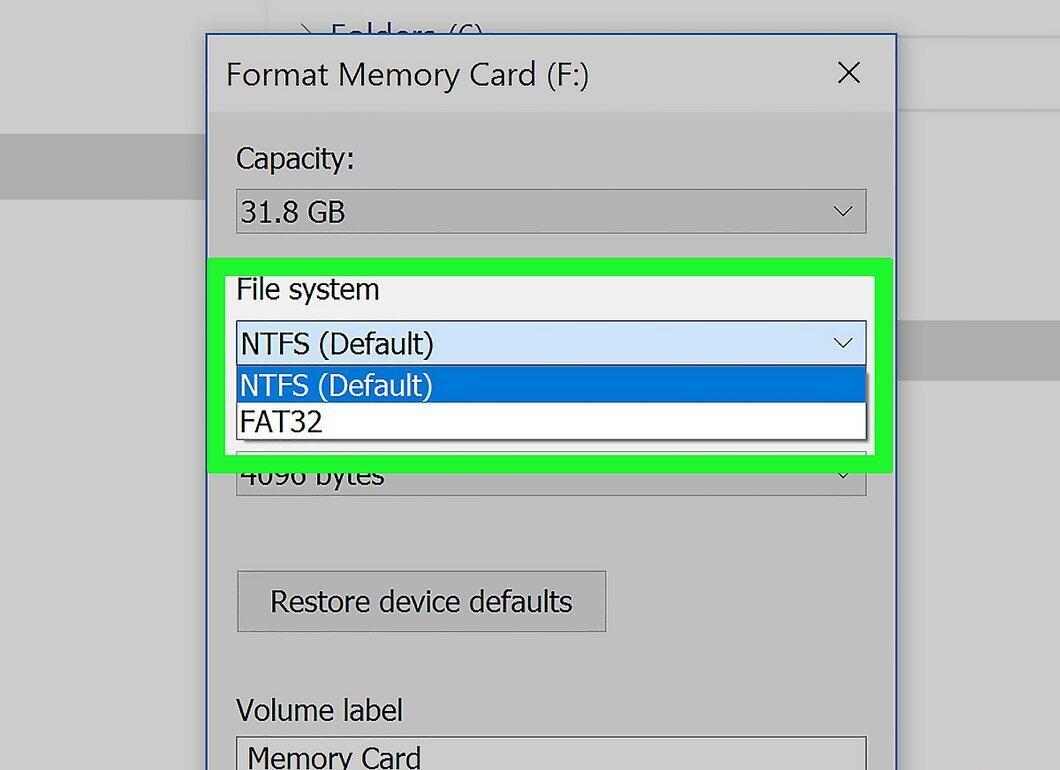
Click on the "File system" dropdown and choose from the following:
- NTFS — standard for Windows, works only in this system.
- FAT32 — a universal file system compatible with Windows and Mac OS X, but limited to 32 GB.
- exFAT (recommended) — suitable for both Windows and Mac OS X, with no size limitations.
Step 9. Select the desired format.
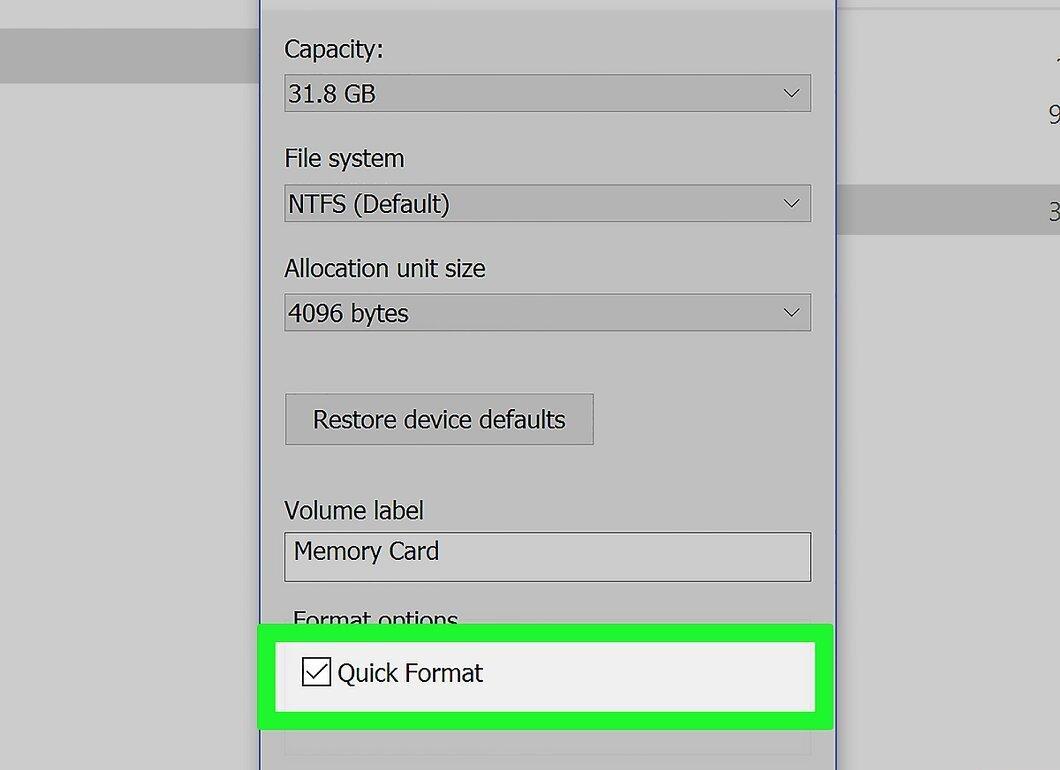
Choose one of the listed formats for your SD card.
- If you formatted the disk previously, check "Quick format".
Step 10. Start the formatting process.
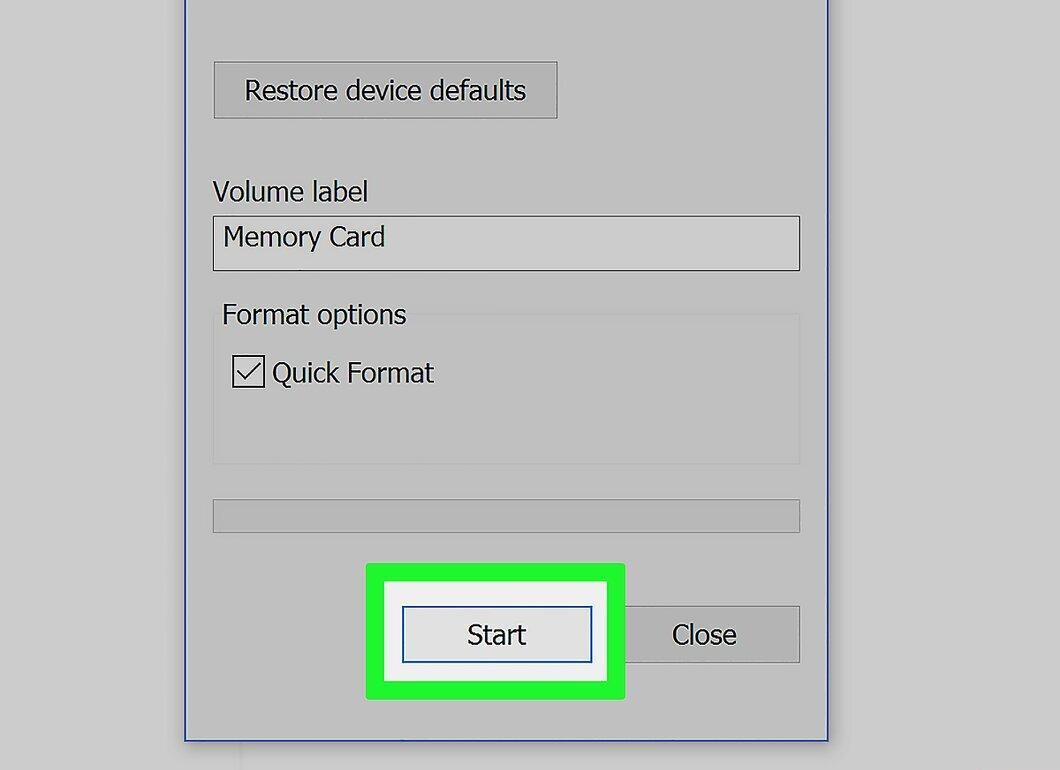
Click Start, then confirm by clicking OK. Windows will begin formatting your SD card.
- All files on the card will be deleted in the process.
Step 11. Confirm completion.
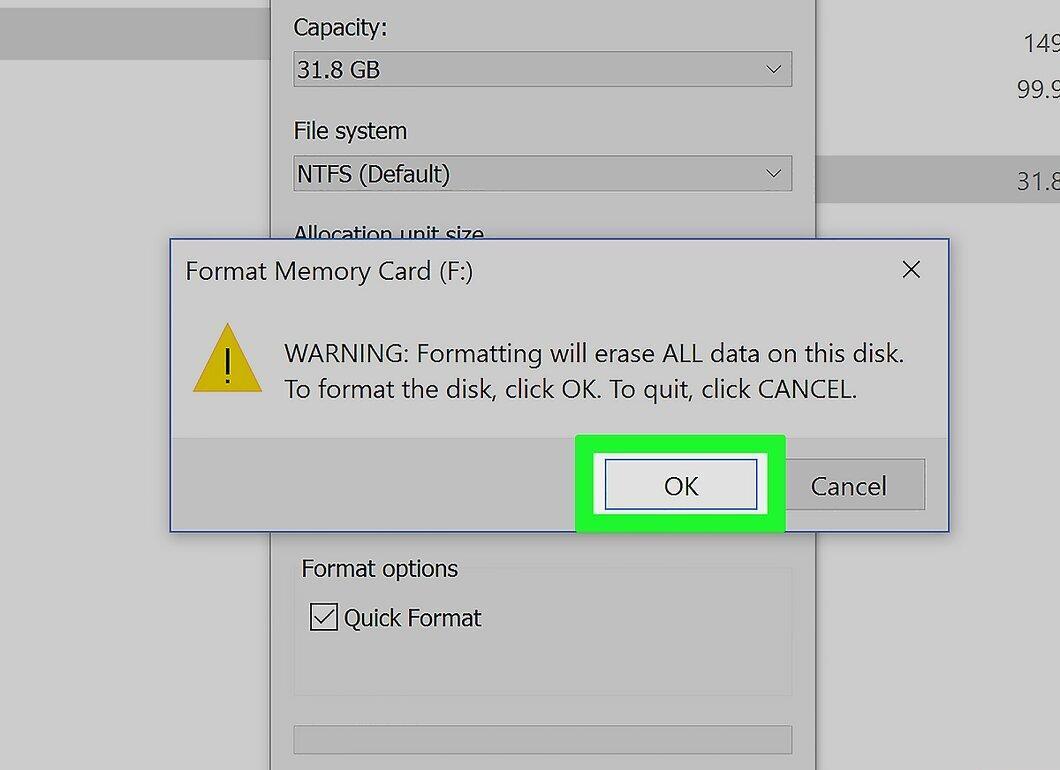
When prompted, click OK to finish formatting the card in the selected format.
On Mac OS X
Step 1. Insert the SD card into your computer.
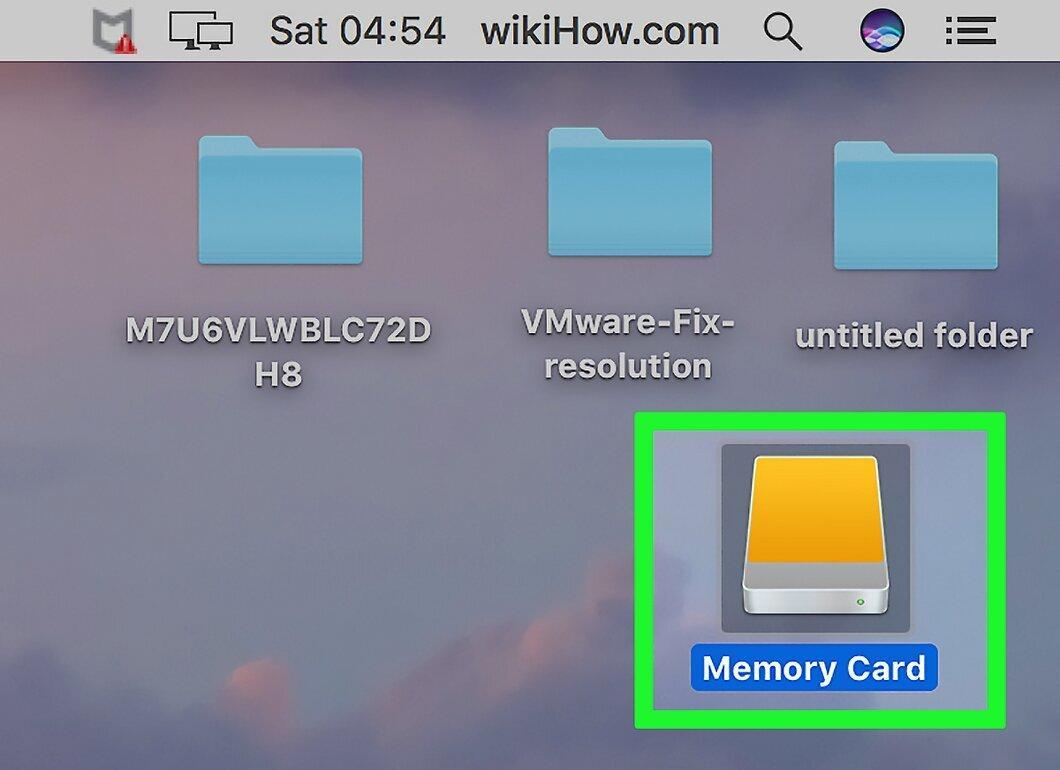
Insert the SD card into the appropriate slot on your computer.
- Ensure the card is facing up and the beveled corner is pointing forward.
- If your computer doesn’t have a slot, use an SD to USB adapter.
Step 2. Launch Finder.
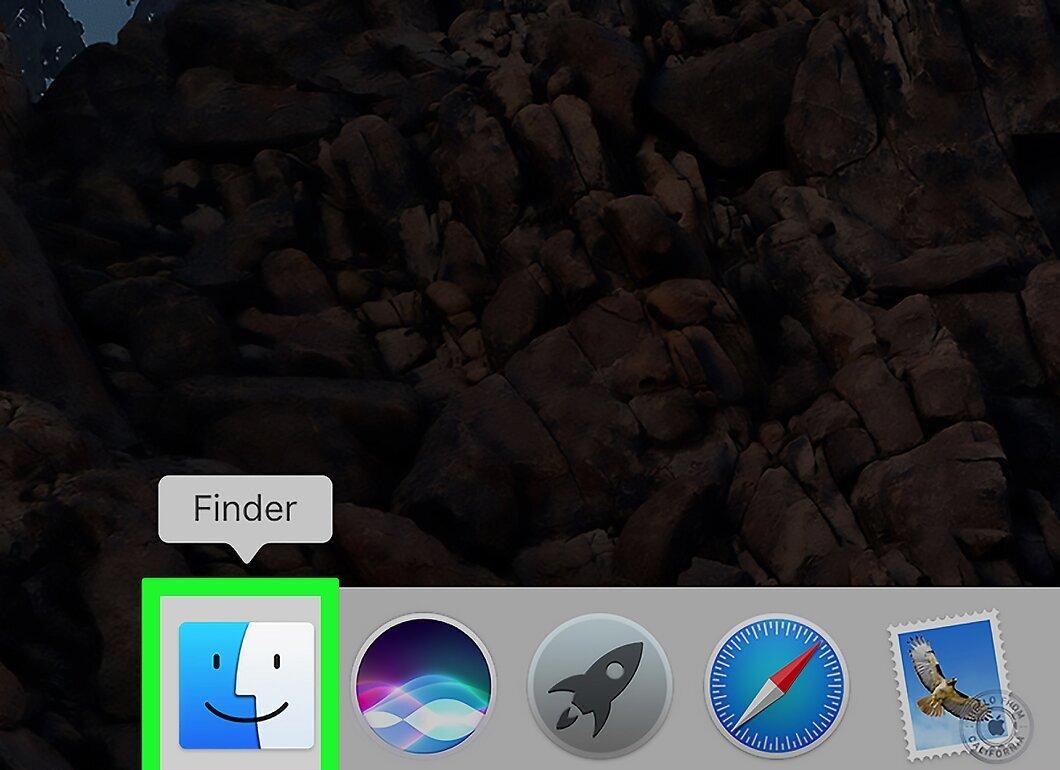
Open Finder, represented by a blue face icon located in the dock.
Step 3. Go to the Go menu.
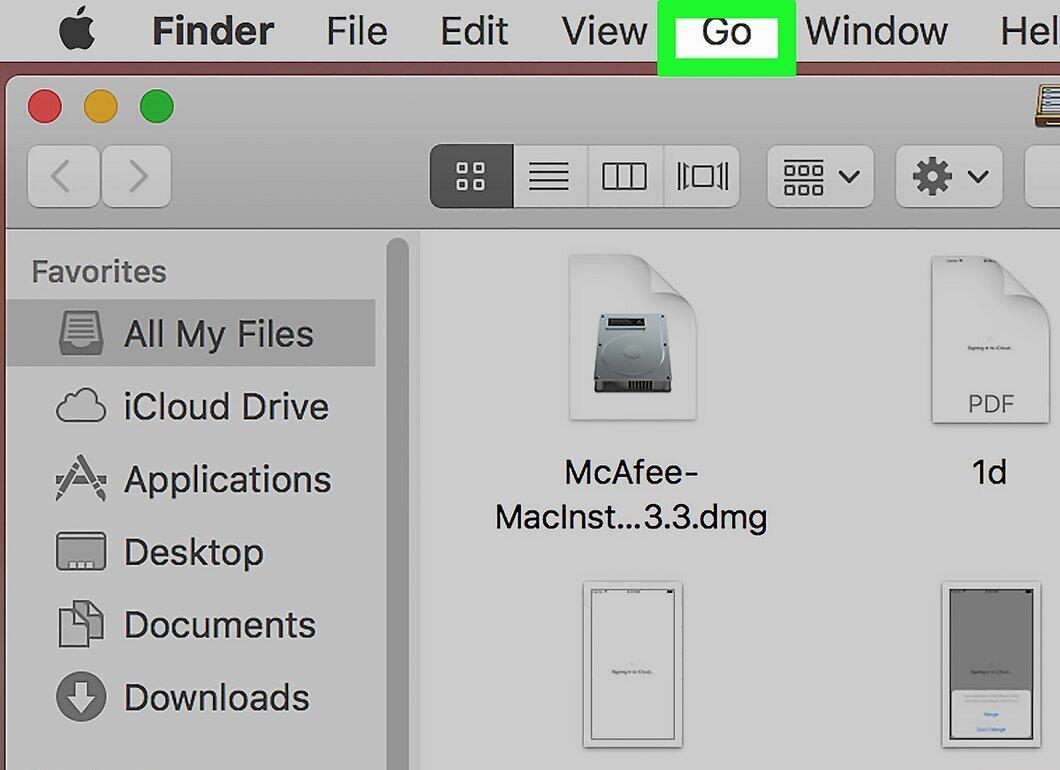
Select the Go menu at the top of the screen.
Step 4. Find Utilities.
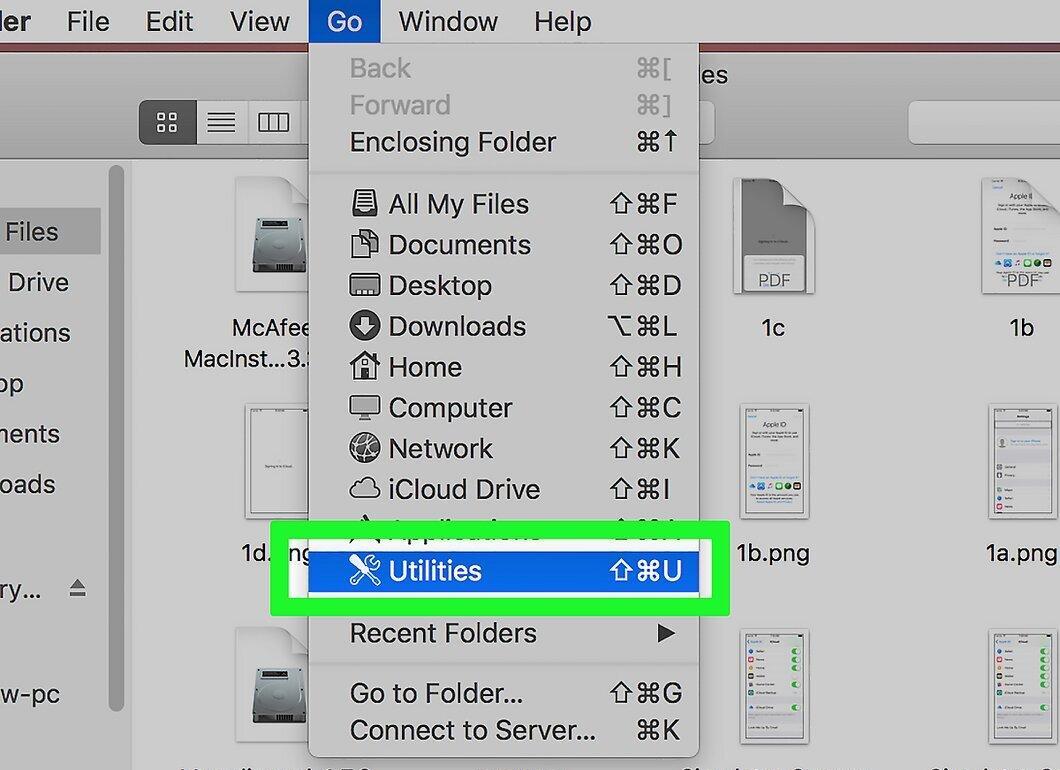
Click on Utilities in the dropdown menu.
Step 5. Open Disk Utility.
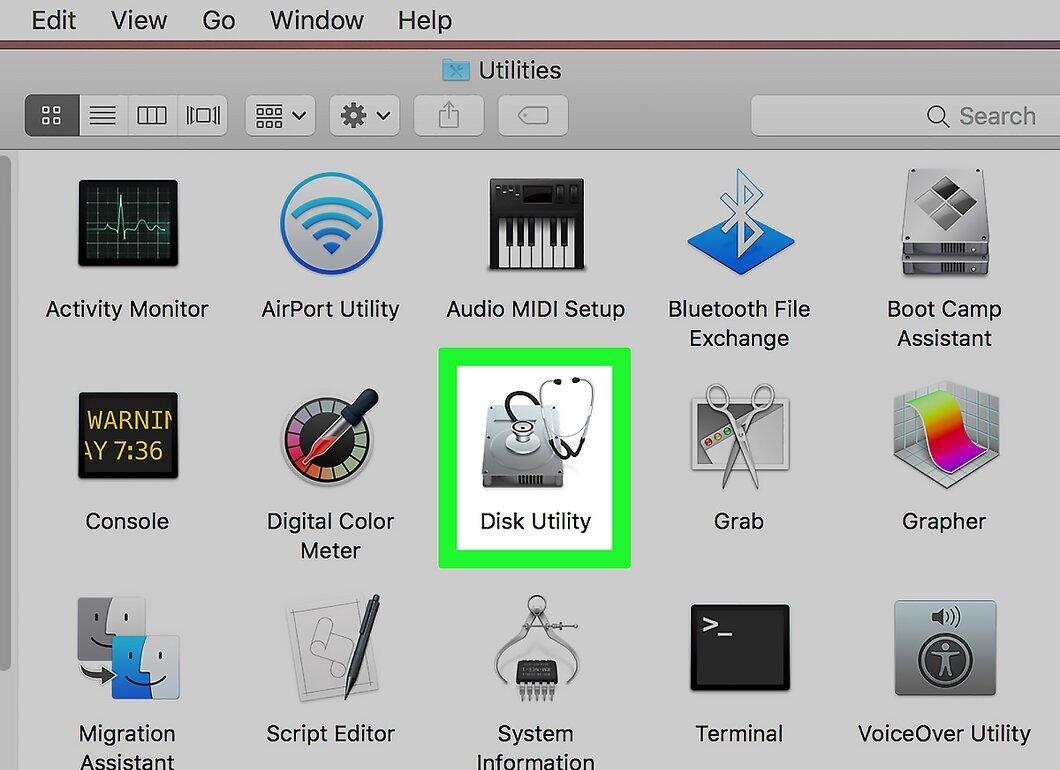
Double-click on Disk Utility, which is listed among the utilities.
- Utilities are typically arranged in alphabetical order.
Step 6. Select your SD card.
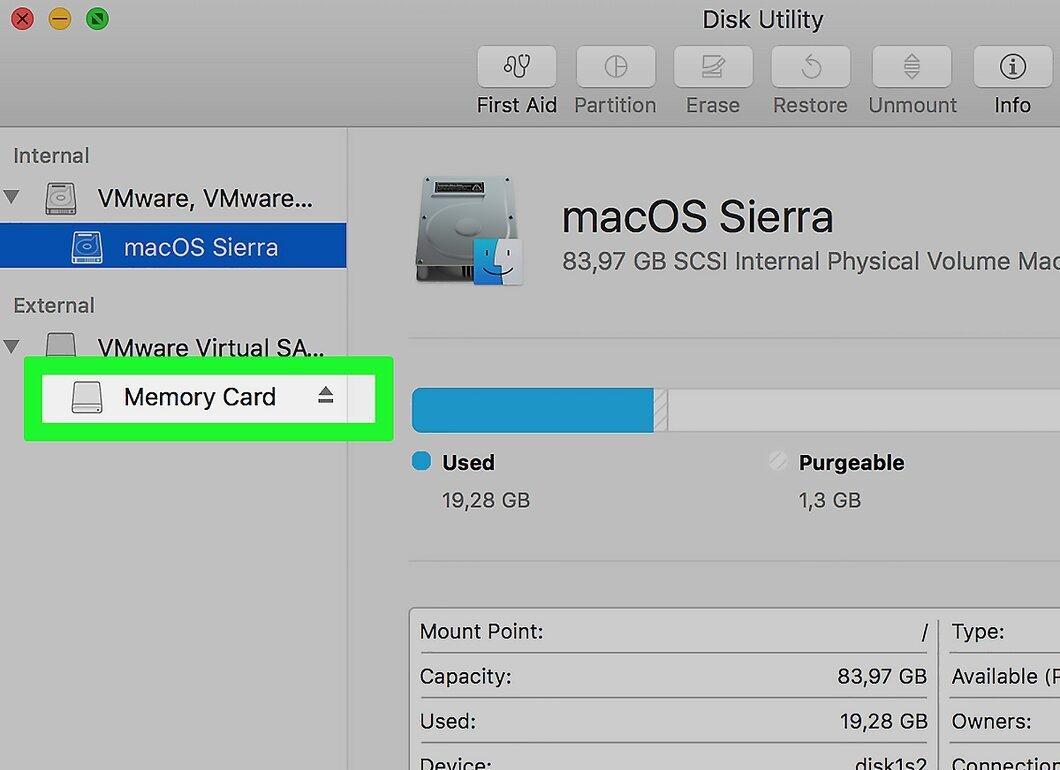
Click the name of your SD card displayed on the left side of the window.
Step 7. Go to the Erase tab.
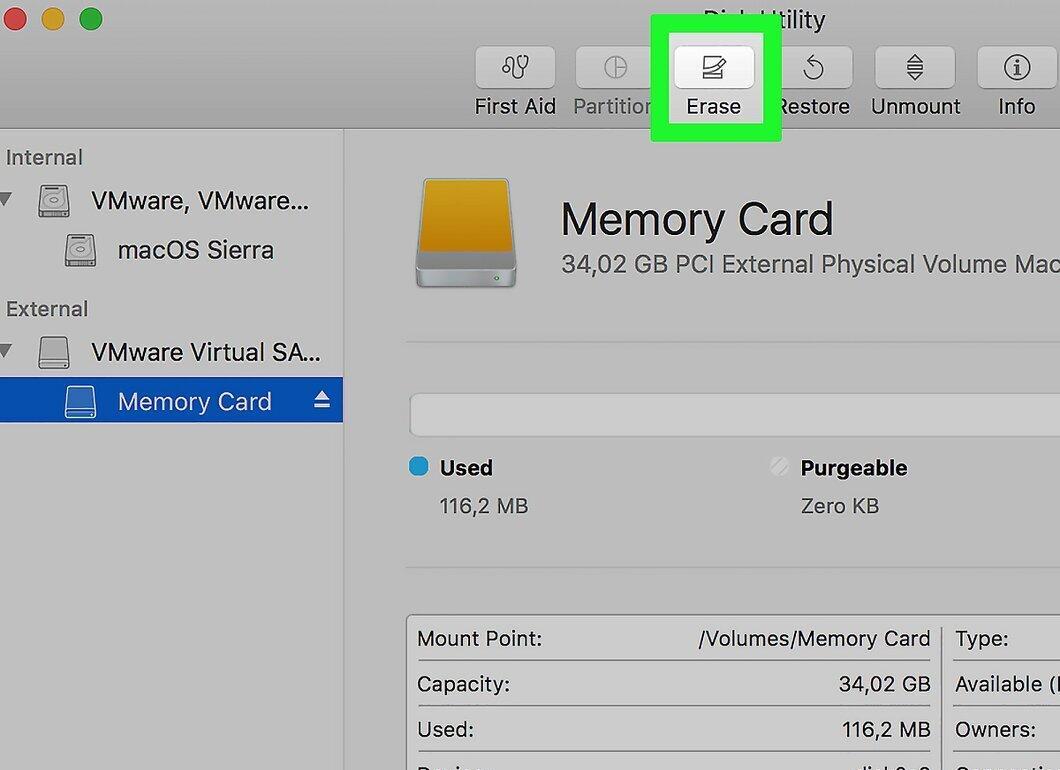
Select the Erase tab at the top of the Disk Utility window.
Step 8. Choose the format.
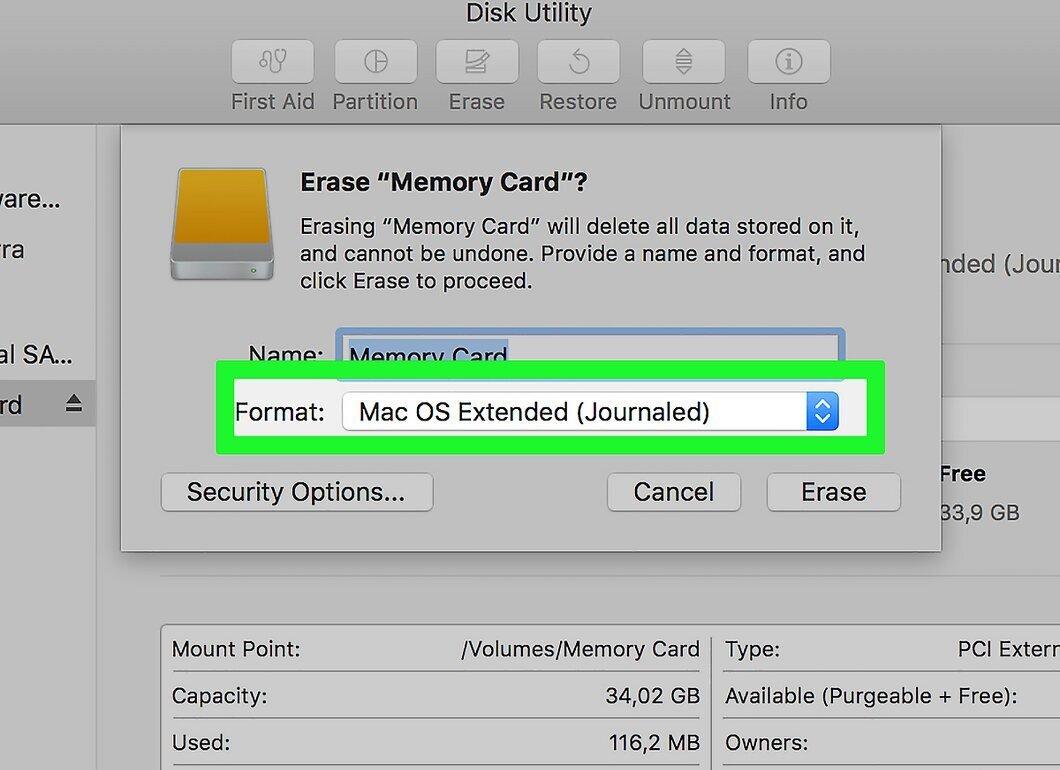
Click on the field in the "Format" section to select the format to be used for the SD card. Available options include:
- Mac OS Extended (Journaled) — standard for Mac OS X.
- Mac OS Extended (Journaled, Encrypted) — a secured version of the format.
- Mac OS Extended (Case-sensitive) — a case-sensitive version.
- MS-DOS (FAT) — compatible with Windows and Mac, with a file size limit of 4 GB.
- ExFAT (recommended) — supports large files with no limits.
Step 9. Select the format.
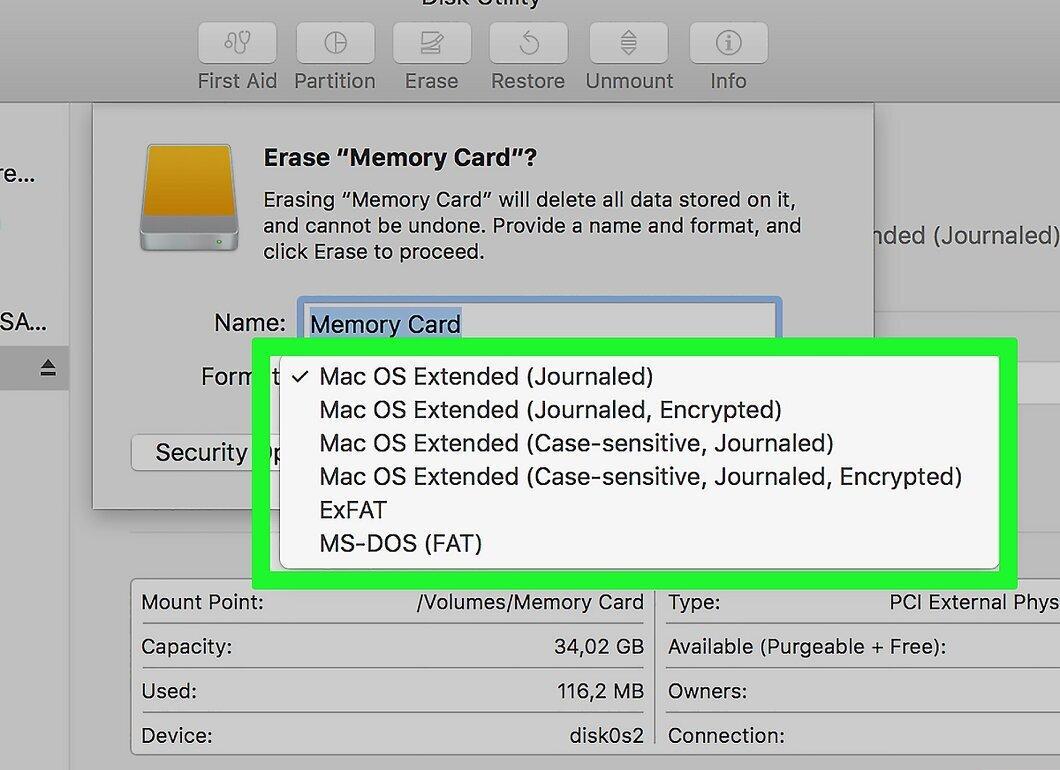
Choose one of the suggested formats for your SD card.
Step 10. Click Erase.
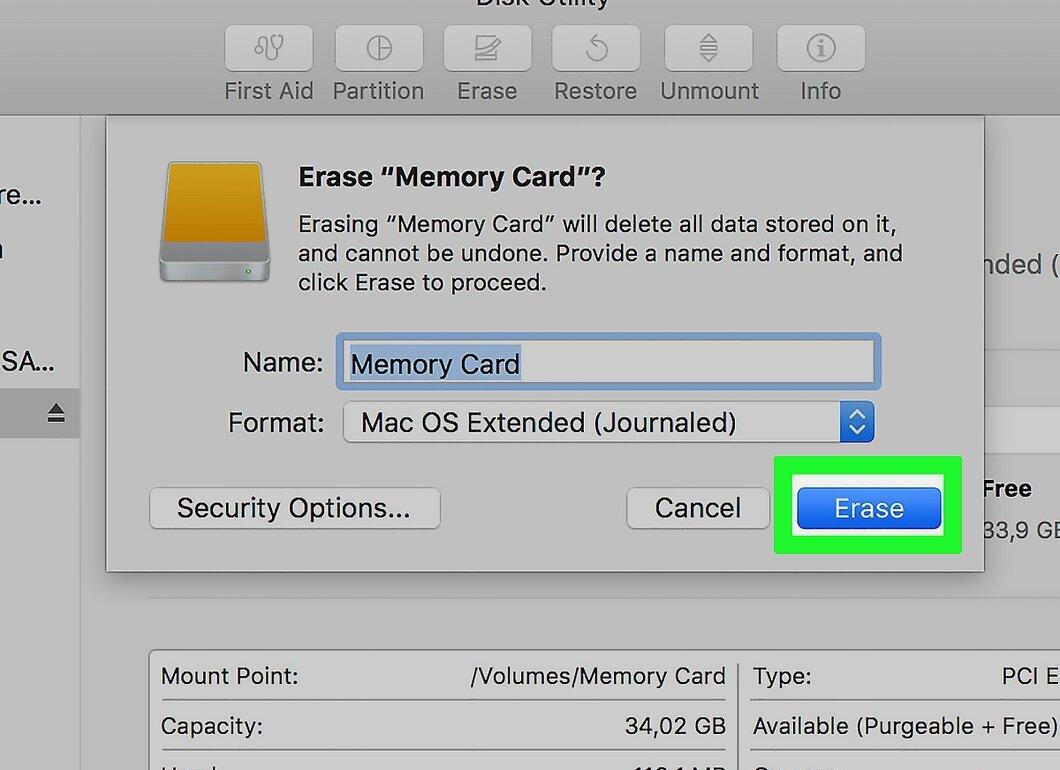
Click on Erase, then confirm the action when prompted. The data on the card will be deleted, and it will be formatted to your selected format.


