
Ceiling cornices can significantly enhance the aesthetic appeal of your interior, but their installation can pose certain challenges. Even experienced DIYers may encounter difficulties when dealing with corners. Follow these straightforward steps to install cornices without hassle.
Preparing the First Section of the Cornice
Step 1. Work with One Section at a Time.
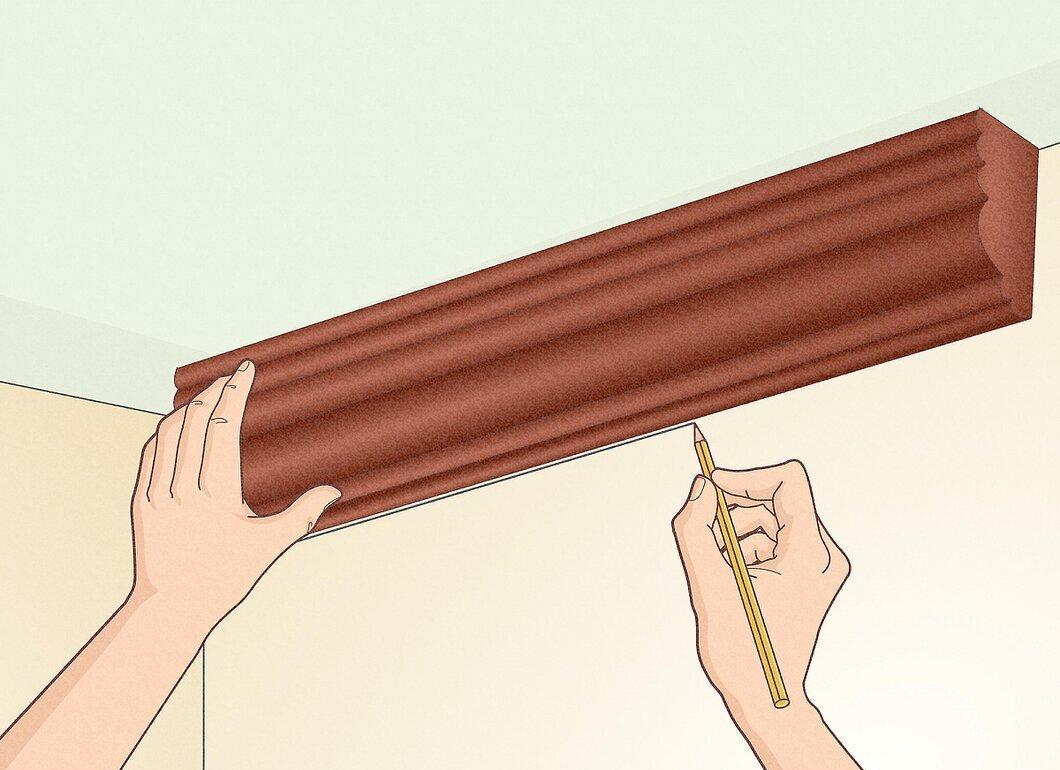
Start with the least noticeable part of the room, especially if the cornice has a complex design. This will help you align patterns around the perimeter, ensuring they match in the final corner.
- On the first corner, draw a line on each wall where the cornice will touch them. This will serve as your guide. To do this, take a small piece of the cornice and hold it against the corner, tracing a pencil along the bottom to the corner, then repeat on the other wall, connecting the lines.
Step 2. Measure the Lengths of the Wall and Cornice.
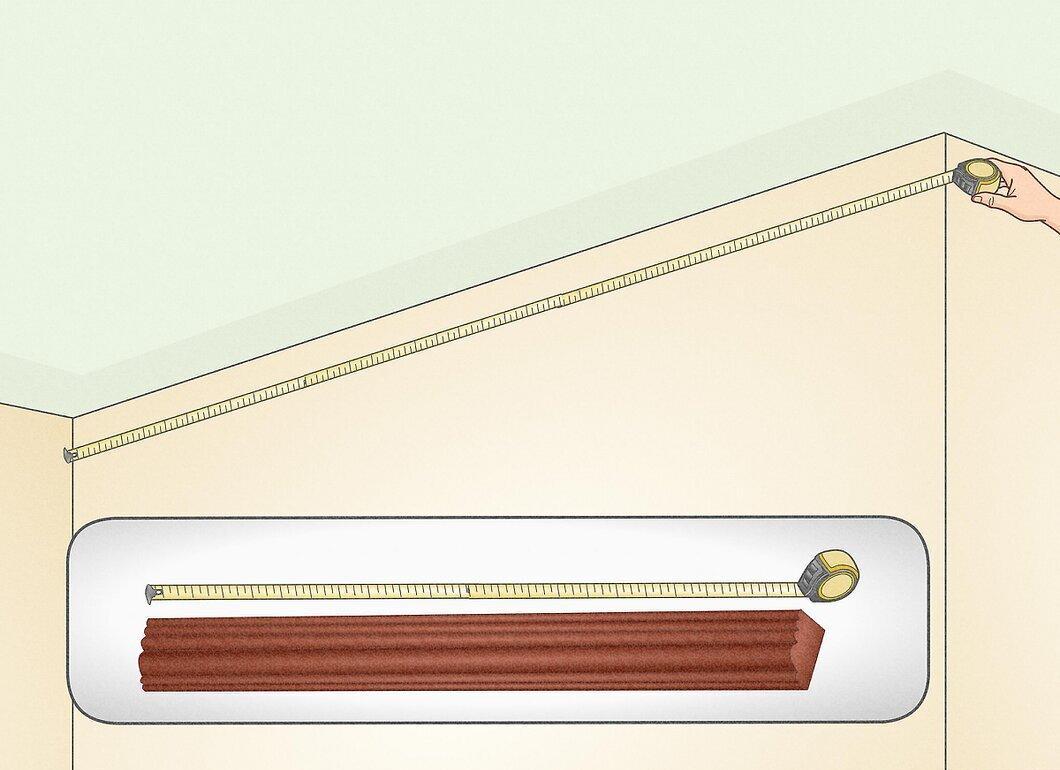
Using a tape measure, measure the length of the wall from one corner to the other. Decide which side you will start from—left or right.
- Based on your measurements, mark the dimensions on the underside of the cornice on both sides.
Step 3. Prepare the Cornice for Cutting.
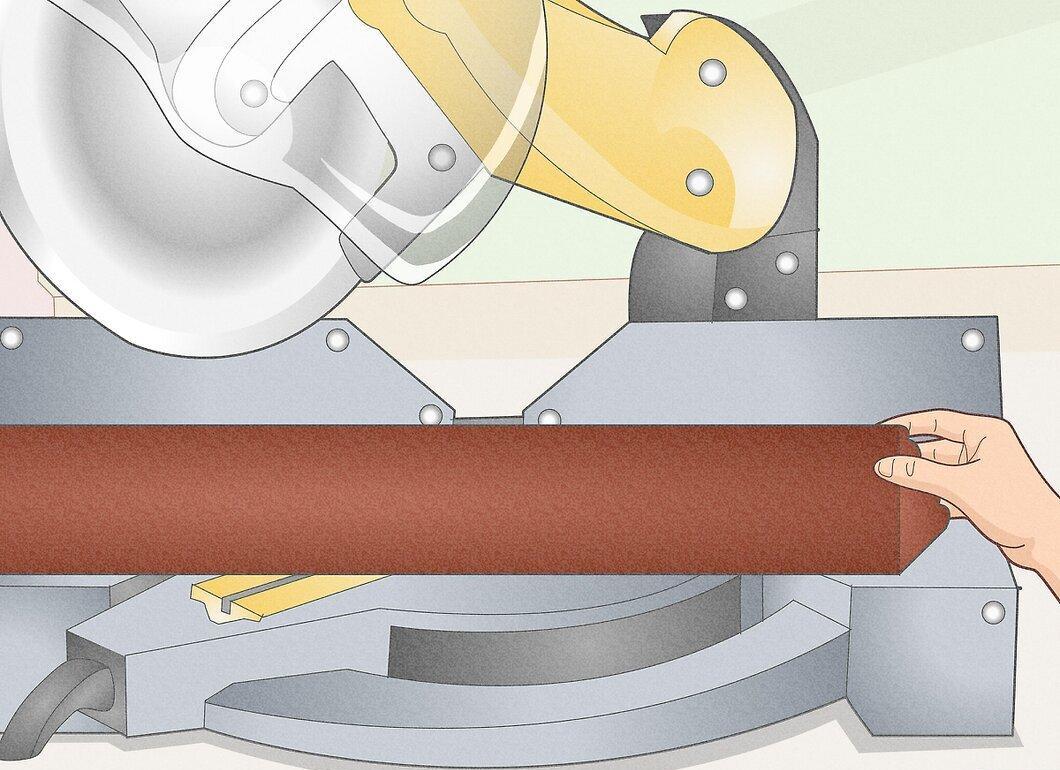
Flip the cornice over and place it on a cutting table so that its underside is facing you. This will allow you to clearly see the marks for the cuts.
Step 4. Cut the First Edges of the Cornice at a 90° Angle.
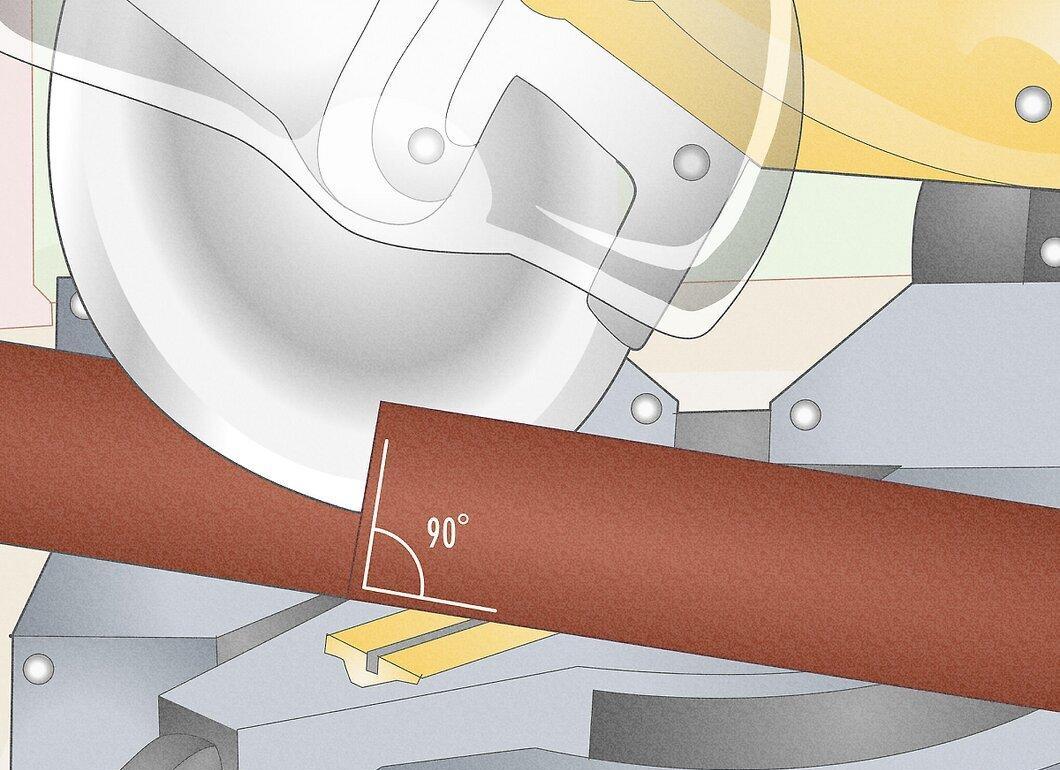
Make cuts on both sides of the cornice at a 90° angle. This part will be installed directly into the corner of the wall. Don't worry about the exact angle, as the second piece will be fitted to the first.
Preparing the Second Section of the Cornice
Step 1. Measure the Second Section.
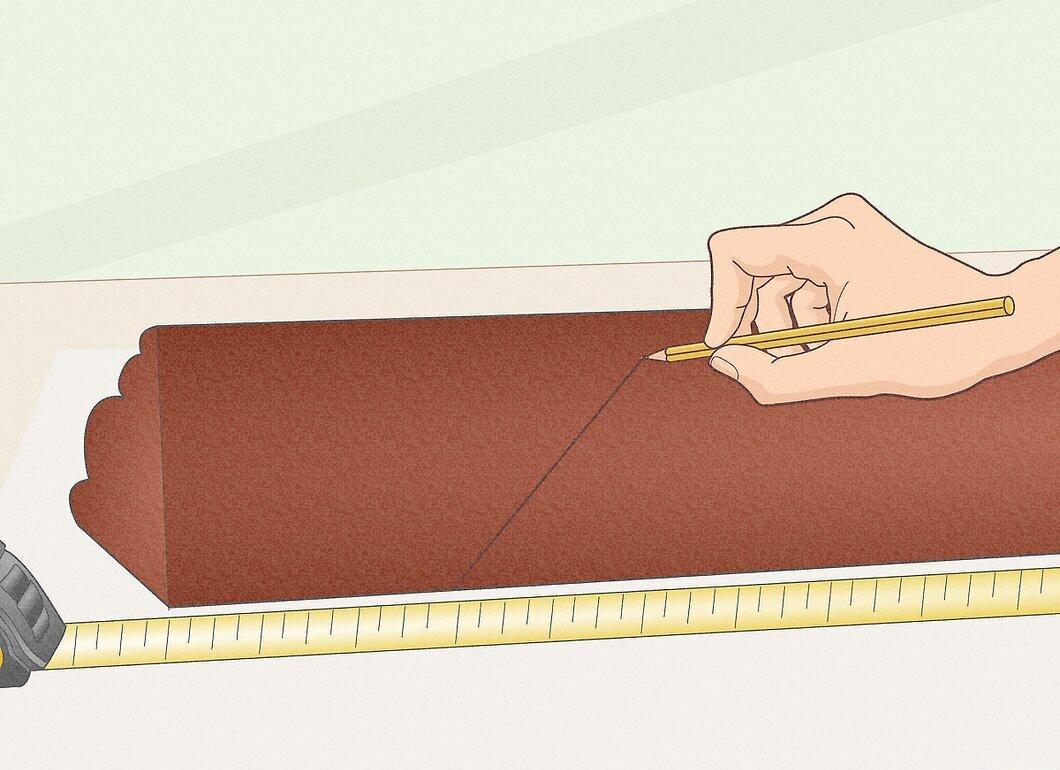
Make a mark on the underside of the second cornice. Avoid marking the top, as the underside needs to fit snugly against the wall.
- Set the saw at a 45° angle. If you started from the left, the saw should move from left to right.
- Ensure that the top of the cornice is facing down, and the bottom is facing you.
- Make the first cut along the mark. If in doubt, it's better to cut a bit more, as you can trim it down later.
Step 2. Cut the Opposite End.
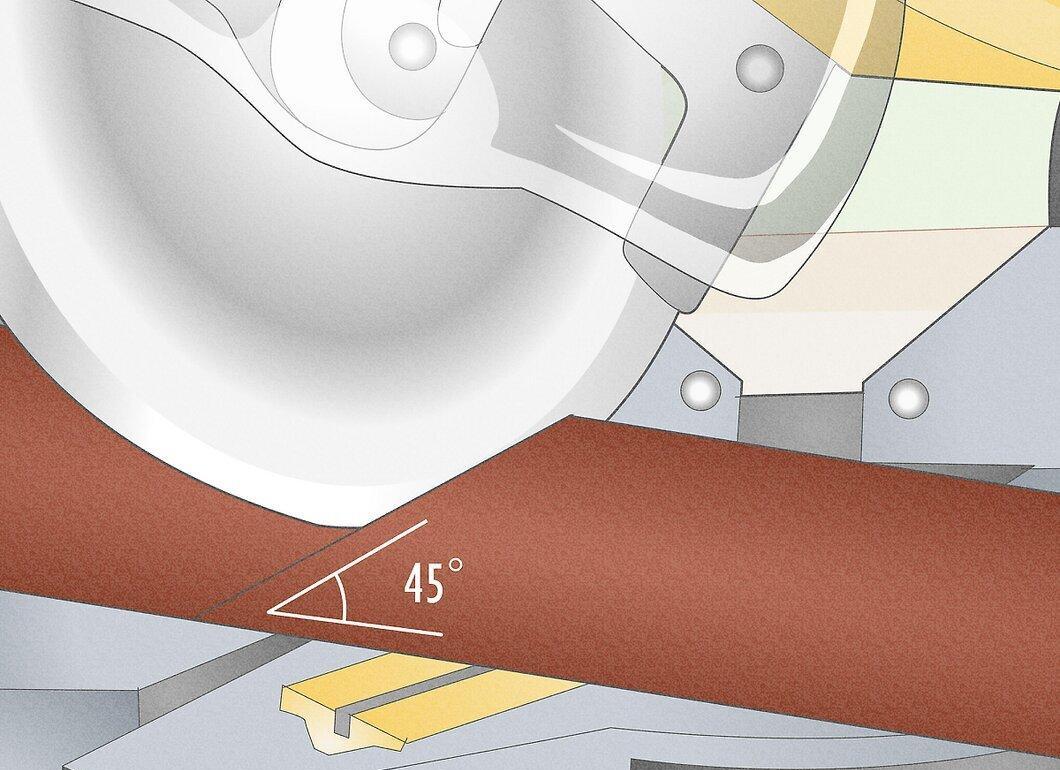
Rotate the saw back to 90° and make a second cut, leaving a slight excess.
Step 3. Use a Jigsaw to Cut the Back at a 45° Angle.
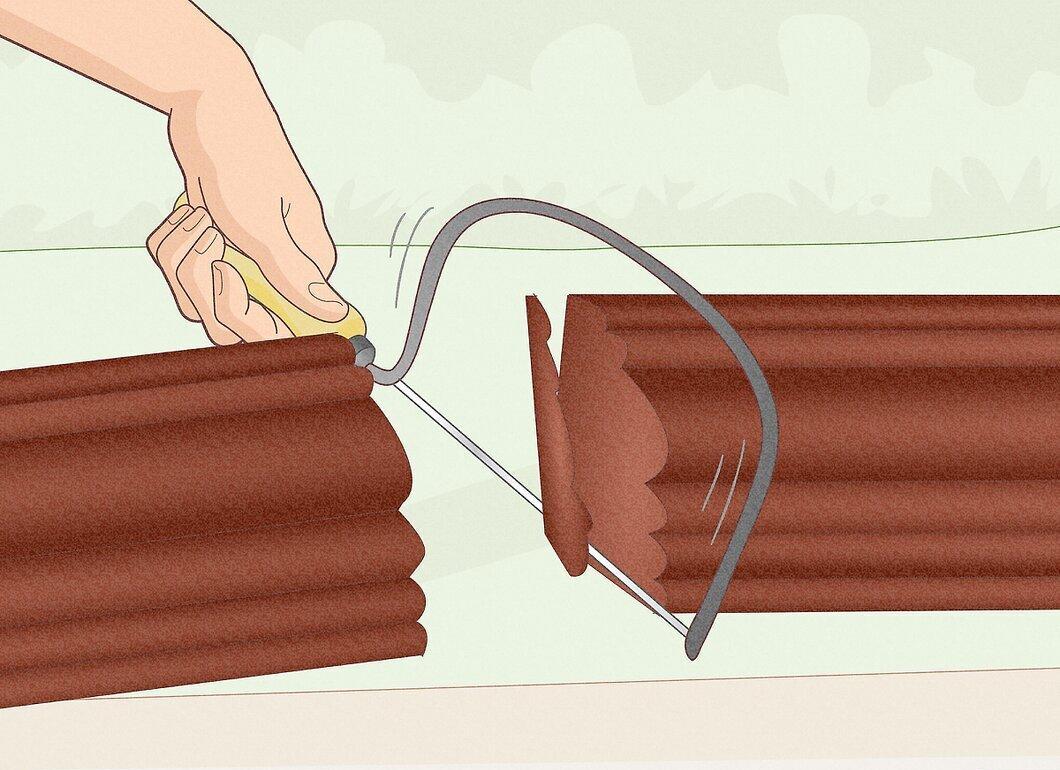
Using a jigsaw, carefully cut the back end at a 45° angle to match the contour of the first section.
- Use sandpaper to smooth out any rough edges. Check the fit by holding the second piece to the first; gaps should be minimal. If there are any gaps, use caulk to fill them.
Finalizing the Installation
Step 1. Repeat the Previous Steps for the Remaining Cornice Sections.
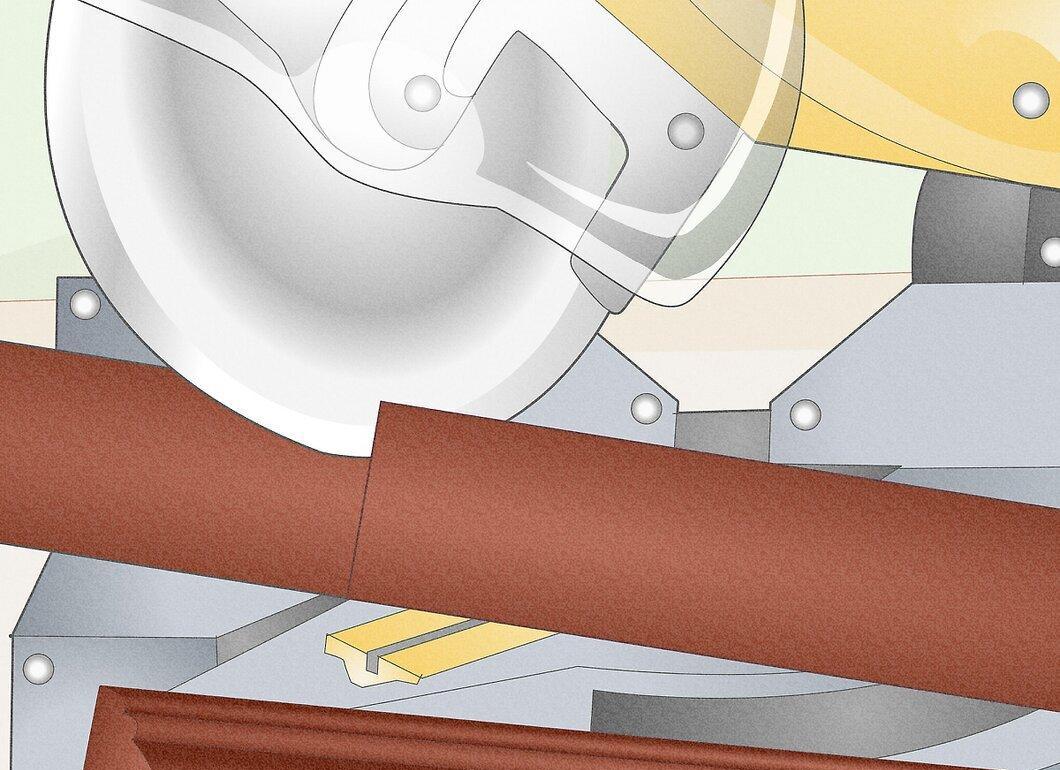
If you're working in a room with four walls and started with a cornice with two 90° angles, you will need to make one section with two 45° angles.
- The 45° angles should be opposite each other. Don’t forget to leave a little excess to ensure all parts fit together. A longer cornice will give the room a cozy look and prevent cracking from house settling.
- For a room with four walls, you will need: one section with two 90° angles, two sections with one 90° angle and one 45° angle, and one section with two 45° angles.
Step 2. Install the Cornice in Place.
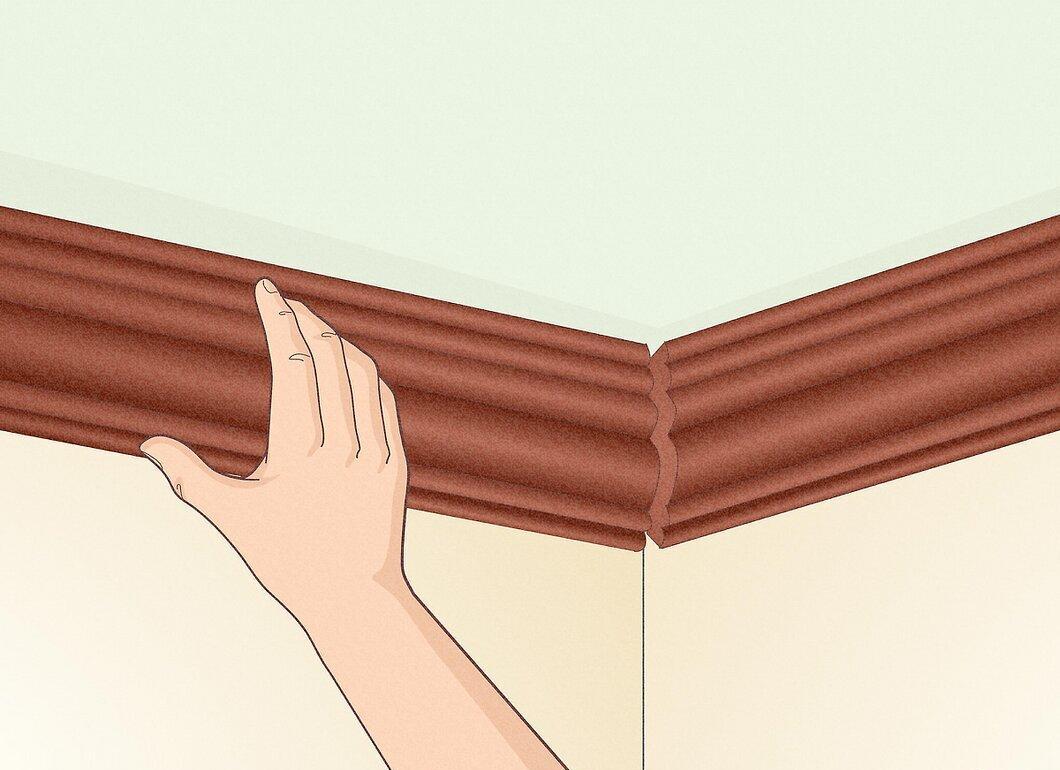
Apply adhesive to the flat sides of the cornice that will contact the walls and ceiling, as well as at the joints.
- Be sure to call someone for help, especially when working with long pieces. Extra hands can greatly simplify the process.
- Press the first piece of cornice into the corner firmly.
- Use finishing nails for temporary holding of the cornice while the glue dries. Ensure the nails are placed so they can be easily concealed.
- Secure the remaining pieces of the cornice, using caulk to fill any visible gaps.


