
As time goes on, a tankless water heater can develop mineral buildup that hinders its performance and may cause erosion in the heating chamber. To keep the unit in good working condition, it is essential to clean it and remove these deposits at least once a year. Read on to learn how to maximize the efficiency of your tankless water heater.
Part 1
Step 1. Disconnect the water heater from the power supply or gas line.
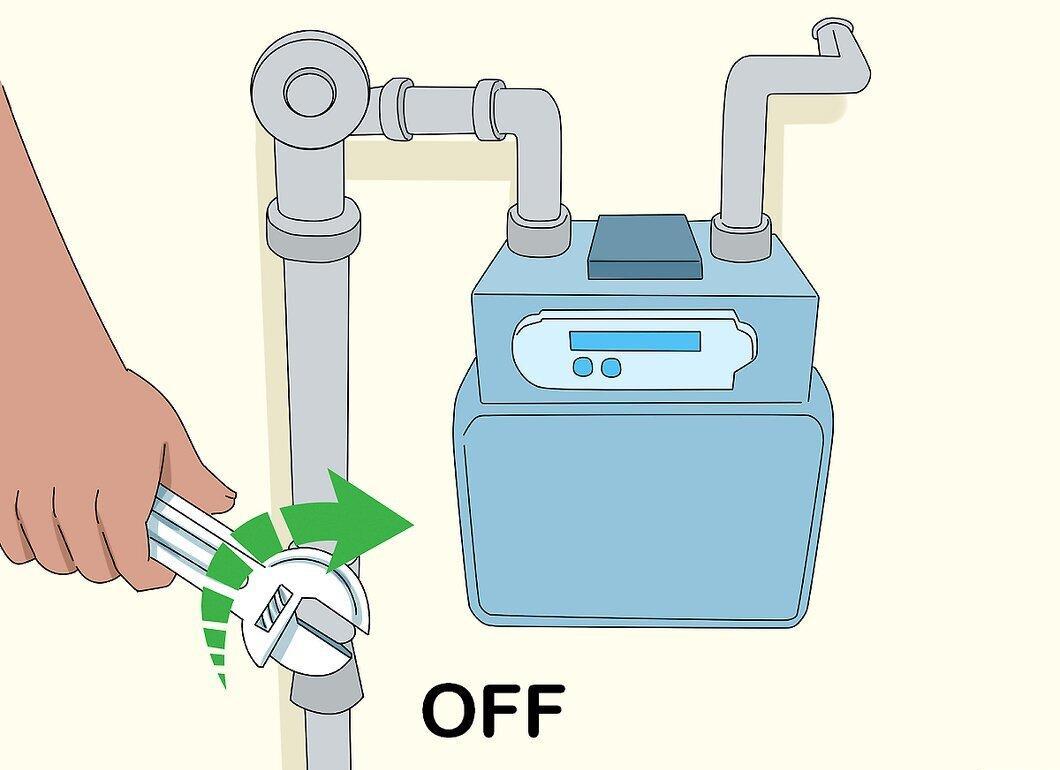
- This can be done by turning off the gas valve or disconnecting the unit from the electrical supply using the circuit breaker.
Step 2. Shut off the three valves connected to the water heater.
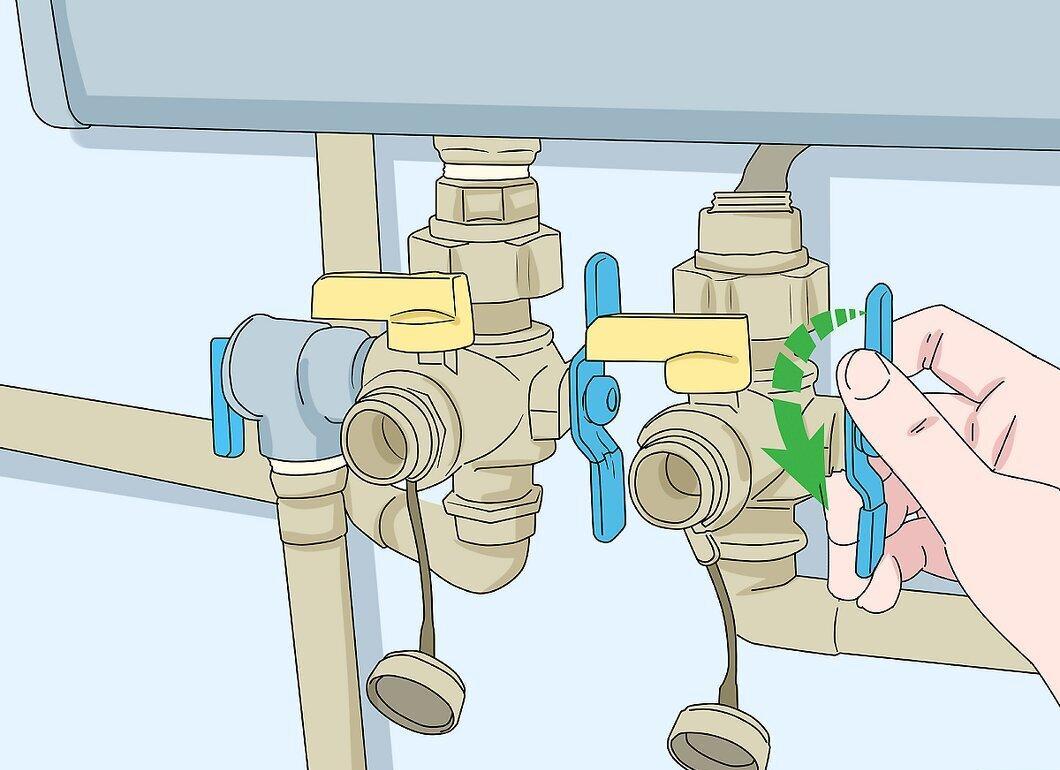
- This will prevent cold water from entering and hot water from leaking during the cleaning process.
- The valves include the cold water valve (usually colored blue), the hot water valve (red), and the main valve that shuts off the water supply to the house.
Step 3. Carefully remove the caps from the drain valves on the hot and cold water lines.
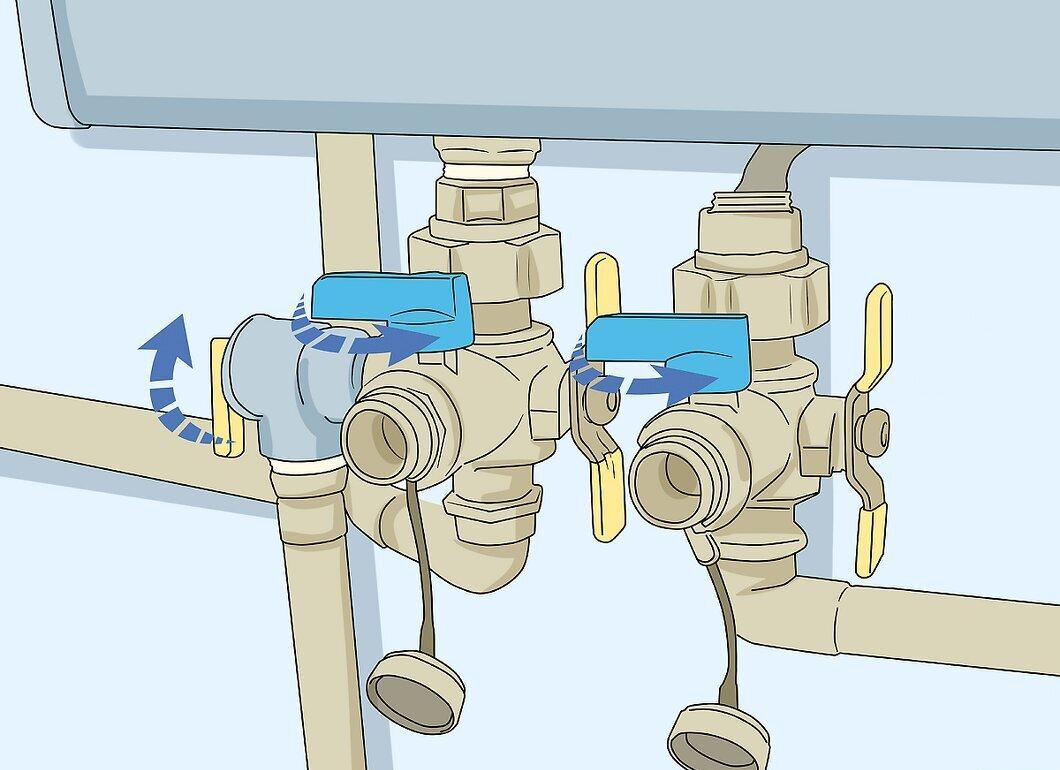
- The drain valves have "T" shaped handles.
- This is necessary to relieve pressure and prevent a hot water splash that could harm your skin.
- When removing the caps, excess gas may escape, so it’s important to close the hot water valve first to avoid leaks.
- Be careful to keep the rubber seals in place.
Step 4. Connect hoses to the three valves.
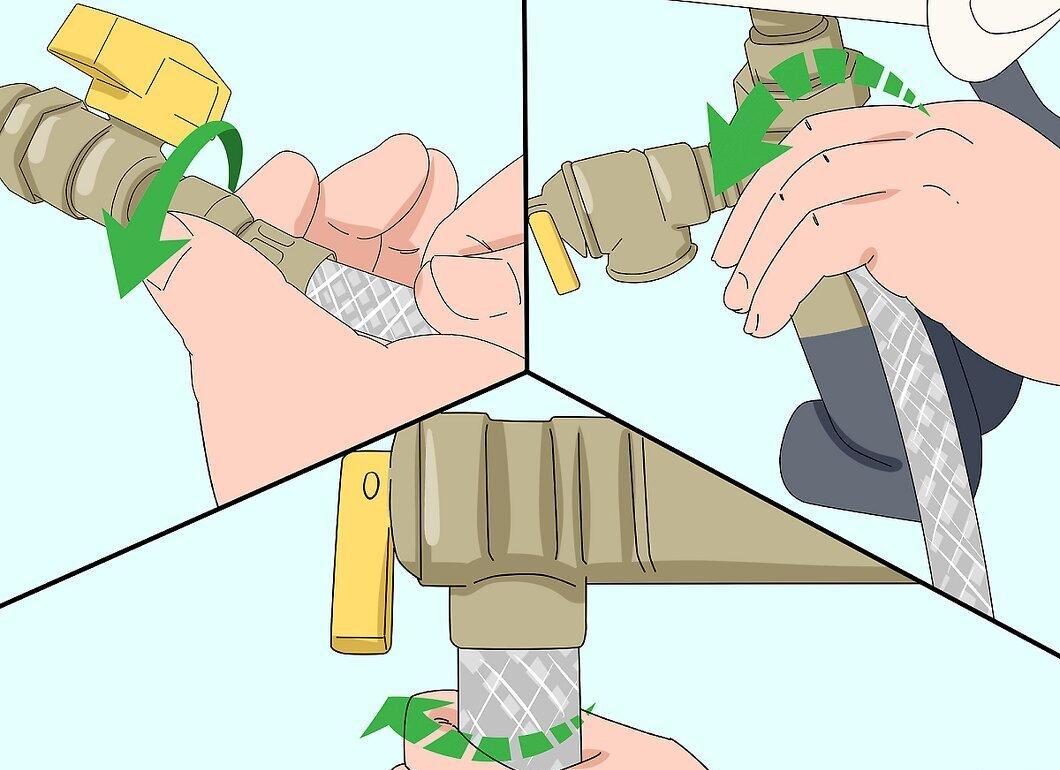
- If hoses are not included, they can be purchased at any hardware store. Make sure they are long enough to reach a bucket.
- You may need to refer to the instructions or contact the manufacturer for clarification.
- In some cases, a special pump may be required to drain the water.
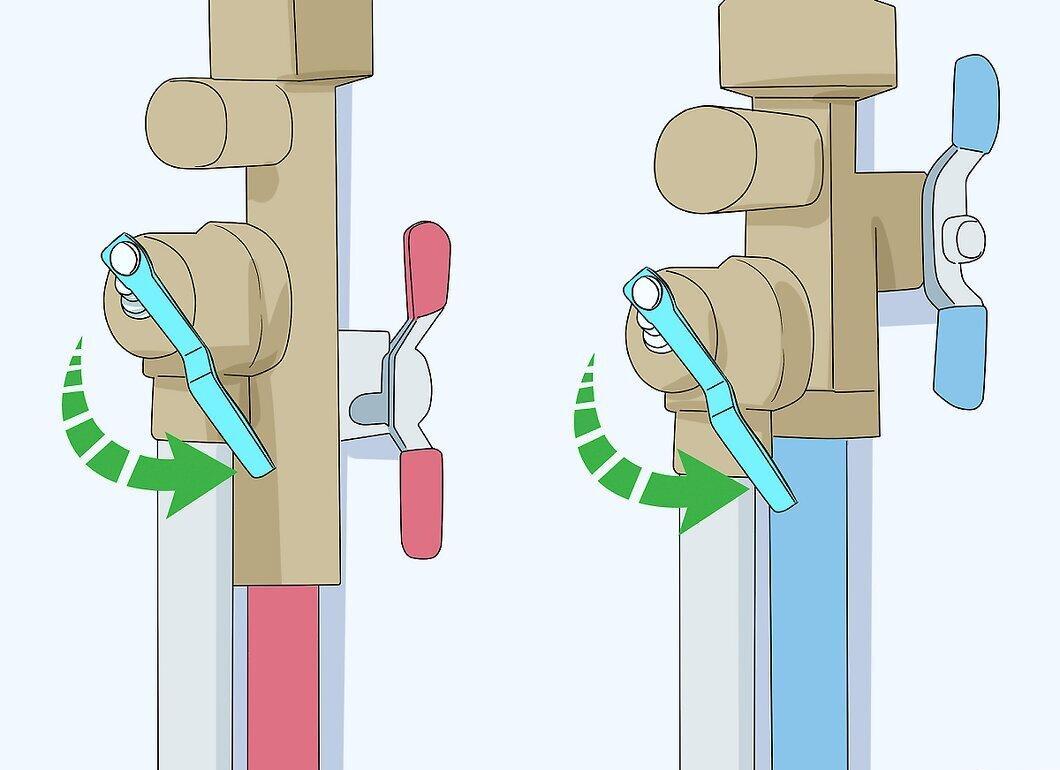
Step 5. Open the drain valves by turning their handles perpendicular to the valves.
Step 6. For cleaning, use 9.5 liters (2.5 gallons) of undiluted white vinegar instead of chemicals.
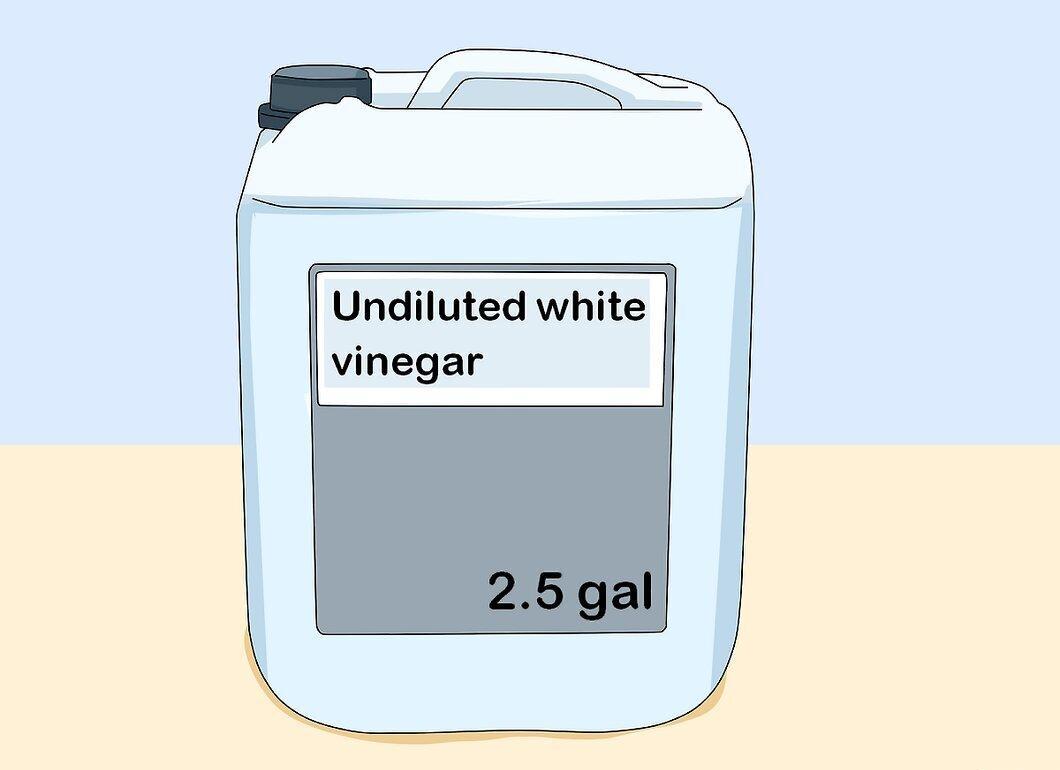
- This is important because the water passing through the heater is used for cooking and hygiene, and chemicals can be harmful to health.
Step 7. Clean the unit and flush it according to the manufacturer's instructions.
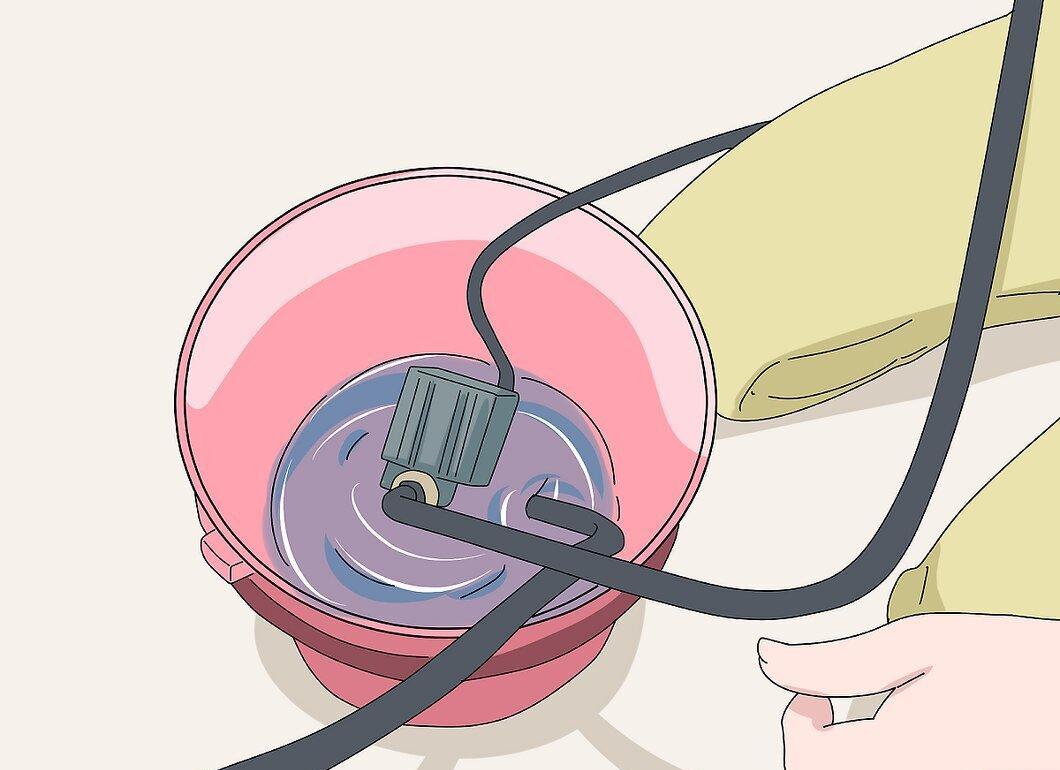
- The process may take up to 45 minutes.
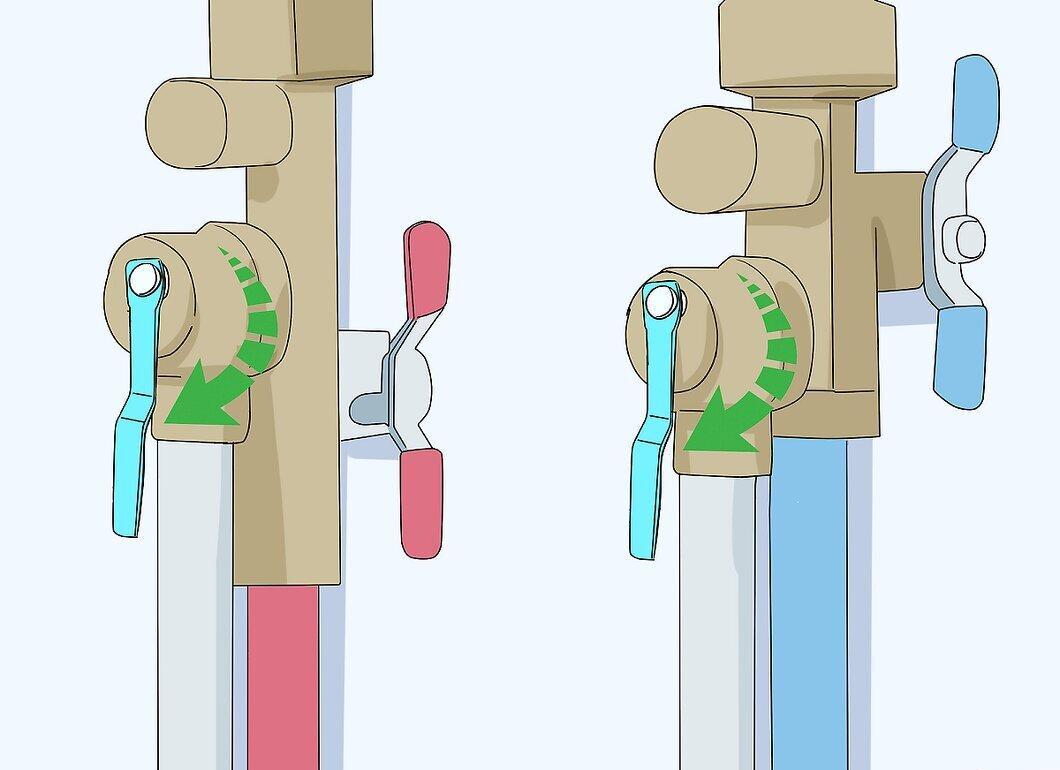
Step 8. After cleaning, close the drain valves by turning their handles back.
Step 9. Disconnect the drain hoses from the valves.
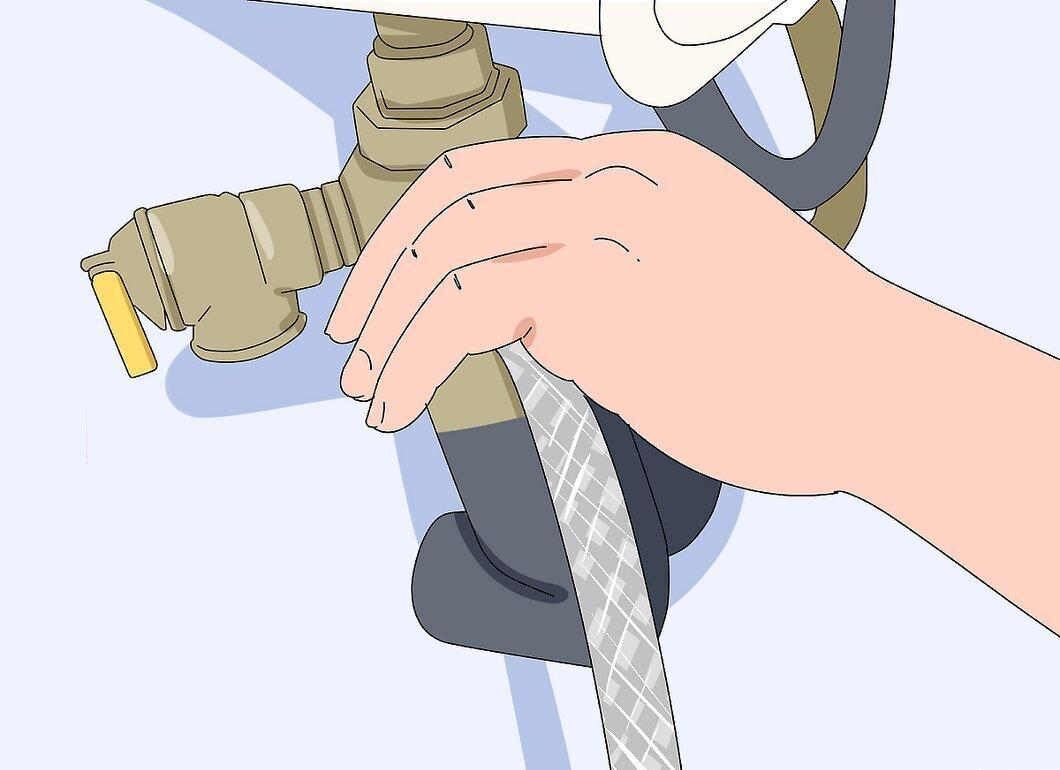
Step 10. Reattach the caps on the drain valves.
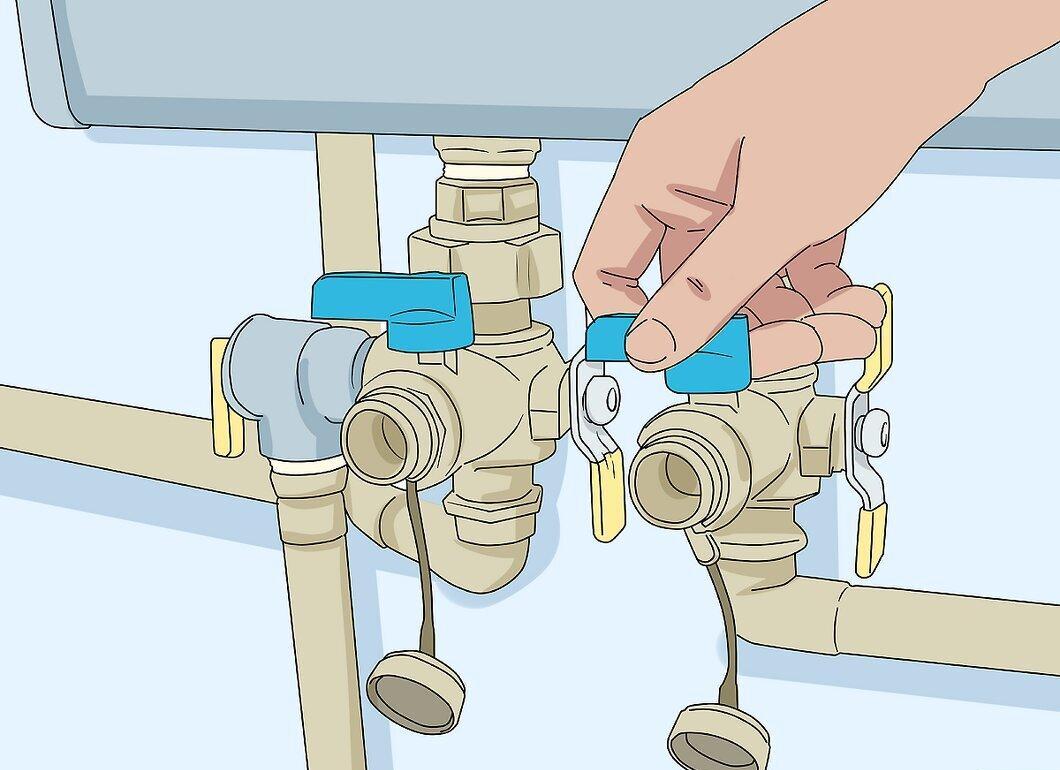
- Tighten the caps securely to avoid damaging the rubber seals.
Step 11. Review the instructions for safely restarting the unit after cleaning.
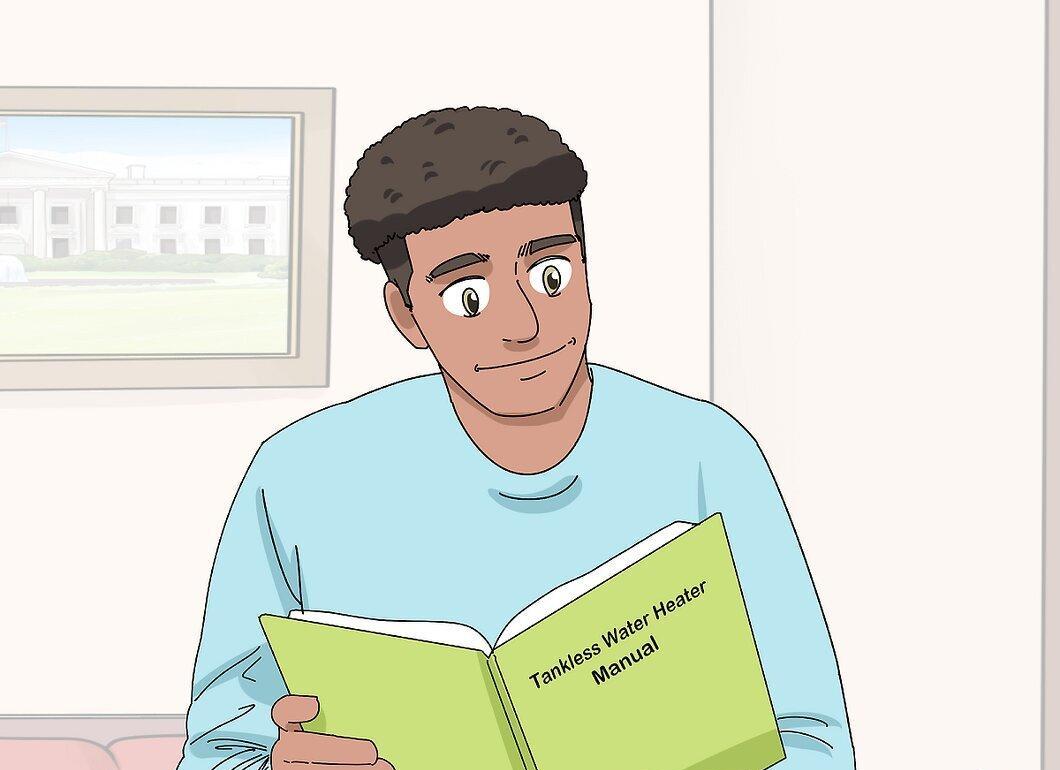
- You may simply need to open the hot and cold water valves by turning them parallel to the main valve.
Step 12. Carefully open the hot water tap in the kitchen to release air from the pipes.
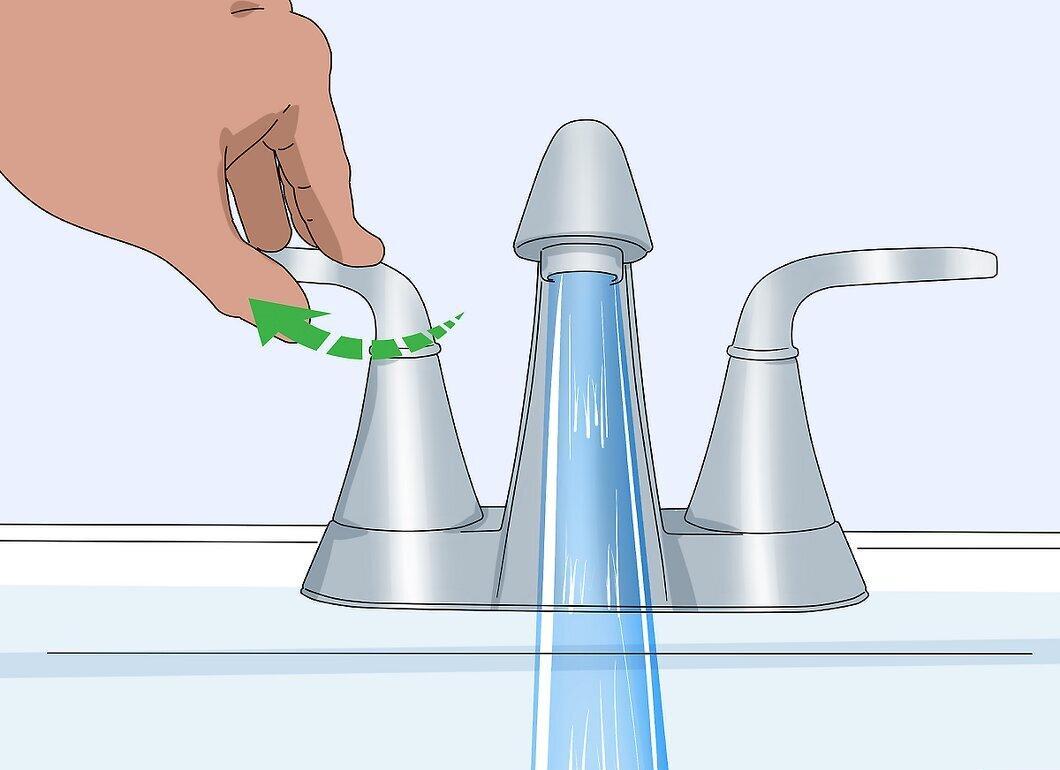
- Allow the water to flow until it is steady and free of air bubbles. This may take 2-3 minutes.


