
Your PC case is a fortress that houses all its key components. Not only does it protect them from damage, but it also provides essential airflow for cooling. Why should you open the case? To remove accumulated dust or to install new components. Desktop PCs are more convenient for this than laptops, which typically only allow access to the RAM and hard drive.
Opening a Desktop Computer
Step 1. Gather Your Tools.
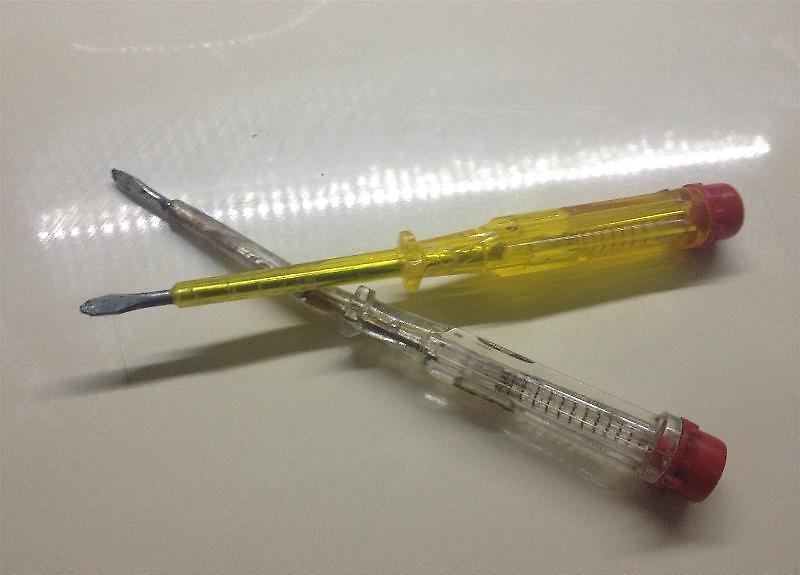
Collect all the necessary tools. You will mainly need a Phillips screwdriver, but sometimes pliers and a flathead screwdriver can come in handy.
- The case is usually secured with 6-32 screws, which are the largest you'll encounter.
- M3 screws are also possible—these are slightly smaller but can be removed with the same screwdriver.
- If you want to tidy up inside, have a can of compressed air and a small vacuum cleaner handy.
- An anti-static wrist strap is helpful, but if you don’t have one, you can manage without it.
Step 2. Turn Off the Computer.
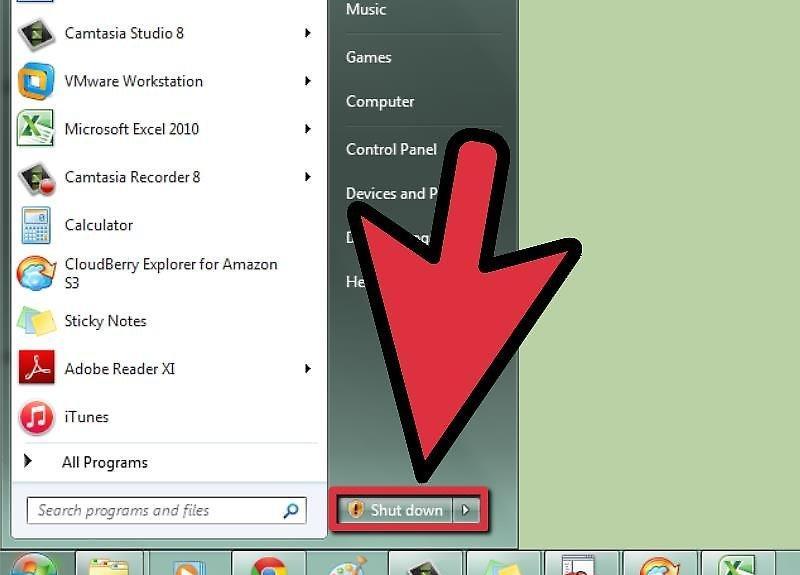
Don’t forget to shut down the computer properly through the Start menu or equivalent.
Step 3. Disconnect Cables.
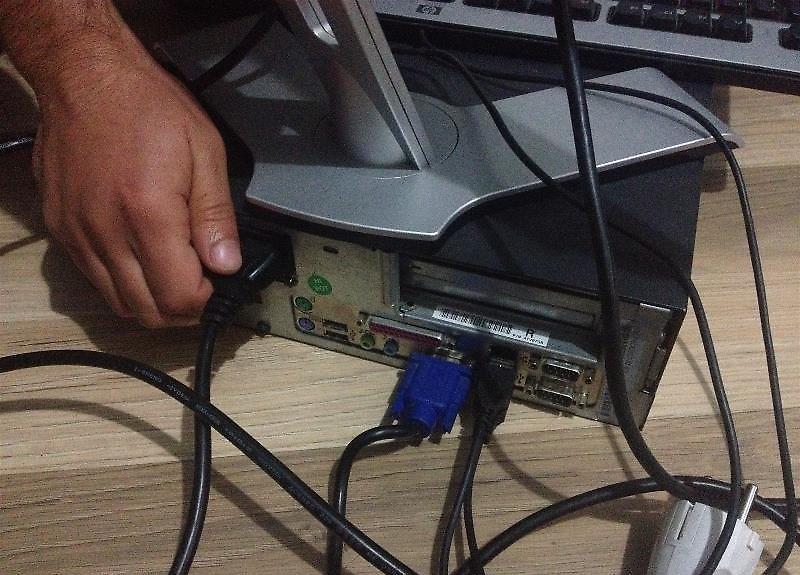
Unplug all cables from the computer. They are connected to the back panel. If you're worried about remembering where each cable goes, take a photo or make a sketch.
Step 4. Locate the Motherboard I/O Panel.
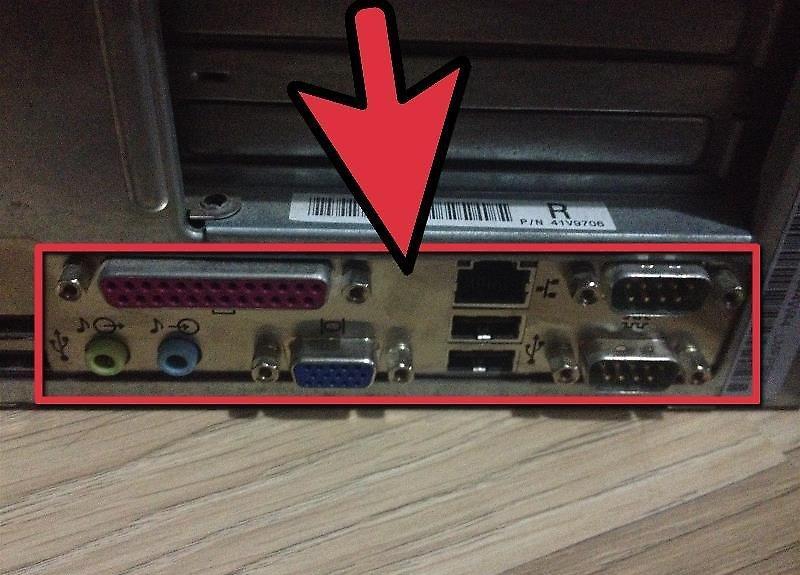
Look at the panel where the motherboard’s ports are located. It’s on the back of the case and contains various ports such as Ethernet, audio jacks, and USB. This panel will help guide you during your work on the case.
Step 5. Lay the Case on Its Side.
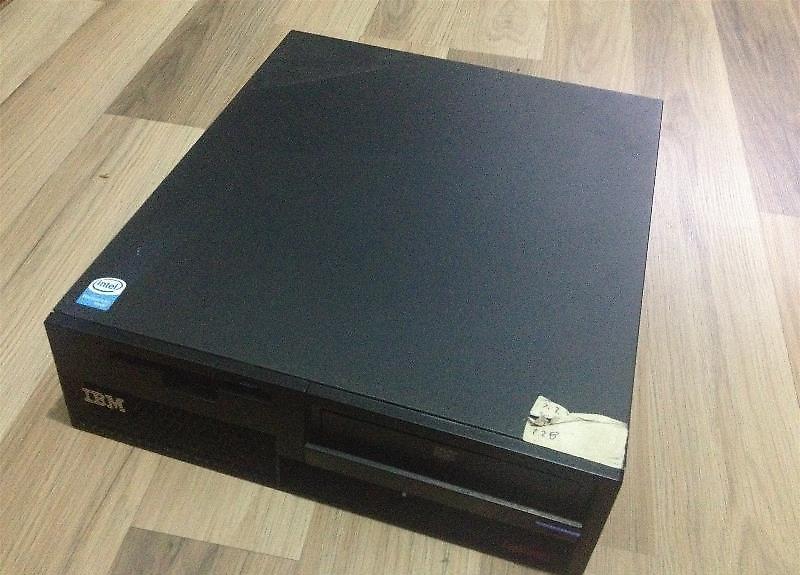
Place the case on its side, with the motherboard I/O panel facing down but still on its side. An incorrect position can make it difficult to access the boards.
- Avoid placing the computer on a carpet if you plan to get inside, as static electricity can be hazardous!
Step 6. Find the Screws on the Back.
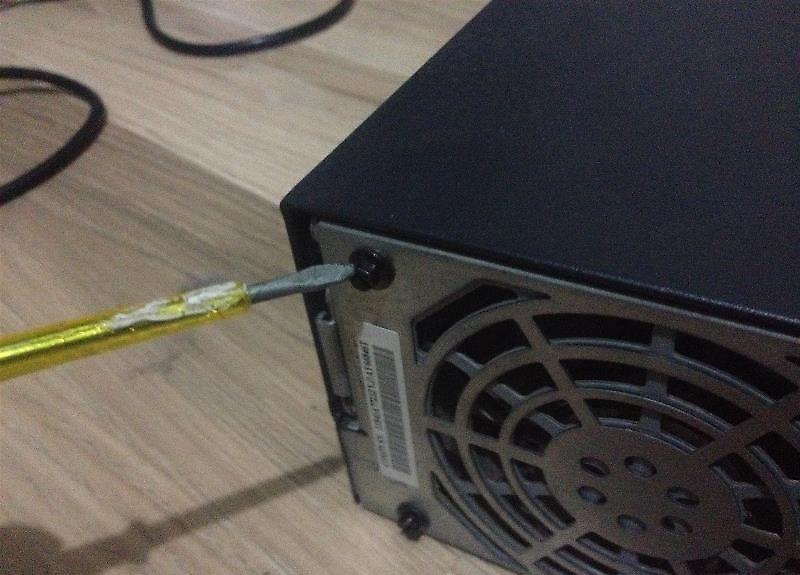
Look at the back panel of the case and locate two or three screws that hold the side panel in place. Removing these will allow you to take off the side panel.
- Keep in mind that cases vary, and methods for securing panels can differ. In some cases, a screwdriver may not be needed, while in others, screws may be absent. If you encounter difficulties, consult the case's manual.
Step 7. Ground Yourself.
Remember to ground yourself before touching any components. This is essential; otherwise, a static charge can damage the components—you might not even notice until you try to power up the computer! Use an anti-static wrist strap or simply touch a metal surface.
- Learn more about grounding here.
Step 8. Clean the Inside of the Case.
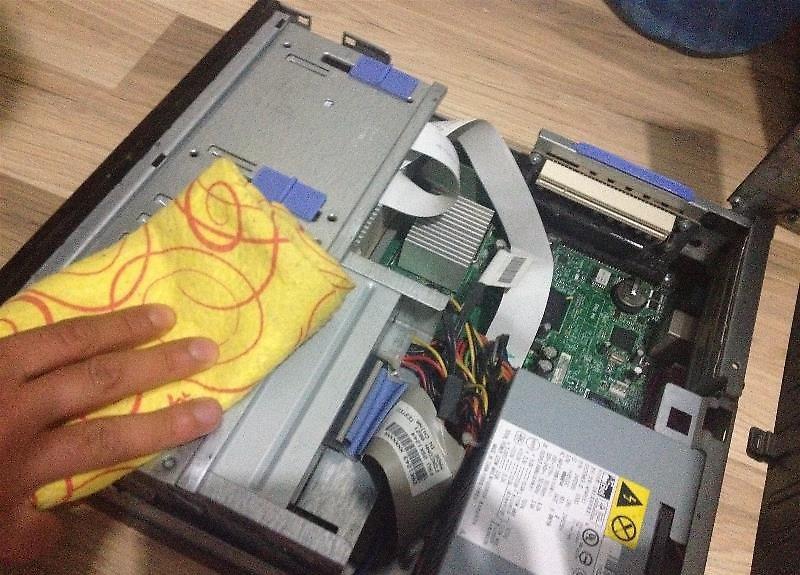
While the case is open, don’t forget to remove dust inside. Dust accumulates quickly, which can lead to overheating and reduced performance. So, since you’ve opened the case, take the opportunity to clear out excess dust (any dust in electronics is excess)!
- Check out recommendations for cleaning your computer.
Identifying Computer Components
Step 1. Motherboard.
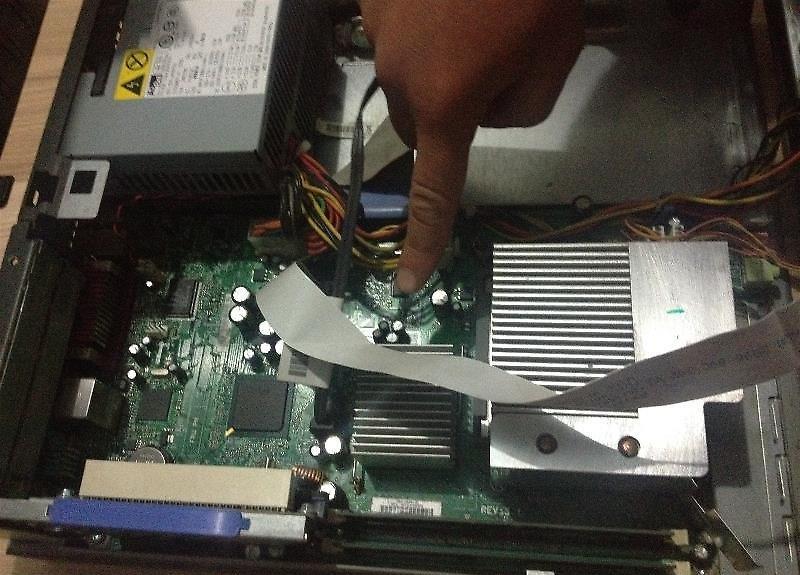
The motherboard is the largest board to which all other components are connected. It may be partially covered by other boards. It has slots for the CPU, graphics card, RAM, as well as SATA ports for connecting hard drives and drives.
- If you need to install a motherboard, click here!
Step 2. Processor.
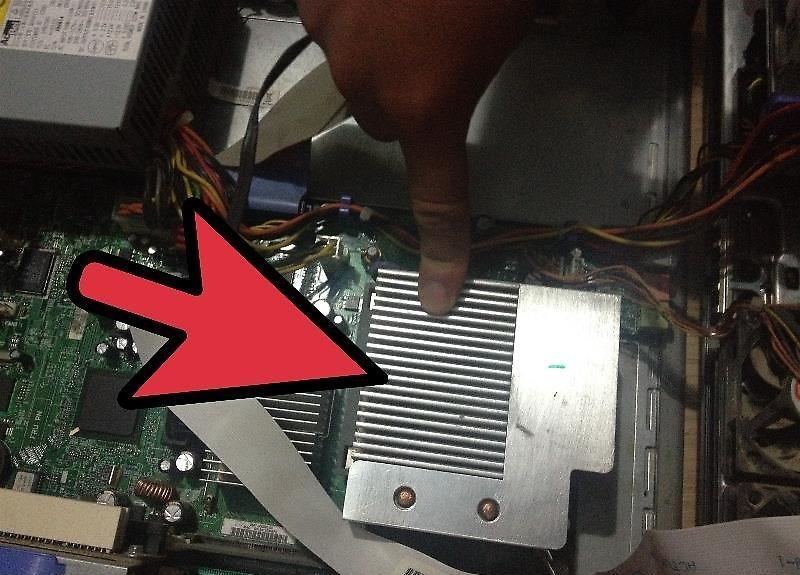
The processor is usually hidden under a cooler. It’s located at the center of the motherboard, closer to the top.
- Instructions for installing a new processor can be found here.
- Learn about applying thermal paste here.
Step 3. RAM (Random Access Memory).
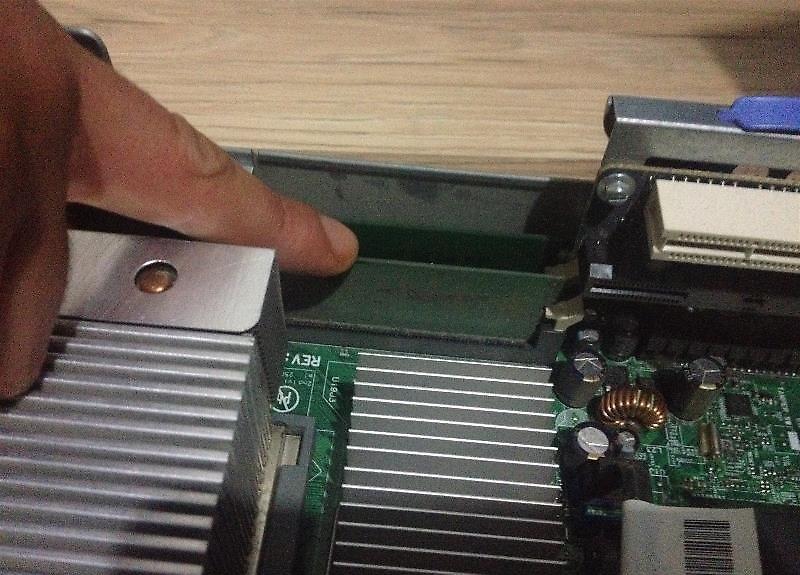
RAM consists of long, thin sticks installed perpendicular to the motherboard, next to the processor. Your PC can have one stick or several.
- To install RAM, read here!
Step 4. Graphics Cards.
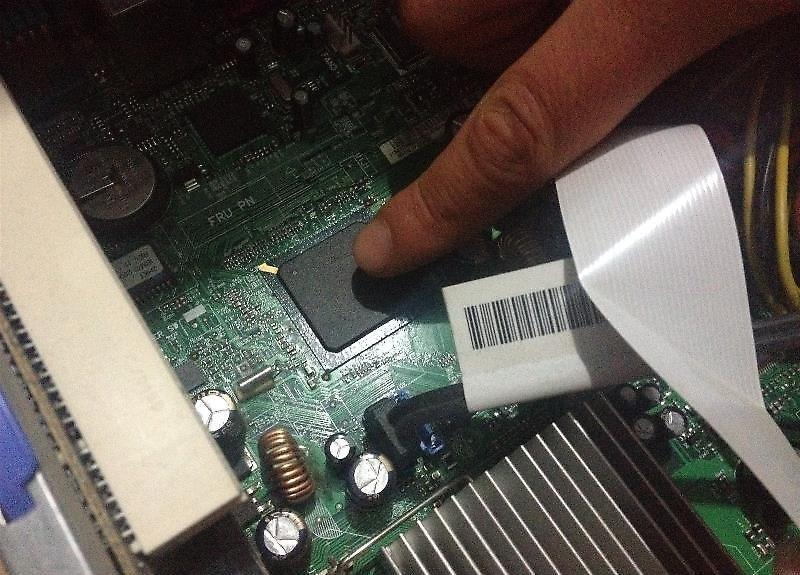
If your computer has a graphics card, it will occupy the nearest PCI-E slot to the processor. These slots are located in the lower left part of the motherboard and are covered by removable caps.
- Instructions for installing a graphics card are available here.
- Learn how to install a card into a PCI slot here.
Step 5. Power Supply.
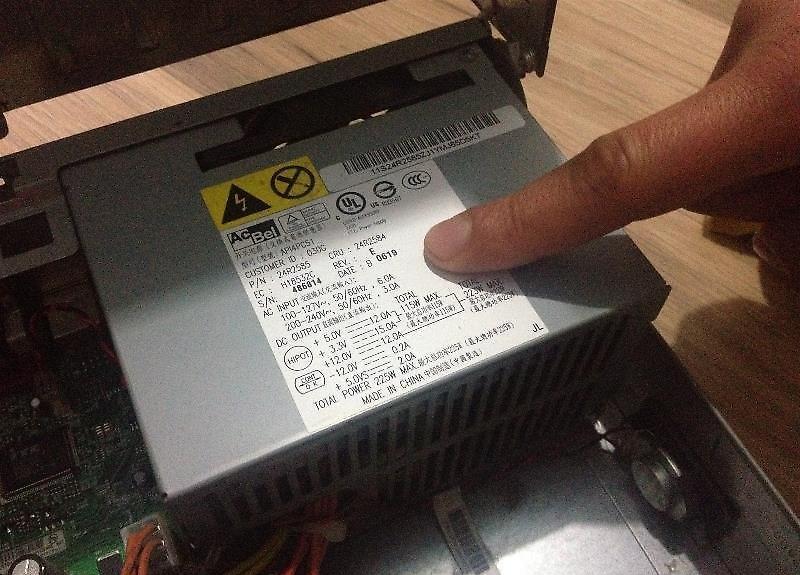
The power supply can be located either on the top or bottom, depending on the case design. It looks like a large box with thick wires coming out, which connect to the other components. You can check if all parts of the computer are receiving power through these wires.
- For instructions on how to install a power supply, read here.
Step 6. Hard Drive.
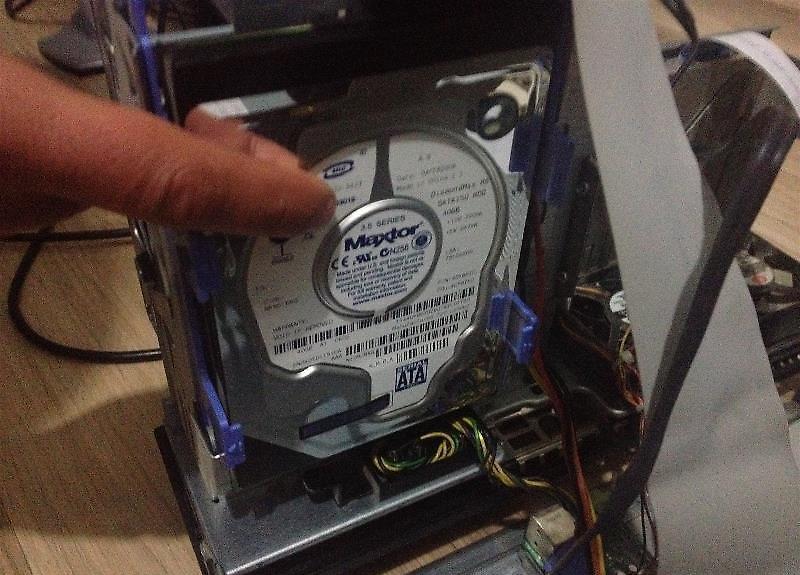
The hard drive is usually located in special bays closer to the front of the case. It connects to the motherboard via SATA cables (IDE cables for older models). The hard drive also connects to the power supply using special SATA cables (older models might use Molex connectors).
- Instructions for installing a hard drive are available here.
Step 7. CD/DVD Drive.
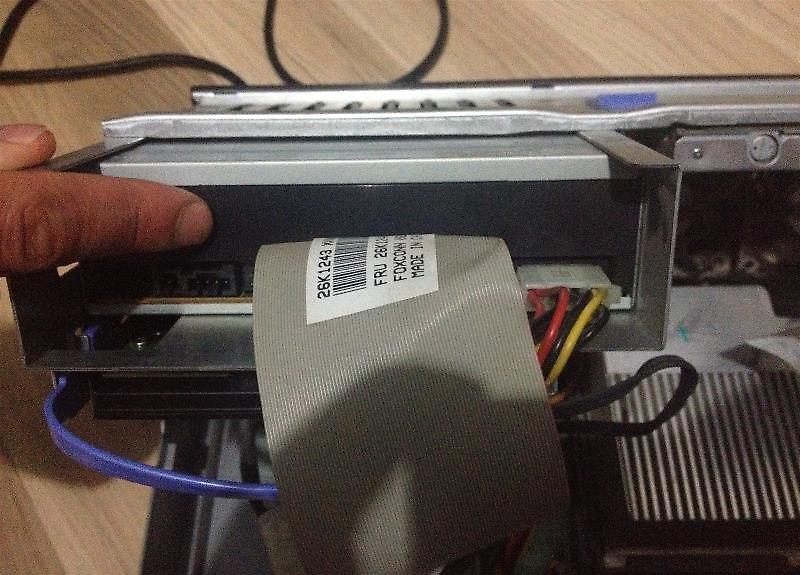
The CD/DVD drive is likely located above the hard drive and is accessible from the front panel of the case. It is larger than a standard disk drive and also uses SATA cables.
- Installation of a new DVD drive is described here.
Step 8. Fans.
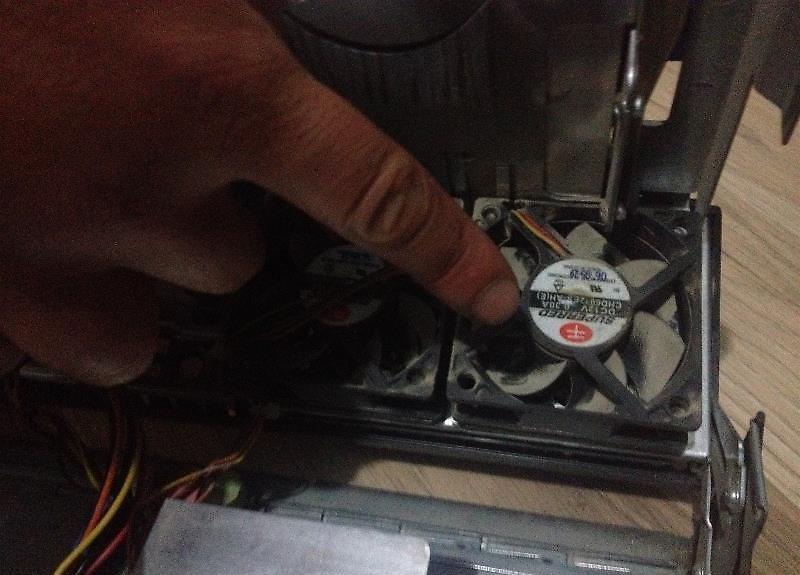
Most PCs circulate air through several fans, which may be located above the processor, on the case walls, and in other places. Fans can connect to either the motherboard or directly to the power supply.
- To learn how to install a fan, read here.
Opening a Laptop
Step 1. Gather Your Tools.
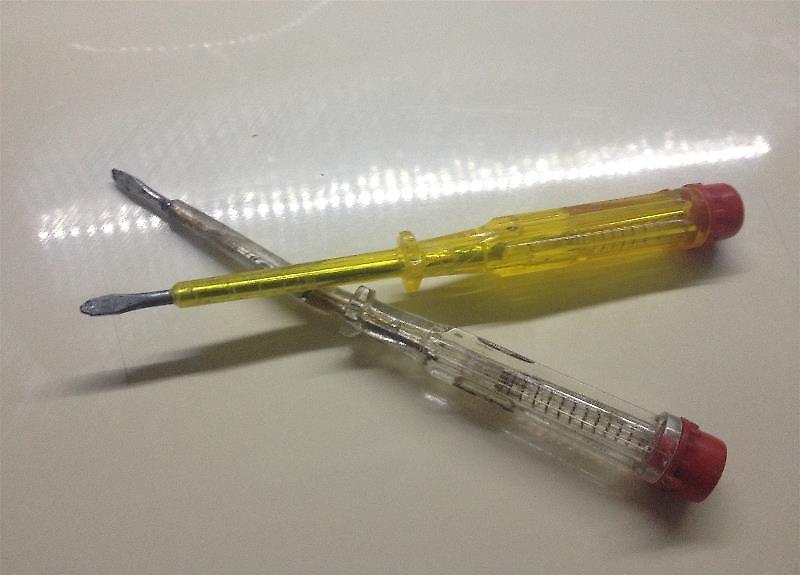
Collect the necessary tools. Laptops use smaller screws, so you may need a smaller screwdriver.
- A can of compressed air will be useful for cleaning.
Step 2. Turn Off the Computer.
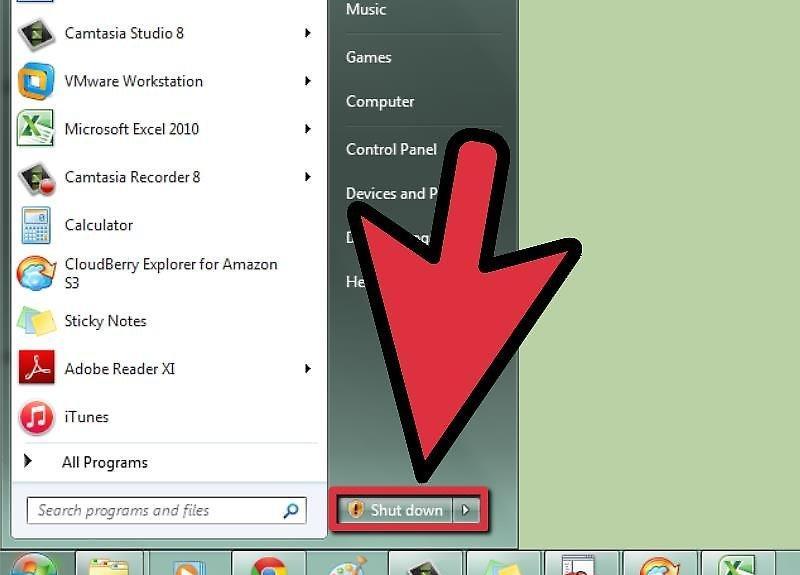
Don’t forget to shut down the computer through the Start menu or equivalent.
Step 3. Disconnect All Cables.
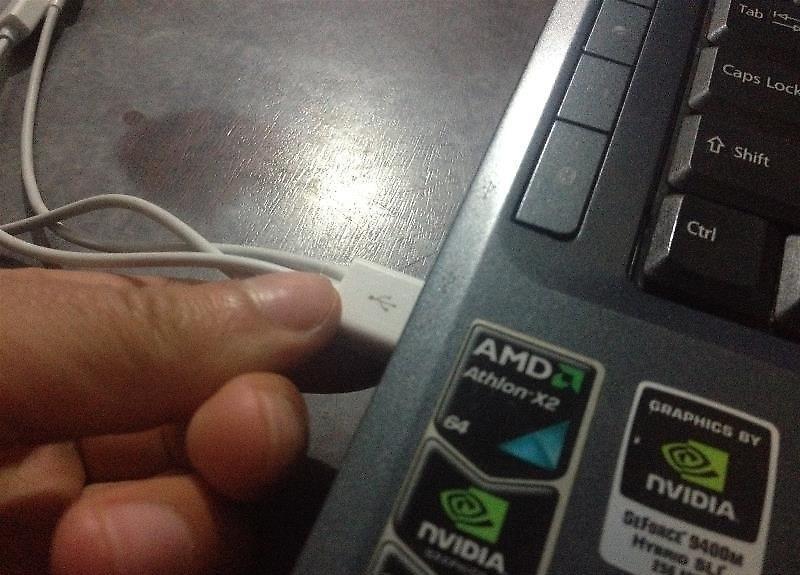
Unplug all cables, including the power cable and USB devices, headsets, and more.
Step 4. Place the Laptop on a Work Surface.
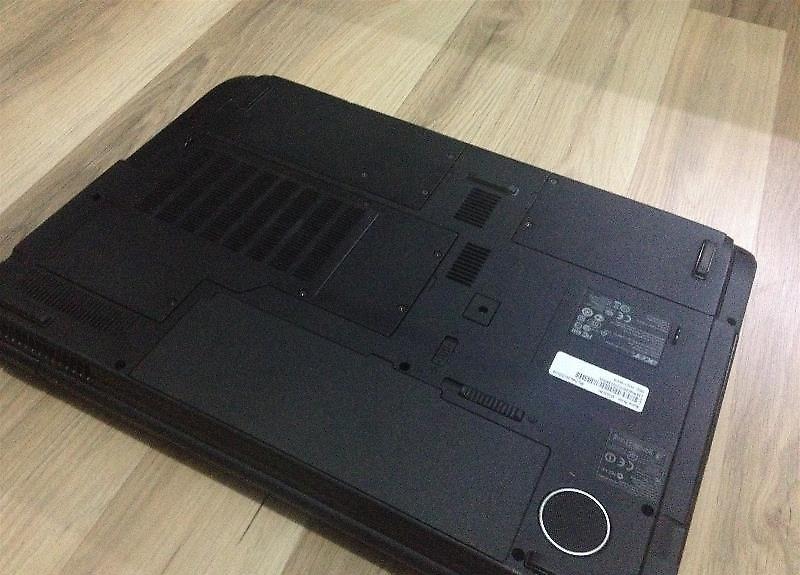
Lay the laptop on the table with the screen facing down. This will simplify access to the panels that can be removed. Remember, access to internal components in laptops is significantly limited, and many boards are not easy to replace.
Step 5. Remove the Battery.
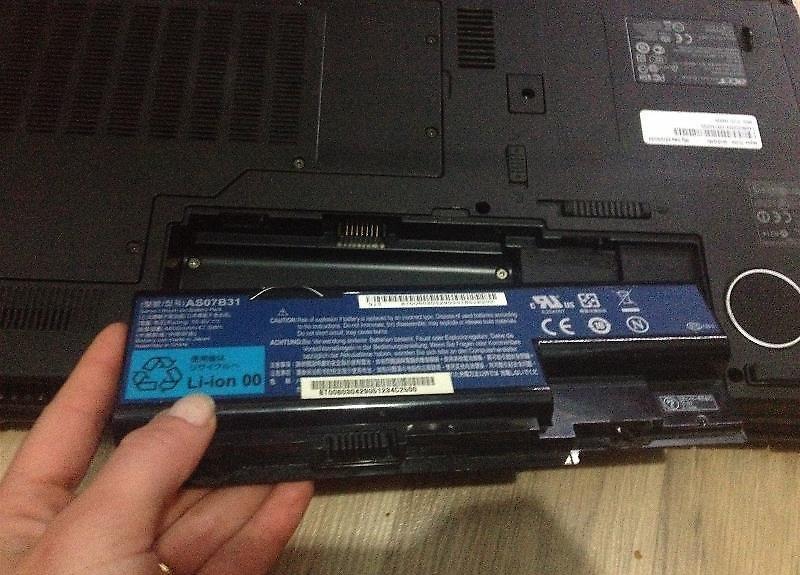
Take out the battery to avoid accidentally turning the device on while partially disassembled.
Step 6. Unscrew the Panel Screws.
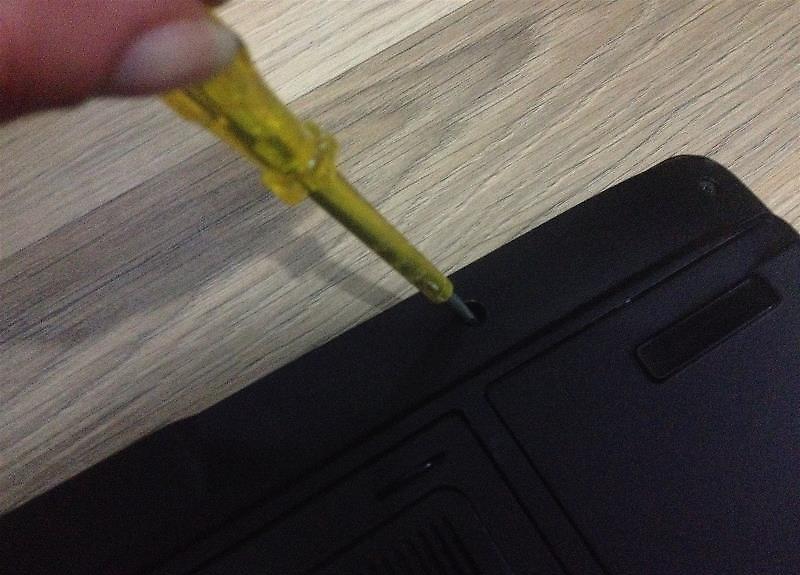
Unscrew the screws on the panels you plan to remove. You may need to remove several panels to access the RAM and hard drive slots.
- Instructions for installing RAM in a laptop are available here.
- The guide for installing a hard drive in a laptop is also available.


