
How to Properly Test a Transformer: A Step-by-Step Guide
Transformers are stationary electromechanical devices that operate on the principle of interaction between electrical and magnetic fields. When current flows through one circuit, it creates a magnetic field that induces current in another circuit, while remaining isolated from each other. In this article, you will find step-by-step instructions for checking the functionality of a transformer.
Part 1
Step 1: Visual Inspection of the Transformer
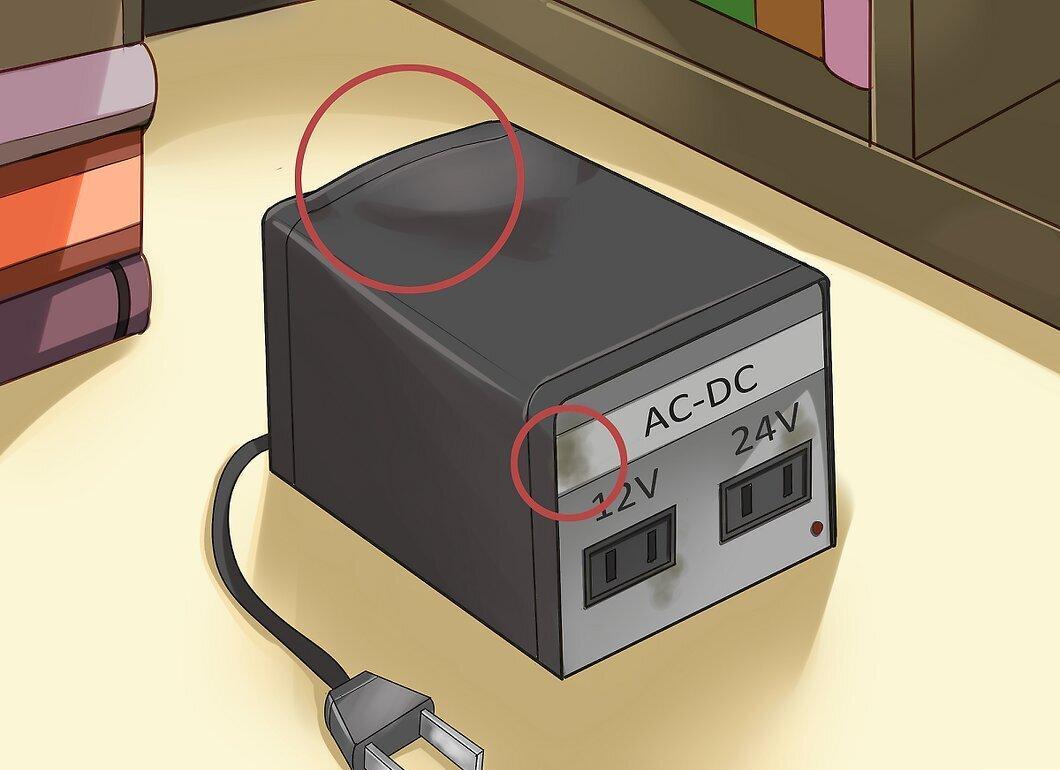
Start with a visual inspection of the transformer. Often, its failure is related to overheating of the windings. If the device's casing is swollen or there are signs of overheating, do not proceed with the testing.
Step 2: Identify the Transformer Windings
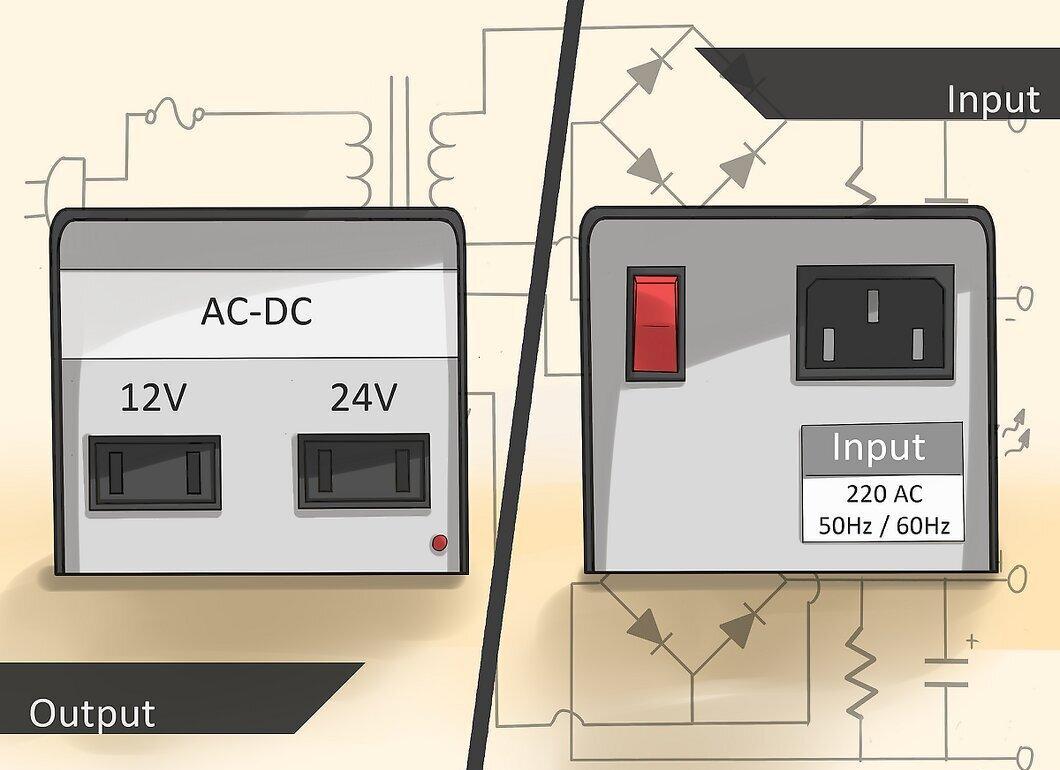
Identify the transformer windings. They should have clear markings. To understand how it is connected, it is helpful to have a circuit diagram. This information can be found in the device's manual or on the manufacturer's website.
Step 3: Locate the Input and Output of the Transformer
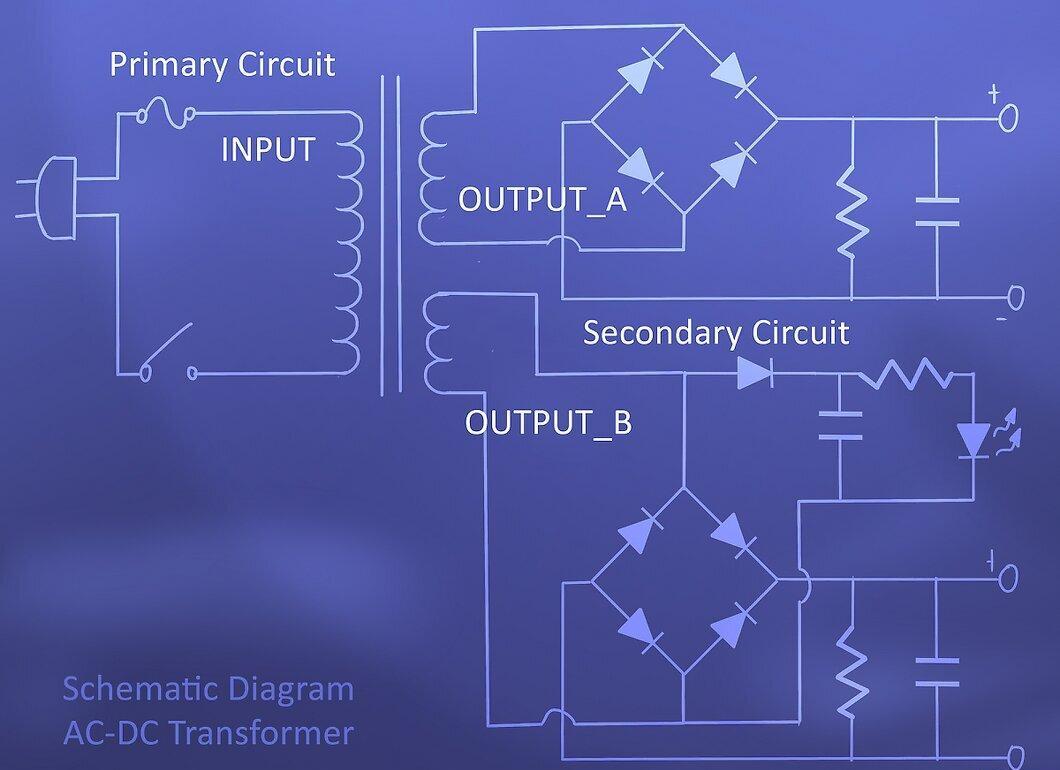
Determine where the input and output of the transformer are located. The first circuit that generates the magnetic field connects to the primary winding. The voltage supplied to it should be indicated on the transformer itself and in the diagram. The second circuit, which receives energy, connects to the secondary winding. The output voltage should also be marked.
Step 4: Check the Filtering at the Output
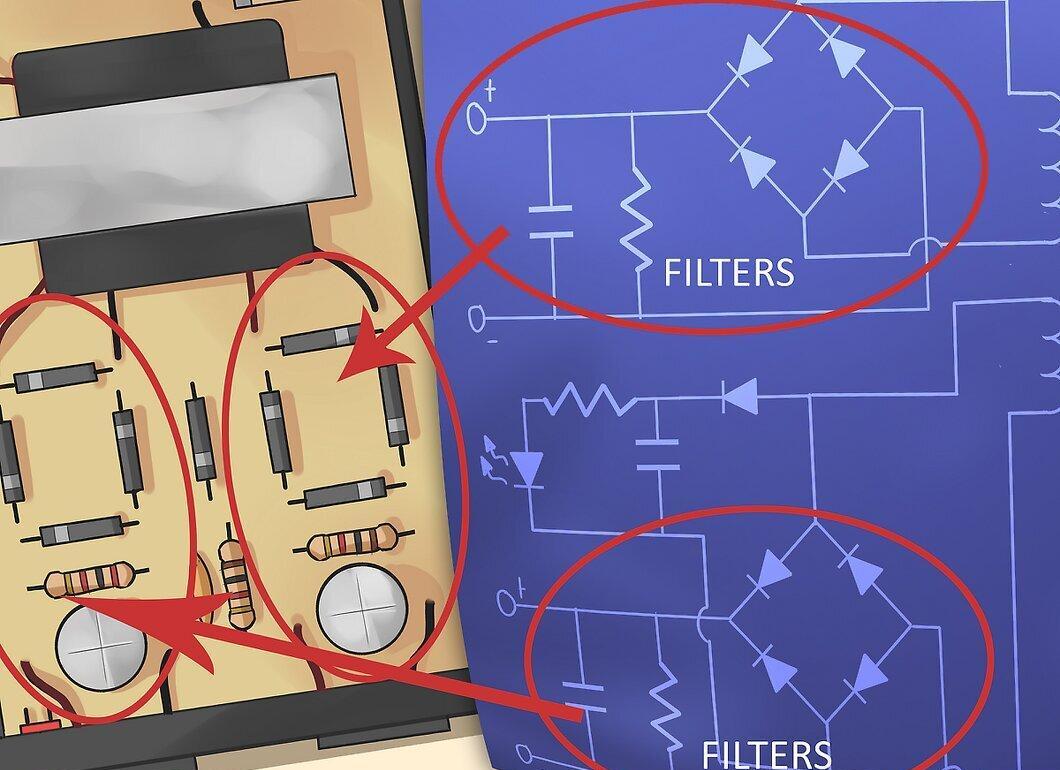
Make sure you understand how filtering occurs at the output. Often, diodes and capacitors are connected to the secondary winding to convert alternating power to direct current. These filtering components may not be indicated on the transformer itself but should be included in the accompanying diagram.
Step 5: Prepare to Measure Voltage
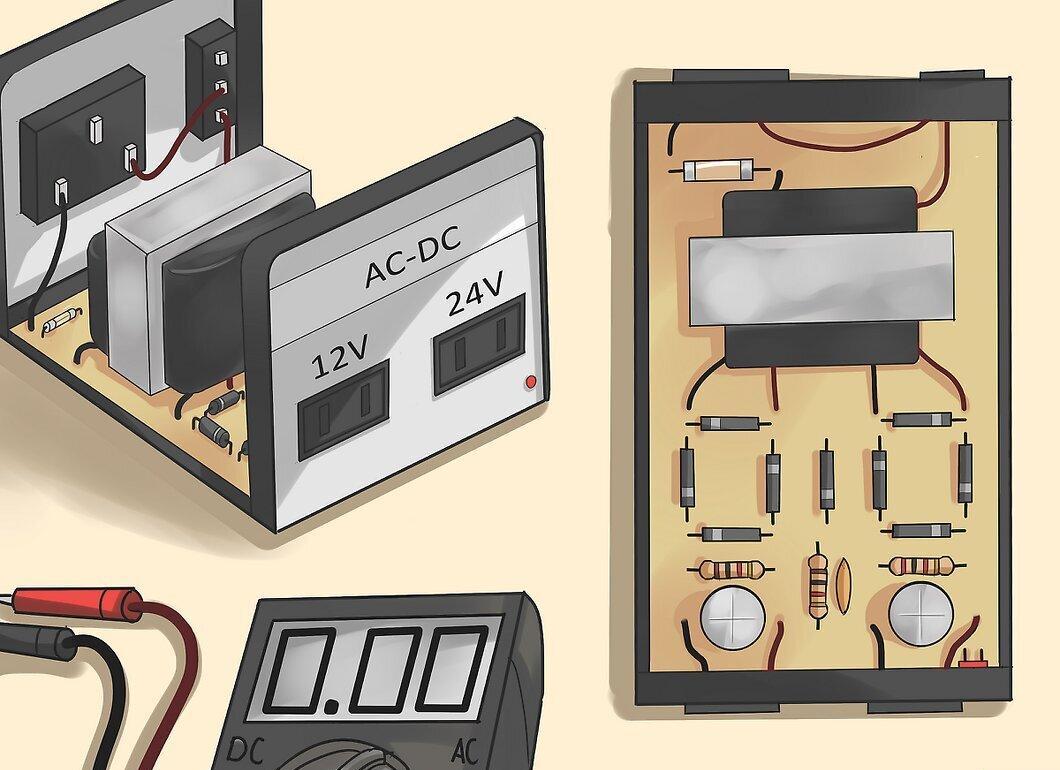
Prepare to measure the voltage in the circuit. If necessary, remove covers and panels to access the transformer. You will need a digital multimeter (tester), which can be purchased at an electronics or hardware store.
Step 6: Identify the Input of the Transformer
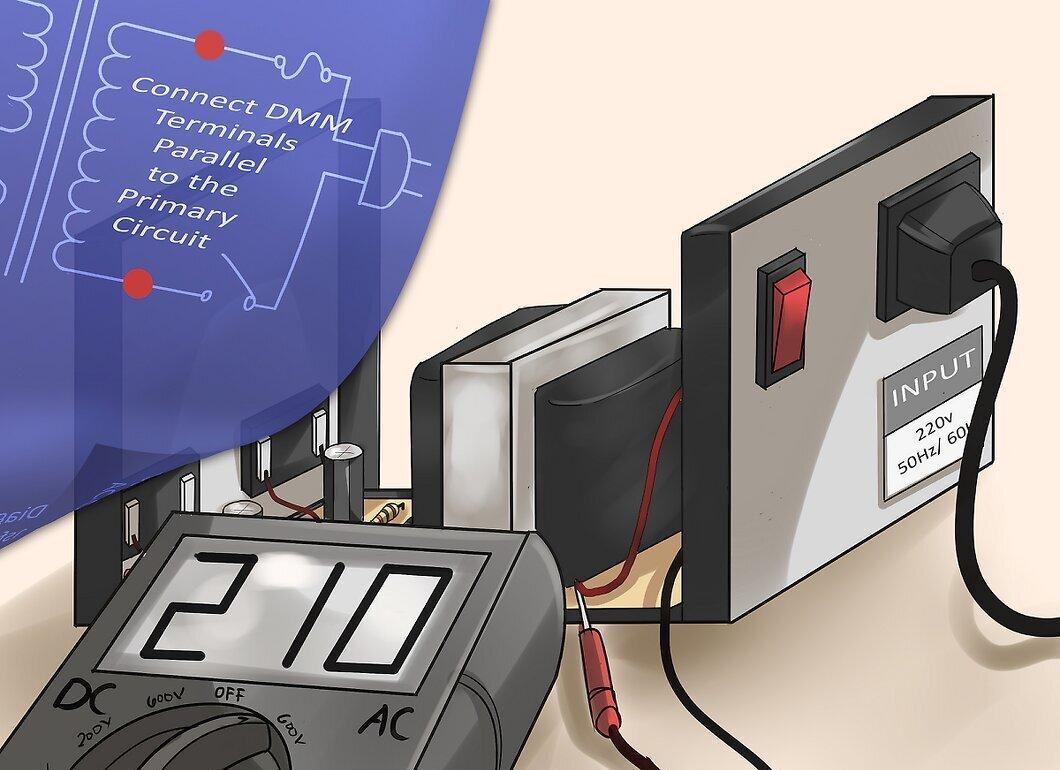
Now find the input of the transformer. Connect the input circuit to a power source. Using the tester in AC mode, measure the voltage at the primary winding. If it is more than 80% below the expected value, there may be an issue either with the primary winding or the transformer itself. Disconnect the primary winding from the circuit and check the voltage again. If it returns to normal, the primary winding is faulty. If not, the problem lies in the input circuit.
Step 7: Measure the Output Voltage of the Transformer
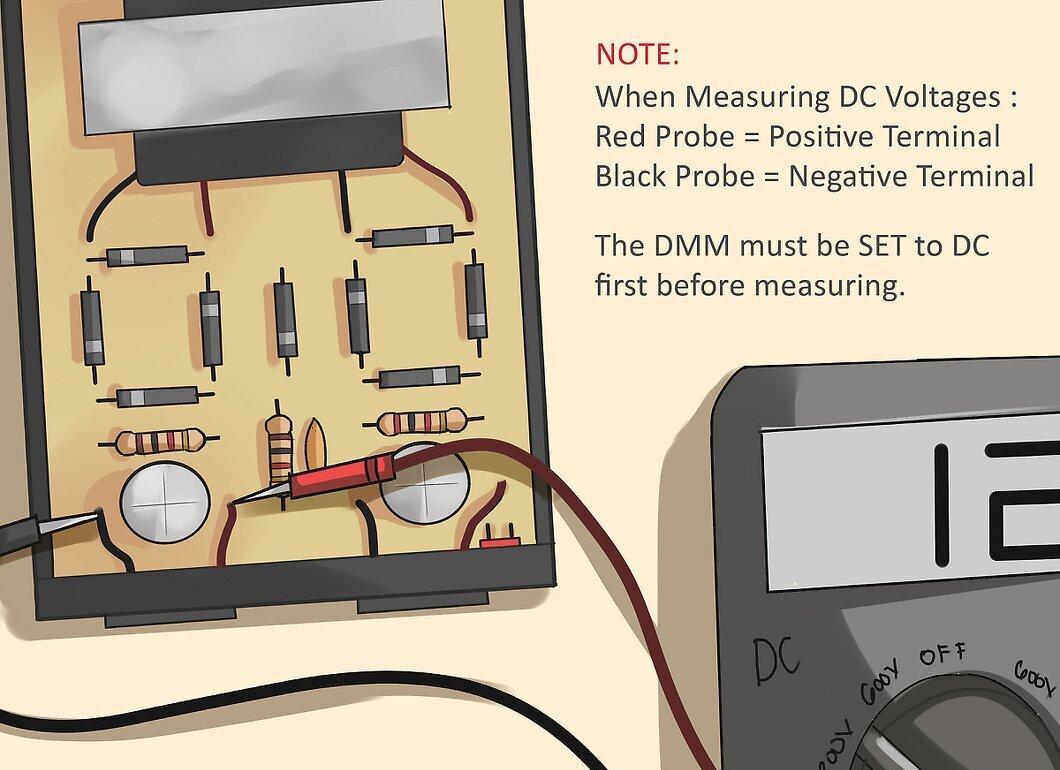
Now measure the voltage at the output of the transformer. If there is no filtering at the output, use the tester in AC mode. If filtering is present, switch the tester to DC mode. If the tester does not show the expected value at the output, it may indicate damage to the transformer or the filtering unit. Check all its components individually. If everything is fine, the problem likely lies within the transformer itself.


