
Using an ohmmeter involves measuring resistance. A digital ohmmeter is often used alongside an AC or DC voltmeter and an ammeter in a digital multimeter. It displays measurement results without the need to interpret a needle position, providing a low-cost alternative to vintage multimeters. With a basic understanding of resistances, you can achieve very accurate readings.
Part 1
Step 1. Purchase a digital multimeter with ohmmeter capabilities within the resistance range you wish to measure.
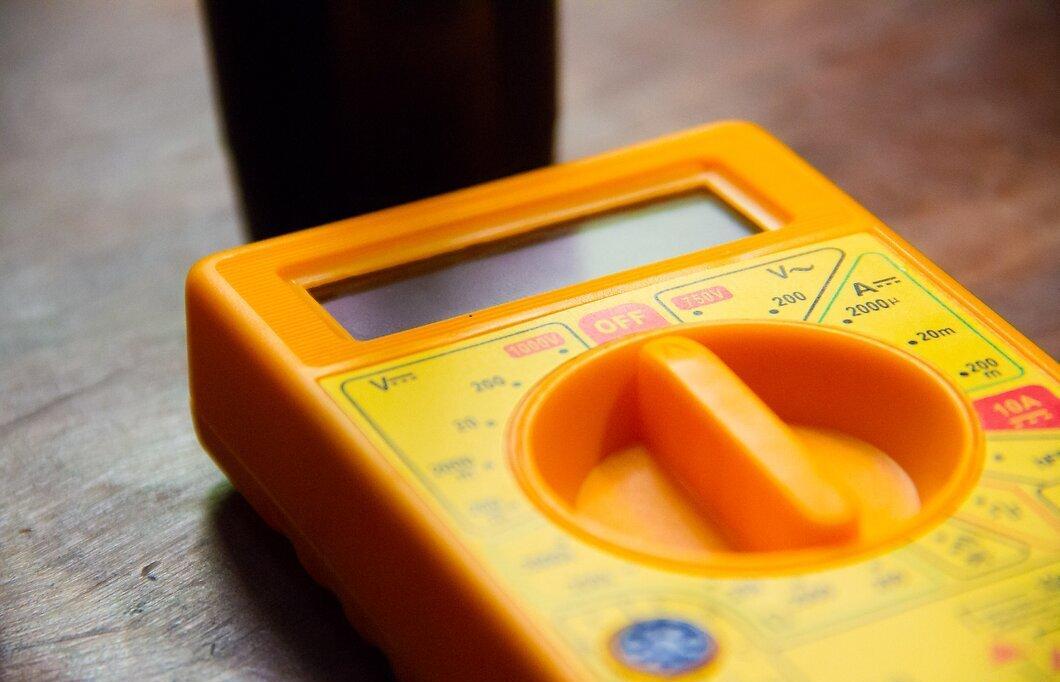
Purchase a digital multimeter with ohmmeter capabilities within the resistance range you wish to measure. Most multimeters cover all ranges except for very high (over 100 MΩ or very precise low values from 0 to 1 Ω, such as 0.249 Ω). Many digital multimeters feature an auto-ranging function.
Step 2. Insert the two probes into the ohm terminals.
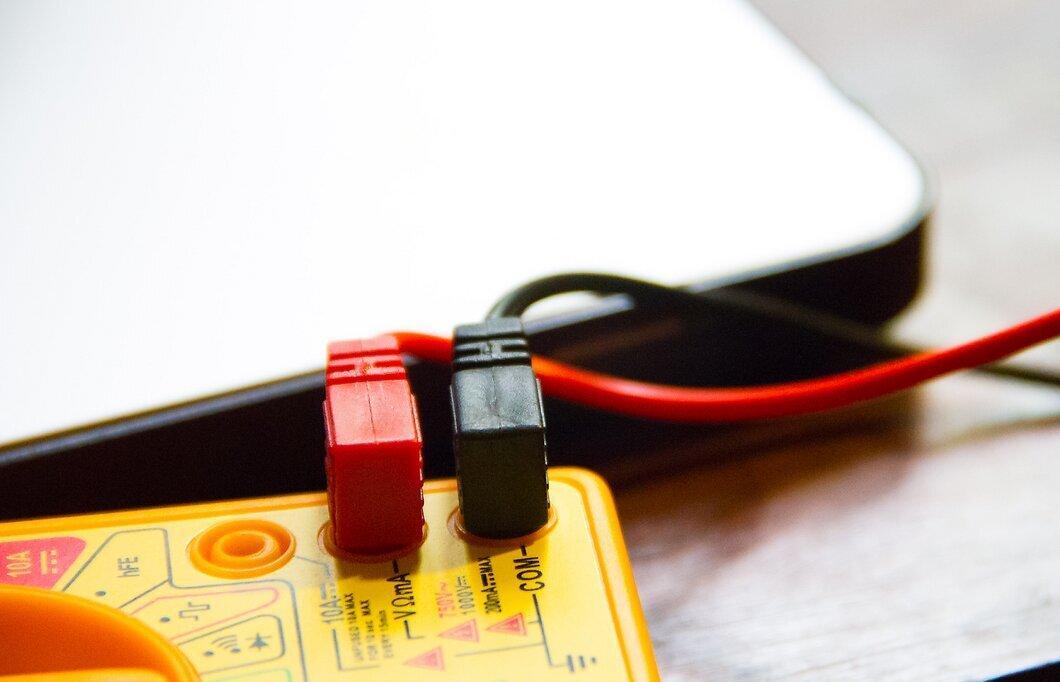
Insert the two probes into the ohm terminals. Sometimes they are separate from the voltage or current terminals. Typically, there are three terminals: common, voltage/resistance, and current.
Step 3. Be cautious when measuring with an ohmmeter, as it can damage sensitive circuits since voltage from the internal battery is applied to the tested unit.
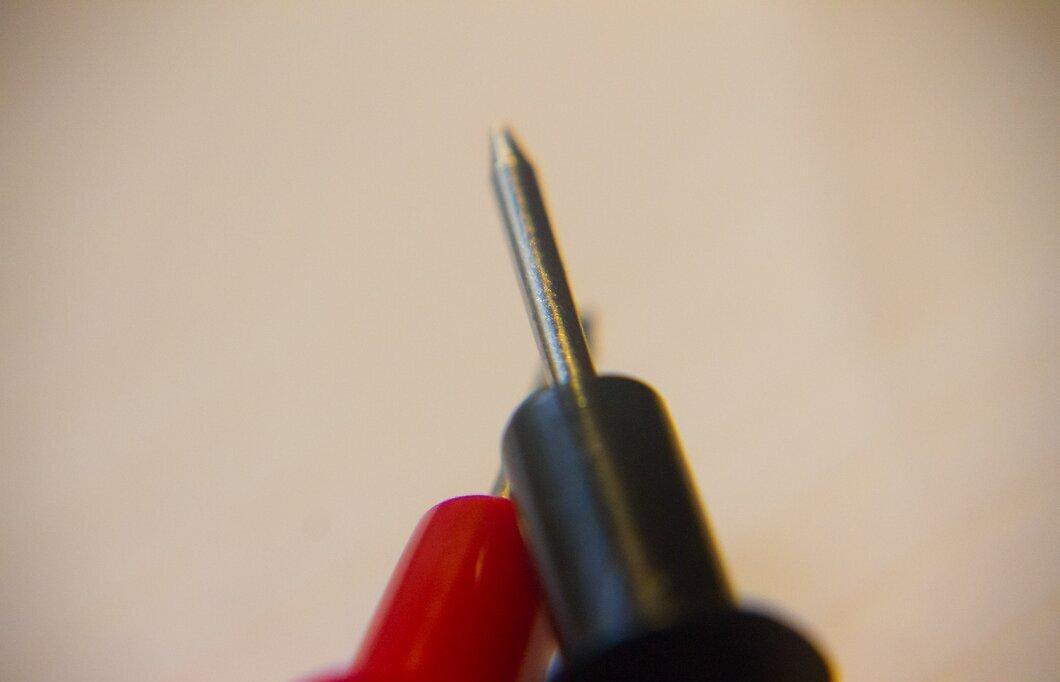
Be cautious when measuring with an ohmmeter, as it can damage sensitive circuits since voltage from the internal battery is applied to the tested unit. For low ranges, this is about 1.5 V. For high ranges, it can be up to 30V.
Step 4. Turn on the device.
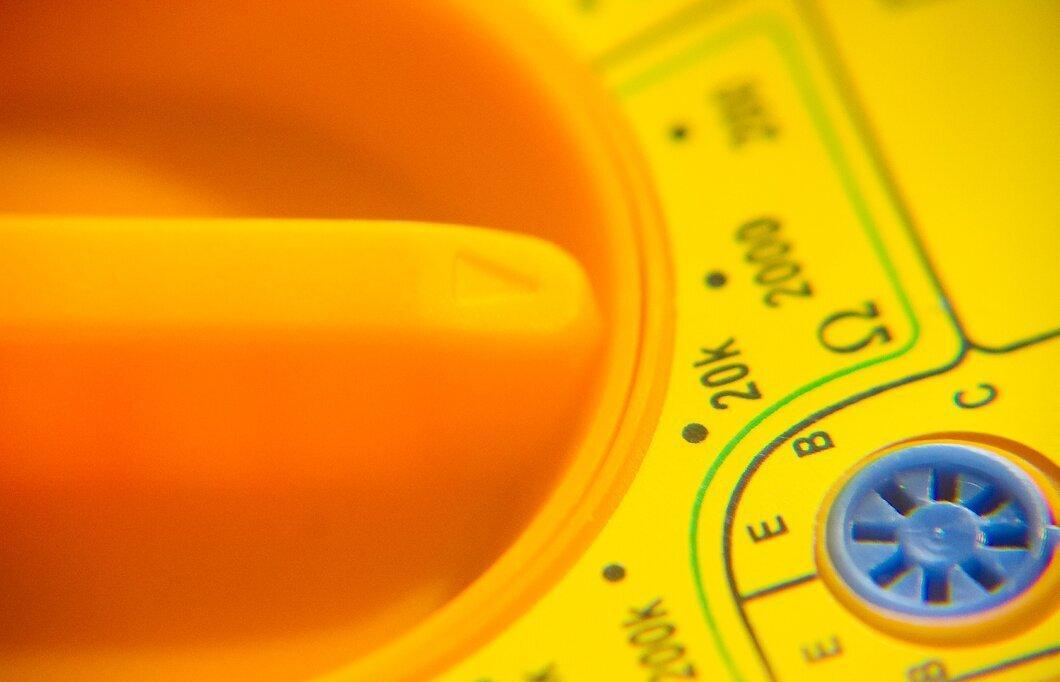
Turn on the device and wait for it to reset. Select the resistance function and choose the range you expect to measure. Place the probes on both ends of the circuit. For example, if you are checking an electric fan, you could place the probes on each contact of the power cord to see if you get a low resistance when the power switch is in the on position.
Step 5. When measuring very high resistance (over 100,000 Ω), ensure you are only measuring the tested unit.
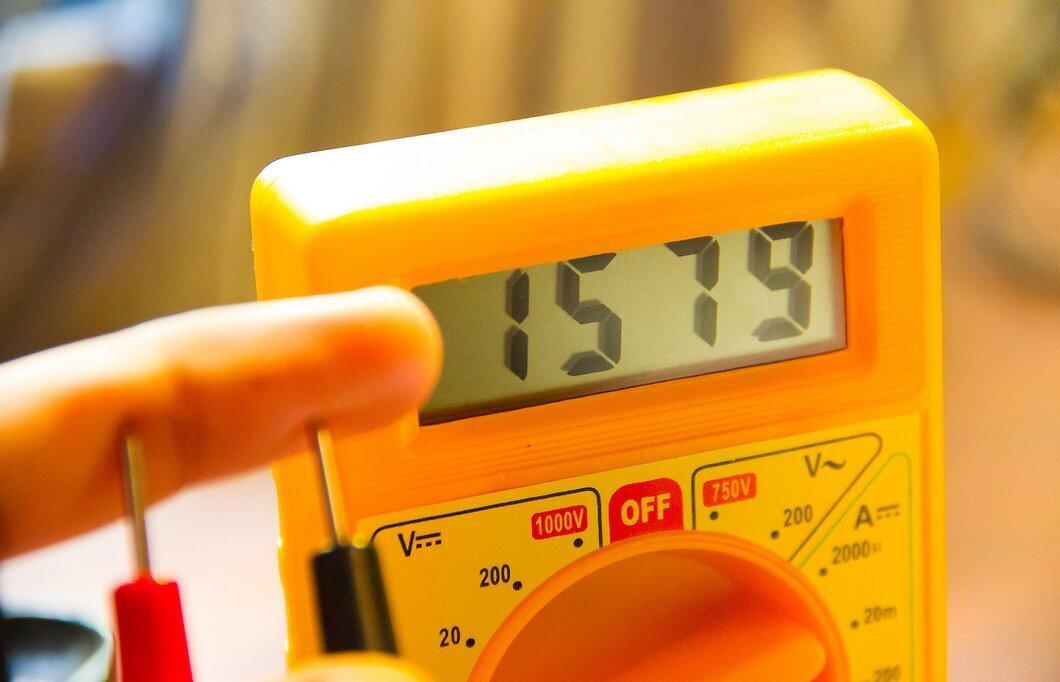
When measuring very high resistance (over 100,000 Ω), ensure you are only measuring the tested unit. If you hold the probe and the wires of the tested unit with your fingers, the reading will show your body's resistance in parallel with the tested unit, which means it will be lower than the resistance of the tested unit.
Step 6. The accuracy of any digital device is equal to the advertised accuracy plus/minus 1 digit.
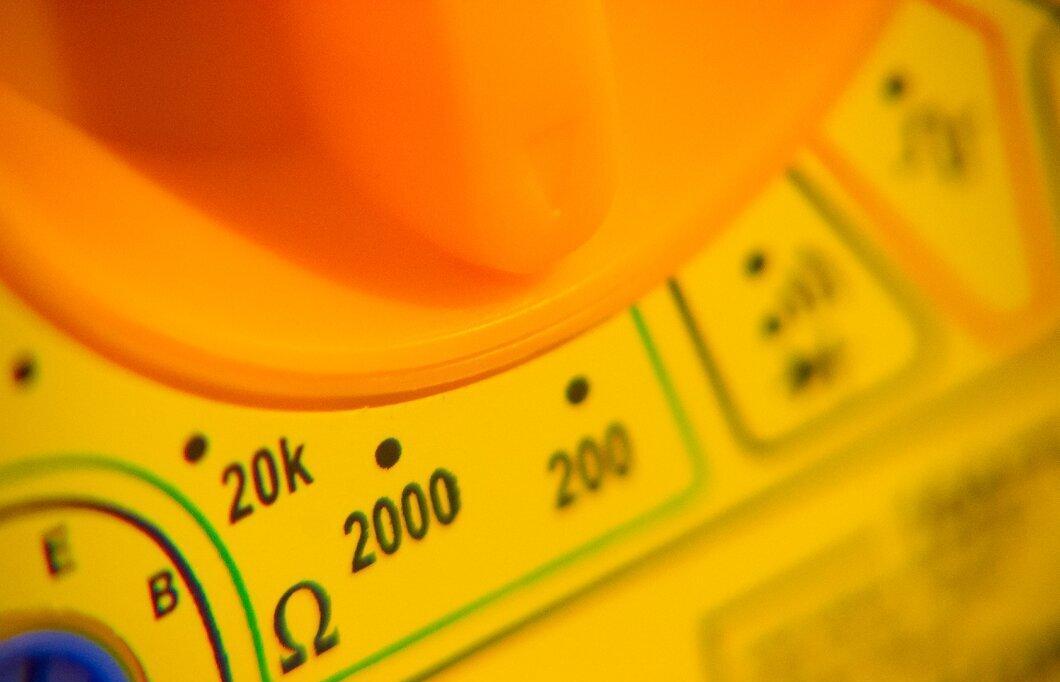
The accuracy of any digital device is equal to the advertised accuracy plus/minus 1 digit. If you are trying to measure 1.0 Ω on a 4-digit multimeter in the 200 Ω range with a stated accuracy of 1%, you can have a measurement error of 10% due to the plus/minus 1 digit. Therefore, it’s important to use the lowest range of resistance you are measuring.
Step 7. To accurately measure low resistance, some multimeters have a RELATIVE function.
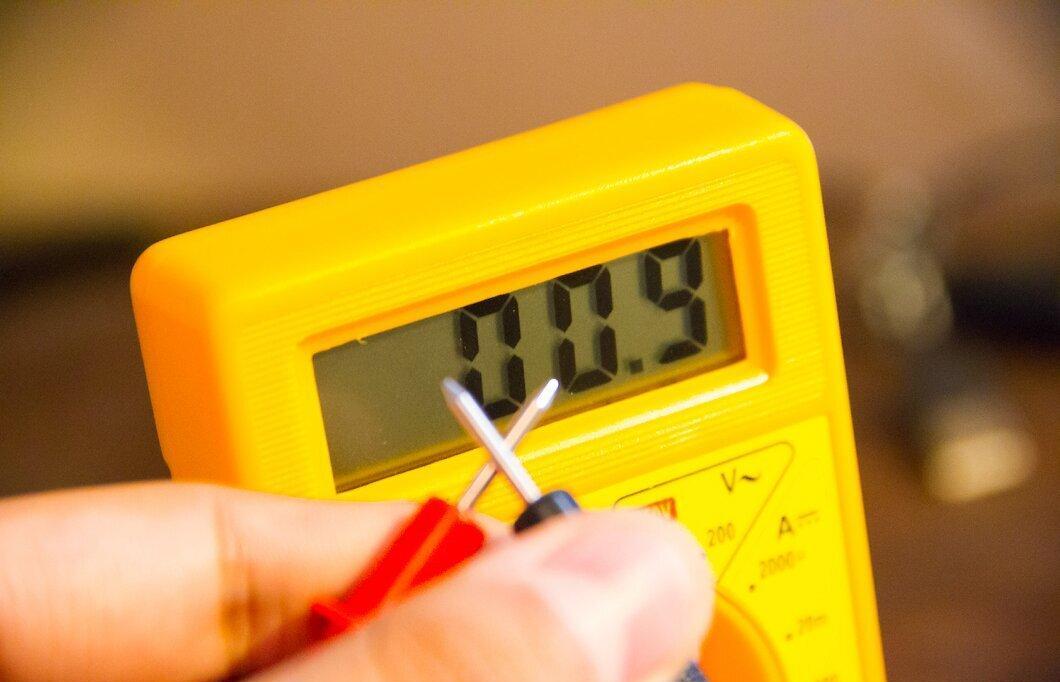
To accurately measure low resistance, some multimeters have a RELATIVE function. Short the probes by touching them together and observe the measurement. It will be between 0.1 and 0.5 Ω depending on the probes. Now press the RELATIVE button. The measurement will tend toward zero. Now when you measure a circuit, the reading will represent only the resistance at the probe tips, effectively nullifying the wire resistance.


