AdChoices is a browser extension that modifies your personal browser settings upon installation and triggers pop-up ads on your desktop. It often comes bundled with other software and can be installed on browsers in both Windows and Mac OS. Removing AdChoices will help protect your personal information from malware or unauthorized access.
Removing AdChoices on Windows
Step 1. Download and install AdwCleaner (general-changelog-team.fr/en/tools/15-adwcleaner).
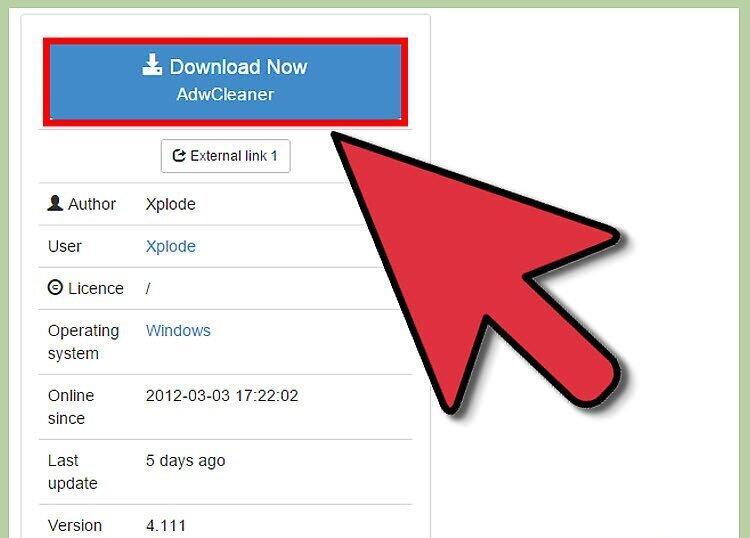
Download and install AdwCleaner (general-changelog-team.fr/en/tools/15-adwcleaner). This is a free malware removal tool.
- Many users have successfully relied solely on AdwCleaner, but for maximum protection against malware, also download and install the following software.
Step 2. Malwarebytes AntiMalware (malwarebytes.org).

Malwarebytes AntiMalware (malwarebytes.org) is another free malware removal program that detects and removes AdChoices (and other malware).
Step 3. Spybot Free Edition (safer-networking.org/mirrors).
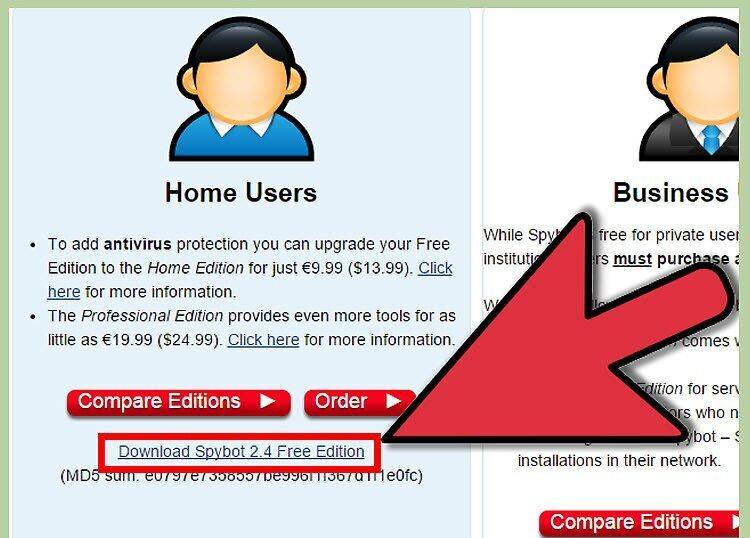
Spybot Free Edition (safer-networking.org/mirrors) is a free malware removal program.
Step 4. Boot the system in Safe Mode.
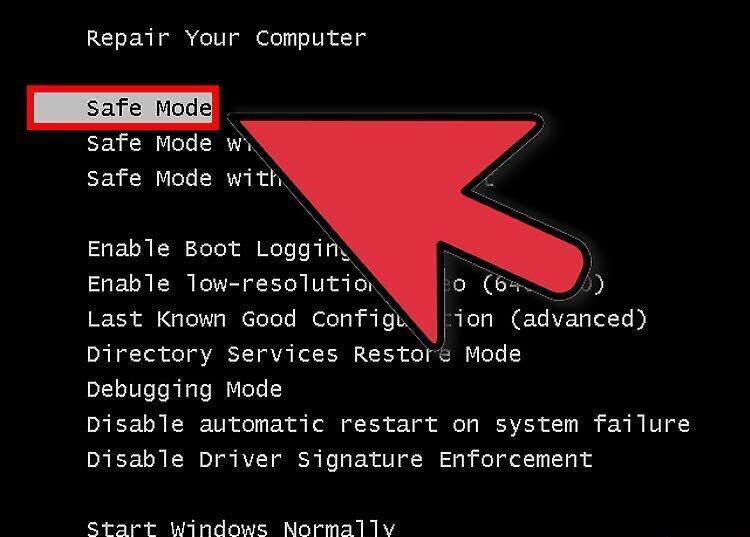
Boot the system in Safe Mode. This will make it easier to remove malware.
- Restart your computer.
- Before the Windows logo appears, press F8 several times.
- In the Boot menu, select "Safe Mode with Networking".
- Read this article for detailed instructions on booting the system in Safe Mode.
Step 5. Run AdwCleaner and click "Search".
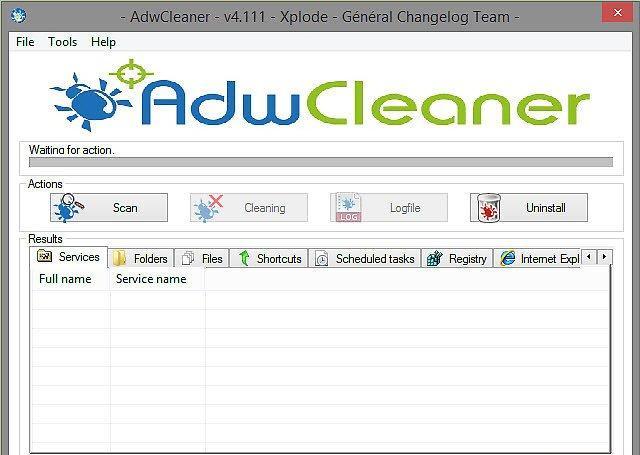
Launch AdwCleaner and click "Search". Allow the program to scan your computer (this may take a few minutes).
Step 6. A list of found threats will appear upon completion of the scan.
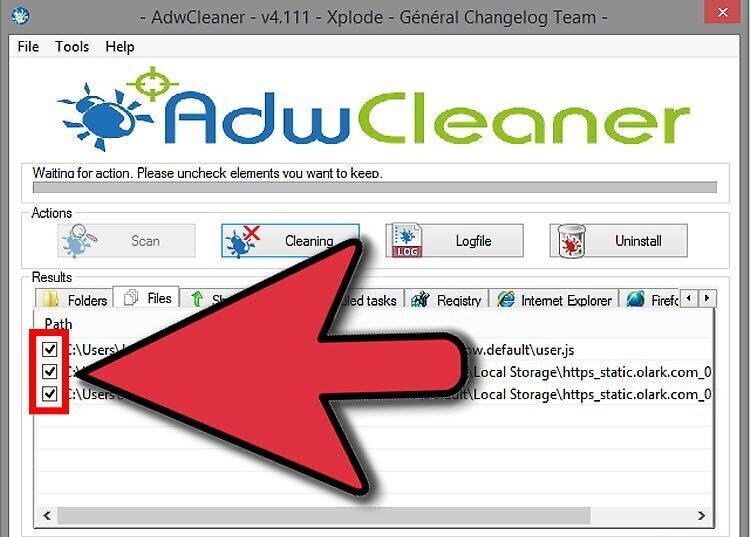
At the end of the scanning process, a list of found threats will appear. Highlight those you want to neutralize (all threats are selected by default).
Step 7. Click "Clean".
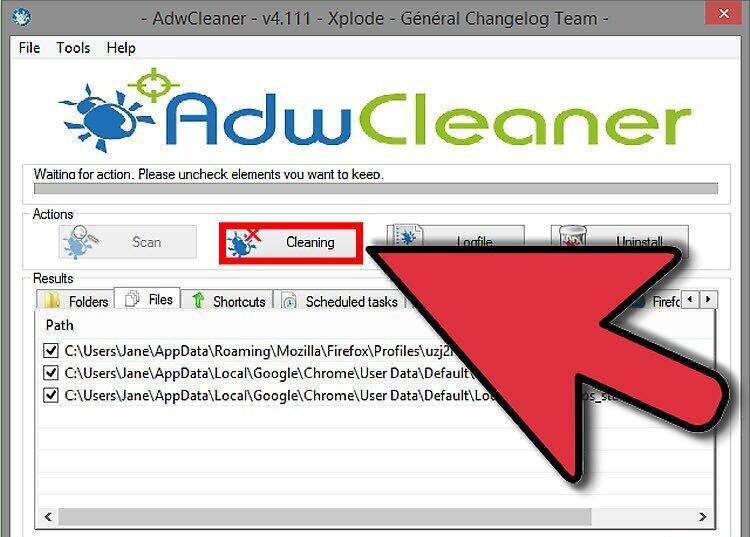
Click "Clean". All detected malware will be removed.
Step 8. Run Malwarebytes and Spybot.
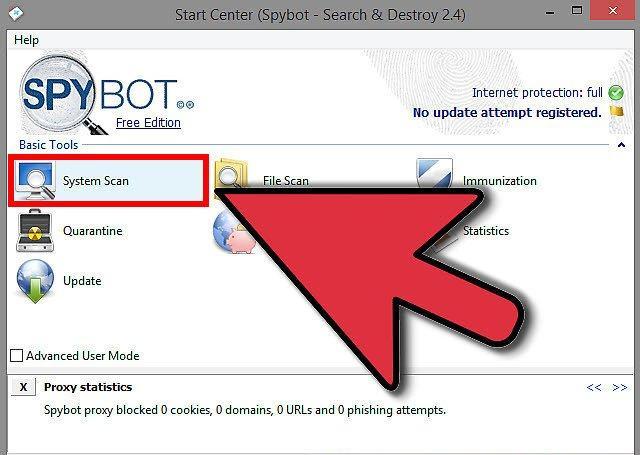
Launch Malwarebytes and Spybot. Both programs work similarly to AdwCleaner. Allow them to scan your computer, then remove or quarantine the detected threats.
- Do not run multiple system scans simultaneously.
Step 9. Restart your computer after scanning the system with all three programs mentioned above.
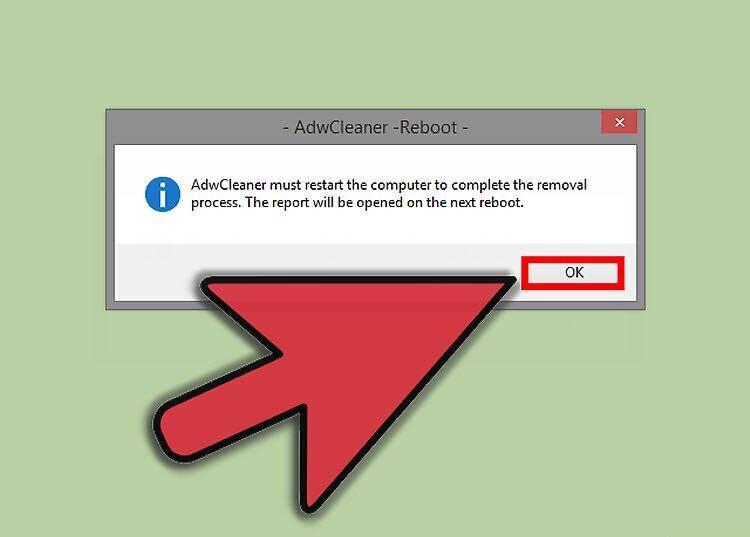
Restart your computer after scanning the system with all three programs. Then follow the actions described in the next section.
Resetting Browsers (Windows)
Step 1. Open Internet Explorer.
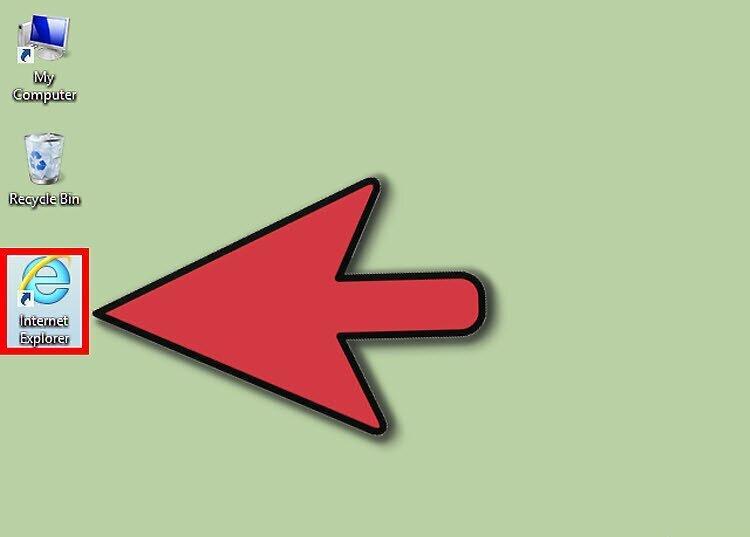
Open Internet Explorer. Even if you don’t use this browser, follow the steps described.
Step 2. Click on "Tools" (or the gear icon) and select "Internet Options".
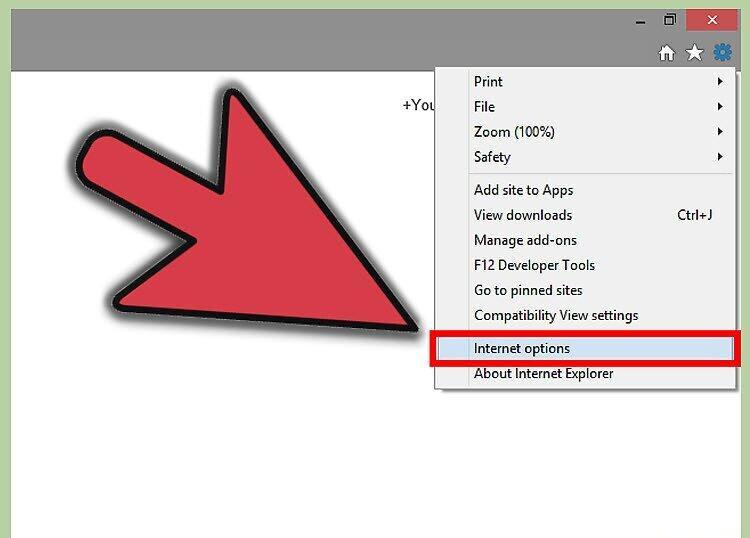
Click on "Tools" (or the gear icon) and select "Internet Options". A new window will open.
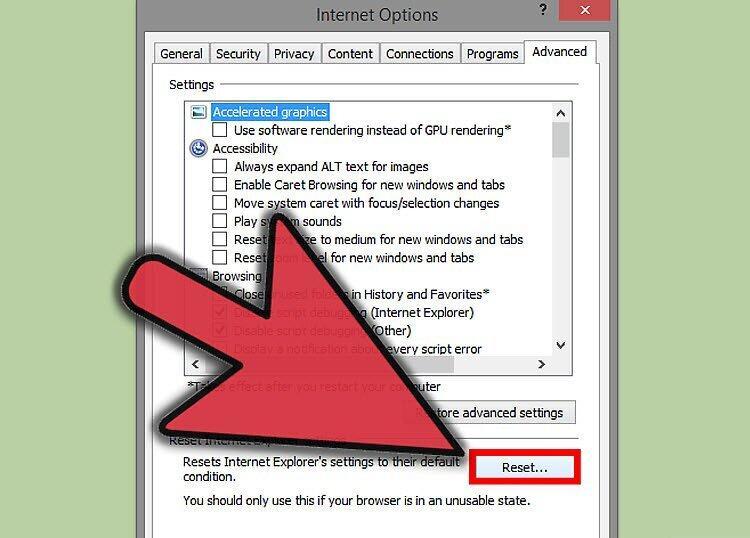
Step 3. Go to the "Advanced" tab.
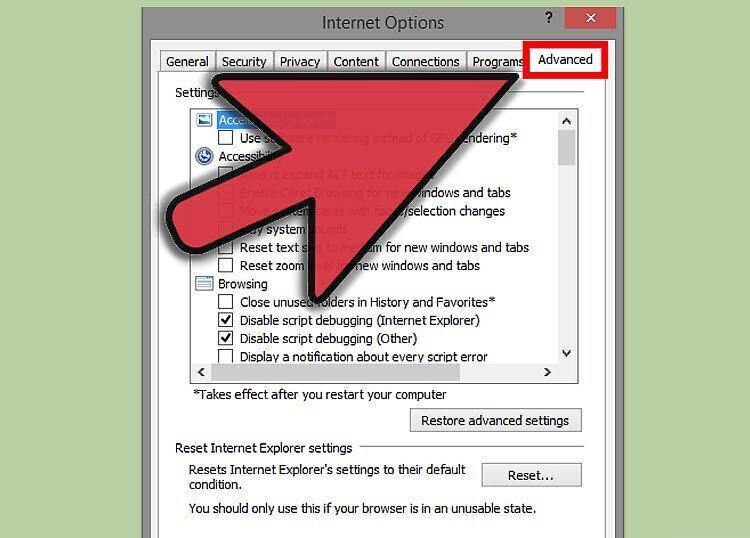
Step 4. Click "Reset" and check the option "Delete personal settings".
Step 5. Click "Reset".
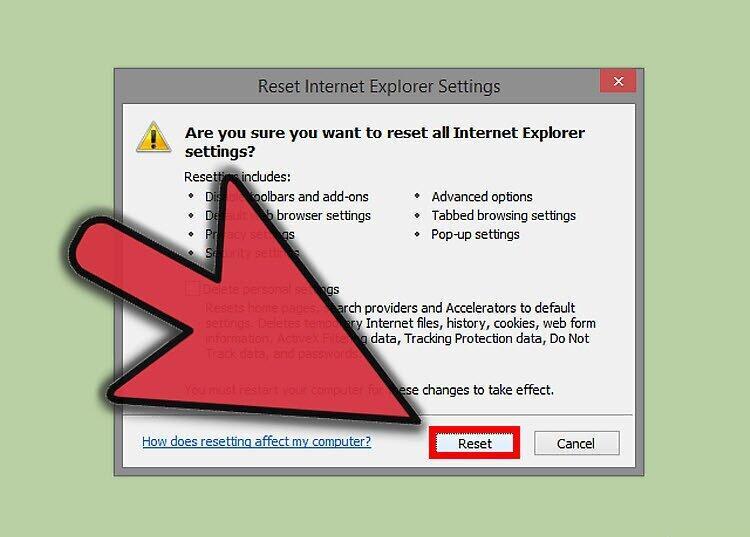
Click "Reset". Internet Explorer will restore all its default settings and remove any changes made by AdChoices. After this, restart your computer.
Step 6. Open Firefox (if you have it).

Open Firefox (if you have it). If you do not use this browser, but it is installed, still follow the steps described.
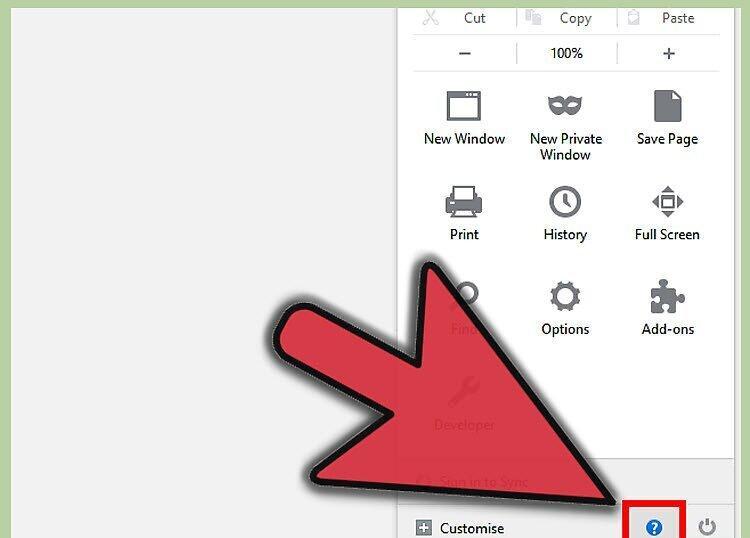
Step 7. Open the Firefox menu (☰) and select "Help".
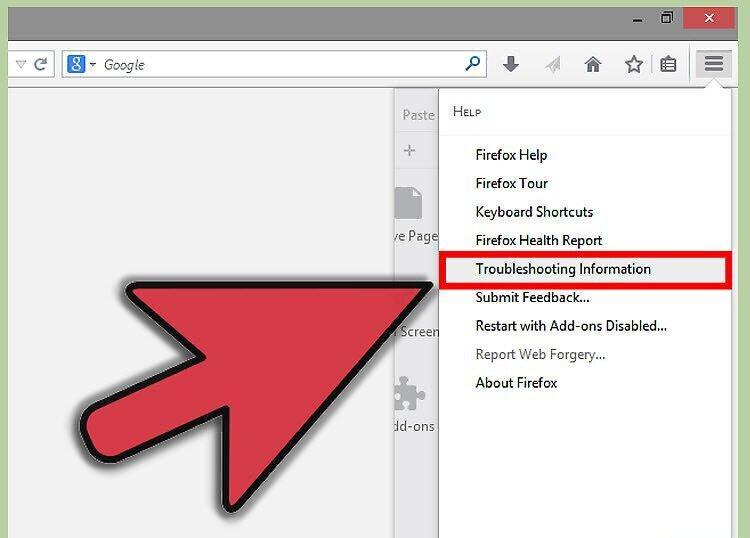
Step 8. Click on "Troubleshooting Information".
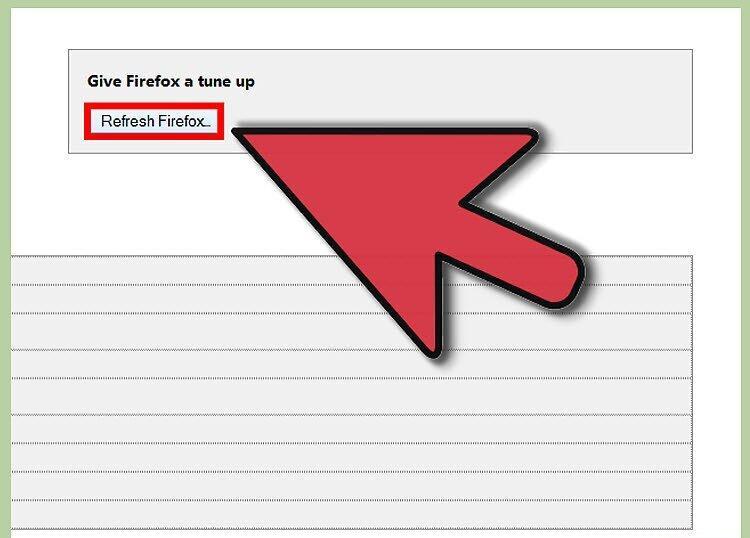
Step 9. Click "Refresh Firefox", and then click "Refresh Firefox" again (in the confirmation window to reset settings).
Step 10. Open Chrome (if you have it).

Open Chrome (if you have it). If you don’t use this browser, but it is installed, still follow the steps described.
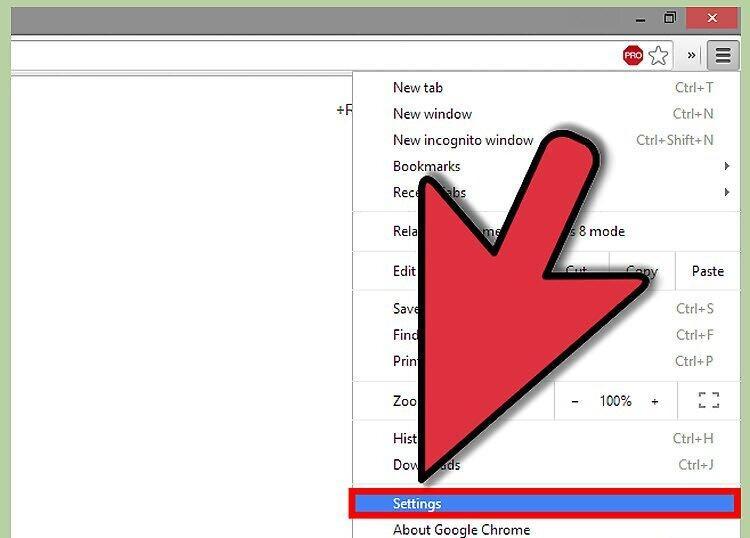
Step 11. Open the Chrome menu (☰) and select "Settings".
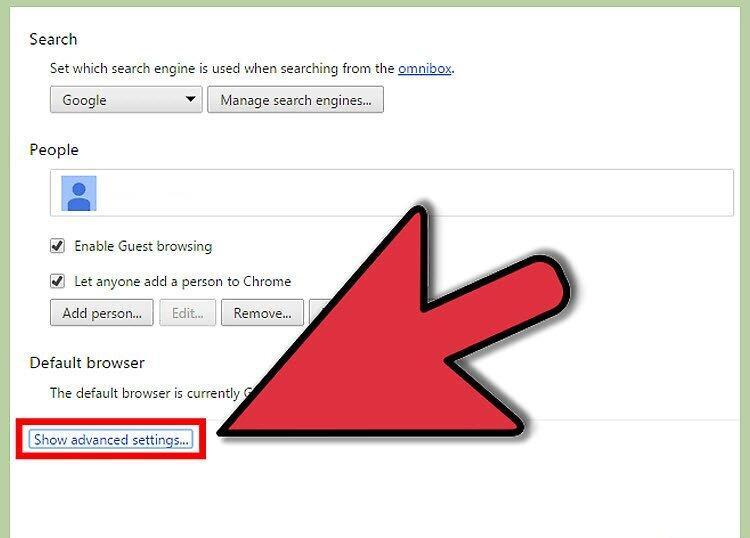
Step 12. Scroll down and click "Show advanced settings".
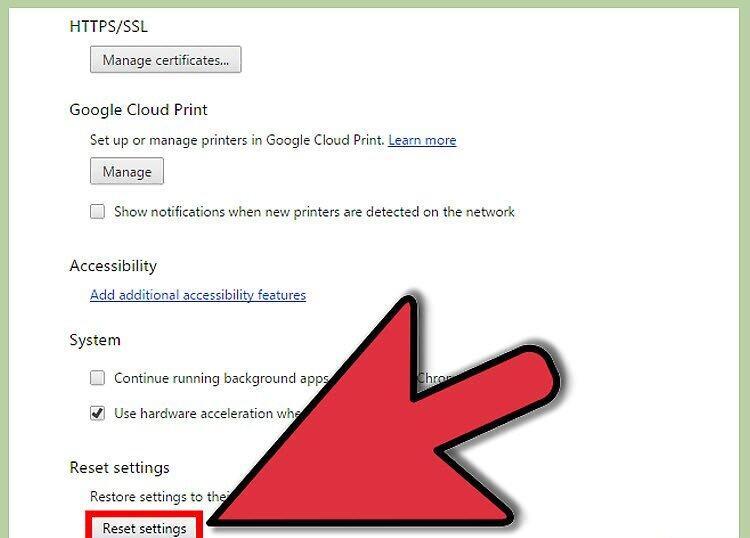
Step 13. Scroll down and click "Reset browser settings", then click "Reset" (in the confirmation window to reset settings).
Removing AdChoices on Mac OS X
Step 1. Download the free malware removal software AdwareMedic.
Download the free malware removal software AdwareMedic. This program supports Mac OS X 10.7 (Lion) or later. If you are using an earlier version of Mac OS X, proceed to the next section.
Step 2. Launch AdwareMedic and click "Scan for Adware".
Launch AdwareMedic and click "Scan for Adware". AdwareMedic typically scans your system quite quickly.
Step 3. A list of found threats will appear upon completion of the scan.
Upon completion of the scan, a list of found threats will appear. Highlight those you wish to neutralize (by default, the programs and files considered dangerous are selected).
- You can highlight programs and files that were not automatically marked by the program. This is usually the files with browser settings that were changed. Removing them guarantees complete removal of the malware, but it will also affect your personal browser settings.
Step 4. Click "Remove Selected".
Click "Remove Selected". All highlighted programs and files will be deleted and sent to the trash.
- You may need to enter your administrator password.
- You may also be prompted to restart your computer to complete the removal process.
Step 5. Reinstall Firefox (if necessary).
Reinstall Firefox (if necessary). Sometimes, malware modifies the programming code of Firefox. AdwareMedic will not fix this, but the program will notify you if it finds any modifications. In that case, it is strongly recommended to uninstall Firefox and download it again from the Mozilla website.
Manual Removal of AdChoices on Mac OS X
Step 1. Launch Safari.
Launch Safari. You will not be able to reset the settings of this browser, so you need to manually remove any unnecessary extensions.
Step 2. Click "Safari" – "Preferences" and go to the "General" tab.
Step 3. Change your homepage to a page of your choice.
Step 4. Check the default search engine on the "Security" and "General" tabs.
On the "Security" and "General" tabs, check the default search engine used. Its location varies depending on the Safari version.
- Set your favorite search engine as the default search engine.
Step 5. In the "Preferences" menu, go to the "Extensions" tab.
In the "Preferences" menu, go to the "Extensions" tab. Look for and highlight any unfamiliar extensions, then click "Remove".
Step 6. Open the folders listed below.
Open the folders listed below. These folders contain files related to malware. Copy the path, open Finder, click "Go" – "Go to Folder", and then paste the copied path into the field. This will open the selected folder in Finder. Drag the contents of these folders to the trash. /Library/Application Support/VSearch /Library/LaunchAgents/com.vsearch.agent.plist /Library/LaunchDaemons/com.vsearch.daemon.plist /Library/LaunchDaemons/com.vsearch.helper.plist /Library/LaunchDaemons/Jack.plist /Library/PrivilegedHelperTools/Jack /System/Library/Frameworks/VSearch.framework /Applications/SearchProtect.app /Library/LaunchAgents/com.conduit.loader.agent.plist /Library/LaunchDaemons/com.perion.searchprotectd.plist /Library/Application Support/SIMBL/Plugins/CT2285220.bundle ~/Library/Intern
Step 7. Restart your computer.