
A ZIP file is an archive that stores one or more files in a compressed format. Using archives simplifies the sending process significantly, as you don't have to attach each file individually, saving time and reducing the risk of missing important documents. Let's explore several methods for sending ZIP files via email.
Troubleshooting Issues
Step 1: Try a Different Email Service.
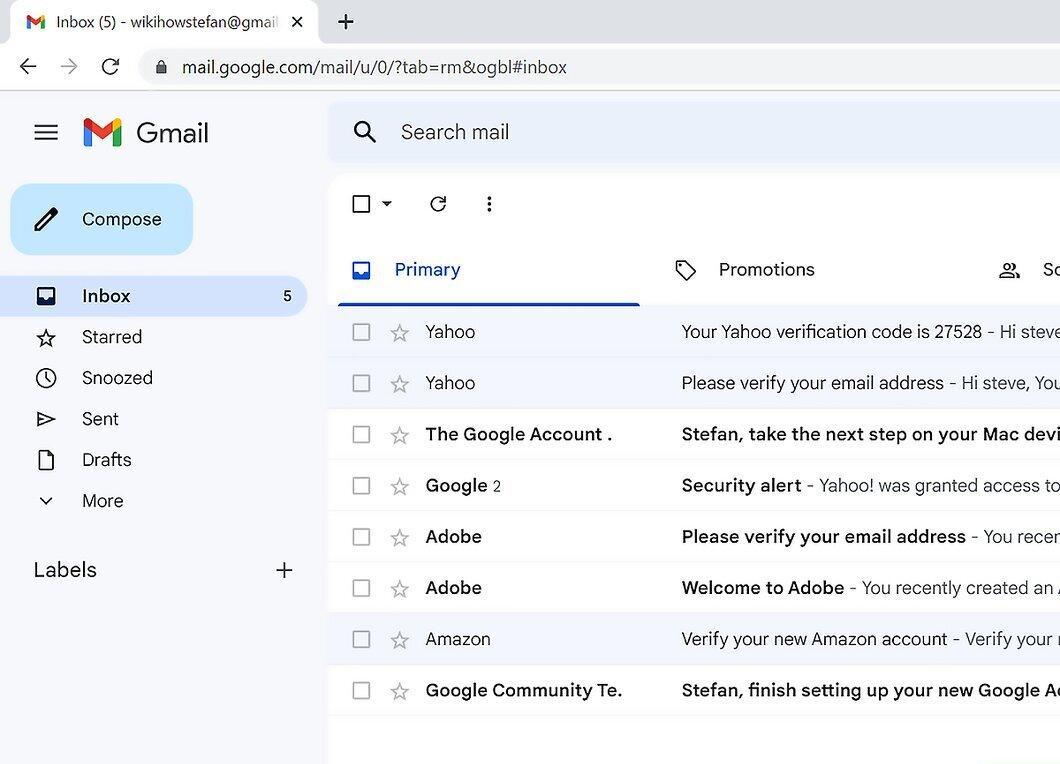
Some email services may block the sending of ZIP files for security reasons or simply do not support archives. Try sending the archive to another email address if your recipient has that option.
- Keep in mind that the recipient may not be able to open (extract) your ZIP file. In this case, consider sending it to a different address.
Step 2: Split Large ZIP Files.
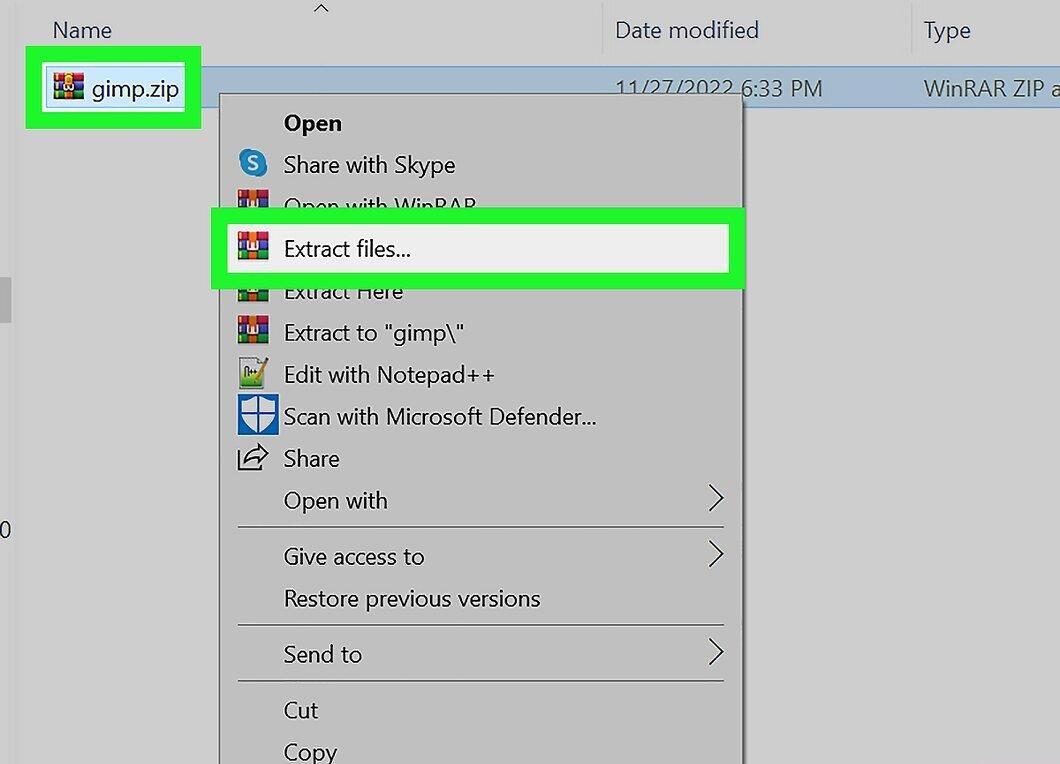
If you have many documents or several large files, the final size of the ZIP archive may exceed the limits set by email services. It's advisable to create several smaller archives and send them in separate emails.
- If you have a large archive, extract the files and create multiple smaller ZIP archives from them.
Step 3: Change the Archive Extension.
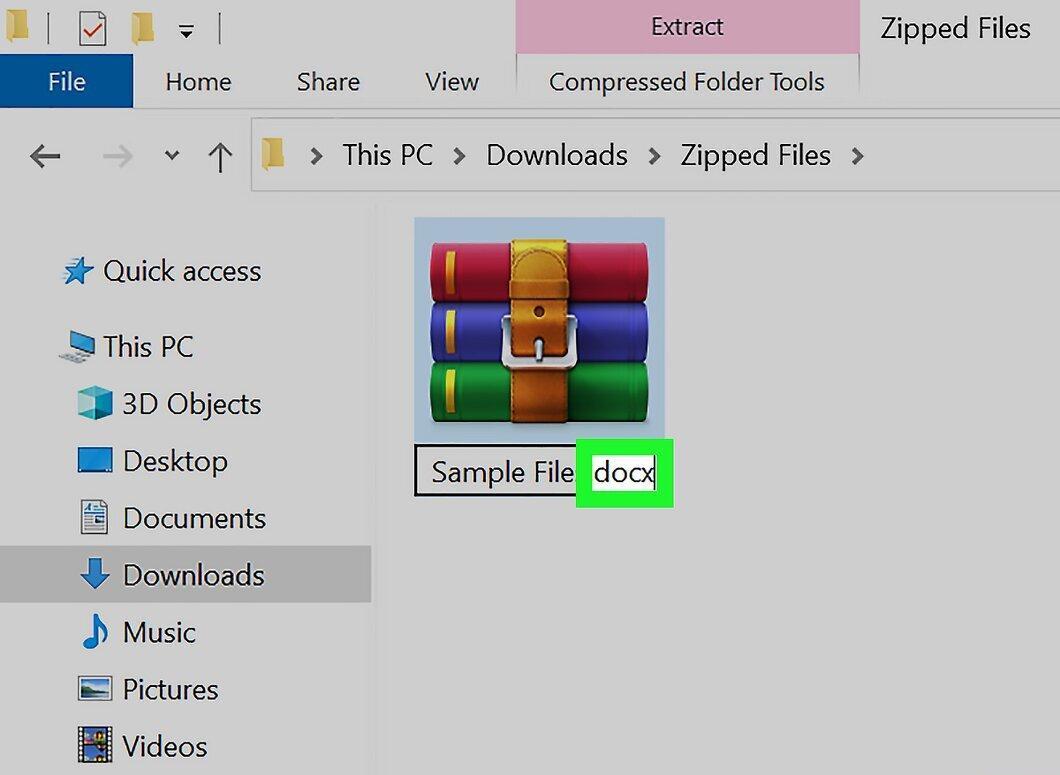
Some email services do not allow attaching ZIP files or archives altogether. Try changing the file extension to bypass this restriction. For example, the archive will remain the same, but it will have a different extension.
- Some archiving programs (such as WinZip) allow you to assign a different extension to the archive. For instance, if you change it to "Zea", the archive will be named file.zea instead of file.zip, which may enable you to send it successfully.
- Keep in mind that this method may not work in some cases, and changing the extension may require additional software.
Step 4: Ensure the ZIP File is Fully Attached to the Email.
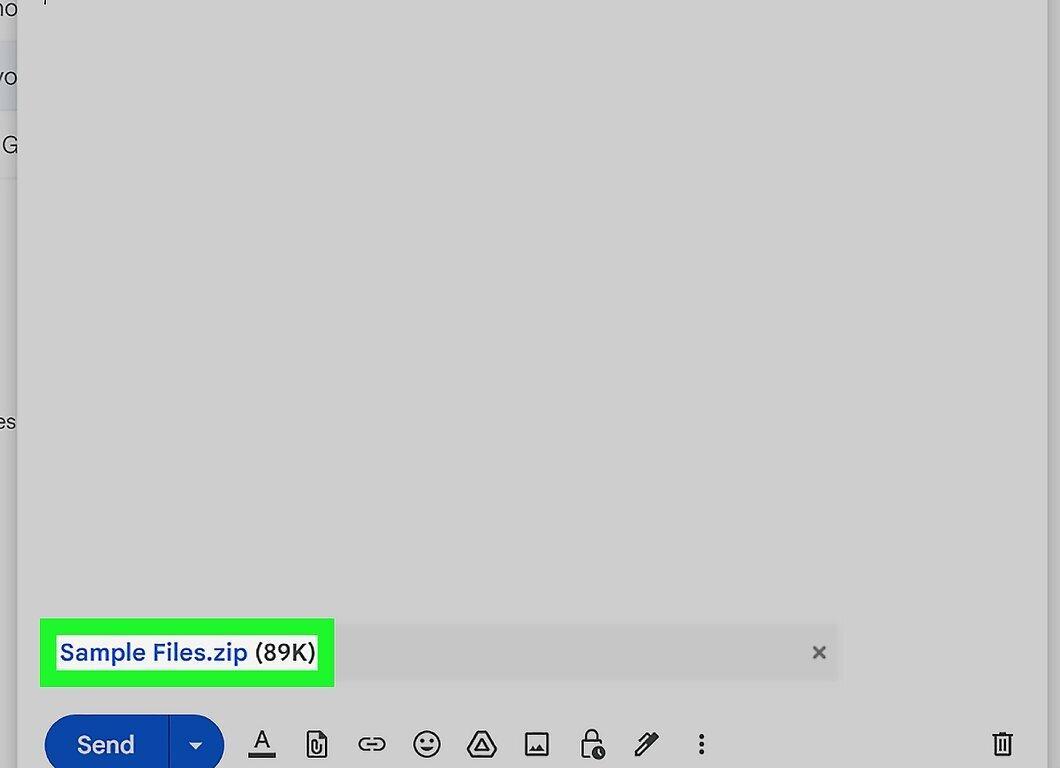
Before sending the email, make sure that the ZIP file is fully attached. Most email services will alert you if the file was not correctly added to the message. Some even show the status of the attachment process.
- If the file is successfully attached, its name will be visible in the attachments section or directly below the email text.
Using Your Email Service
Step 1: Go to Your Email Provider's Website.
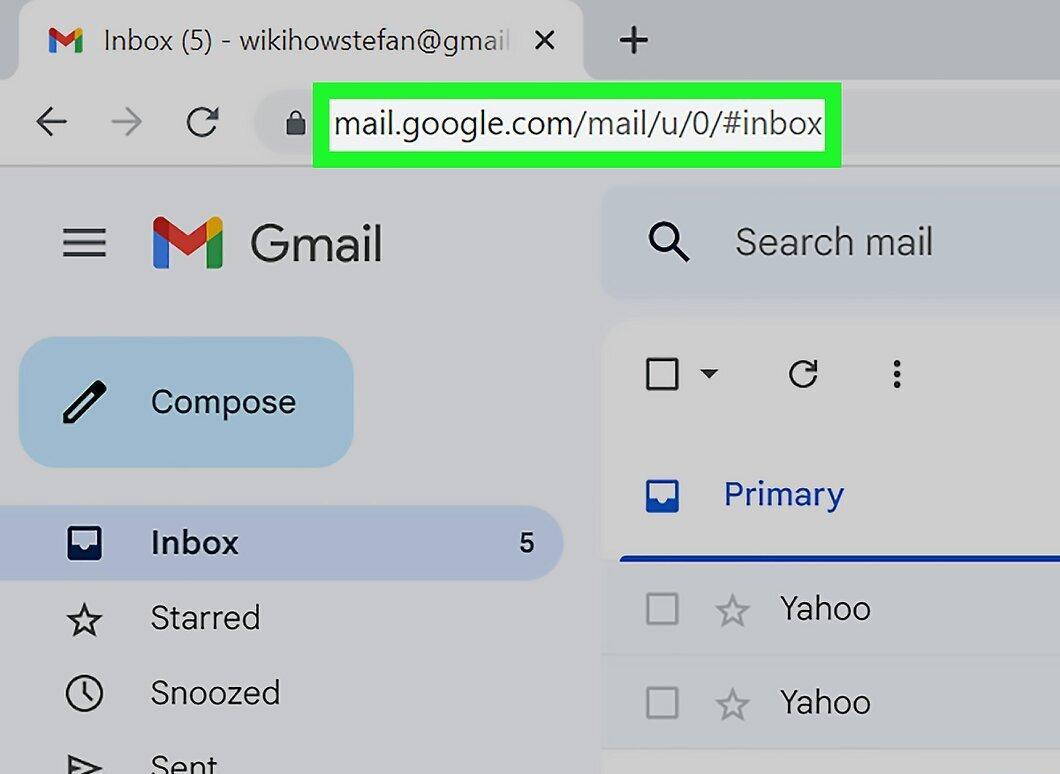
Open the website of your email provider. If you're unsure of the address, check the domain name in your email address. It usually matches the service's website address. For example, if your email is max@gmail.com, you need to go to www.gmail.com. If you're using an email client, just launch it.
- Some corporate addresses may have a domain name associated with the company, so clarify the website address with your IT department.
Step 2: Create a New Email.
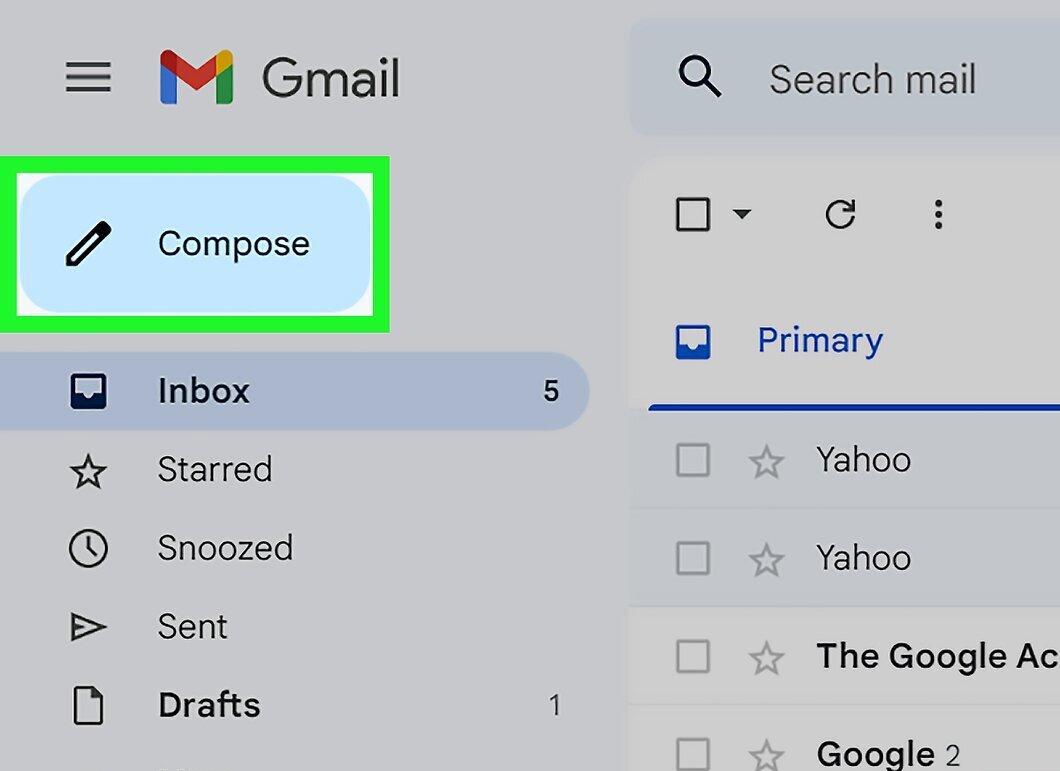
Start creating a new email by clicking the appropriate button.
- In Gmail, click the red "Compose" button (located in the top left corner). A new email window will open.
- In Outlook, select "New" (the blue icon at the top of the screen) that looks like a circle with a plus sign.
- In Yahoo Mail, click the "Compose" button (in the top left corner).
- In Mail (Mac OS), click the paper and pencil icon (in the top left corner).
- In Outlook Express, click "Create Mail" (top left corner), which looks like an envelope next to a blank sheet of paper.
Step 3: Attach the ZIP File.
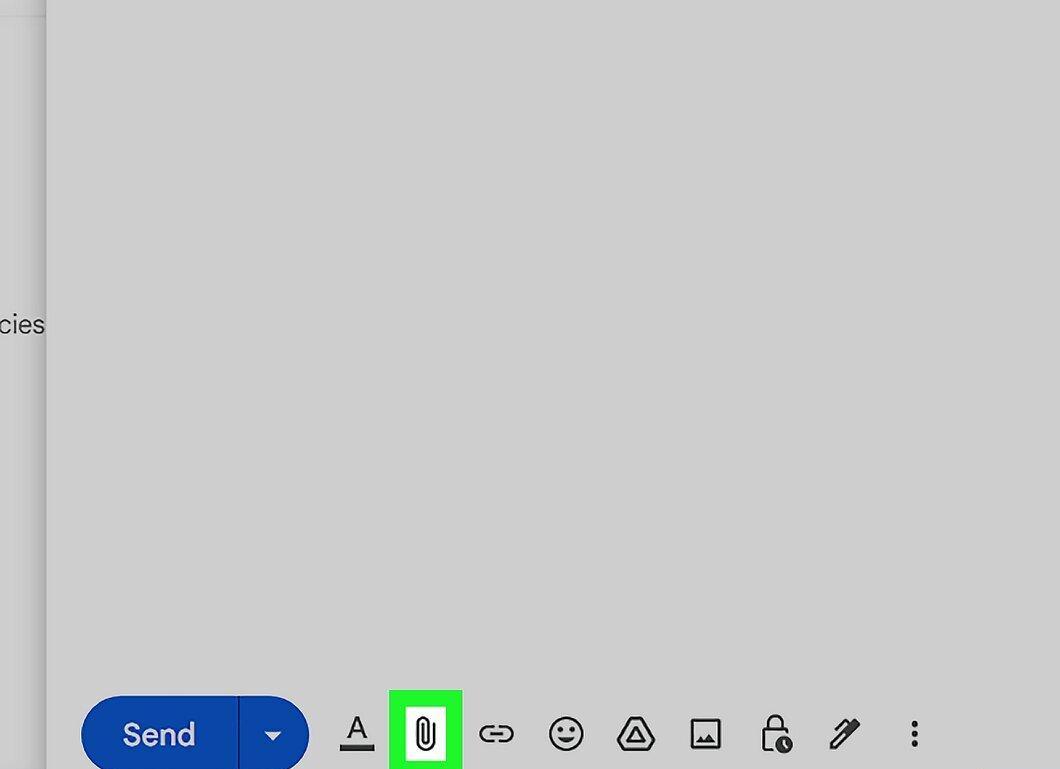
Now attach your ZIP file. Most email services allow you to attach files that meet the size limitations. Just click the "Attach File" button, find the desired ZIP on your computer or external storage, and wait for the attachment to complete. If successful, the file will appear in the attachments area.
- In Gmail, click the paperclip icon (below the email text) to attach files. Hovering over it will display the message "Attach files". A file manager will open to select the ZIP file.
- In Outlook, click "Insert" (on the blue bar at the top) and choose "Files as Attachment" from the dropdown menu.
- In Yahoo Mail, click the paperclip icon (below the email text).
- In Mail (Mac OS), click the paperclip (in the top right corner of the new email window).
- In Outlook Express, click the paperclip labeled "Attach".
Step 4: Send the Email.
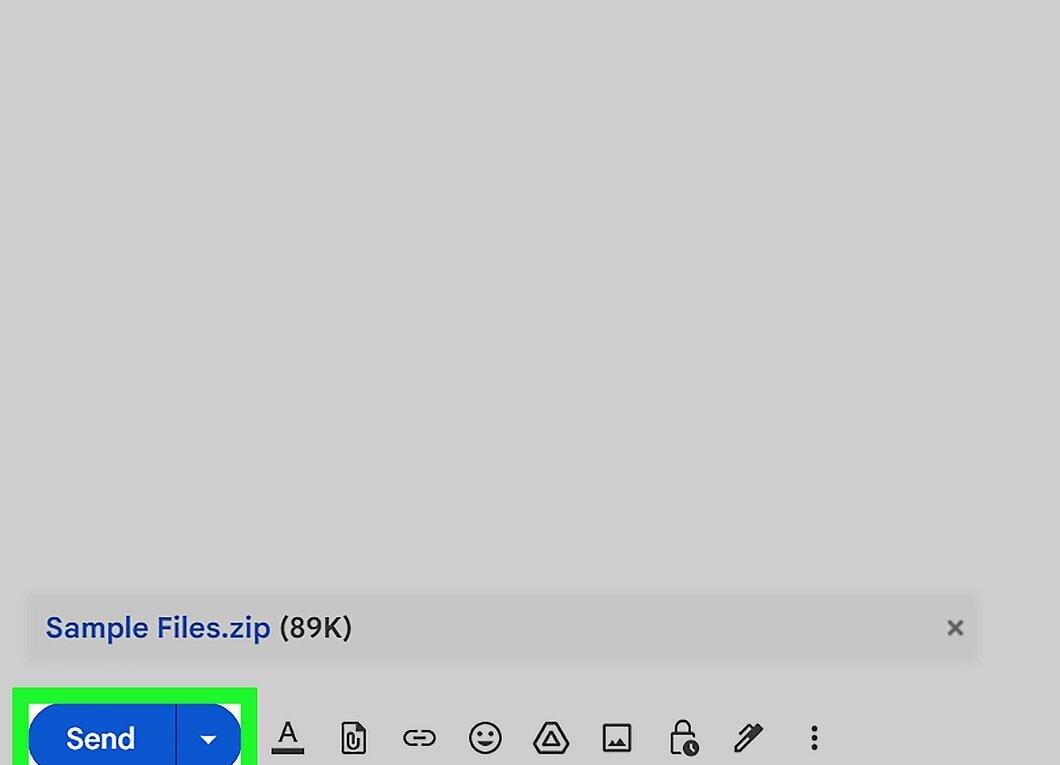
Now send the email by entering the recipient's email address, subject, and message text.
- Keep in mind that sending may take some time, depending on the size of the attached file. Ensure your email has been sent by checking your "Outbox" or "Sent" folder.
Sending an Archive from Your Computer
Step 1: Right-click the ZIP File.
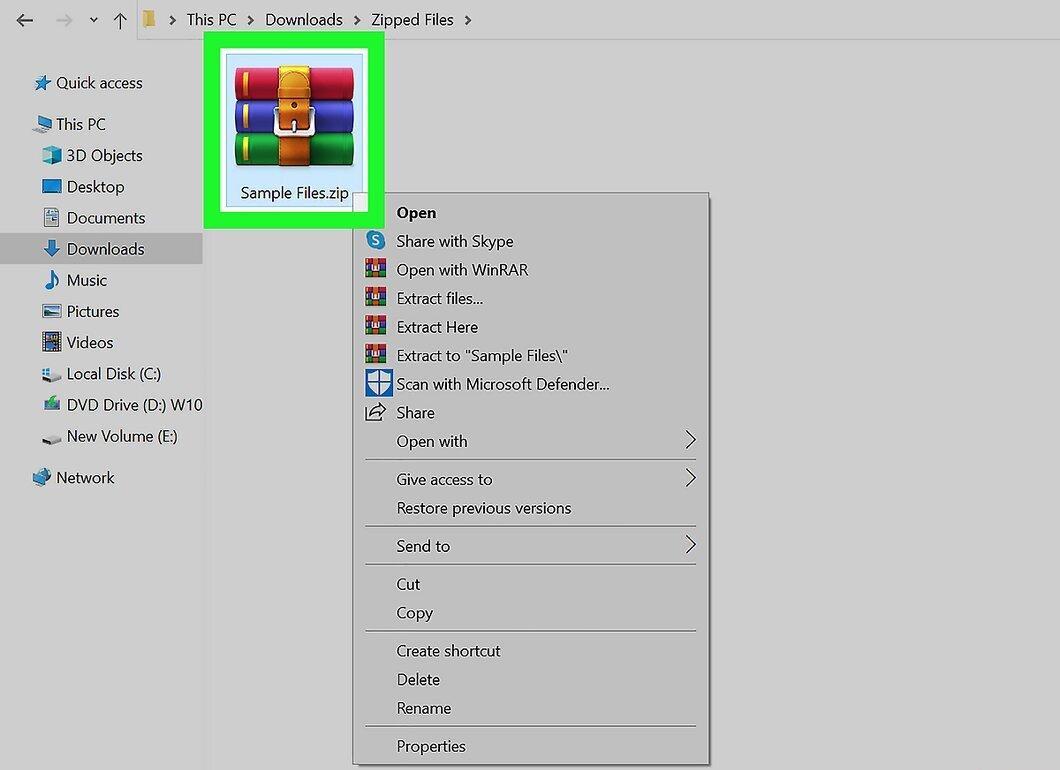
Right-clicking the ZIP file will open a context menu with various options.
- When creating or downloading an archive, save it in a convenient location, such as your desktop or the "Documents" folder.
Step 2: Choose the Option to Send the File via Email.
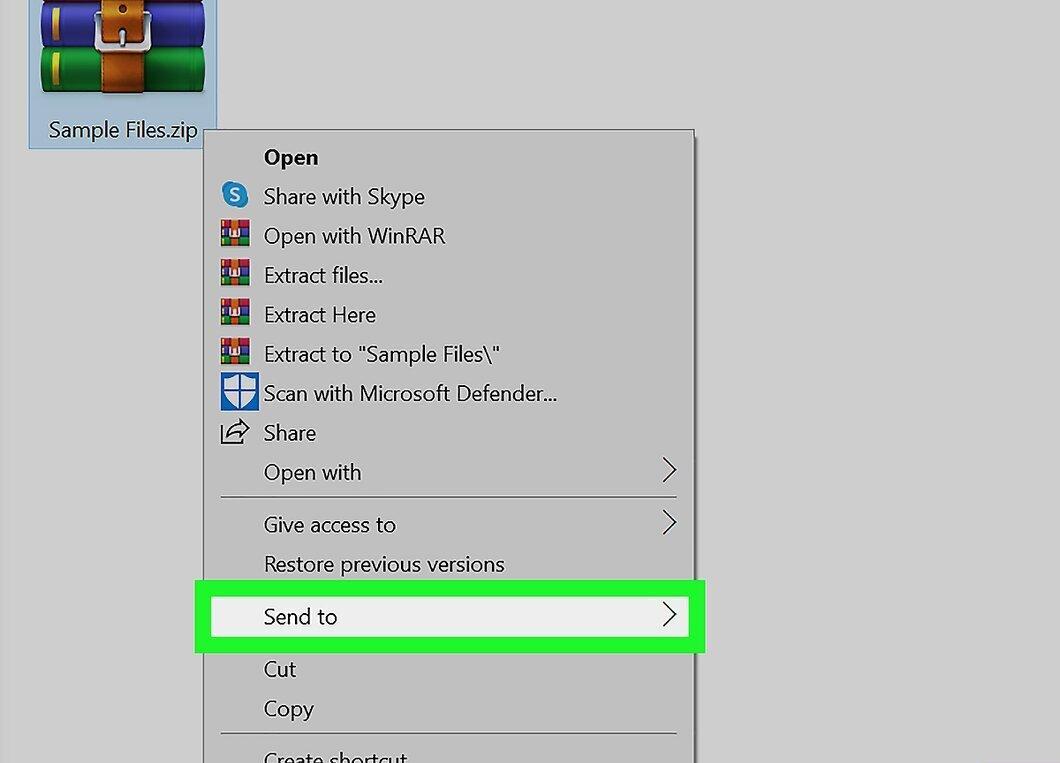
Select the menu item that allows you to send the file via email. This will open your email client, and your archive will be automatically attached to a new email.
- In Mac OS, right-click the archive, hover over "Share" and select "Mail".
- In Windows, select "Send" – "Recipient".
Step 3: Send the Email.
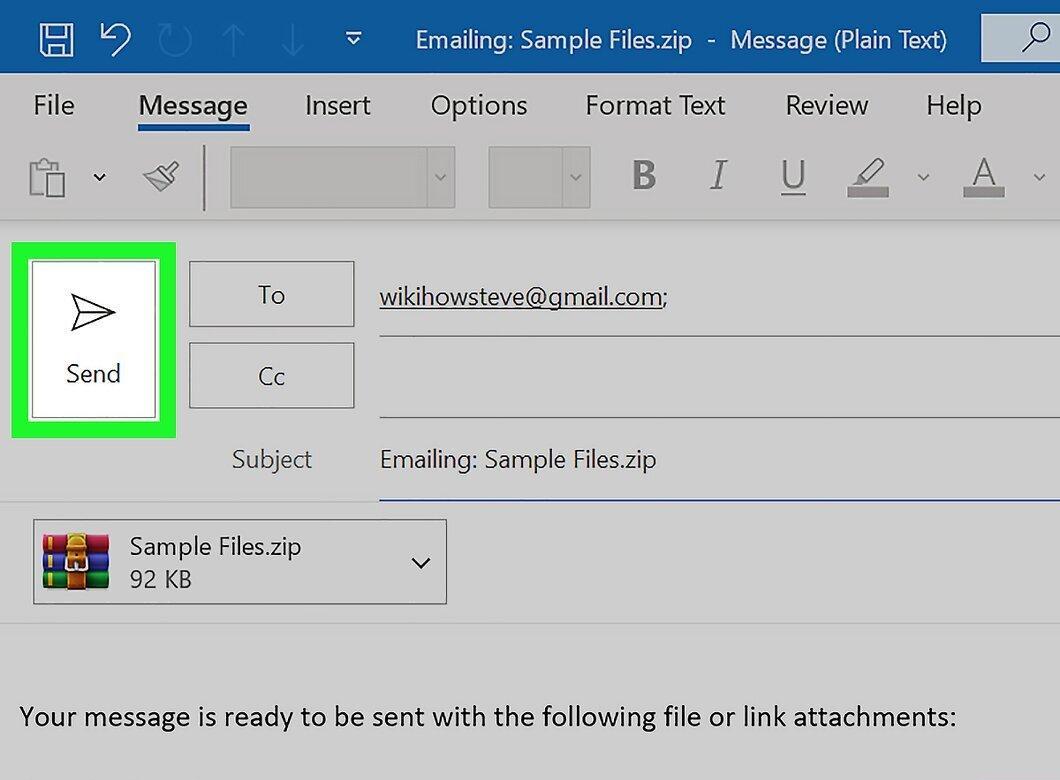
Enter the recipient's email address, subject, and message text, then send the email.
- Keep in mind that the time it takes to send the email will depend on the size of the attached archive. Check your "Outbox" or "Sent" folder to ensure the email was sent.


