
Your router is the backbone of your home network. A properly configured router will protect your private information from prying eyes, help securely connect all your devices to the Internet, and restrict children's access to inappropriate content. Follow the instructions below, and in just a few minutes, you will have your router set up.
Part One: Connecting to the Router
Step 1. Connect the router to your computer and modem.
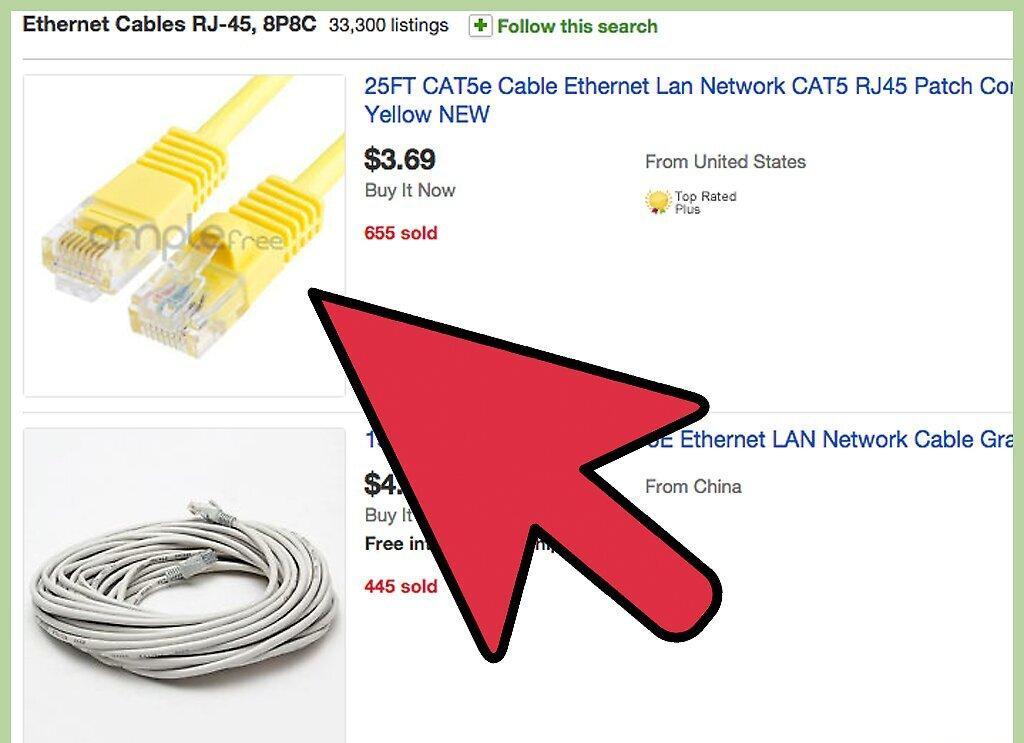
Connect the router to your computer and modem. Use Ethernet cables to connect your modem to the WAN/WLAN/Internet port on the router, and connect your computer to port "1", "2", "3", or "4" on the router.
Step 2. Open a web browser.
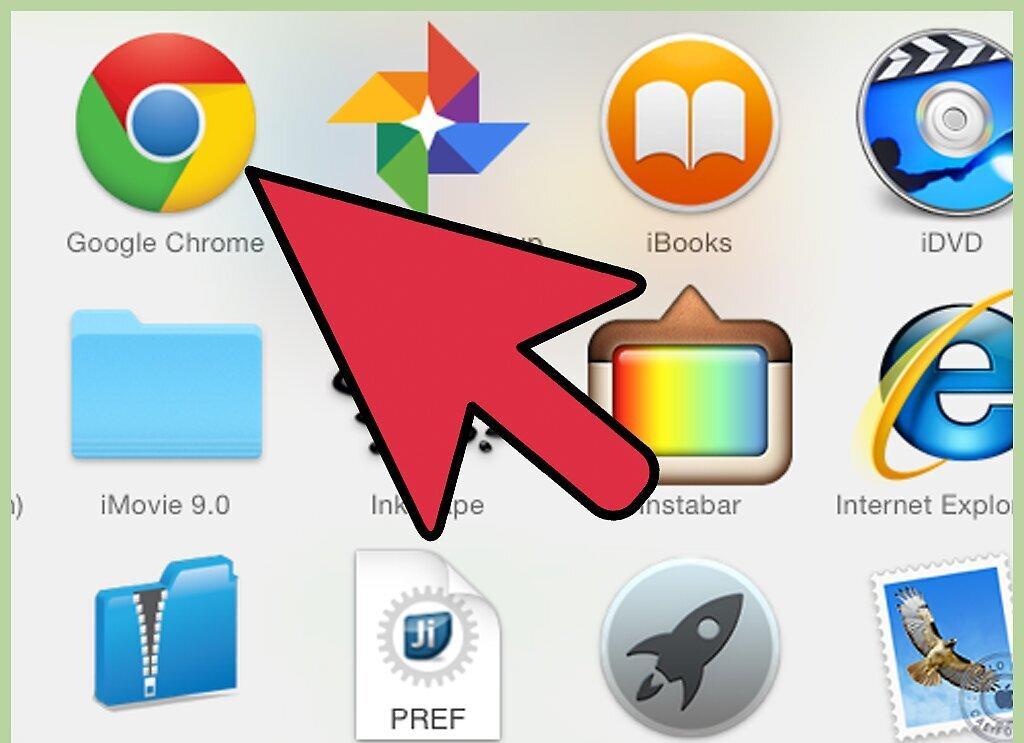
Open a web browser. The router's configuration page is accessible via a browser from any computer connected to the same network. For the best results when setting up the router, connect from a computer that is already wired to the router.
Step 3. Enter your router's address.
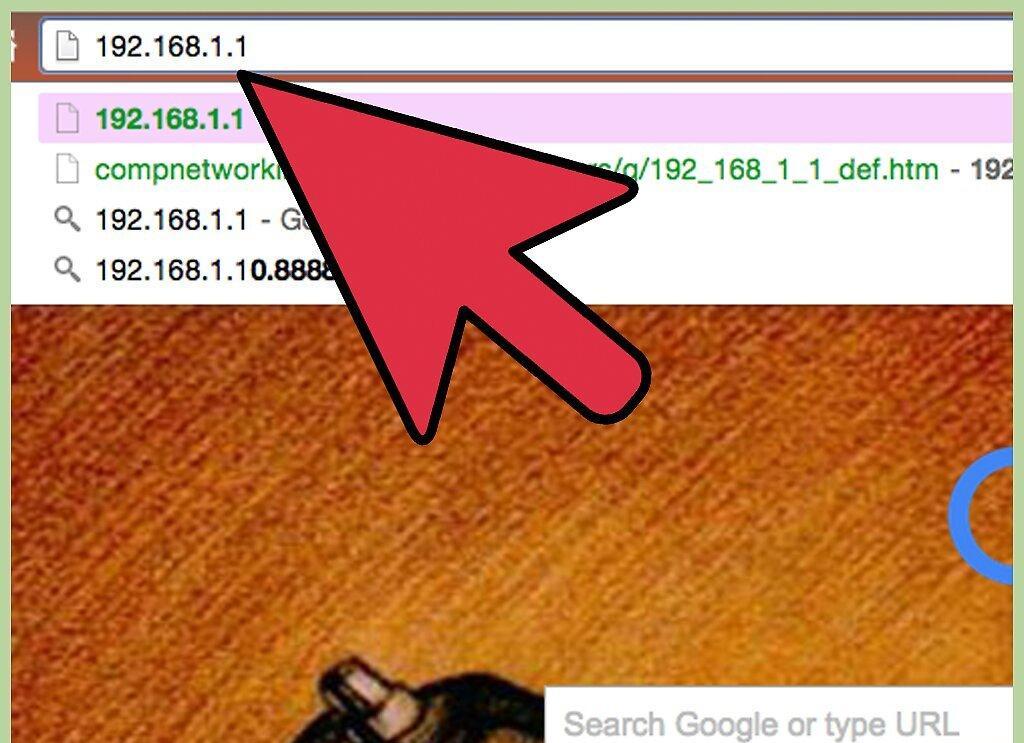
Enter your router's address. Access to the router's settings is done through the web browser. Type the router's IP address into your browser's address bar. IP addresses vary by manufacturer, but most are the same or very similar. Here are the common IP addresses for some popular manufacturers:
- Linksys - http://192.168.1.1
- 3Com - http://192.168.1.1
- D-Link - http://192.168.0.1
- Belkin - http://192.168.2.1
- Netgear - http://192.168.1.1
- Most routers have the address printed in the documentation or on a sticker on the router itself. You can also check the router's address on the manufacturer's website.
Step 4. Enter your username and password.
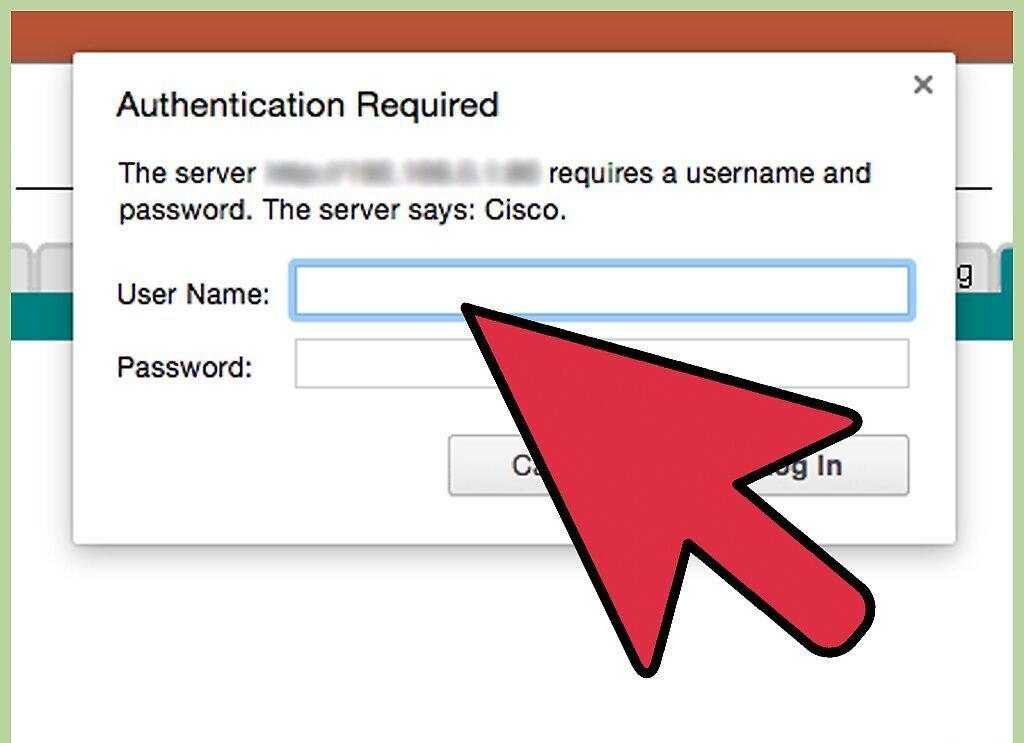
Enter your username and password. Before you can access the router's settings page, you need to enter the username and password. Most routers have default username and password settings. Some routers may not require this information.
- The default username and password will be provided in the router's documentation. They may also be printed on the router itself.
- One of the most commonly used default usernames is "admin".
- The most commonly used passwords are "admin" or "password".
Step 5. Restart the router if you can't access the settings page.
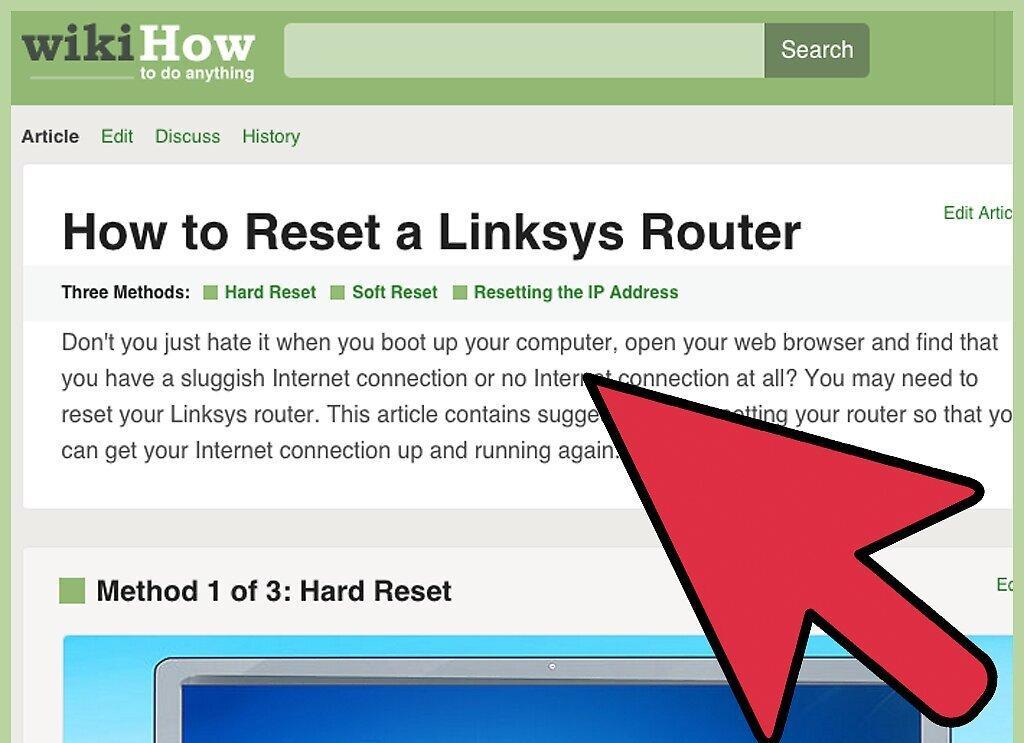
Restart the router if you can't access the settings page. If you have the correct username and password but still can't log in, you can restore the factory settings to undo any changes. This is useful if you're using a second-hand router or have forgotten old credentials.
- You can reset the router to factory settings by holding down the "Reset" button on the router. This button is usually quite small and is recessed, so you can only press it with a pin or paperclip. On some routers, this button is more accessible.
- After pressing, wait 30-60 seconds, then try entering the router's address and the username-password combination again.
Step 6. Set a new username and password.
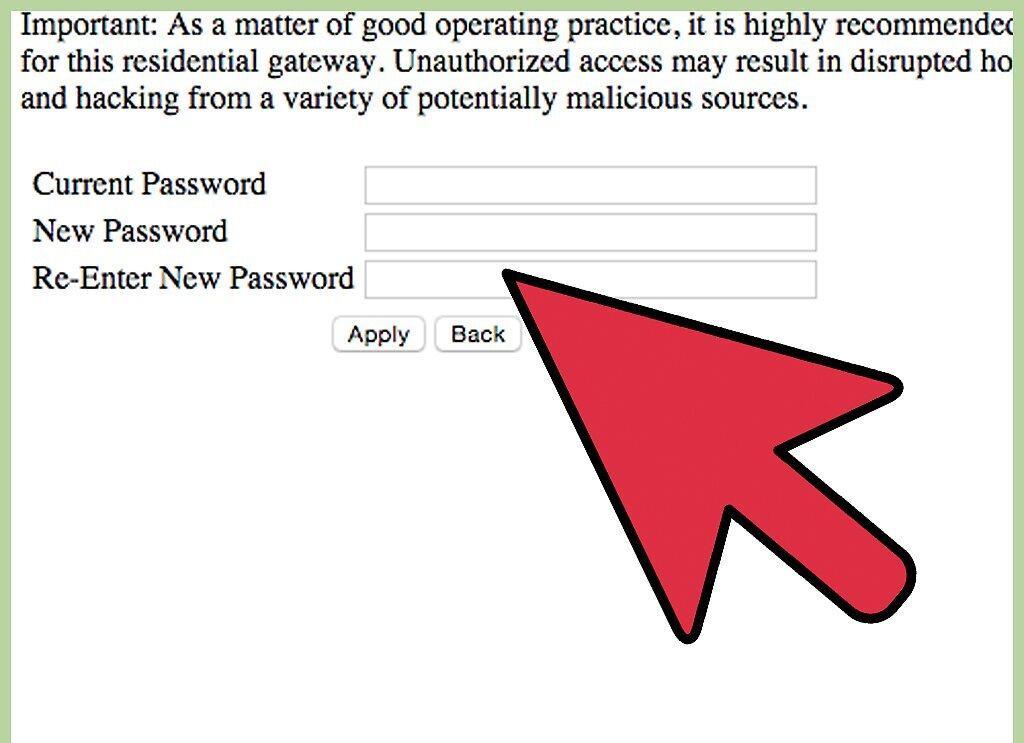
Set a new username and password. Leaving the default username and password is quite insecure, so you should change them right after setting up the router. This is usually done in the router's "Administration" settings section.
- Choose a username and password that are easy for you to remember. The password should include numbers and symbols to make it more secure.
Part Two: Setting Up the Wireless Network
Step 1. Check the Internet settings.
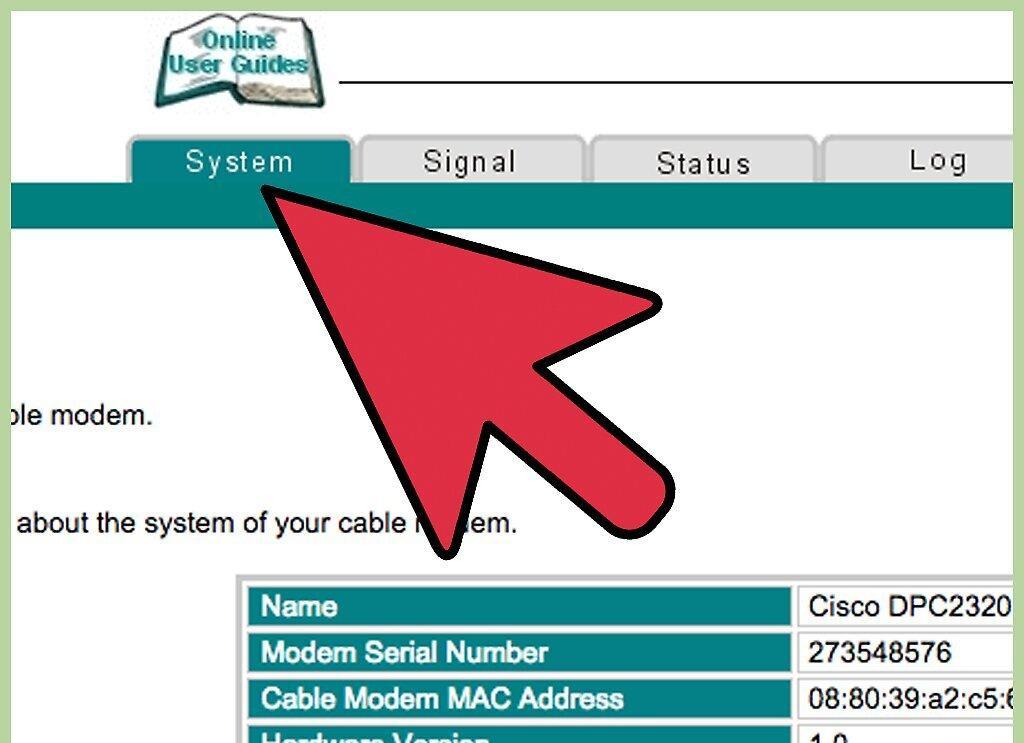
Check the Internet settings. In the Internet (Internet), Setup, or Home page, check that the IP address, DHCP, and DNS settings are correct. These settings are usually configured automatically unless your Internet provider has informed you otherwise.
- Many routers have a button in the Internet menu settings for testing the connection. Click it to verify that all settings are correct.
Step 2. Open the wireless network settings.
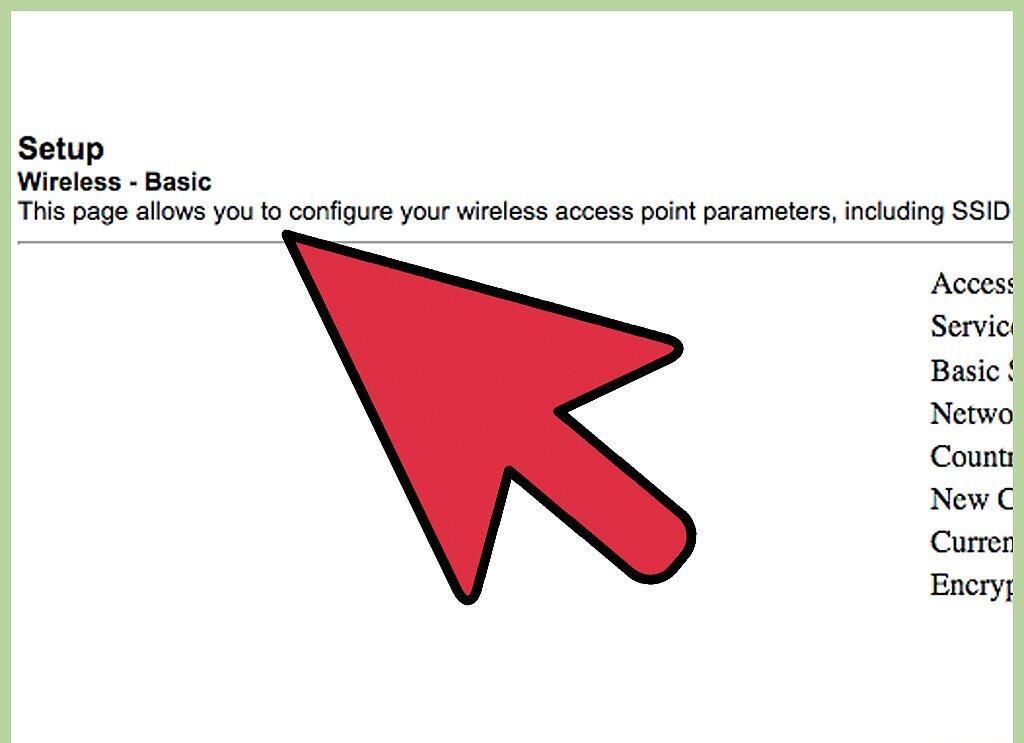
Open the wireless network settings. This menu may be labeled as Wireless, Wireless Settings, Basic Setup, or similar. This page will display the SSID, channel, encryption, and other settings.
Step 3. Set the network name.
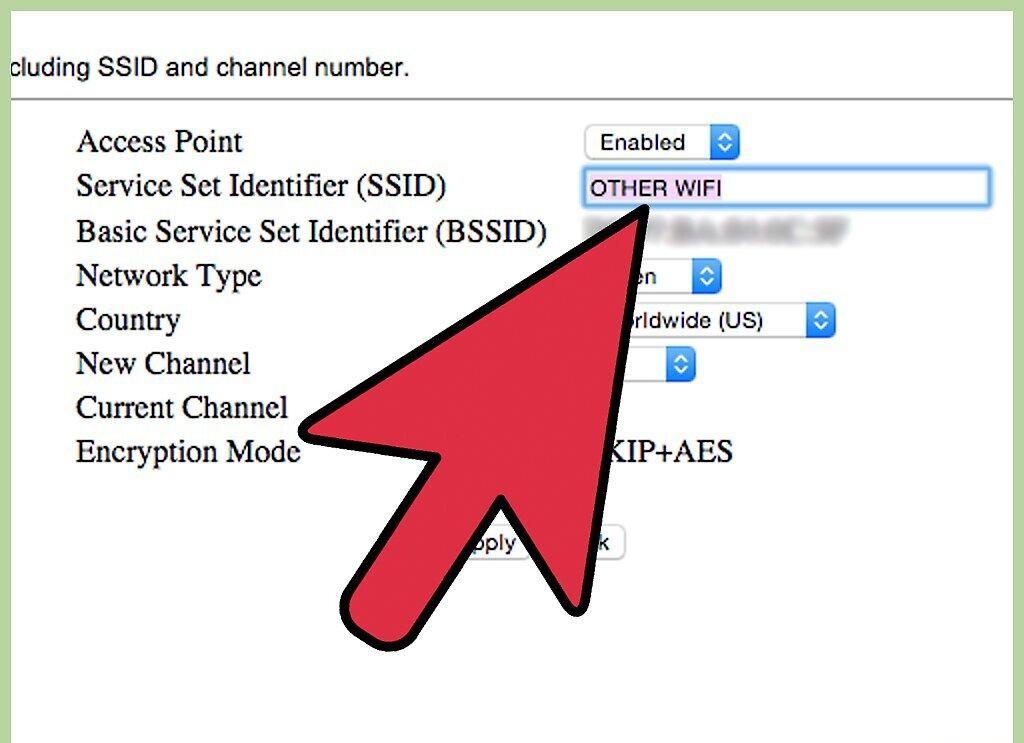
Set the network name. Look for the field marked SSID. This is the name of your network that will appear in the list of networks available to your wireless devices. Do not use personal information as the network name, as it will be visible to everyone.
- Ensure that the "Enable SSID Broadcast" box is checked.
- The channel should be set to "Auto". If there are multiple wireless networks in your area, your router will automatically switch to a free channel.
Step 4. Choose your wireless network encryption.
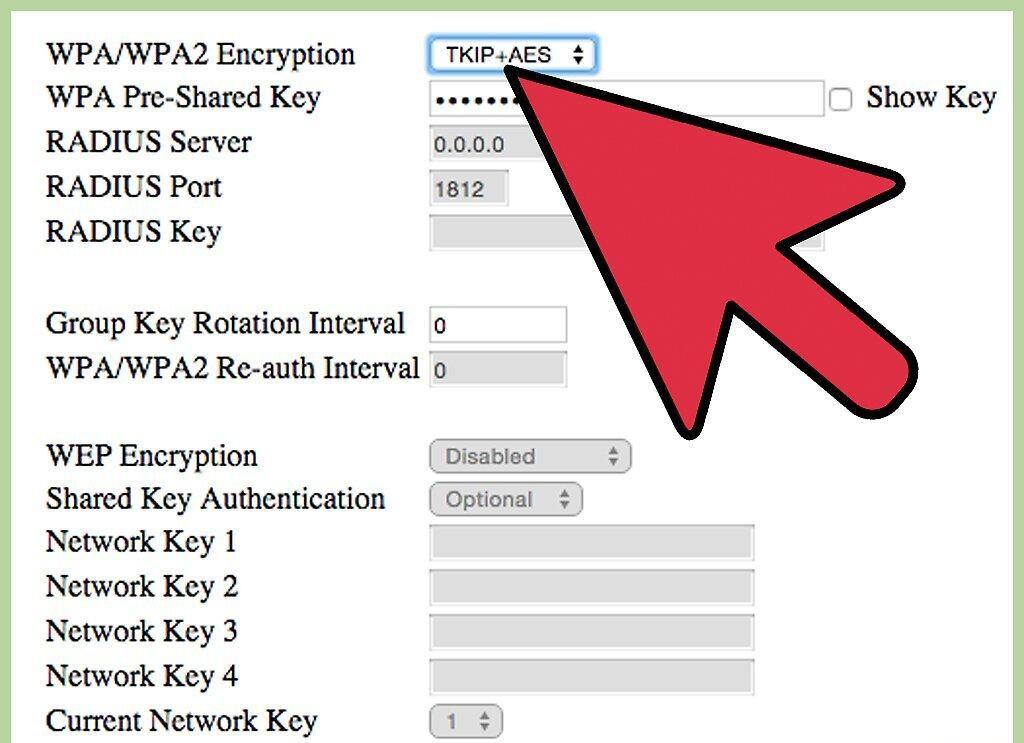
Choose your wireless network encryption. This may also be referred to as "Security Options". Here, you can select the encryption method to protect your network. Most routers offer the following settings: WEP, WPA-PSK, and WPA2-PSK.
- WPA2 is the most secure encryption method and should be used if all your devices support this format. Only very old devices may not support WPA2.
Step 5. Choose a passphrase.
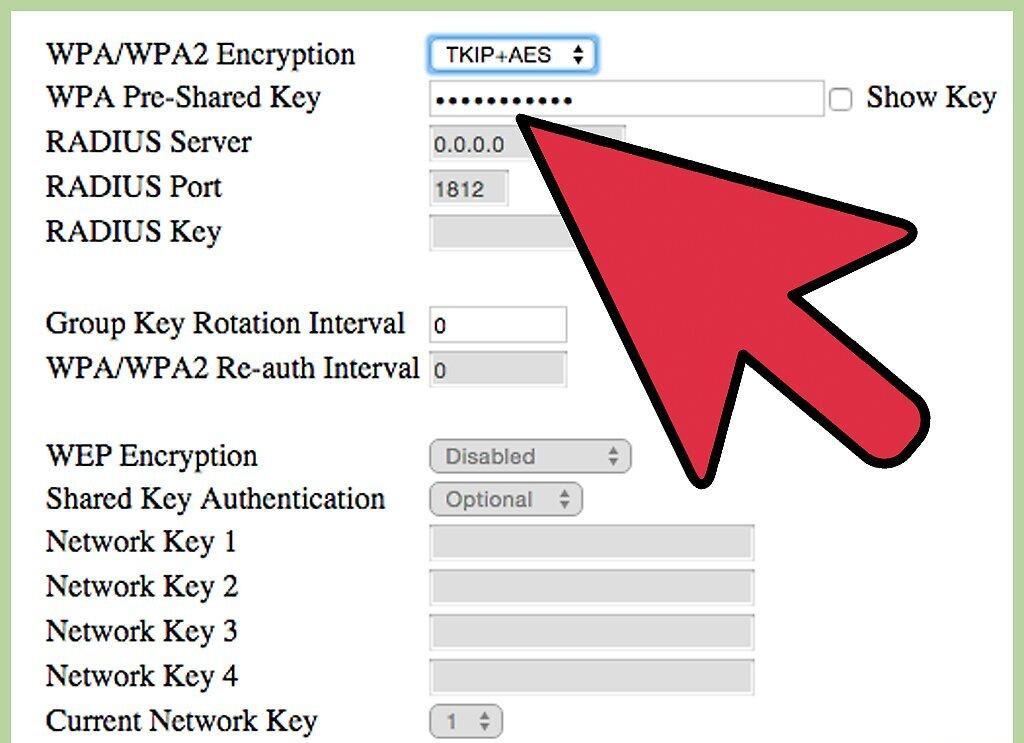
Choose a passphrase. The passphrase is what you enter when connecting a device to your network. A strong password will help protect your network from unwanted intrusions. Your network must be secured with a passphrase.
Step 6. Apply your settings.
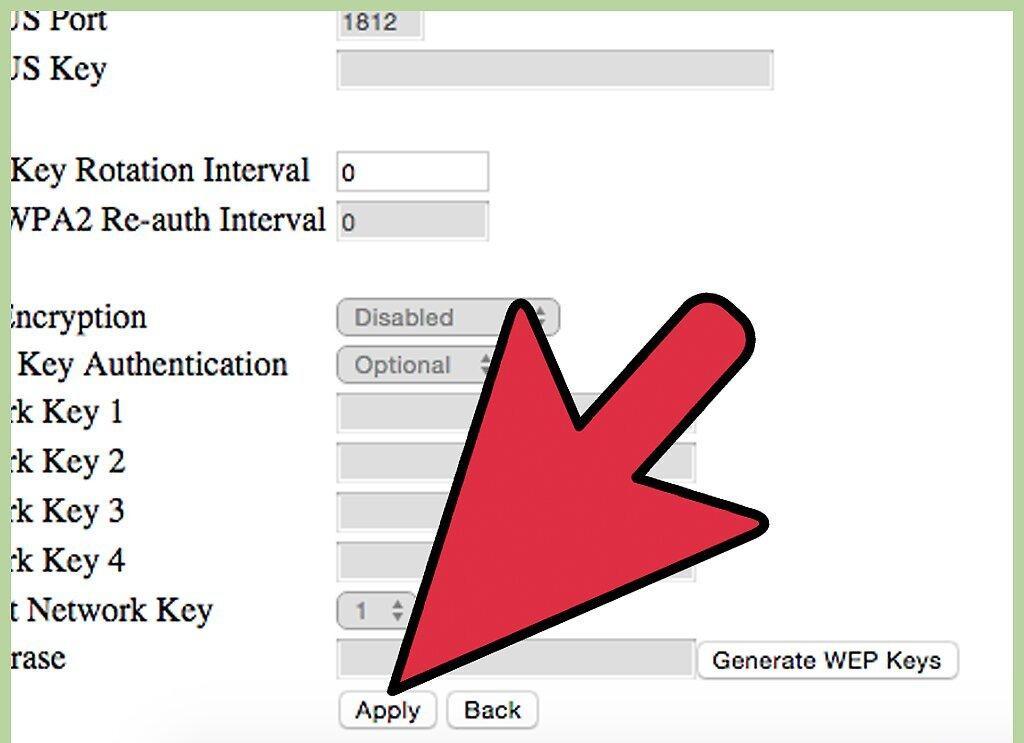
Apply your settings. Once you have selected the SSID, encryption type, and passphrase, click the "Apply" or "Save" button to activate your wireless network. In a few seconds, your router will be configured, and the wireless network will appear in the list of available networks for your devices.
Part Three: Port Forwarding
Step 1. Open the "Port Forwarding" menu.
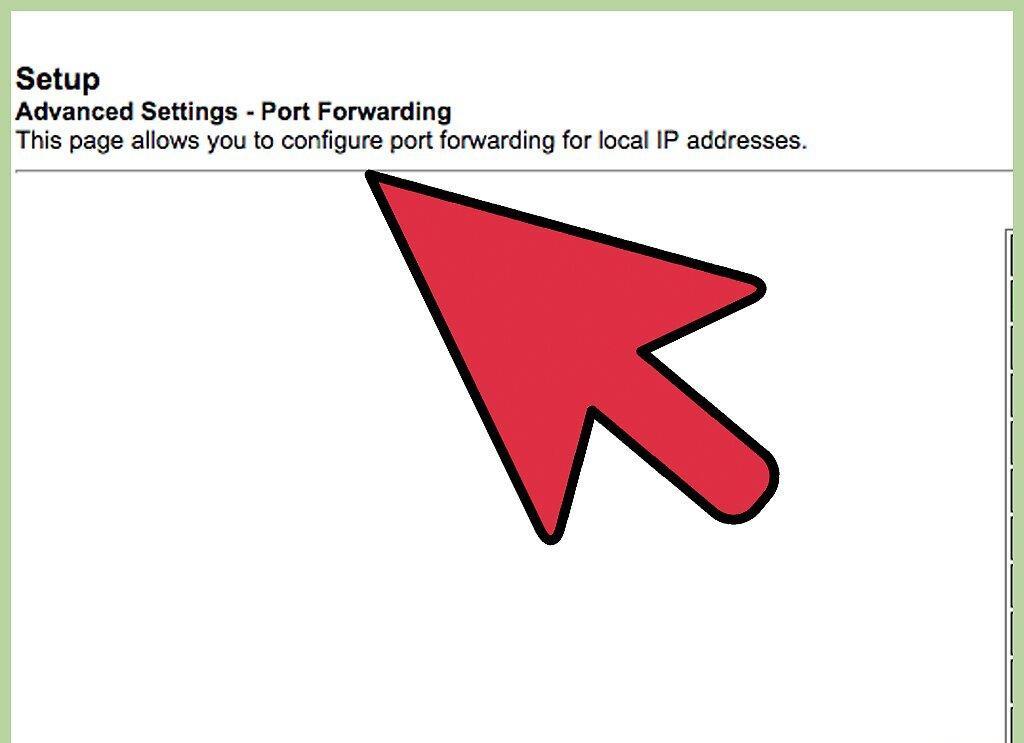
Open the "Port Forwarding" menu. You can usually find this under the "Advanced" settings section on the router's configuration page.
Step 2. Add a new service or rule.
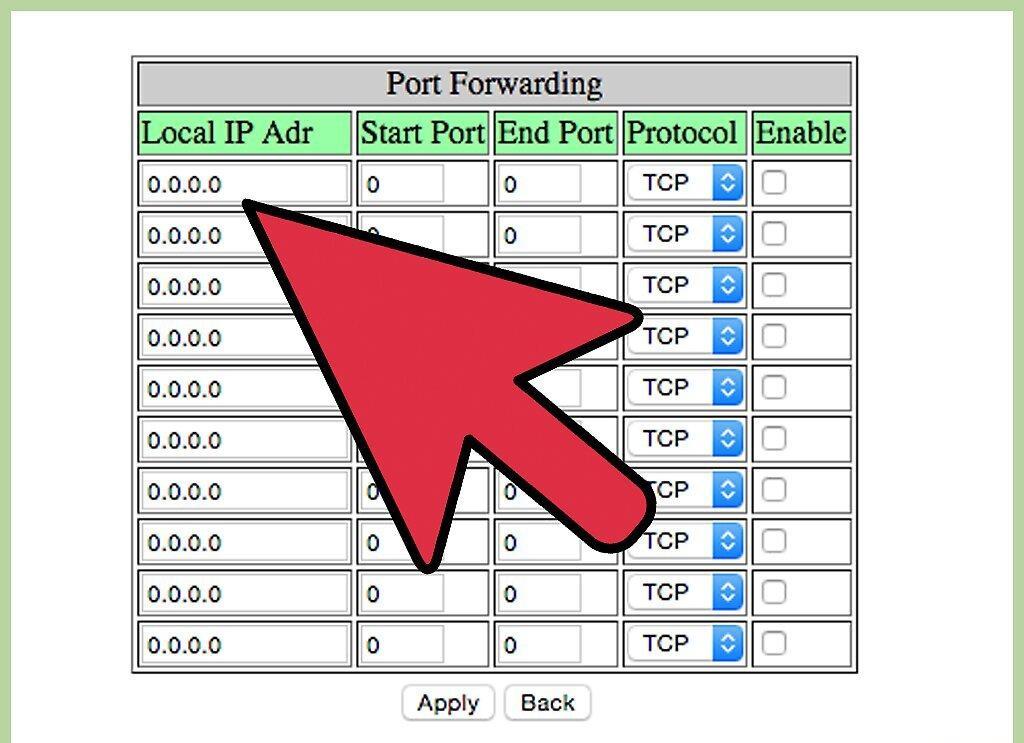
Add a new service or rule. Click the button to add a custom service. A form will open where you can enter the port forwarding information.
- Name/Service Name – This is the name of the program for which you are forwarding the port. This name is for your convenience, so you can find it in the list.
- Protocol – Choose from TCP, UDP, and TCP/UDP. Refer to the program for which you are forwarding ports to choose the appropriate option.
- External Starting Port – This is the first port in the range you want to open.
- External Ending Port – This is the last port in the range you want to open. If you are opening a single port, enter the same port in both fields.
- Check the box to use the same port range for Internal Ports or enter the same information in the fields for Internal Ports.
- Internal IP Address – This is the IP address of the computer for which you are opening the port. To find your device's IP address, you will need to refer to relevant articles for computers running Windows or Mac OS X.
Step 3. Save or apply the rule.
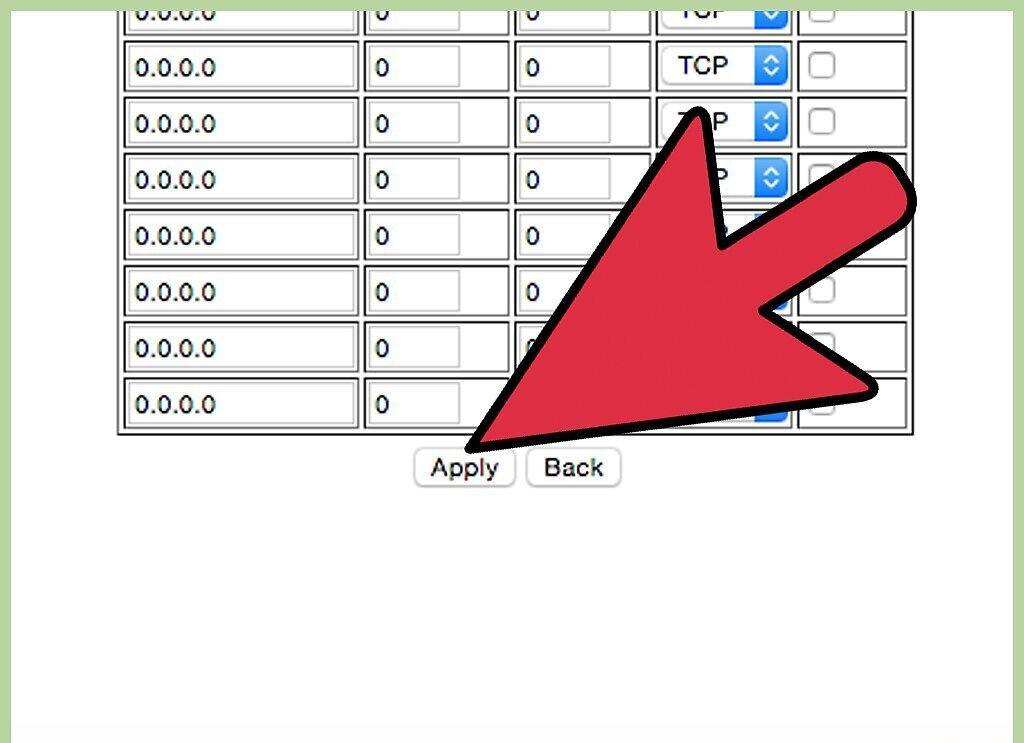
Save or apply the rule. After a few seconds, the settings will take effect. Now the program can use the open port on the specified computer.
Part Four: Blocking Websites
Step 1. Open the "Block Sites" menu.
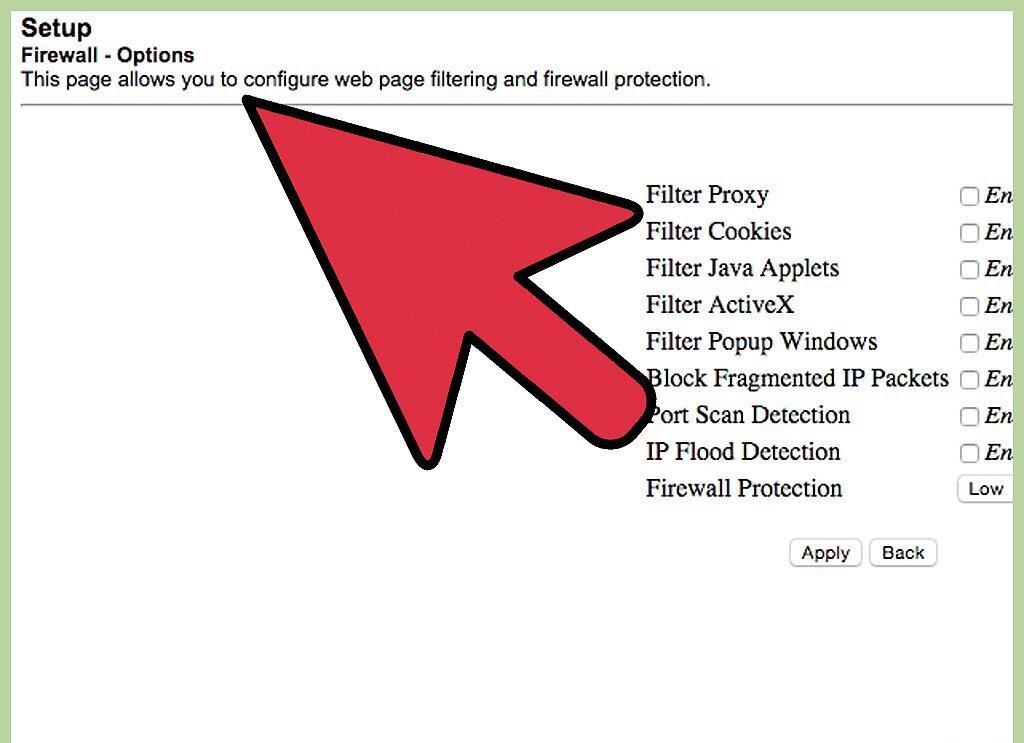
Open the "Block Sites" menu. These settings can be found in the "Security" or "Parental Controls" section of the router's configuration menu. You can block access to sites from any device on your network, but you can also allow certain devices access to these sites. You can also set a schedule for blocking, which is especially useful during homework time or when you need to focus on work.
Step 2. Add a site to the blocked list.
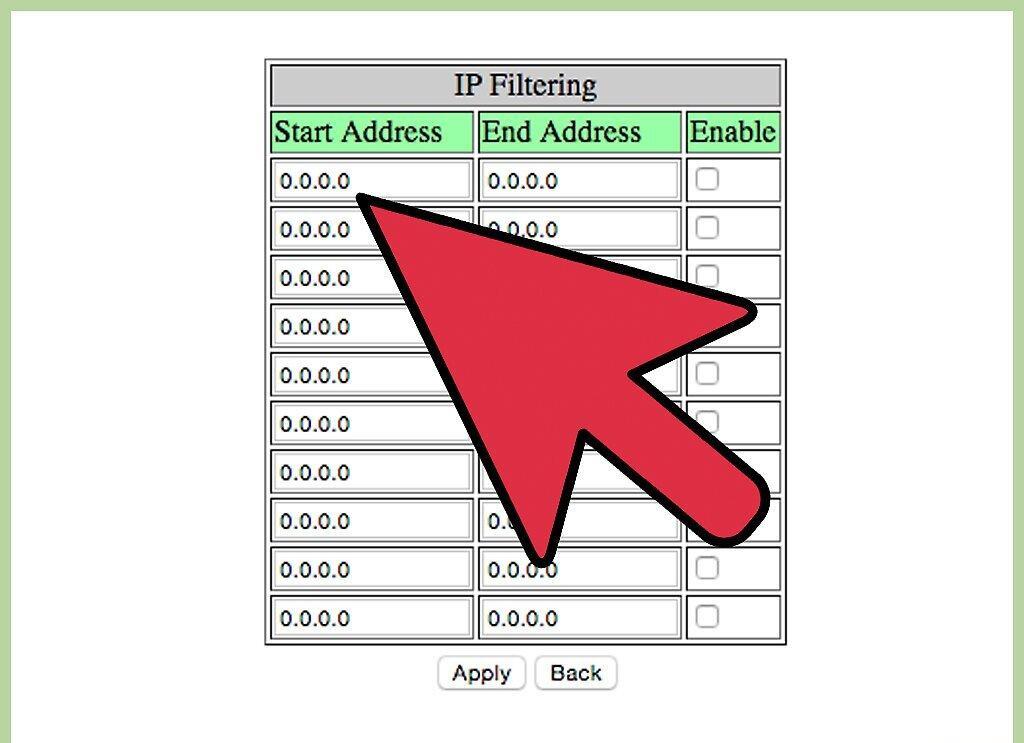
Add a site to the blocked list. The settings will vary depending on the router model you are using. Some routers allow blocking by keywords as well as blocking specific sites. Add the sites you want to block access to.
Step 3. Allow trusted computers access to blocked sites.
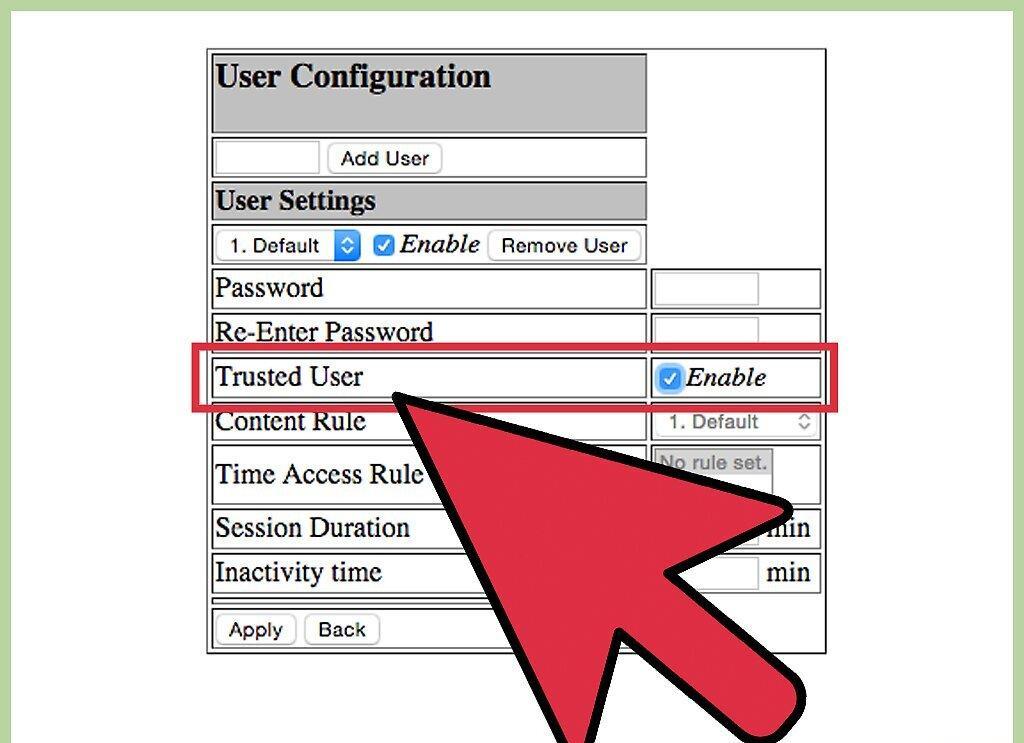
Allow trusted computers access to blocked sites. You can check a box to add a list of trusted IP addresses that can access blocked sites. This can be useful for parents who want access to sites that are blocked for children.
- After checking the box, enter the list of IP addresses that will be allowed to access blocked sites. Refer to the article "How to Find Your Computer's Internal IP Address" for assistance.
Step 4. Set up a blocking schedule.
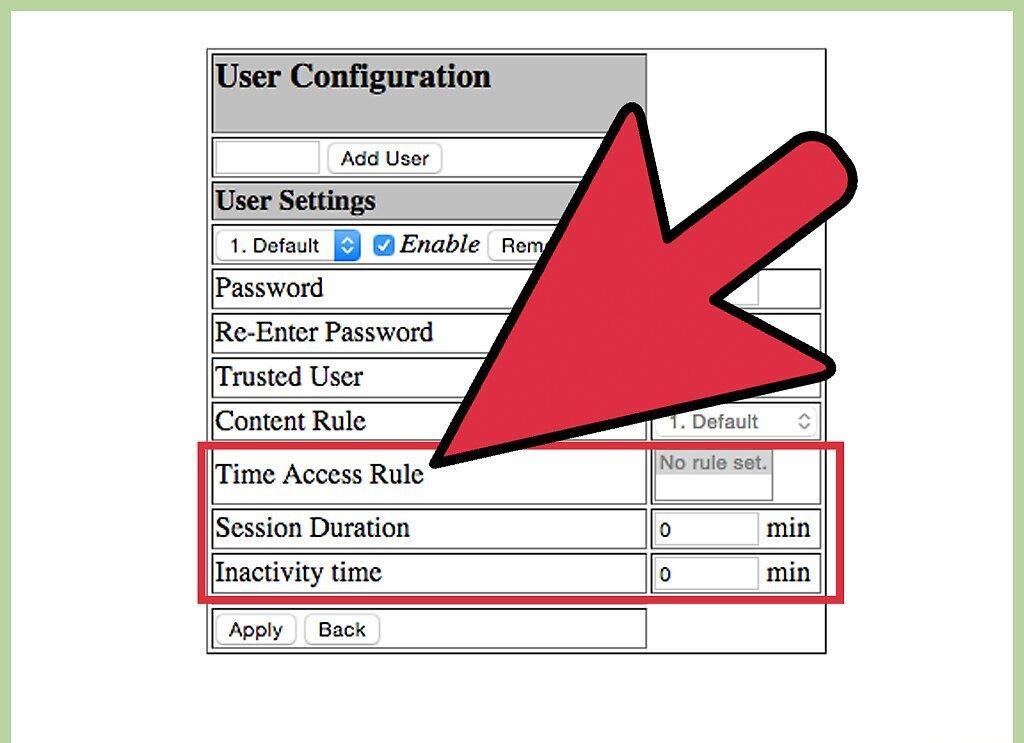
Set up a blocking schedule. This section may be located separately from the blocking list setup. You can choose which day of the week the blocking will be active, as well as the time the blocking will be activated. Once you have entered all the information, click the "Apply" button.


