
In this article, you will get acquainted with the process of viewing video from your home or office cameras online. Keep in mind that not all security camera models can be accessed for online viewing—your device must support streaming.
Preparing the Equipment
Step 1. Check if your cameras can connect to the internet.
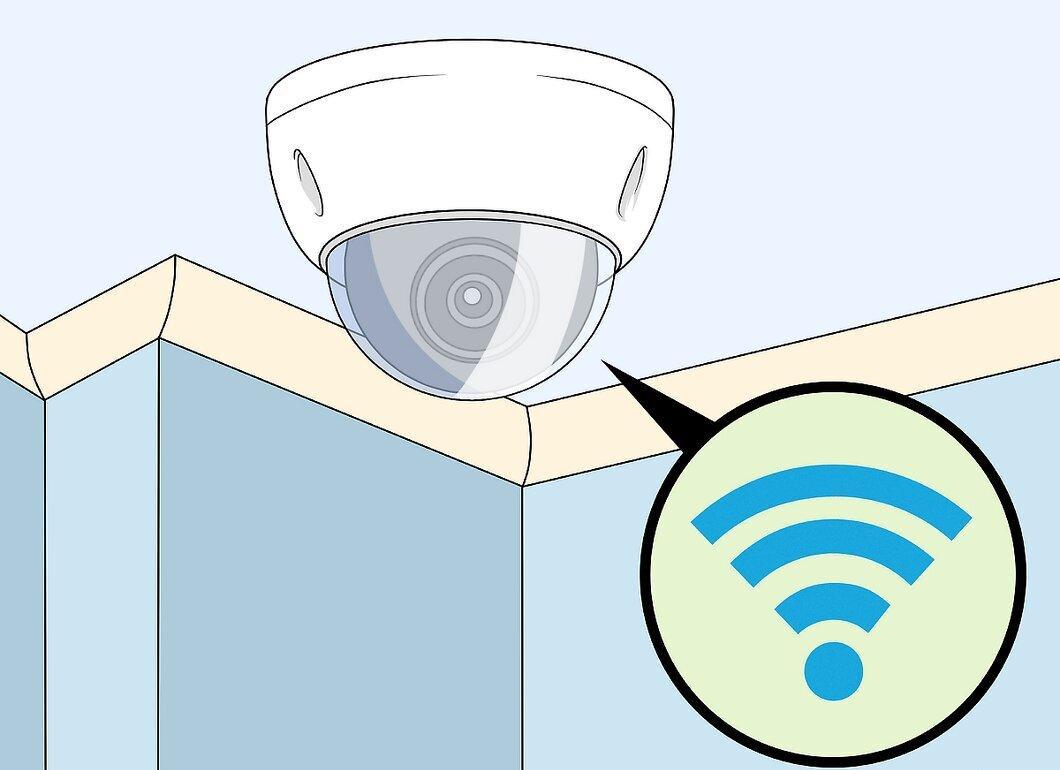
Ensure that your cameras can connect to the internet. Not all surveillance devices have a wireless module, so before spending money on a digital video recorder, find out if your cameras can stream video.
- You can opt for a camera that connects to the internet via an Ethernet cable, but this can be inconvenient if you have multiple cameras.
Step 2. Purchase a digital video recorder for surveillance.
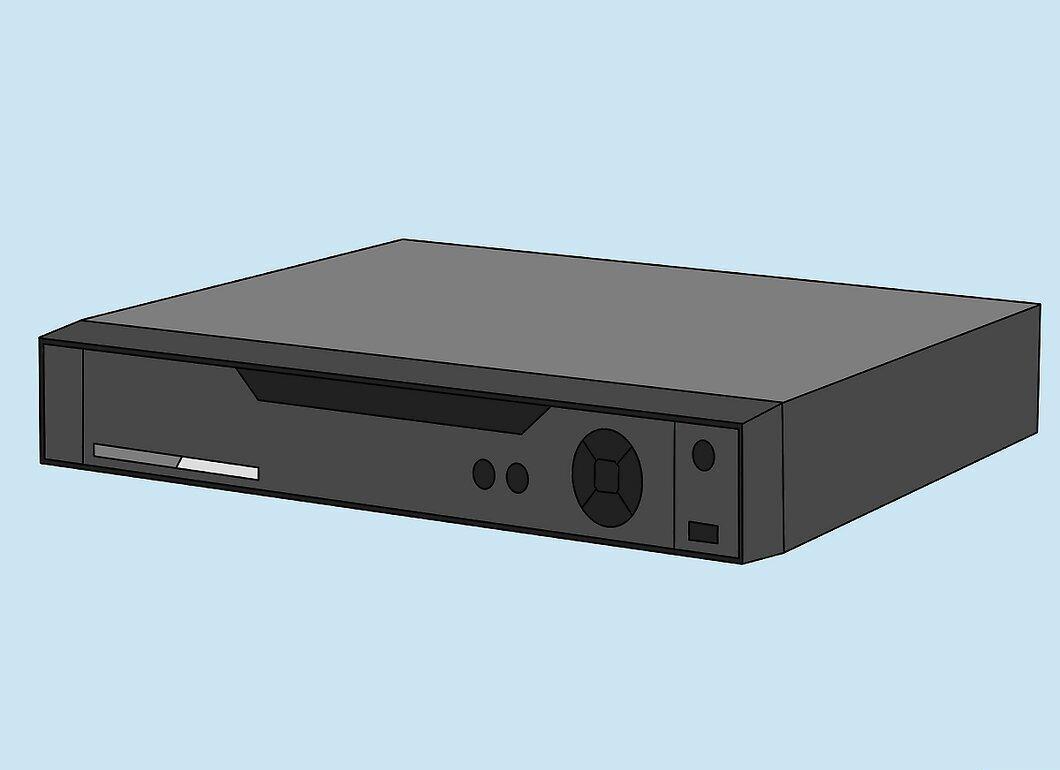
Buy a digital video recorder for your security cameras. It will record images from the cameras, and if it supports streaming, you will be able to connect to it for real-time video viewing.
- Note that not all video recorders can stream, so make sure your device has this option.
- It's recommended to buy the video recorder and cameras from the same manufacturer.
- If you purchase cameras in a bundle, the video recorder is likely included as well.
Step 3. Connect the video recorder to your router.
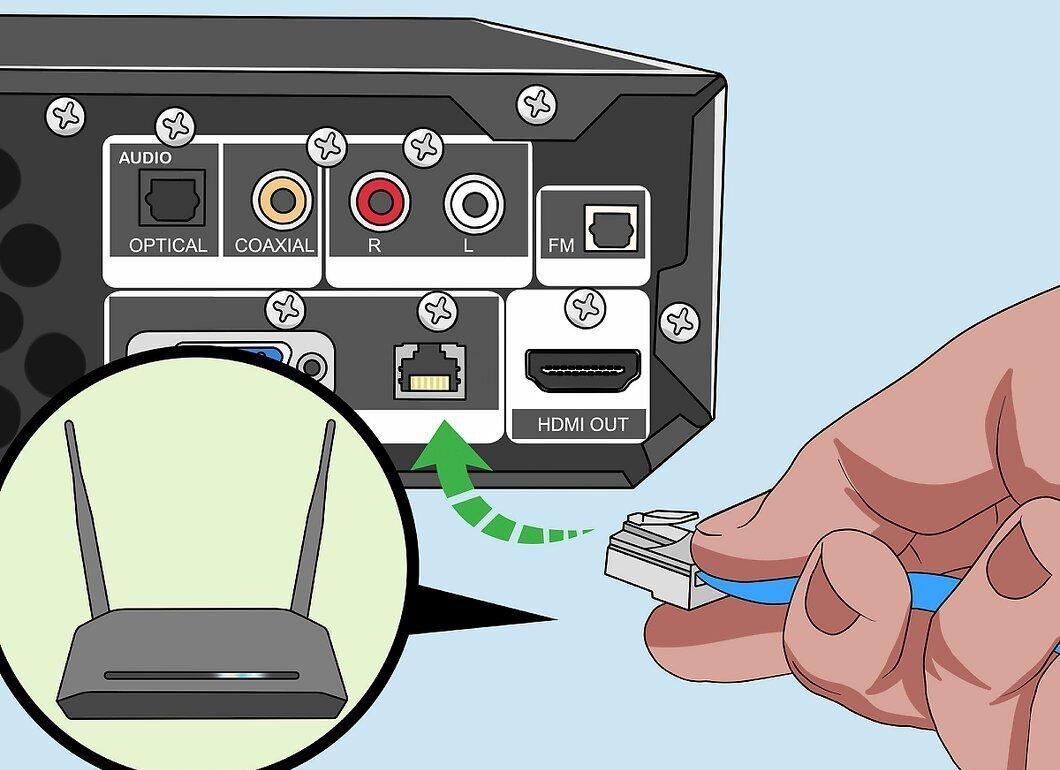
Connect the video recorder to your router. Plug one end of the Ethernet cable into the back of the video recorder and the other end into an available "Internet" port on the router.
Step 4. Connect the video recorder to a monitor or TV.
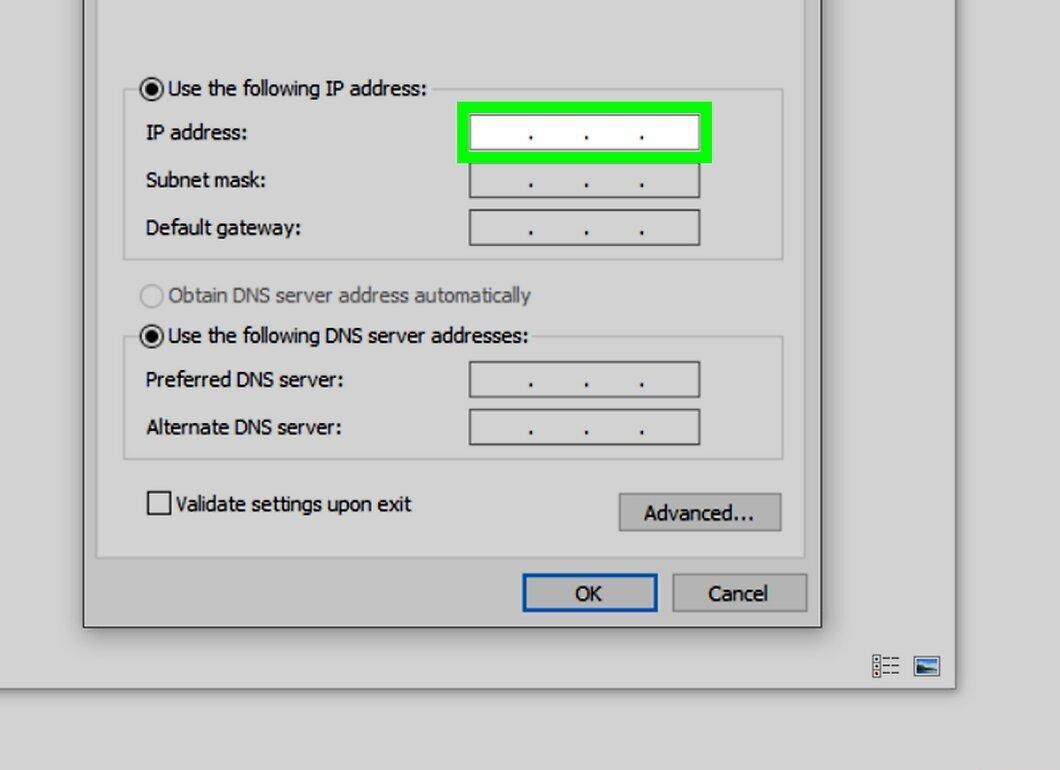
Connect the video recorder to a monitor or TV using an HDMI cable. This is necessary to change the IP address of the video recorder and gain internet access.
Step 5. Log into the video recorder.

Log into the video recorder system. Using the remote, enter the username and password to access the control panel. Typically, the username is "admin," and the password field is left blank. After logging in, configure the software for streaming video.
- Refer to the video recorder's manual to understand what information needs to be entered.
Setting Up the Software
Step 1. Set a static IP address for the video recorder.
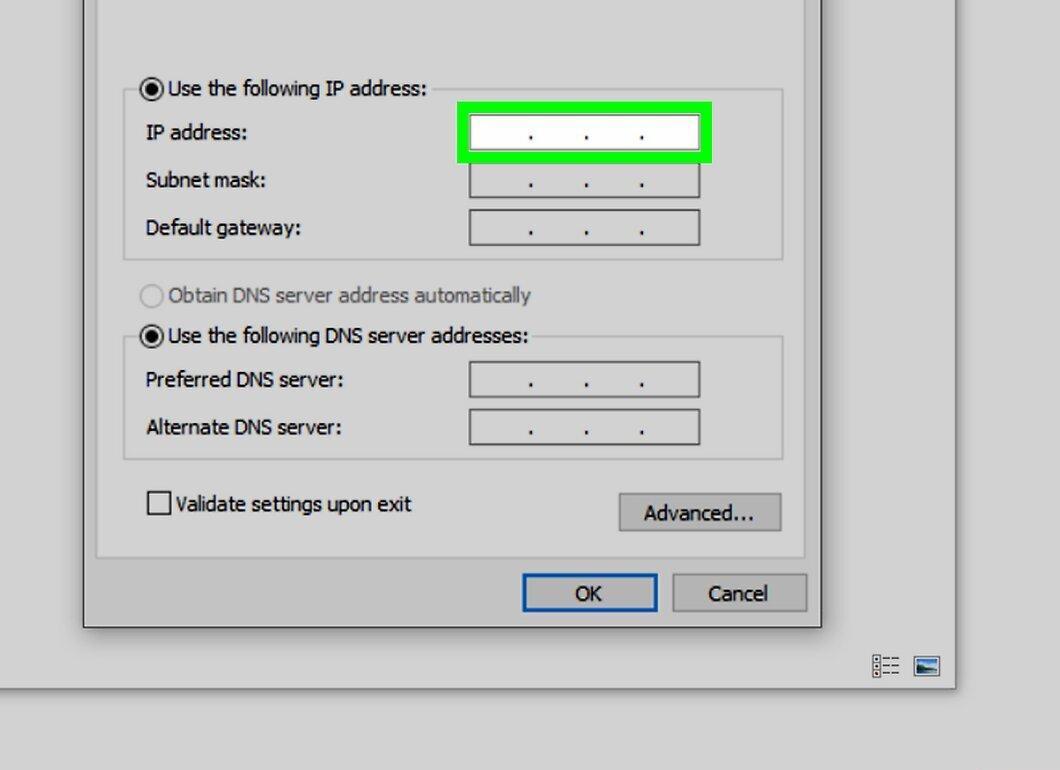
Make the IP address of the video recorder static. This process may vary depending on the model, but generally, you need to find the "Network" or "Internet" tab, then go to the "IP" section, disable "Dynamic IP" or "Automatically assign," and enter an address ending with "110."
- For example, if your video recorder's current IP address is 192.168.1.7, change it to 192.168.1.110.
Step 2. Set up port forwarding for port 88 on the router.
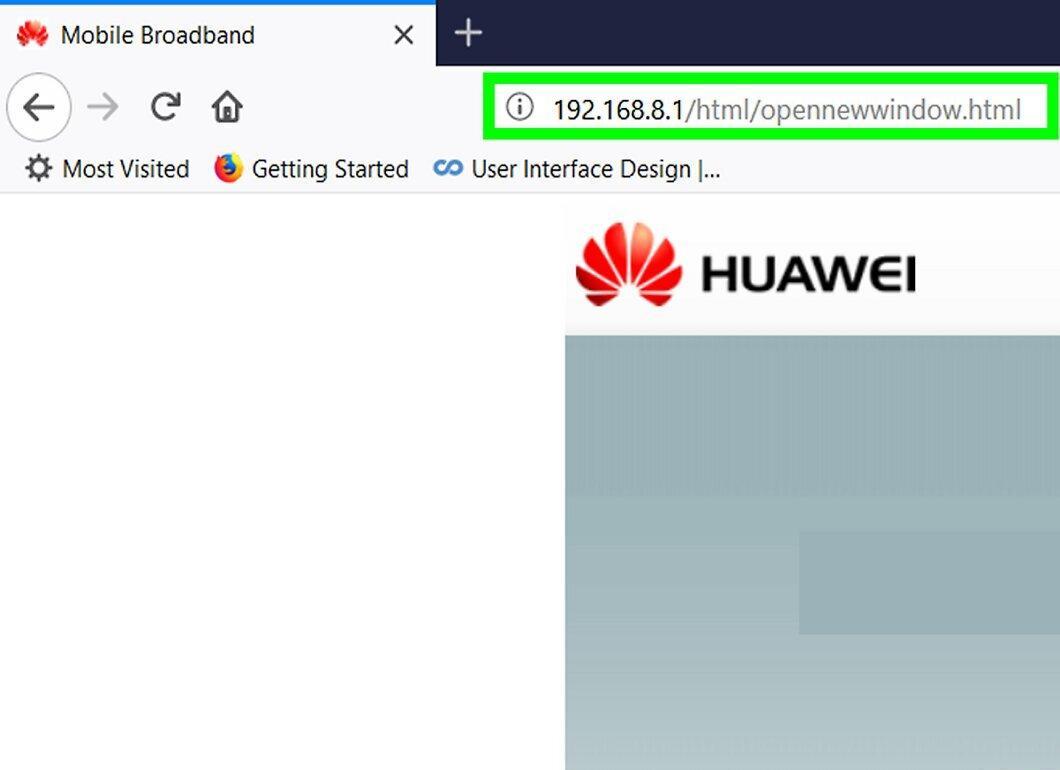
Set up port forwarding for port 88 on your router. Open the router configuration page in your browser and configure port forwarding for port 88. The interface may vary depending on the model, but you usually need to find the "Port forwarding" section.
- Your video recorder may have specific parameters for port forwarding, so be sure to check the manual for instructions on how to do this.
- Some services recommend using port 80, but it is often blocked by firewalls and ISPs.
- Enter the static IP address of the video recorder in the port forwarding settings.
Step 3. Connect the cameras to the video recorder.
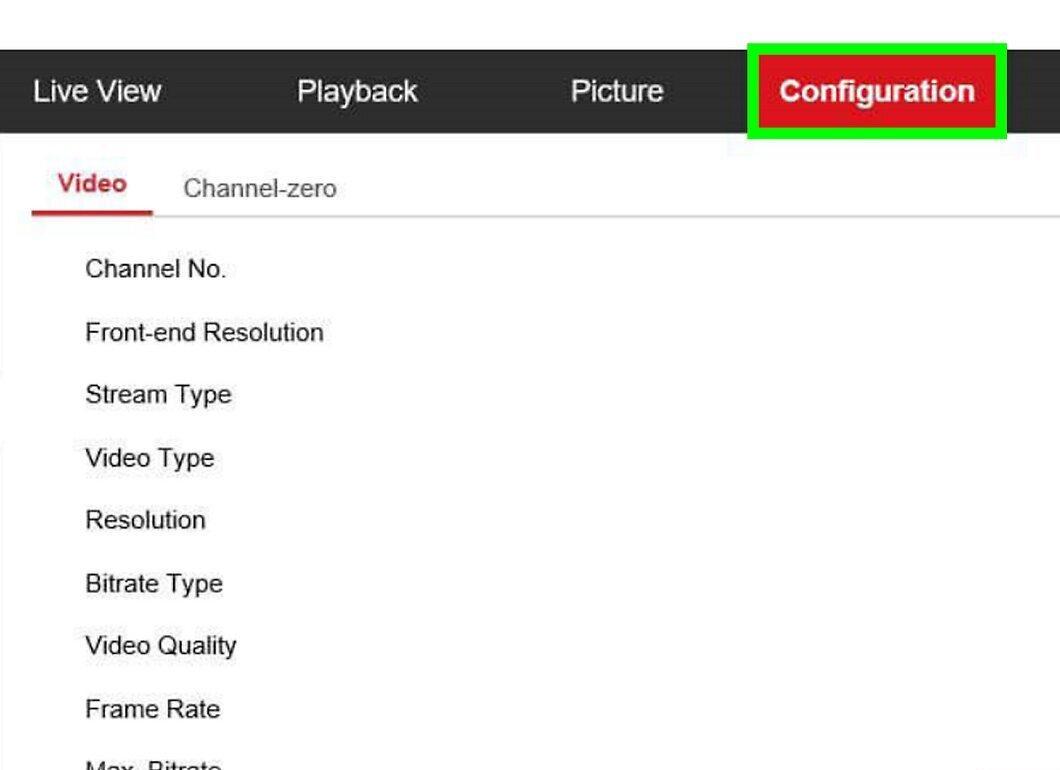
Connect the cameras to the video recorder. If you purchased the video recorder bundled with cameras, you can skip this step. The connection and setup may vary depending on the model, but it is usually done through the video recorder's control panel:
- Enter the router's configuration page address, add a colon (:), then add the port number (88). For example, enter 192.168.1.1:88.
- Press ↵ Enter and log into the video recorder's page as prompted.
- Go to the "Camera Setup" or "Live Setup" section or click the camera icon.
- Start the setup by clicking the "Pair" button or the camera icon.
- Press the "Pair" button on the camera itself (usually located at the bottom of the device).
Step 4. Find your network's external IP address.
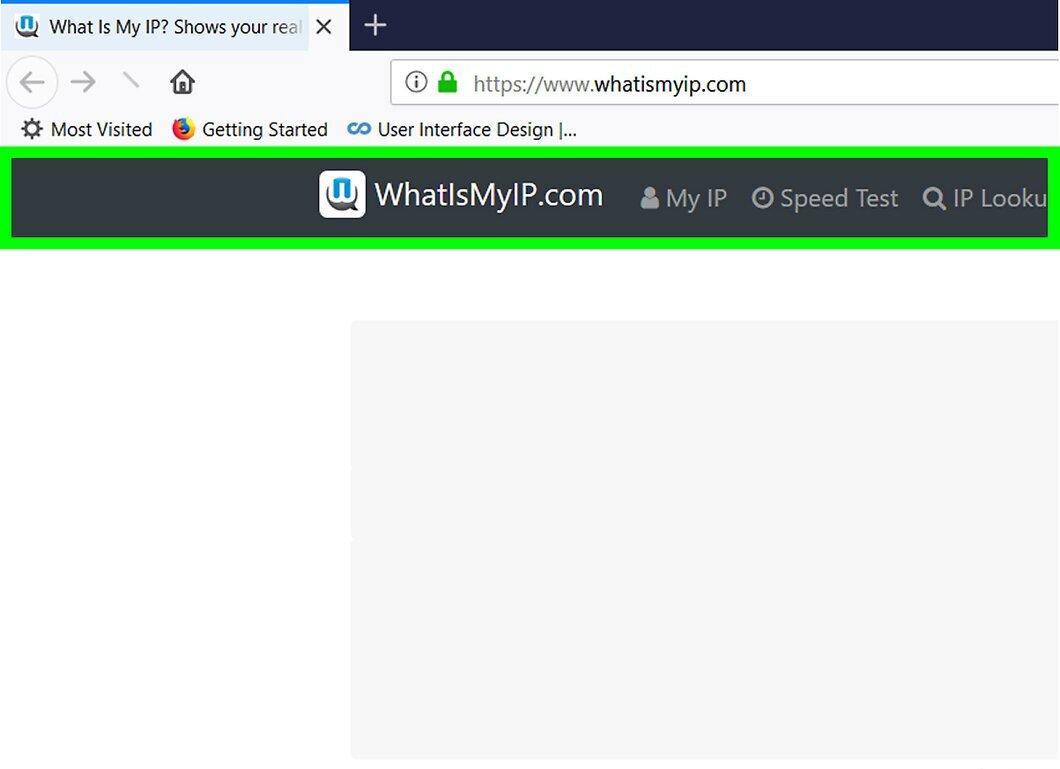
Determine your network's external IP address. On a computer connected to the same network as the video recorder, open a web browser and go to https://www.whatismyip.com/. Find your address in the "Your Public IPv4 is" section. This IP address will be needed to connect to the video recorder from another device.
Step 5. Connect to the video recorder.
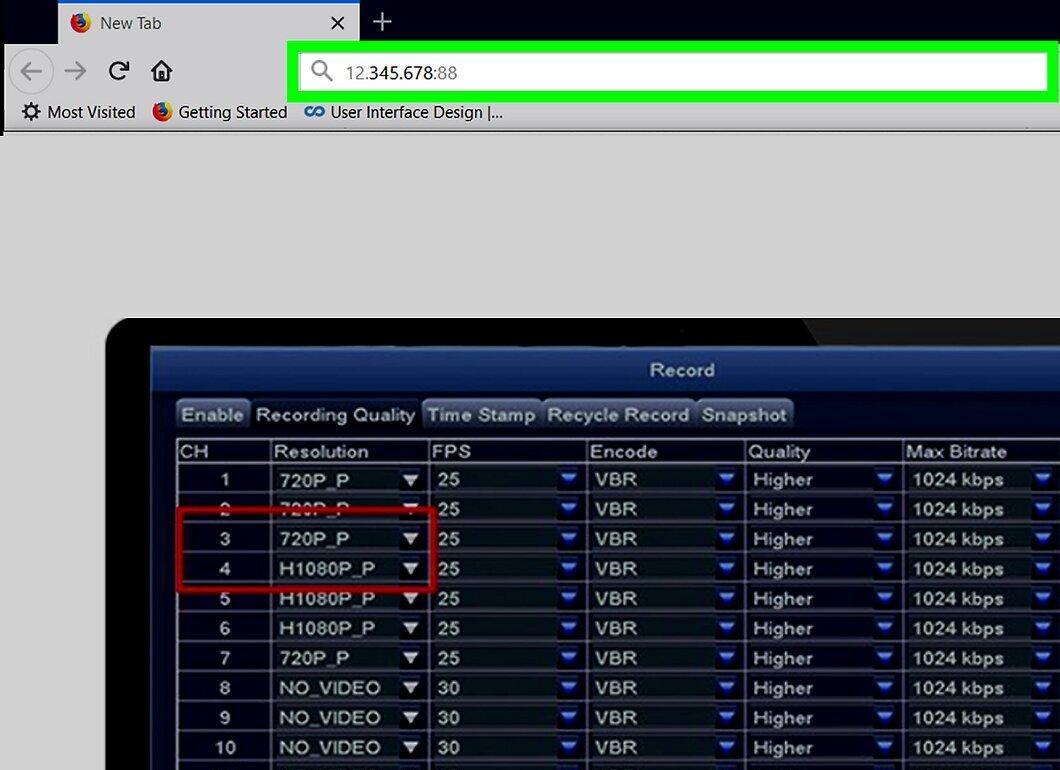
Now connect to the video recorder. On any internet-enabled device, open a browser, enter your network's IP address, add a colon (:) and the port number of your video recorder (e.g., 12.345.678:88). You will see the video recorder's login page; after logging in, you can watch live video from the cameras.
- If your security system has a mobile app, install it, log in with your credentials, and monitor the camera streams.


