
Soldering aluminum is a unique process that necessitates specific equipment. Depending on your task, you will need certain solders designed for working with aluminum surfaces or for joining aluminum to other metals. Once you acquire the necessary solder, which you can find online or at specialized hardware stores, you'll face a new challenge: removing the oxide layer from the aluminum surface and quickly completing the soldering to prevent the metal from oxidizing again.
Preparation for Soldering
Step 1. Identify the type of aluminum alloy.
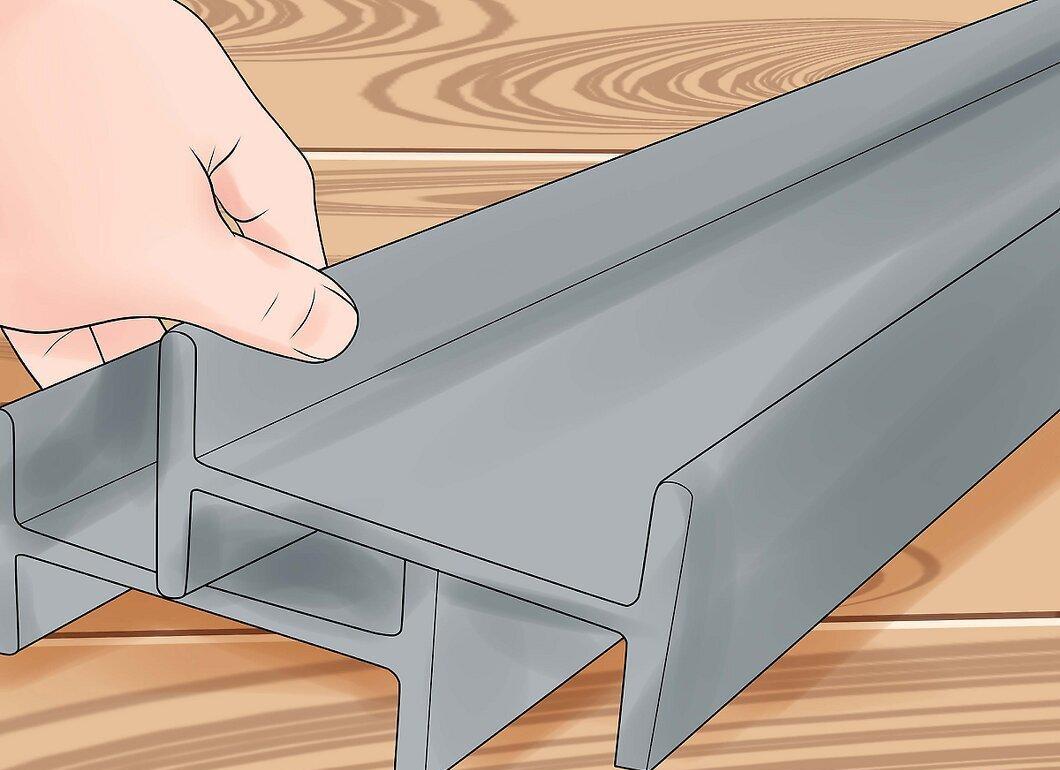
If possible, determine the type of aluminum alloy your material belongs to. Pure aluminum can be soldered, but it may be challenging. Most items are made from aluminum alloys, which can also be soldered, but some may present difficulties, and in such cases, it's best to consult a professional. If the alloy is labeled, check a reference guide for any specific soldering requirements. Without labeling, distinguishing between alloys can be difficult, as specific methods are needed, which are only practical in a professional setting. If the alloy is unmarked, you can try soldering, and perhaps luck will be on your side.
- When joining aluminum to other metals, remember that aluminum's properties can be determining, so detailed information about the other metal is usually unnecessary. Keep in mind that some combinations, such as aluminum and steel, can be particularly challenging to solder, and in these cases, alternative joining methods should be considered.
Step 2. Choose low-temperature solder.
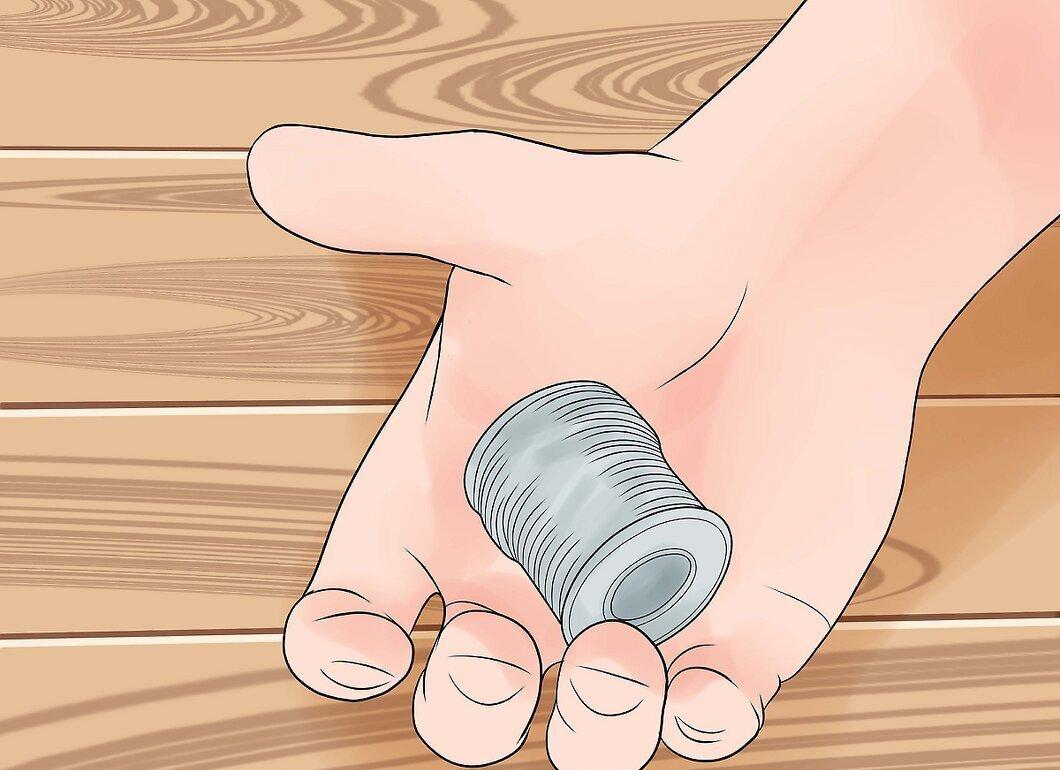
Select a low-temperature solder. Aluminum melts at a relatively low temperature (660ºC), and its high thermal conductivity makes standard solders nearly impossible to use. You'll need a specialized solder with a low melting point, which can be ordered online. Typically, aluminum, silicon, or zinc alloys are used for this purpose, but make sure it is suitable for your project, such as joining aluminum to aluminum or to copper.
- Formally, if the melting point exceeds 450ºC, such materials are considered hard solders. In practice, they are often referred to as soft solders, and the soldering process is similar in this case. Using hard solder can create a stronger joint, but soft solder is preferable for joining electrical circuits and other sensitive materials.
- Whenever possible, avoid solders that contain lead.
Step 3. Select a flux.
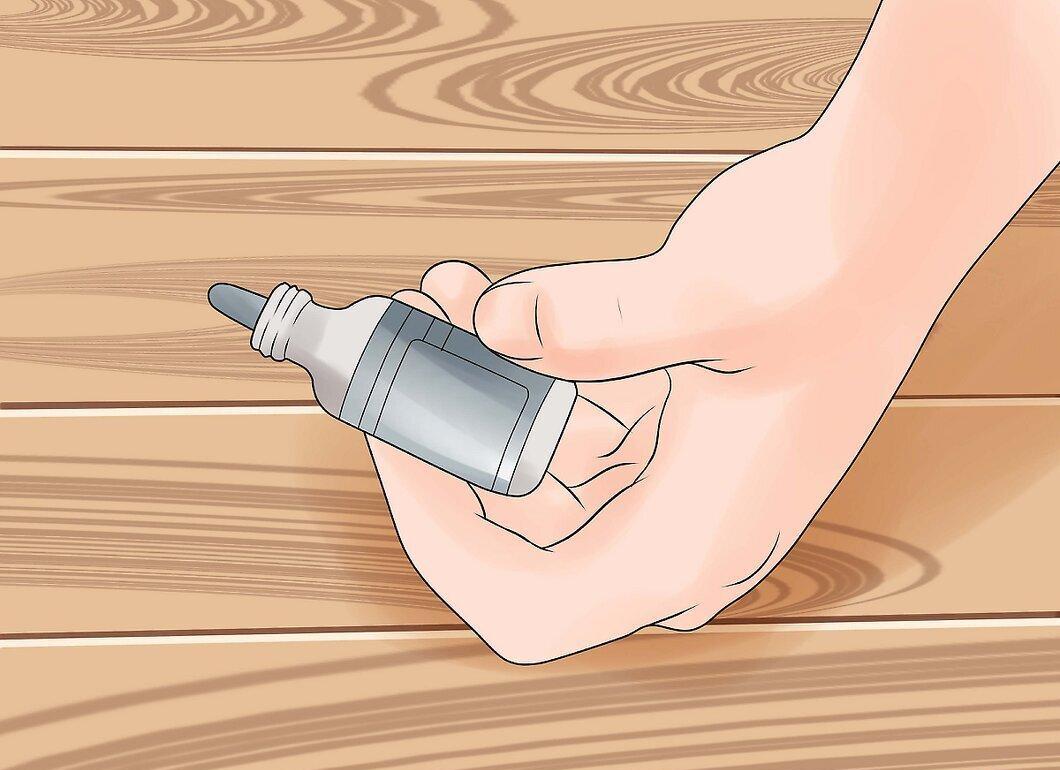
Choose a flux specifically designed for aluminum or for the combination of metals you are working with. It's easiest to find a flux where you purchased the solder, as they are usually compatible. The working temperature of the flux should be close to the melting point of the solder. If your solder has a melting point above 450ºC, select a flux for hard soldering.
- Some fluxes designed for hard soldering may not be suitable for thin sheets or wires of aluminum. In such cases, look for a flux for "deep soldering".
Step 4. Choose a heat source.
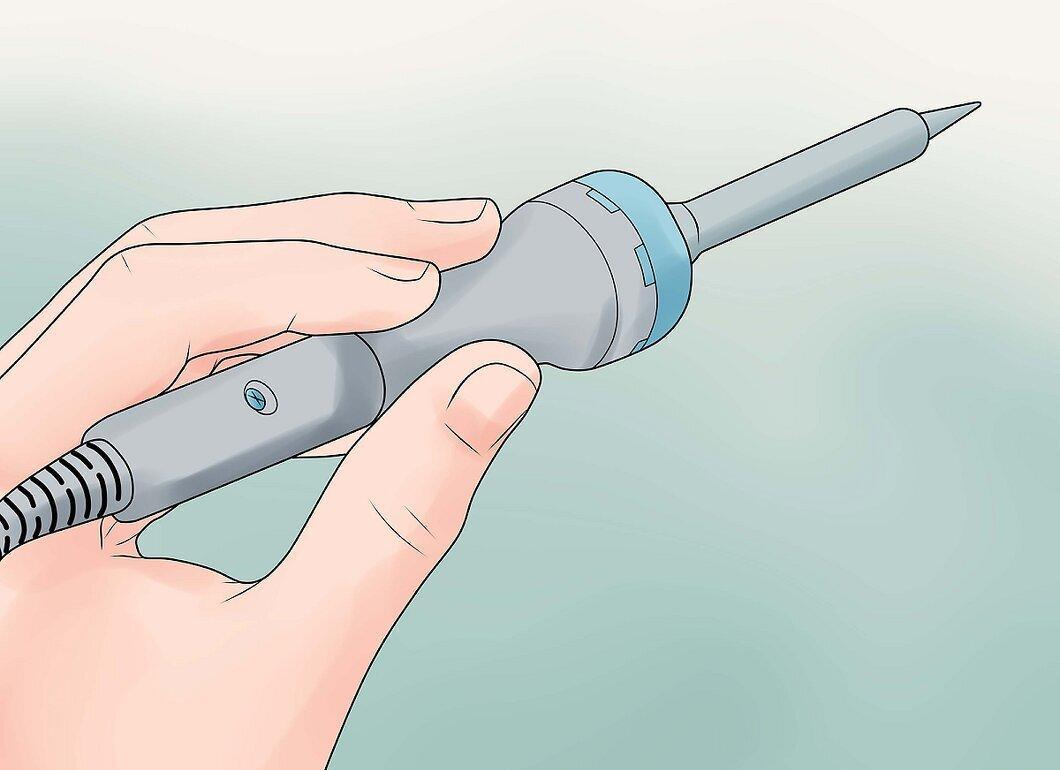
Select an appropriate heat source. For joining aluminum wire, you can use a soldering iron; however, for soldering larger parts, a gas torch will be necessary. A low-temperature soldering torch, with a flame temperature of 315–425ºC, is typically preferred.
- If your workspace is not suitable for a gas torch, use an electric soldering iron with a power rating of 150 watts.
Step 5. Gather additional materials and tools.
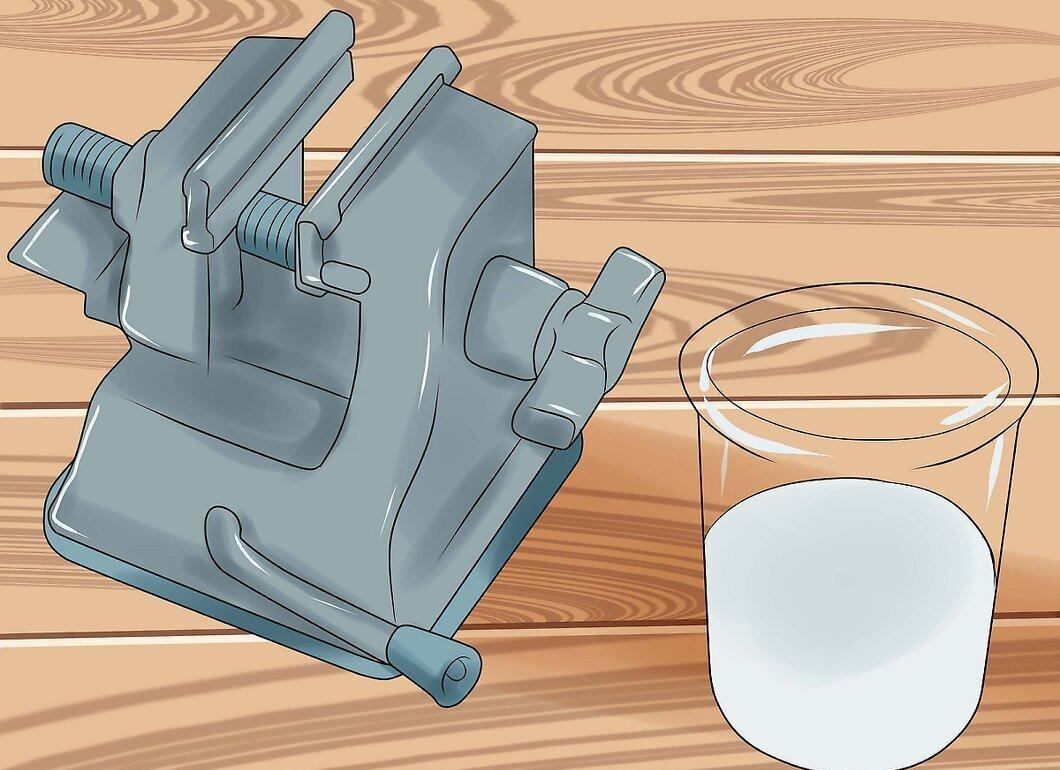
Assemble any additional materials and tools. If you are not just repairing one piece but joining multiple elements, you'll need a clamp. It is also recommended to use a pickling solution to help clean the metal surface of oxides after soldering. Acetone may be required to remove residues from some resin-based fluxes.
Step 6. Ensure safety.
Pay special attention to safety. Work in a well-ventilated area and protect yourself from toxic fumes with a respirator. It is advisable to use safety goggles or a mask, as well as gloves made of thick leather or natural fabric. Ensure that there are no flammable materials nearby and have a fire extinguisher on hand.
The Aluminum Soldering Process
Step 1. Pre-tin the surfaces to be joined (optional).
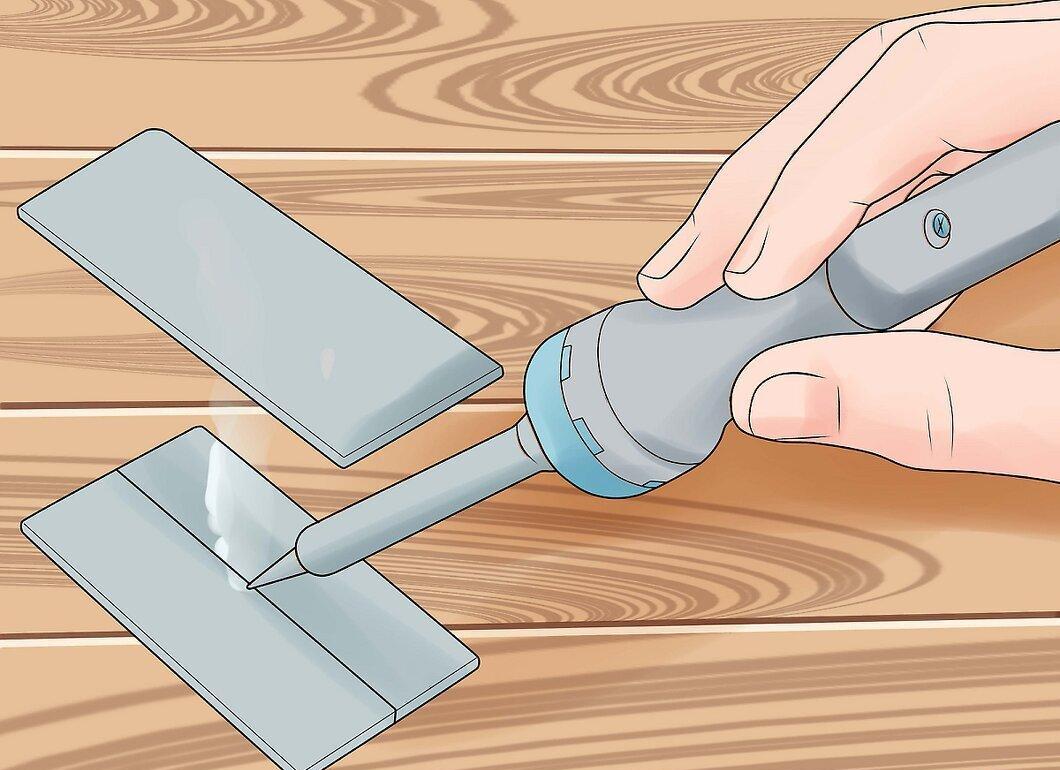
If you are working with large surfaces or hard-to-solder metals like aluminum and steel, pre-tinning—applying a thin layer of solder to each surface—can significantly ease the soldering process. Follow the instructions below; after pre-tinning, align the soldering elements and apply solder again.
- Skip this step if you are soldering a crack or hole in a solid piece.
Step 2. Clean the aluminum surface with a wire brush.
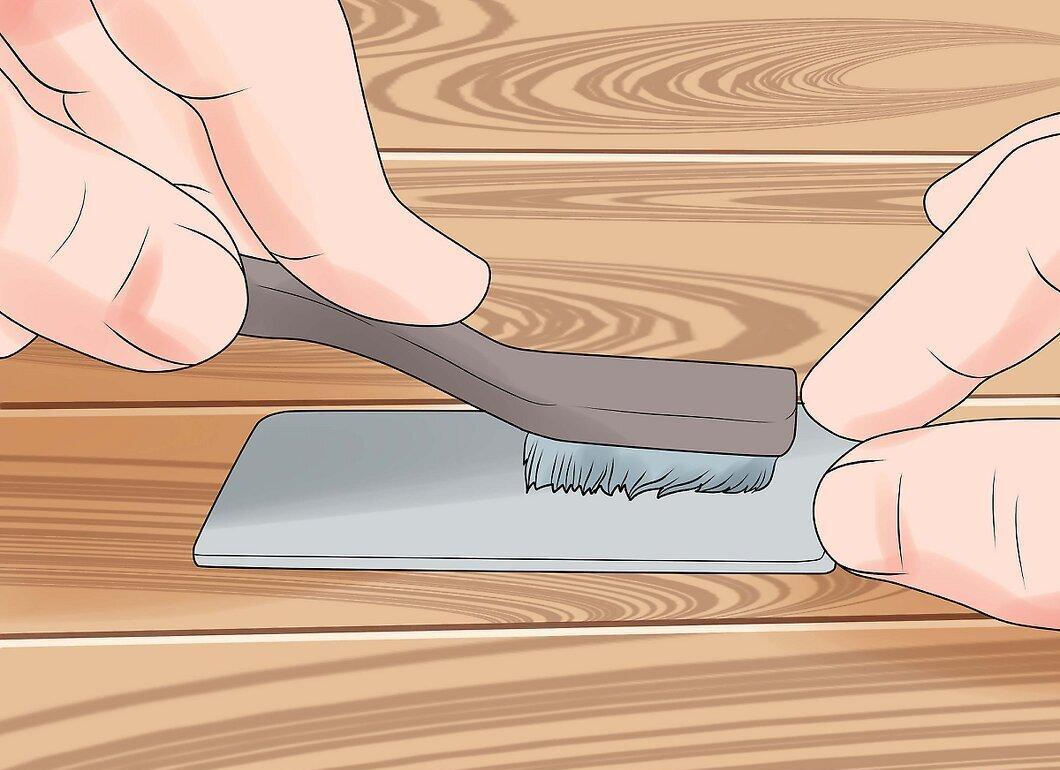
Clean the aluminum surface with a wire brush. Aluminum quickly develops an oxide layer when exposed to air, which hinders proper adhesion during soldering. Scrub the surface with the brush, following the manufacturer's instructions. Prepare to quickly clean, flux, and solder to prevent the oxide layer from forming.
- If the surface is heavily oxidized or contaminated, sanding with sandpaper or wiping with technical alcohol or acetone may be necessary.
Step 3. Align the surfaces.
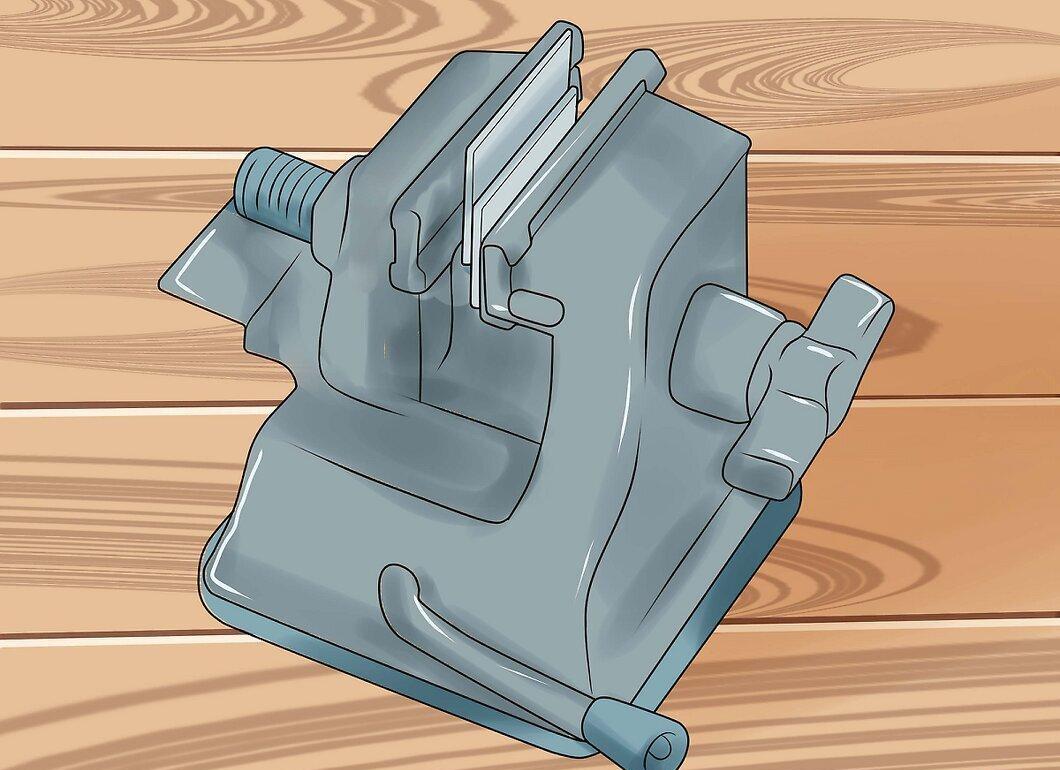
Align the surfaces. If you are joining two parts, do so carefully, leaving a small gap of about 1 millimeter for the solder.
- If the soldering surfaces do not fit tightly, level them using sandpaper.
- To avoid oxidizing the aluminum during soldering, bring the surfaces as close together as possible, clean them, and then press them tightly together.
Step 4. Apply flux.
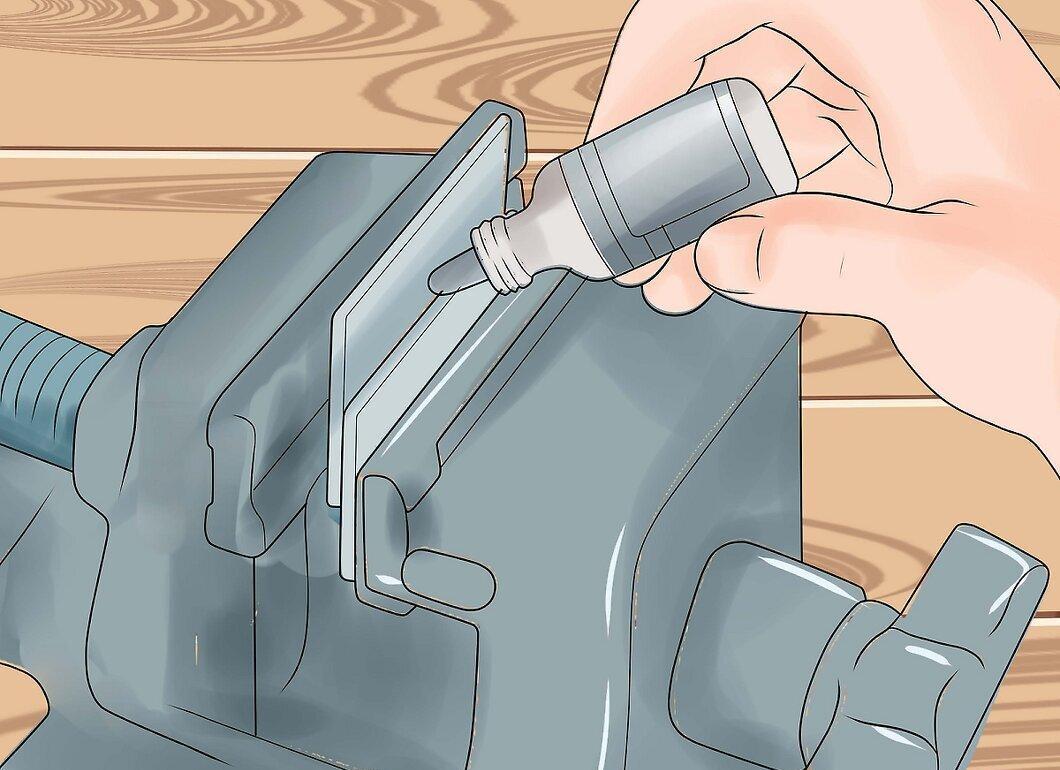
Immediately after cleaning the surfaces, apply flux to the joining areas using the solder wire. This will help prevent the formation of an oxide layer and allow the solder to bond better.
- When soldering wires, dip the ends in the molten flux.
- If you are using powdered flux, refer to the instructions for its preparation.
Step 5. Heat the metal.
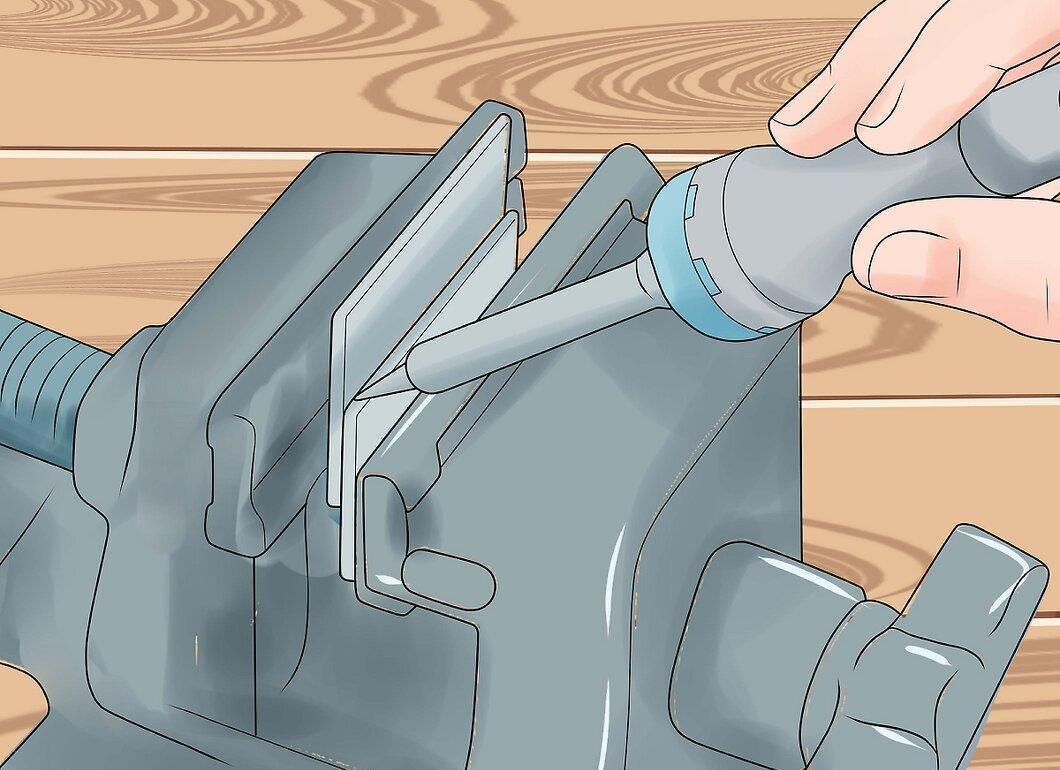
Heat the metal. Using a torch or soldering iron, begin heating the joint area, starting from the far ends. Avoid overheating the solder and flux if they are in direct contact with the heating element. If you are using a gas torch, keep the nozzle 10-15 cm away from the metal. Heat the metal using smooth circular motions.
- Preheat the soldering iron for ten minutes before use.
- If the flux darkens, let the surface cool, clean it, and start again.
Step 6. Apply solder.
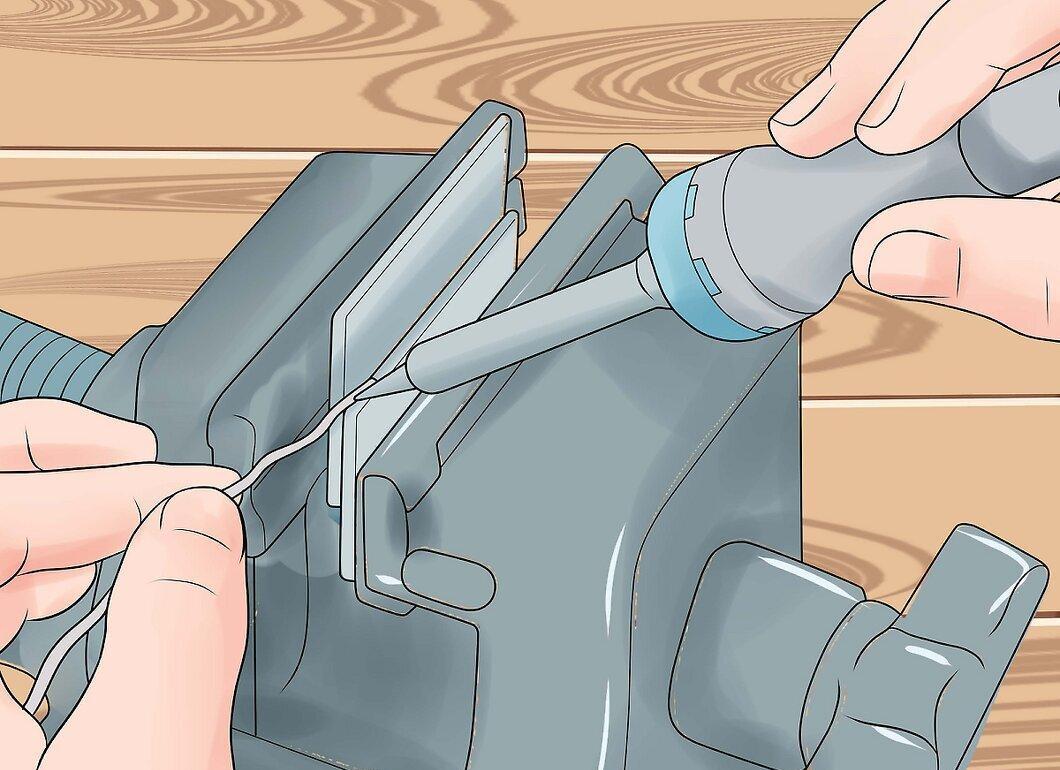
When the flux turns light brown and begins to bubble, it signals that it has reached the desired temperature. Bring the solder wire or rod to the joint area while continuing to heat the metal nearby or from the reverse side. Move the solder evenly across the surface for proper distribution. If you have limited experience, you may need practice to create a neat and reliable joint.
- If the solder does not adhere to the aluminum, it may be due to the formation of an oxide layer; in this case, it needs to be removed and soldering done immediately. It could also be caused by using unsuitable solder or the complexity of the alloy.
Step 7. Remove excess flux and oxide layer.
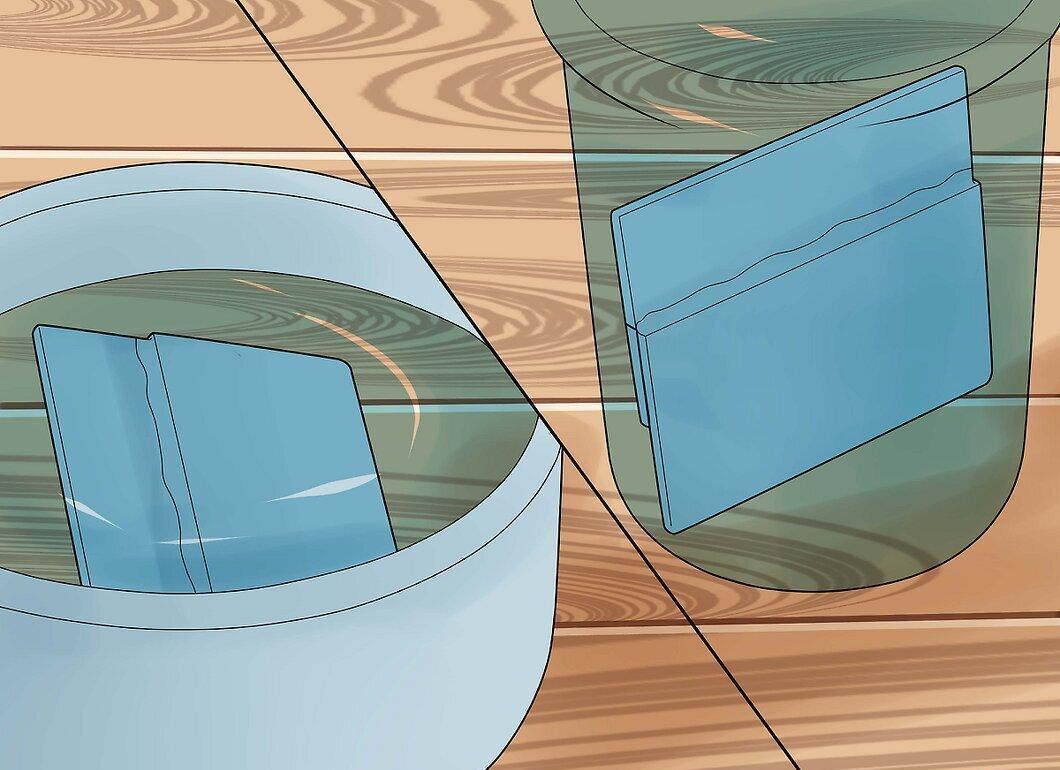
Remove excess flux and the oxide layer. If you used a water-soluble flux, it can be washed off with water after the metal cools. Use acetone to remove residues from resin-based fluxes. After that, you can dip the joint in a "pickling solution" to remove oxides formed at high temperatures.


