If you need to connect two plastic components or repair a damaged plastic item, welding might be your best solution. You'll need an electric welding gun and a special electrode designed for plastic. Getting accustomed to the high temperature of the welding tool can be the trickiest part of the process. Check out these helpful tips to master plastic welding.
Part 1
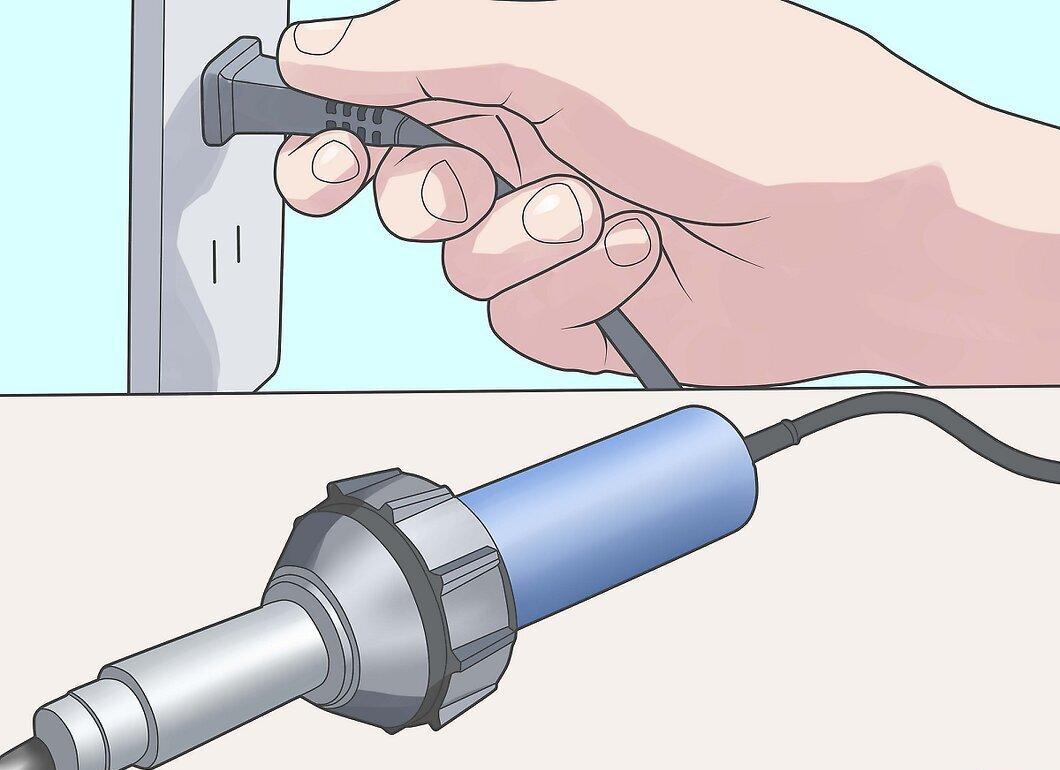
Step 1. Heat the welding gun for at least 20 minutes.
Step 2. Prepare the plastic parts.
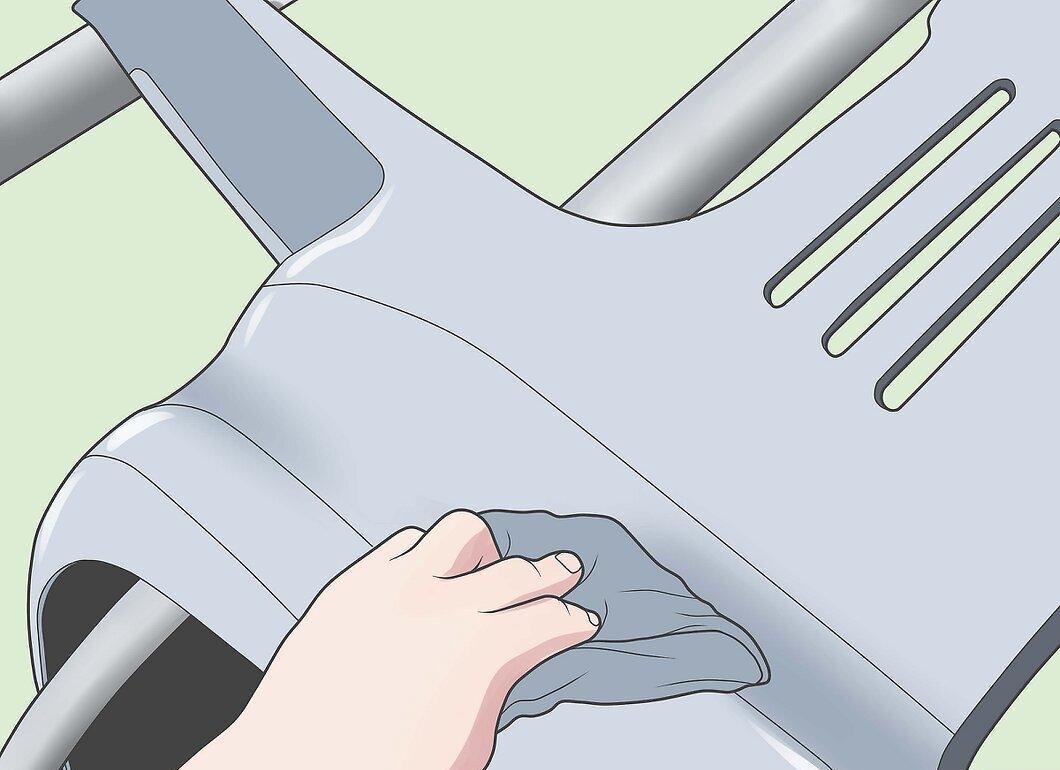
Get the plastic ready for welding. If possible, detach the part from the object. Wash the plastic with warm soapy water and dry it thoroughly with a clean cloth.
Step 3. Sand the edges of the plastic.
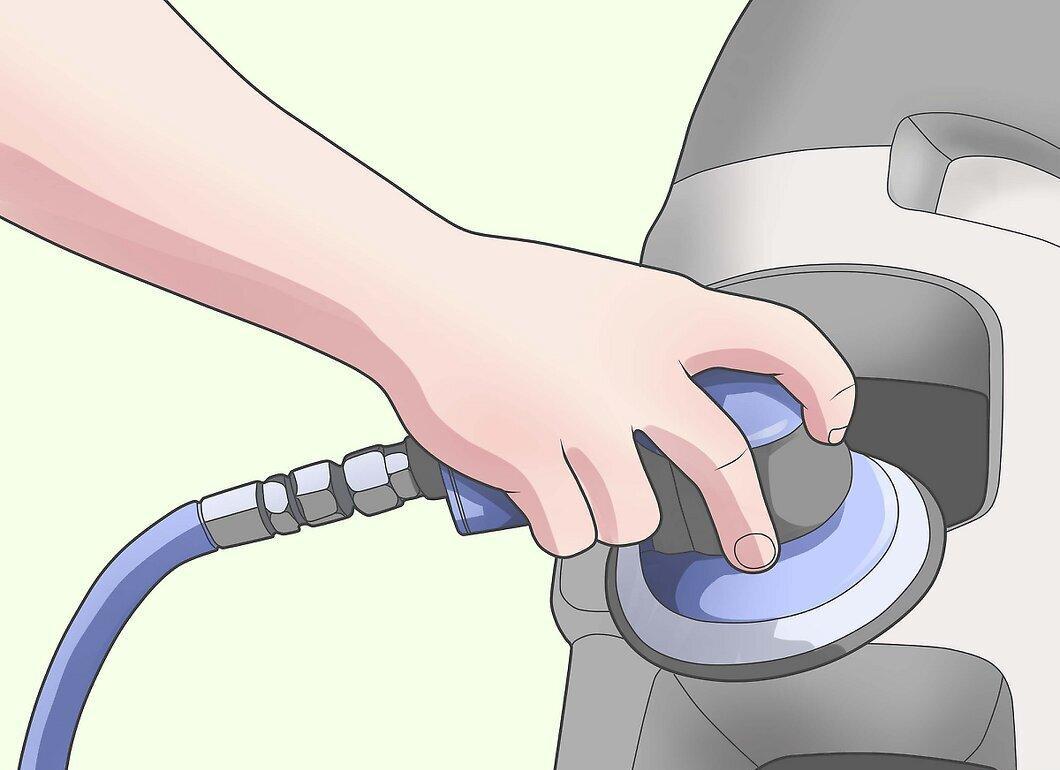
Sand the areas you plan to weld. Identify the spots on the plastic and smooth them out using 80-grit sandpaper until they are even.
Step 4. Protect surrounding areas.
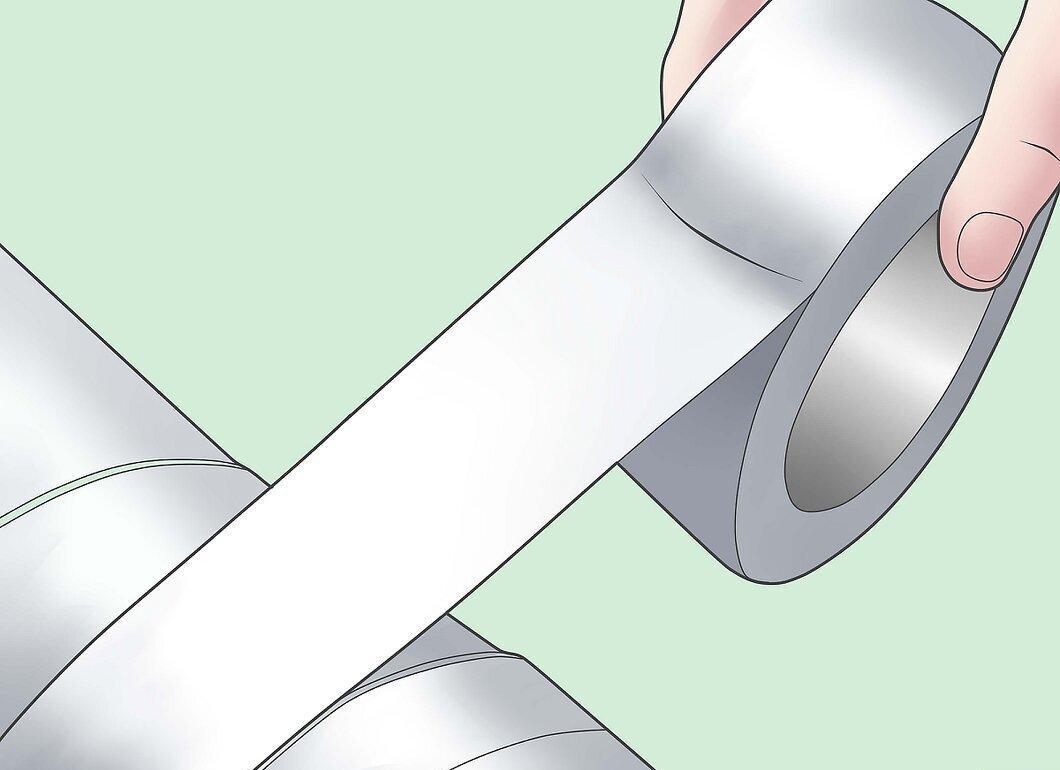
Secure nearby areas. Align the pieces and cover them with foil to protect adjacent areas. Make sure the parts fit snugly together and are positioned correctly.
Step 5. Insert the electrode into the heated welding gun.
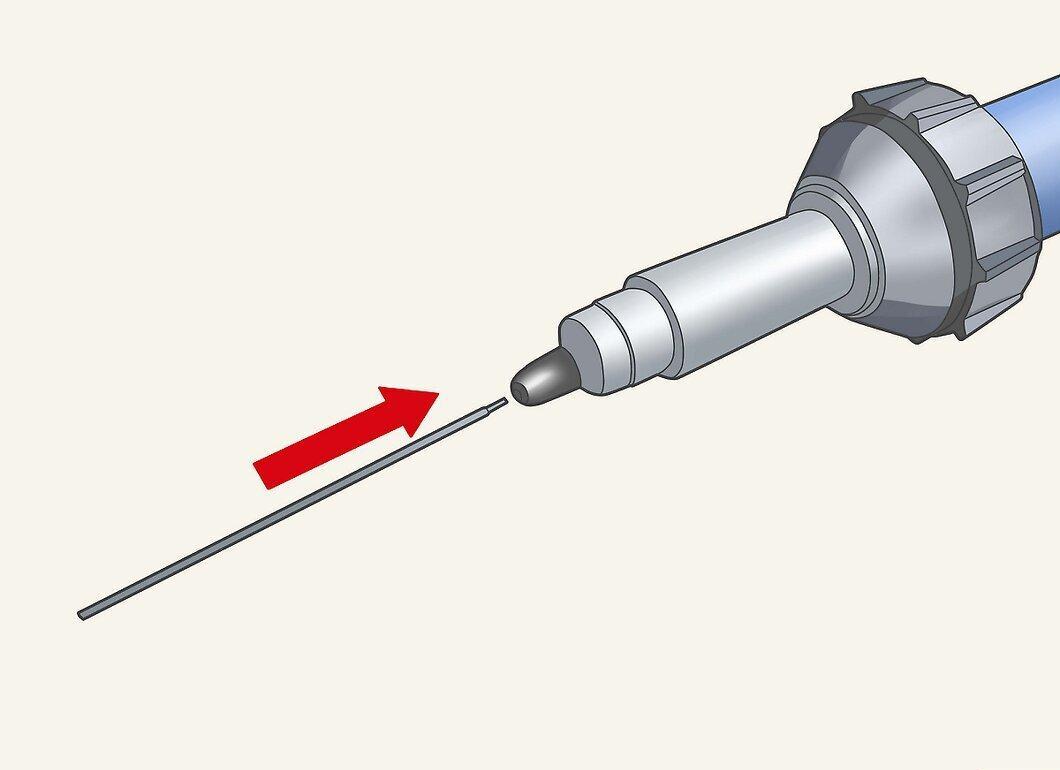
Place the welding electrode into the already heated welding gun. This component will direct hot air into the tool.
Step 6. Carefully move the welding gun along the seam.
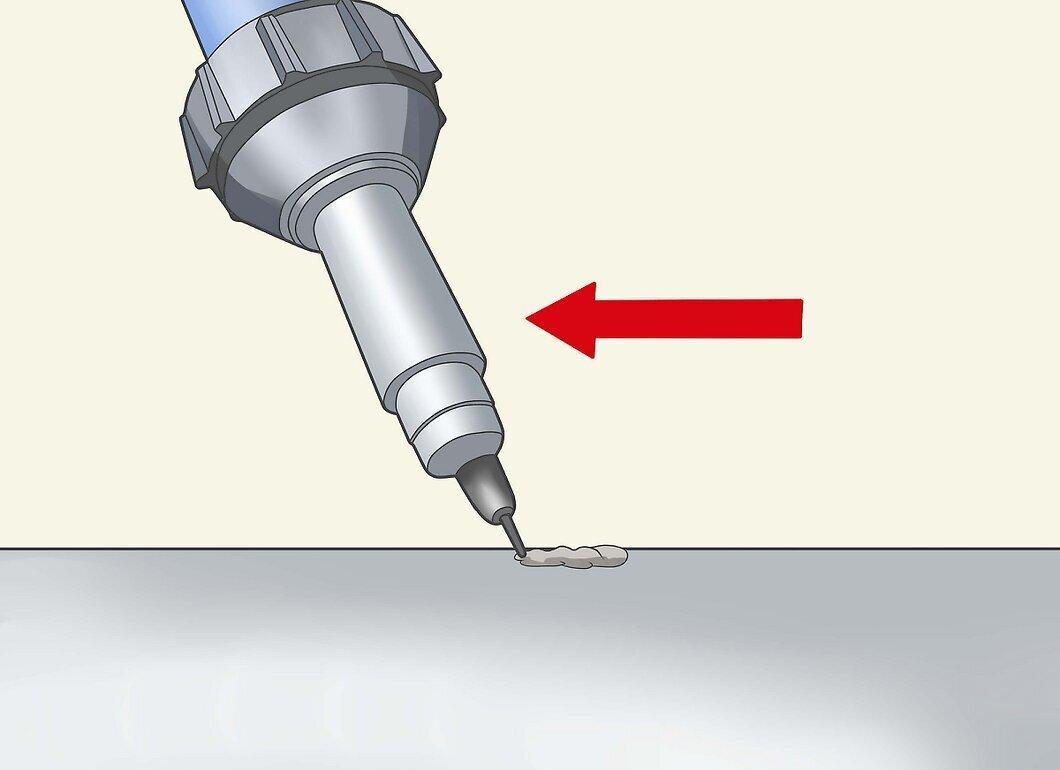
Slowly guide the tip of the welding gun along the joint between the plastic pieces. You'll notice the plastic melting and forming a strong bond. To ensure the temperature is sufficient, move the gun closer and further from the parts while working steadily.
Step 7. Allow the joint to cool for at least 5 minutes.
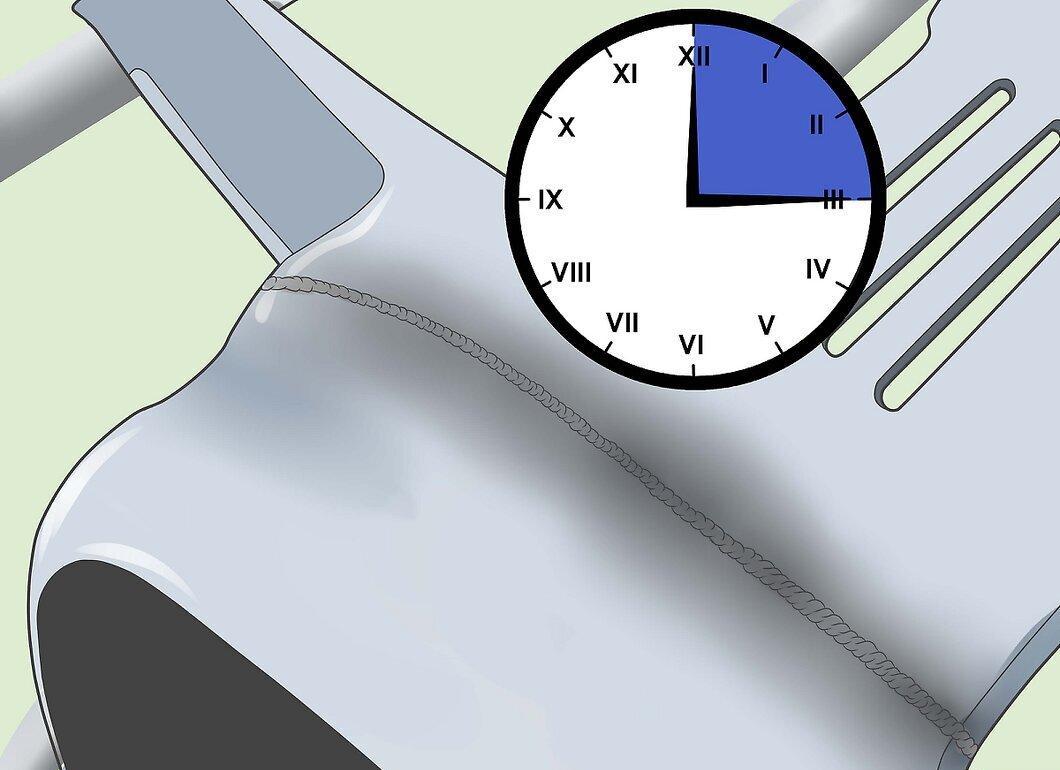
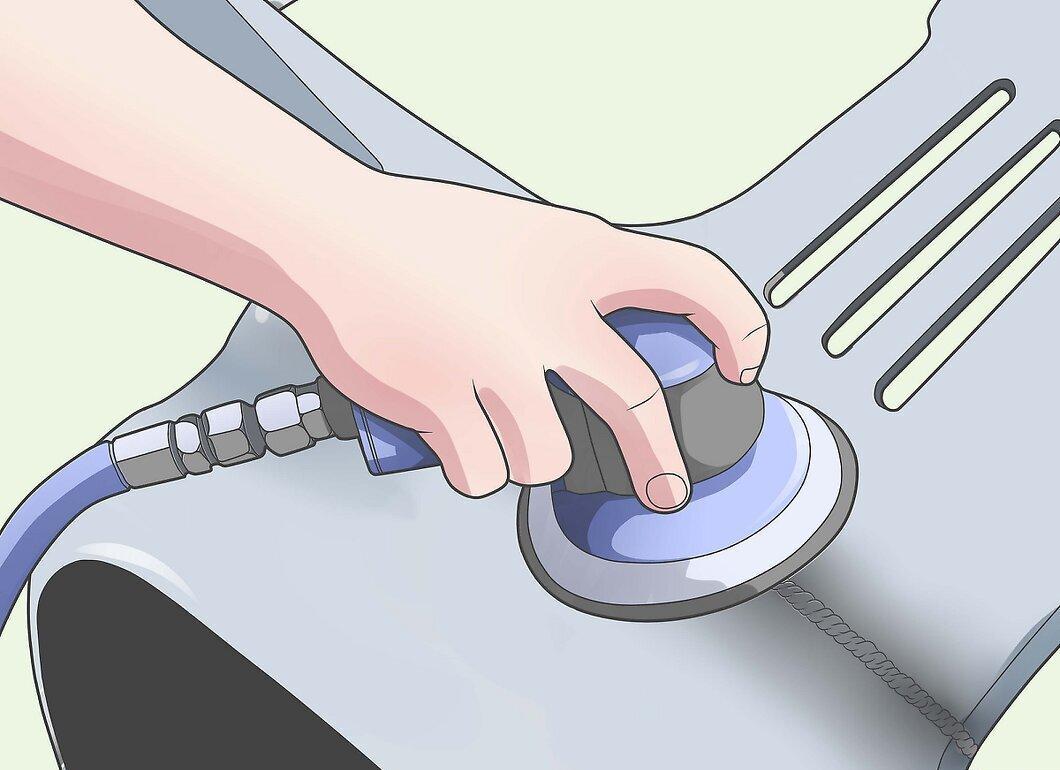
Step 8. Sand the seam with 150-grit sandpaper until smooth.
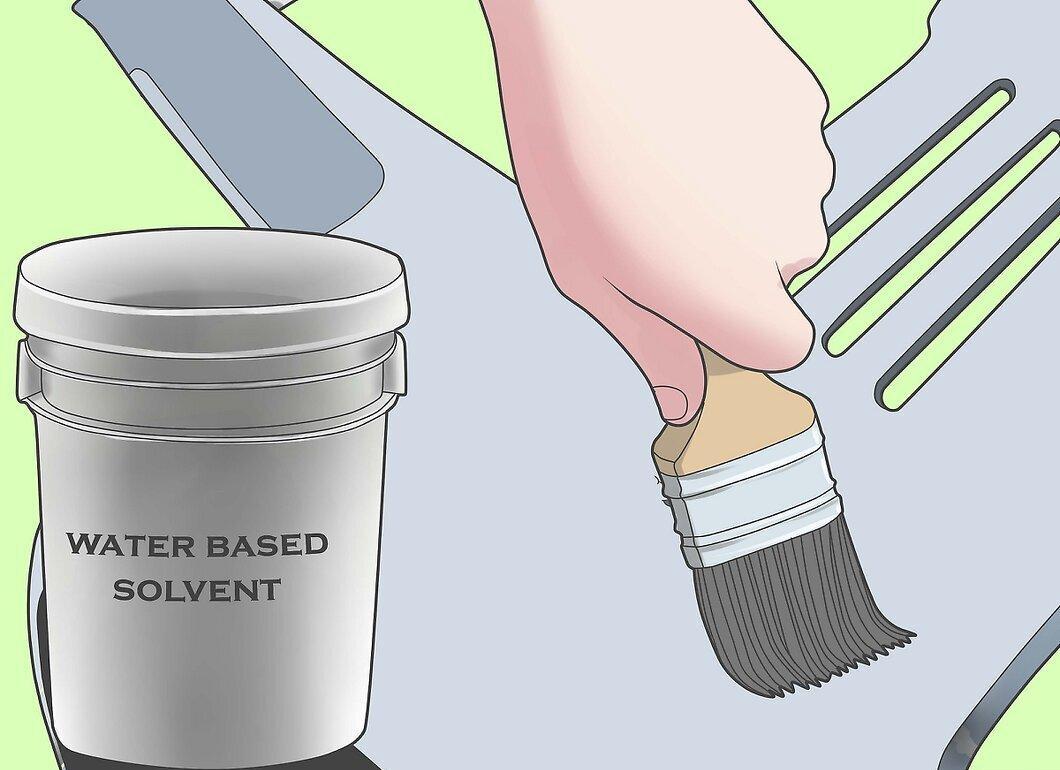
Step 9. Clean the product with a water-based solvent.