
Mastering the Angle Grinder: Tips for Effective Use
Angle grinders, also known as "grinders" or "angle grinders," can be electric or pneumatic. These tools are ideal for a variety of tasks, including metal cutting, tool sharpening, and surface cleaning. The choice of a specific angle grinder model and discs depends on the type of work you need to perform.
Part 1
Step 1. Choosing the Right Angle Grinder Based on Tasks.
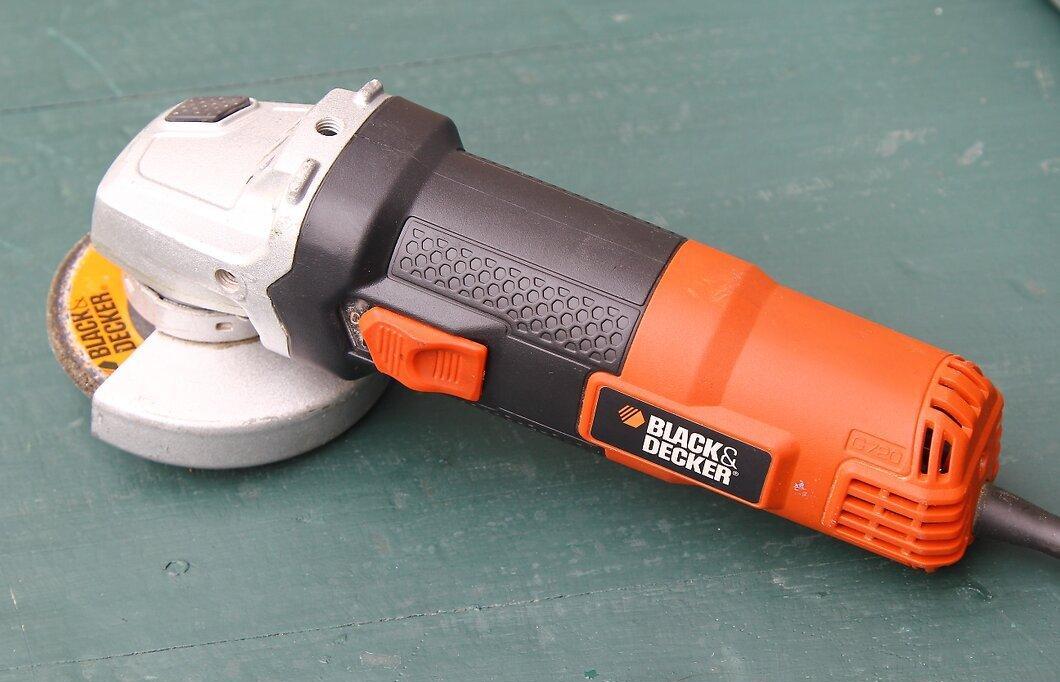
First, determine which angle grinder you need based on your tasks. Electric models have more power and are great for large jobs in open spaces. Pneumatic versions are less powerful but more convenient to use, especially in tight spaces.
Step 2. Selecting the Right Discs.
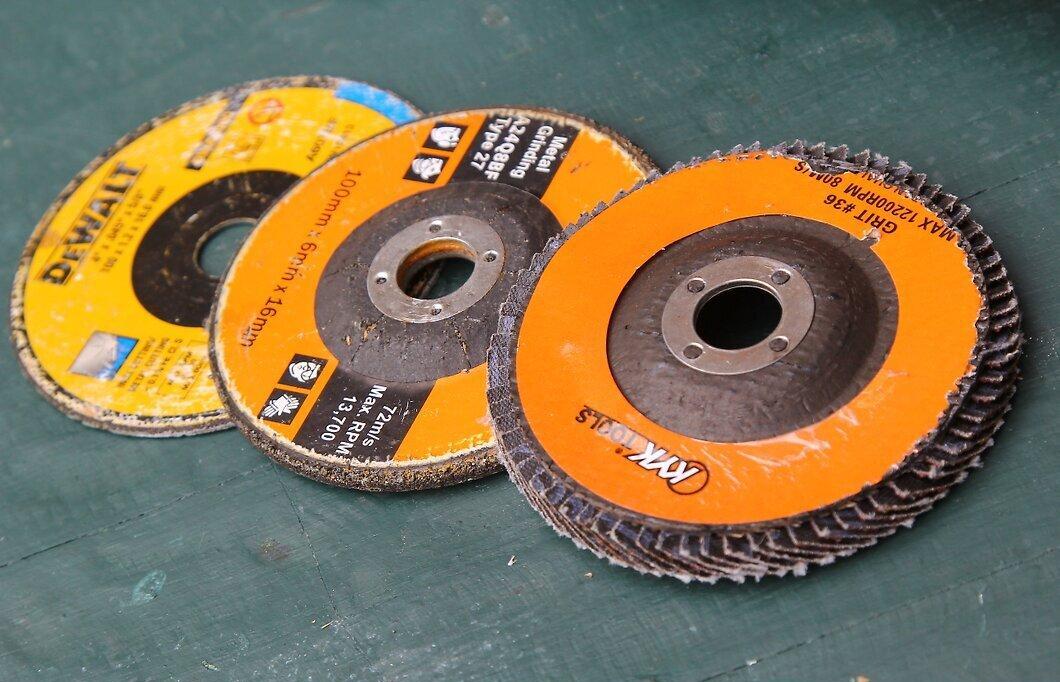
The next step is to choose the right discs for your work. Discs can be for grinding and polishing (for finishing stages) or cutting discs designed for cutting metal, stone, steel, and pipes. There are also wire brushes for angle grinders that will help you remove rust or paint. Remember, cutting discs should never be used for grinding.
Step 3. Familiarize Yourself with the Instructions.
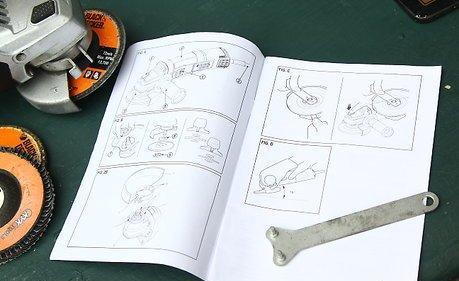
Before starting work, carefully read the instructions for your angle grinder and the discs being used. Follow the manufacturer's recommendations to avoid issues and ensure safety.
Step 4. Securing the Workpiece.
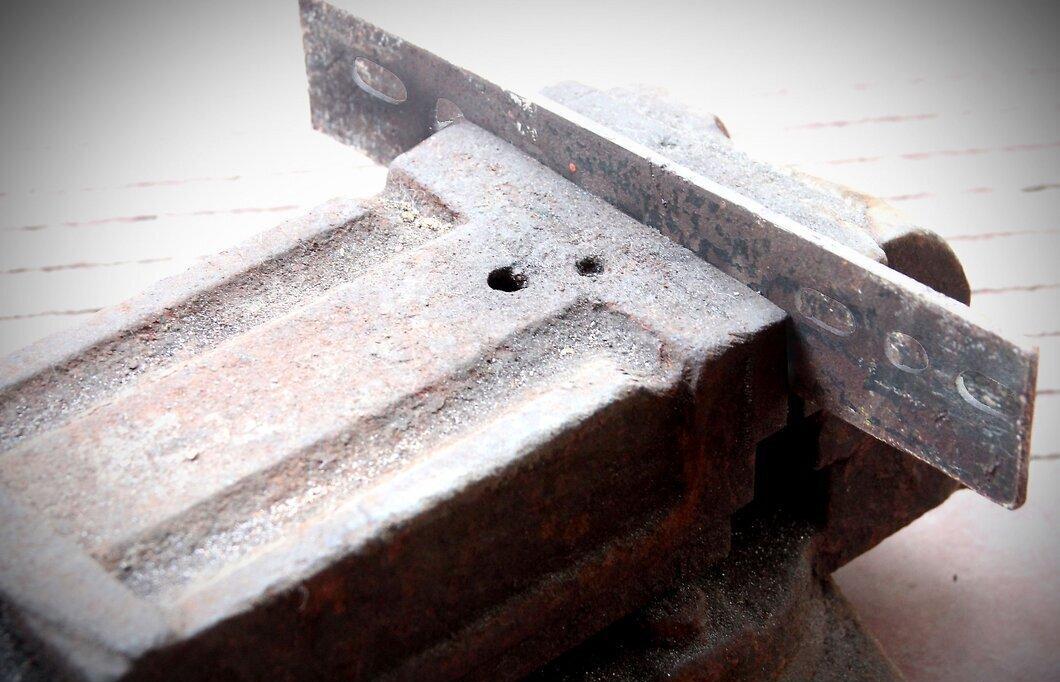
Make sure to securely clamp the workpiece, for example, using a vise on a sturdy and stable workbench. Ensure that the piece is firmly held before you begin working.
Step 5. Properly Holding the Angle Grinder.
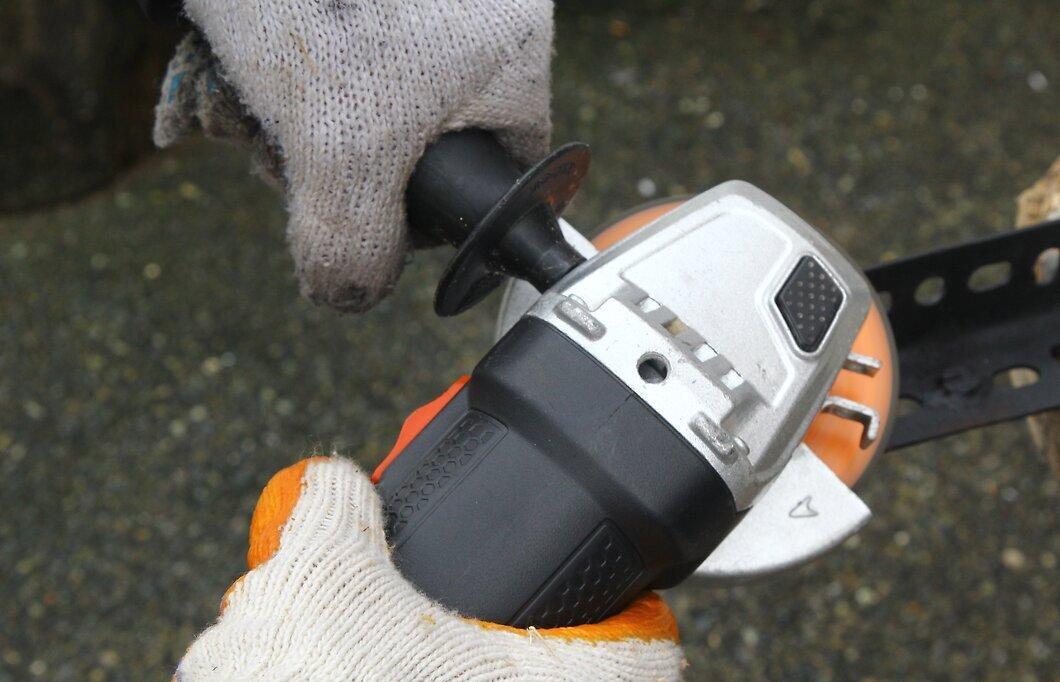
During grinding, hold the angle grinder with both hands, gripping the body and the handle, and position the disc plane perpendicular to the surface being worked on.
Step 6. Grinding Technique.
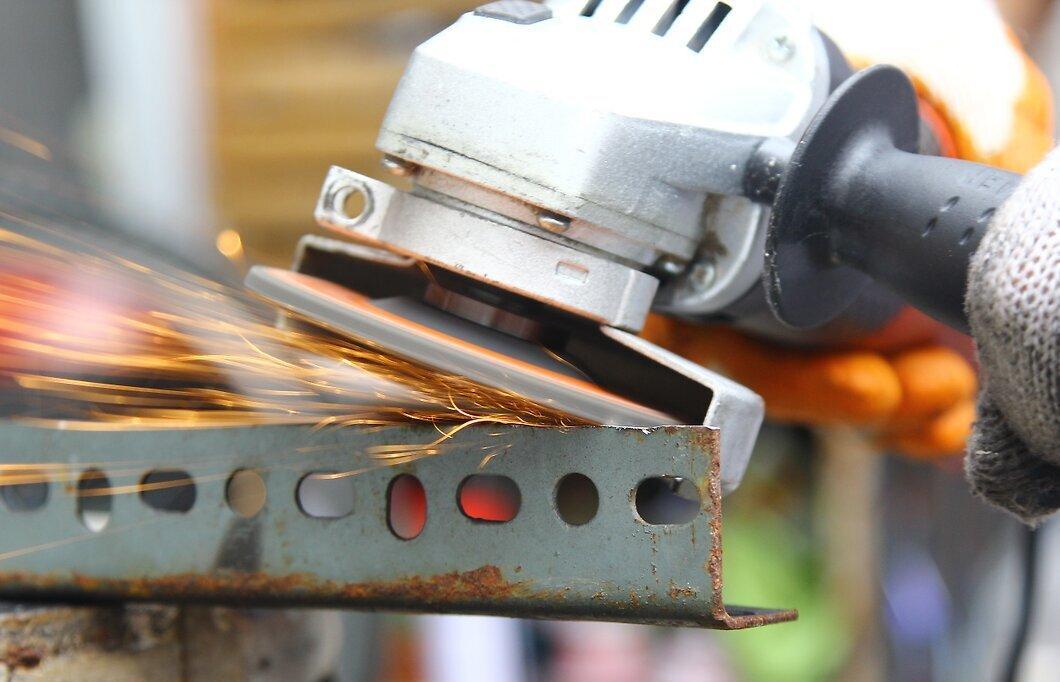
When grinding, move the angle grinder along the surface towards the handle. This will help avoid kickback and disc slippage. An unsteady body position and improper grip can lead to damage to the work and even injuries.
- When finishing up, lift the angle grinder smoothly and slowly.


