You can use this creative activity to capture and document your child's handprints over time. Even infants can participate—it's as simple as guiding their little hand onto paper (and wiping it clean afterward).
Imagine Your Project
Step 1. Define the goals you want to achieve with your project.
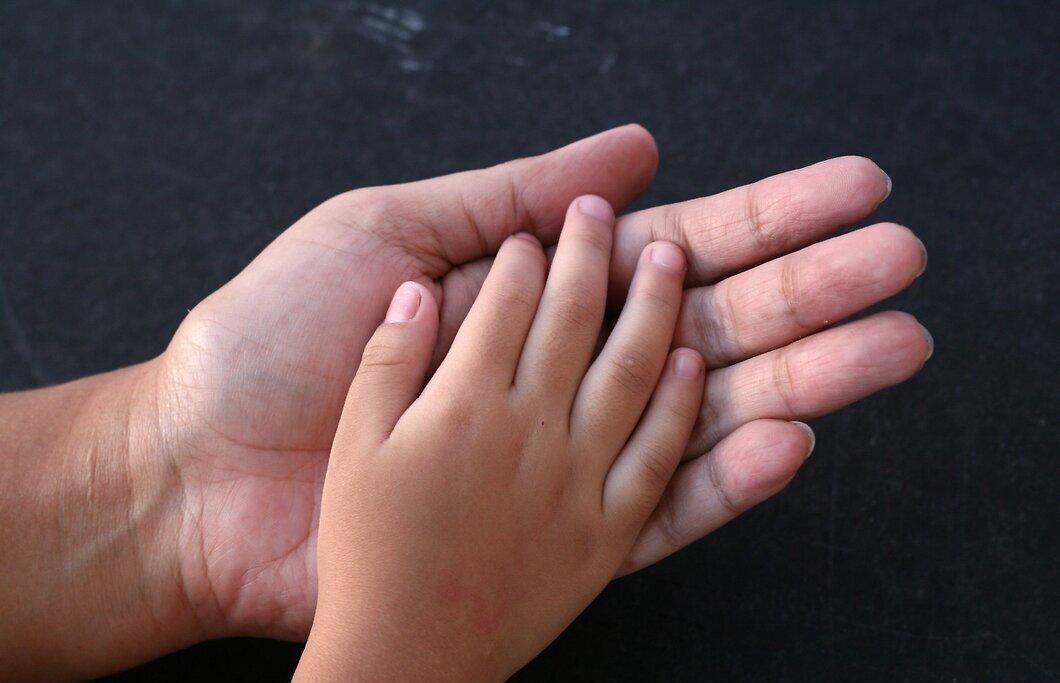
Determine what you want to accomplish with your project. Do you want to create a family handprint piece that includes grandparents and other relatives, or just a piece featuring your child's handprint to track the growth of that precious little hand?
- If you want to keep a chronological record of handprints, create a folder to store these artworks. Always date each handprint for reference (it’s a good idea to keep digital copies in case the original gets damaged or lost).
- Another way to store your child's handprints while tracking their growth is to create small cards with the prints and display them on a special board.
Step 2. Plan the design.
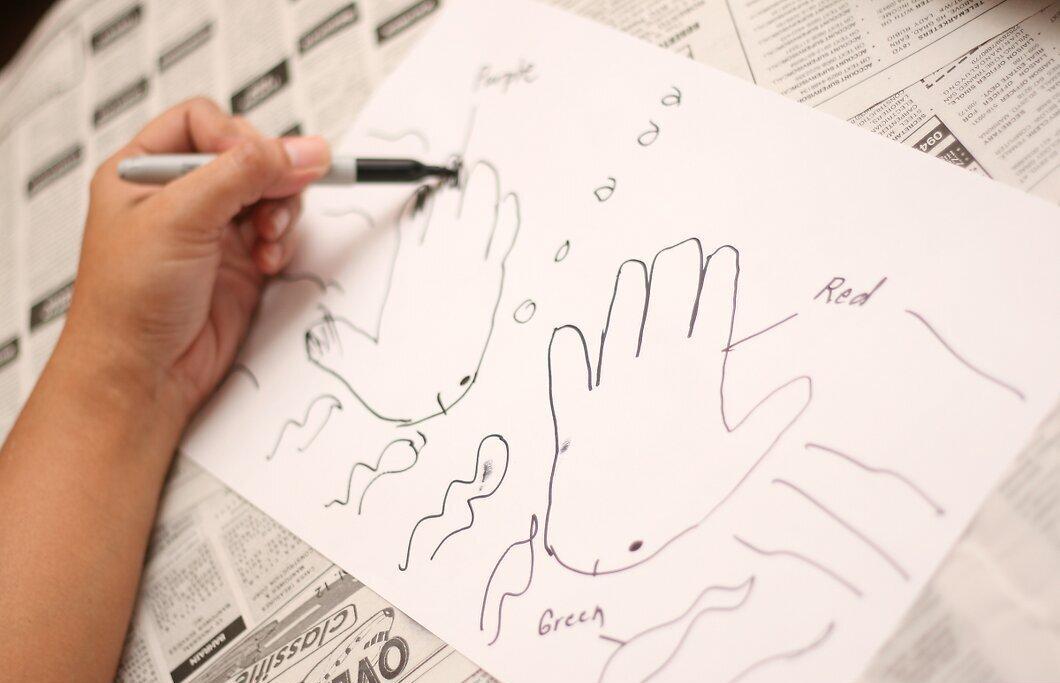
Think about the design. How will you turn the handprint into a piece of art? Perhaps you can transform the chubby handprint into a fish, an animal, or even recreate the alphabet? Plan ahead what the final artwork should look like.
- You can also design something more permanent using clay or even plaster. Consider your child's age, how much time the project will take, and what materials you will need before deciding on the type of project.
Step 3. Ensure your child is ready to participate.

Make sure your child is on board with the activity. Even though a child can make a handprint, ensure they are inclined to participate; otherwise, it might become a challenge instead of a fun activity.
- Find out who can help with this project. It would be great to have someone assist with the preparations, but it’s not essential unless you have a whole group of kids.
Preparing for the Project
Step 1. Choose a time when your child is well-rested, fed, and in good spirits.

Select a time when your child is well-rested, fed, and in a good mood. Your child will be much more engaged if they are interested.
Step 2. Prepare all tools and materials in advance.
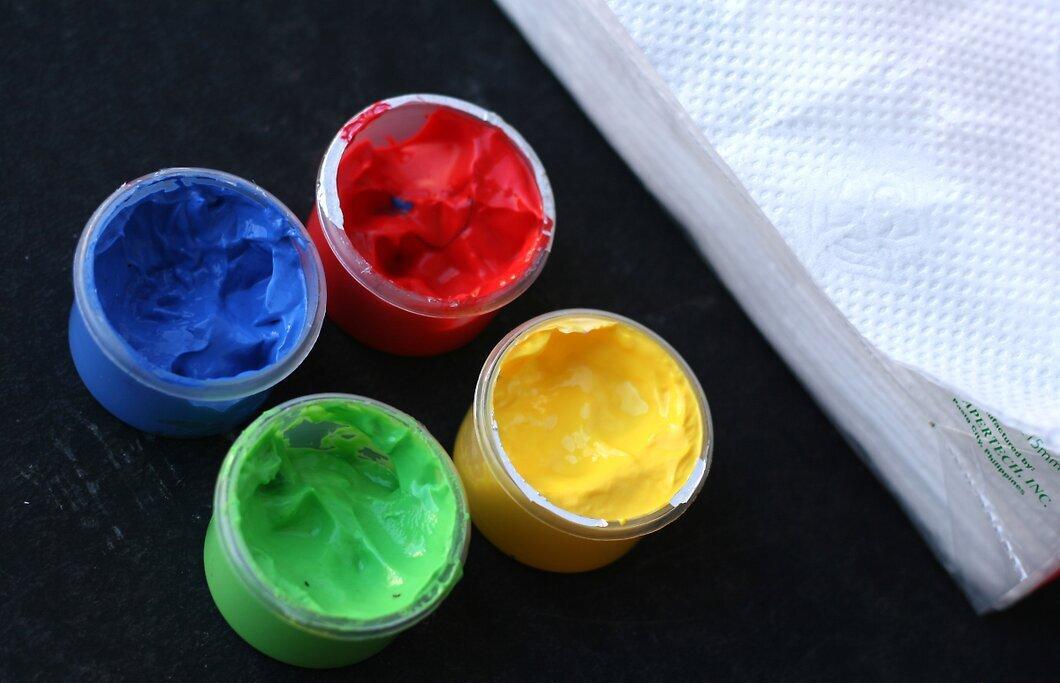
Get all tools and materials ready in advance. Before inviting your child to participate, unpack and set everything up to maximum readiness. If you’re using paint, pour it into separate bowls/plates, and prepare plenty of towels and clean water. Additionally, if you plan to create a project (like a plaster handprint), read the instructions below to ensure everything goes smoothly and is enjoyable for your child.
Step 3. Find a location for the activity.
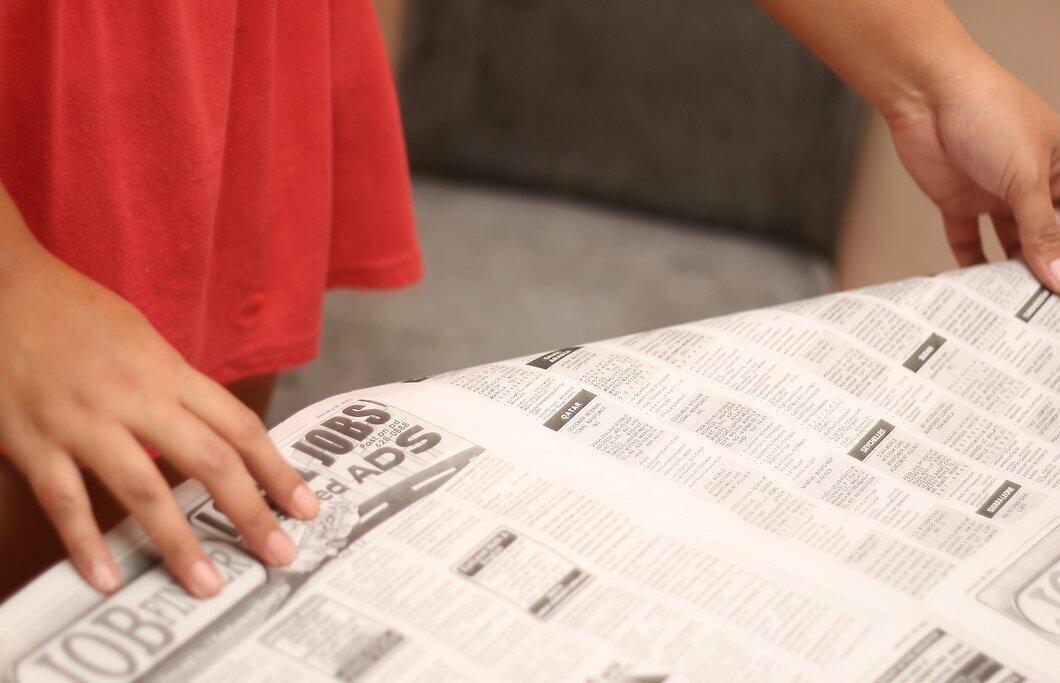
Choose a location for the activity. An outdoor picnic table or a kitchen table covered with newspapers are the best options.
Step 4. Explain your idea to your child.
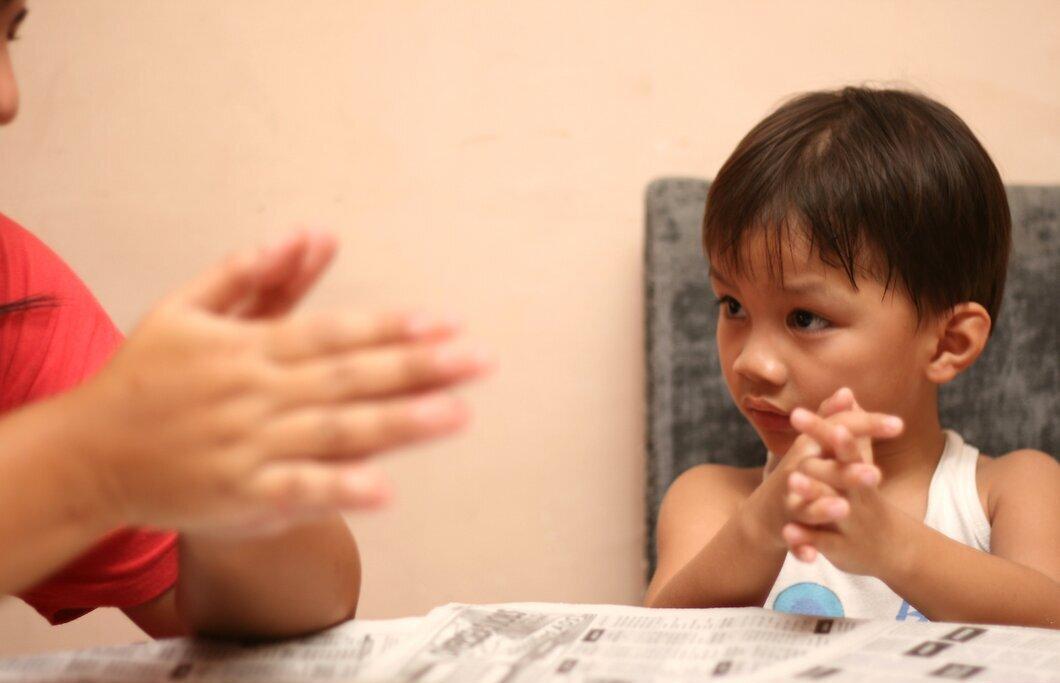
Explain your idea to your child. Since they will be participating in the project, walk them through each step of what they need to do. This way, your child will understand what to expect and will be more patient.
Creating
Step 1. Cover your child’s hand with paint or plaster to make the print.
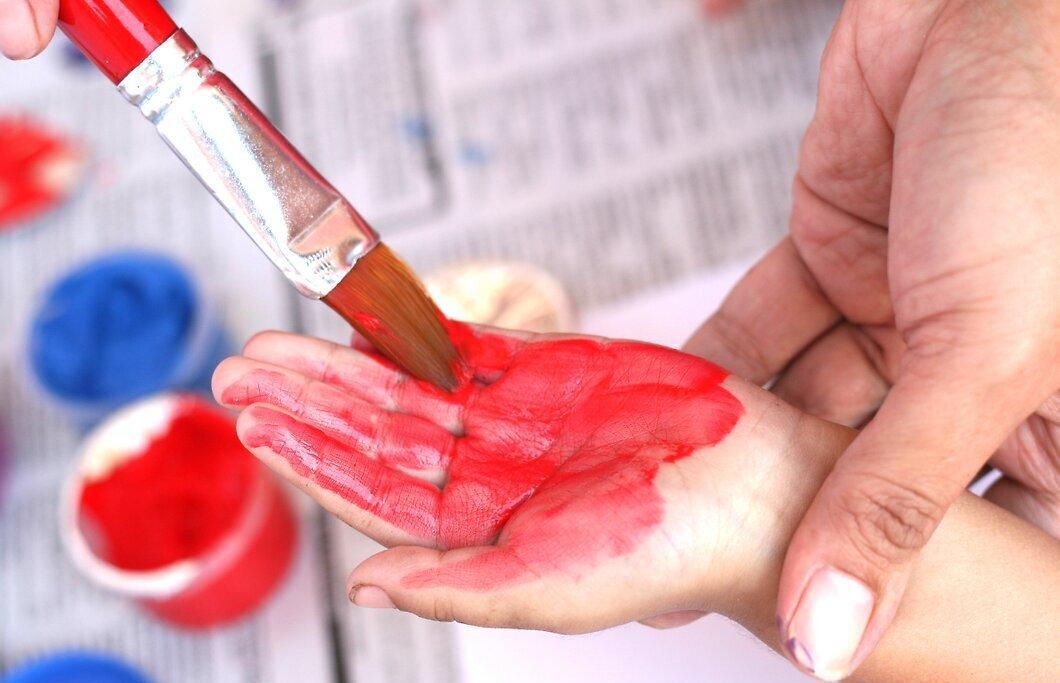
Coat your child’s hand with paint or plaster to create the print. Instead of dipping the whole hand into a bowl, use a brush to apply the paint or plaster. Spread it evenly across the palm.
Step 2. Guide your child’s hand onto the canvas, paper, or cardboard.
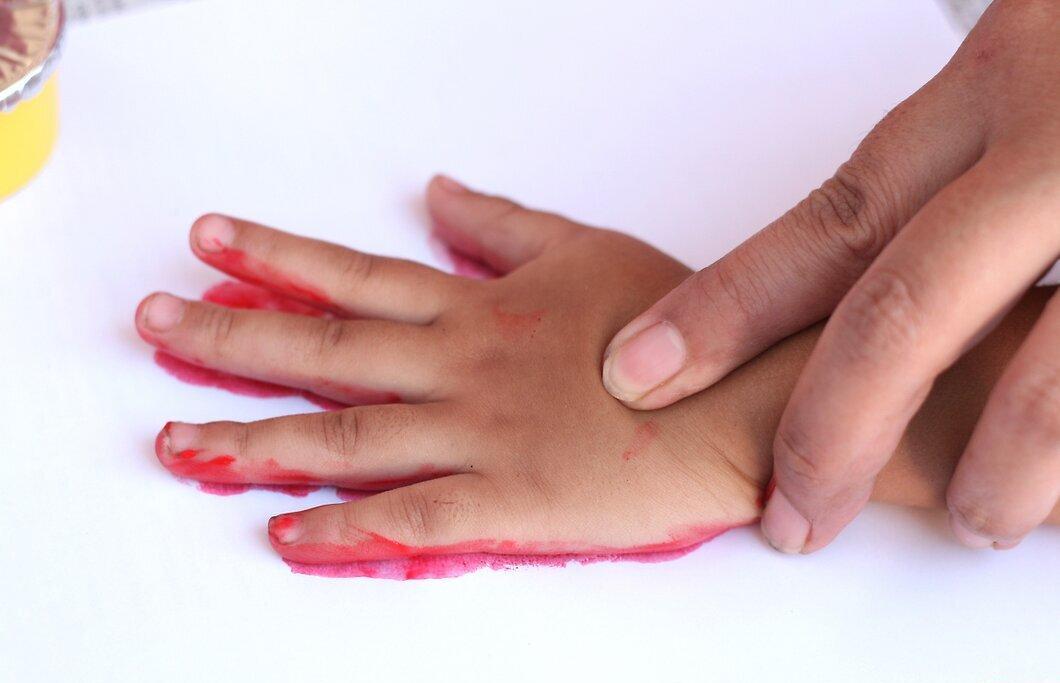
Gently guide your child’s hand onto the canvas, paper, or cardboard. Apply slight pressure to ensure a clear handprint. Tell your child to hold their hand still (if they don’t understand this yet), and then carefully lift the hand.
Step 3. Allow the paint or plaster to dry, depending on your project.
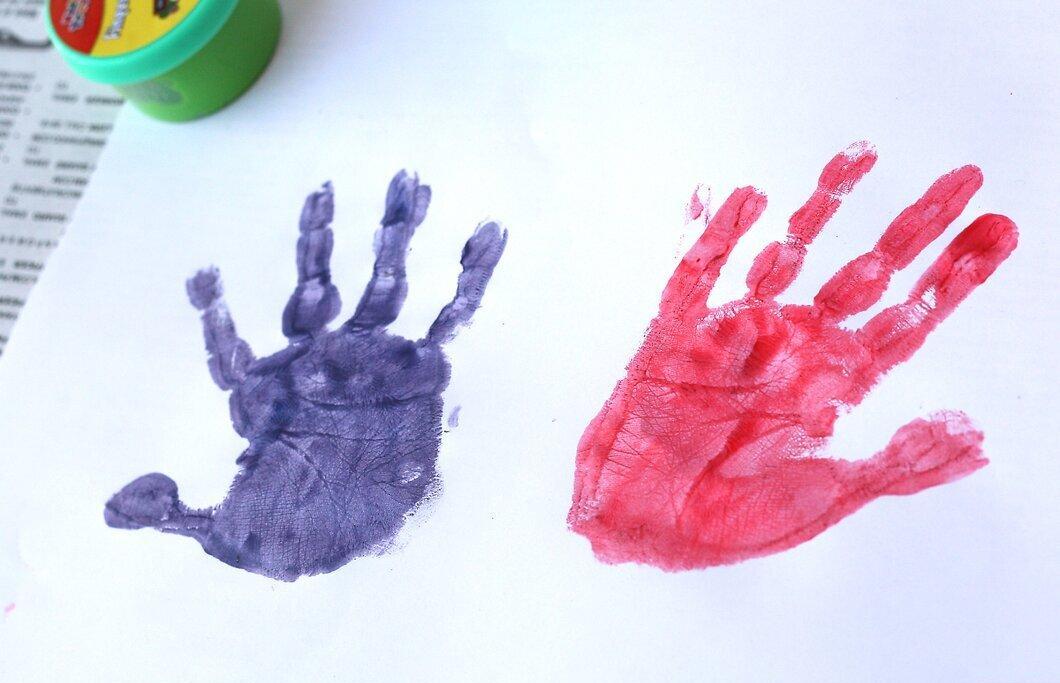
Let the paint or plaster dry based on your project. If you’re working with plaster, you don’t have to wait for it to be completely dry before you start decorating it. Follow the instructions that come with the plaster for the best results.
Step 4. Decorate the handprint using your design.
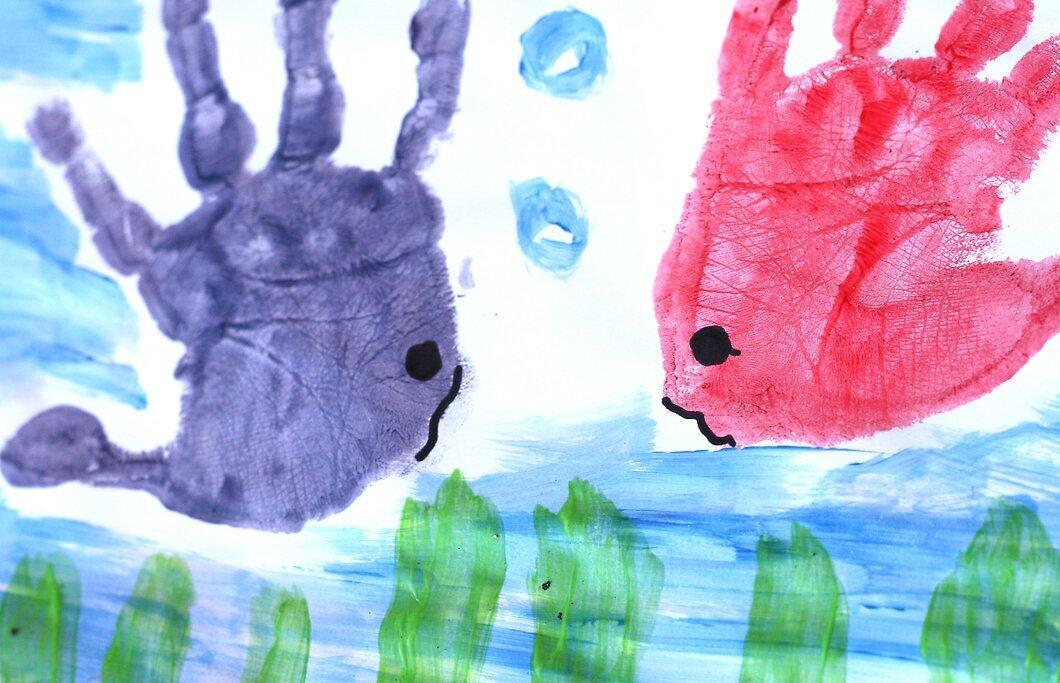
Decorate the handprint according to your design. If you’re still waiting for it to dry, think about what you want to do with your child’s print. Here are some possible ideas:
- Use a marker to draw faces, wings, fins, arms, legs, etc., creating creatures from the handprints. Add a landscape.
- Draw an interesting background around the handprints. Use fun patterns, neon colors, bright lines, etc.
- Make your artwork modern. Use the handprints to mimic famous pieces of similar art. Look for inspiration online.
- Encourage your child to decorate their handprints themselves; they might come up with some very funny ideas.
- Outline the prints with different colored lines, as if the hands are radiating those colors. Use rainbow colors for this.
- If it’s a holiday season, incorporate relevant themes to inspire creativity.