
A lawn edging tool is your trusty assistant in creating neat boundaries between flower beds and grass. It's also great for enlarging existing flower beds or establishing borders for new gardens and vegetable patches.
Manual vs. Mechanical Tools
Step 1. How to Use a Manual Tool.
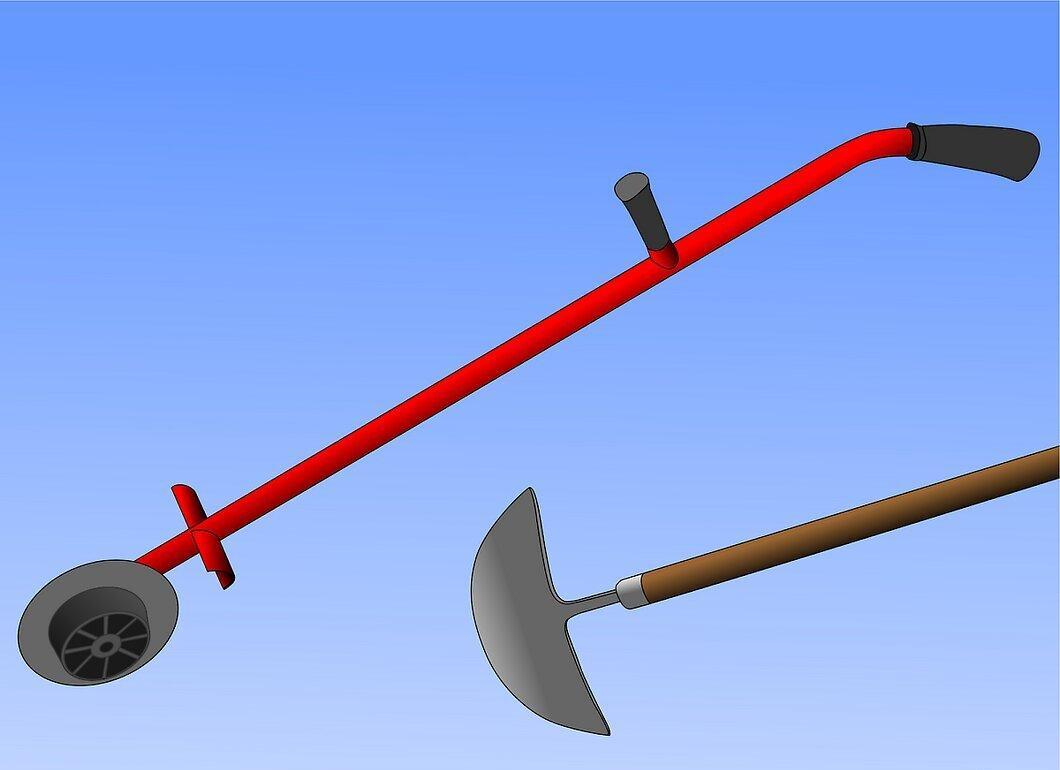
A manual lawn edging tool typically features a wooden or metal handle resembling a rake's shaft, with a semi-circular or square blade at the end. It's shaped like a hoe or a miniature spade.
- Since it's a manual tool, it's most effective when you use your foot for pressure, so opt for shoes with a hard sole.
- Working with the tool is best done in moist soil, as dry ground will be harder to cut through. Avoid using it in winter when the ground is frozen.
Step 2. Mastering the Manual Tool.
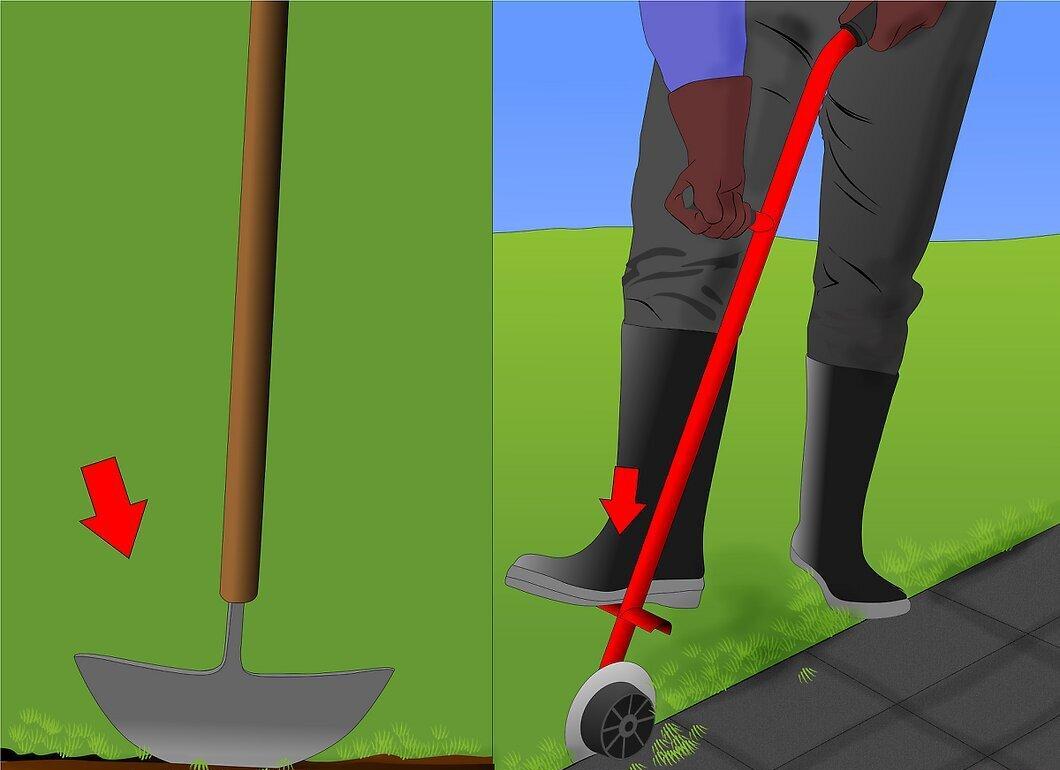
To start, first mark the line where you plan to edge the lawn. Insert the edge of the tool into the ground to a depth of about 5 cm.
- Place your foot on the tool for leverage, hold it by the handle, and push down to cut into the soil. To slice through the sod, simply push the tool in, gently moving the handle back and forth to separate the cut section from the rest of the sod.
- You can lift the cut part slightly to see how much work has been done. Then, move the blade 10 cm sideways and repeat the process. Continue edging along the marked line.
Step 3. How to Use a Mechanical Tool.
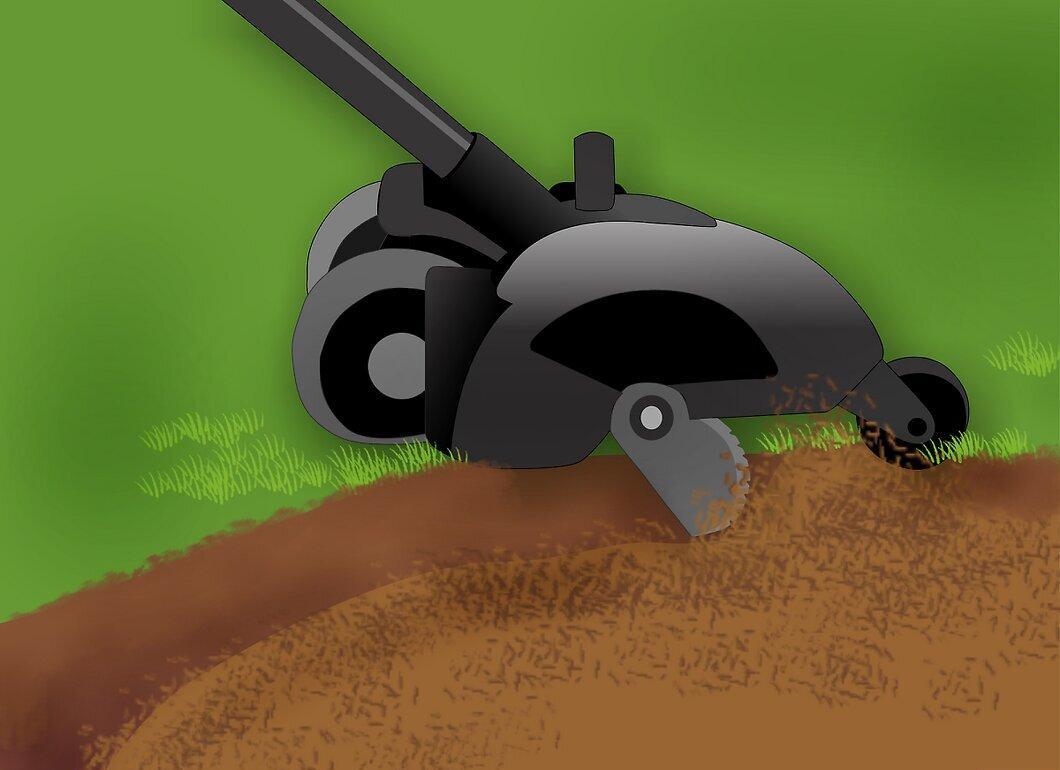
First, it's advisable to familiarize yourself with the operating instructions for your specific mechanical tool. Typically, it has two main settings: for mowing grass and edging.
- Some models allow you to adjust the cutting depth. Ensure all settings are correct before starting.
- Be sure to mark the area, as you will be using a powerful tool.
Marking a New Flower Bed
Step 1. Find the Right Spot for Your Bed.

First, decide where your flower bed will be located.
- Ensure there are no underground power lines or water pipes in the chosen area, and check for any access hatches leading to sewer pipes.
- Avoid creating a bed in marshy areas where water collects after rain. If drainage is poor, consider ways to improve the soil or raise the bed above ground level.
Step 2. Outline the Contour of the New Bed.
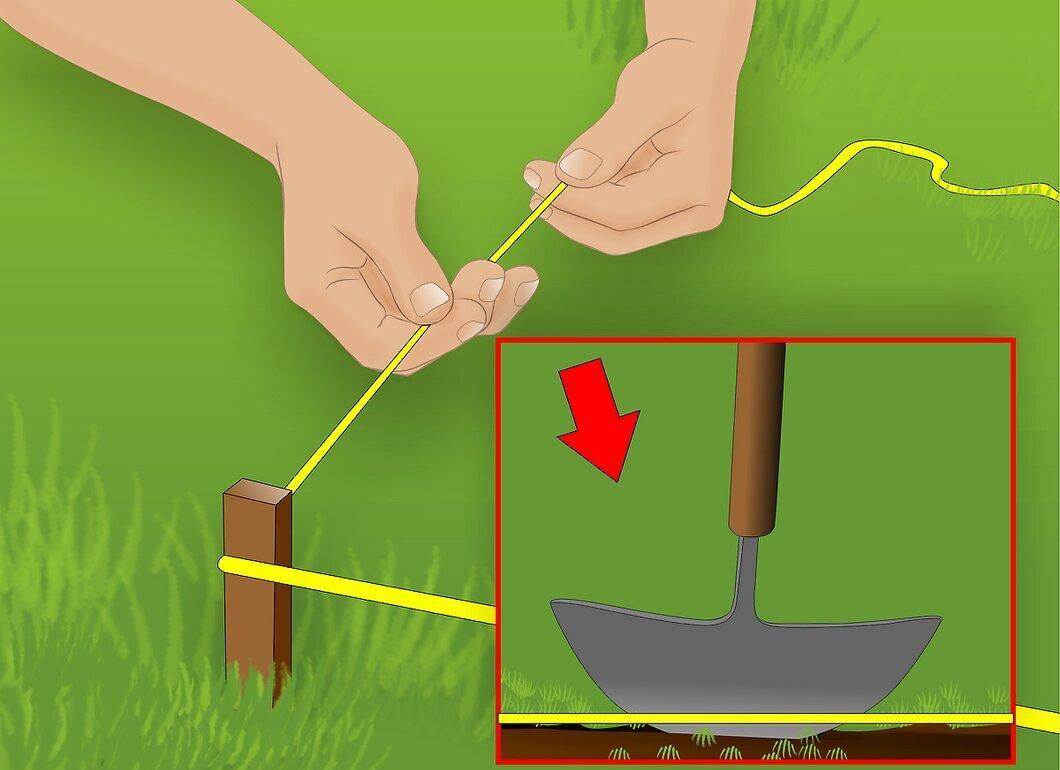
Use string and stakes (for square or rectangular shapes), chalk, or spray paint to outline the bed.
- Use the tool to mark the edges of the flower bed and prepare to dig, starting from the outer edge of the marked area.
- Following the instructions from the previous section, edge the boundaries of the new flower bed.
Step 3. Make a Second Cut About 3 cm Inside the Bed from the First.
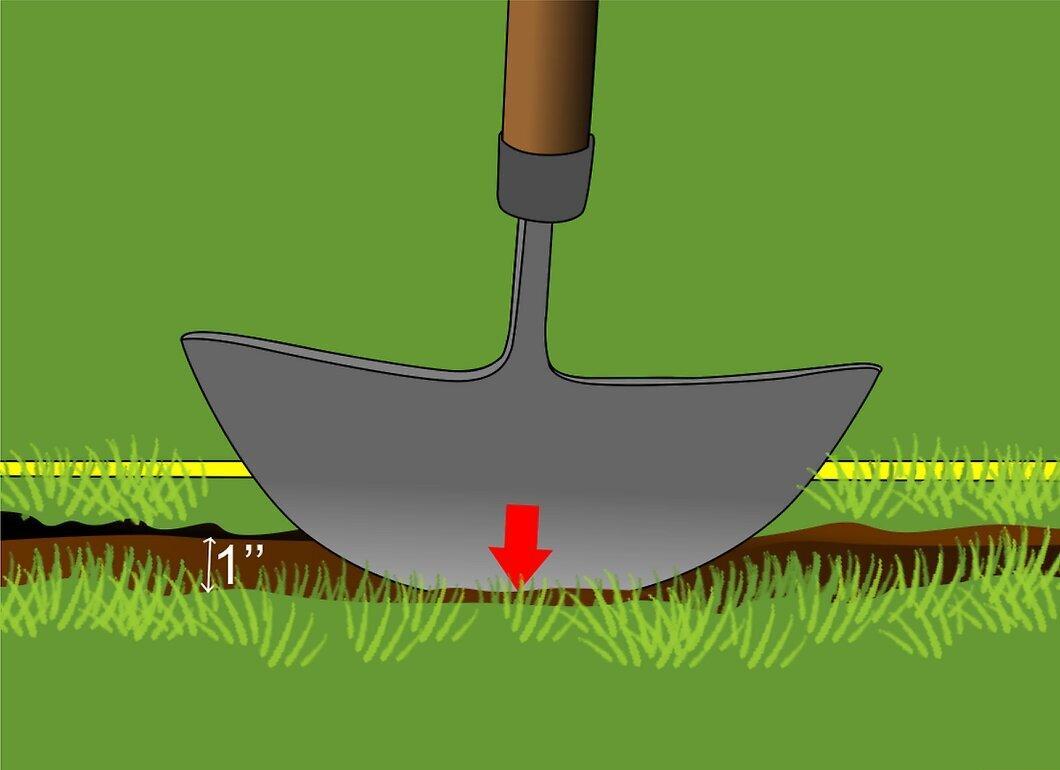
Once you've made the first visible cut, return to the start and make another cut, moving 3 cm inward from the bed.
- The second cut should be made at a slight angle to the first, creating a thin strip of sod that can be easily moved.
Step 4. Move the Sod and Dig Out the Remaining Area.
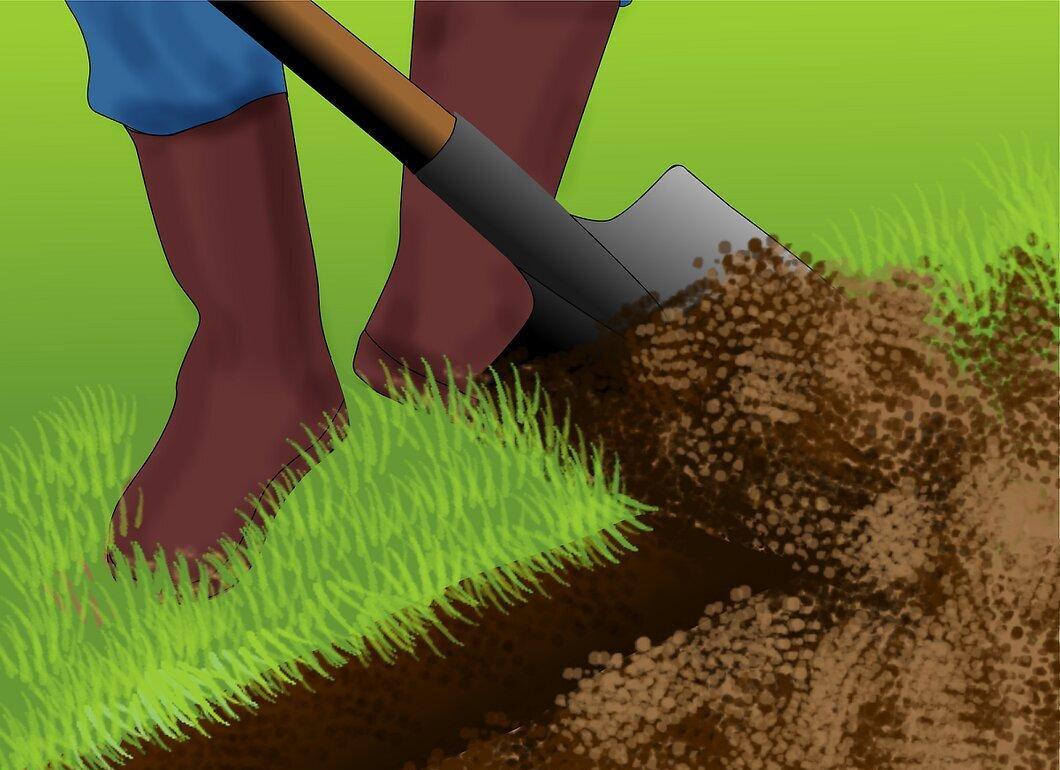
After finishing the cuts, kneel down.
- If you've carefully separated the sod, you should be able to easily move the cut piece.
- Now take a shovel and remove the remaining sod inside the flower bed. Before planting, be sure to till and improve the soil.
Refreshing Existing Bed Edges
Step 1. Refresh Bed Edges Only When Necessary.

Bed edges can lose their tidy appearance over time. This is especially true for areas with chalky or sandy soil, as well as places frequently walked on.
- If this has happened, you can refresh the lawn edges with this tool. But don't overdo it, or the bed will gradually expand in size.
- If the edges often appear untidy, consider using a special material to maintain their shape.
Step 2. Cut a New Edge 3 cm from the Old Boundary.
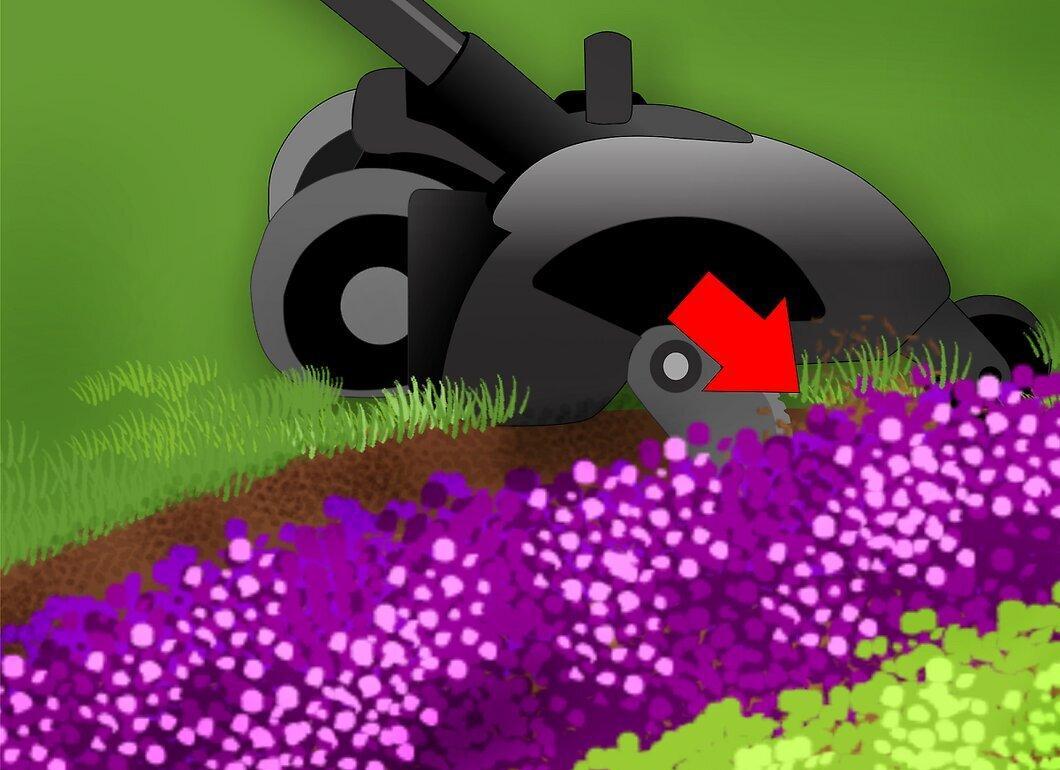
Using the tool, make a new cut about 3 cm from the old edge. If the previous boundary is severely damaged, it’s better to step back a bit further.
- After making the first visible cut, return to the start and cut from the inside of the bed.
- The second cut should also be made at a slight angle to the first, creating a thin strip of sod that is easy to move.
Step 3. Move the Sod.
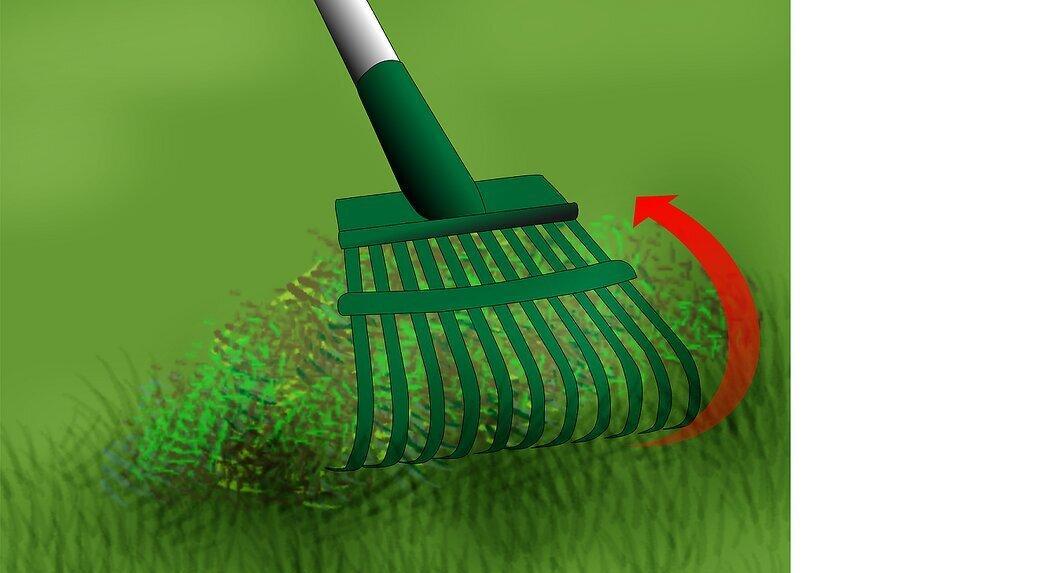
After cutting along the length, kneel down. If you’ve properly separated the sod, you should be able to easily move the cut piece and neatly refresh the edges.
- If you plan to add mulch, spread it with a rake to fill the slightly expanded bed.
Expanding an Existing Bed
Step 1. Define the New Boundaries of the Bed.
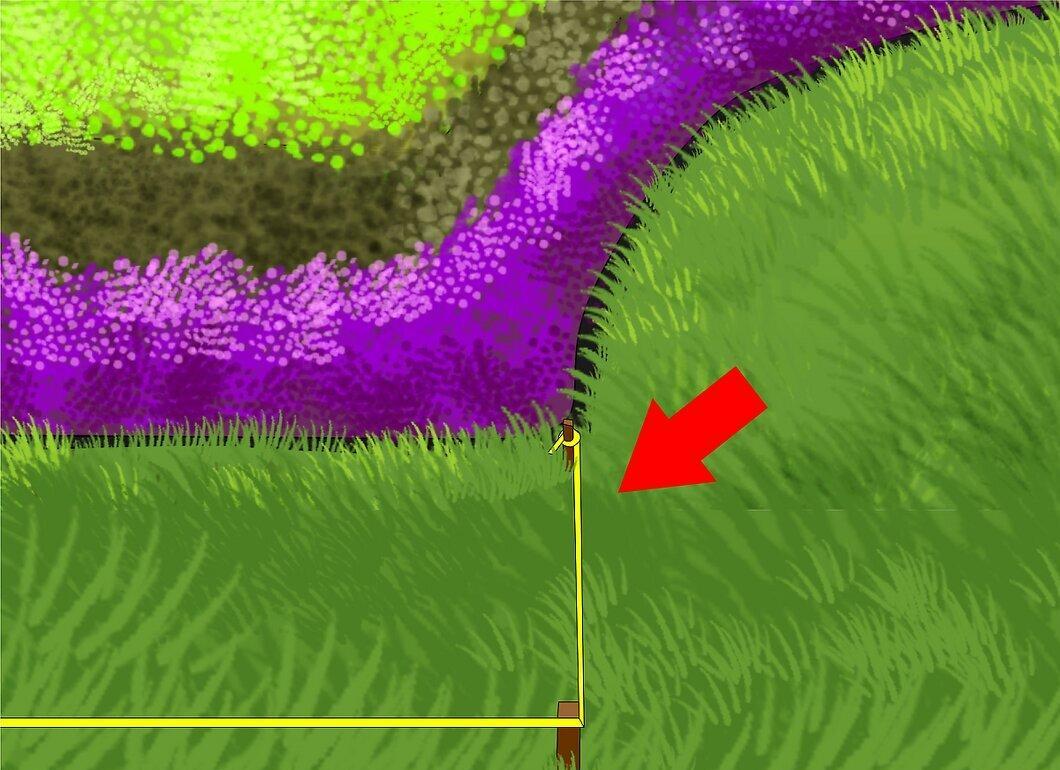
Mark the new boundaries of the bed with string and stakes (for square or rectangular shapes), chalk, or paint.
- Following the tool's usage instructions, make a cut to define the new boundaries of the bed.
Step 2. Make a Second Cut 3 cm Closer to the Center of the Bed.
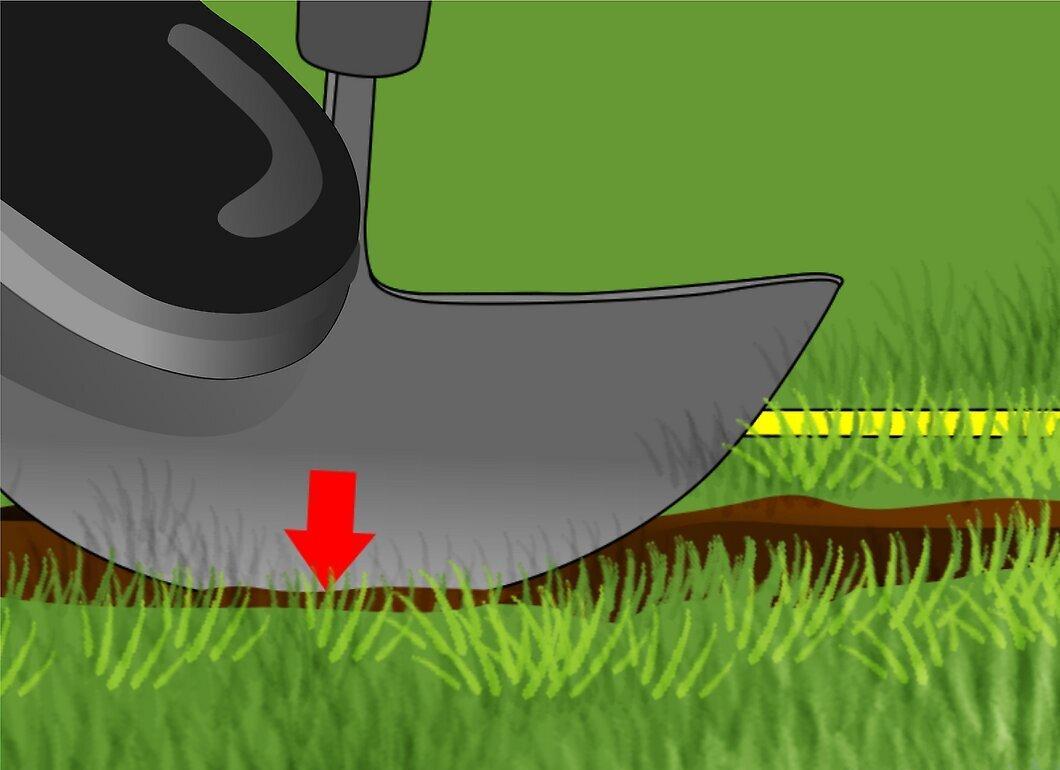
After making the first cut of the new edge, return to the start and make another cut, moving 3 cm inward from the previous cut.
- The second cut should also be made at a slight angle to the first, forming a thin strip of sod that can be easily moved.
Step 3. Move the Cut Strip of Sod.
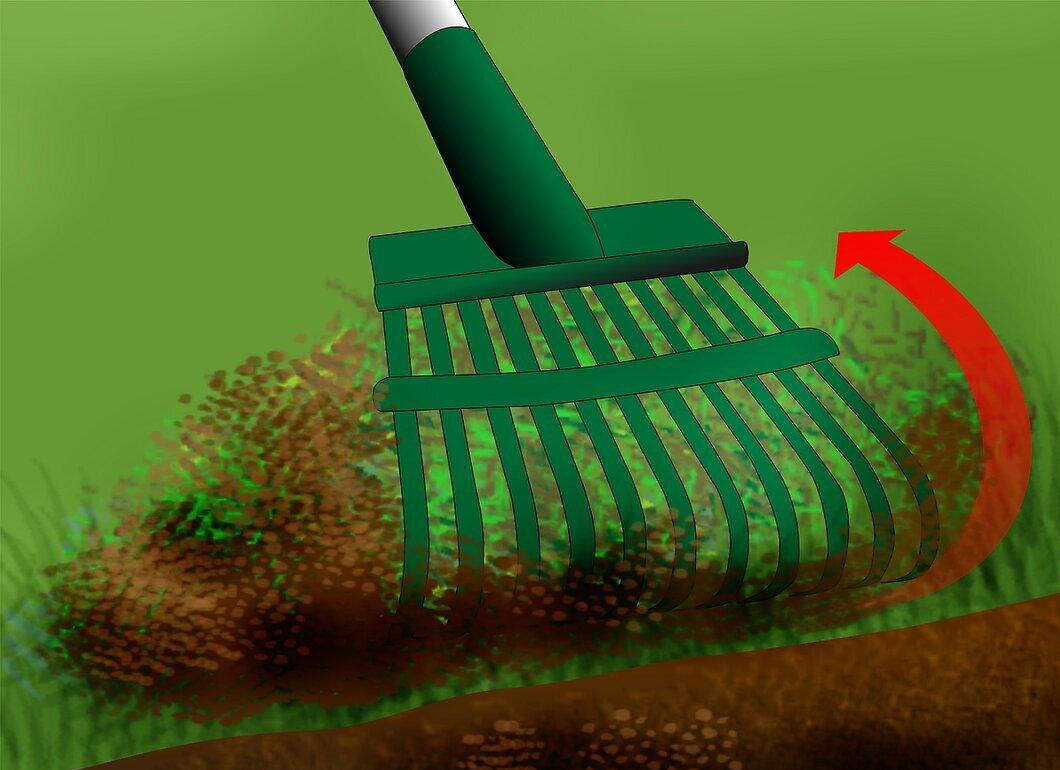
After finishing the cut, kneel down. If you've properly separated the sod, you should be able to move the cut piece easily.
Step 4. Remove the Remaining Sod Between the New Edge and the Bed.
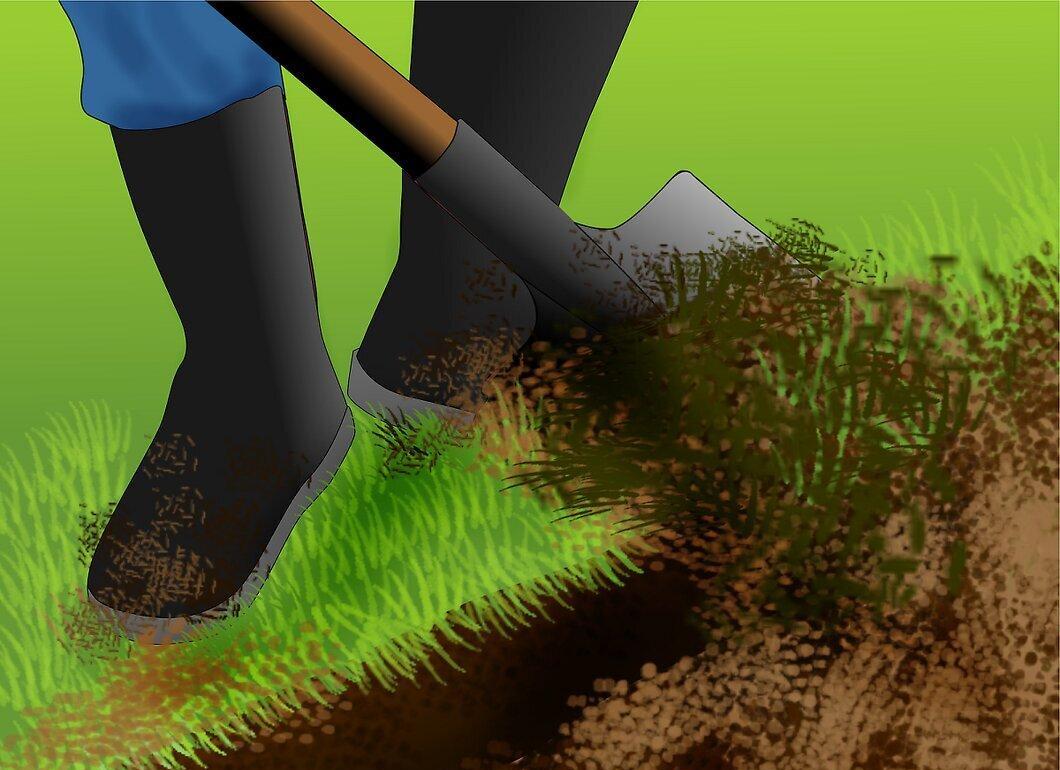
Now, take a shovel and remove the remaining sod inside the bed. This completes the bed expansion process.
- If you plan to add mulch, spread it with a rake over the new area of the bed.


