Mastering the Art of Painting Your Wooden Stairs: A Step-by-Step Guide
Wooden stairs become more appealing and durable after a fresh coat of paint. Paint and varnish not only provide an aesthetic touch but also protect the steps from wear and damage. The painting process will take at least two weekends, filled with various stages of work.
Preparing the Stairs for Painting
Step 1. Remove any carpet or runner.
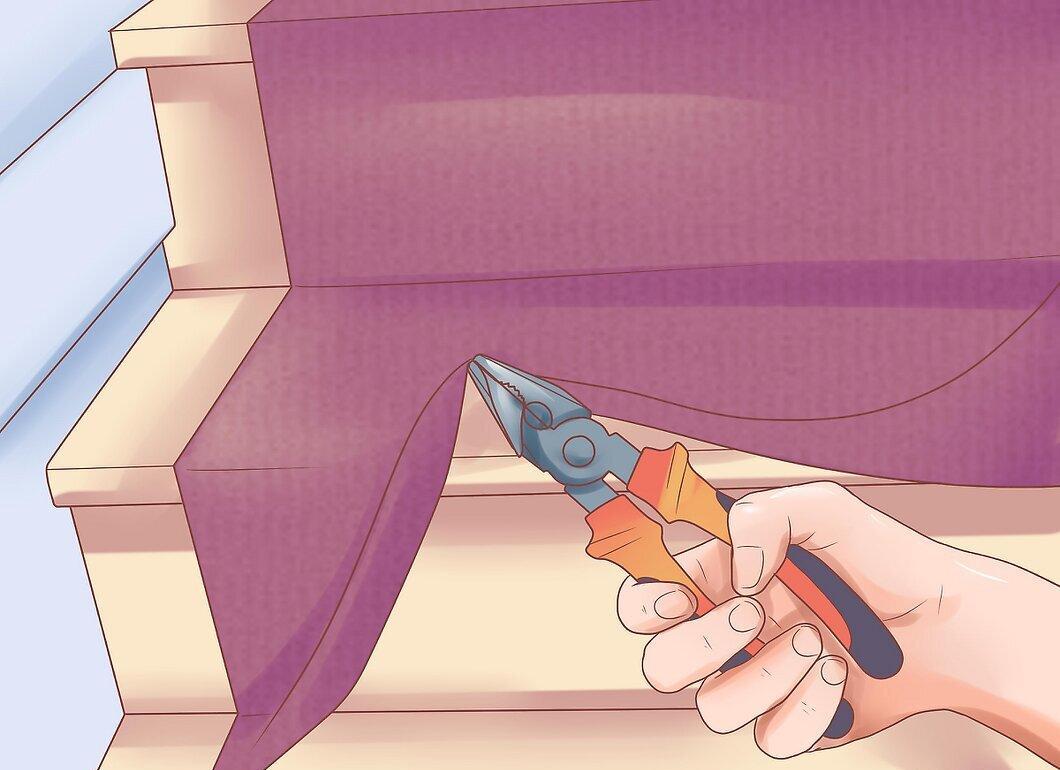
Start by carefully lifting the edge of the carpet using pliers. If it's difficult, a pry bar can help.
- Remove the carpet by taking out the staples holding it down. Don't forget to dispose of them properly.
- Before you begin, wear sturdy gloves and work clothes.
Step 2. Move nearby furniture and objects away from the stairs.
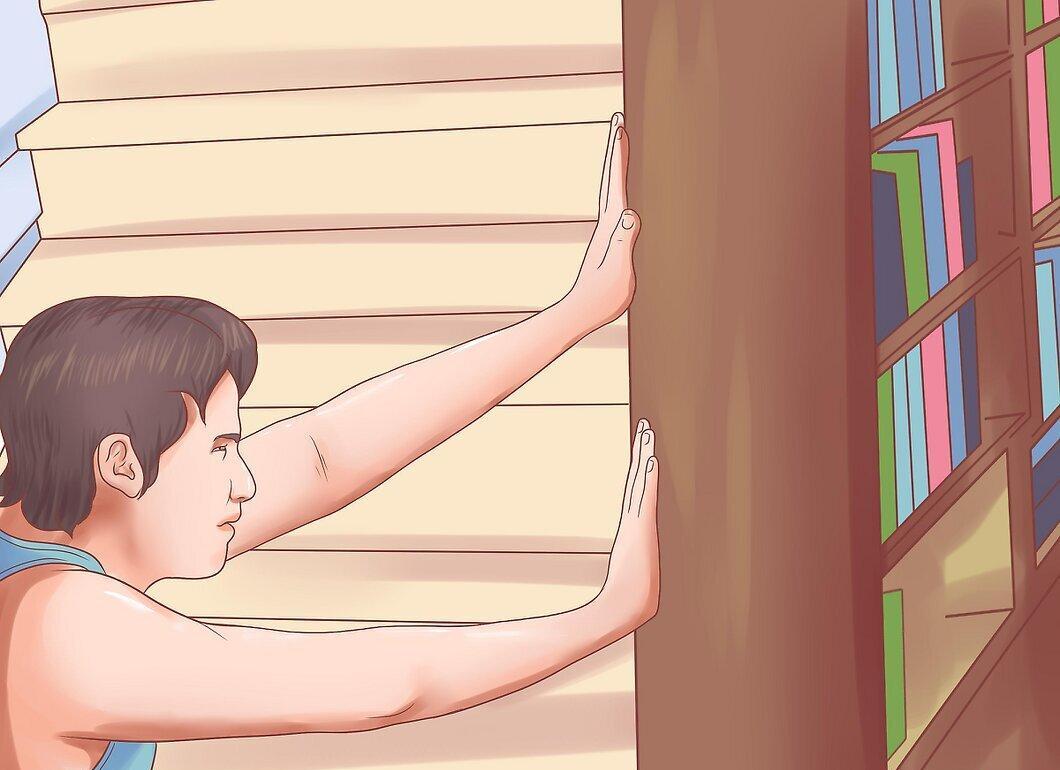
Clear all furniture and other items from the area around the base and top of the stairs. Be prepared for a lot of dust to be stirred up, so it's best to close doors to other rooms.
Step 3. Cover doorways with plastic using tape.
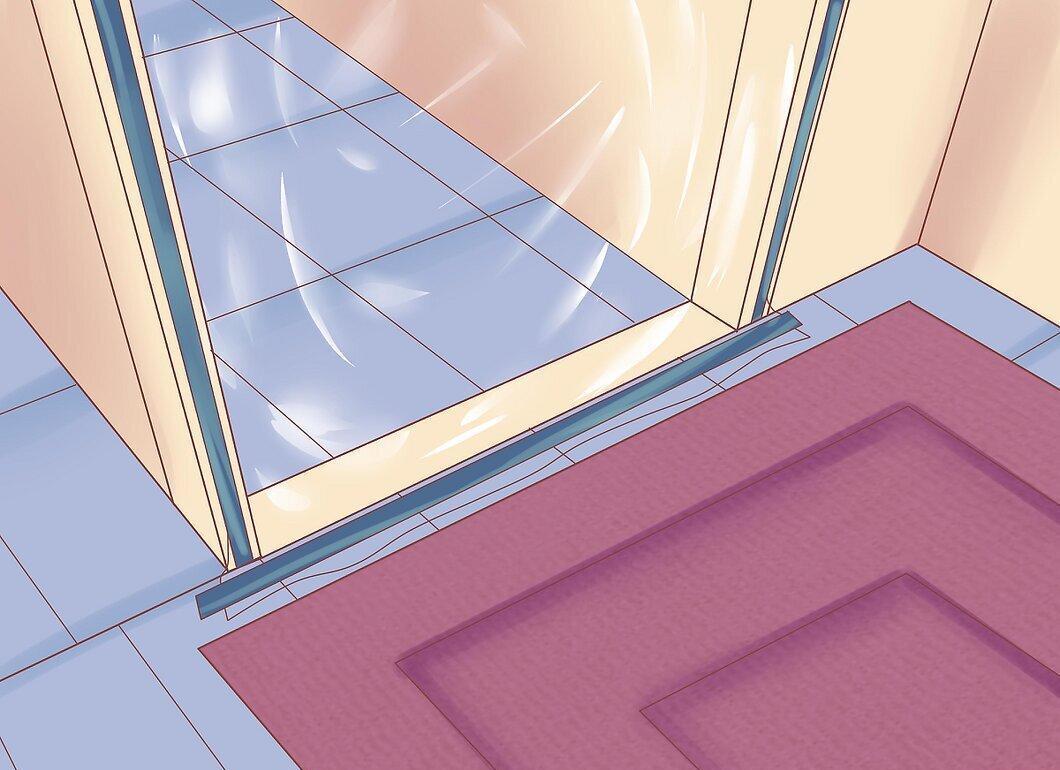
Seal off doorways with plastic and secure it with tape. Don't forget to protect the floor and carpets around the stairs with old cloths.
Step 4. Open windows for ventilation.
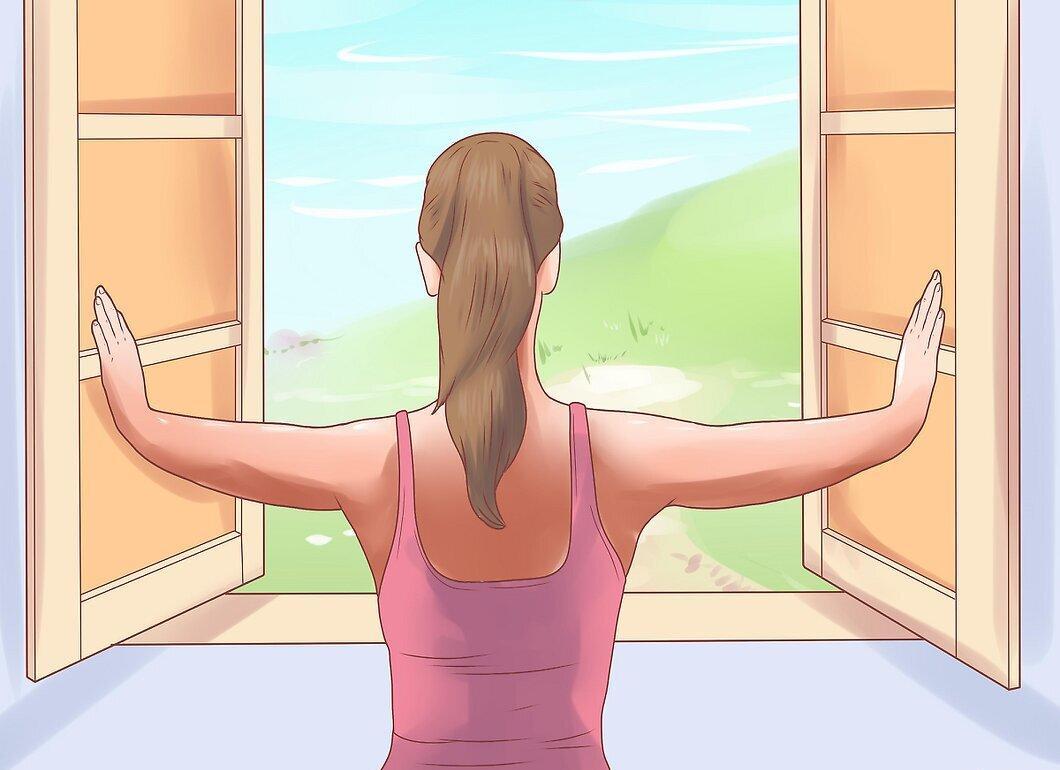
Open windows to ensure good ventilation and reduce paint fumes and dust in the house.
Step 5. Check for protruding nails on the stairs.
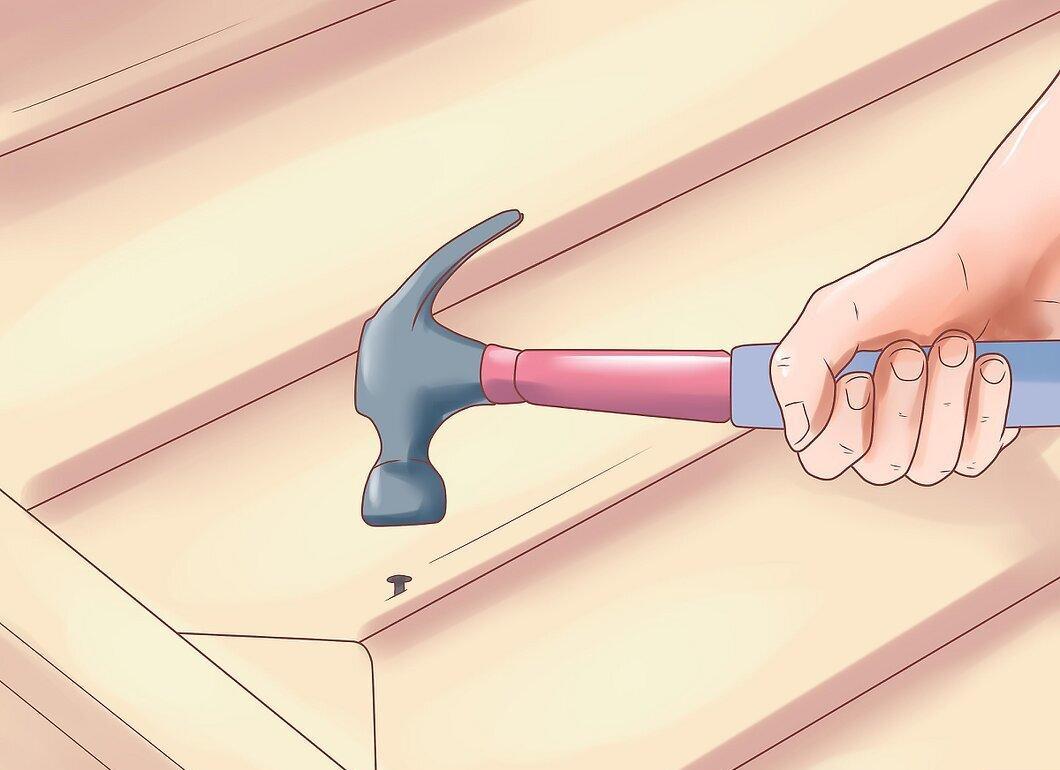
Inspect the stairs for any protruding nails and hammer them in so that the heads are flush with the surface of the steps.
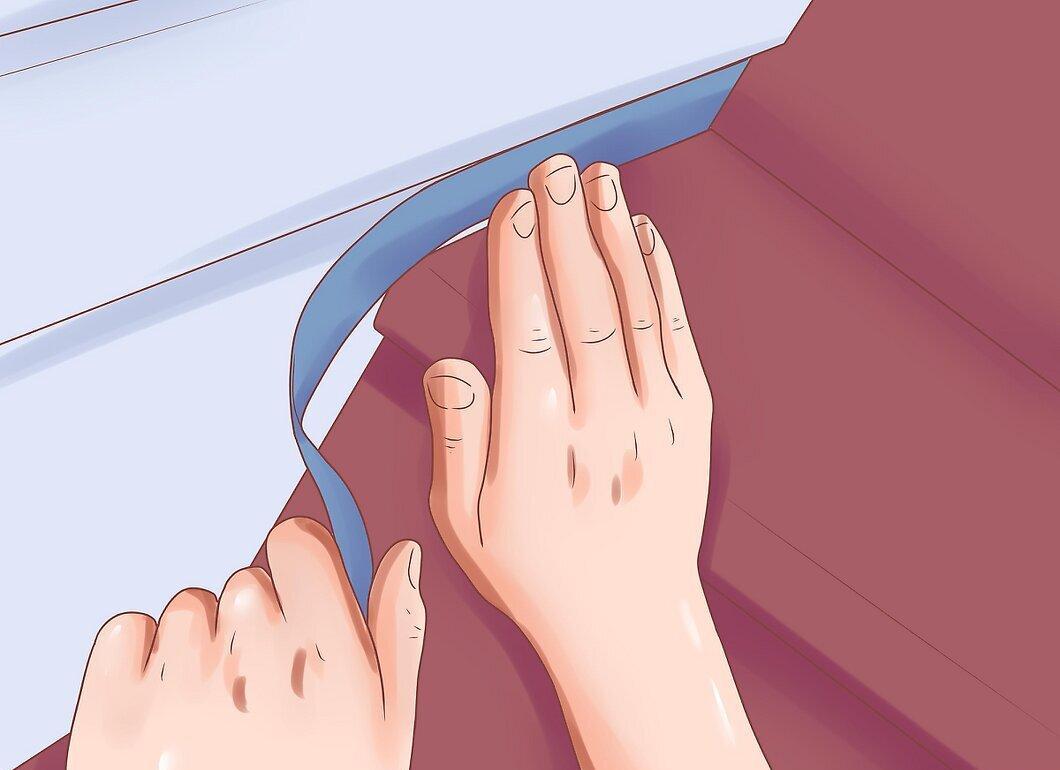
Step 6. Tape the joints between the stairs and the walls.
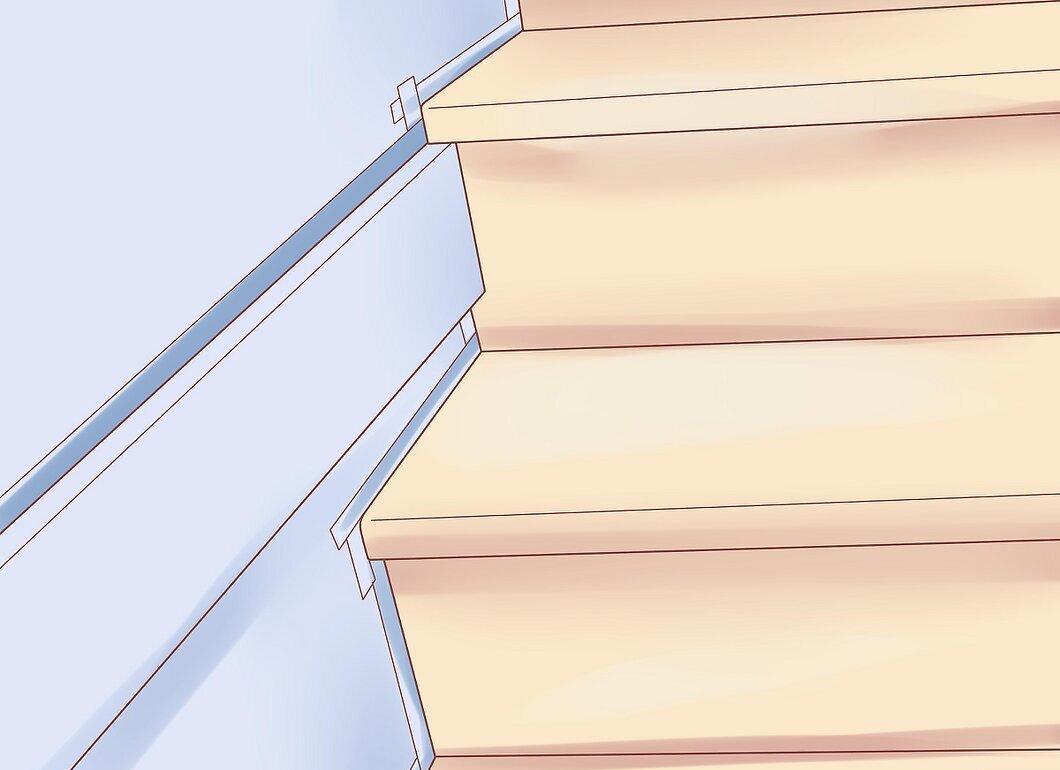
Use tape to mask the joints between the stairs and the walls, sticking it only to the wall to allow access to the entire stair surface.
Cleaning the Stairs
Step 1. Assess the current condition of the steps.
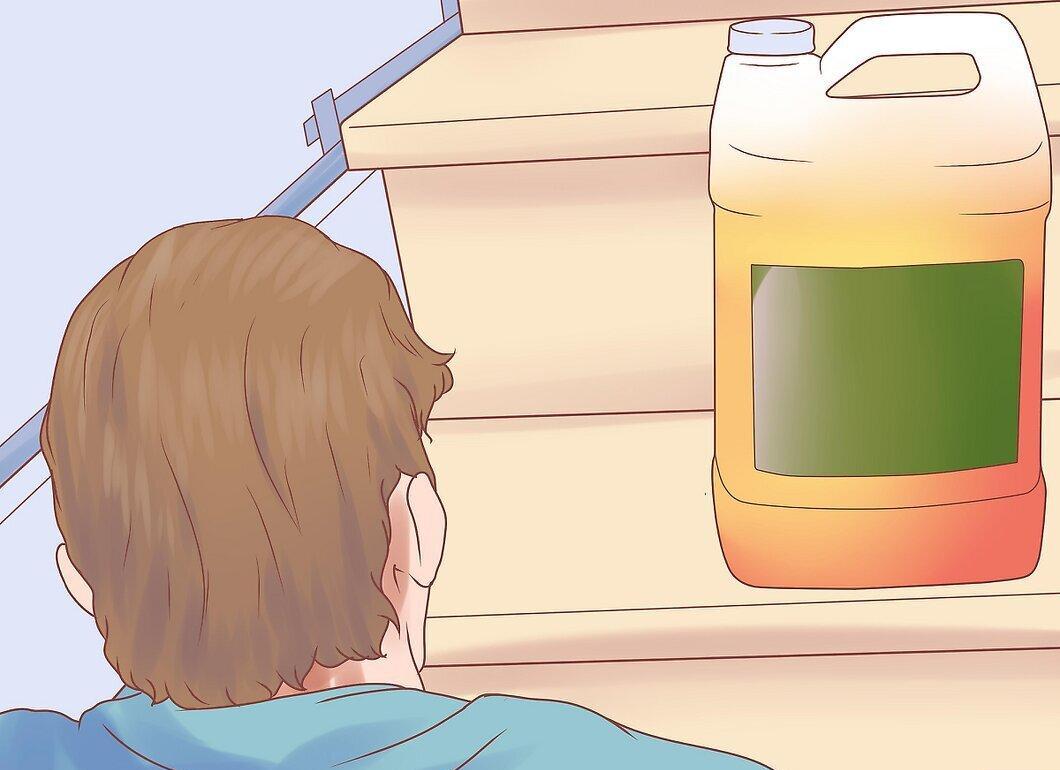
Evaluate the condition of the steps. If they are covered with a thick layer of old paint, you may need a paint remover. Apply it according to the instructions on the packaging, remembering to ventilate the area.
- Typically, paint remover is applied with a mop or sponge and then scraped off with a putty knife.
- If there’s no thick layer of old paint, move on to the next step—sanding with sandpaper.
- Start by wiping the steps with a clean rag, then lightly sand the surface with fine-grit sandpaper to remove any remaining coating and dirt.
Step 2. Sand the steps with medium-grit sandpaper.
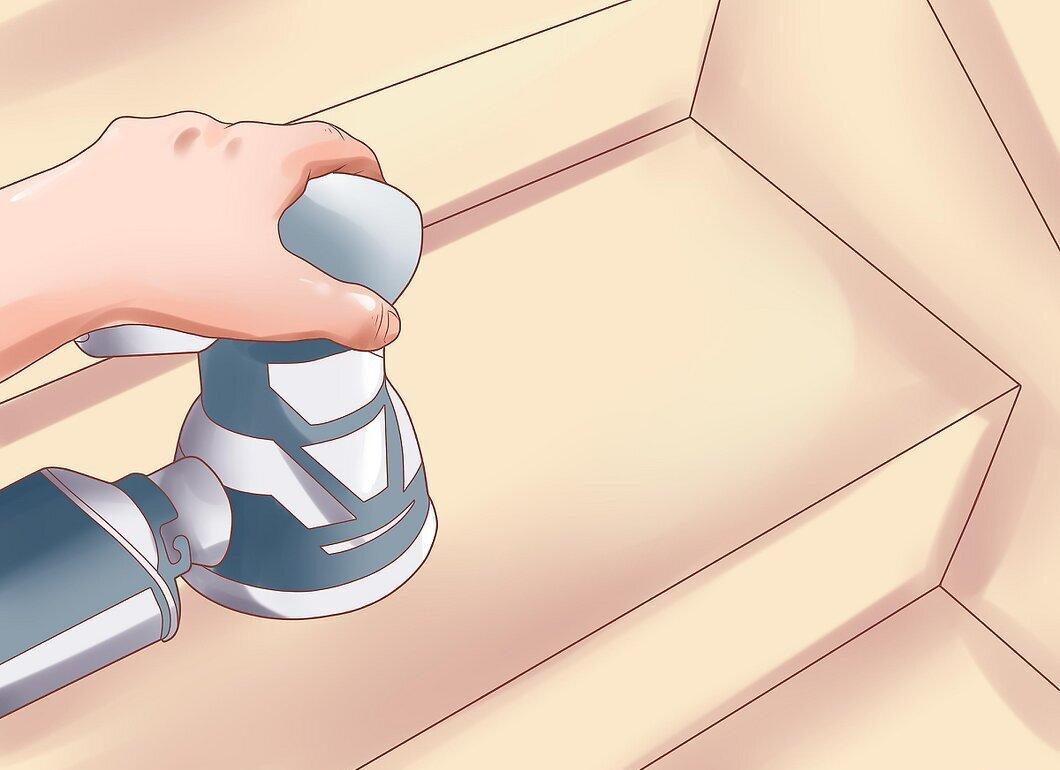
Sand the surface of the steps with medium-grit sandpaper to remove old paint and any splinters. You can use an electric sander on flat areas, but corners will require hand sanding.
Step 3. Use fine-grit sandpaper.
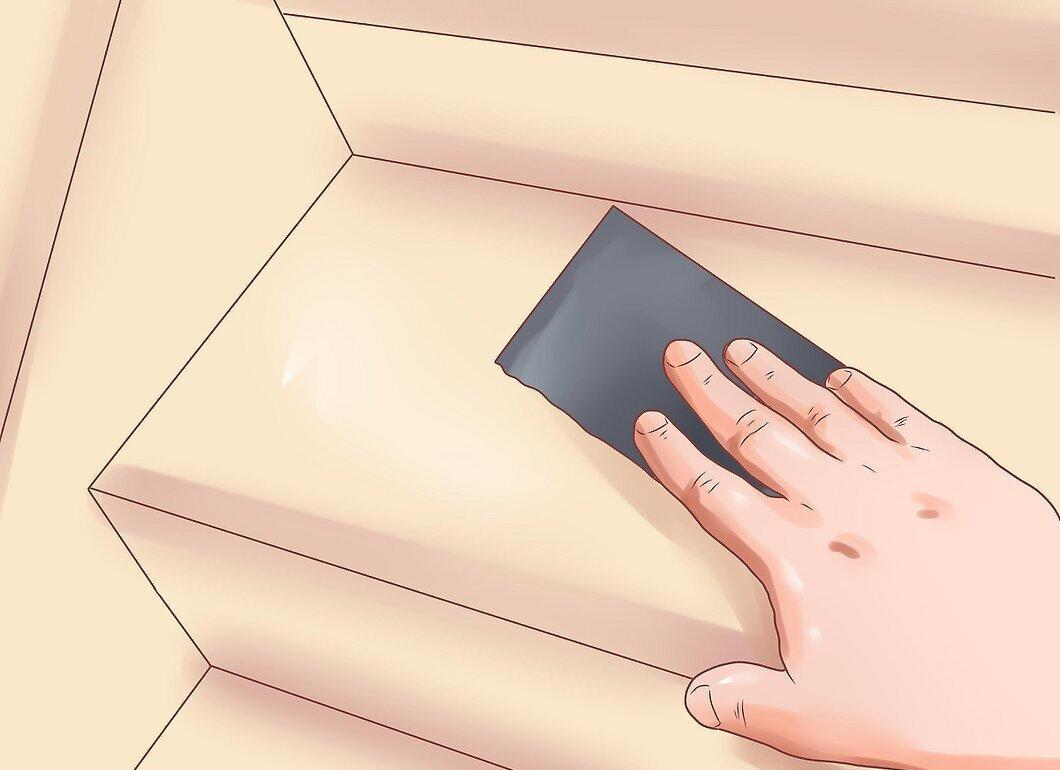
Switch to fine-grit sandpaper. If your stairs are new, a gentle sanding will suffice to remove any traces of previous paint.
Step 4. Clean the dust off the stairs.
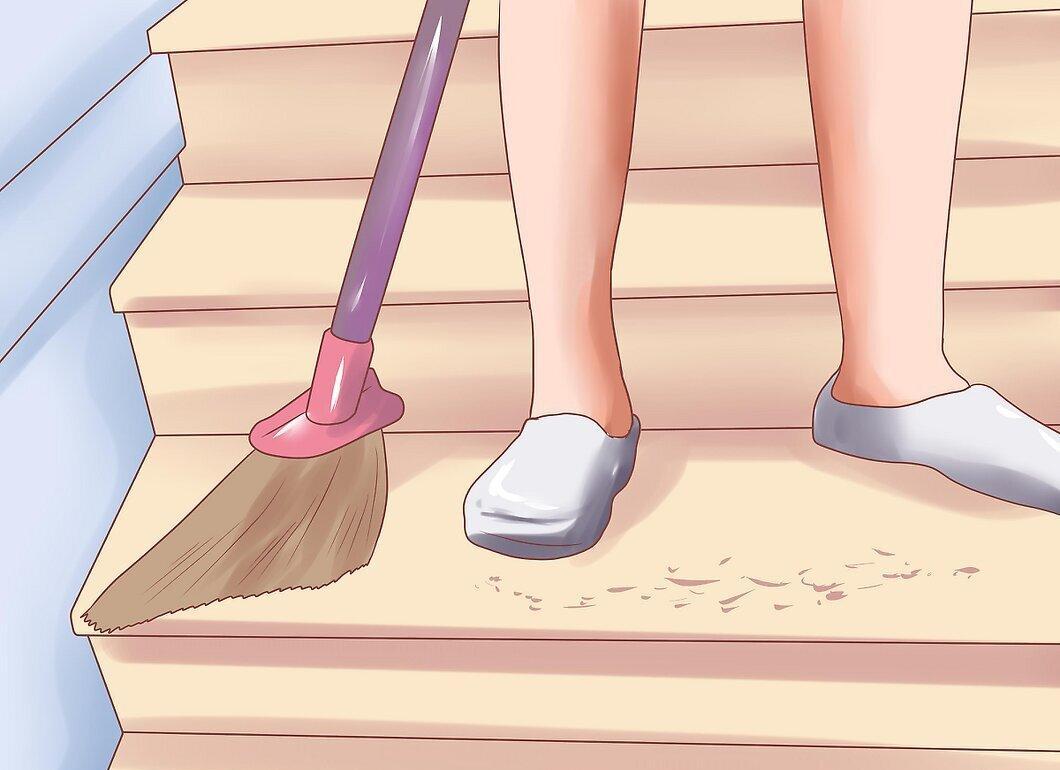
Sweep the stairs, then vacuum them and the surrounding floor. After that, thoroughly wash the steps and let them dry.
Painting the Stairs
Step 1. Select paint samples for testing.
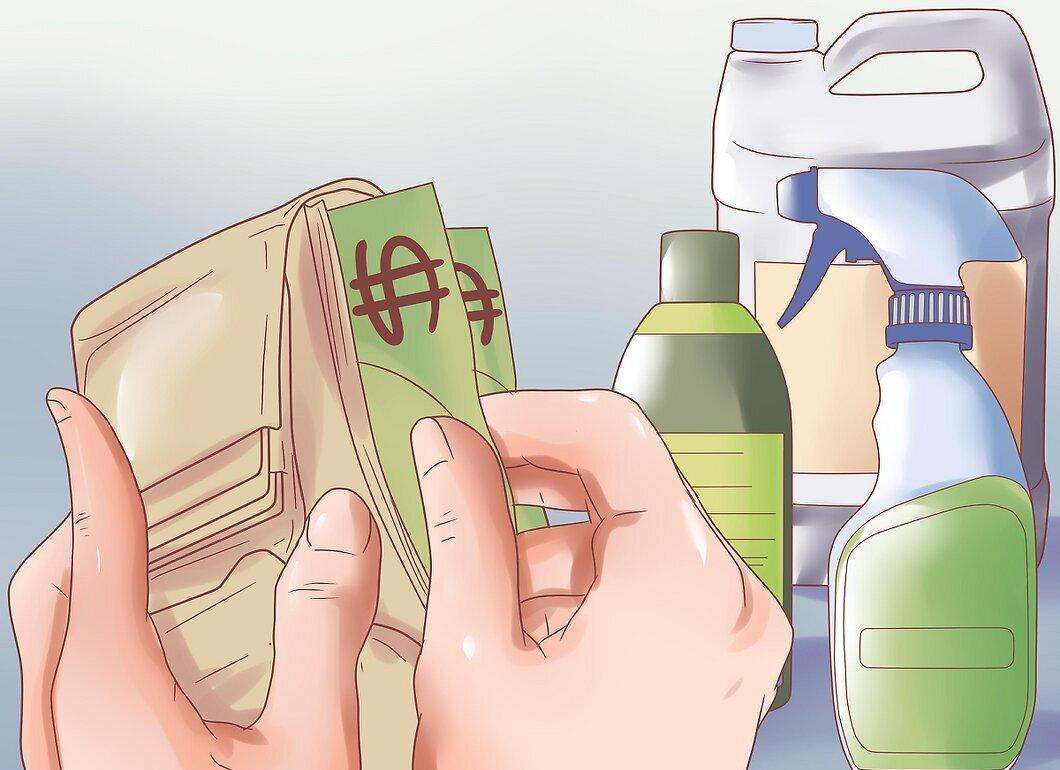
Choose several paint samples to test. Apply two to three coats on a small inconspicuous area of the stairs. Do this for all samples until you find the perfect color.
- Ensure that the paint is intended for floors and has high durability.
Step 2. Apply paint to the steps using a brush or rag.
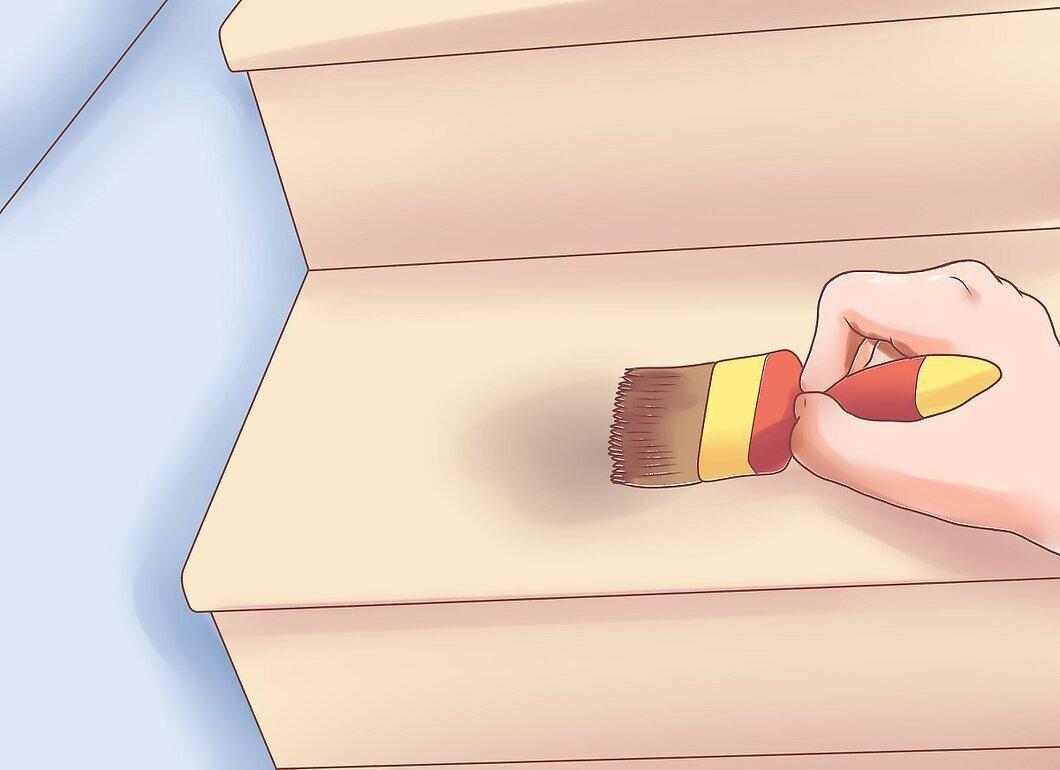
Use a paintbrush or rag to apply paint to the steps. Water-based paints are best applied with a brush, while gel paints can be applied with a rag. Refer to the instructions on the packaging before you begin.
- Start painting from the top step and work your way down. It’s crucial that no one walks on the stairs for at least a day or a bit longer after painting.
Step 3. Allow the first coat of paint to dry.
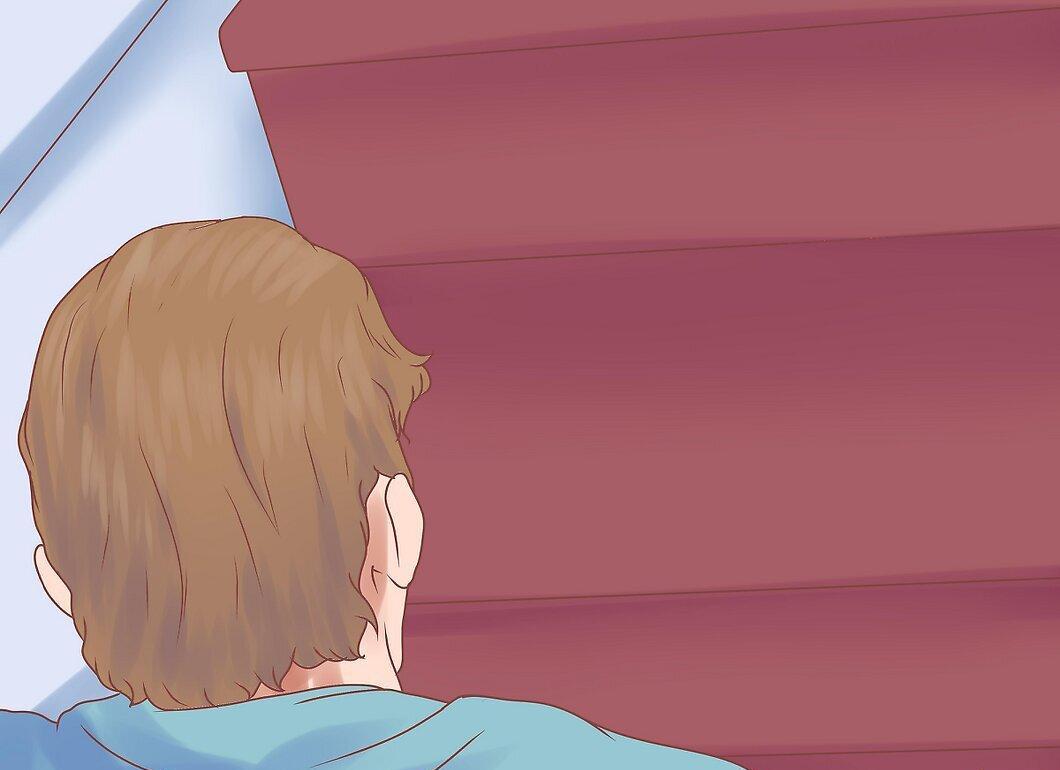
Wait for the first coat of paint to dry before applying a second coat. If necessary, a third coat can be added. Each subsequent coat should appear slightly darker than the previous one.
Step 4. Sand the steps lightly with fine-grit sandpaper.
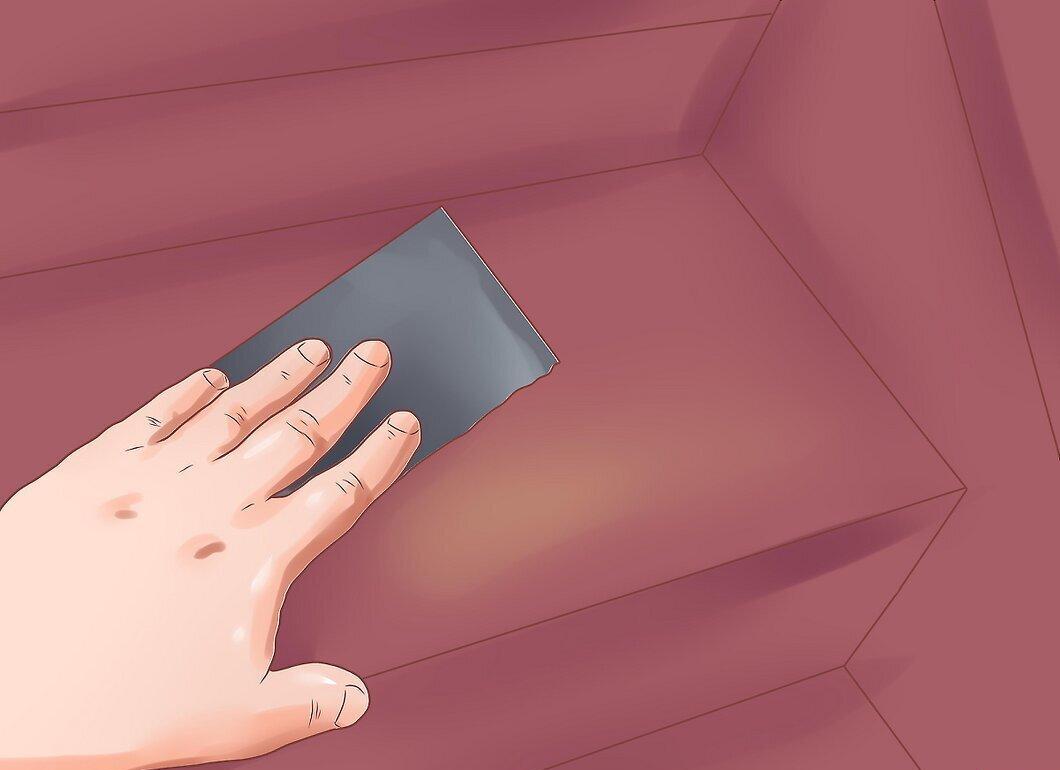
Gently sand the steps with fine-grit sandpaper, then wipe away the dust with a soft cloth. This will help the varnish adhere better to the paint.
Step 5. Apply polyurethane varnish according to the instructions.
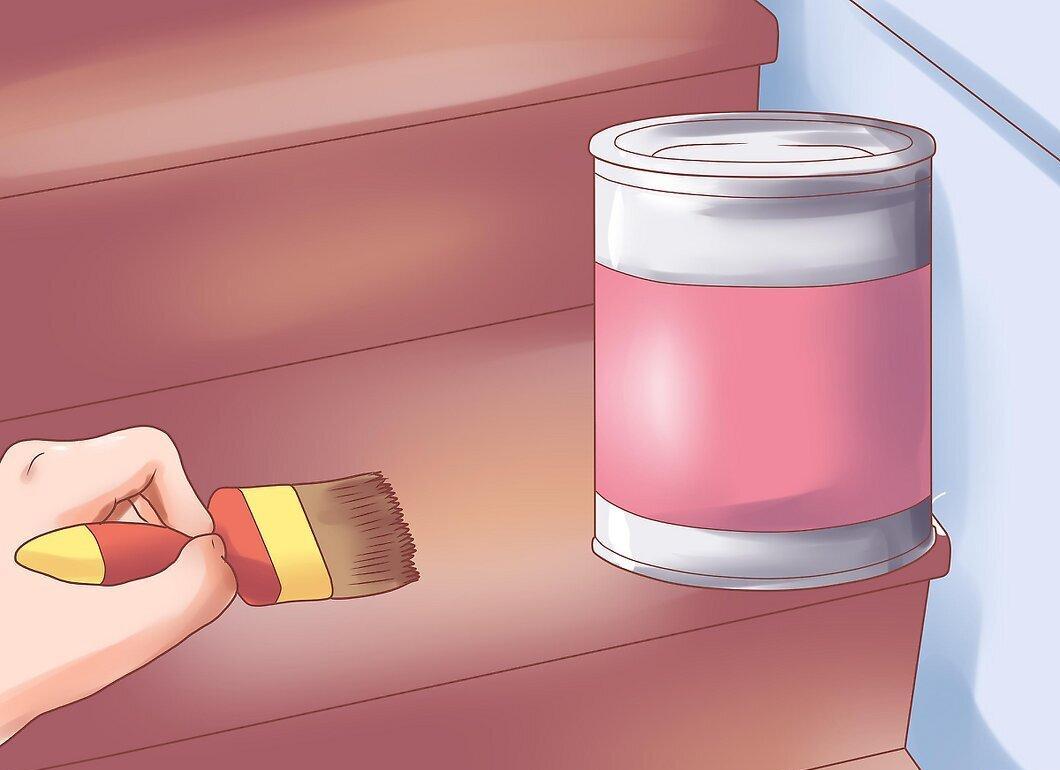
Apply a coat of polyurethane varnish to the stairs, strictly following the instructions on the packaging. Since stairs are frequently walked on, it’s important to protect the surface with a layer of varnish.
Step 6. Sand the steps again with fine-grit sandpaper.
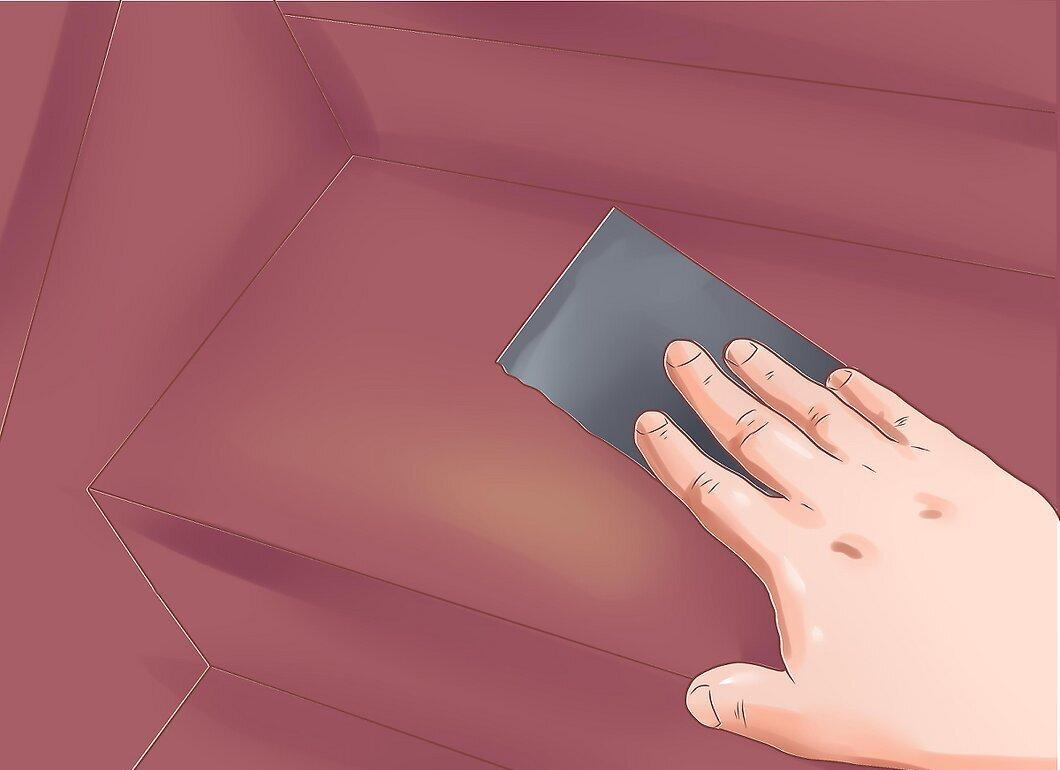
After that, sand the steps lightly again with fine-grit sandpaper and remove the dust with a clean cloth.
Step 7. Apply a second coat of varnish.
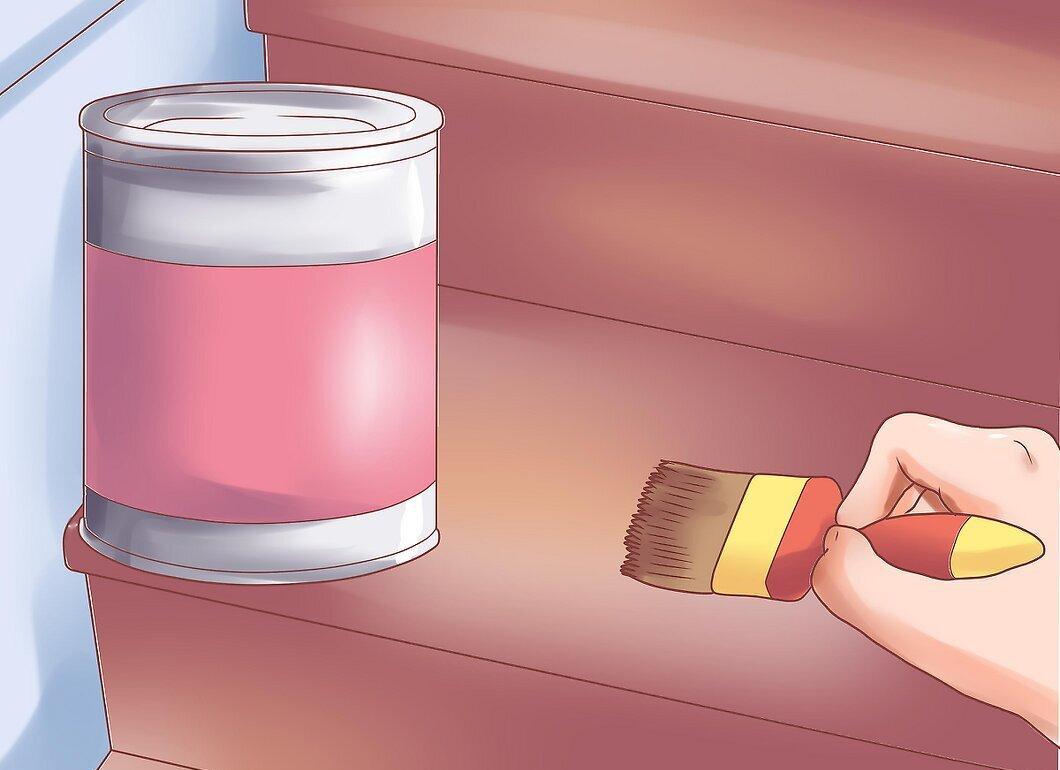
Apply a second coat of varnish and let it dry for at least 24 hours before using the stairs.
Step 8. Remove all protective materials.