
An oxygen-acetylene torch is a tool that can pose risks when cutting metal. However, with proper practice and adherence to safety measures, you can use it to cut steel into desired shapes and sizes. Follow the instructions below to learn how to operate a gas cutter correctly.
Preparation
Step 1: Understand the Cutting Process.
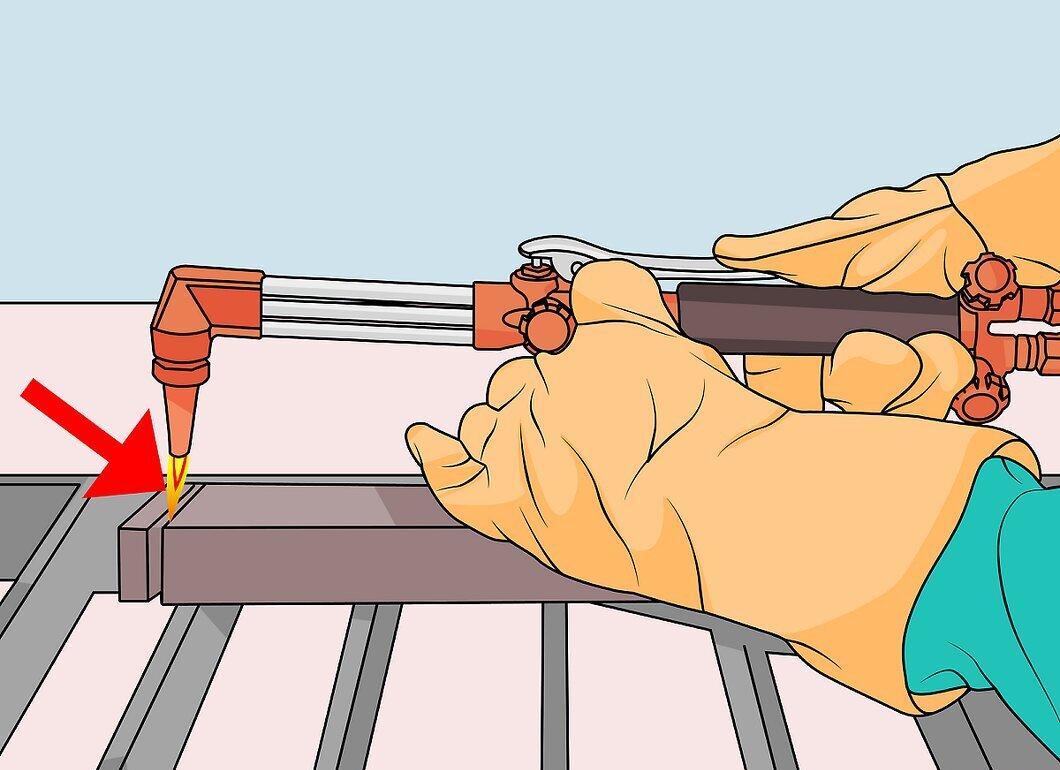
Start by learning the basics of cutting. Acetylene heats the metal to a molten state. When a stream of pressurized oxygen is added to the hot steel, it ignites and cuts through it. This process is called burning steel, and only carbon steel can be cut using this technique. You should not attempt to cut aluminum, stainless steel, or other metals with a gas cutter.
Step 2: Gather the Necessary Tools.
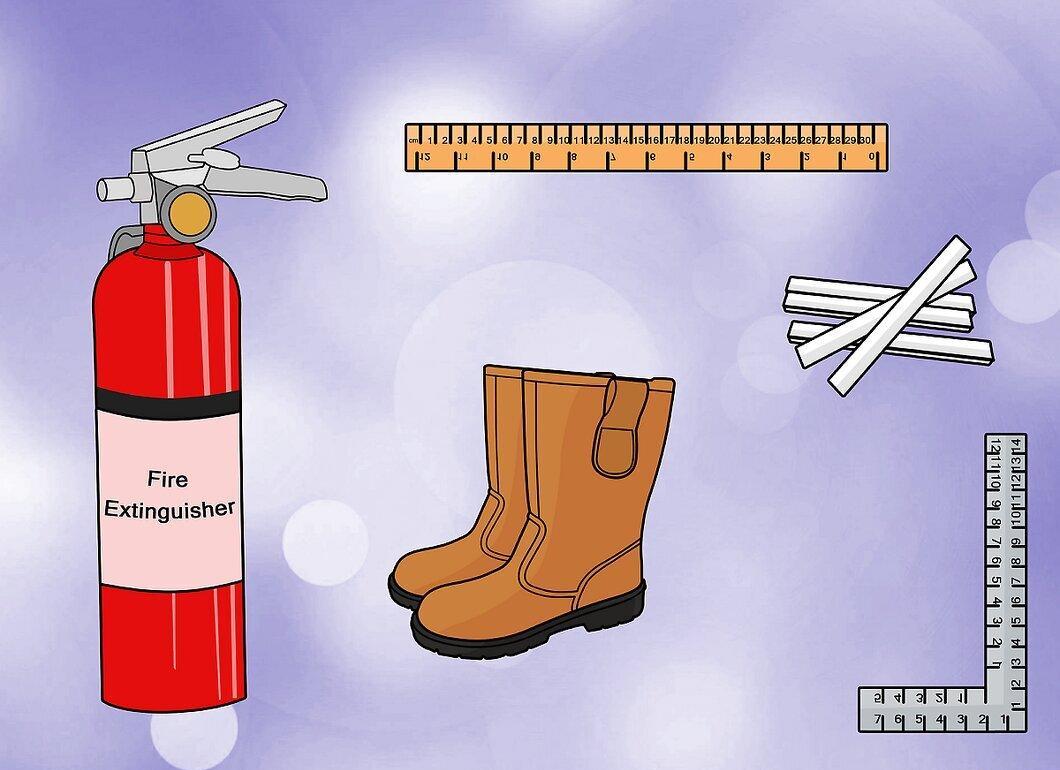
Make sure you have all the required tools. You will need:
- A fire extinguisher. A water or compressed air extinguisher will usually suffice, but if flammable materials are nearby, a dry powder extinguisher is preferable.
- Marking and measuring tools, such as a soapstone pencil, square, and ruler for accurate cuts.
- Protective gear, including specialized safety glasses and sturdy leather gloves.
- Clothing should be fitted, avoiding flammable synthetic fabrics. Fire-resistant clothing is preferred, but well-stitched cotton clothing will suffice if unavailable. Avoid wearing clothes with loose pockets or cuffs where slag could enter.
- Footwear with leather soles, as rubber can quickly burn from hot slag. Lace-up boots are the best option for protecting your feet.
- A cutter lighter specifically designed for this work to minimize the risk of injury.
Step 3: Create a Safe Working Environment.
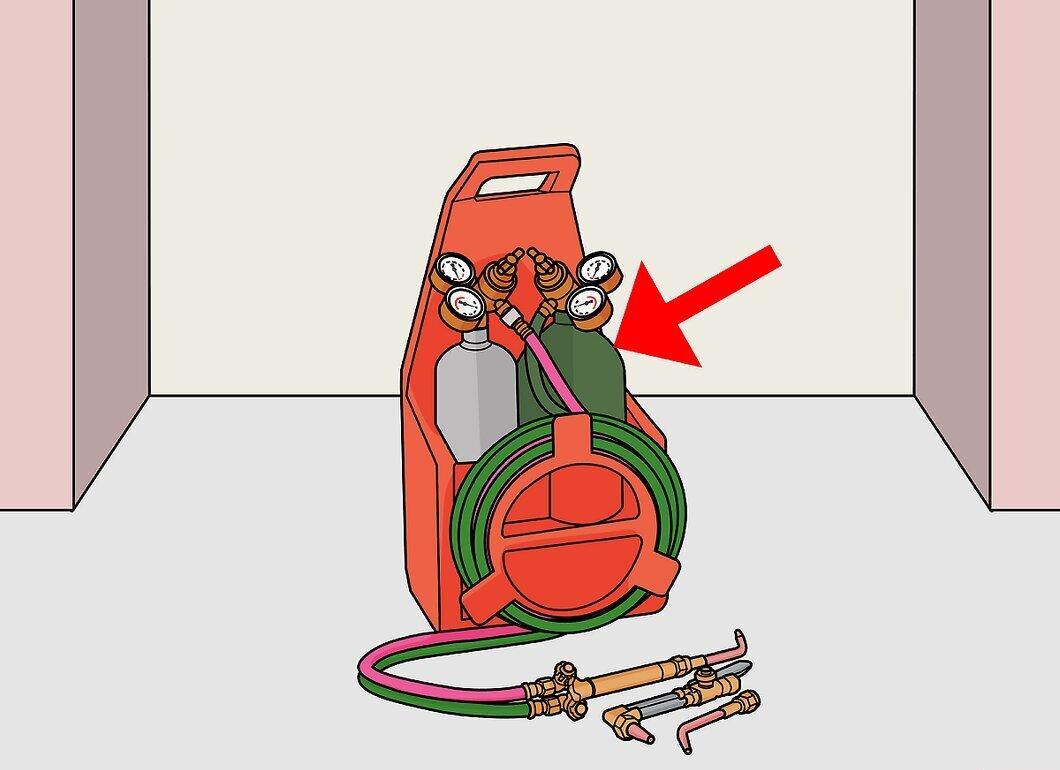
Your working area should be safe. It is best to work on bare ground or a concrete slab, as sparks can fly a considerable distance. Dry materials like paper and shavings can ignite from over 15 feet away. Avoid letting flames touch fresh concrete, as it can cause it to crack.
Step 4: Position the Metal at a Comfortable Height.
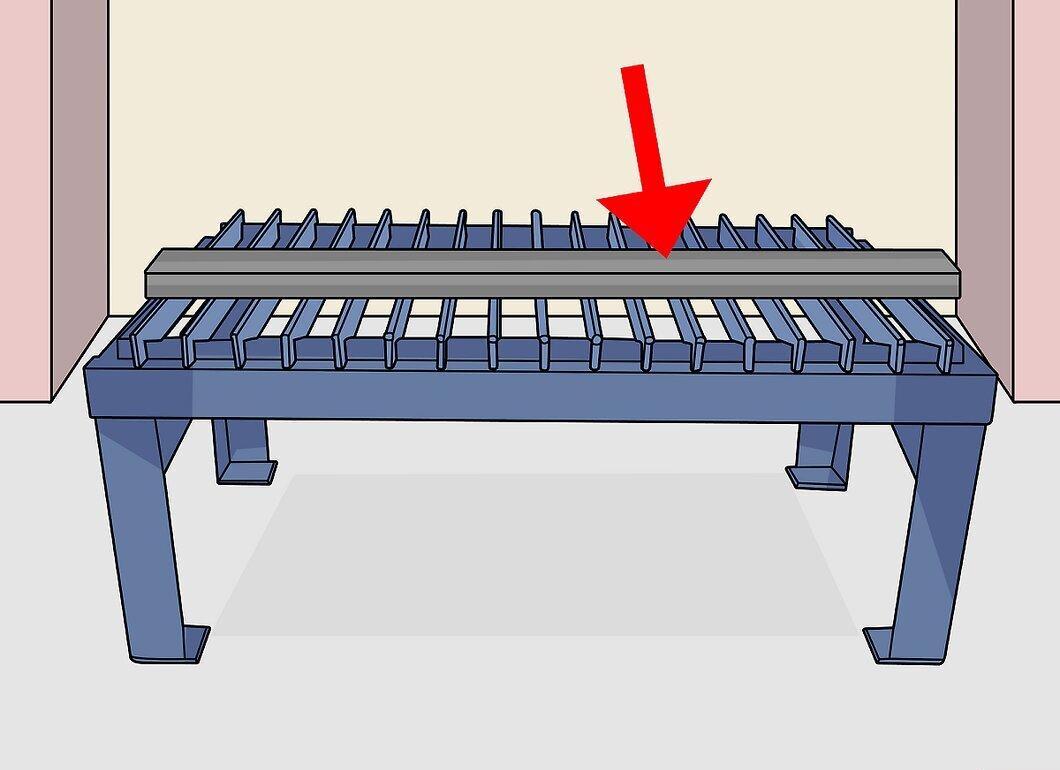
Place the steel on a suitable support to work at a comfortable height. A steel table would be ideal. Avoid flammable surfaces and materials that emit toxic fumes.
Step 5: Mark the Cutting Lines.
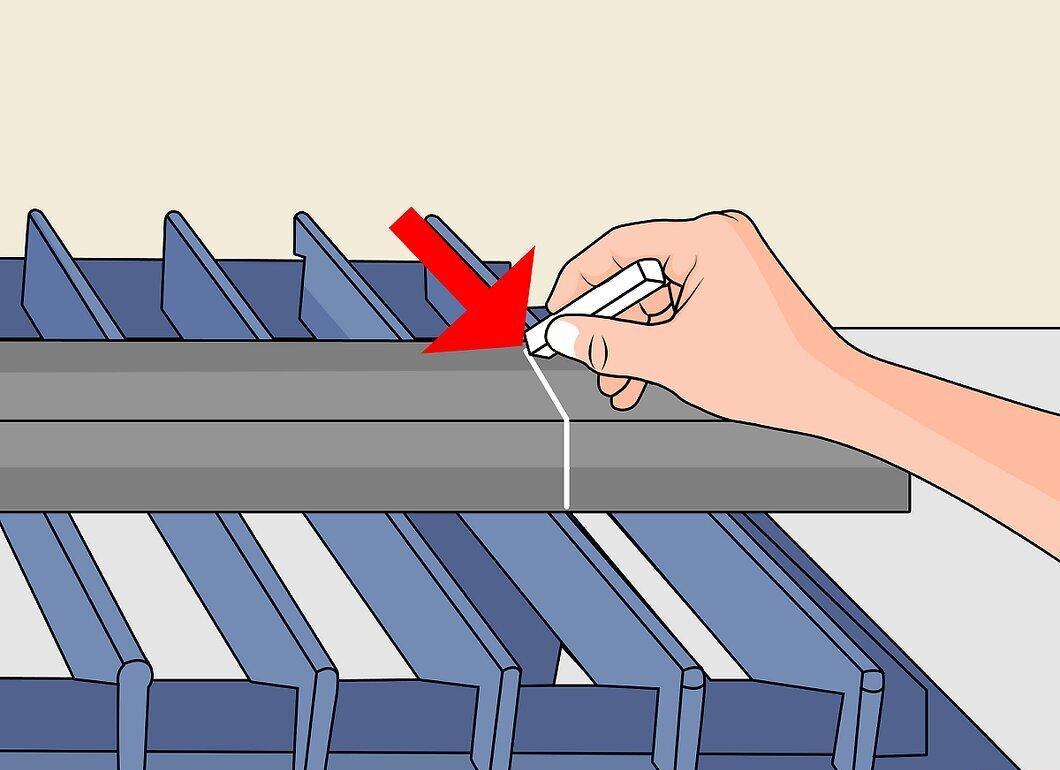
Using a soapstone pencil, mark the cutting lines, leaving a slight margin for possible grinding. If you do not have a soapstone pencil, a permanent marker can be used, but its markings may vanish under the flame of the cutter. For precise cuts, a specialized saw can be utilized.
Preparing the Gas Cutter
Step 1: Connect the Hoses to the Tanks.
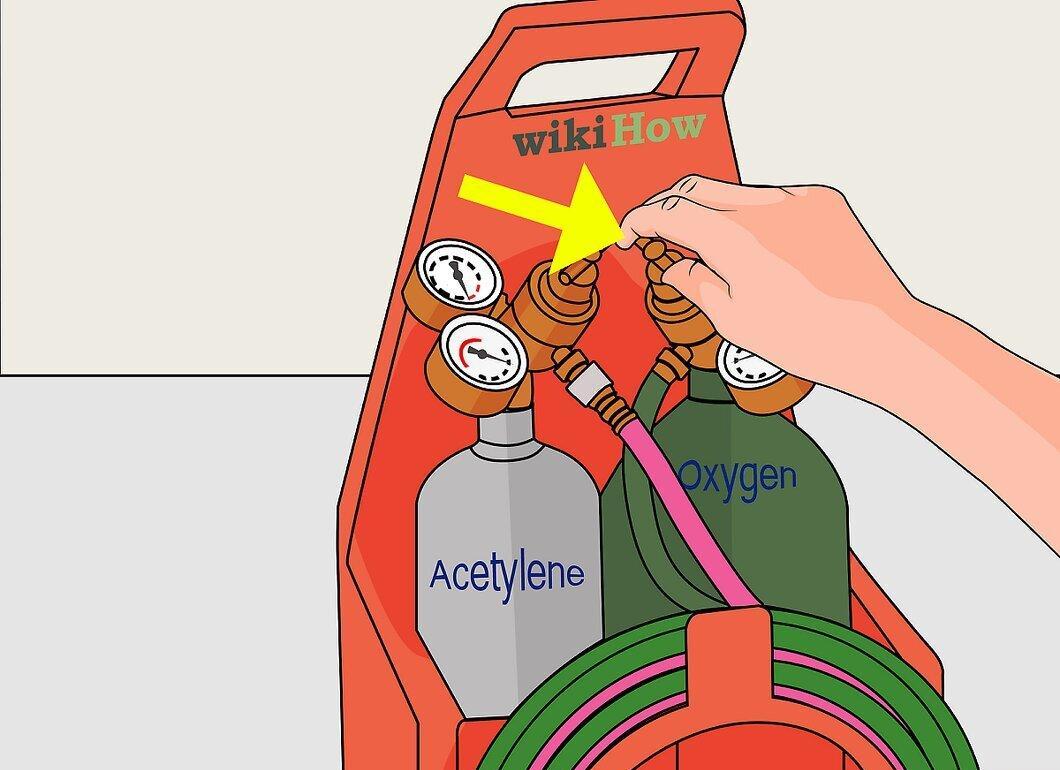
Attach the hoses to the appropriate tanks. Oxygen hoses are usually green, while acetylene hoses are red. Ensure that the acetylene hose has left-hand threads to prevent errors during connection. Tighten the connections carefully to avoid damage.
Step 2: Set the Acetylene Flow.
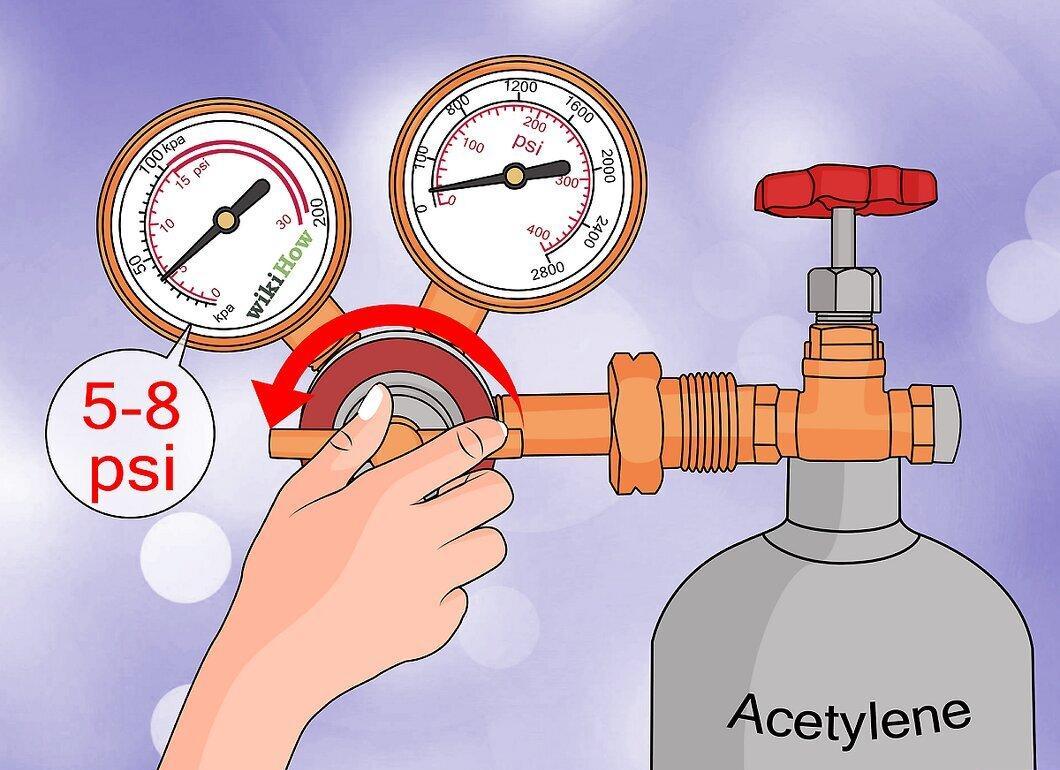
Close the acetylene flow adjustment valve and open the gas valve on the tank. Turn it one full rotation to ensure safety. Maintain the acetylene pressure at no more than 1 atm to avoid the risk of explosion. Open the acetylene valve and adjust the pressure to between 0.34 – 0.54 atm.
Step 3: Adjust the Oxygen Flow.
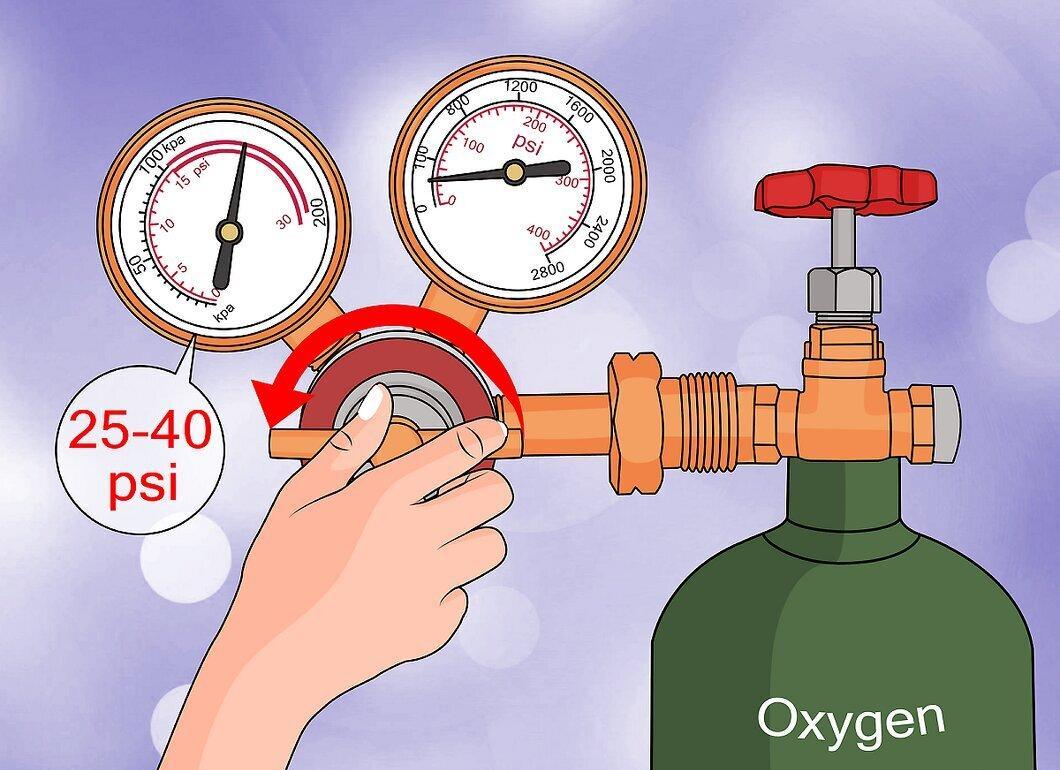
Disconnect the oxygen regulator and adjust its pressure. Fully open the main valve on the oxygen tank and slowly open the regulator until you reach a pressure of 1.7–2.7 atm. Ensure that oxygen does not leak into the atmosphere until you open the necessary valve.
Using the Gas Cutter
Step 1: Wear Protective Gloves and Glasses.
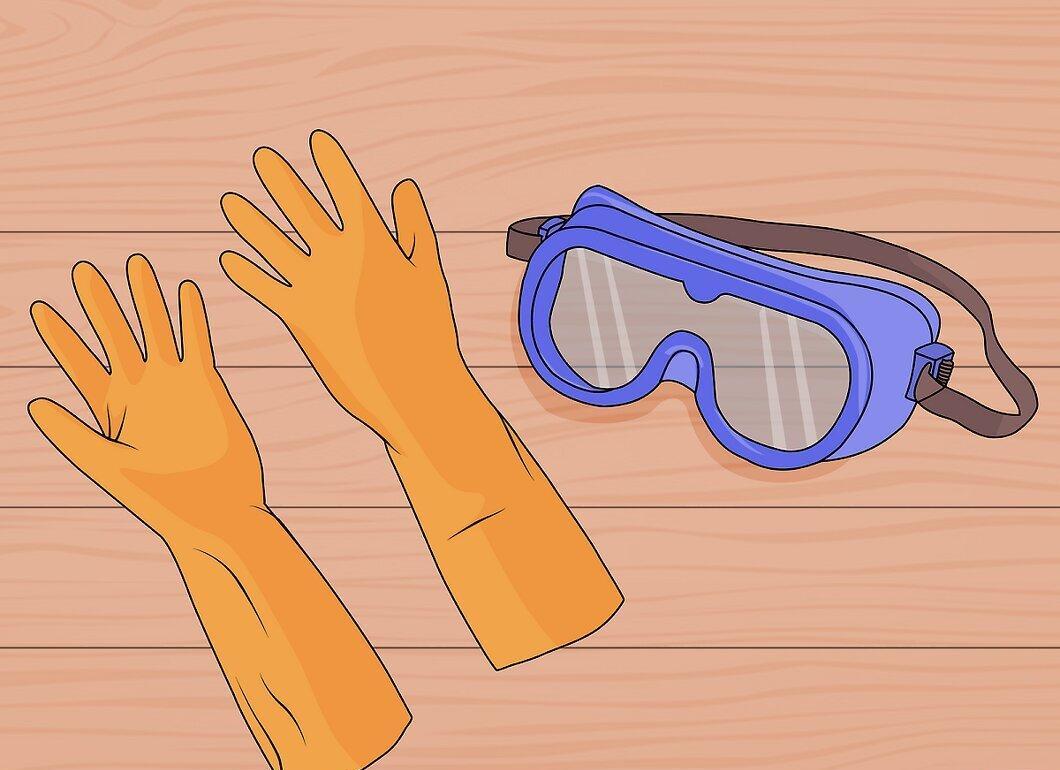
Before starting to cut, ensure you have put on protective gloves and glasses. Check the work area for any flammable materials.
Step 2: Ignite the Cutter.
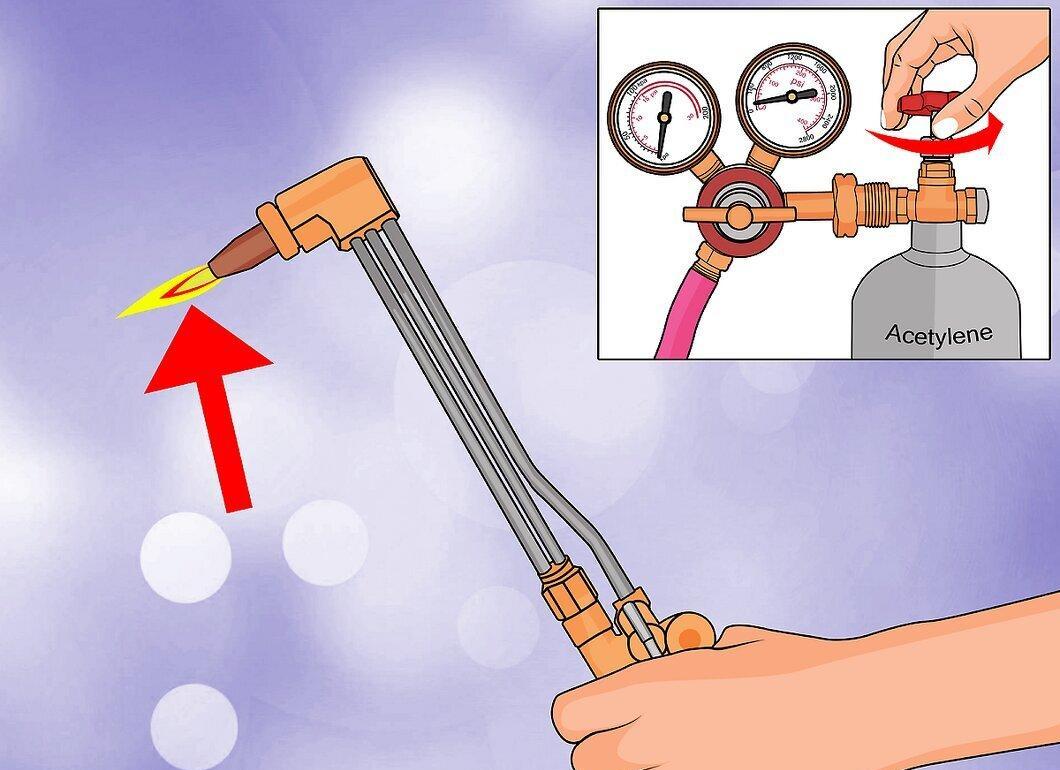
Open the acetylene valve and allow some gas to flow out, then close it when you hear the gas barely escaping. Bring the lighter to the nozzle and activate it. You should see a small yellow flame.
Step 3: Adjust the Flame Length.
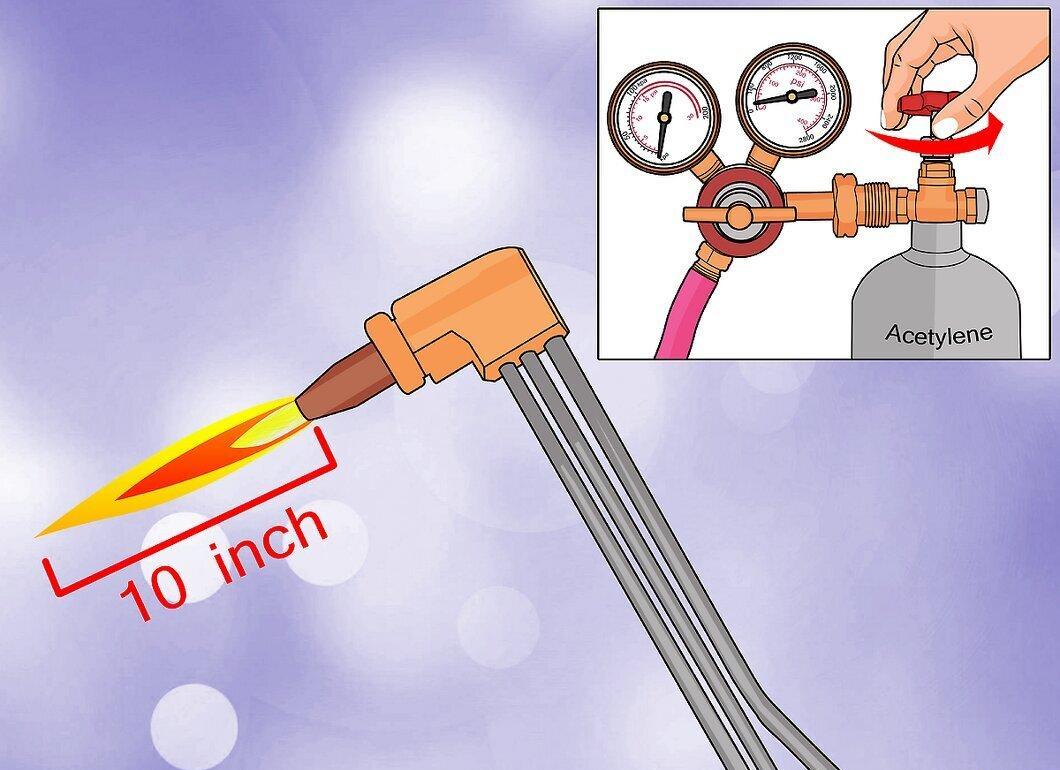
Adjust the acetylene flow so that the flame length is about 10 inches. If the flame is weak or overly vigorous, adjust the gas flow accordingly.
Step 4: Add Oxygen.
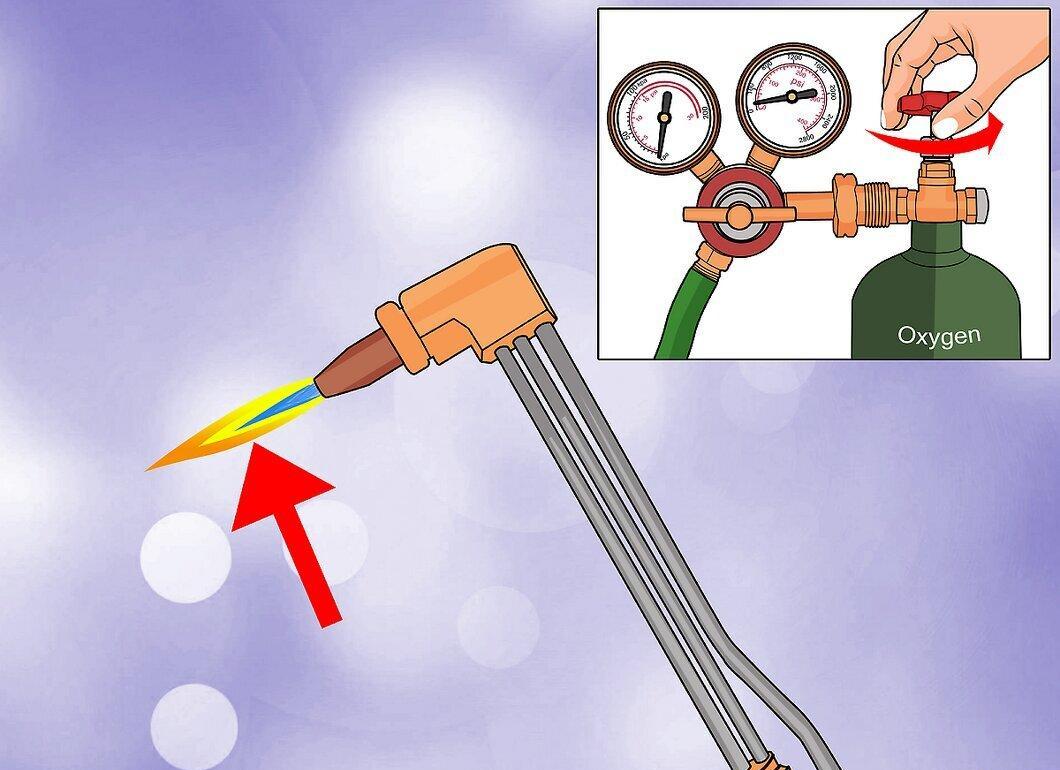
Slowly open the oxygen valve. The flame should turn blue as you add oxygen. Increase the oxygen flow until you achieve a steady blue flame.
Step 5: Set the Flame Size.
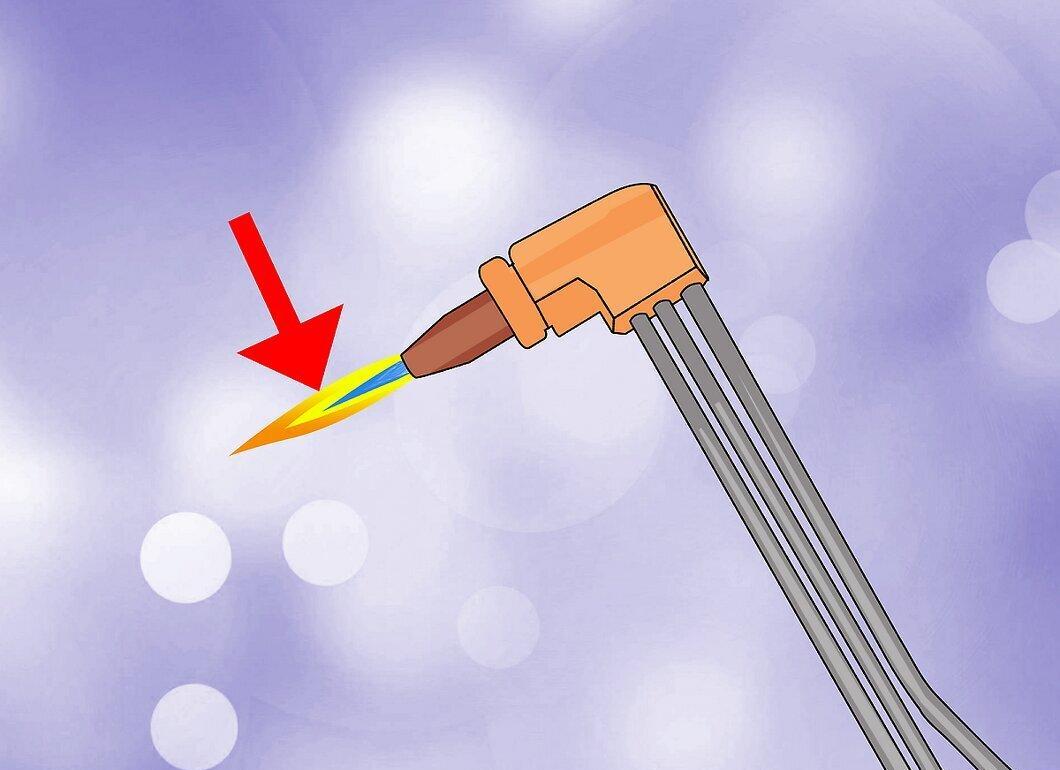
Continue to increase the oxygen flow until the inner flame length is slightly greater than the thickness of the steel you are about to cut. If you hear a hissing sound or see an unstable flame, reduce the oxygen flow.
Step 6: Bring the Flame to the Steel.
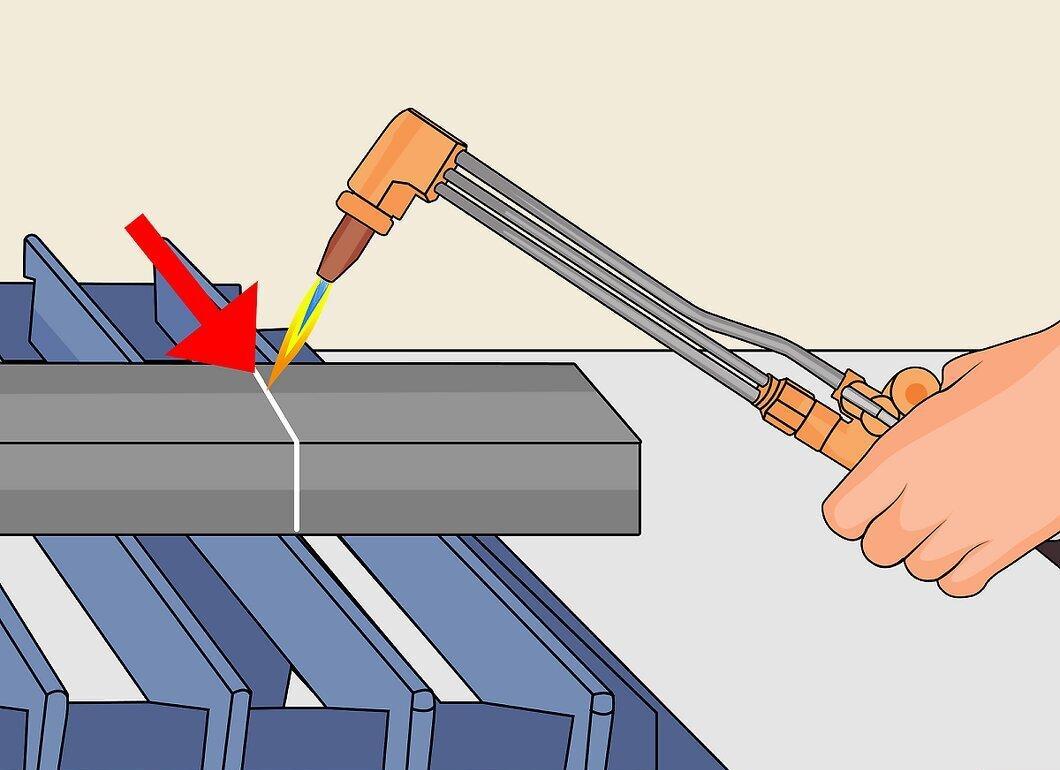
Bring the tip of the flame close to the surface of the steel to heat it to the melting point. For a 1/4 inch thick sheet, this will take about 45 seconds.
Step 7: Start Cutting.
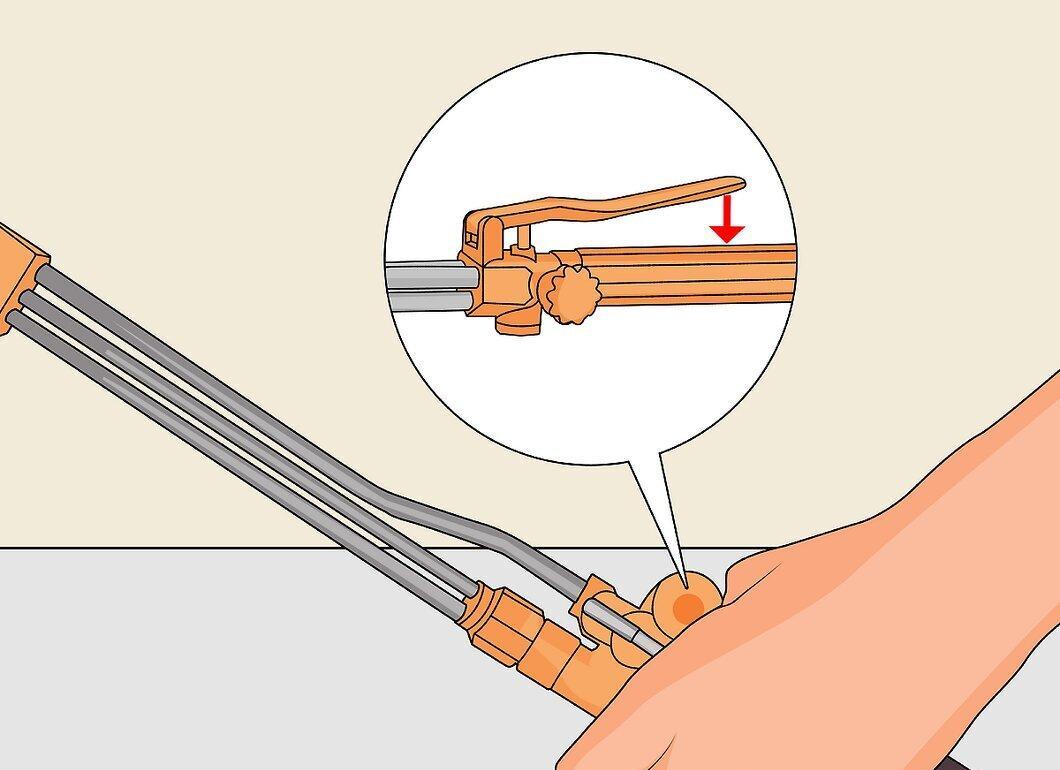
Lower the cutting valve handle to supply oxygen and ignite the molten steel. If the reaction does not start, it means the metal is not sufficiently heated; continue heating.
Step 8: Move the Nozzle Along the Cutting Line.
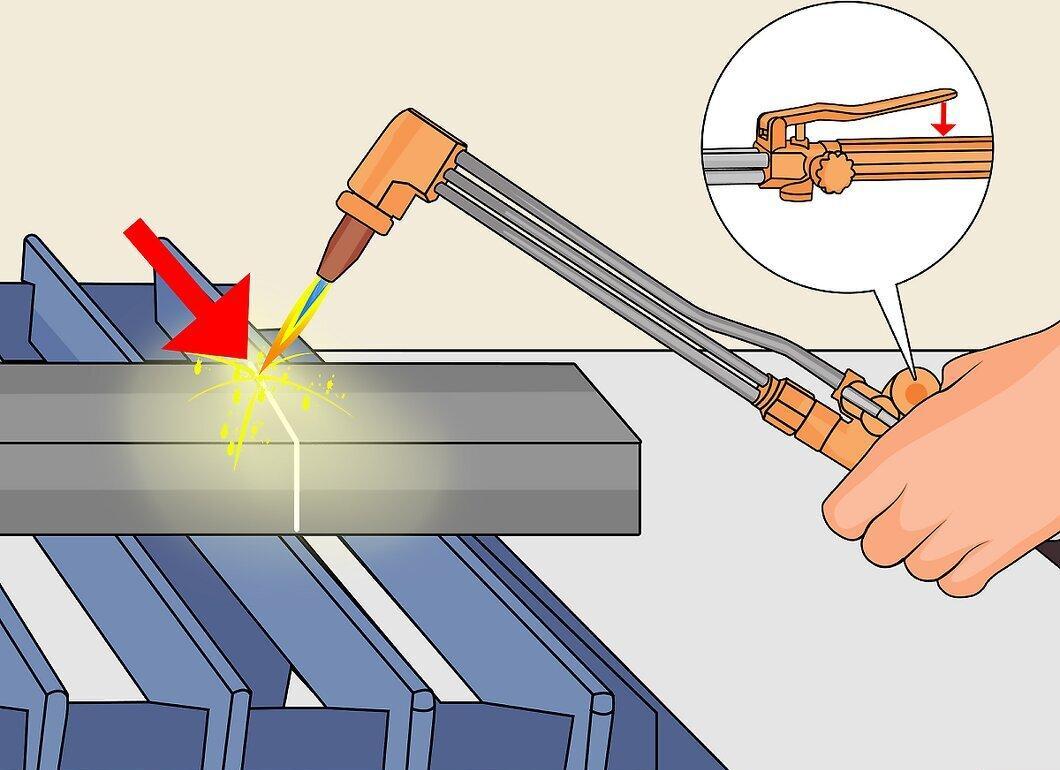
Once cutting begins, smoothly move the nozzle along the line. Be mindful of sparks and slag that may fall on your legs.
Step 9: Complete the Cut.
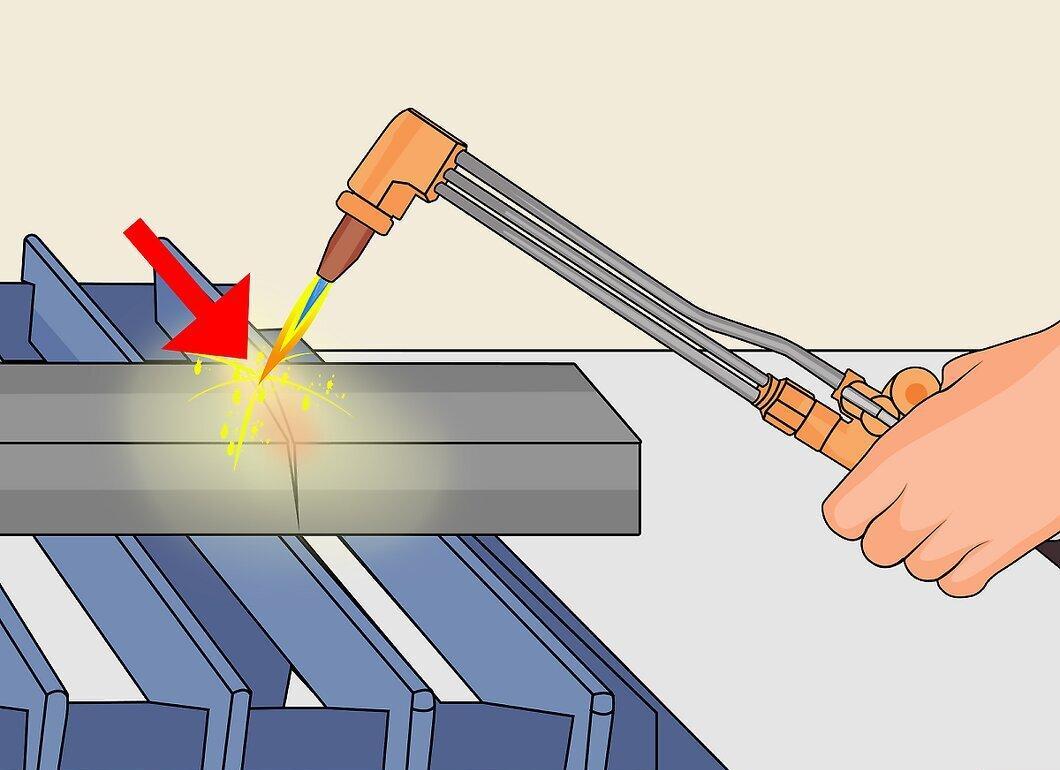
Continue cutting until you have separated the metal or finished the cut. Ensure that slag does not obstruct you.
Step 10: Cool the Piece.
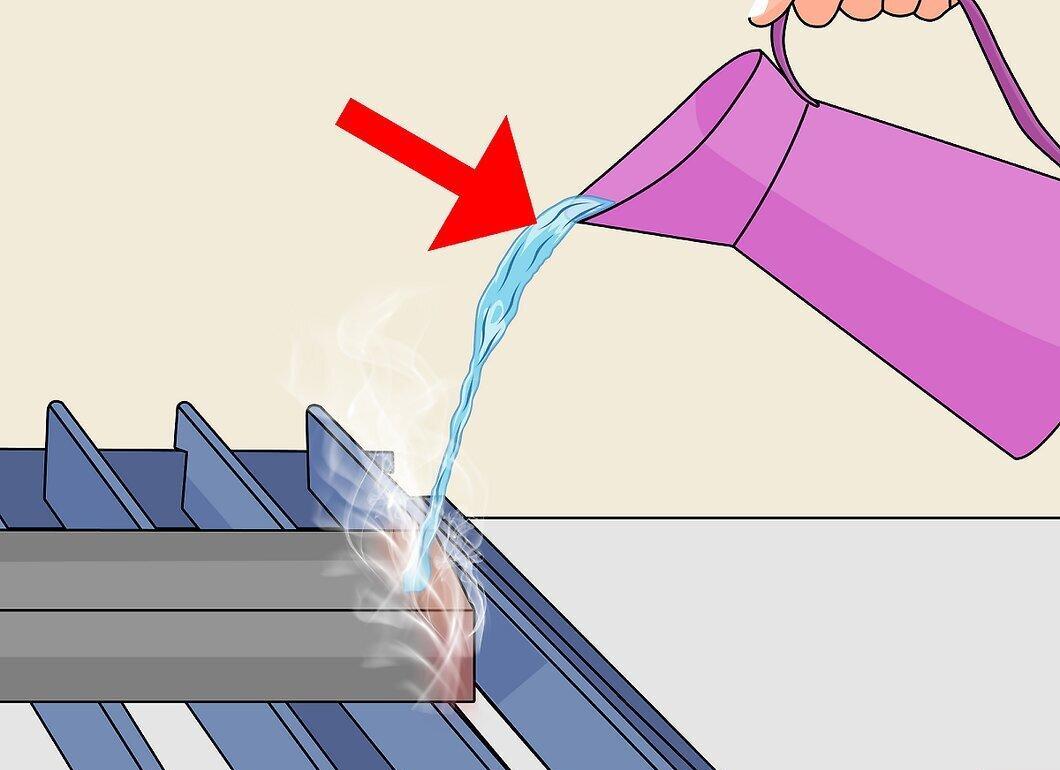
Cool the cut piece in water or allow it to cool naturally. Be cautious not to create a steam cloud if you plunge the hot metal into cold water.
- This applies only to low-carbon steel, as water cooling can damage hardened steel.
Step 11: Remove the Slag.
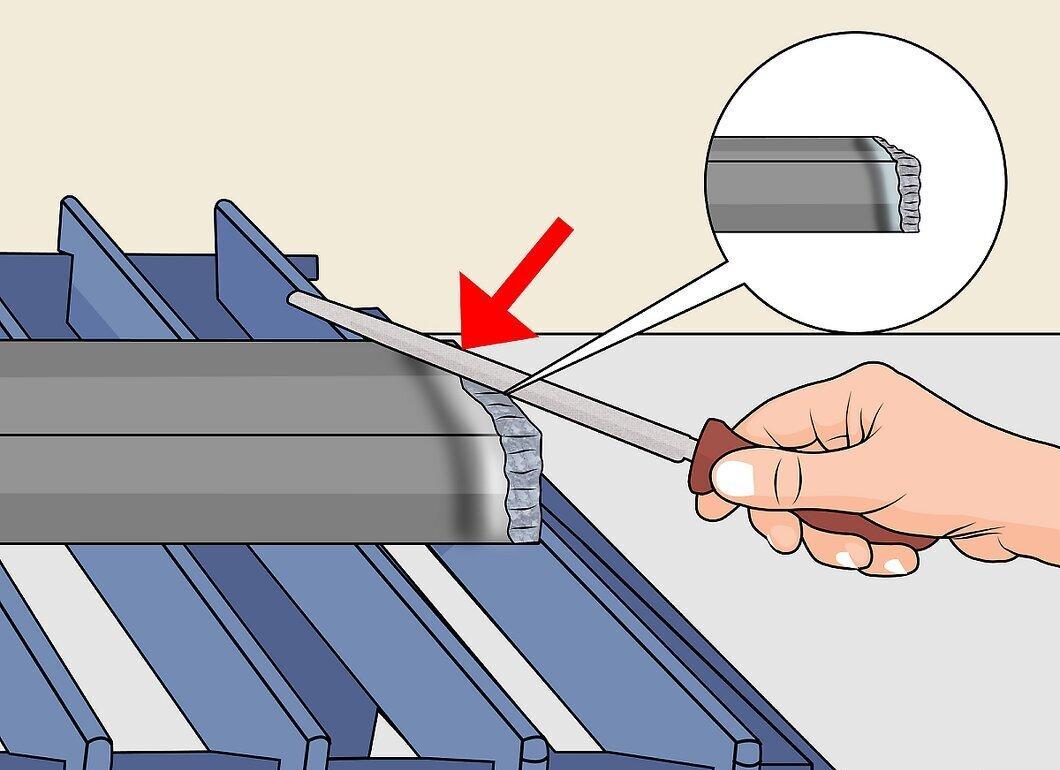
Carefully chip away the slag from the cut. If necessary, you can grind for more precision.


