
Manual can openers, also known as handheld can openers, are becoming less popular in the face of new high-tech automatic devices. However, despite their simplicity, a bit of practice is needed to master their use. Remember to prioritize safety to avoid cuts from the sharp edges of an opened can!
Setting Up the Can Opener
Step 1. Identify the Cutting Edge of the Opener.
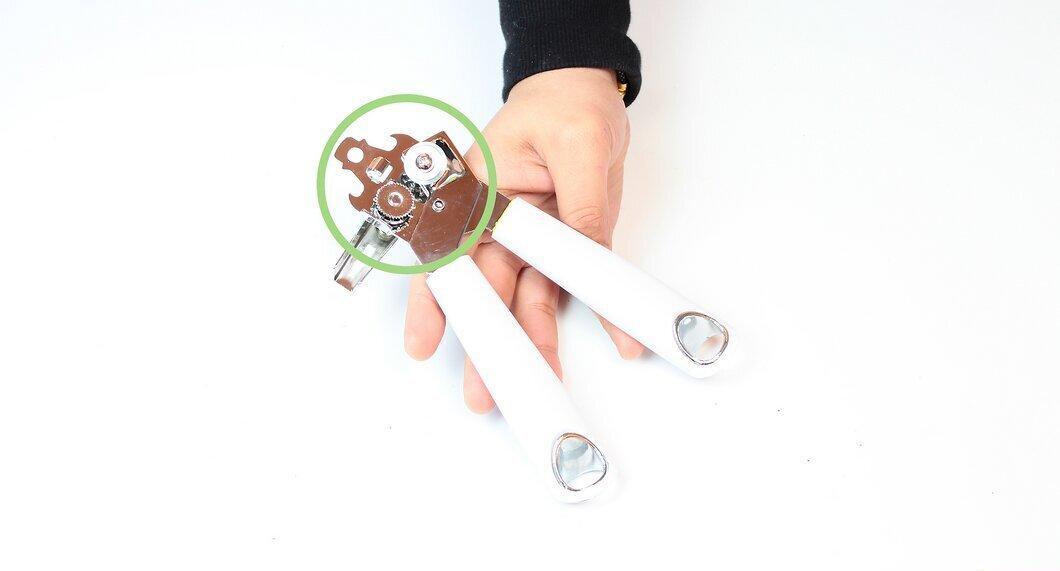
Find the cutting edge of your can opener. It typically has a sharp tip that punctures the lid of the can. The shape of the cutting edge can be circular, curved, or hooked. Usually, it is located at the top of the device, where the two handles used to operate the opener connect. The sharp tip should be oriented along the handle and positioned near the serrated wheel that grips the edge of the can for rotation.
Step 2. Place the Can on a Stable Surface.
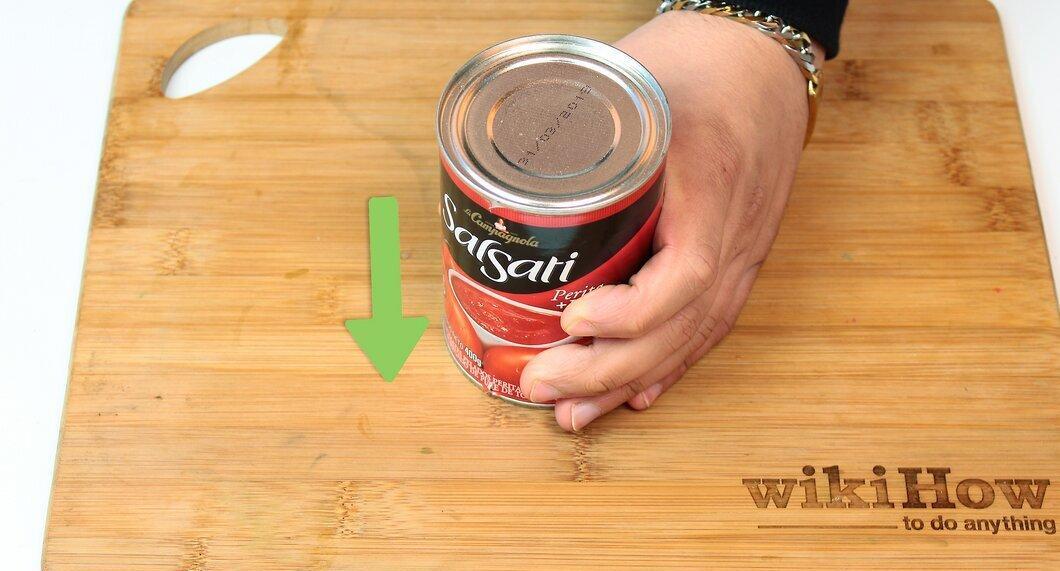
Make sure the can is resting on a flat and stable surface. Do not hold it in the air. This helps create enough pressure on the can, making it easier to puncture the lid. Holding the can in the air is also risky, as you could spill the contents or injure yourself.
Step 3. Open the Handles of the Can Opener.
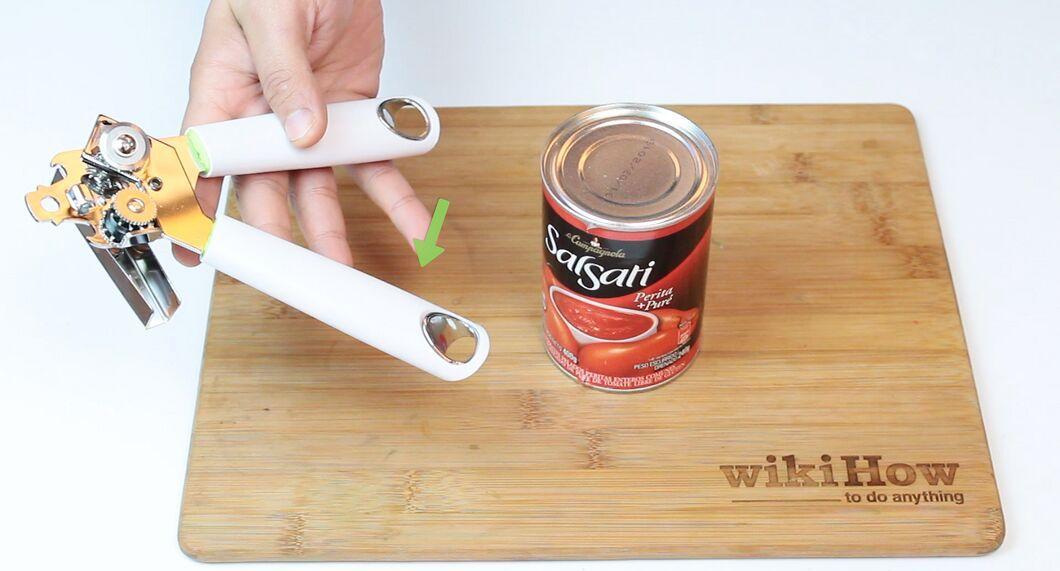
Spread the handles of the can opener as wide as possible. This will allow you to easily position it correctly.
Step 4. Position the Cutter on the Edge of the Can.
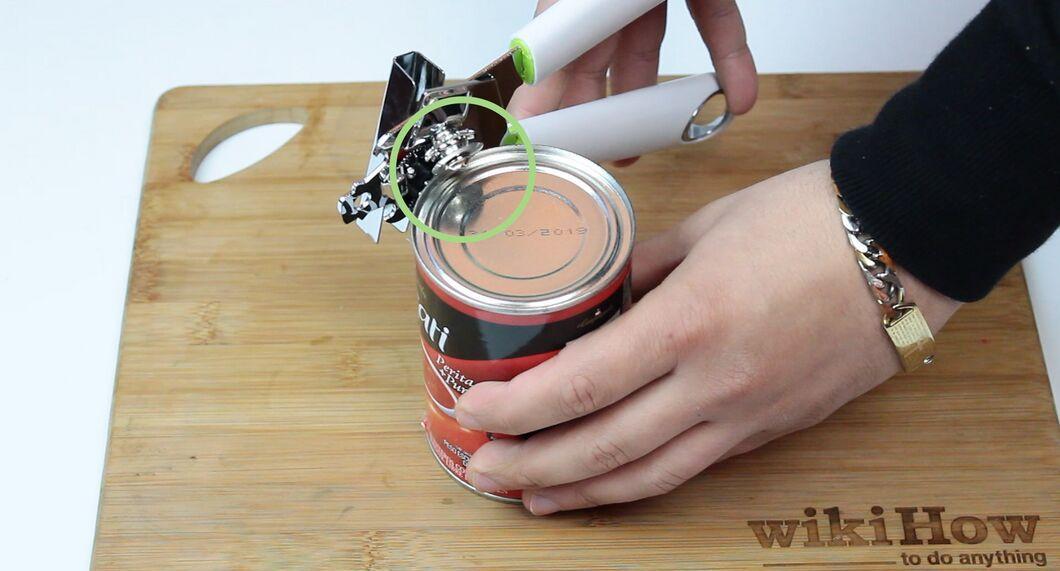
Place the cutter over the edge of the can, ensuring that the sharp tip is aimed at the lid and touches it. It’s important that the serrated wheel is positioned against the side of the can and presses against the upper rim. Also, check that the screw driving the opener is located outside the can.
Opening the Can
Step 1. Puncture the Lid of the Can.
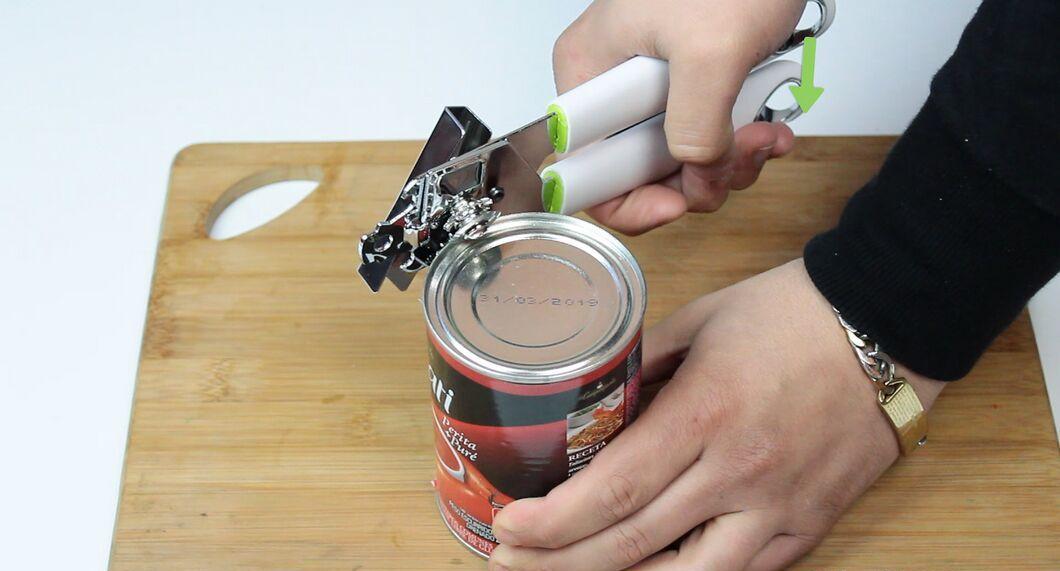
Bring the handles of the opener together so that the cutting edge penetrates the lid. You should hear a hissing sound, indicating that the pressure inside the can is equalizing with the outside air.
Step 2. Rotate the Screw of the Opener.
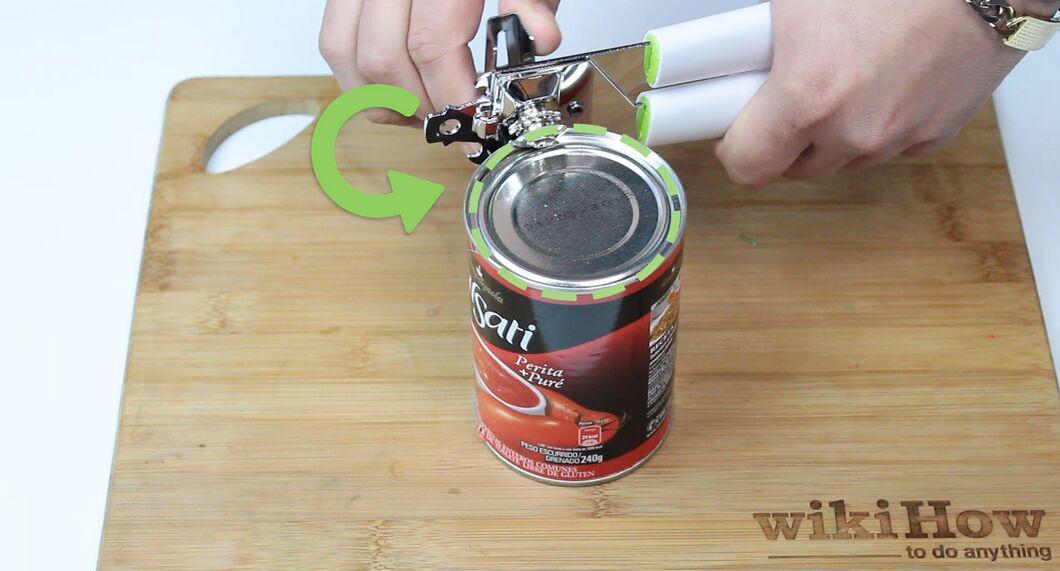
Start turning the outer screw clockwise so that the serrated gear travels around the entire edge of the can. The can opener will follow the gear, gently cutting through the metal of the lid. Continue until the lid is nearly detached from the can.
- Usually, the screw needs to be turned clockwise, but if that doesn’t work, try changing the direction.
Step 3. Lift the Lid of the Can.
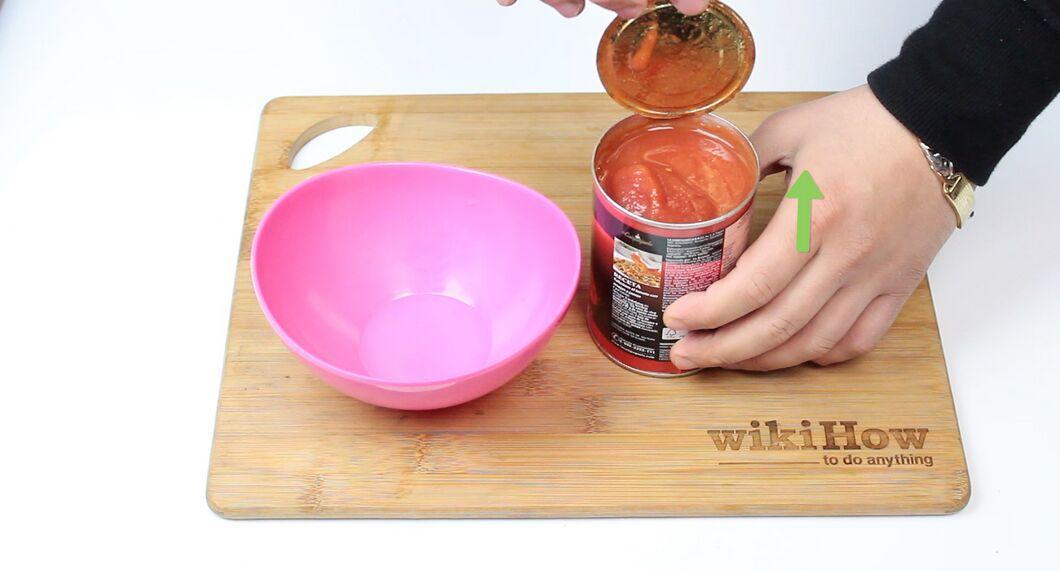
Using the knife or your fingernail, gently pry up the edge of the lid and lift it with two fingers. Carefully pull the lid upwards. You can transfer the contents to another container or eat directly from the can! Be cautious and avoid injuring your hands on the sharp edges. Hold the lid by its outer and inner sides, avoiding the edges. Watch out for small metal shards that may fall into the can, as they can be hard to spot among the contents!
- You can also completely cut off the lid, but in this case, it may fall inside the can, making it difficult to remove. Pry the lid with a knife or another flat object.
Troubleshooting Potential Issues
Step 1. Be Prepared to Reposition the Can Opener.
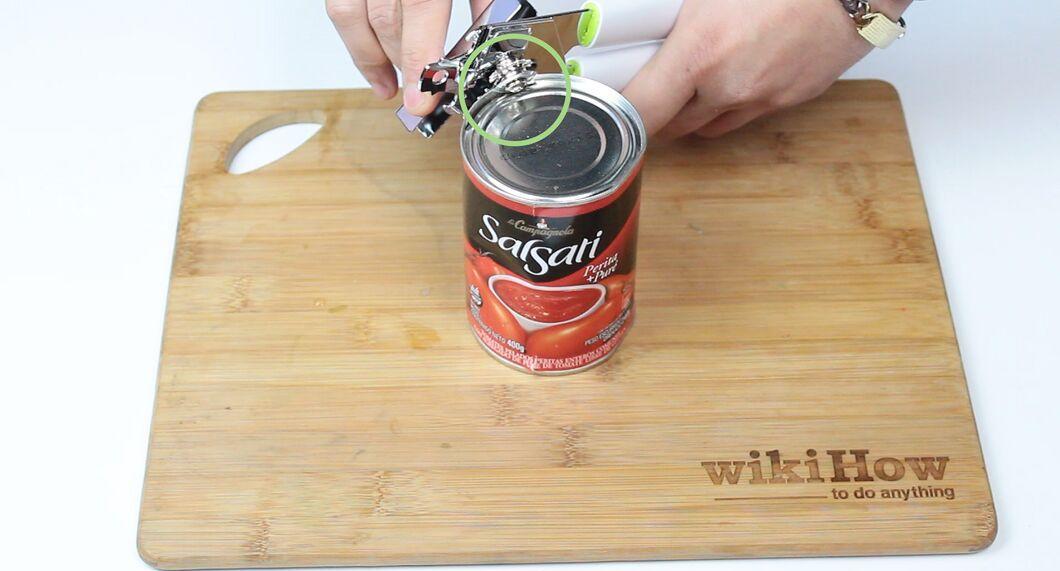
If the cutter does not penetrate the metal, you may need to reposition it on the can. Make sure you are applying enough pressure on the opener while turning the screw. If the cutter slips off, remove it from the can and reposition it over the previously cut area.
Step 2. Thoroughly Wash the Opener Before Use.
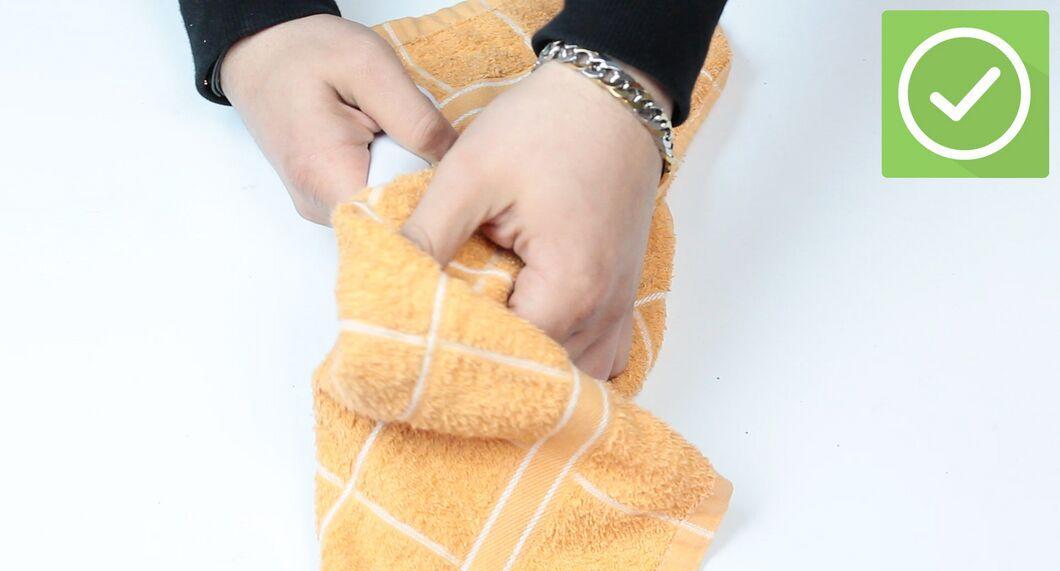
Before each use, thoroughly wash the opener. Food residues may remain on its parts, potentially becoming a breeding ground for bacteria.
Step 3. Consider Alternative Methods for Opening Cans.
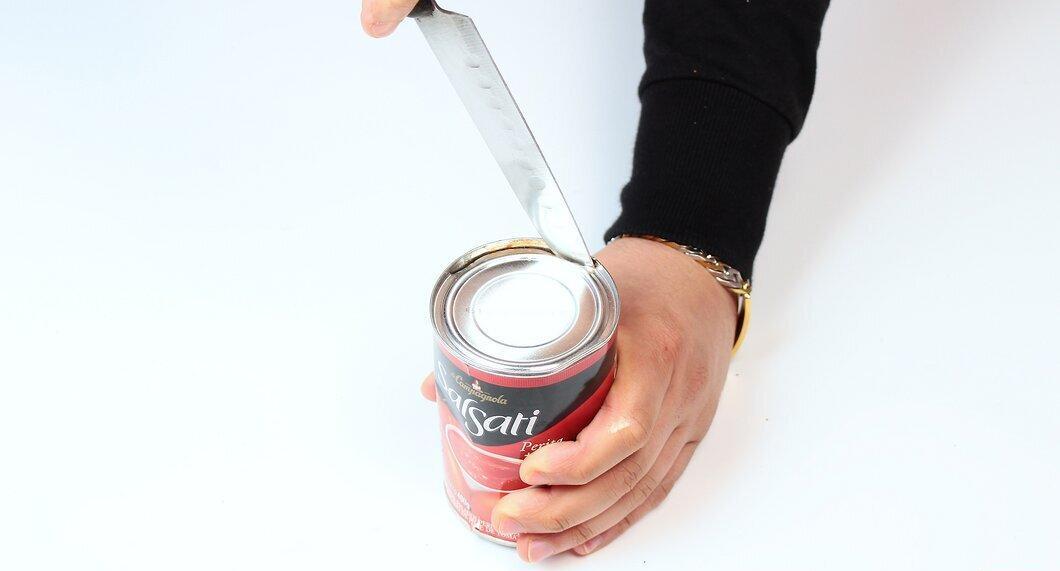
If a mechanical can opener is not suitable for you, consider other ways to open cans. For example, you can use an automatic can opener or another manual can opener (with caution); some cans come with a tab that can simply be pried up with a fingernail to open the lid.


