
Preparing your pool for the winter season is a crucial step that can save you both time and money on future maintenance. Below are step-by-step recommendations to help you carry out this process correctly.
Checking the Water Chemistry
Step 1. Before closing your pool, ensure the water is clean, clear, and the chemical balance is within the normal range.
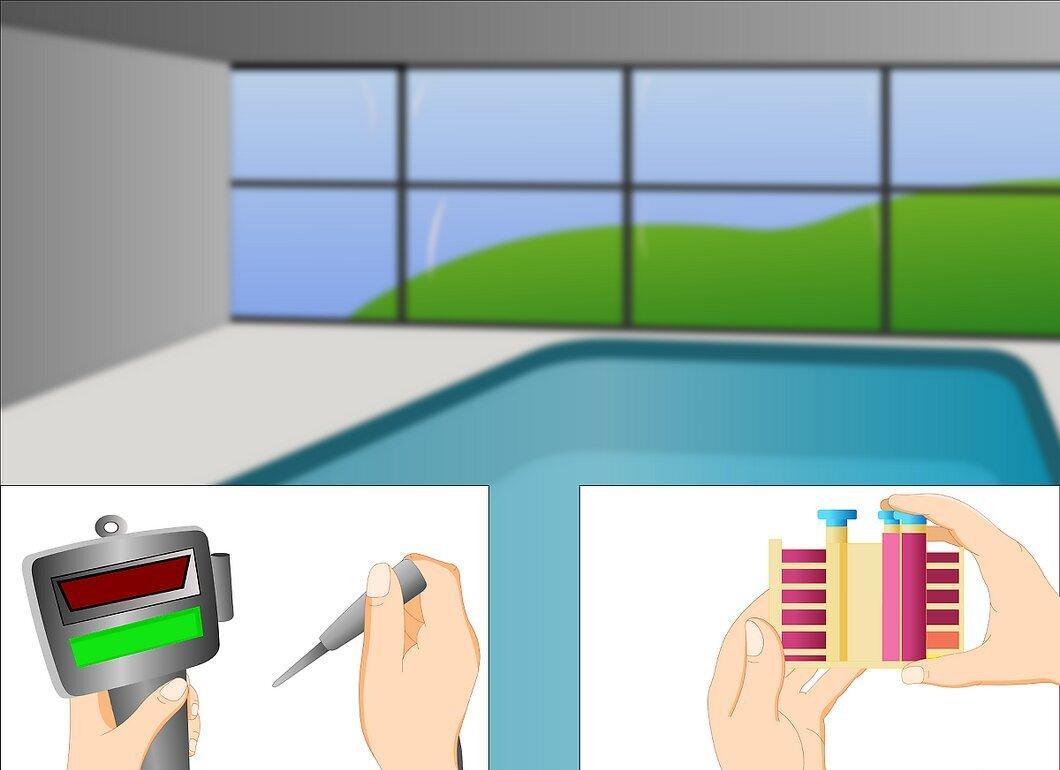
The water testing phase is extremely important: a properly balanced chemical composition will protect your pool from corrosion and salt deposits during the winter months. The optimal chemical levels should be as follows:
- pH: 7.2-7.6
- Alkalinity: 80-120 mg/L (ppm)
- Calcium hardness: 180-220 mg/L (ppm)
Step 2. Disinfect the pool using chlorine.
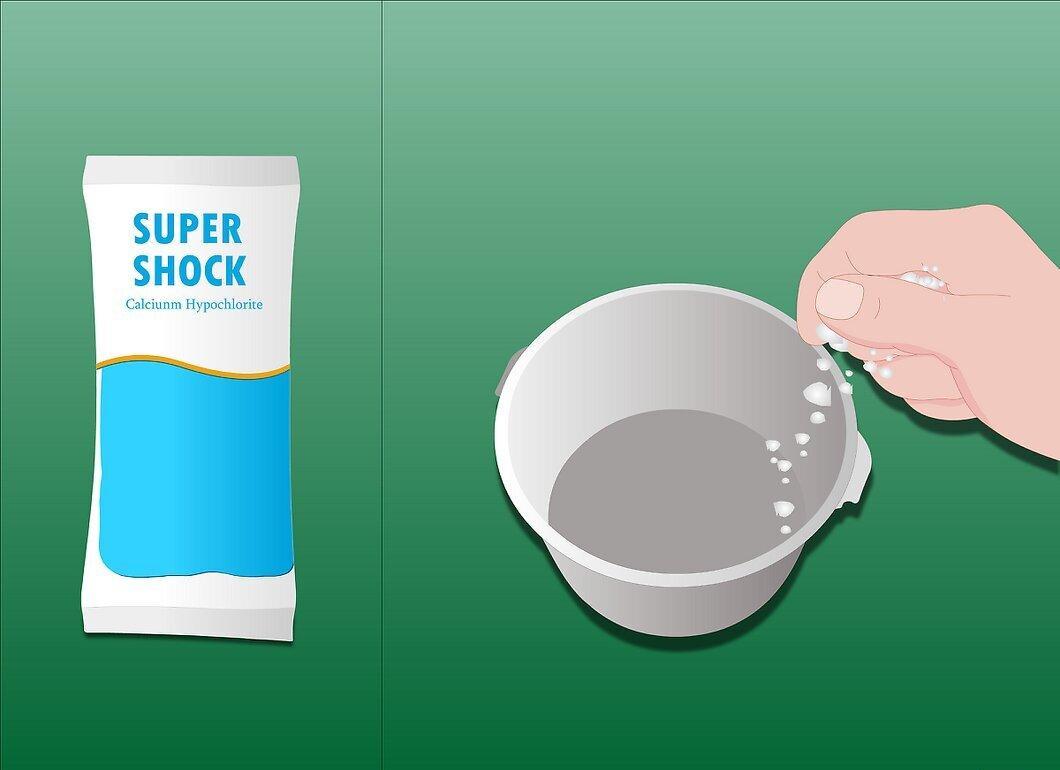
Treat the pool with chlorine before winterizing. Use sodium hypochlorite, which can be added to the water while filling or into the recirculation system before the filters. Be sure to follow the instructions on the disinfectant packaging.
- Remember that disinfection done during pool use is not always sufficient; a stronger solution is necessary for winter storage.
- After chlorination, let the water sit for a few days until the chlorine level drops to 1-3 mg/L (ppm).
Step 3. Add an algaecide.
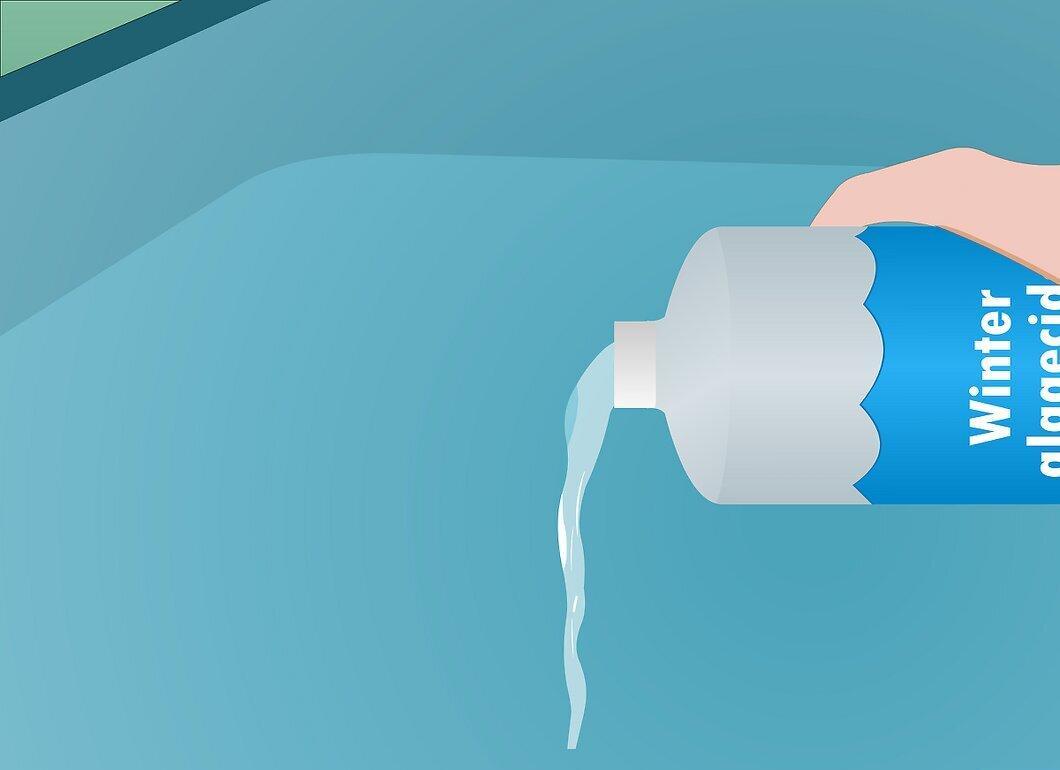
When adding the algaecide, make sure the chlorine level in the water is low to avoid neutralizing the algaecide's effects.
- Algaecides are essential for preventing and eliminating algae that can cause water cloudiness and unpleasant odors.
- The higher the concentration of the algaecide, the longer its effect will last.
Cleaning the Pool
Step 1. Remove all removable elements from the pool, such as ladders, baskets, hoses, filters, and pumps.
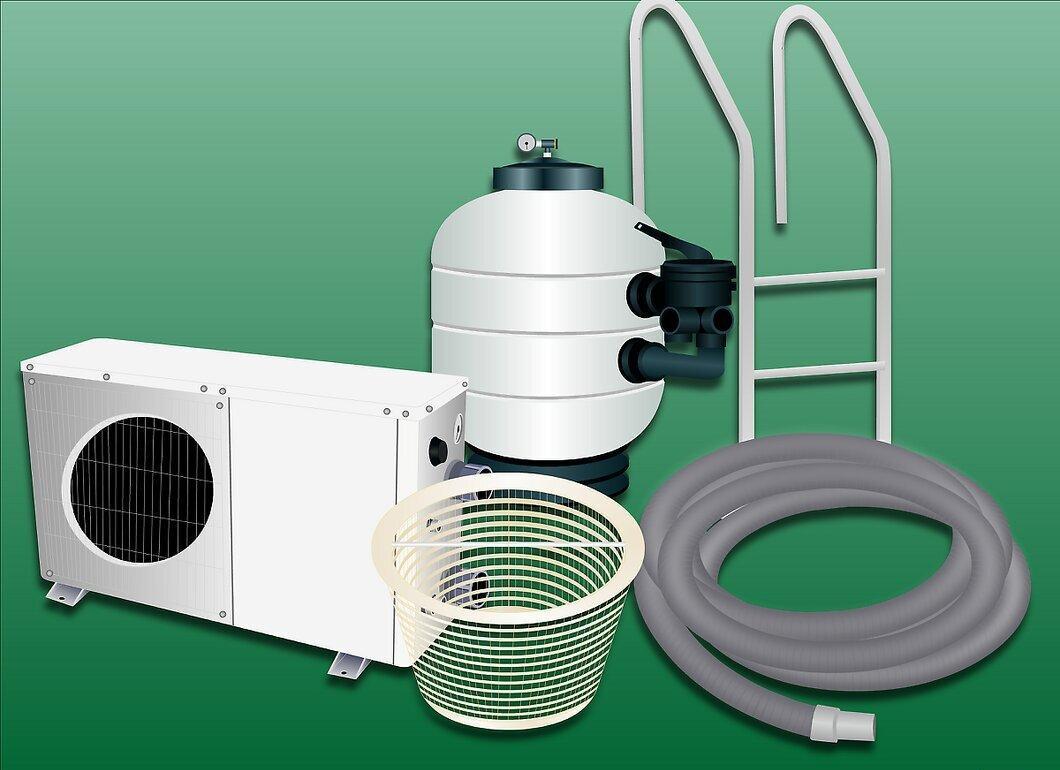
- Thoroughly rinse all components and allow them to dry completely.
- Store all disassembled elements in a dry place, such as a garage.
Step 2. Clean the surface of the pool.
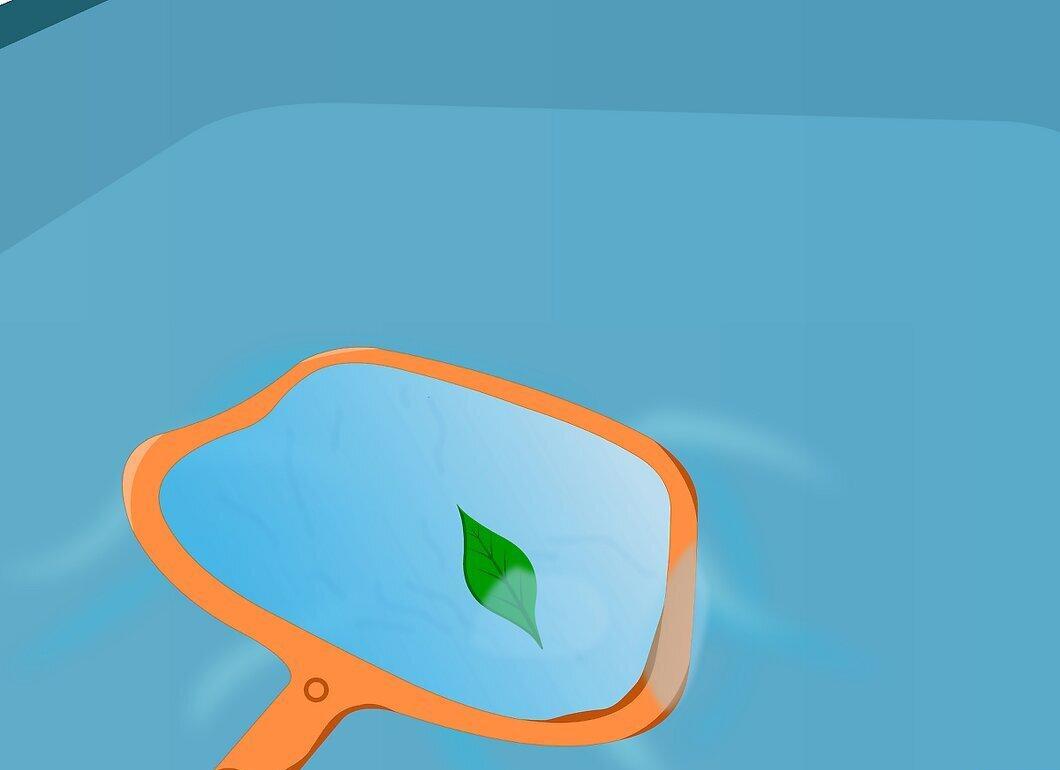
Use a net to remove leaves and other debris from the surface.
Step 3. After cleaning the pool's surface, take care of the bottom and sides.
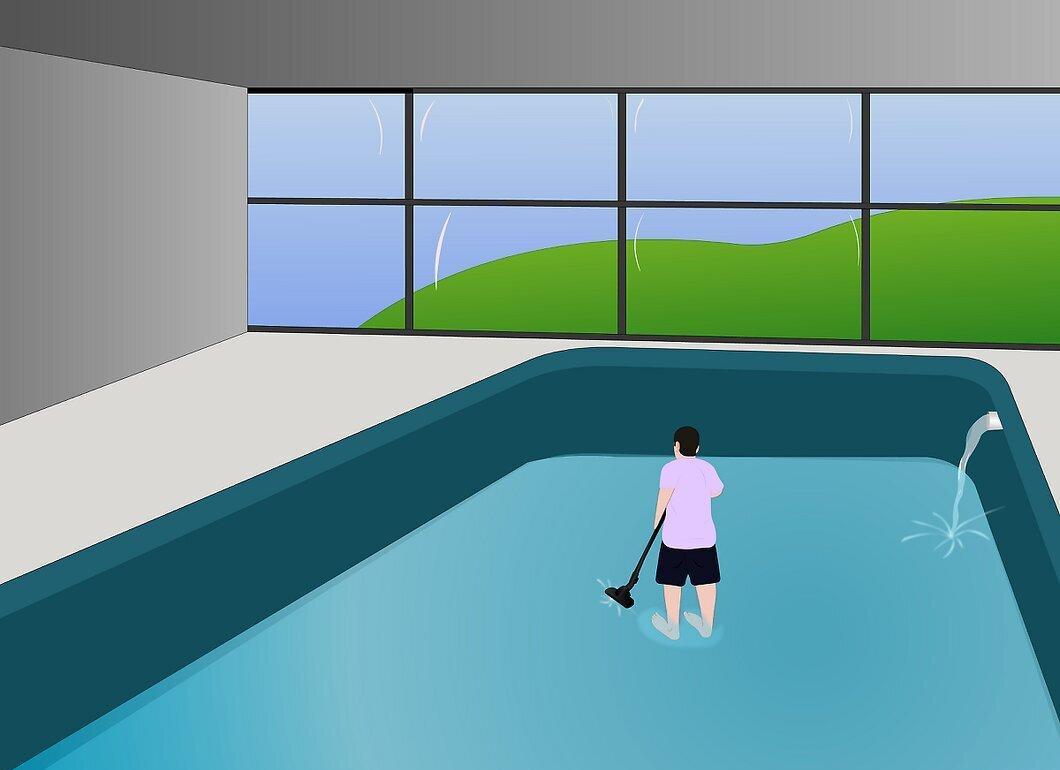
- It’s best to clean on the day of winterization to prevent new debris from accumulating.
Lowering the Water Level in the Pool
Step 1. Lower the water level according to your pool cover type:
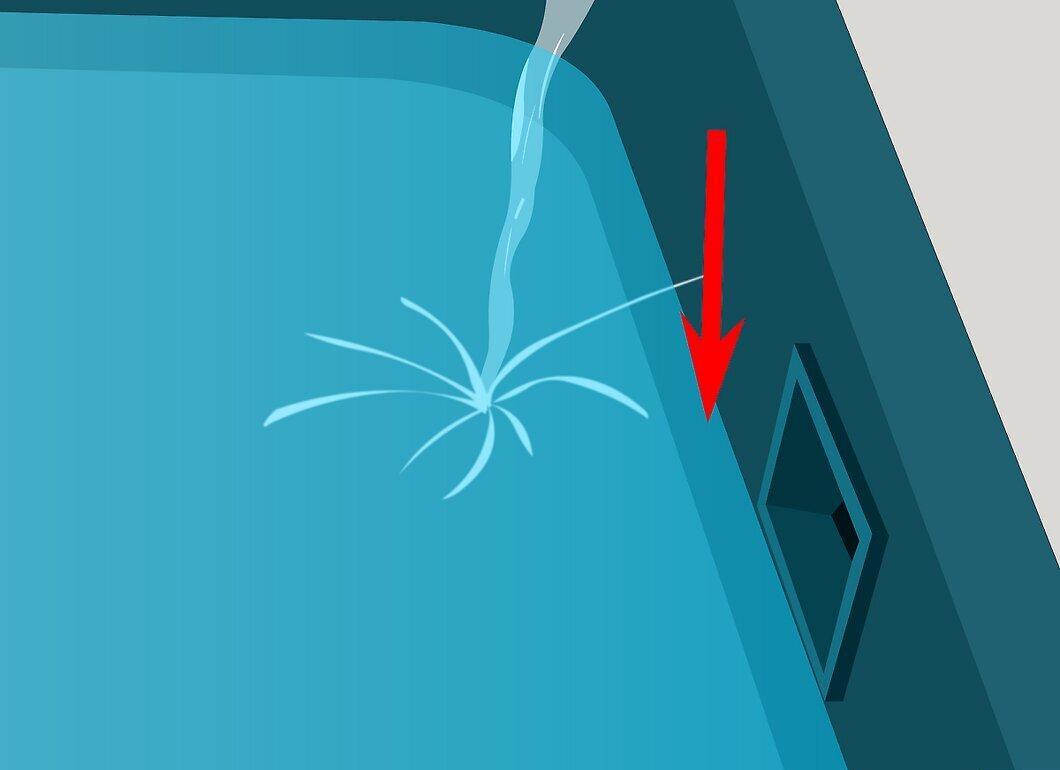
- 30-35 cm below the skimmer if you are using a cover,
- 8-15 cm below the skimmer if you have a hard cover.
Step 2. Drain the equipment.
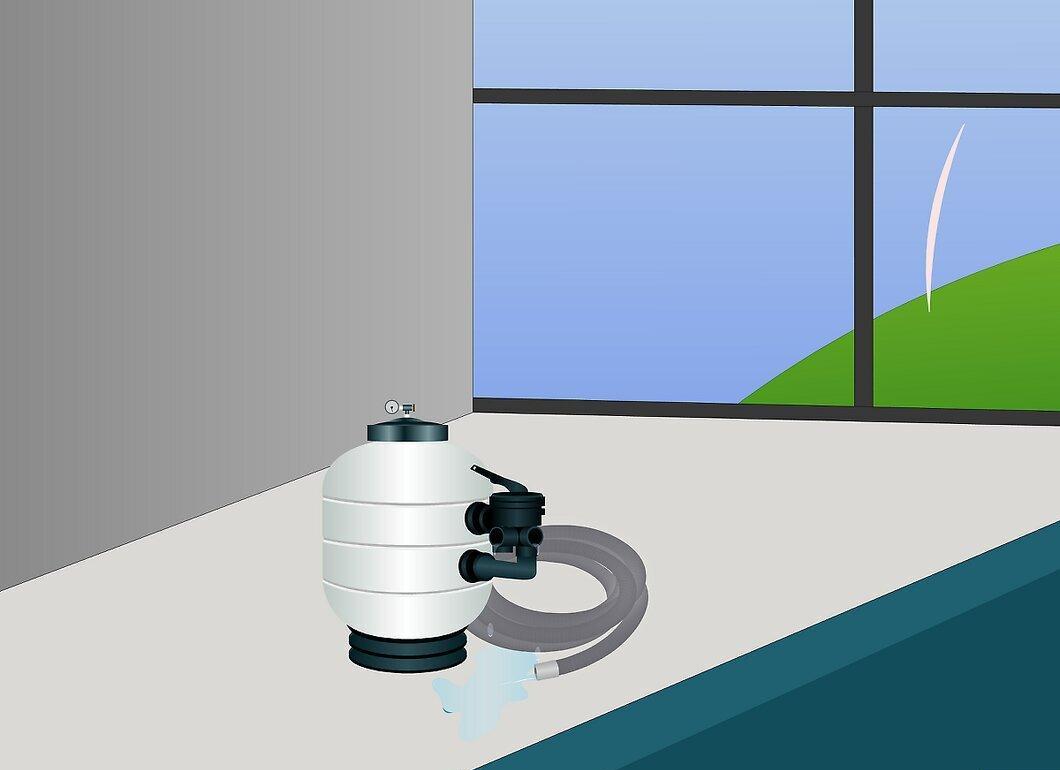
Drain water from pumps, filters, heaters, and dispensers.
- Remove the filters, rinse them thoroughly, dry them, and store them.
- If the filters cannot be removed, dry them using a vacuum.
- Ensure that no water remains in the system that could freeze or become a breeding ground for microorganisms.
Step 3. Blow out the pool pipes using a compressor or hairdryer.
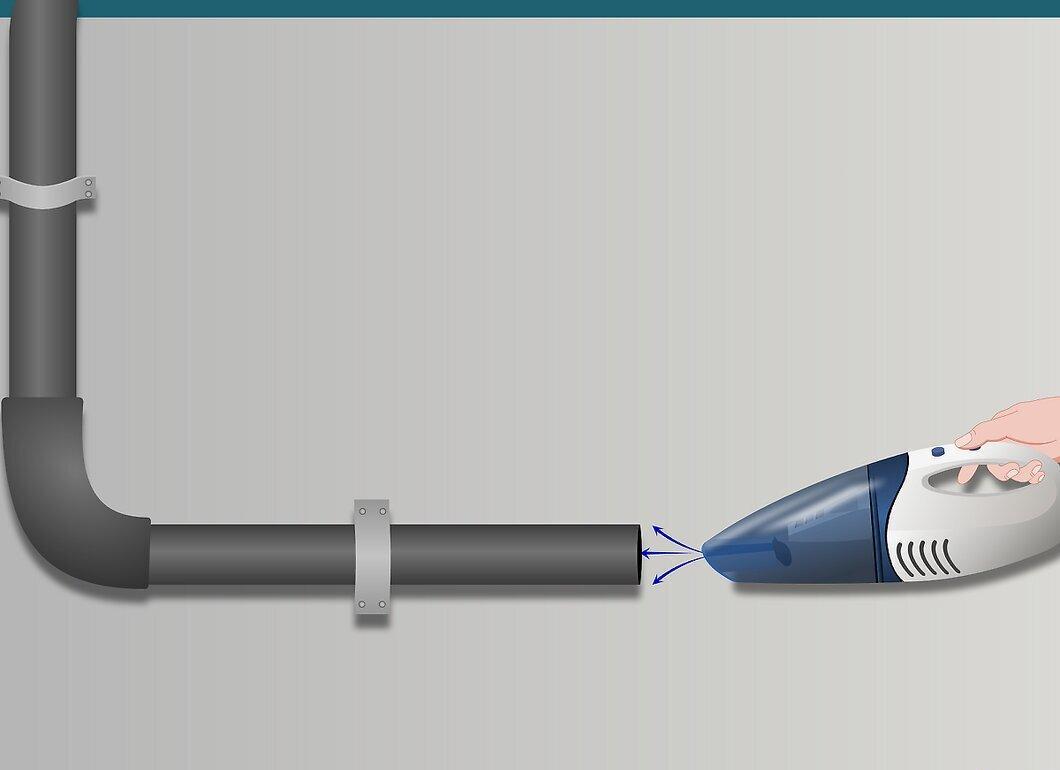
- Direct the airflow into the skimmer to allow any remaining water in the pipes to flow back into the pool. Use pipe plugs to prevent water from re-entering.
- Alternatively, you can use pool antifreeze, following the instructions on the packaging.
Completing the Winterization
Step 1. Cover the pool.
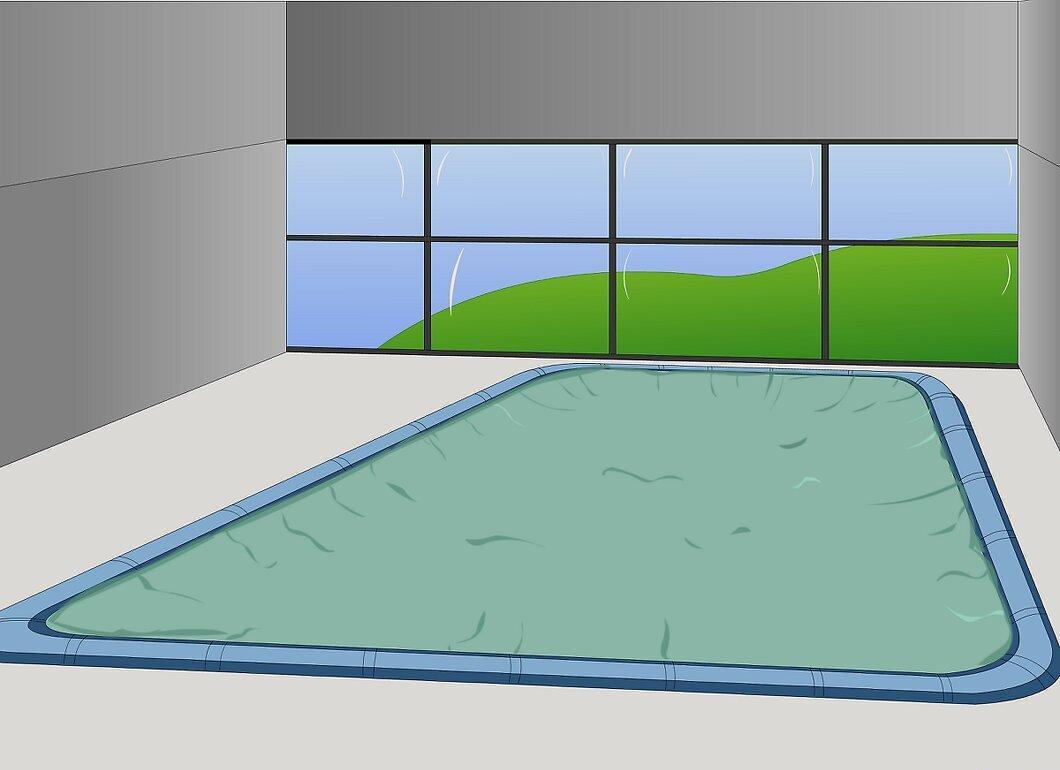
Ensure that the cover fits snugly over your pool and leaves no open areas.
- A cover will provide a tighter seal; however, hard covers may be preferable for families with children or pets.
- If there are trees around the pool, you might want to stretch a net over it to protect against falling leaves.
Step 2. Use air pillows to prevent ice formation in above-ground pools; they are not necessary for in-ground pools.
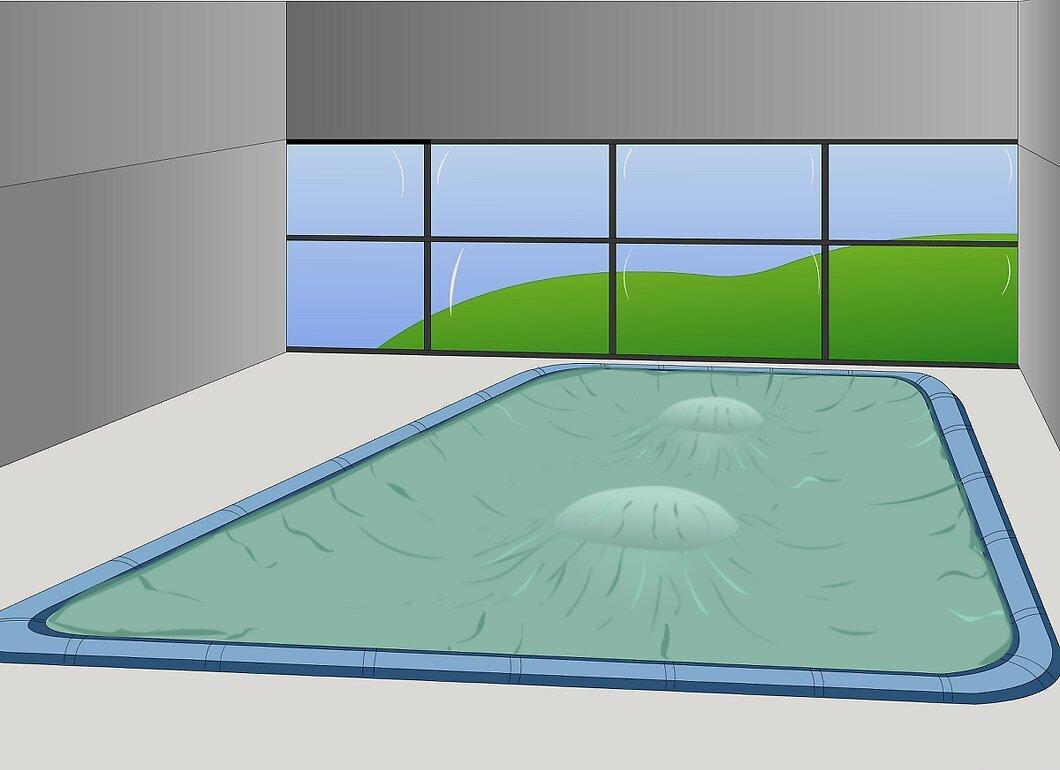
- Inflate the pillows and place them in the center of the pool.
- The larger the pool, the more pillows you will need.


