
Paper documents are a thing of the past, and managing digital resources, including images and text files, is a breeze with an electronic document management system.
On Windows
Step 1. Identify the Files to Organize.

Start by selecting the files you need to organize. To highlight multiple items in File Explorer, click on the first desired file, hold down ⇧ Shift, and click on the last one.
Step 2. Choose a Folder for the Main Directory.
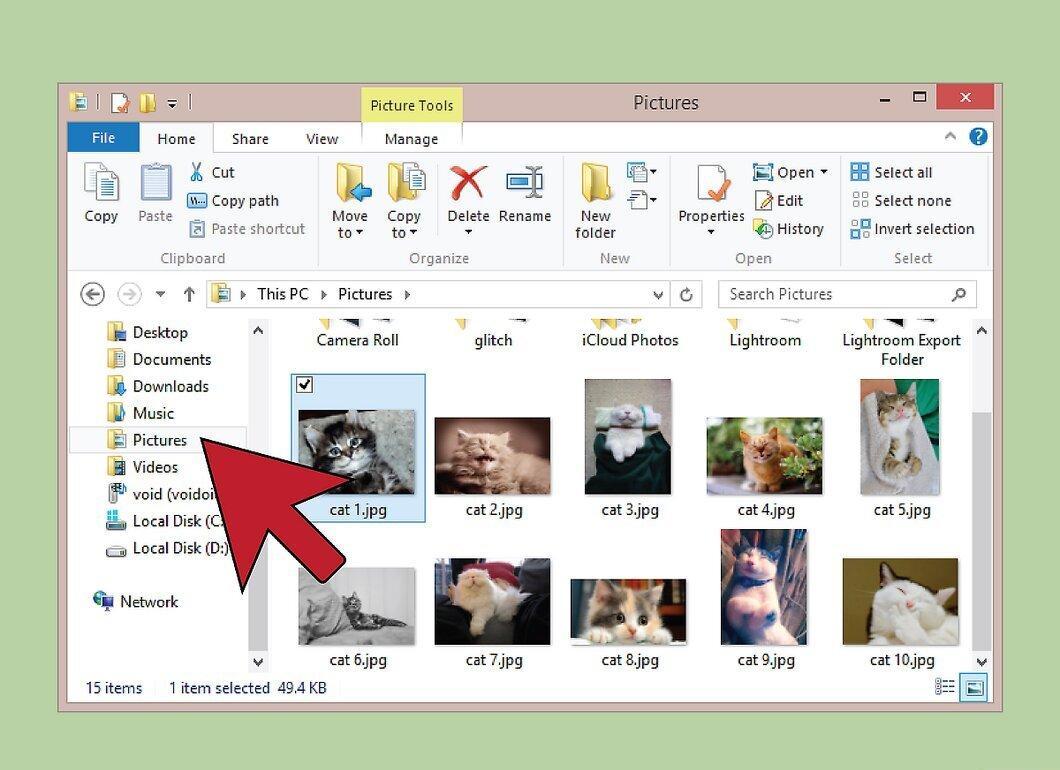
Decide where your main folder will be located. Windows has standard folders like “Documents,” “Pictures,” and “Music,” but you can choose any other location.
Step 3. Create the Main Directory.
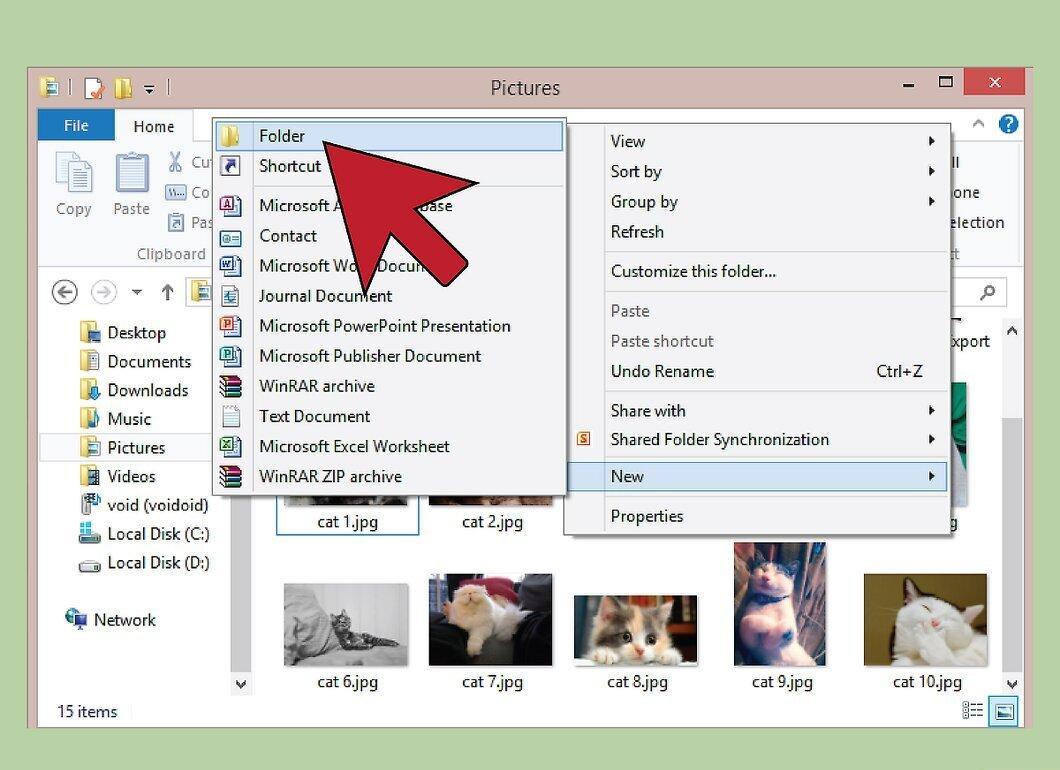
Create the main folder that will contain all your subfolders with documents.
- Right-click in the desired location within File Explorer;
- Select “New”;
- Then choose “Folder.” It will be named “New Folder” by default;
- Enter a new name for the folder;
- Press ↵ Enter.
Step 4. Create Subfolders Inside the Main Folder.
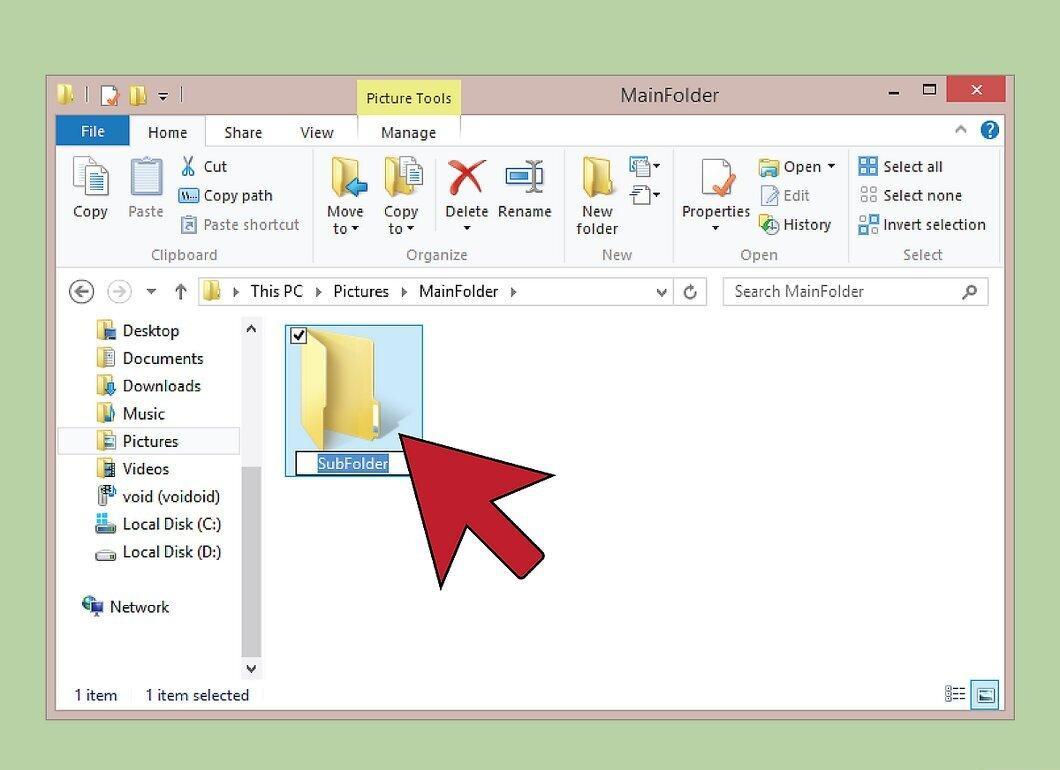
Open the main folder you created by double-clicking its name, and create subfolders within it (similarly to how you created the main folder).
Step 5. Move Files to the New Folders.
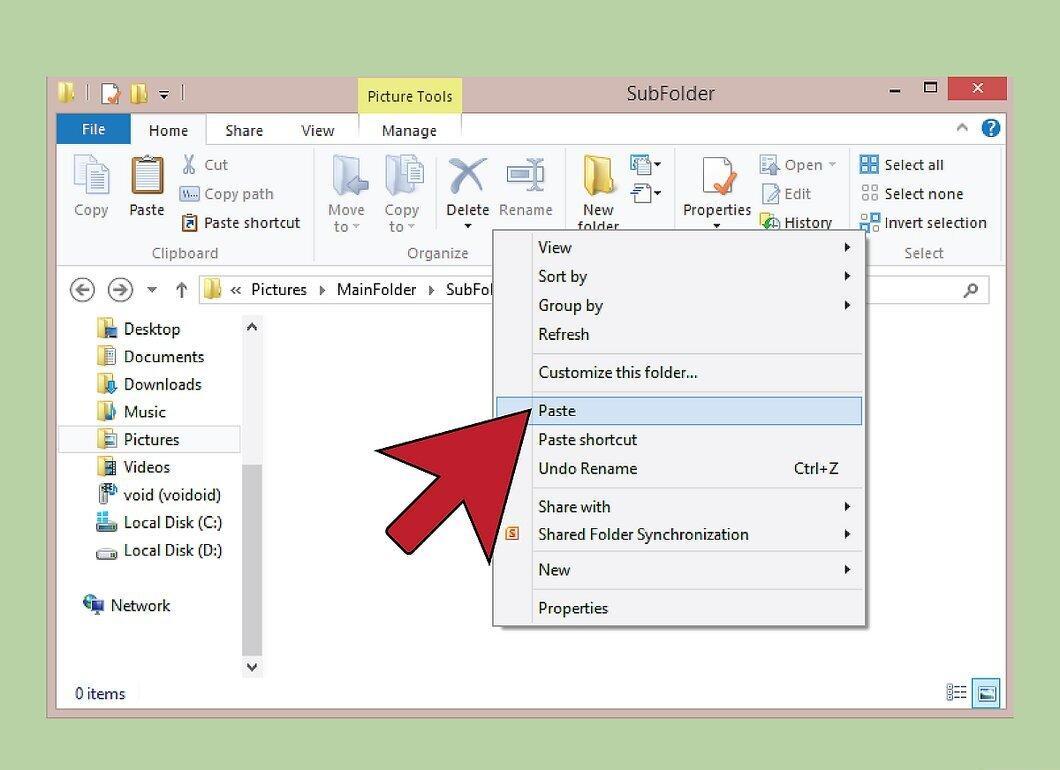
Transfer files into the newly created directories. Open two File Explorer windows, place them side by side, and drag the necessary files into the appropriate folders.
Step 6. Don’t Forget to Back Up Your Data.
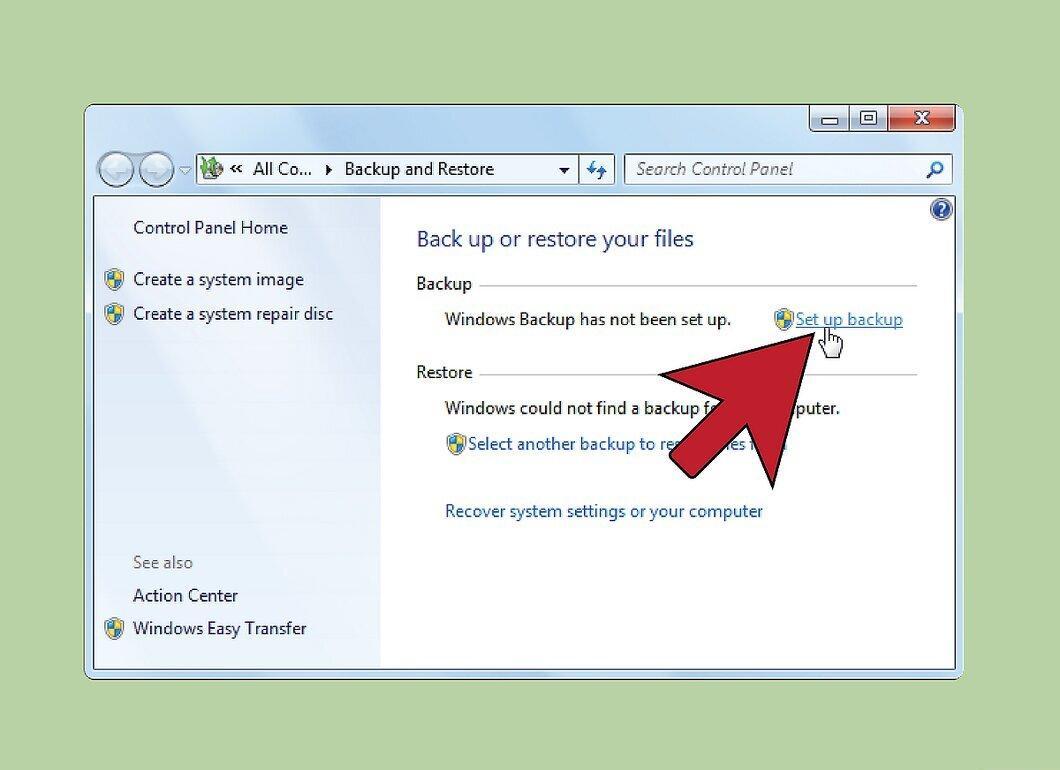
Make backups of your files. Use the “Backup and Restore” feature to regularly save your data to an external hard drive or a cloud service. In case of a hard drive failure, you can restore your data from the backup on a new device.
- Click on “Start”;
- Type “backup” into the search bar;
- Select “Backup and Restore”;
- Click “Set up backup” and follow the on-screen instructions.
On Mac OS X
Step 1. Identify the Files to Organize.

Select the files you want to organize. In Finder, click on the first file, hold down ⇧ Shift, and click on the last one.
- Hold Control, click on one of the selected files, and choose “New Folder from Selection”;
- Enter the name of the new folder;
- Press ⏎ Return.
Step 2. Create Subfolders in the Main Directory.
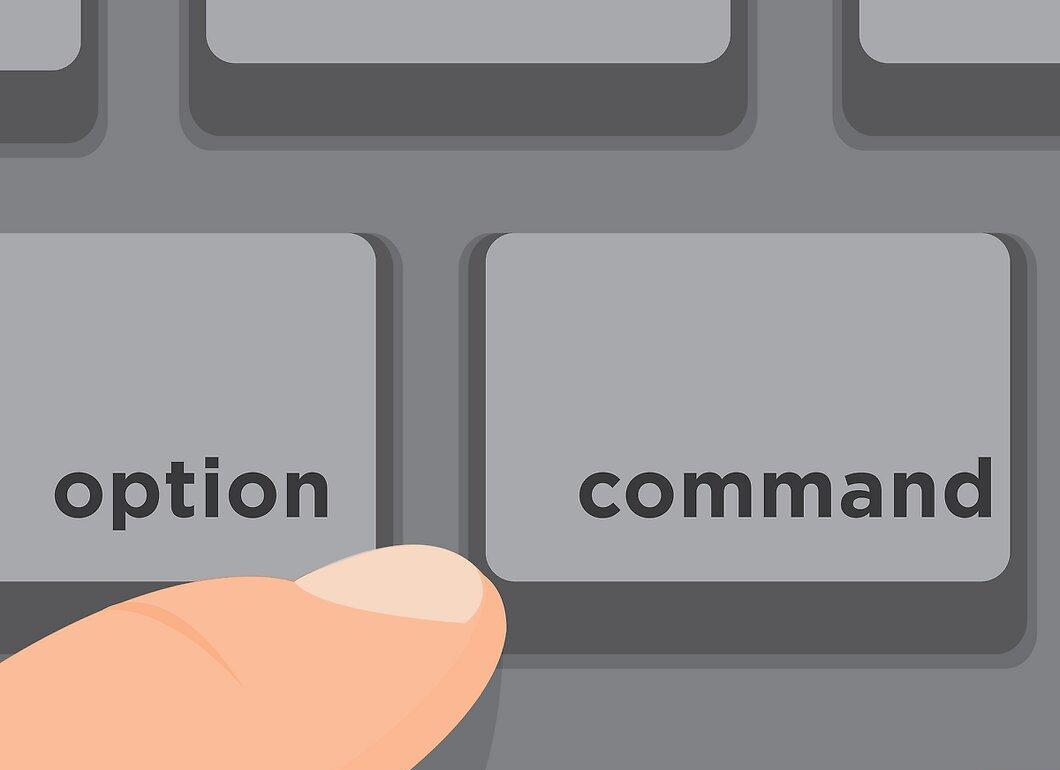
To open the main folder, hold down ⌘ Command and double-click it. Now create subfolders following a similar procedure.
Step 3. Back Up Your Files.
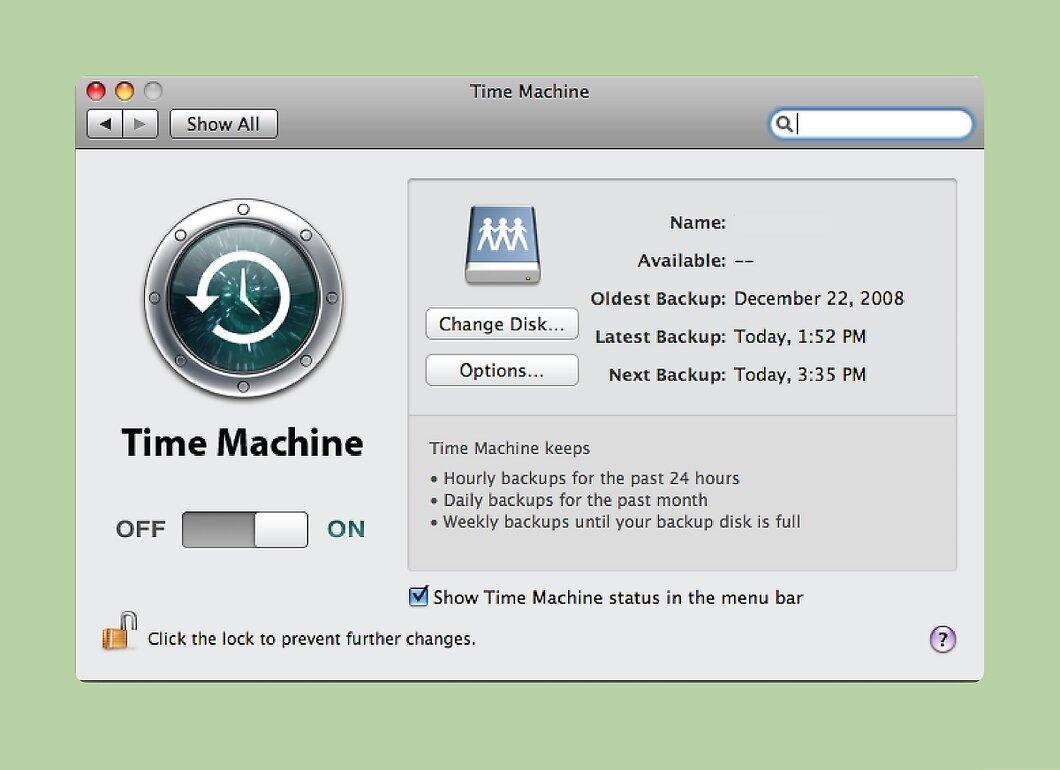
Use Time Machine to create backups on an external hard drive, Time Capsule device, or a macOS Server on the network. In case of HDD failure, you can recover your data from the backup on the new hard drive.
- In the Time Machine menu, select “Preferences”;
- Click “Select Backup Disk”;
- Specify where you want to save the backup (external hard drive or Time Capsule). Select the device and click “Use”;
- If you want to add additional devices for backup, choose “Add or Remove Backup Disk” and specify the devices needed to enhance the security of your files.


