Foam rollers for Pilates are specialized cylinders made of porous material, used for body stabilization during workouts and self-massage. These devices have gained popularity among athletes for their versatility, durability, and affordability. In this article, we will explore how to effectively use a foam roller in your Pilates routine.
Muscle Massage with a Foam Roller
Step 1. Get a Foam Roller.
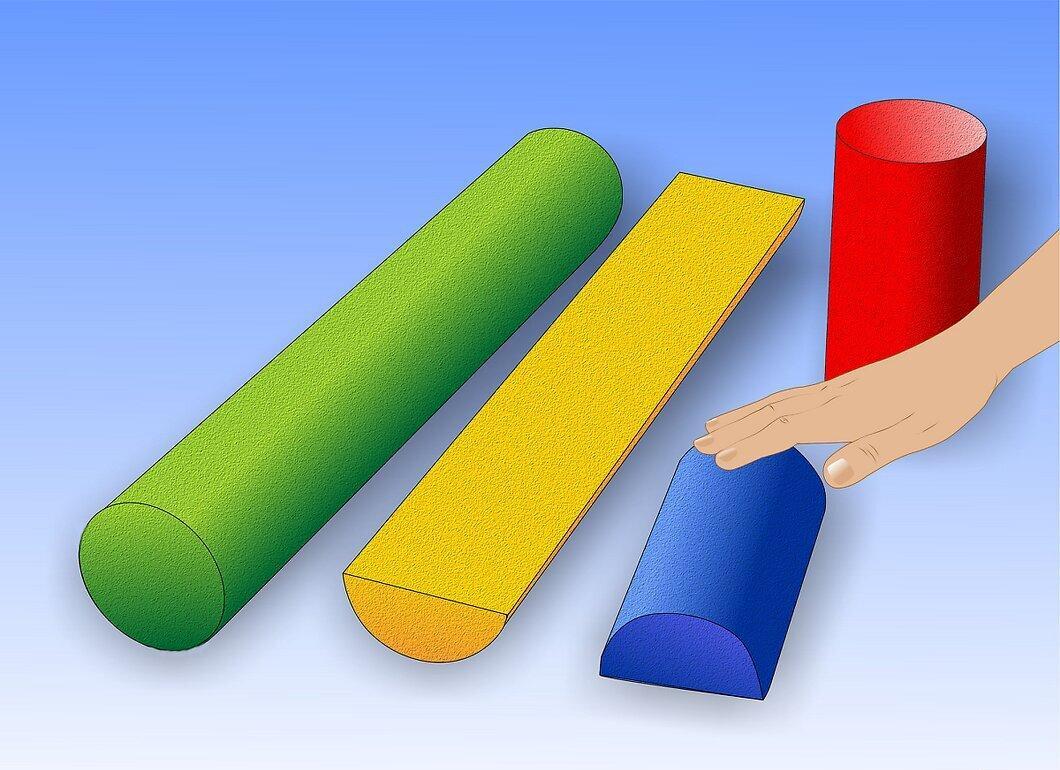
First, you need to get your hands on a foam roller. Before making a purchase, consider renting one temporarily to see if it suits your needs.
- Try the roller at your gym. If you can't find it, don't hesitate to ask the staff. They are often located in the physiotherapy room or the warm-up area.
- You may rent or buy a roller at a physiotherapy clinic. Injured athletes frequently use these devices for rehabilitation. If you know a physiotherapist, they might be willing to lend you a roller for a while.
- Sign up for Pilates classes. Pilates studios usually have foam rollers available and incorporate them into their training sessions.
- Purchase a foam roller. Visit the nearest sports store or order one online. Look for rollers made of high-density foam or with a polymer core for durability. Prices range from 2000 to 4000 rubles.
Step 2. Find a Comfortable Space to Work Out.
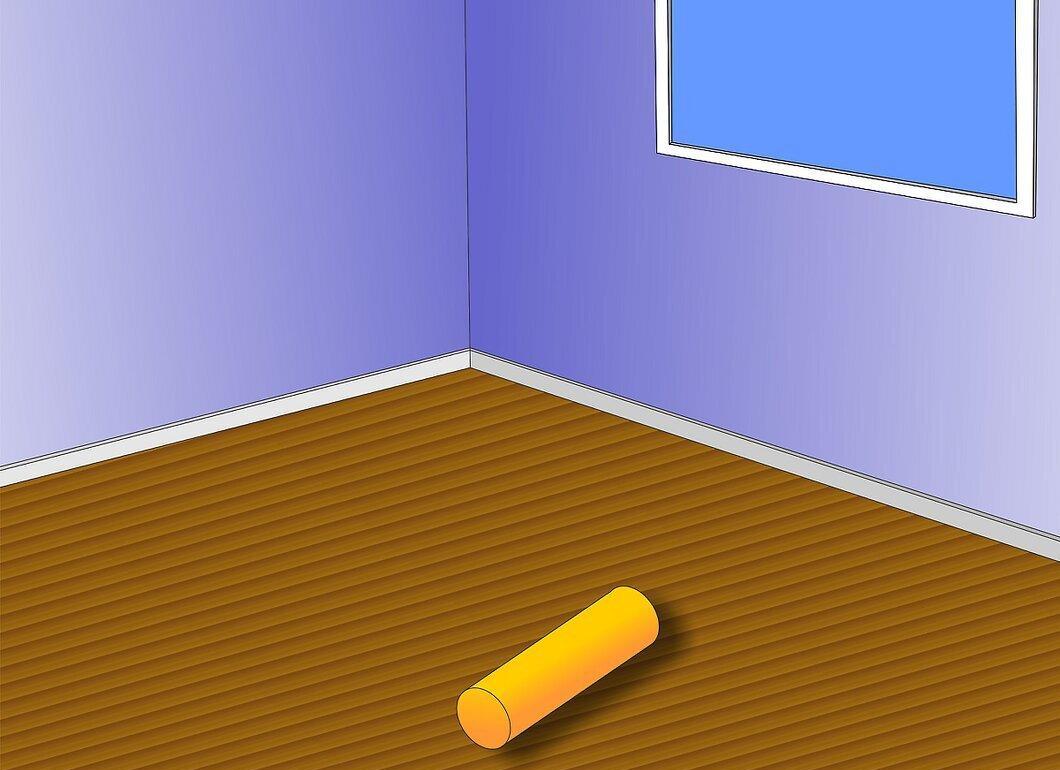
Choose an exercise area. You will need a flat surface approximately 120 cm by 200 cm.
Step 3. Prepare for Some Discomfort.
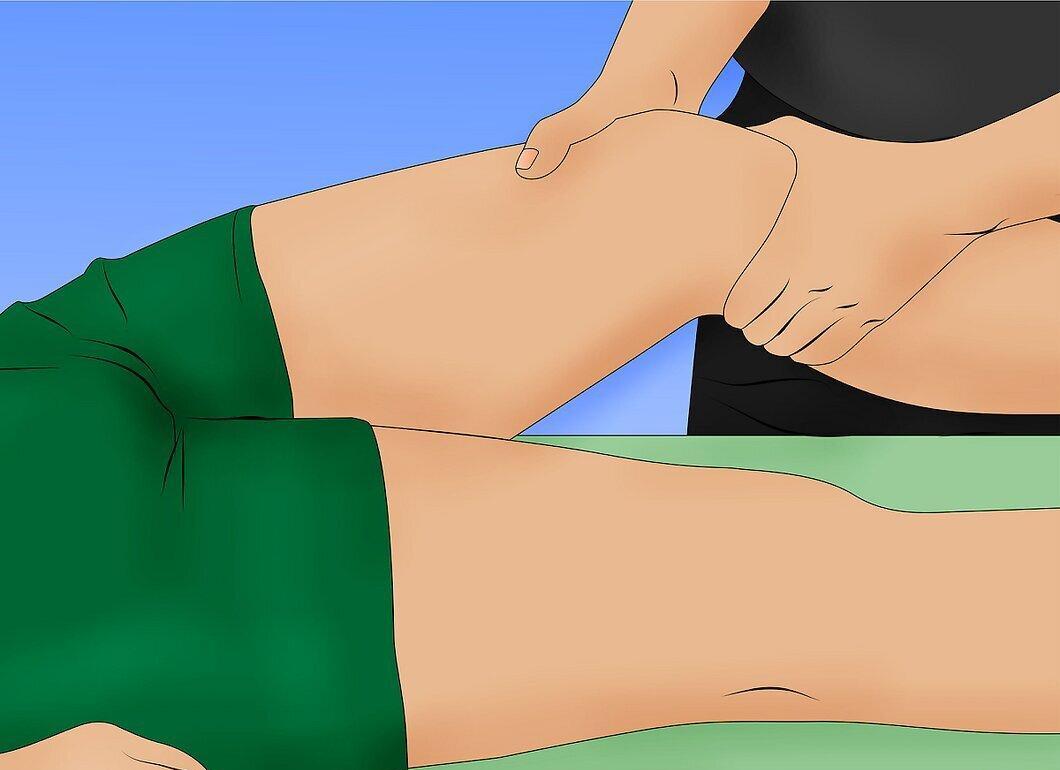
Be ready for some discomfort in your muscles. Myofascial release, also known as self-massage, is achieved by applying pressure from your body onto tight areas. The pain you may experience will be similar to that of a Swedish massage.
- If the sensations are too intense, find a quiet place to practice. Over time, you will learn to manage the pain level by adjusting the pressure on the roller.
- Focus on the most tense muscles. While it may be painful at first, these are the areas that need the most attention.
Step 4. Start Your Massage with the Roller.
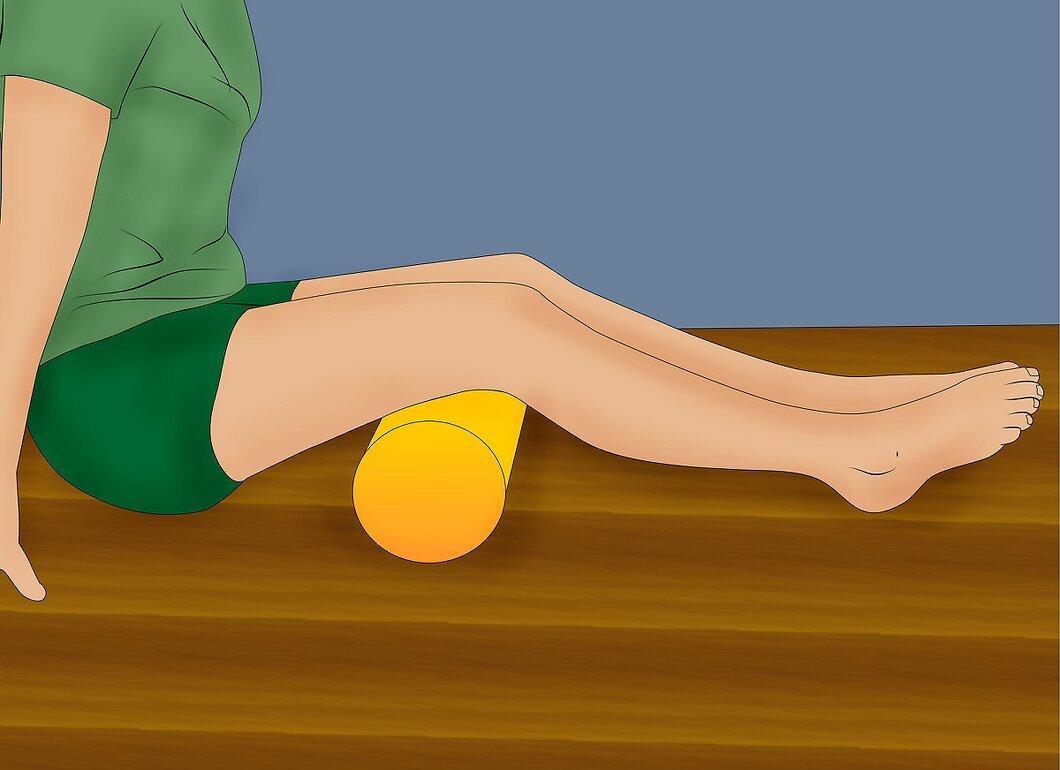
Begin with a deep massage. Sit on the floor and place the roller under your bent knees, starting with your hamstrings.
- Support yourself with your hands to distribute your weight; they should be positioned directly under your shoulders.
- Lift your hips and place your hamstrings on the roller. It should be positioned right behind your glutes, this is your starting point.
- Roll the roller slightly down and backward. This is a short massage session focused on the fascia.
- Roll the roller along the entire length of your hamstrings. Move in small rolls, massaging the muscles; this should take at least 1 minute.
- Control the pain level with your hands. Adjust your hand positions to regulate the pressure.
- Before moving on to the next step, repeat the massage 3-4 times.
Step 5. Massage Tight Muscle Groups.
- After working on your hamstrings, move on to your calves. Start the massage just below your knees, rolling the entire length of your calves 3-4 times. Pause on the tightest spots for 1-2 minutes before returning to general massage.
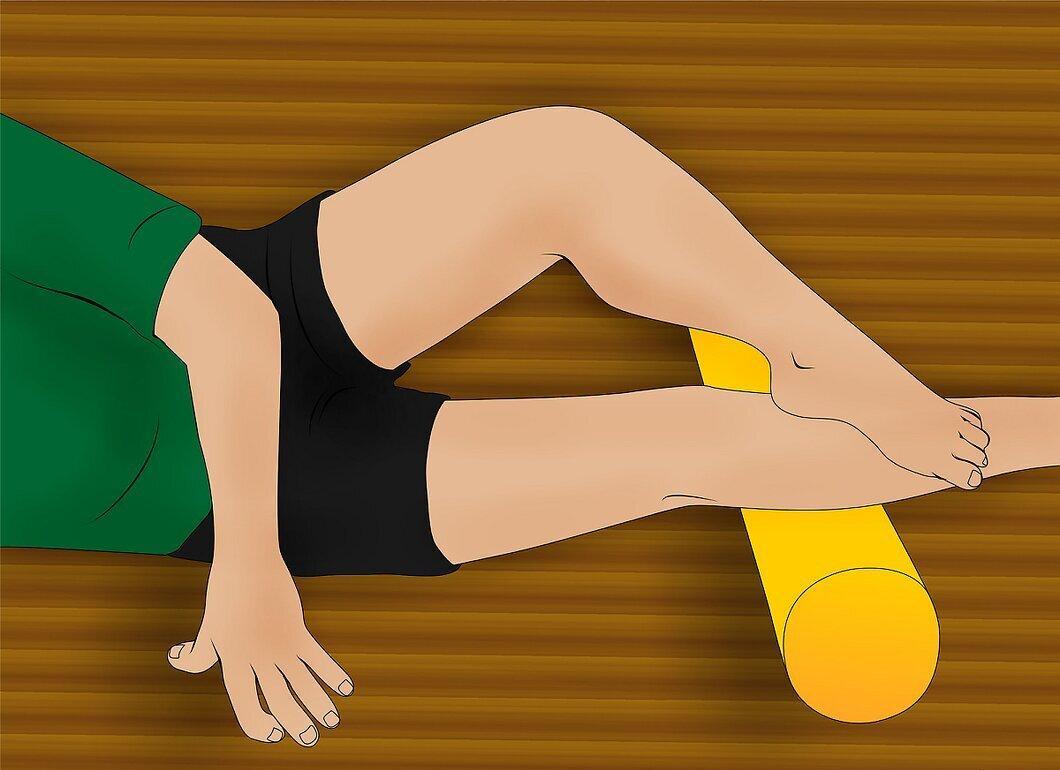
- Apply the roller to your glutes. Start at the top, right below your hips. Massage the tight areas. For a more concentrated massage, take a figure-four position where one shin is resting on the other and roll the roller. Then switch sides.
- Turn onto your side and massage your thighs. Support yourself on your elbows and feet, rolling the roller from your hip to the top of your thigh.
- Lie face down on the roller, assuming a plank position. Focus on your hip flexors and quadriceps.
- Don't forget your back! Start at the lower part of your spine and roll gently upward toward your shoulders.
Step 6. Pay Attention to Muscle Conditions.
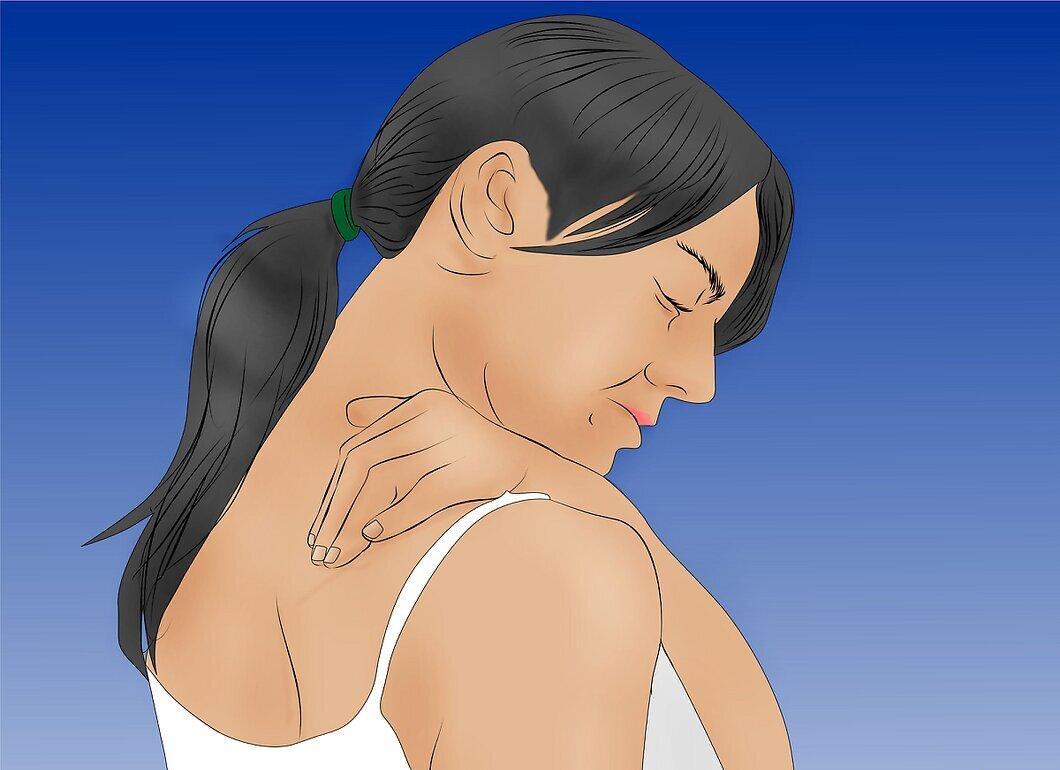
Be mindful of muscle tension. Every body is unique, so adjust your workouts to focus on the tightest areas.
- Listen to your body. You may notice that the pain diminishes or that your muscles feel more elastic.
- Massage several times a week. Many athletes use foam rollers for massage every two days.
Exercises for Strength Training with a Foam Roller
Step 1. Prepare Your Workout Space.
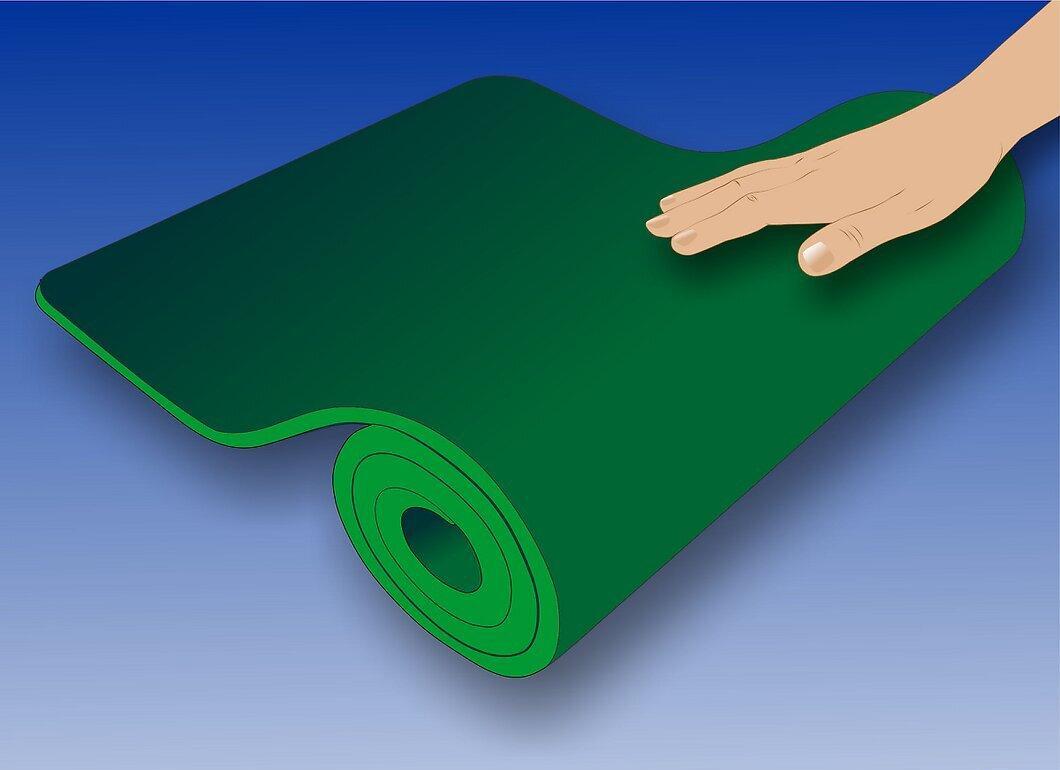
Create a comfortable area. Lay down a workout mat on a flat surface. You can work out in shoes or barefoot.
Step 2. Warm Up Before Static Exercises.
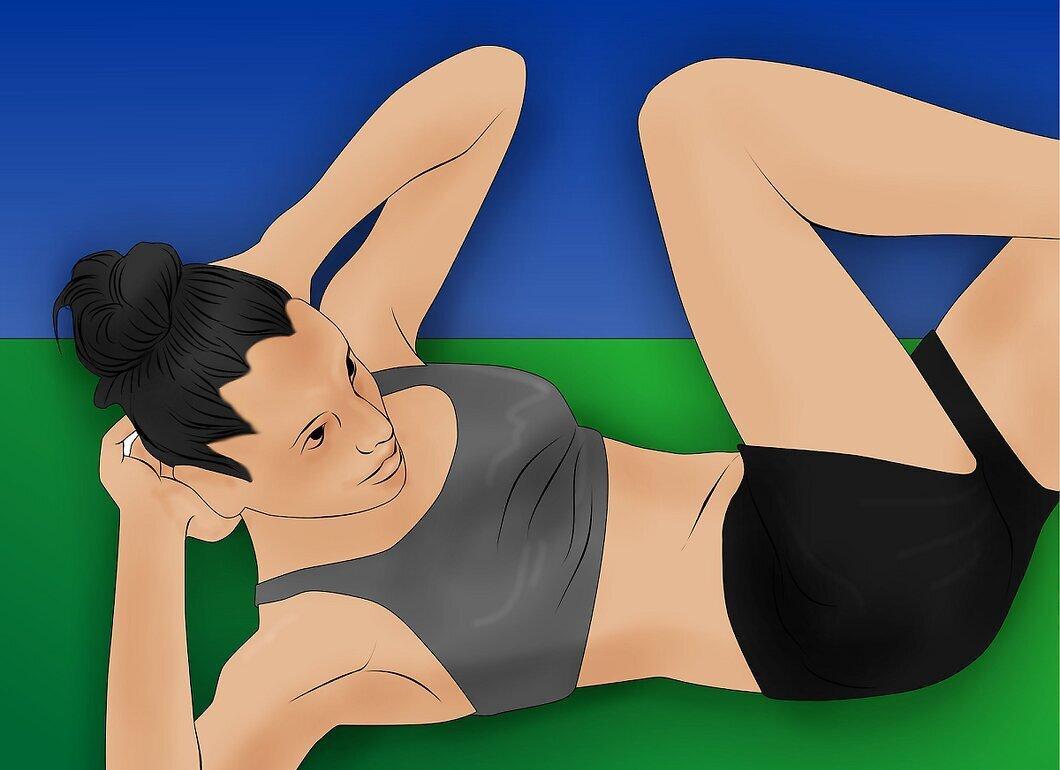
Warm up your body with 5 minutes of cardio before moving on to back and abdominal exercises.
Step 3. Perform a Plank.
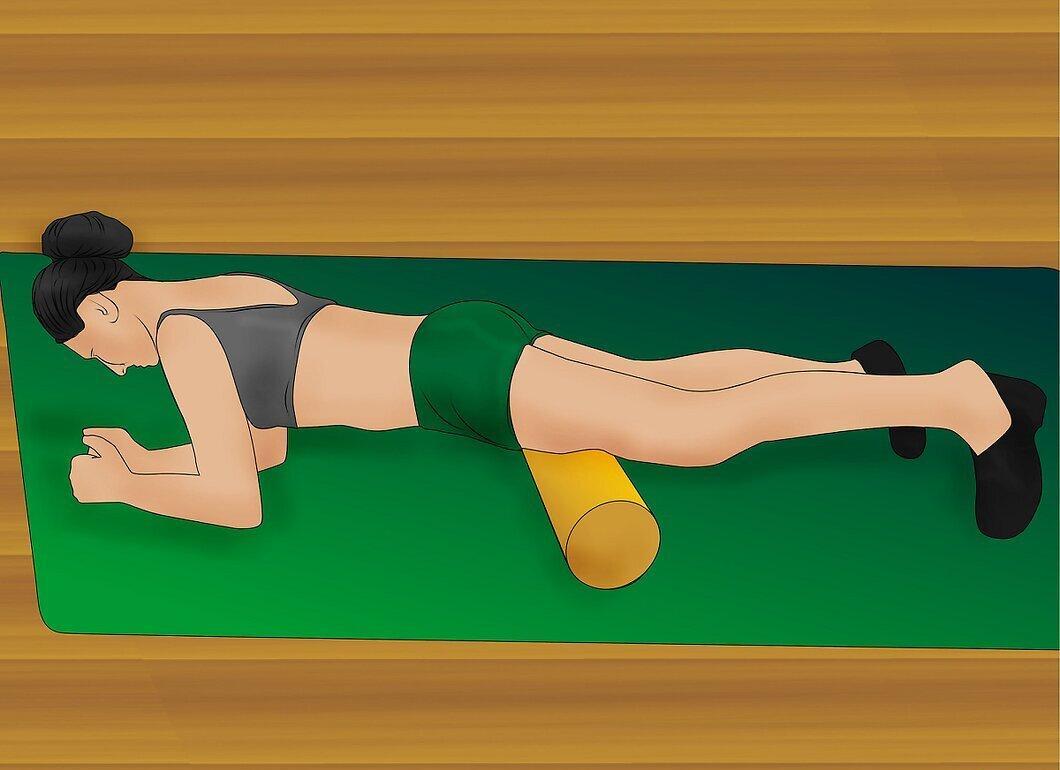
Take a plank position. Stand on the mat in a push-up position.
- Your plank position should resemble a push-up stance, with your body weight supported by your hands and feet, forming a straight line from shoulders to ankles. Ensure that the supporting muscles are engaged to hold your body in this position. Then prepare for the next step with the roller.
- Place the roller on the mat under your hands. Assume the plank position, resting on the roller. This will make the exercise more challenging, as the roller will tend to roll away. This version of the plank will make your workout more effective.
- You can also perform the plank on your wrists. Press your hands together and make sure your elbows are under your shoulders. This version is easier since you don't have to maintain stability along the entire length of your arms. However, from the perspective of your wrists and shoulders, the plank will be simpler.
- Hold the plank position for 1 minute. You can also perform push-ups from this position.
- Move the roller to the lower end of the mat. Try holding the plank and doing push-ups with your feet on the roller.
Step 4. Abdominal Exercises with the Roller.
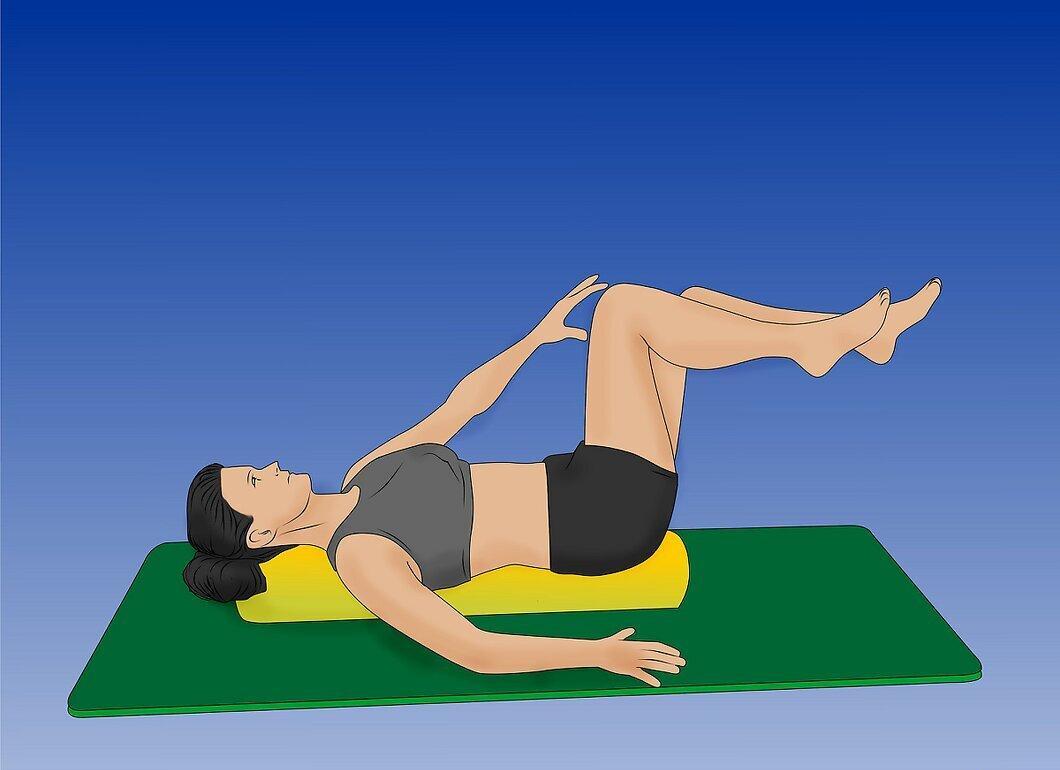
Strengthen your abdominal muscles using the roller. Position the roller parallel to your spine. Expect some instability as you roll in different directions.
- While doing crunches or sit-ups, try to maintain balance using your feet.
- For lower abdominal work, lift one leg at a time, keeping your upper body above the roller from your shoulders and above.
Step 5. Perform Lunges.
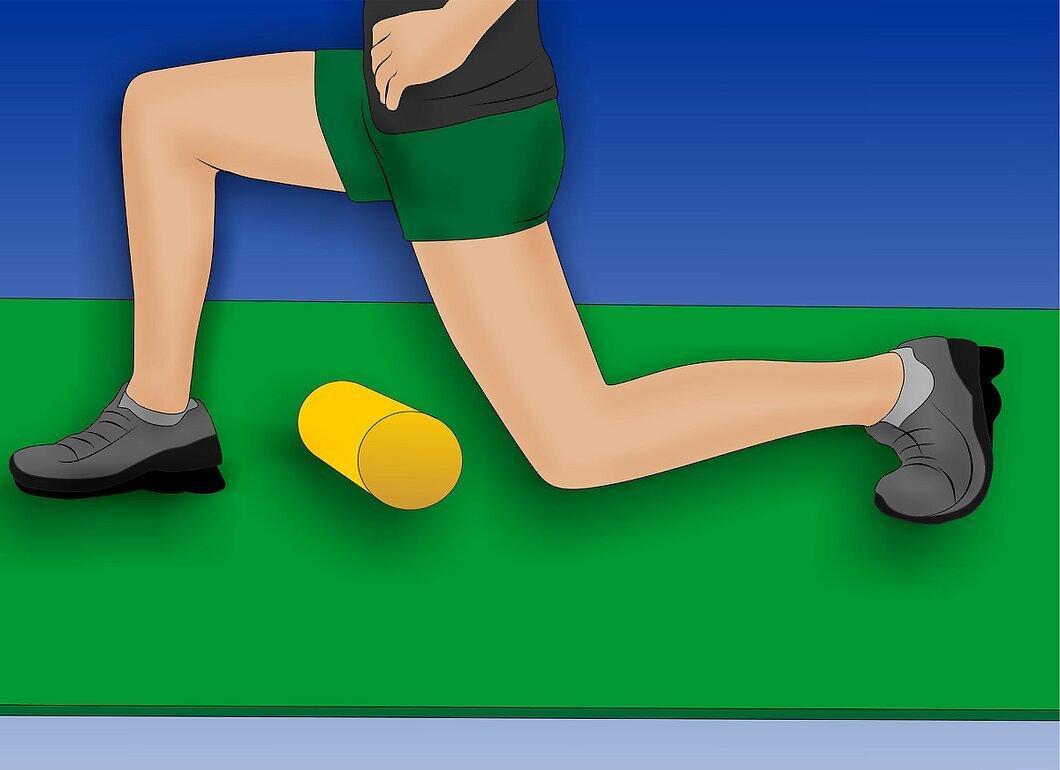
Do lunges with the roller. Stand on the mat and place the roller slightly behind you.
- Ensure your feet are hip-width apart. Shift your weight onto your left leg, placing your toes on the roller.
- Bend your knee and roll the roller back while maintaining balance on your left leg.
- Repeat on the right side 5 to 10 times. This exercise will improve your balance if practiced 2-3 times a week.
How to Relieve Back Muscle Pain
Step 1. Massage Your Back with the Roller.
Roll your back over the roller. Continue the massage until you find a painful spot. Stop at that area and focus on the discomfort.
Step 2. Stop if the Pain Becomes Unbearable.
If the pain sensation is too strong, stop the massage. Work on the muscles with the roller only until it is comfortable.
Step 3. Relax.
Take a break. If the muscle you massaged hurts or feels unusual, give it some time to recover. Generally, muscles may feel a bit sore after a massage.
Step 4. If You Experience Muscle Pain the Next Day, Repeat the Massage.
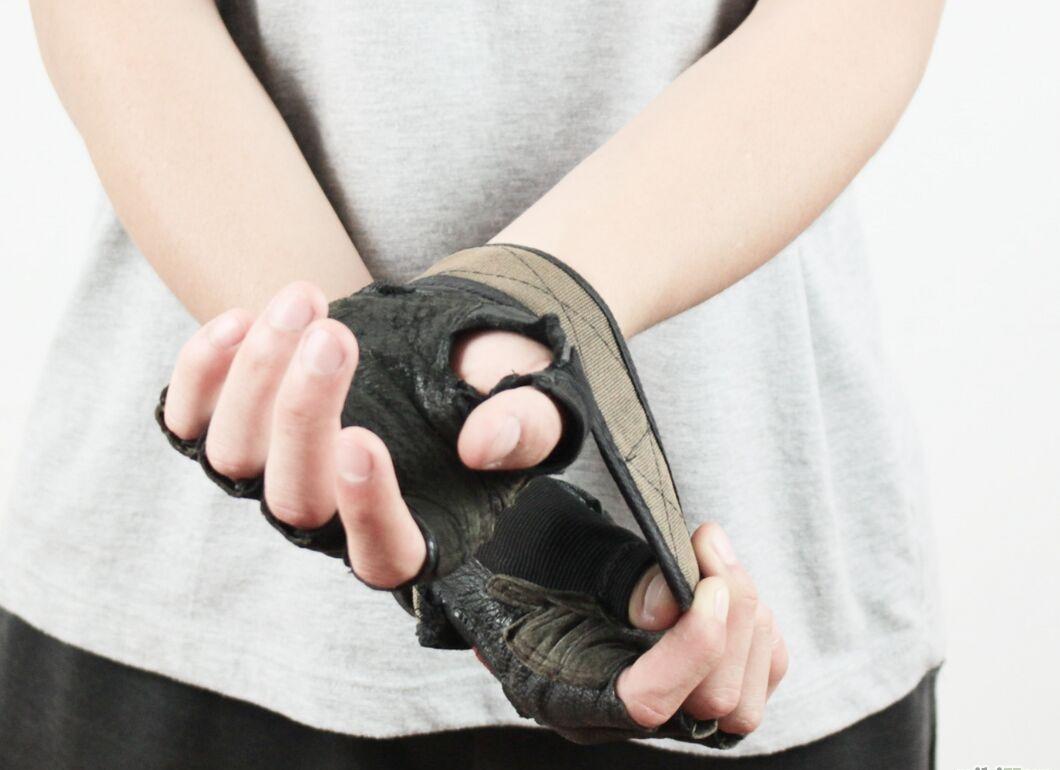
If you feel pain in the worked muscles or others the next day, repeat the technique. Over time, your body will adapt to the massage. In fact, with the right approach, you can learn to tolerate the discomfort.