
Over time, metal railings lose their protective coating, leading to rust formation, which makes them look unsightly. But don't despair! You can easily refresh them by repainting. Start with surface preparation: remove rust and accumulated dirt. After cleaning, apply a primer and then paint. Although this process may take some time, it’s not too complicated. As a result, your railings will look brand new, and the fresh paint will provide protection against rain and rust.
Rust Removal
Step 1. Cover the area under the railings with old rags.
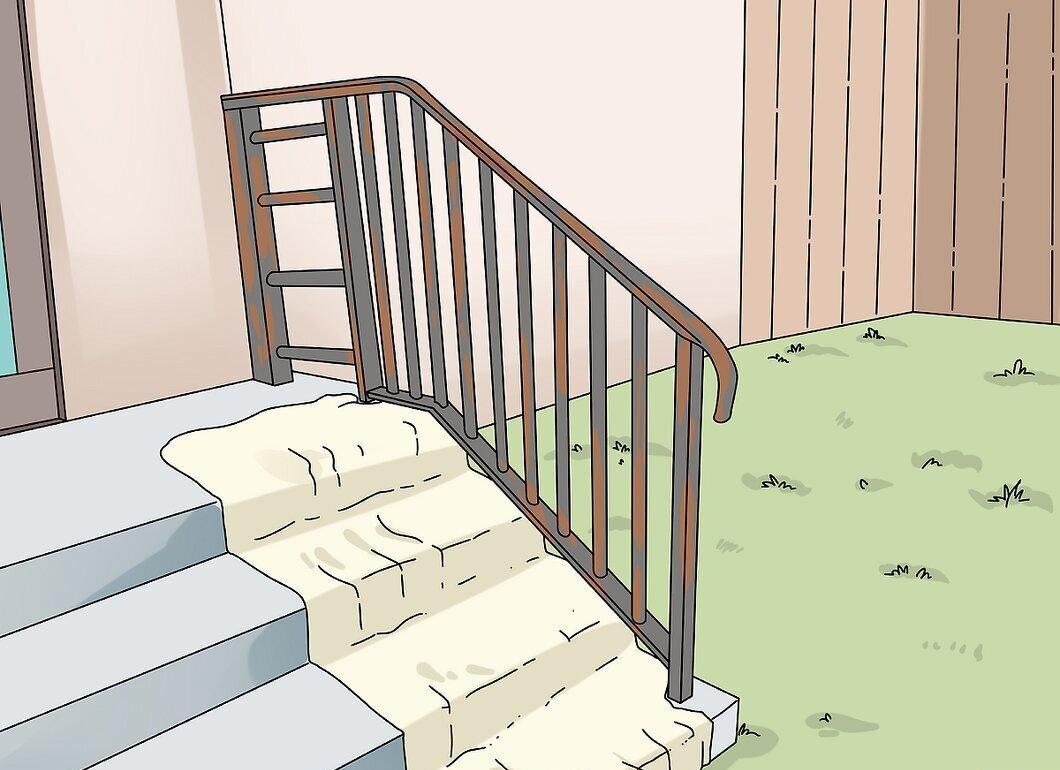
Lay down old rags under the railings to protect your lawn, porch, and pathways from paint drips during the work. If paint drips might hit nearby bushes and trees, cover them as well. Don’t forget to move any furniture that could get in the way.
- If you need to protect smaller areas, like walls next to the railings, use painter's tape. It will help prevent paint from getting on unwanted surfaces.
- Painter's tape can be found at hardware stores or ordered online.
Step 2. Wear a respirator, safety glasses, and appropriate clothing.
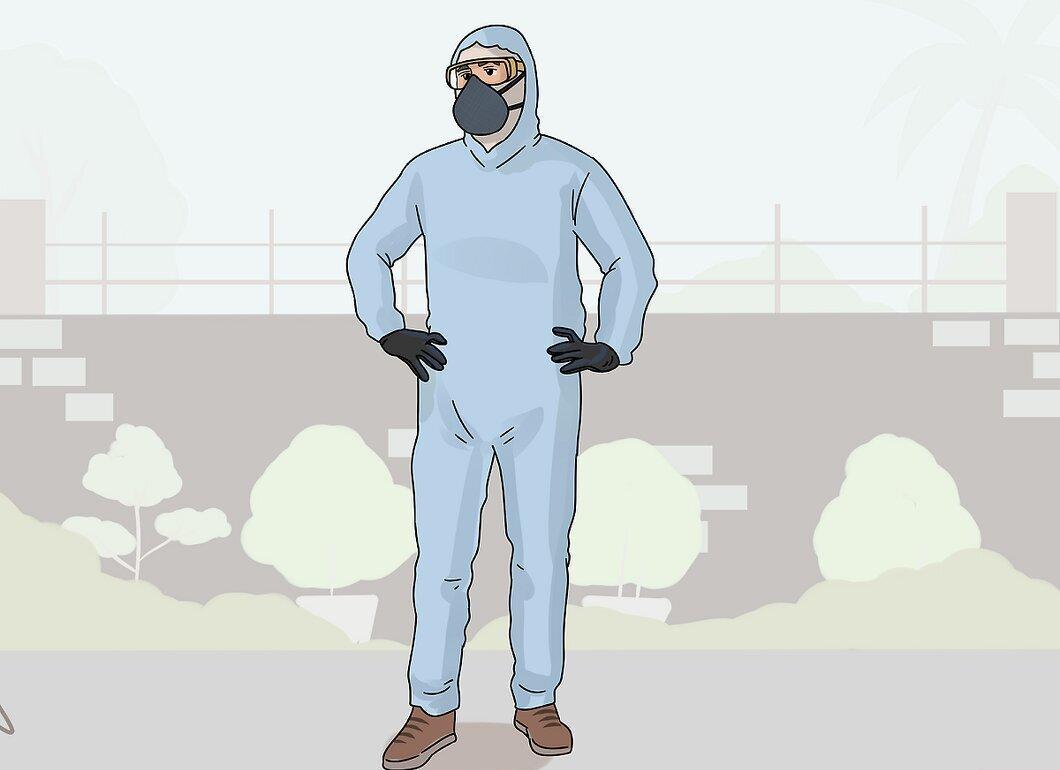
Don't forget to wear a respirator, safety glasses, and long-sleeved clothing. This will protect your skin from metal shavings while working on the railings. Put on all protective gear before painting as well.
- Be aware that old railings may be coated with lead paint, which is hazardous to your health (its use has been banned in the USA since 1978). If you suspect lead, be sure to use a respirator, gloves, and a protective suit.
- If you're unsure whether the old paint contains lead, purchase a testing kit from a hardware store or consult professionals for testing.
Step 3. Remove old paint and rust with a metal scraper.
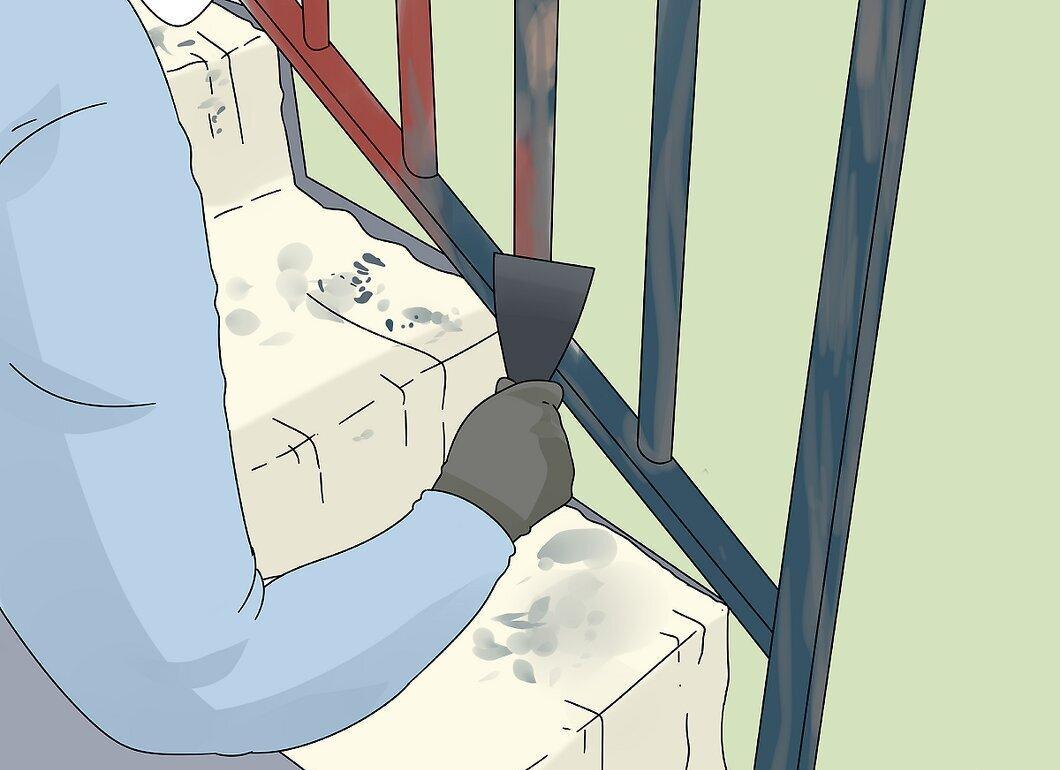
Use a metal scraper to remove old paint and rust. It’s not necessary to completely strip off the old paint if it’s well-adhered in some areas. However, make sure to thoroughly remove rust, as new paint won't stop its spread.
- Be sure to remove all loose paint and rust — new paint can crack if applied over them. If needed, use harsher tools like a wire brush.
Step 4. Use a wire brush for hard-to-reach areas.
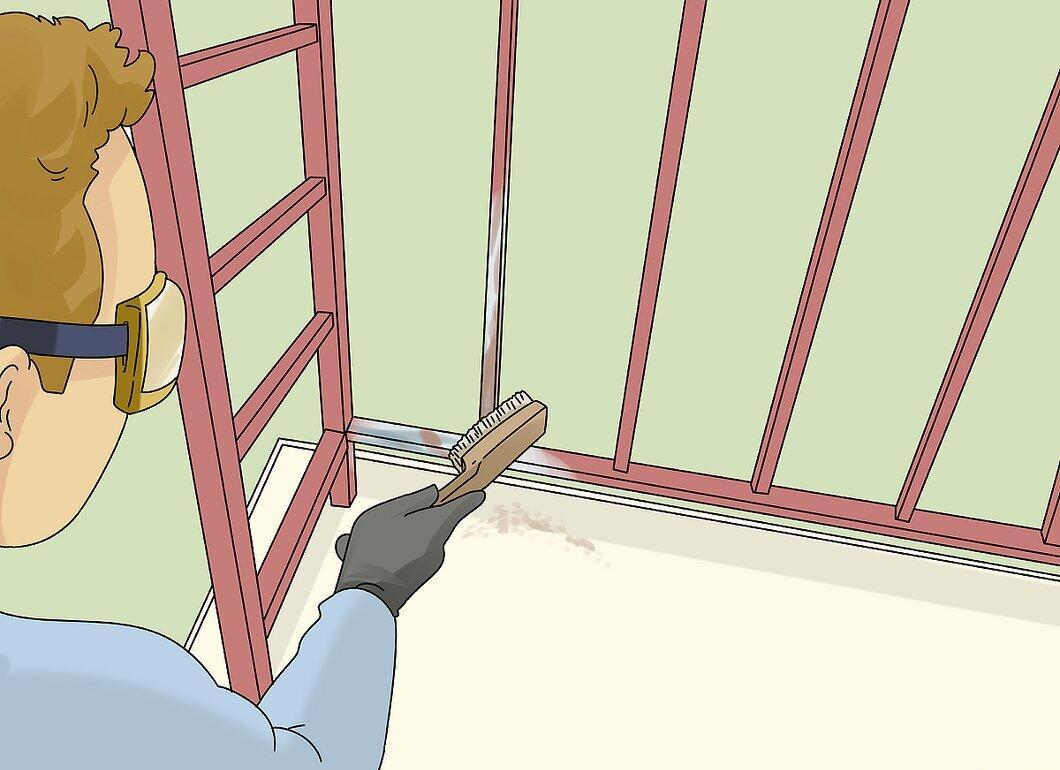
Use a wire brush on hard-to-clean areas to eliminate any remaining rust. If it's stubborn, pre-treat these spots with 8-H (P150) sandpaper. Pay special attention to areas that are difficult to scrape — the wire brush will help make the job easier.
- Don't forget to check screws, bolts, and other parts. If necessary, remove them and clean them, even soaking in acid to eliminate rust.
Step 5. Remove stubborn rust spots using power tools or chemicals.
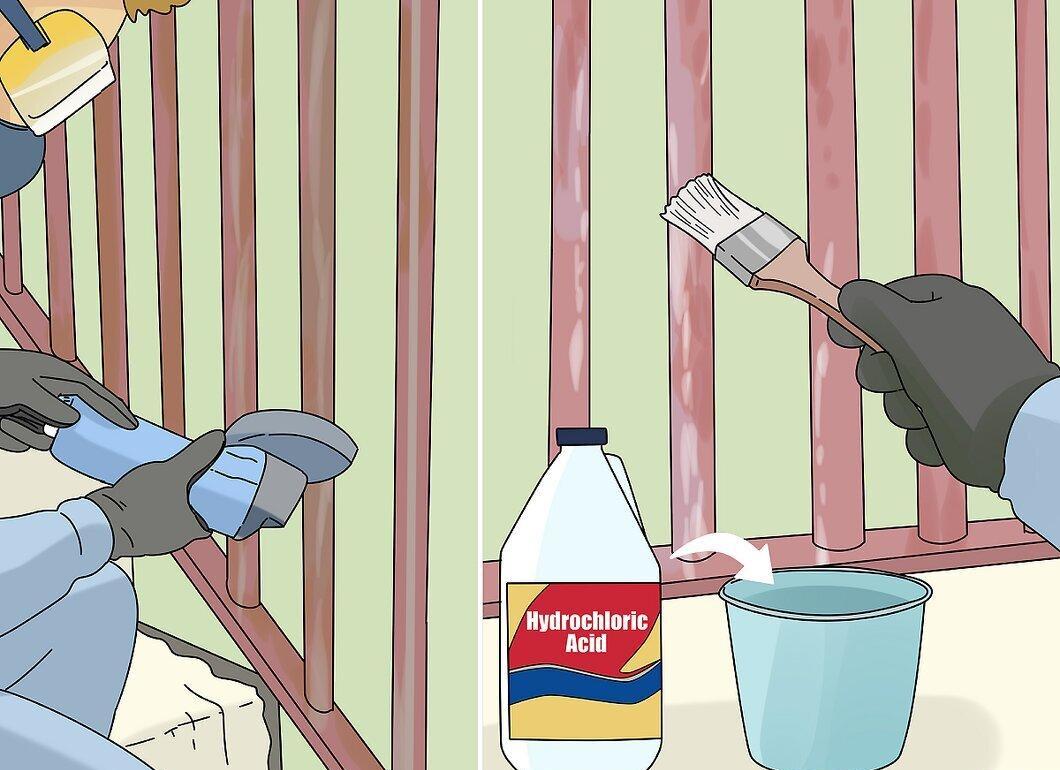
If rust cannot be removed manually, try using power tools like a drill with a wire brush attachment. This tool can significantly simplify the process. You can also use an angle grinder or chemical rust removers.
- For tough rust spots, phosphoric or hydrochloric acid is often used. Purchase acid at a hardware store and apply it to the rust, then scrape it off.
Sanding and Cleaning the Railings
Step 1. Sand the surface of the railings.
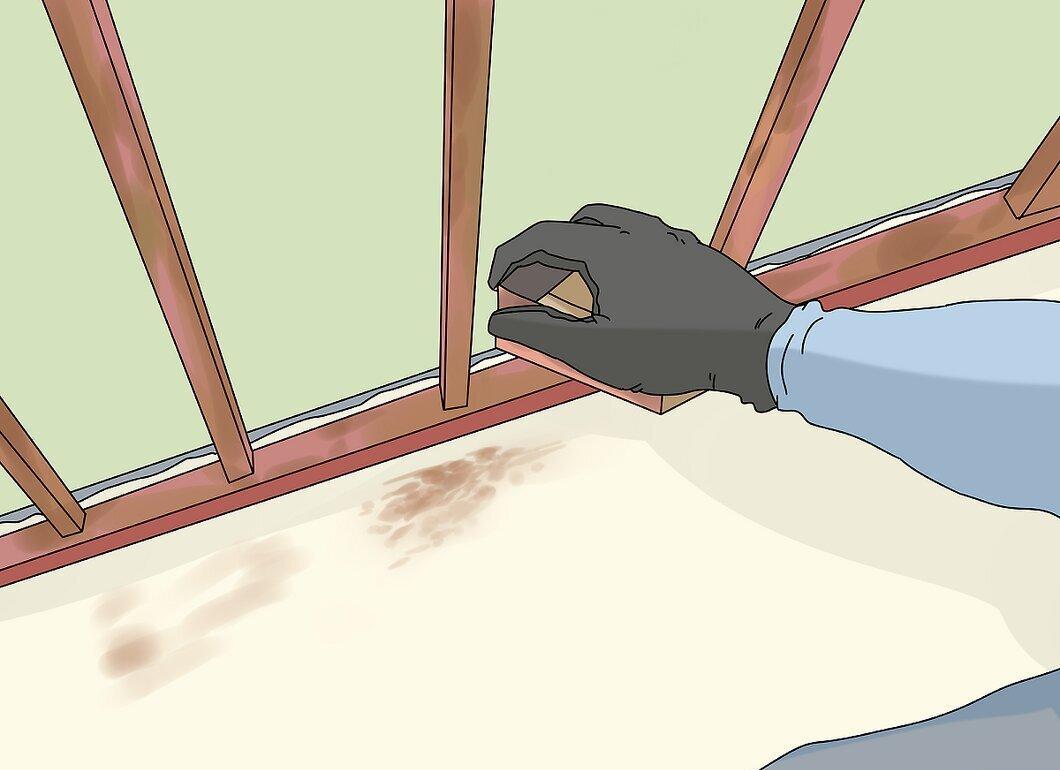
Lightly sand the surface of the railings with 8-H (P150) sandpaper. Sand along the railings, including previously uncleaned spots, to make the old paint rough. Apply moderate pressure — this will help the new paint adhere better to the metal.
- If some areas are hard to sand, use coarser sandpaper with a grit of 25-H (P60), and then finish with 8-H (P150) sandpaper.
- In hard-to-reach places, use a wire or sanding brush attached to a drill at a low speed.
Step 2. Wipe the railings with a vinegar solution.
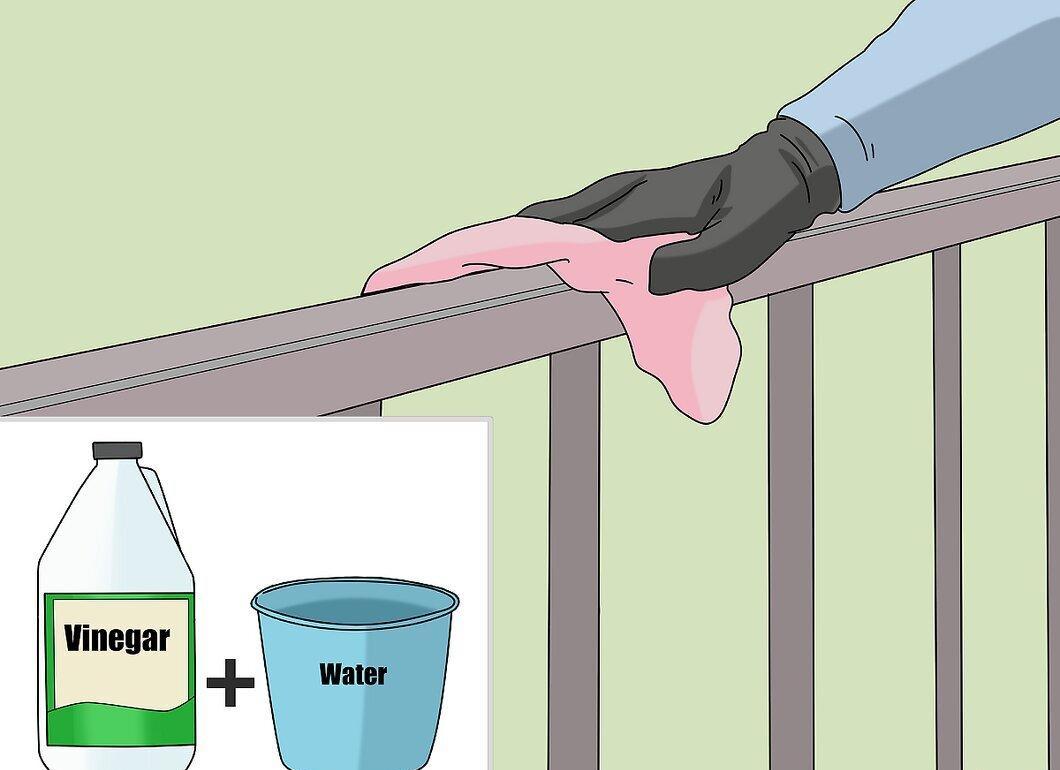
Clean the railings with a water and vinegar solution. Mix equal parts of water and white vinegar in a bucket. Soak a clean rag and wipe down all the railings to remove dust and metal shavings. Paint should only be applied to a clean surface.
- If you don't have vinegar, use liquid dish soap, dissolving 4 teaspoons (20 ml) in 4 liters of water.
Step 3. Rinse the railings with clean water.
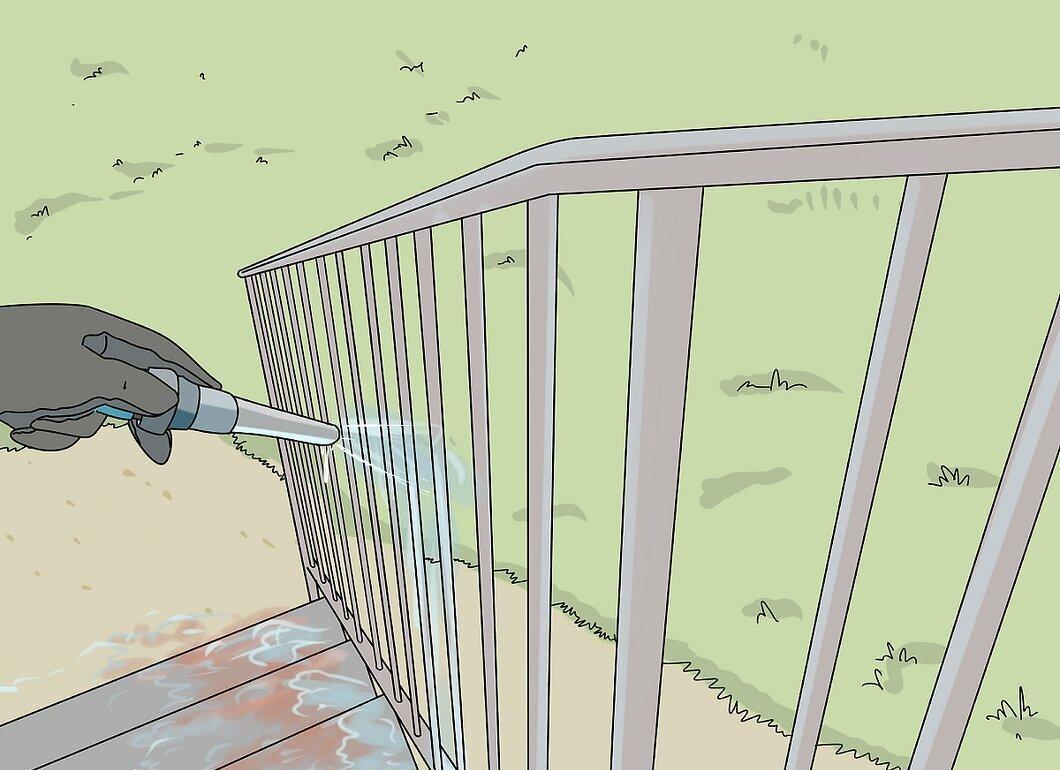
Thoroughly rinse the railings with clean water to remove any vinegar residue and debris. Use a garden hose or a clean rag to wash the surface. Ensure all soap and vinegar residues are removed, and check for any remaining rust.
- If you notice any lingering spots, repeat the cleaning process.
Step 4. Let the railings dry.
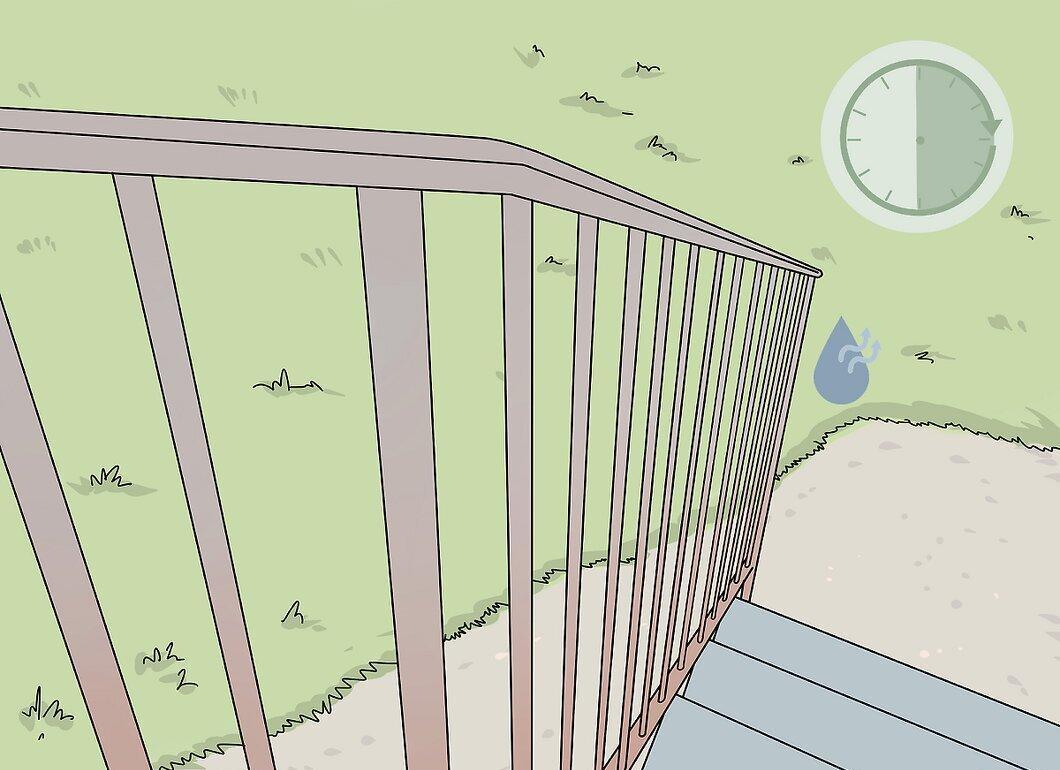
Wait 30–60 minutes for the railings to dry completely. This is necessary before moving on to painting. Ensure they are dry to the touch. After drying, paint them immediately to avoid dust accumulation.
- If the railings remain damp, the new paint won't adhere properly.
- If you need to speed up the process, wipe them with a clean rag, but be careful not to leave any new debris behind.
Painting
Step 1. Apply primer to clean railings.
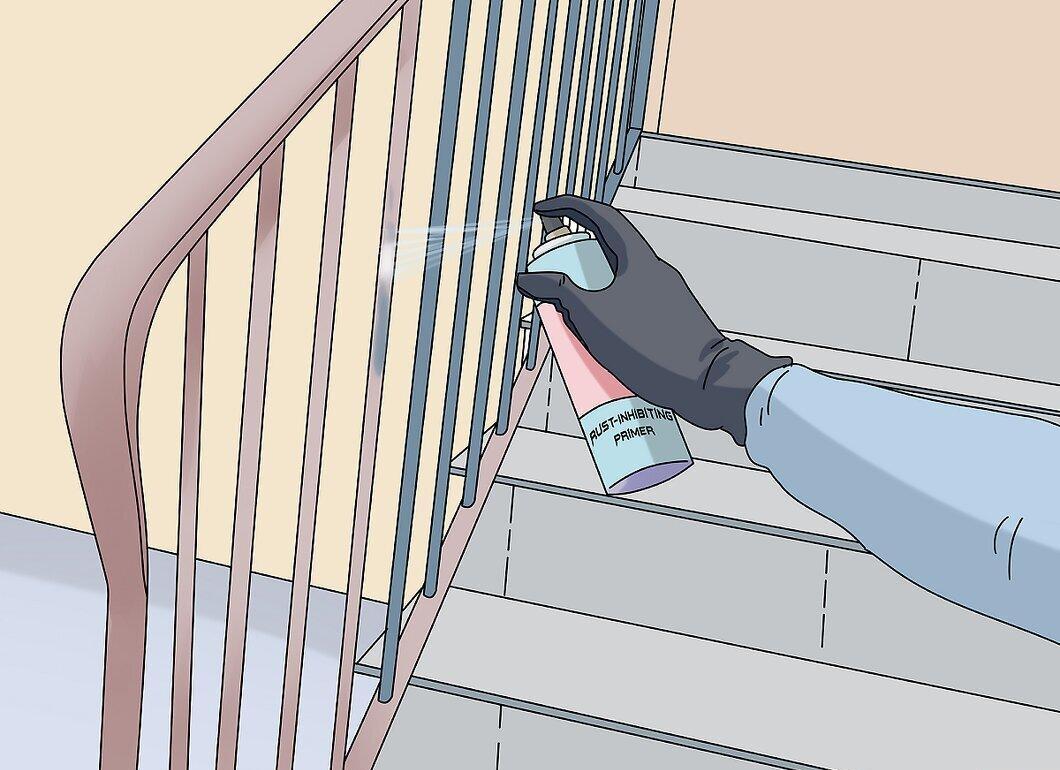
Apply anti-corrosive primer to the cleaned railings. Choose a waterproof primer specifically designed for metal. Primers come in spray and liquid forms. Use a roller for large surfaces, and an aerosol for hard-to-reach areas.
- If using aerosol, hold the can 6 inches away from the railings and spray in smooth motions. This is a quicker method, but ensure you cover all areas.
- If the railings have rust stains, choose a primer with a rust converter that makes rust paintable.
Step 2. Allow the primer to dry.
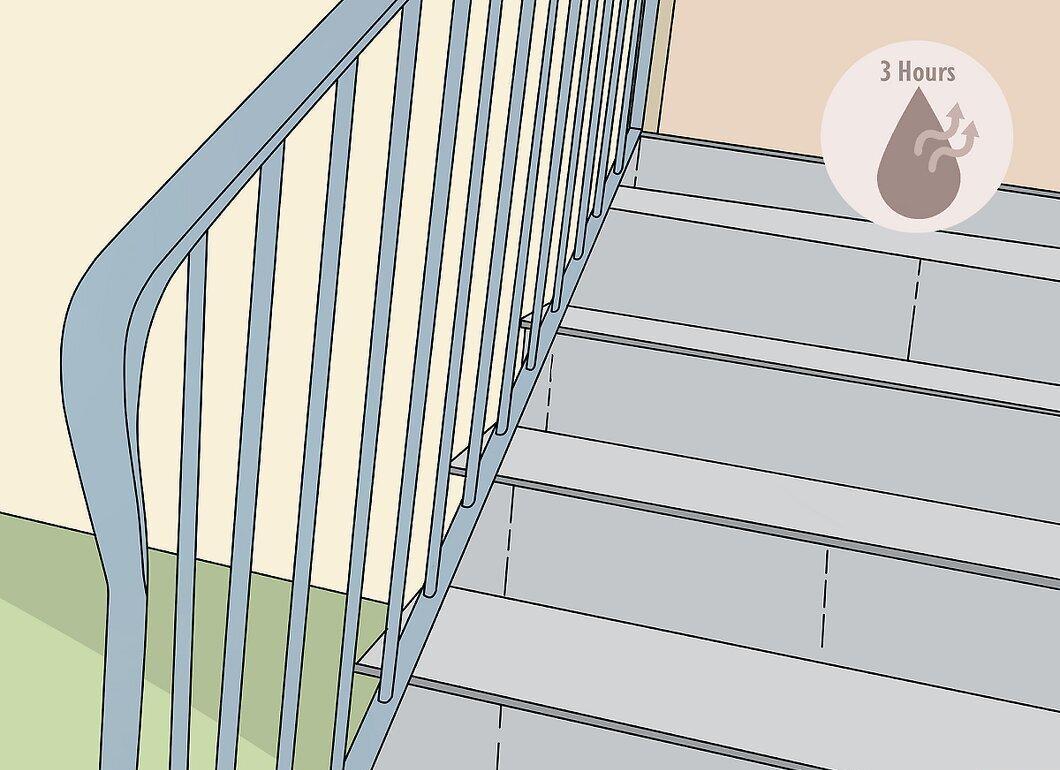
Wait about 3 hours for the primer to dry completely. Drying time may vary by brand, but it typically becomes dry to the touch within 2–4 hours. If you can’t finish in one day, leave the primer overnight, and the next day, wipe the railings down.
- Weather impact: In cold or humid conditions, add an hour to the drying time. The primer dries fastest at temperatures above 70°F (21°C).
- You can apply a second coat of primer if the first was very thin or if you missed spots.
Step 3. Apply paint.
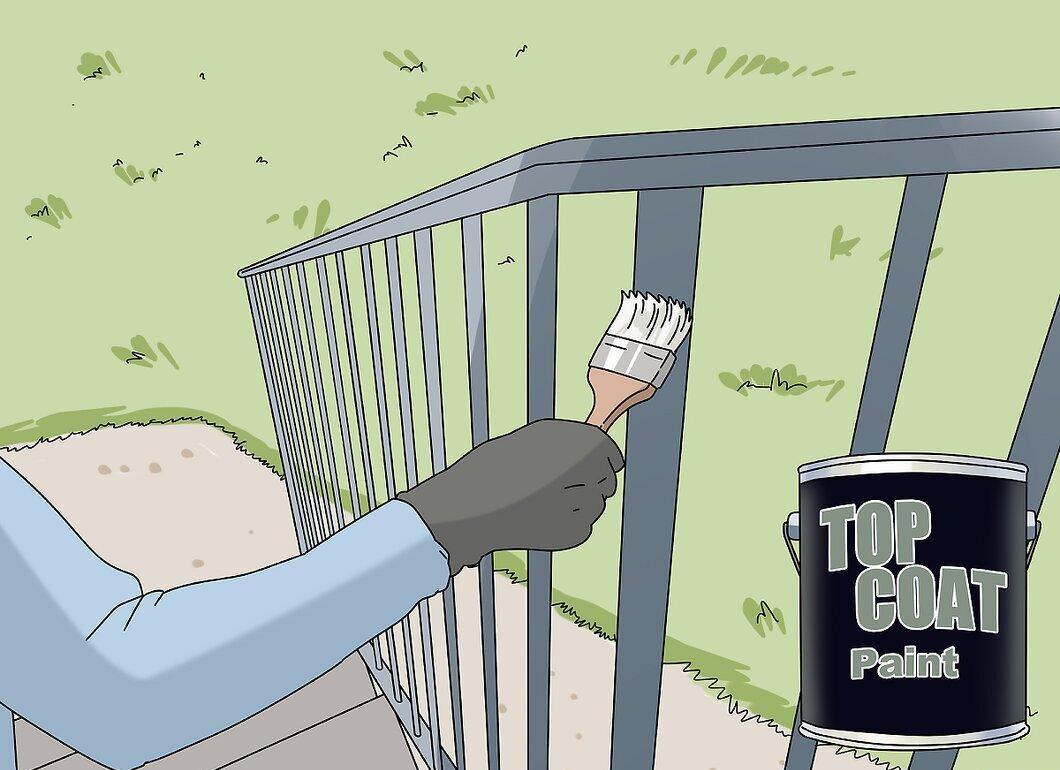
Paint the railings using aerosol or liquid paint. Choose paint designed for metal. Apply one solid coat over the primer using your chosen tool — a roller for large surfaces, a brush for hard-to-reach areas.
- Aerosol paint is more durable and quicker to apply, but take your time to cover all areas.
- If using a brush, latex or acrylic paint works great, and many prefer semi-gloss or gloss for shine and easy cleaning.
Step 4. Wait for the paint to dry completely.
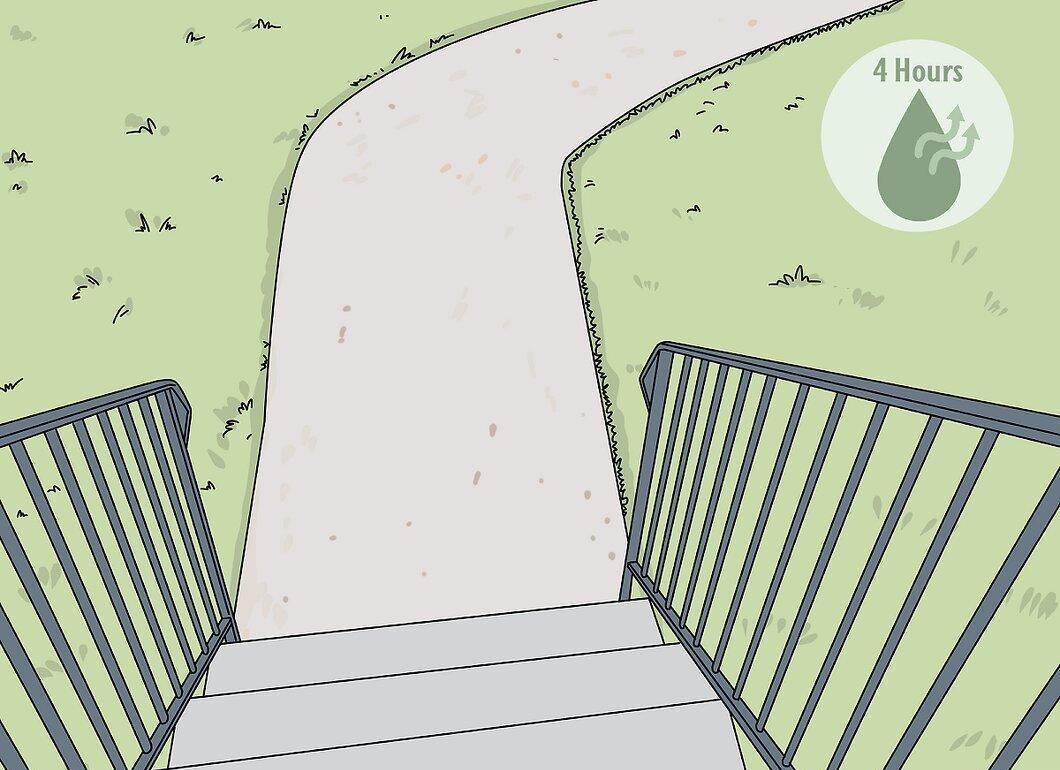
Wait at least 4 hours for the paint to dry. Although many aerosol and liquid latex paints dry quickly to the touch, it's best to wait longer to avoid issues. It's important to remember that paint dries slower in cool or humid weather.
- Check the paint can for recommendations, as drying time depends on the brand.
- If you’re short on time, let the paint dry overnight and wipe the surface with a clean rag in the morning. Oil-based paints take 24 hours to dry. It’s better to wait a bit longer than indicated.
Step 5. Apply additional coats of paint.
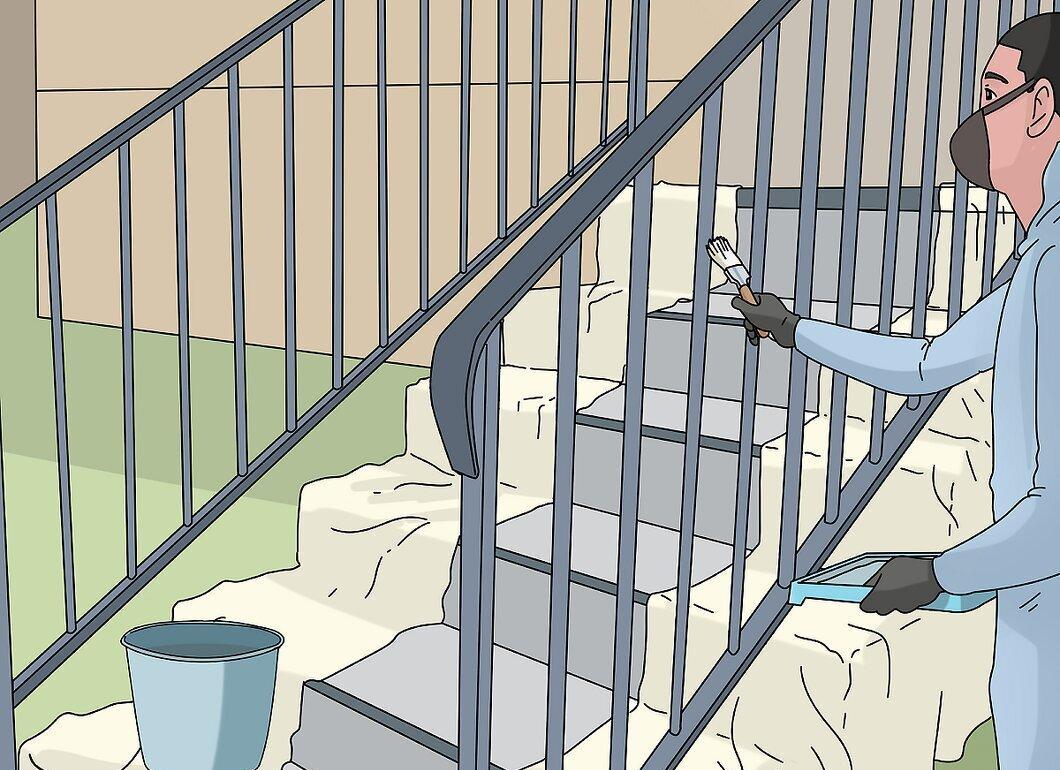
Apply additional coats to the railings. Typically, two coats of paint are recommended for full protection. If desired, add more layers, but remember to wait for the previous coat to dry completely.
- You may need to apply three or more coats to achieve your desired result.
Step 6. Remove protective coverings and clean up tools.
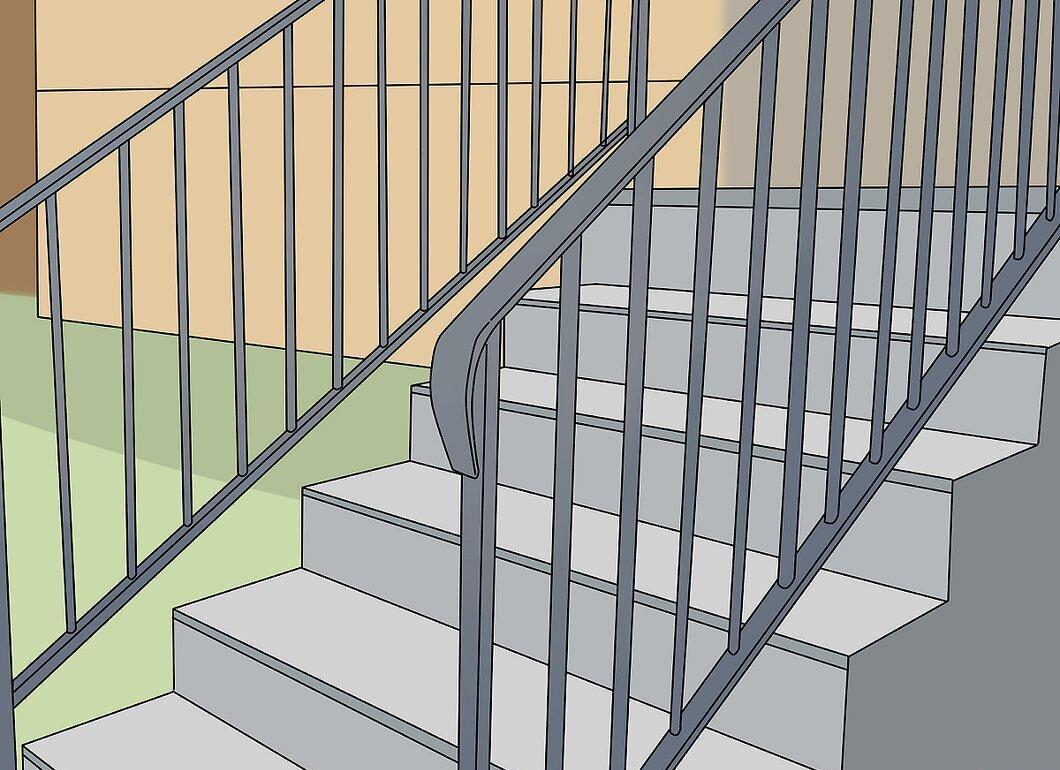
Remove protective coverings from the railings and clean up tools. Carefully peel off painter's tape from surrounding surfaces and gather the rags. Rinse brushes and rollers in hot water to remove paint residue.
- If you’re unsure how to clean specific tools, refer to the instructions on the paint packaging. Latex or acrylic paint can be easily washed off with soapy water.


