
There are many ways to revamp a wooden chair. You can turn it into a vibrant decorative piece or focus on its practical side. By preparing the surface, you can bring any vision to life. And if you're not satisfied with the outcome, you can always start over and change the color.
Preparing the Chair for Painting
Step 1: Clean the Chair.
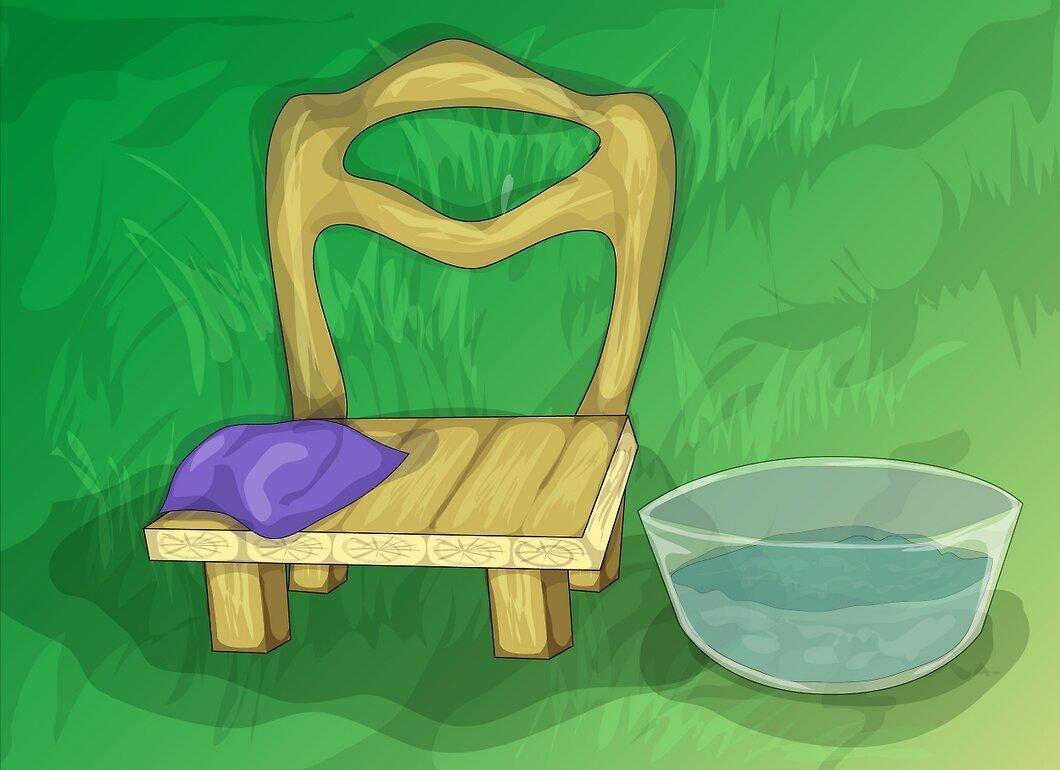
Remove dust and dirt from the chair. Use a cloth dampened with soapy water to wipe away cobwebs and grime. For tougher stains, employ a specialized cleaner, then rinse the chair with water. Leave it to air dry.
Step 2: Sand the Chair for a Smooth Surface.
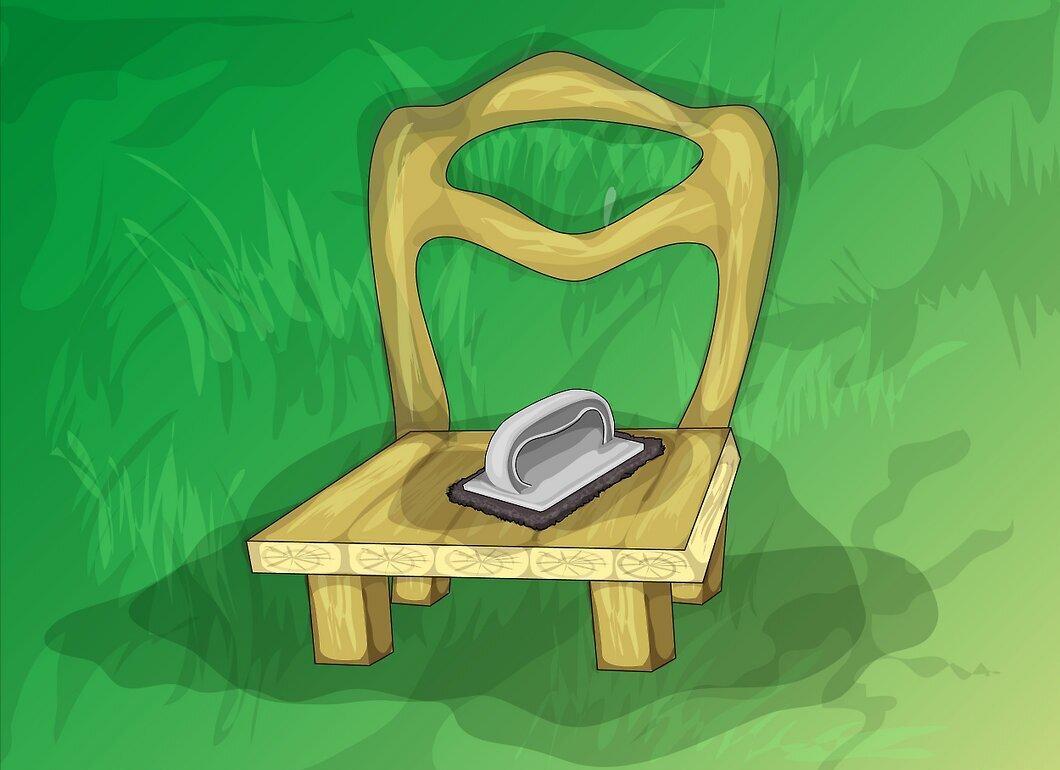
Sand the chair to prepare it for painting. If there are remnants of old paint, start with coarse sandpaper to remove large particles, then switch to finer sandpaper for a smooth finish. Pay attention to any dents and scratches to ensure they don’t stand out.
Step 3: Fill Holes and Cracks.
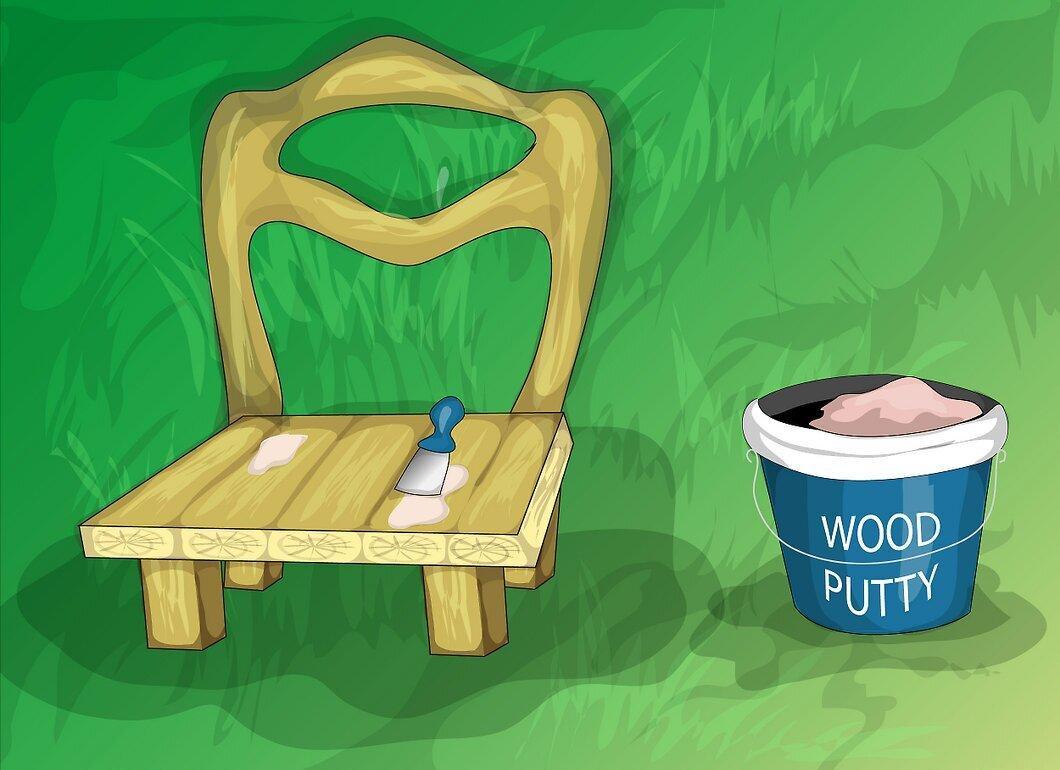
Fill any holes with wood filler. If there are deep cracks, allow the filler to dry as per the instructions. After drying, sand down any excess to achieve a level surface.
Step 4: Wipe Down the Chair.

Wipe away any dust left from sanding with a damp cloth. Ensure the chair is completely dry before starting to paint.
The Painting Process
Step 1: Choose Your Color Scheme.
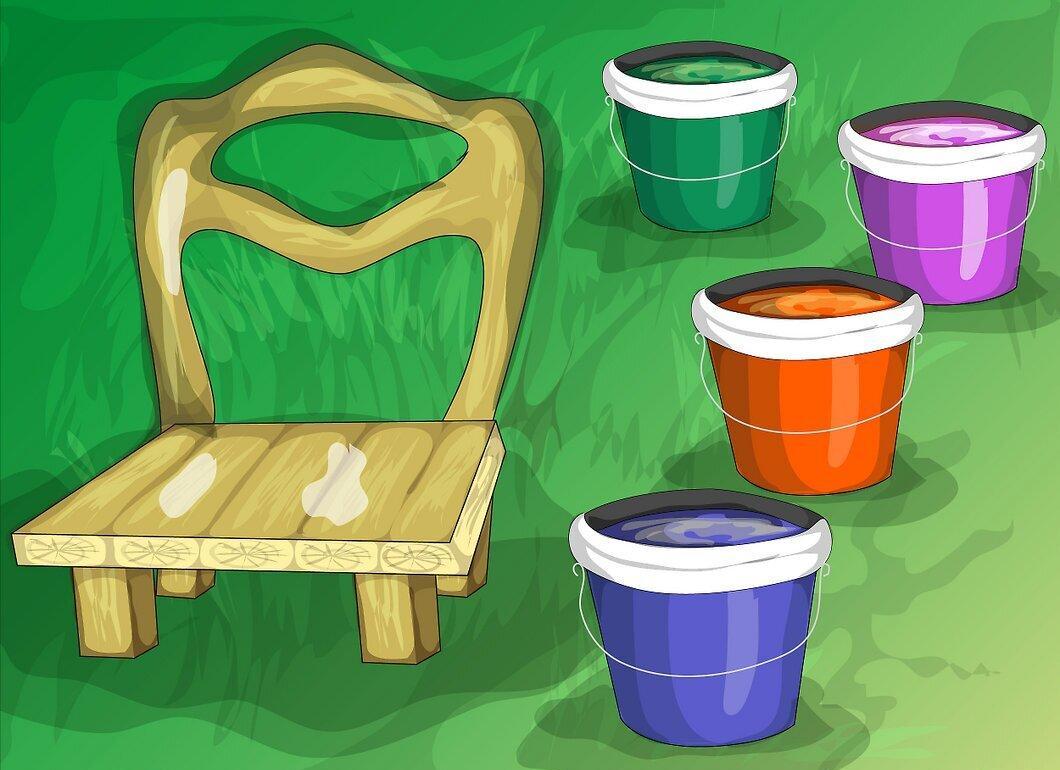
Decide on the colors or scheme for your chair. You can choose a single color or combine several contrasting and harmonious shades.
- For a unique look, paint the seat one color, the backrest another, and the legs a third. If you prefer a more sophisticated appearance, paint the entire chair one color, then add accents like stripes or spots.
Step 2: Place the Chair on a Protective Cloth.
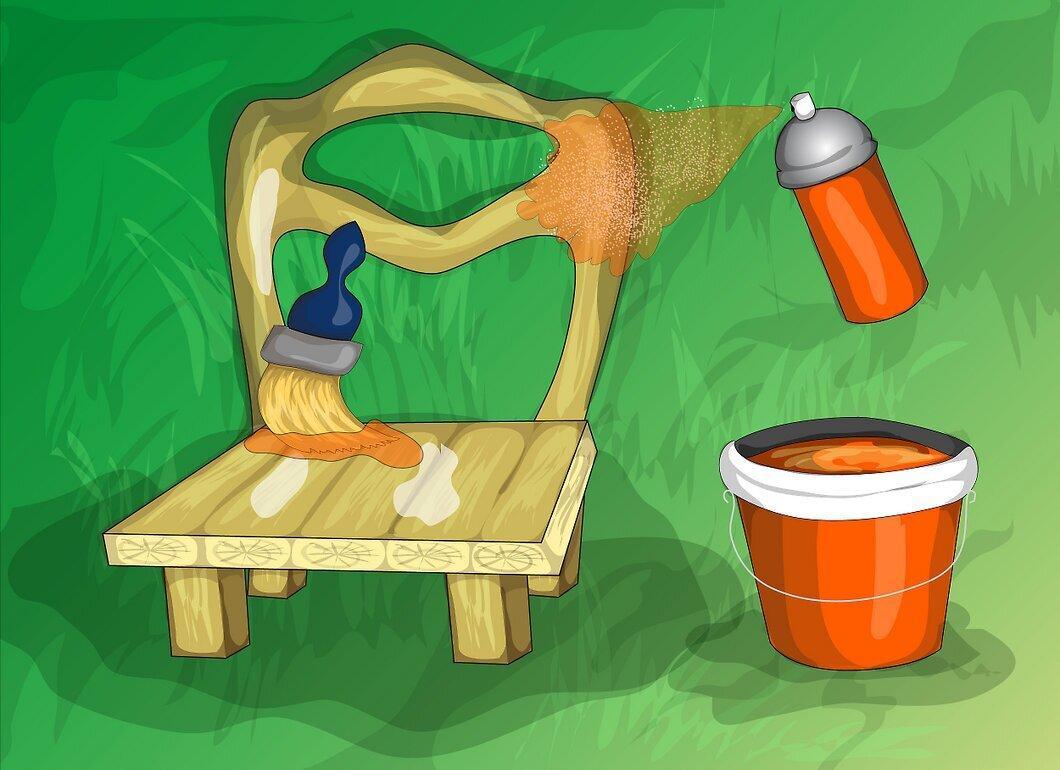
Set the chair on a laid-out cloth to protect the floor from paint. Be sure to stir the paint well before use. Use a brush of a comfortable size for painting. It's best to flip the chair upside down and start with the legs. Once done, flip it back and paint the rest. Allow the paint to dry and apply a second coat if necessary.
- For quicker results, you can use spray paint. Just remember to shake it well before use. Apply several thin layers to avoid drips.
Step 3: Protect the Paint with a Layer of Varnish.

After painting, cover the chair with a clear varnish. Choose between matte or glossy depending on the desired effect. Varnish is easy to apply, but be careful when working with a brush. If you want to add decorative stickers, do this before the final layer of varnish. Allow the varnish to dry according to the instructions, and your chair will be ready for use.


