
Setting Up Your Wi-Fi Network: A Step-by-Step Guide
Installing a router is the first step towards creating a home network, but how do you choose the right device and set it up correctly? Follow this guide to select a router and establish a secure wireless connection (Wi-Fi) at home.
Installing the Router
Step 1. Choosing a Wireless Router.
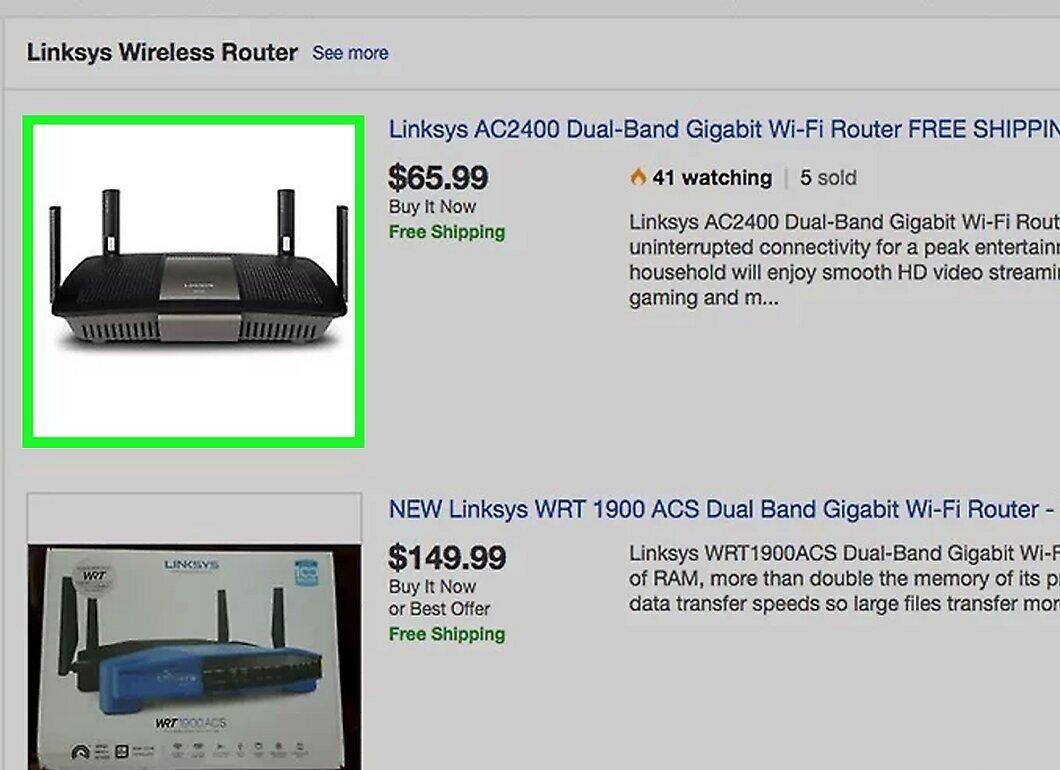
First, purchase a wireless router. To determine which device suits your needs, consider several important factors: the distance to your devices, interference levels, data transfer speeds, and network security.
- One of the key aspects is the distance between the router and your wireless devices. More expensive models often come with multiple antennas, which helps maintain a stable connection over greater distances.
- Also, pay attention to potential interference. If you have devices in your home operating on the 2.4 GHz frequency (such as microwaves and cordless phones), they can disrupt the Wi-Fi signal. Newer routers support the 5 GHz frequency, which is less congested but has a shorter range.
- Consider the data transfer speed. New routers can provide speeds up to 450 Mbps, but this does not impact the internet speed set by your provider. Currently, there are models with three main speeds: 802.11g (54 Mbps), 802.11n (300 Mbps), and 802.11ac (450 Mbps). Note that these speeds are achievable only under ideal conditions—in an empty room without interference.[1]
- Make sure your router supports the modern WPA2 encryption standard. This is crucial for your network’s security; older protocols like WEP can be easily compromised.
Step 2. Connecting the Router to the Modem.
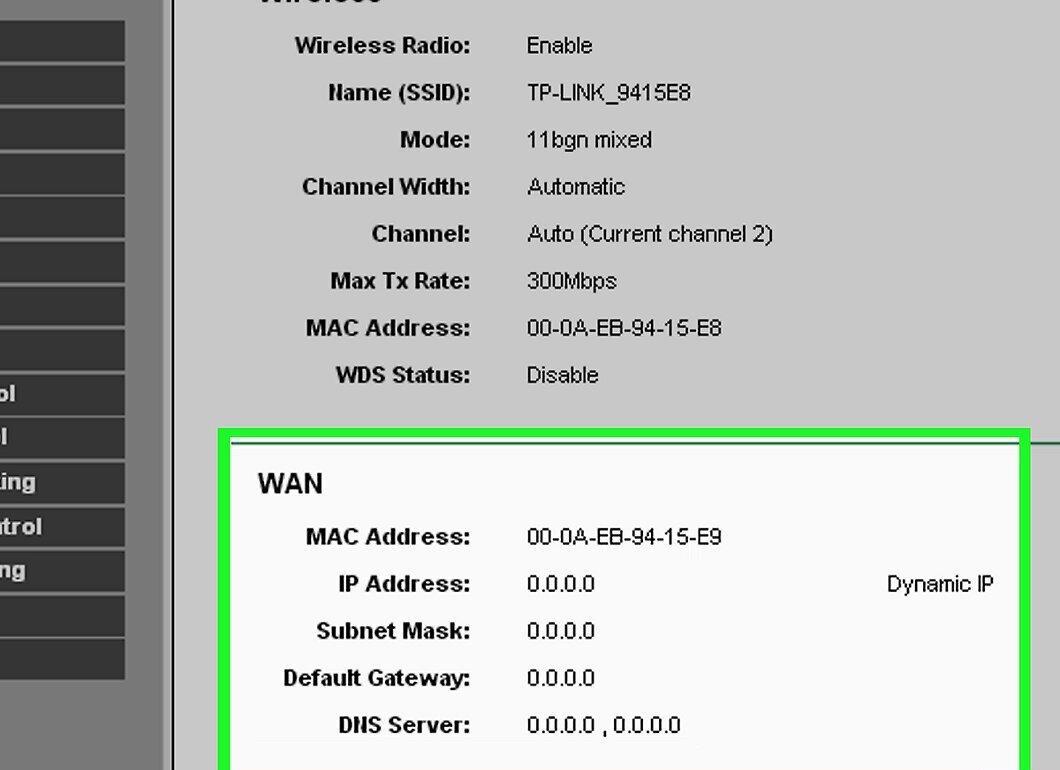
Next, connect the router to the modem. On the back of the device, you will find a port labeled WAN/WLAN/Internet. Use an Ethernet cable to connect it to the modem.
- Ensure that the router is powered on and connected to a power source.
Step 3. Connecting to a Computer via Ethernet Cable.
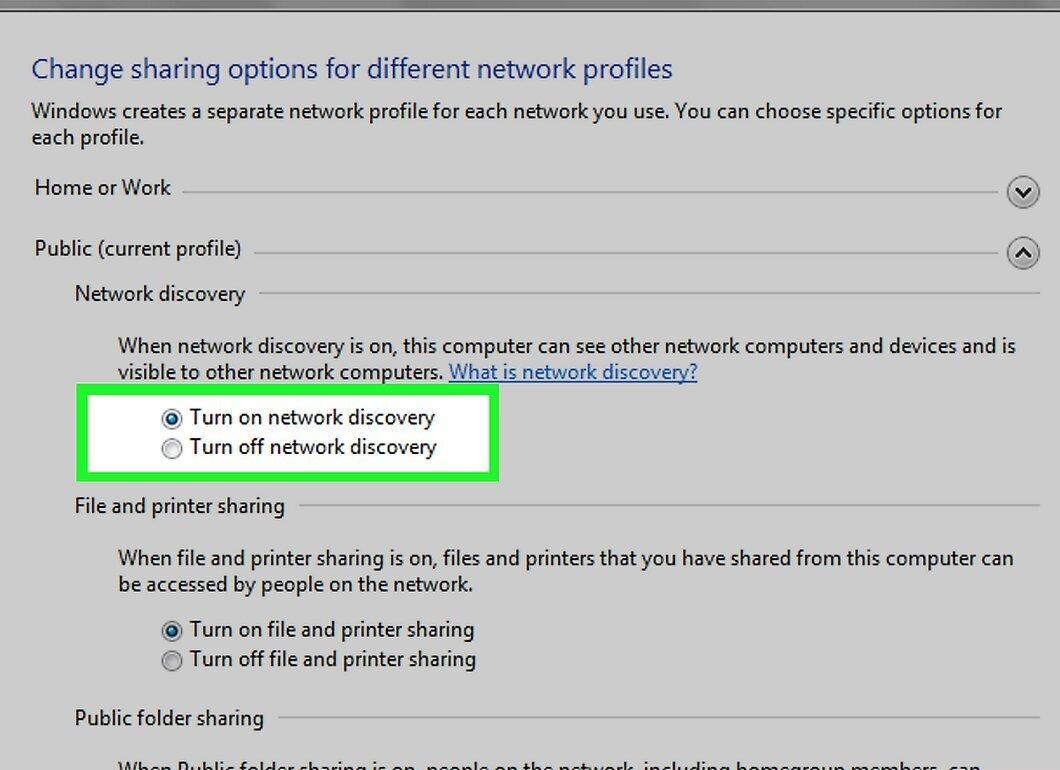
Connect the router to your computer using an Ethernet cable. This is not mandatory, but it can be helpful for setting up the device before connecting wireless gadgets. A wired connection can help avoid connectivity issues during setup.
- For optimal configuration, place the router next to the computer; after setup, you can move it to its permanent location.
Configuring the Router
Step 1. Installing Router Software.
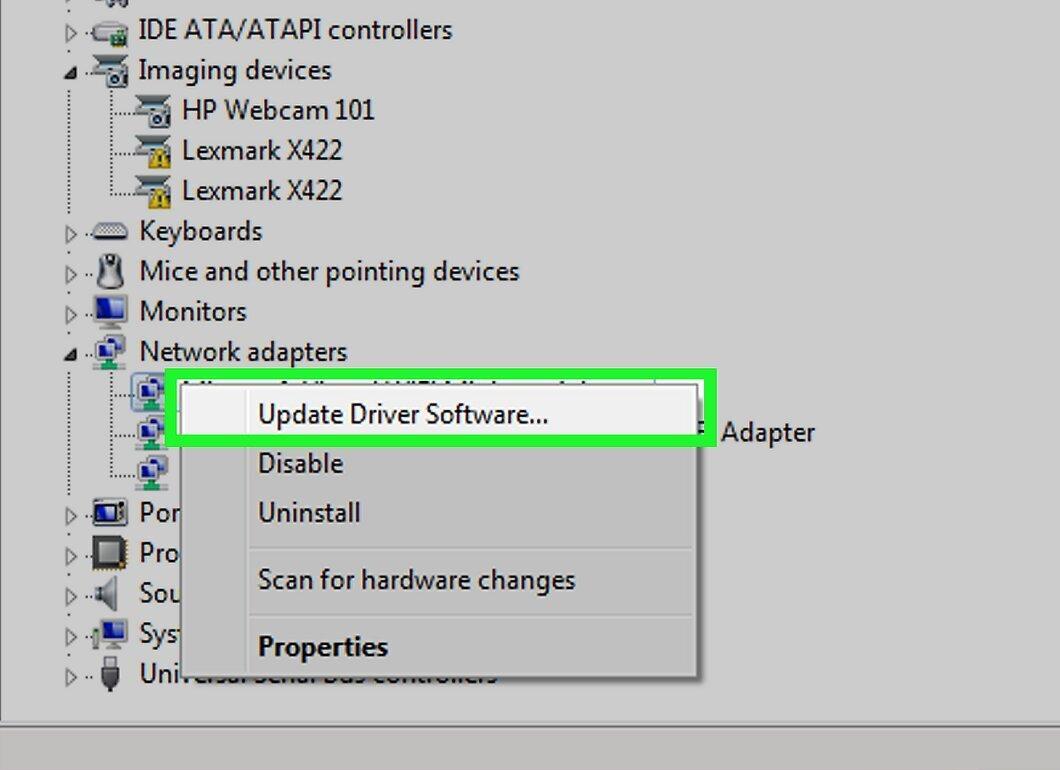
Install the software if it is available for your router. If such software exists, download it onto the computer connected to the router. This will simplify the setup process compared to using the web interface.
- In the software, specify your wireless network name and security type. For maximum security, choose WPA2 and create a strong password for your Wi-Fi.
- Most software automatically detects the type of internet connection, which is necessary for your wireless devices to access the network.
Step 2. Accessing the Router’s Configuration Page.
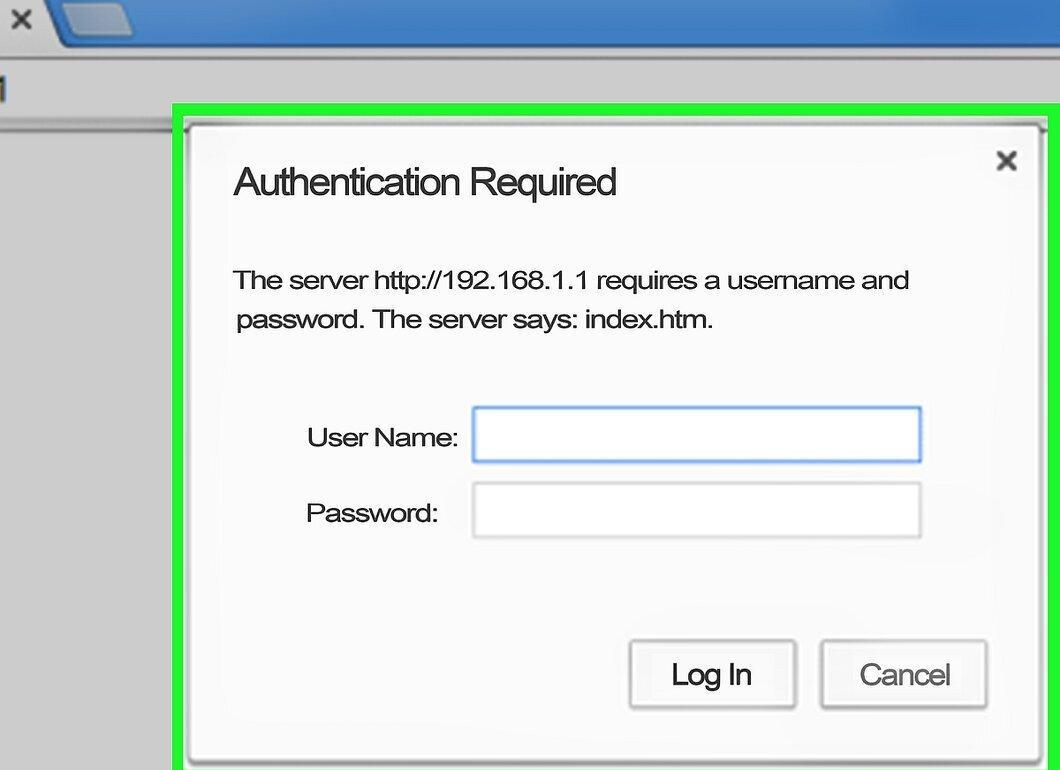
If no software is available, open the router’s configuration page through a web browser. Enter the IP address of your router, which is typically 192.168.1.1 or 192.168.0.1. The exact address can be found in your device’s documentation or on its bottom panel.
- To access it, enter the username and password provided in the instructions. Usually, the default username is admin, and the password is either password or admin. You can find standard login credentials on PortFoward.com.
Step 3. Entering Internet Connection Details.
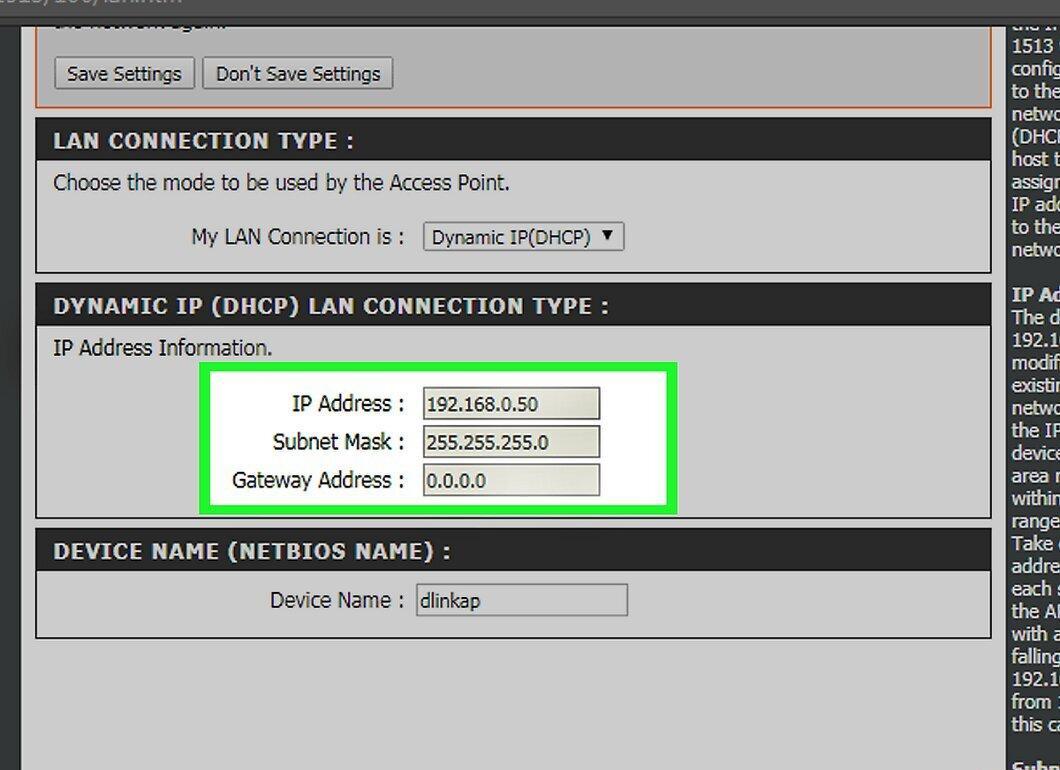
Input your internet provider’s information, such as IP address and DNS. Most devices automatically fill in these fields, but if they don’t, contact your provider for the necessary information.
Step 4. Setting Up the Wireless Network.
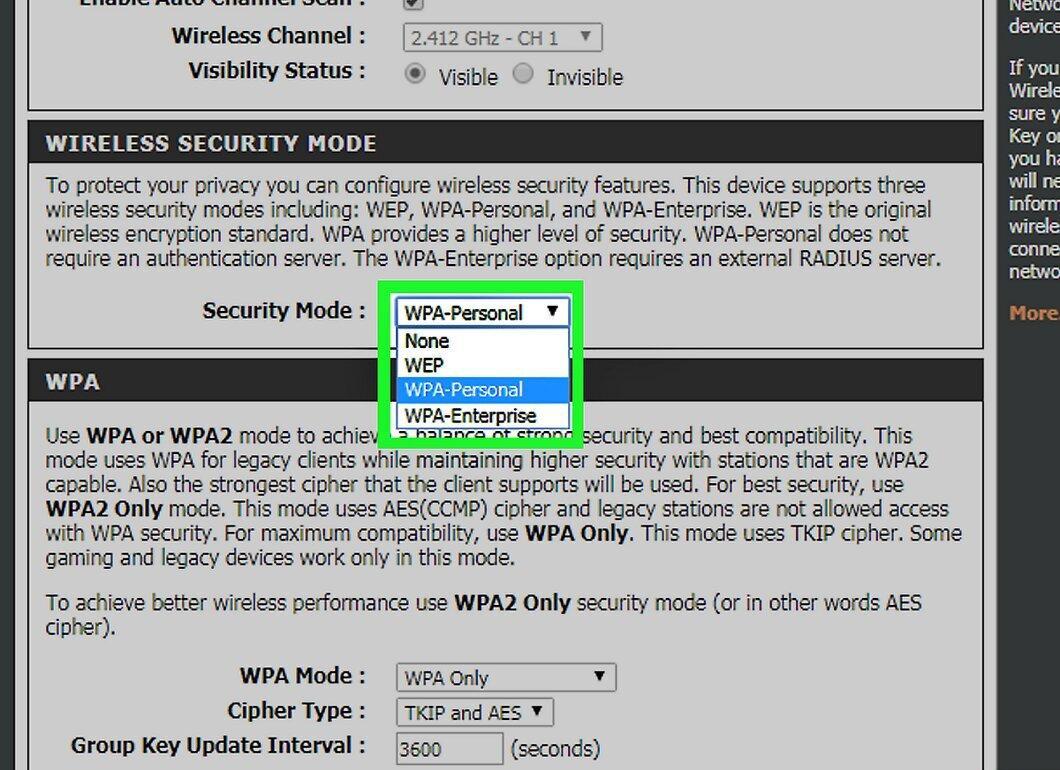
Configure the wireless network settings. Typically, the settings section can be found in the main menu of your router. Here, you can enable or disable the wireless connection, change its name, and select the encryption type.
- Enter the network name in the SSID field. This name will be visible on devices that detect your network. If you live in an apartment building, avoid using personal information in the name.
- Ensure that you select the most modern encryption type, usually WPA2, which requires only a password. Try to use strong passwords that include uppercase and lowercase letters, numbers, and special characters.
Step 5. Saving Settings.
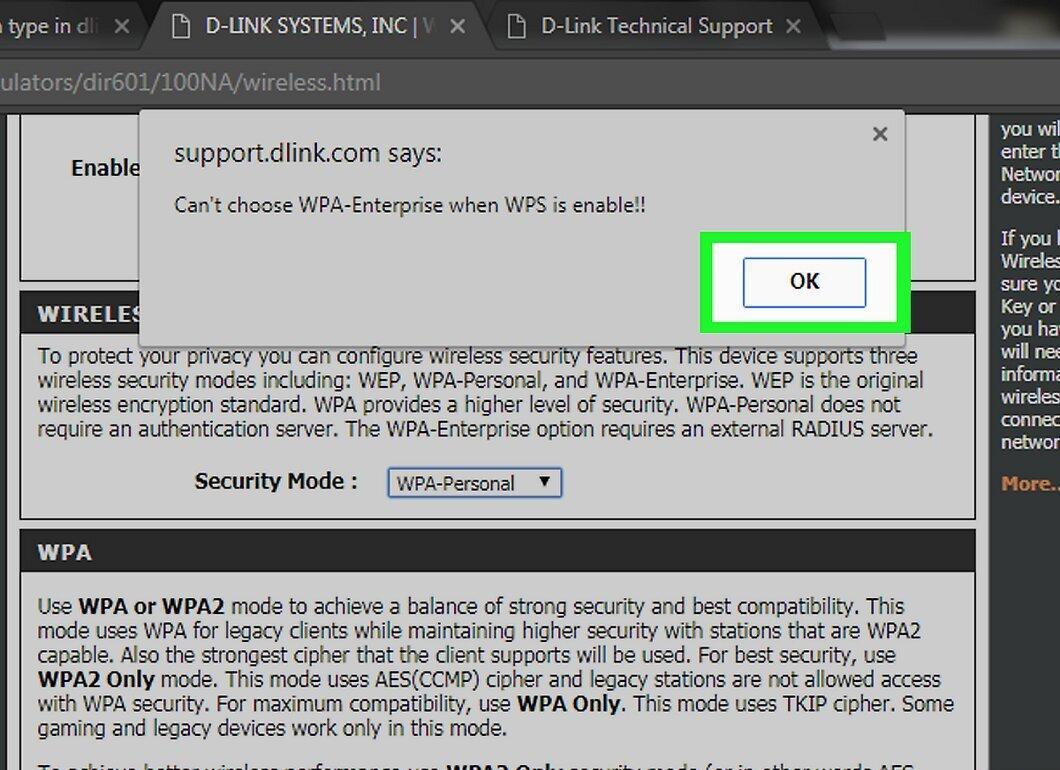
After making all changes, click “Apply” or “Save Settings.” Your changes will take effect within a few seconds. In some cases, you may need to restart the router.
Step 6. Optimal Placement of the Router.
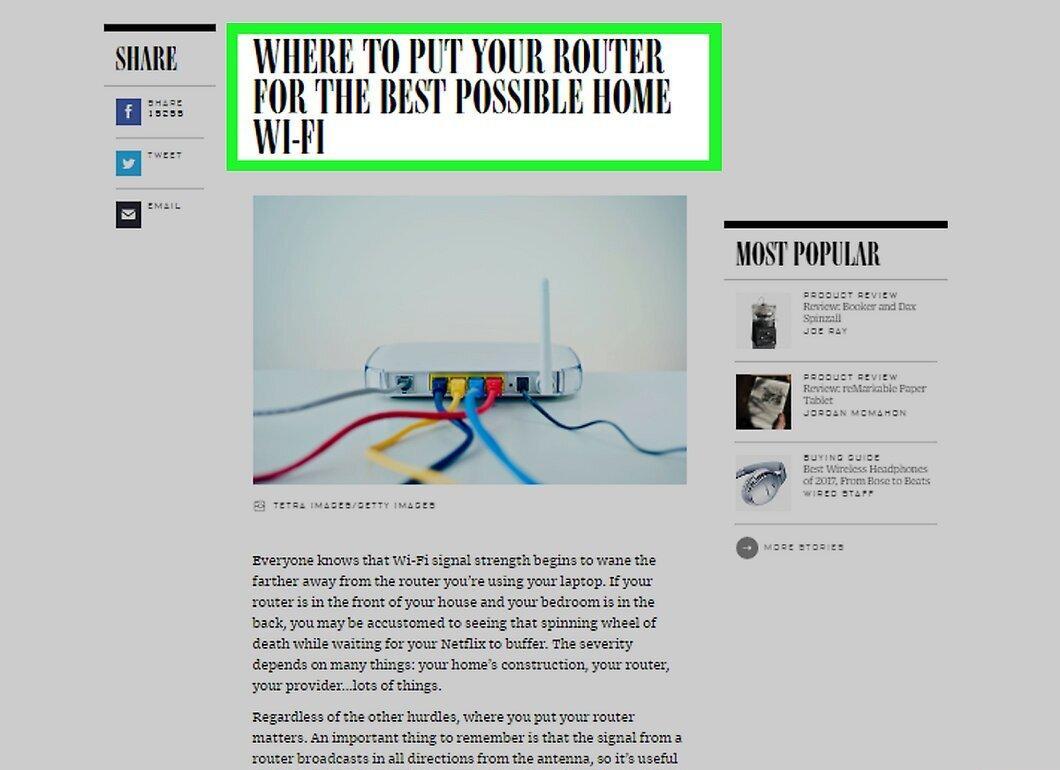
To ensure the best signal, try placing the router in the center of your home. Remember that any barriers, such as walls or doors, can reduce signal quality. If your home is multi-story, you might need multiple routers for a stable connection.
- The only limitation for placement is the need to connect the router to the modem.
Connecting to the Router
Step 1. Connecting a Wireless Device.
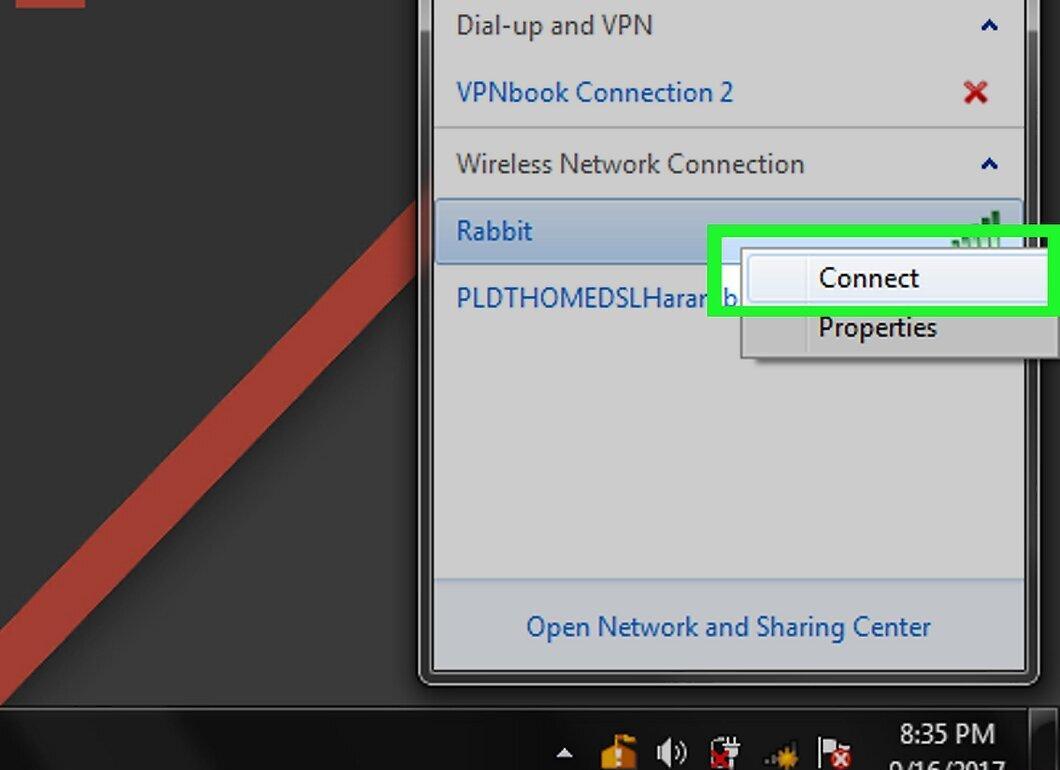
Once the router begins broadcasting a signal, check for network availability from another device, such as a computer, smartphone, or tablet.
- Look for new networks. On Windows, click the network icon in the system tray and select “Connect to a network” to find your network. On Mac, click the AirPort icon in the menu and select it from the available networks.
Step 2. Entering the Password.
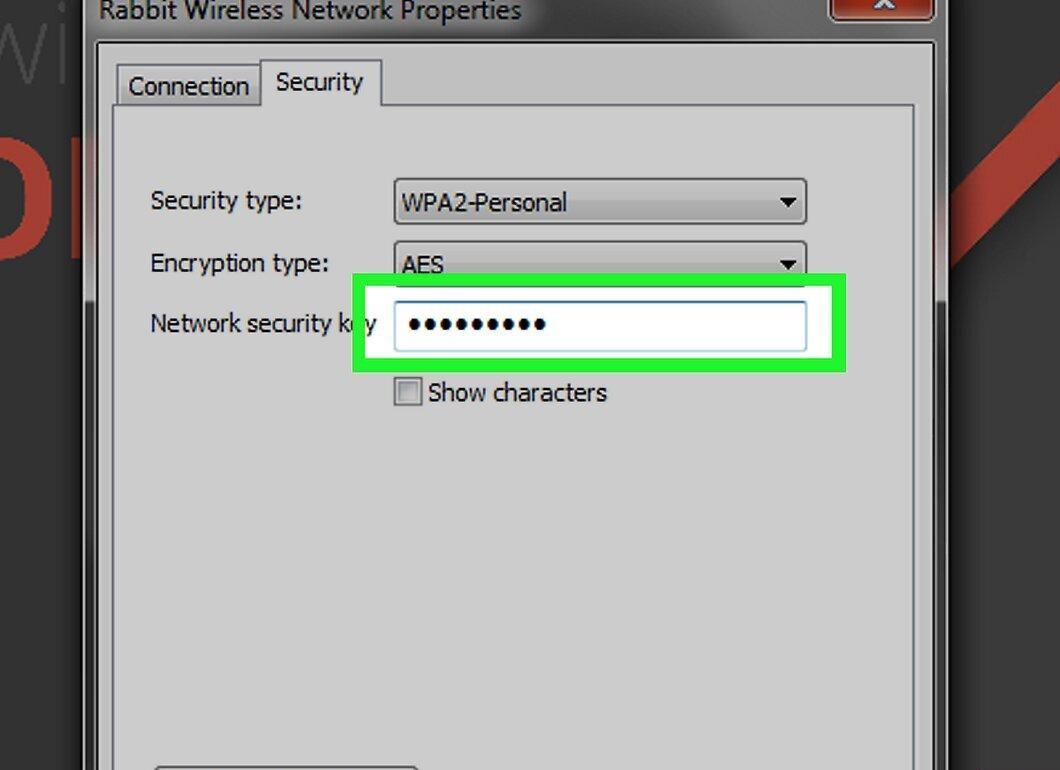
Enter the password to connect to the network. If you are using WPA2 encryption, you will need to input the password. On a personal computer, you can disable character hiding to make input easier.
Step 3. Checking the Connection.
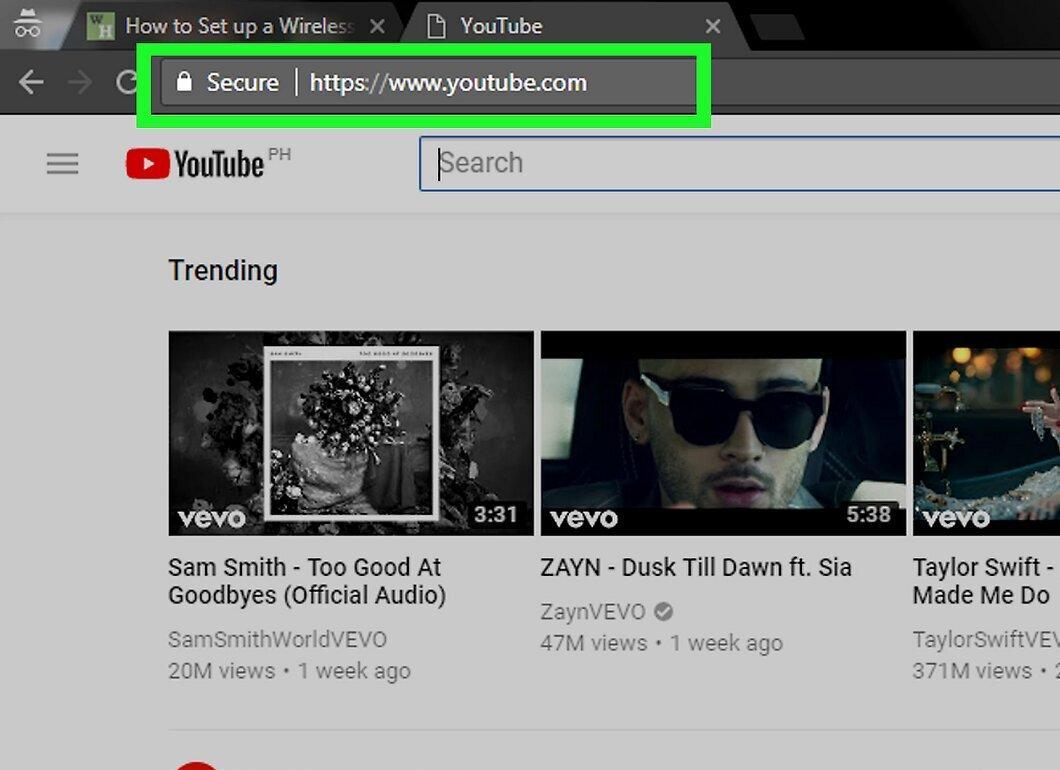
After connecting, wait for the IP address to be obtained. Open a web browser and try visiting a website you don’t usually visit to ensure the connection is successful.


