
In our digital world, many sites and apps require you to upload photos exclusively in JPG (or JPEG) format. Unfortunately, this complicates the use of images in other formats like GIF, TIFF, or PNG. While converting to JPEG may slightly affect image quality, the file size will significantly decrease. Don’t worry; you don’t need to be a computer expert to perform the conversion — just follow these simple steps.
Using Paint on Windows
Step 1. Launch Paint.
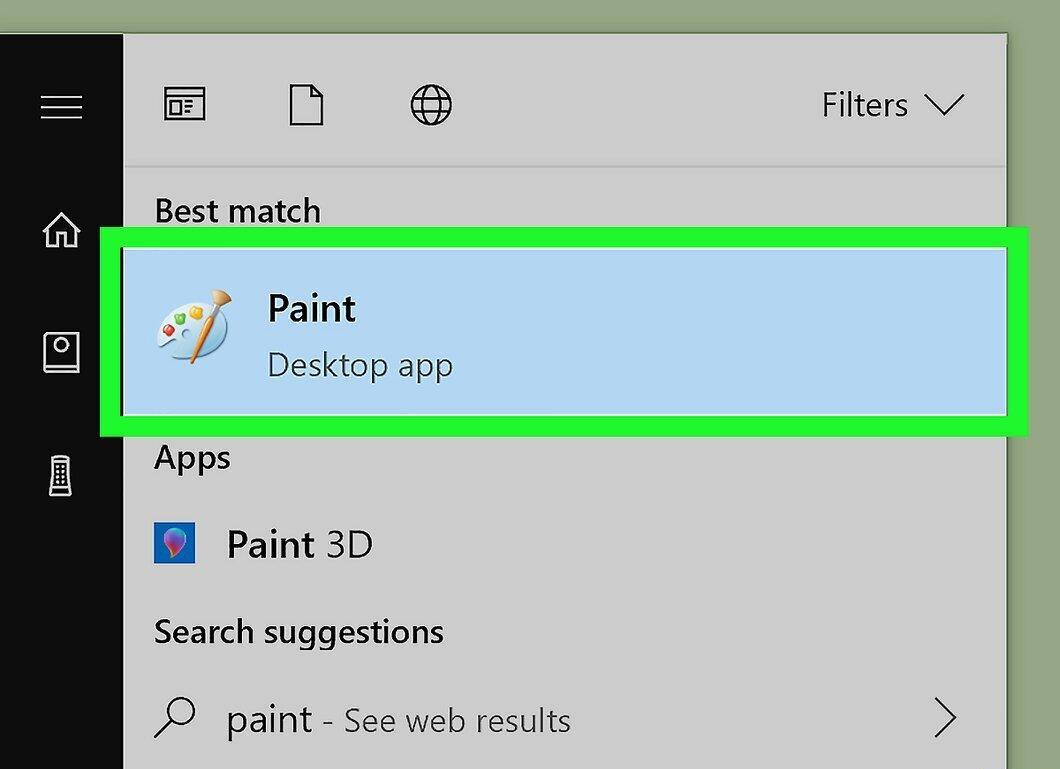
Open the Paint program. It is available on almost all versions of Windows. Press ⊞ Win+S to search and type "paint". Then click on "Paint" in the search results.
Step 2. Load the image into Paint.
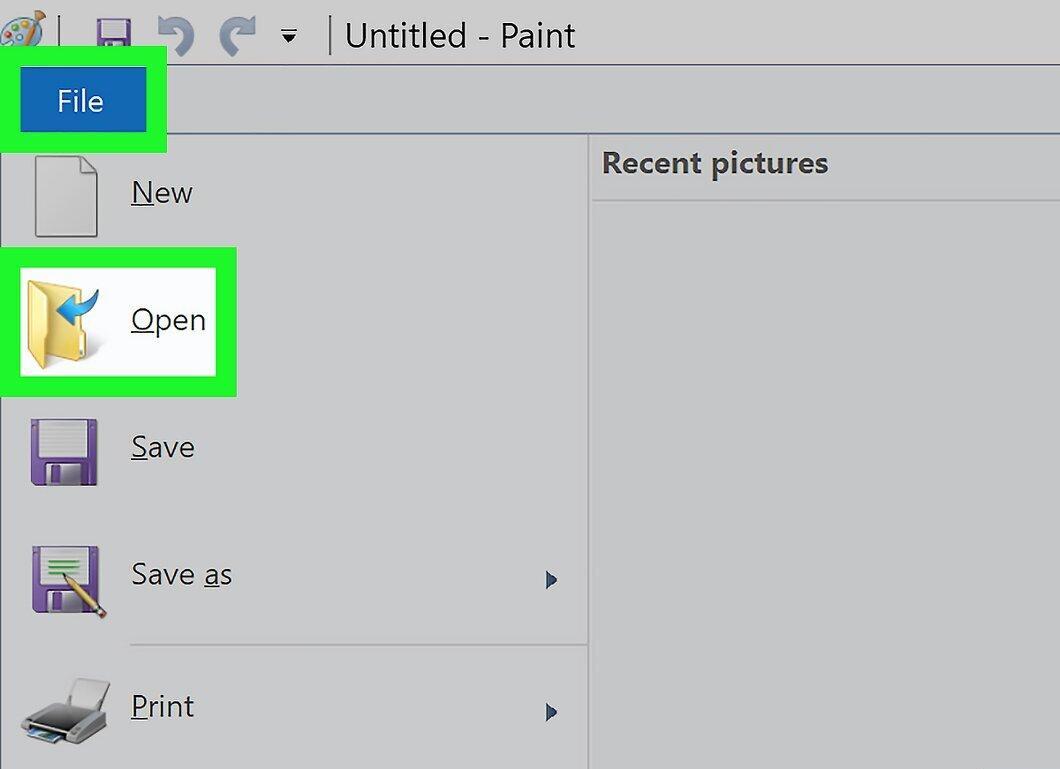
Import the image into Paint. Make sure the file is on your computer. Select "File" > "Open", find the desired image, and click "OK".
Step 3. Go to the "File" menu and select "Save as".
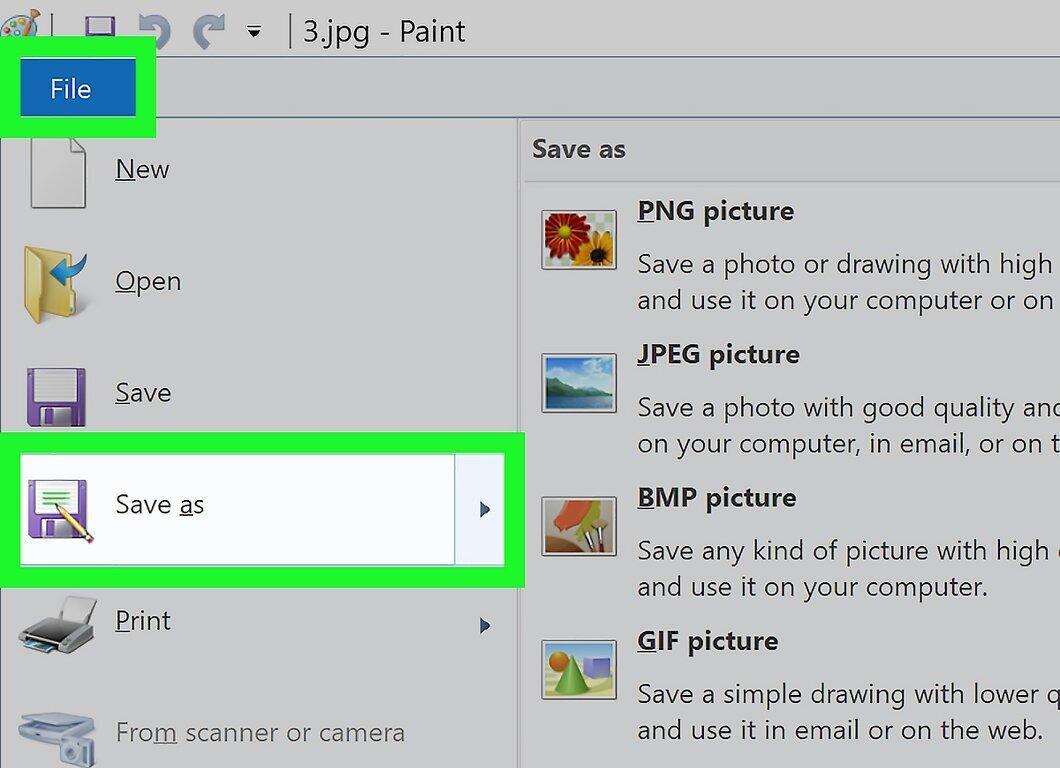
Click on "File", then click the arrow next to "Save as". A list of available formats will appear, including JPEG.
Step 4. Choose the JPEG format.
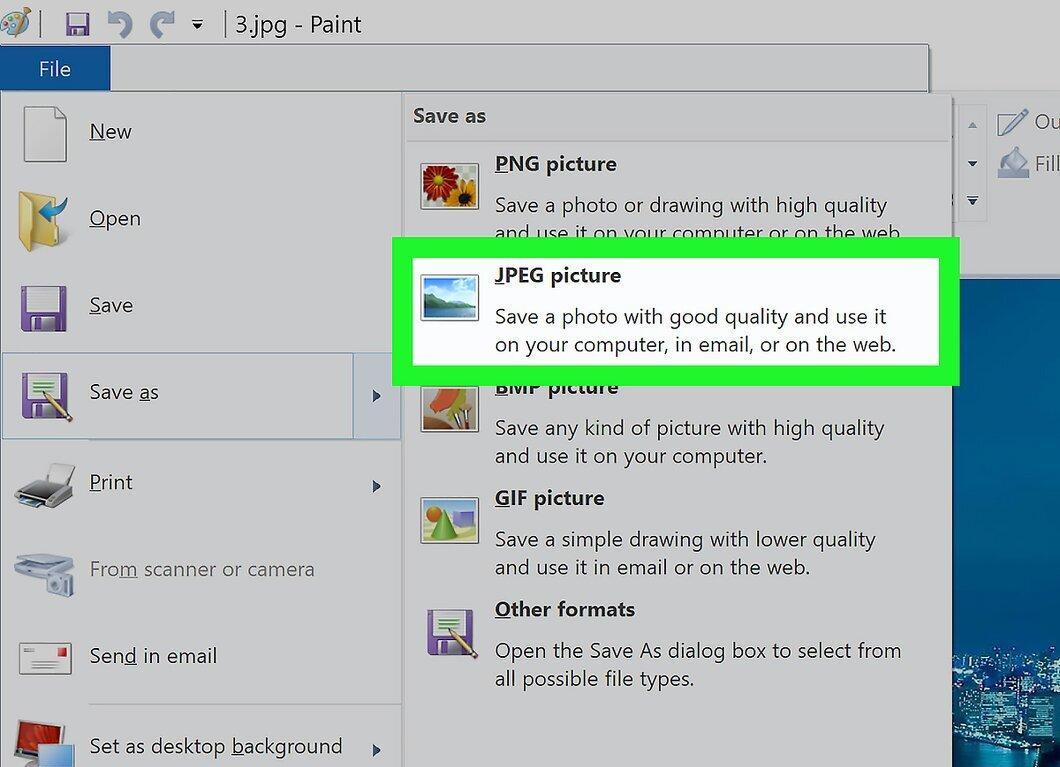
Select "JPEG". A save window will pop up — choose a folder, rename the file if needed, and ensure that "JPEG" is selected in the "File type" field.
Step 5. Save the image.
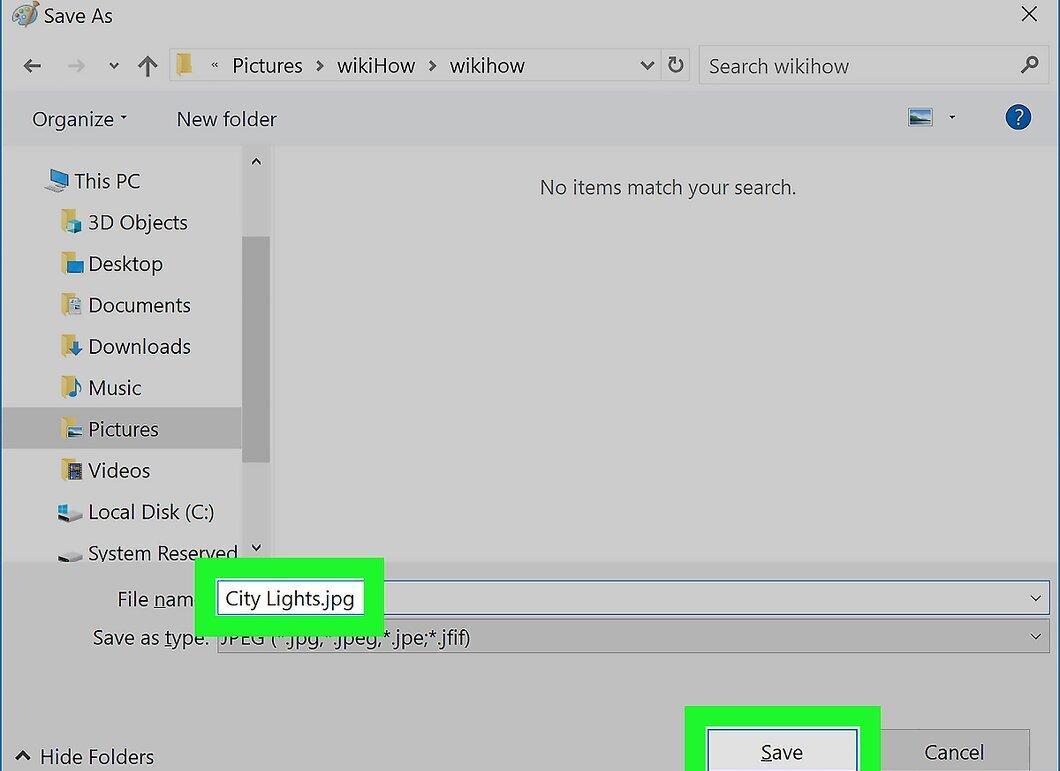
Click "Save". Your image will be successfully converted.
Online Converter for Computers, Smartphones, and Tablets
Step 1. Choose an online converter.
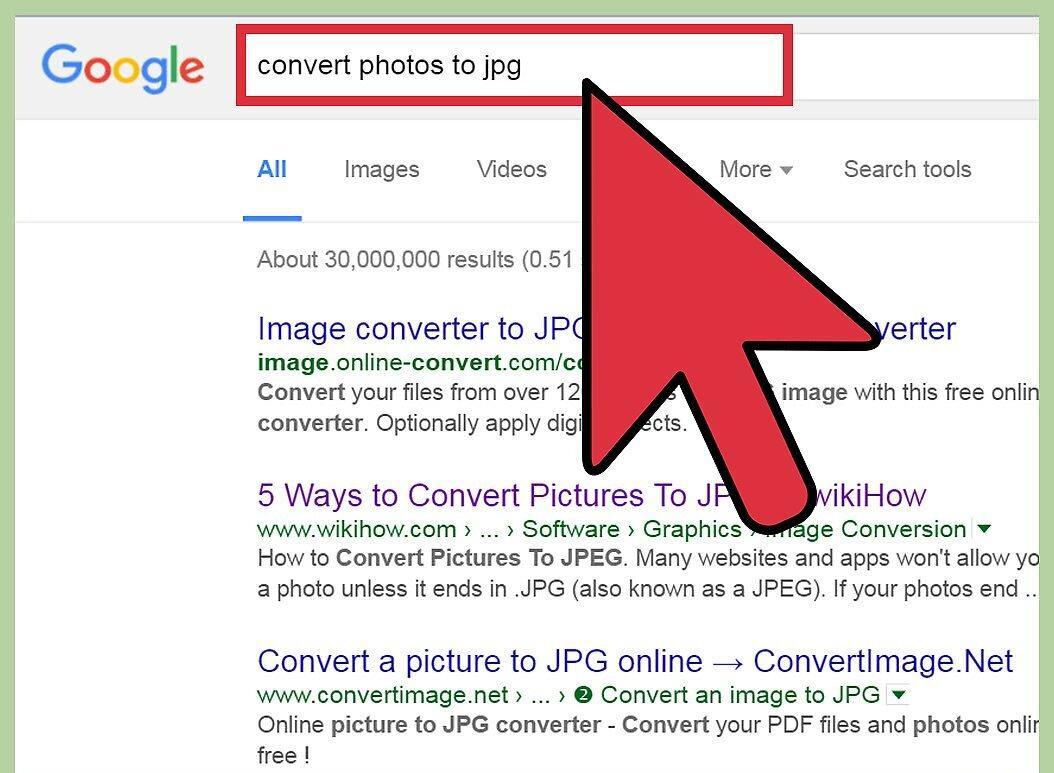
Find a suitable online converter. This method can be used on any device with internet access, including smartphones and tablets. Search for "online converter XXX to jpg", replacing XXX with the desired format. Some sites, like Online-Convert, provide a list of supported formats.
- Ensure that the converter you choose can handle your format. Some formats, like RAW, might be challenging for online conversion due to their size.
- If you're using mobile data, it's recommended to connect to Wi-Fi to avoid extra charges when transferring large files.
Step 2. Upload your image.
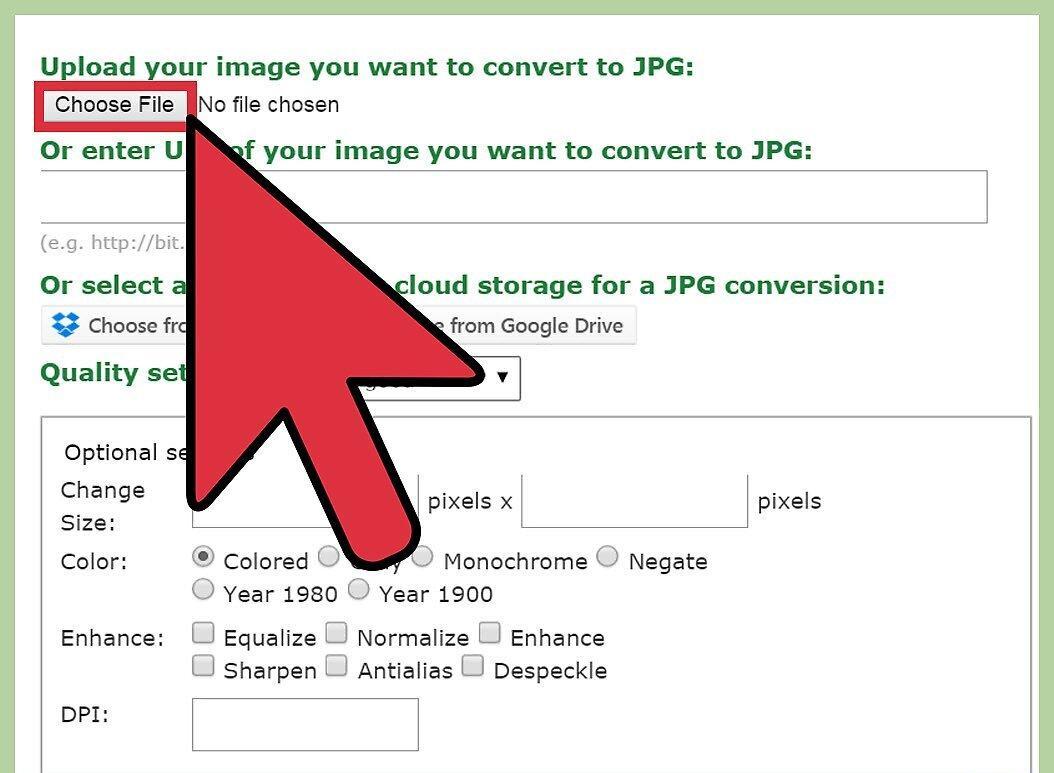
Upload the image file. In the converter, find the button labeled "Browse", "Select file", or something similar, and choose the file you need. Be aware that many converters have limits on the maximum size of the uploaded image.
- Before uploading, make sure to read the service's terms of use.
- Some converters allow you to enter the URL of the image, which is handy if the picture is online.
Step 3. Check for JPEG conversion capability.
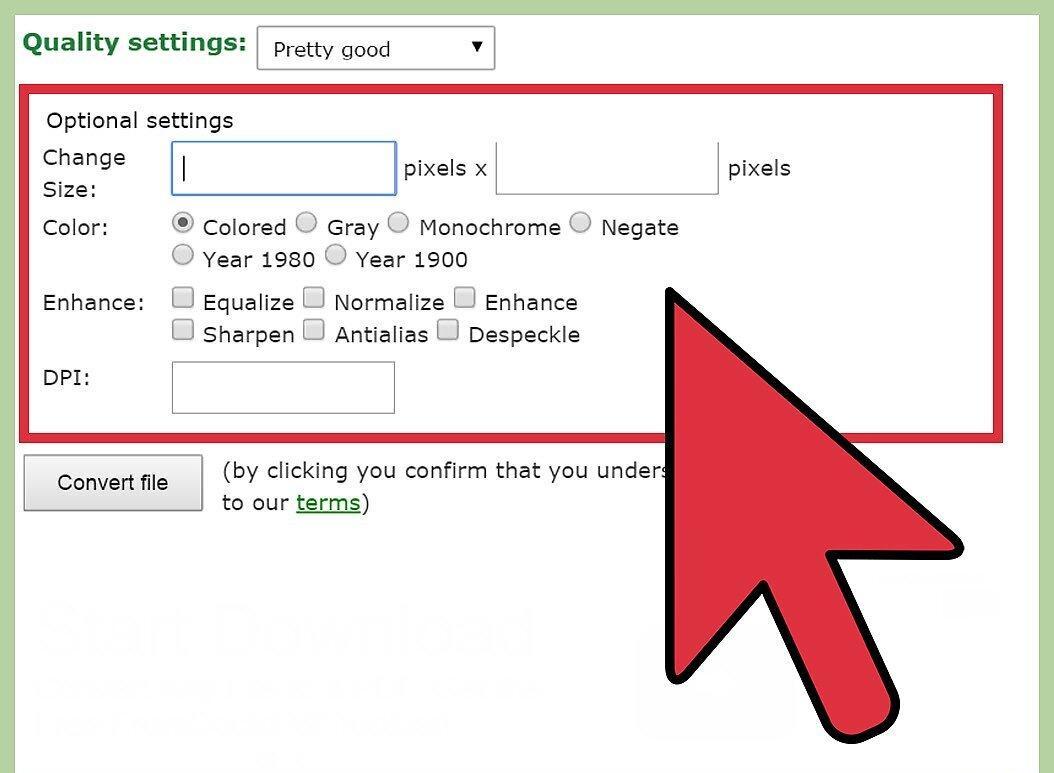
Make sure the converter supports conversion to JPEG. Most online services have a drop-down menu where you can select "JPEG" or "JPG" (they are the same). Some also allow you to adjust the size and quality of the image.
Step 4. Start the conversion.
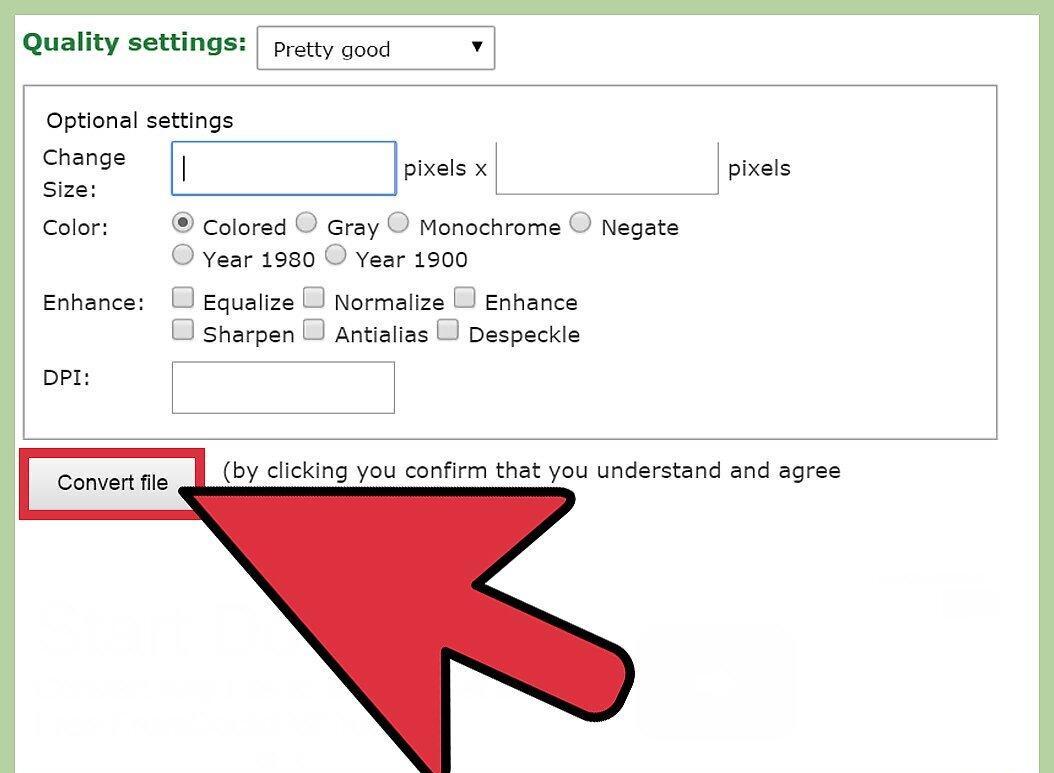
Initiate the conversion process. Look for the button labeled "Convert", "Transform", "Save", and click it to start. This will only take a few minutes. After the conversion is completed, the image will automatically download to your "Downloads" folder, or you will be prompted to choose another location to save it. Once the process finishes, your image will be in JPEG format.
Using Preview on Mac OS X
Step 1. Open the image in Preview.
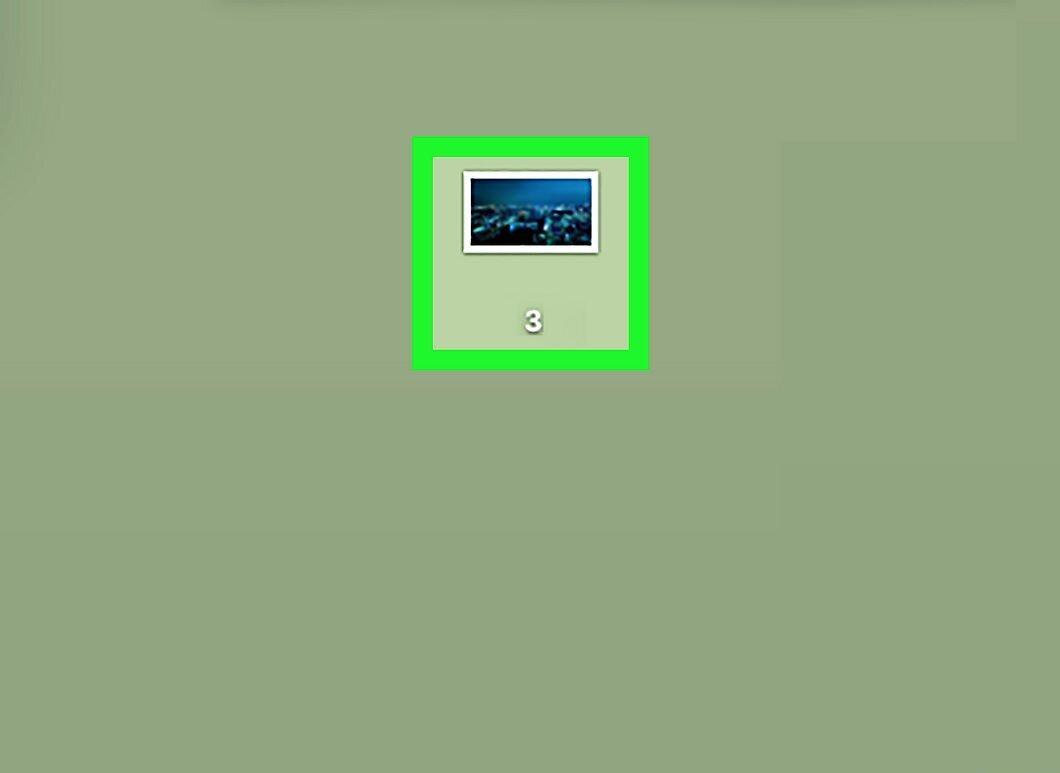
Launch Preview and open the desired image. This program is pre-installed on Macs and supports most graphic formats. Hold down Ctrl and click on the image, then select "Open With" > "Preview".
- If the image doesn’t open or displays incorrectly, try using an online converter (see Section 3) or the graphic editor Gimp (see Section 4).
- This method only works for images stored on your computer. If the picture is on the internet, download it first.
Step 2. Select "File" > "Export".
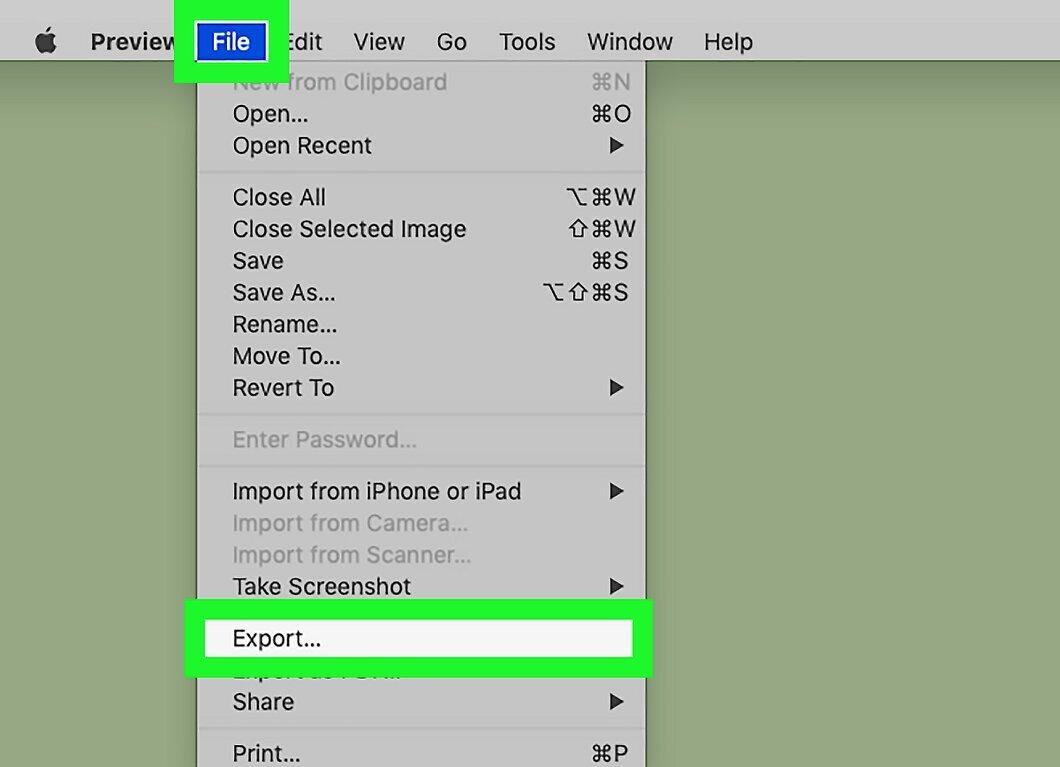
Click on "File" > "Export". A dialog box with several options will appear.
Step 3. Change the format to JPEG.
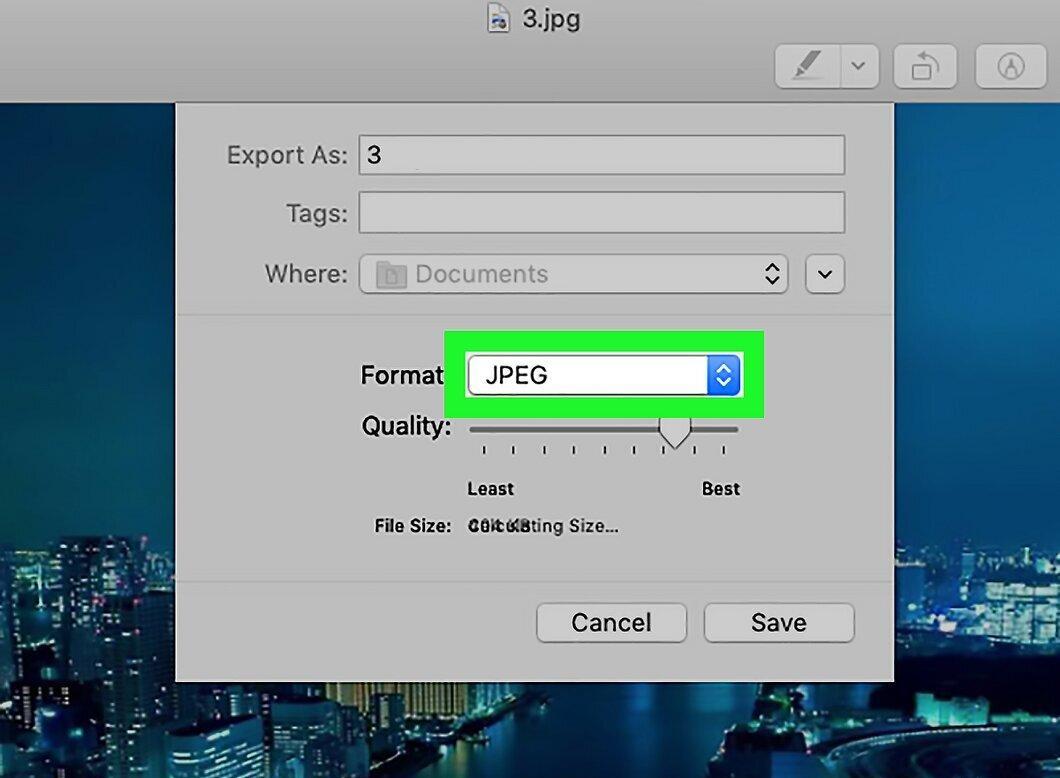
Change the format to JPEG. You can also adjust the quality and resolution if desired. The higher the quality, the larger the file size will be.
Step 4. Rename and save the file.
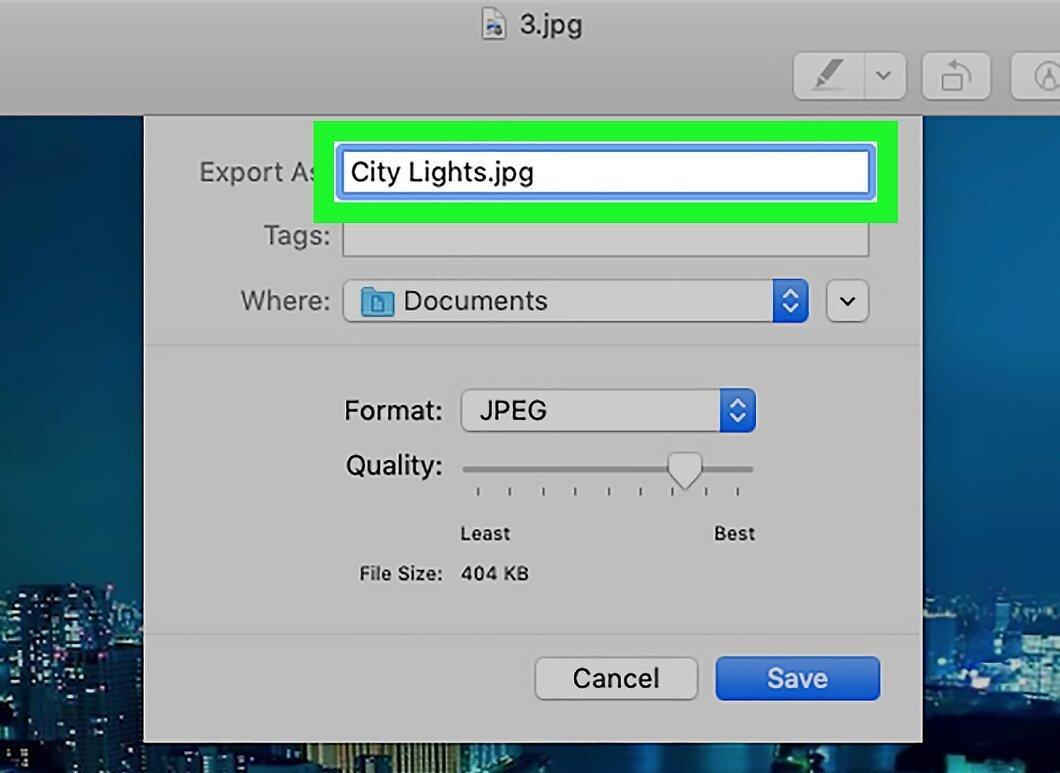
Rename the file if necessary, and choose a location to save it. Make sure the extension is ".jpg" (case does not matter). Click "Save" to complete the process.
Using Gimp on Windows, Mac OS X, and Linux
Step 1. Install Gimp.
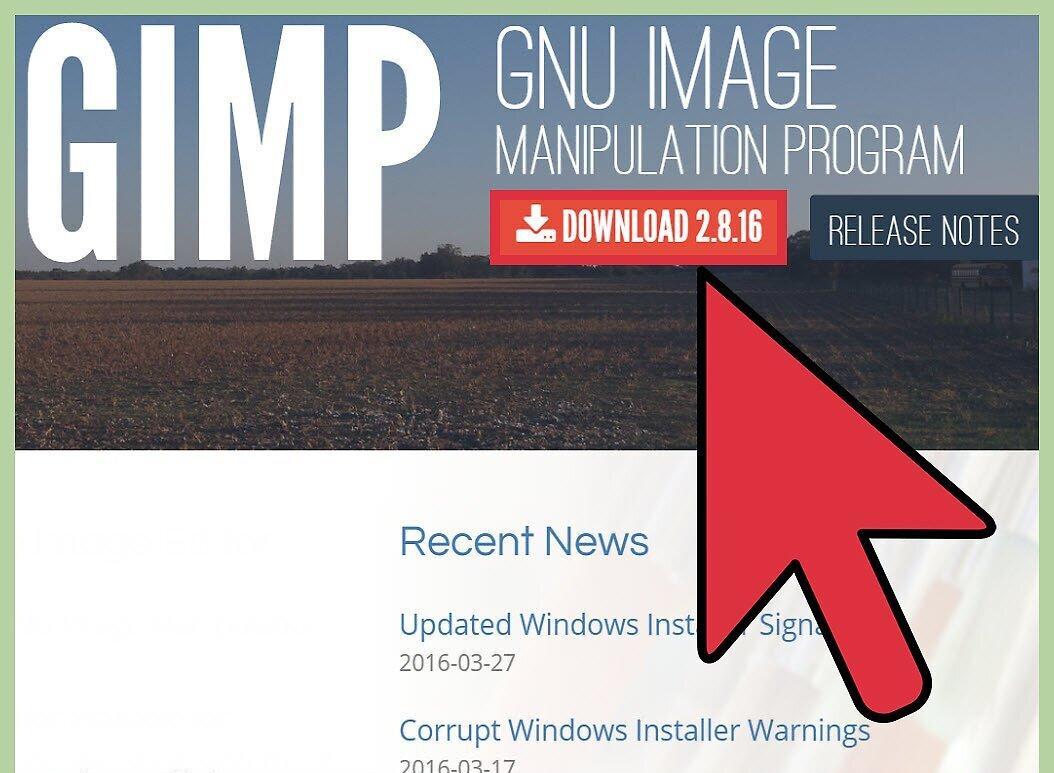
Download and install Gimp if you don’t have it. This free graphic editor will help you convert images to the desired format.
Step 2. Open the image you need to convert.
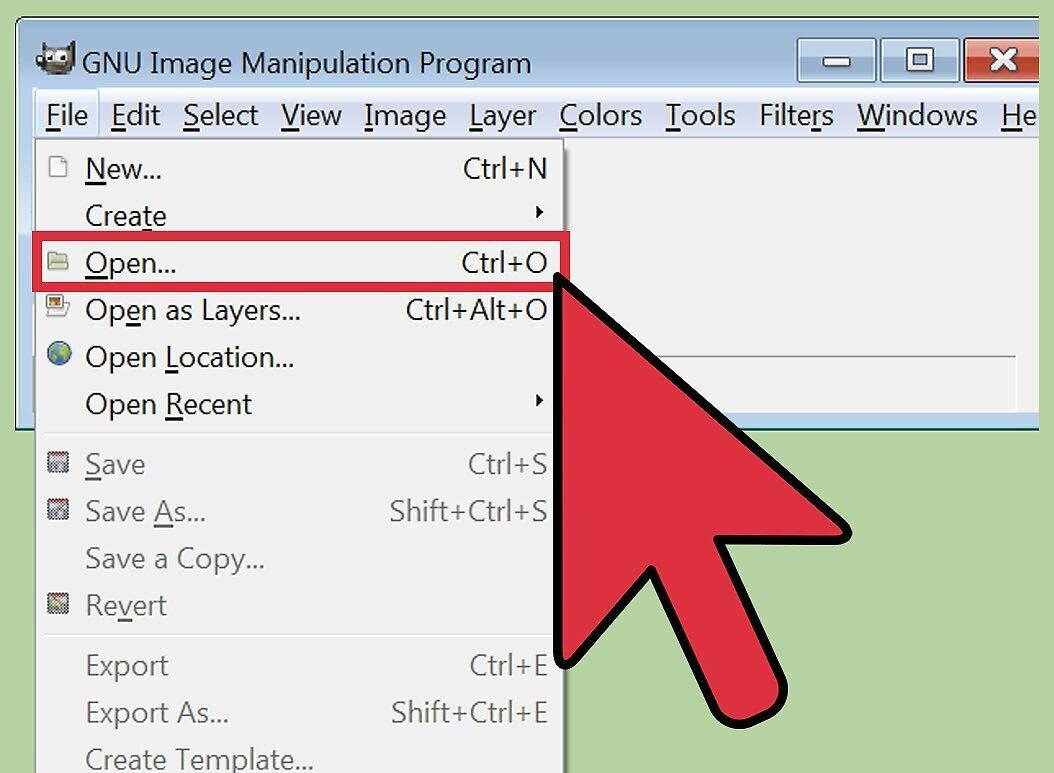
Load the desired image. Click "File" > "Open", select the picture, and click "Open" again.
Step 3. Select "File" > "Export As" for JPEG format.
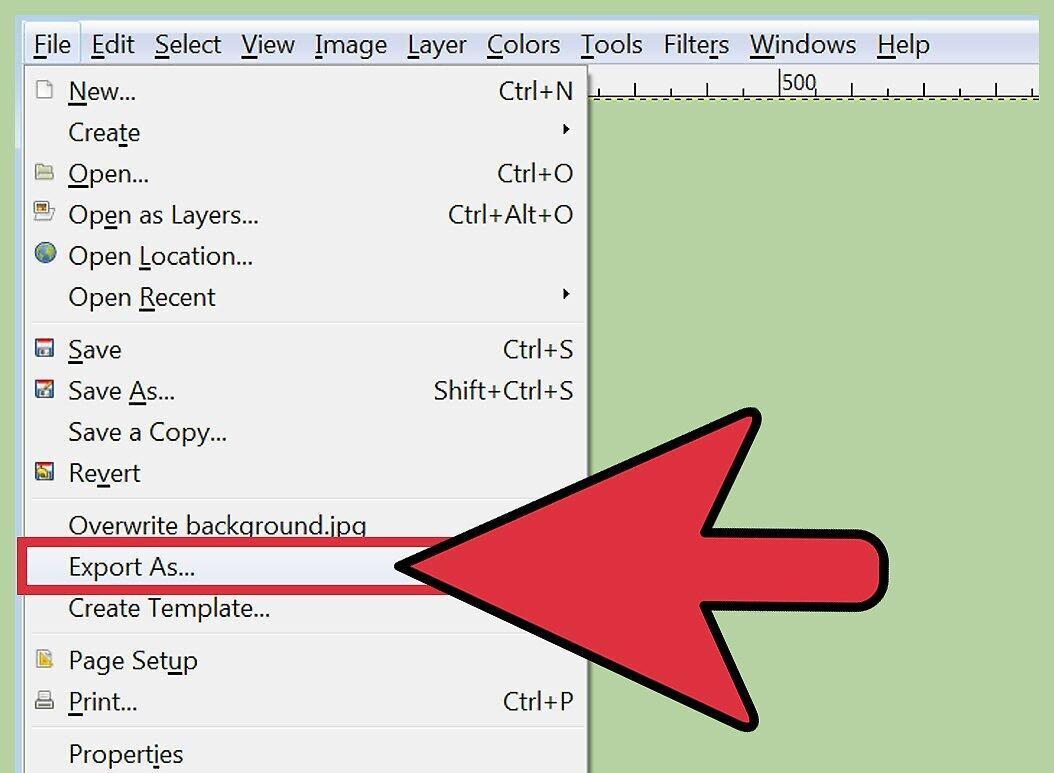
Choose "File" > "Export As" and select the JPEG format. A window will pop up allowing you to choose formats; select "JPEG".
Step 4. Adjust settings.
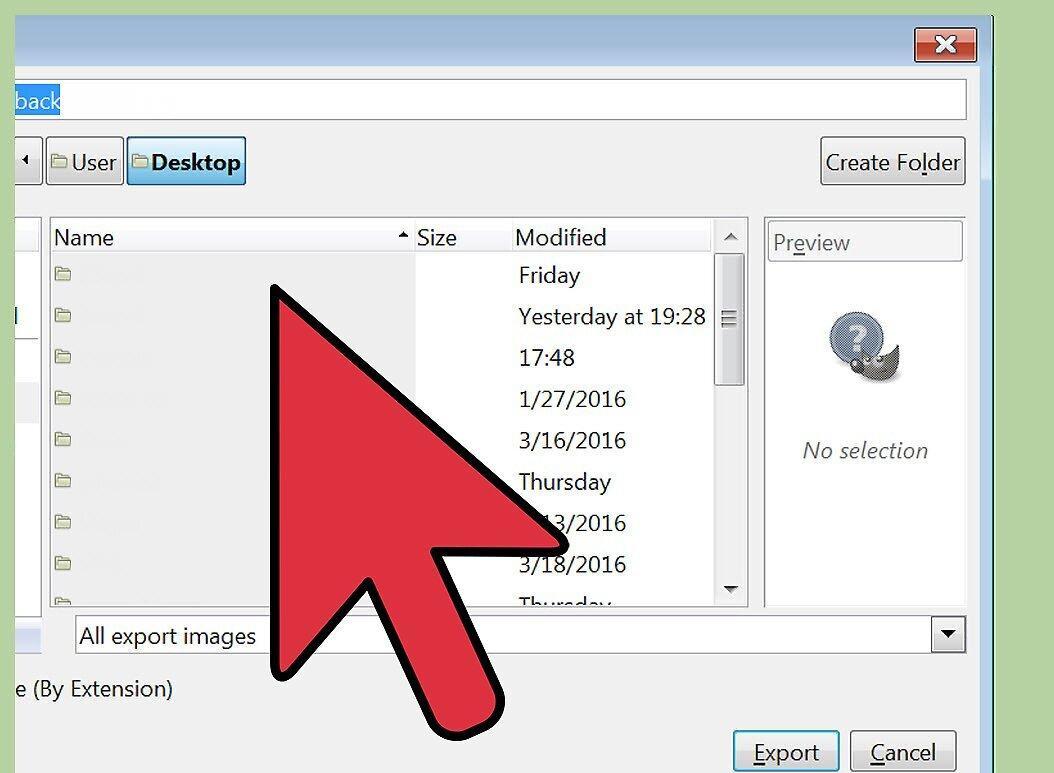
Adjust the JPEG settings. A window with image quality settings will appear. Make sure the "Preview in Image Window" checkbox is checked. Slide the bar to select an acceptable quality.
Step 5. Click "Export".
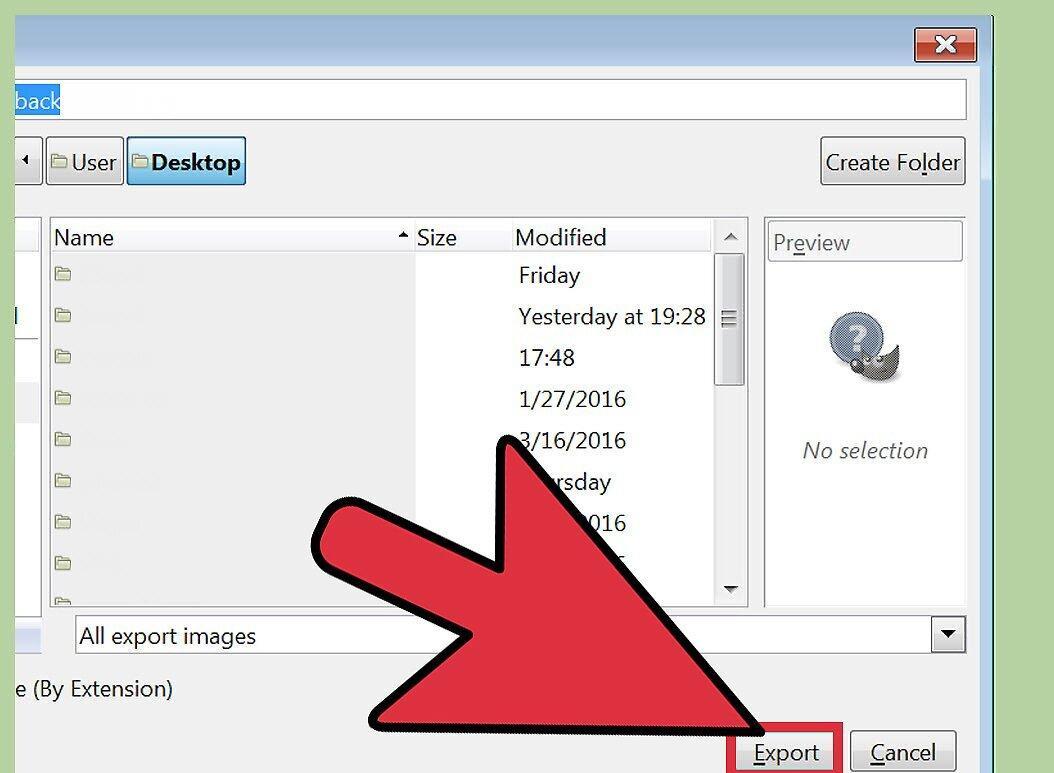
Click "Export". A window will pop up where you can rename the file (if necessary) and choose a folder to save it. Make sure the extension is .jpg (do not change it) and click "Save".
How to Change a File Extension
Step 1. Know when this is possible.

Understand when you can use this method. If you have a JPEG file with the wrong extension (e.g., .jgp instead of .jpg), you can try changing its extension.
- If you change the extension of a file that is not JPEG, it will become inaccessible. In this case, use other methods from this article.
- The case of the letters in the extension does not matter, meaning .JPG and .jpg are the same.
- Before changing the extension, write down the original extension so you can restore it later.
Step 2. Find the file.
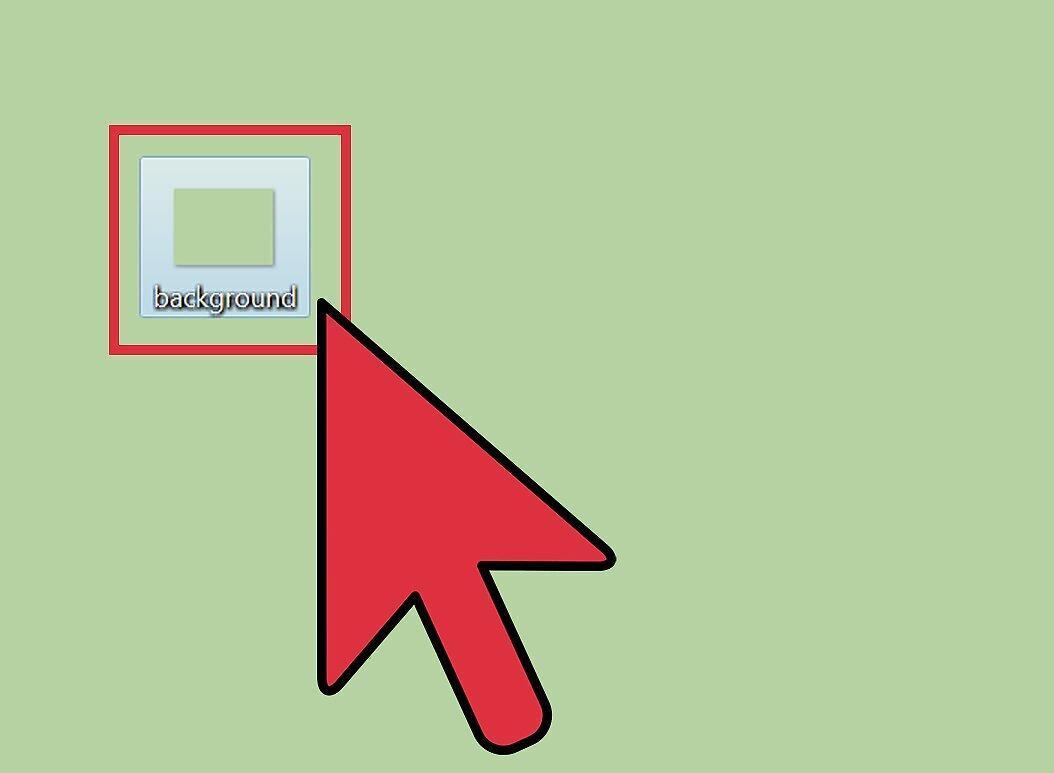
Open the folder with the desired image in File Explorer or Finder.
Step 3. Show file extensions.
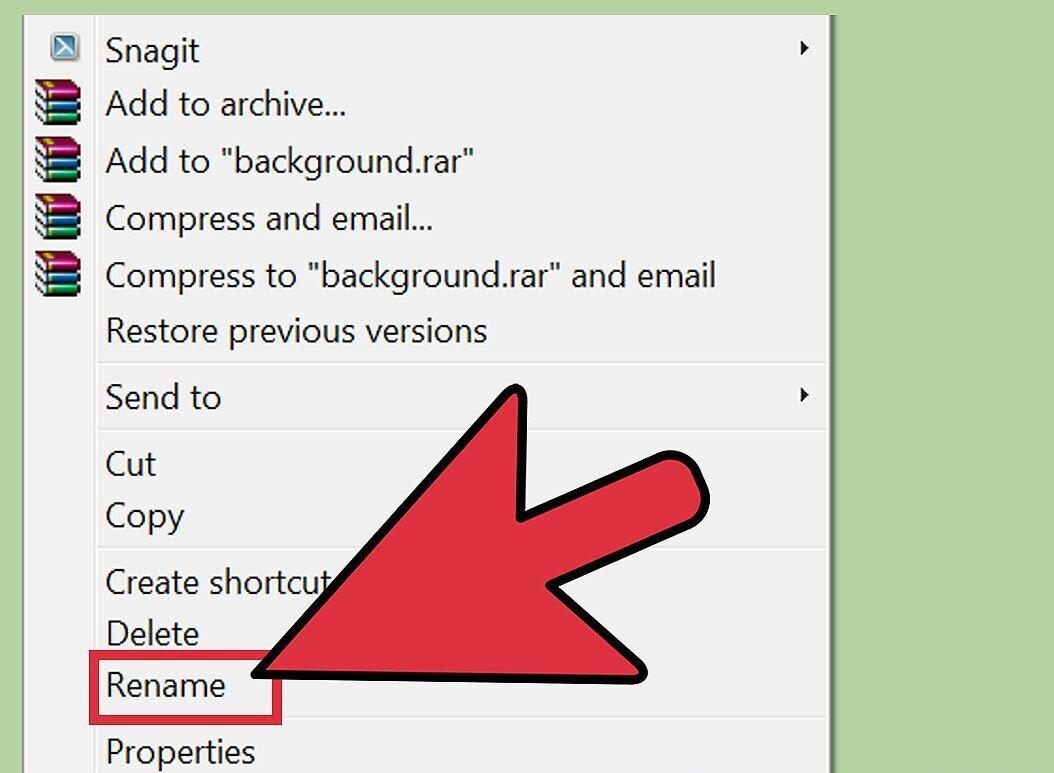
Enable the display of file extensions. In Windows, you can skip this step. In Mac OS X, click on the image, select "File" > "Get Info". Uncheck "Hide Extension" and click "Save".
Step 4. Remove the current file extension.
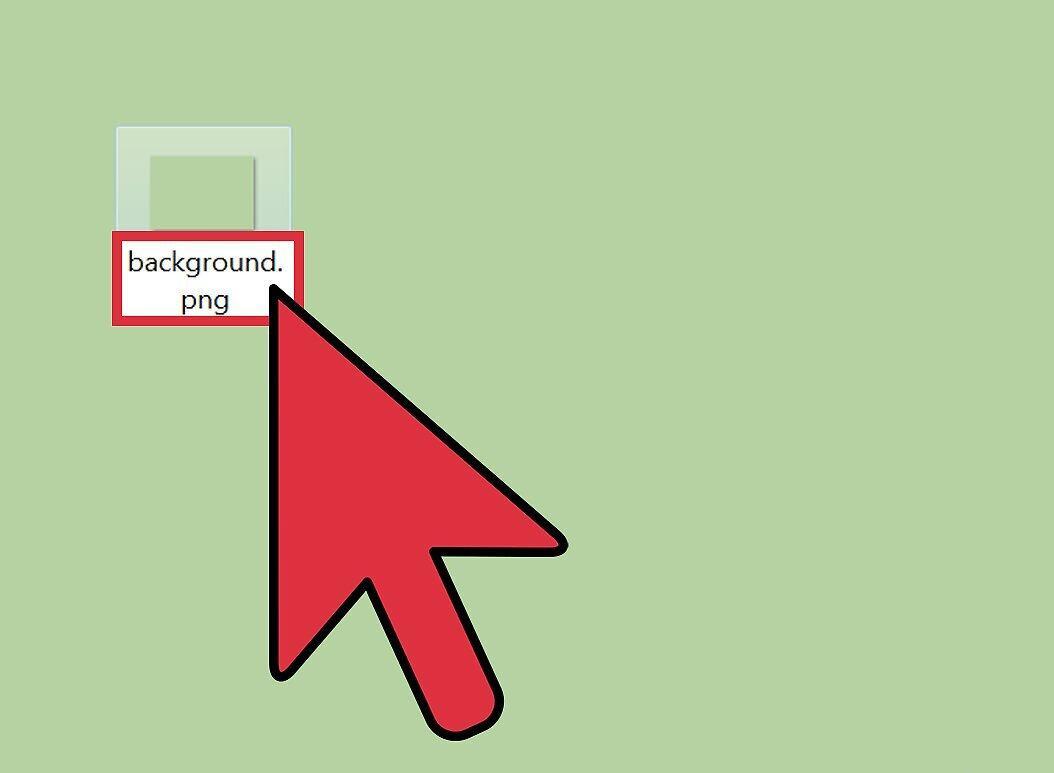
Remove the current extension. In the file name, delete everything after the dot (.).
- In Mac OS X, click on the image and press ⏎ Return. Add a space after the extension and press Delete until everything after the dot is removed.
- In Windows, right-click on the image and select "Rename". Add a space after the extension and press ← Backspace until everything after the dot is removed.
Step 5. Enter JPG after the dot (case does not matter).
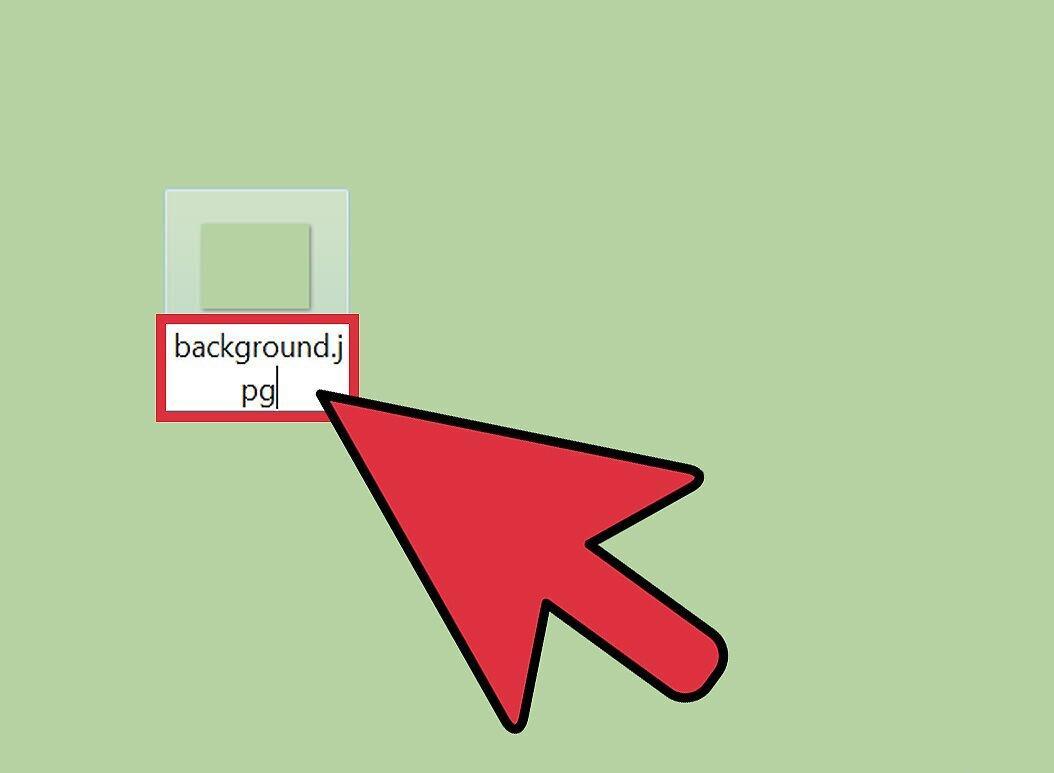
Type JPG after the dot in the file name. For example, it should look like image.jpg. Press ↵ Enter or ⏎ Return.
Step 6. Confirm the changes.
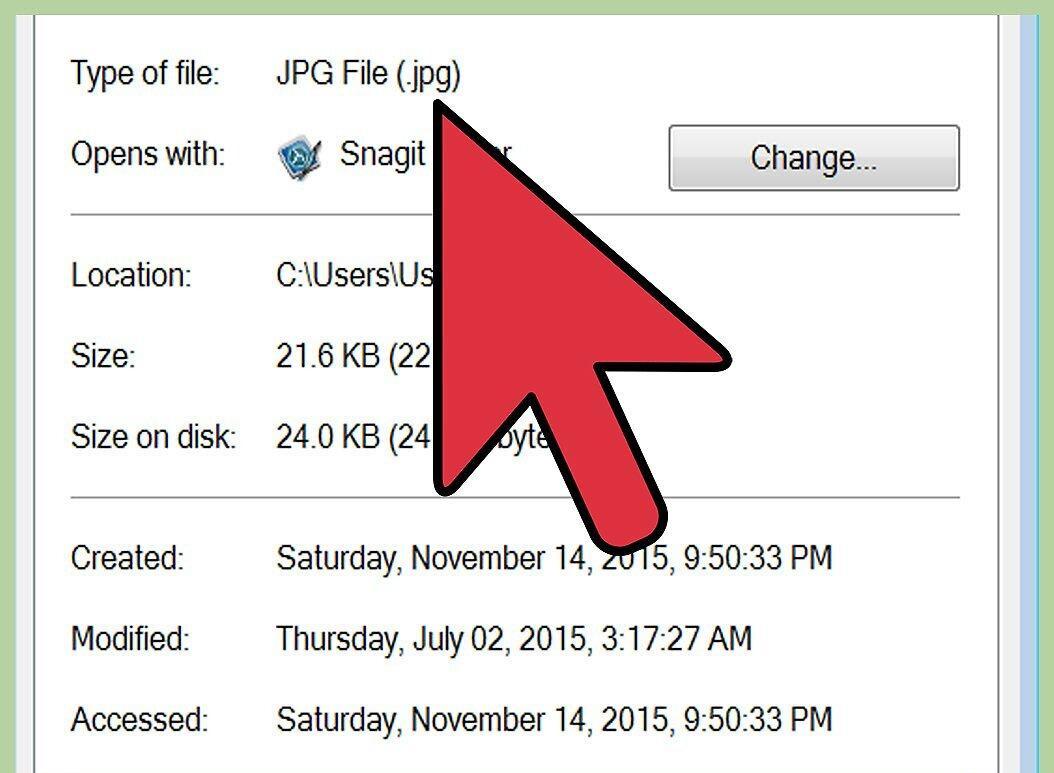
Confirm your actions. You may receive a warning that changing the extension could make the file inaccessible. Click "Use .jpg" or "Yes" if you want to proceed. The file extension will change to .jpg.


