
Smart Ways to Hang Art on a Drywall
Drywall can be quite fragile and may crack when you attempt to drive nails into it. In this case, using adhesive hooks is a great solution; however, pre-drilling holes can help prevent damage. The method of hanging will depend on the weight of the artwork.
For Lightweight Art
Step 1: Determine the Weight of the Artwork.
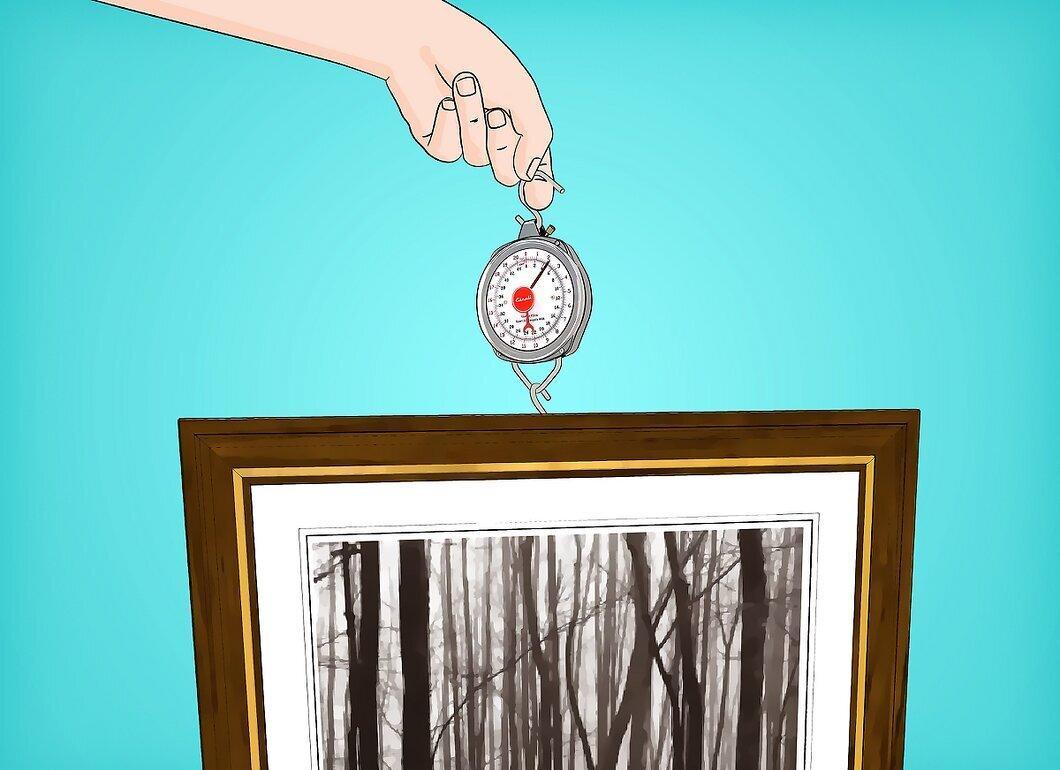
First, find out the weight of the artwork. This method is suitable for pieces weighing up to 5 lbs.
- Consider the humidity level in the room when choosing your mounting method. High humidity or dampness can render this method ineffective, as moisture weakens the adhesive layer.
Step 2: Prepare the Wall.
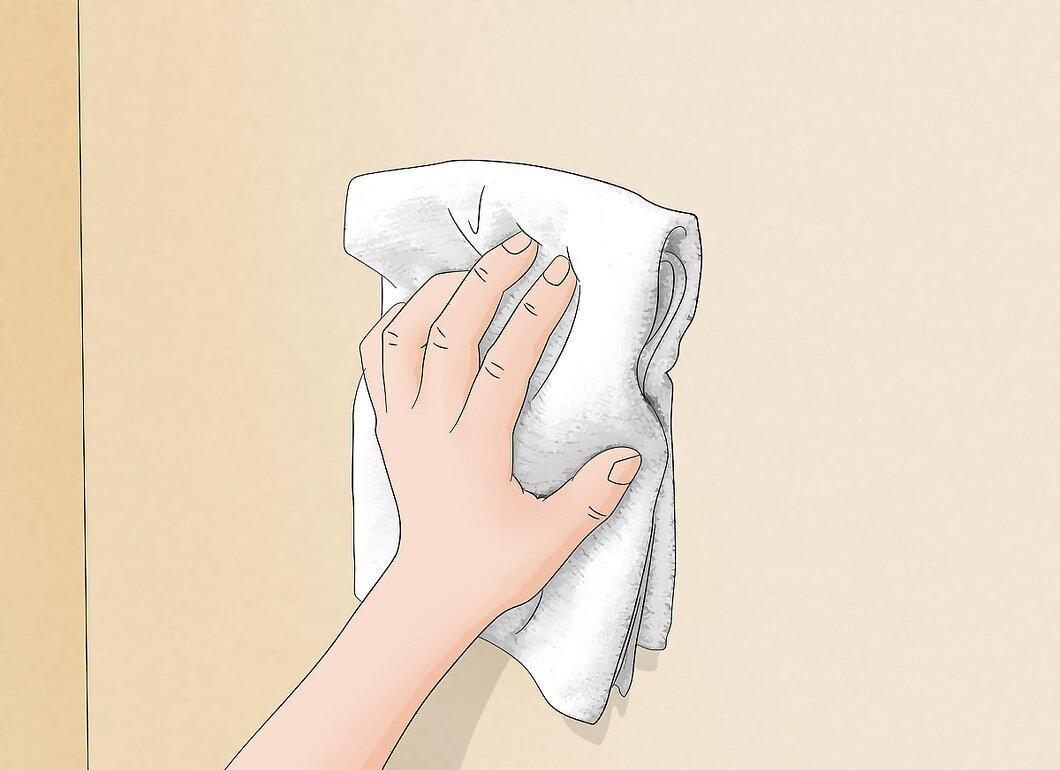
Clean and dry the wall surface. Before applying the adhesive hook, remove any dirt, grease, and dust, and ensure the wall is thoroughly dry.
- The hook won’t stick to dirty, rough, or damp surfaces.
- It’s vital for the wall to be dry for secure adhesion; this also helps prevent mold and other issues. Therefore, drying the wall is a crucial step.
- One of the easiest cleaning methods is to use warm soapy water. Dampen a soft cloth in warm water, add a bit of soap, and whip up some foam.
- Gently wipe the wall with the soapy cloth in circular motions.
- Rinse the cloth in warm water to remove soap residue.
- Use a dry cloth to wipe off excess moisture, thoroughly drying the wall.
Step 3: Choose the Hook.
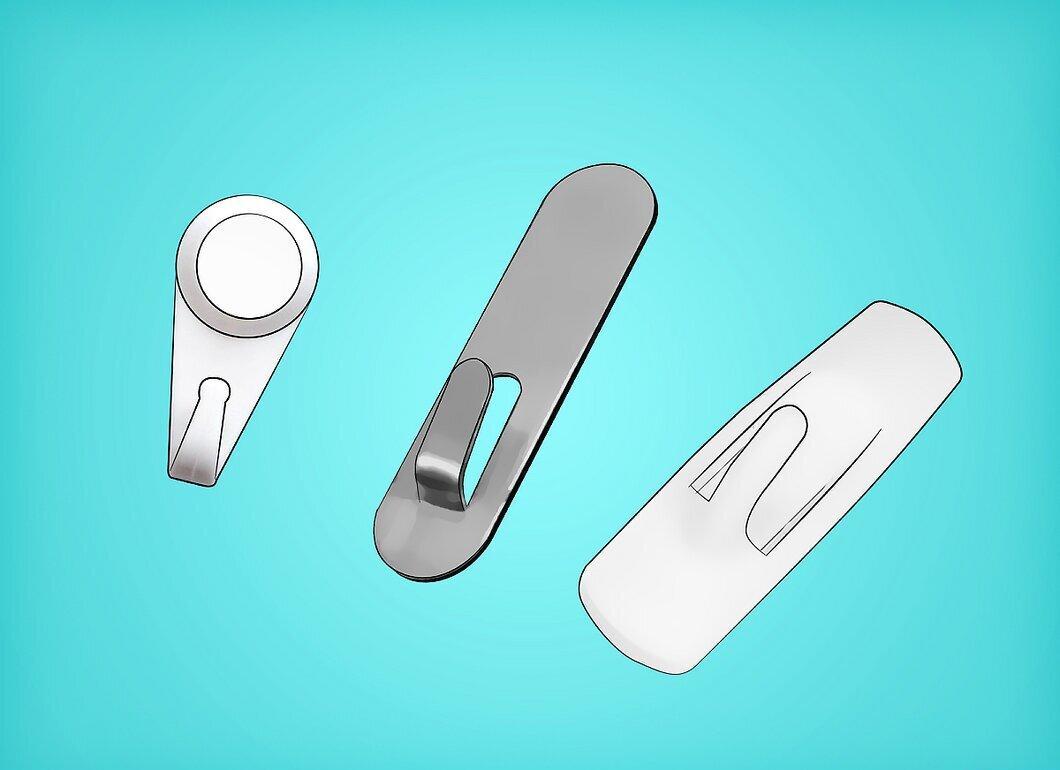
Select an appropriate adhesive hook. A simple option will suffice for lightweight art, but there are various shapes and sizes available on the market. Be sure to check the packaging for weight capacity.
- Ensure the method of hanging the artwork (string or loop) is compatible with the chosen hook.
- Very lightweight pieces can be attached with double-sided tape. For slightly heavier pieces, adhesive pads can be used instead of hooks. However, using a hook is generally the safest choice.
Step 4: Attach the Hook to the Wall.
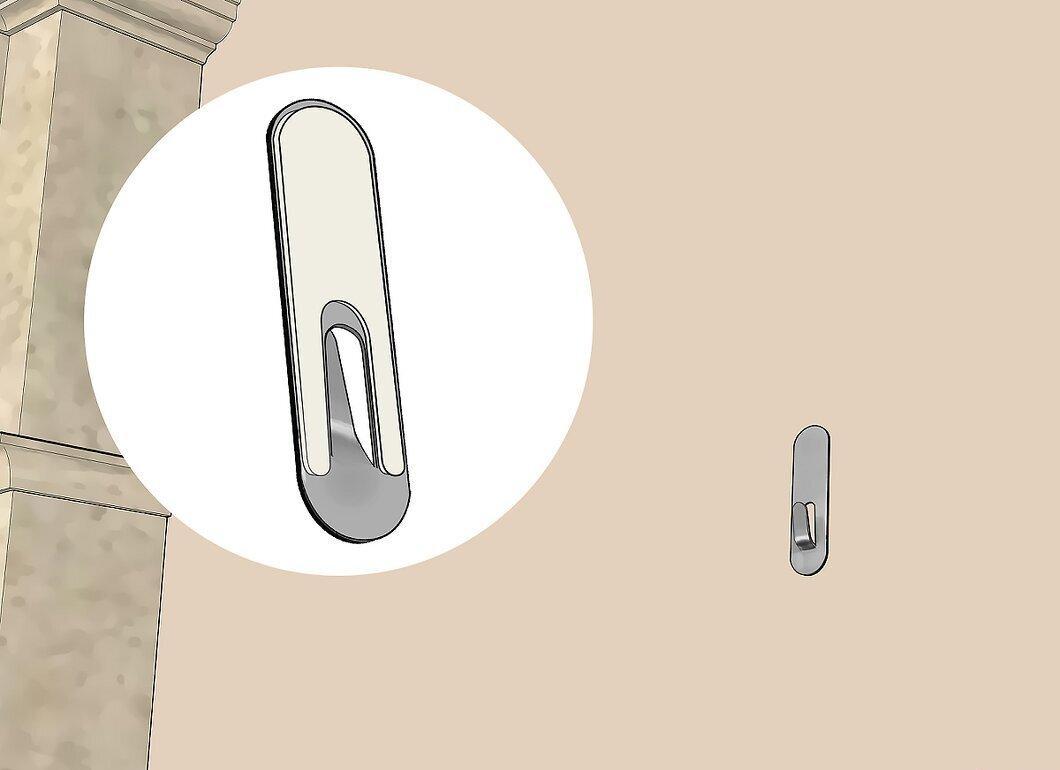
Stick the hook onto the wall. One side of the adhesive strip is marked for the wall, and the other for the hook. First, attach the strip to the wall, then press the hook onto it.
- Ensure the hook is placed correctly for the string or loop of the artwork.
- If the hook is too thick, use two extended hooks to support the artwork from underneath. Place them horizontally at the same level, with the distance between them slightly less than the width of the artwork.
Step 5: Hang the Artwork.
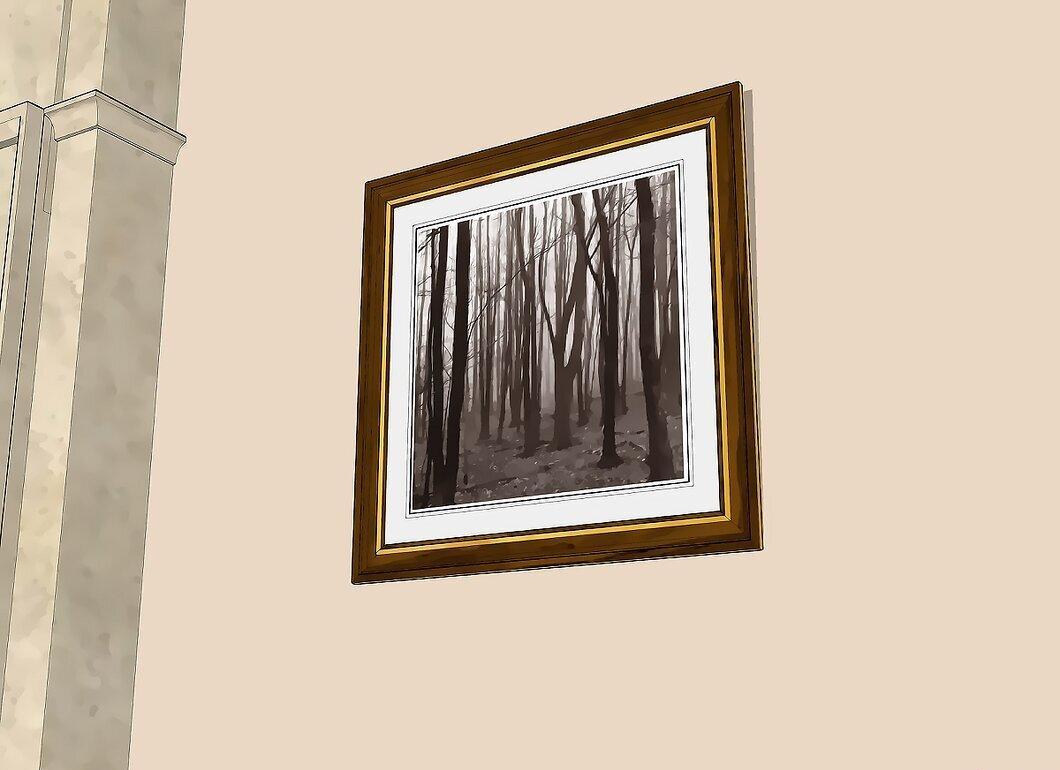
Now you can hang the artwork. Simply place it on the hook using the string or loop.
- When using two hooks, set the artwork on them as if on a shelf.
- The process is complete at this stage.
For Heavy Art
Step 1: Choose the Location for the Artwork.
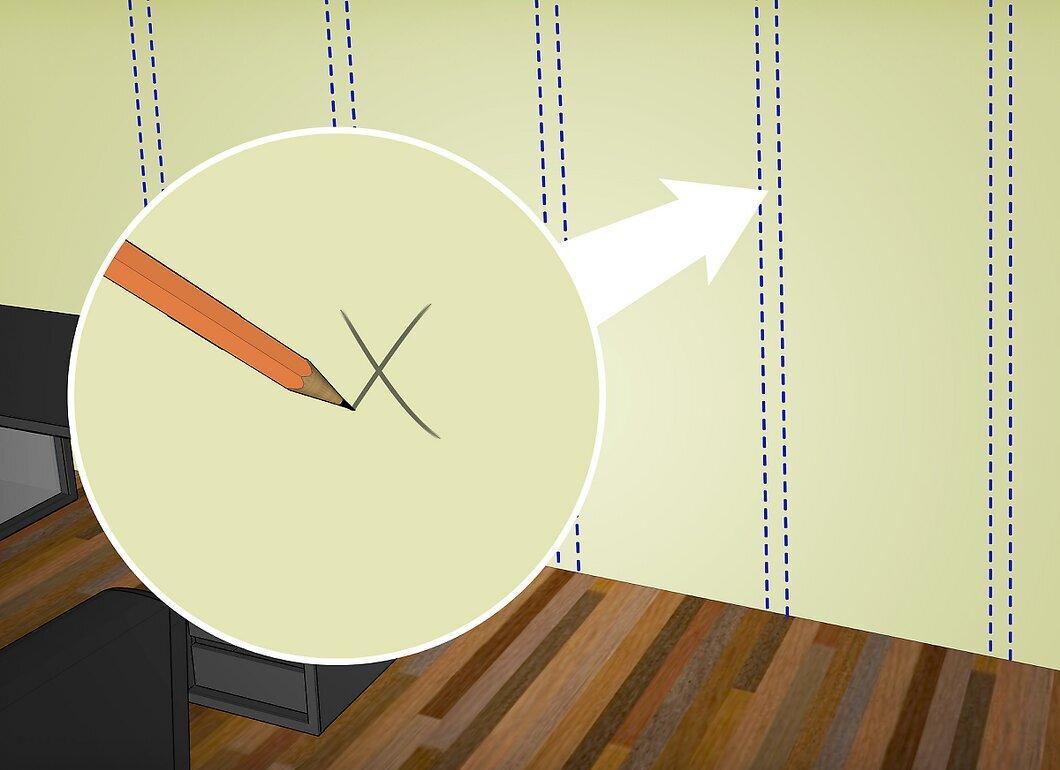
Identify where the heavy artwork will hang. Try to locate a wall stud for a secure mount. For lightweight pieces, you can choose almost any spot.
- Use a tape measure to mark the spot for screwing in the screw. Measure the length of the mounting and transfer this distance to the wall.
- Make a small cross with a pencil where the screw will go.
Step 2: Apply Painter's Tape.
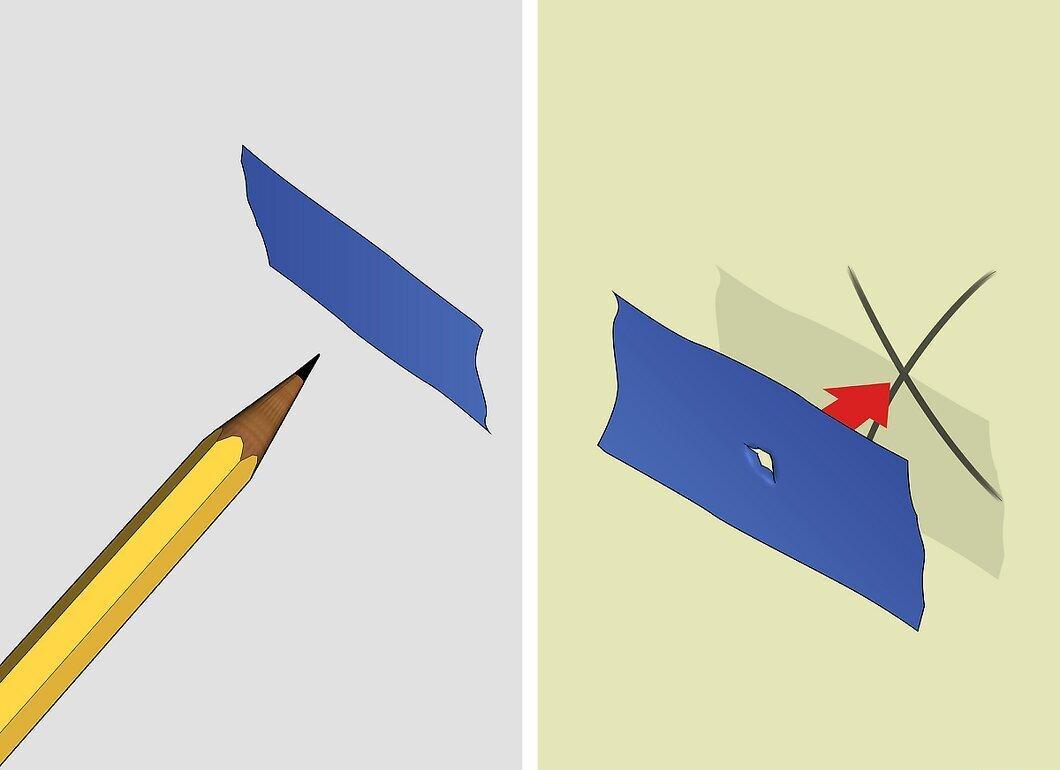
Stick painter's tape over the mark. Tear off a short strip of tape and make a small hole in it with a pencil. Place the tape so that the hole aligns with the mark.
- Painter's tape will help keep the drill bit in place while you work.
Step 3: Prepare a Second Piece of Tape.
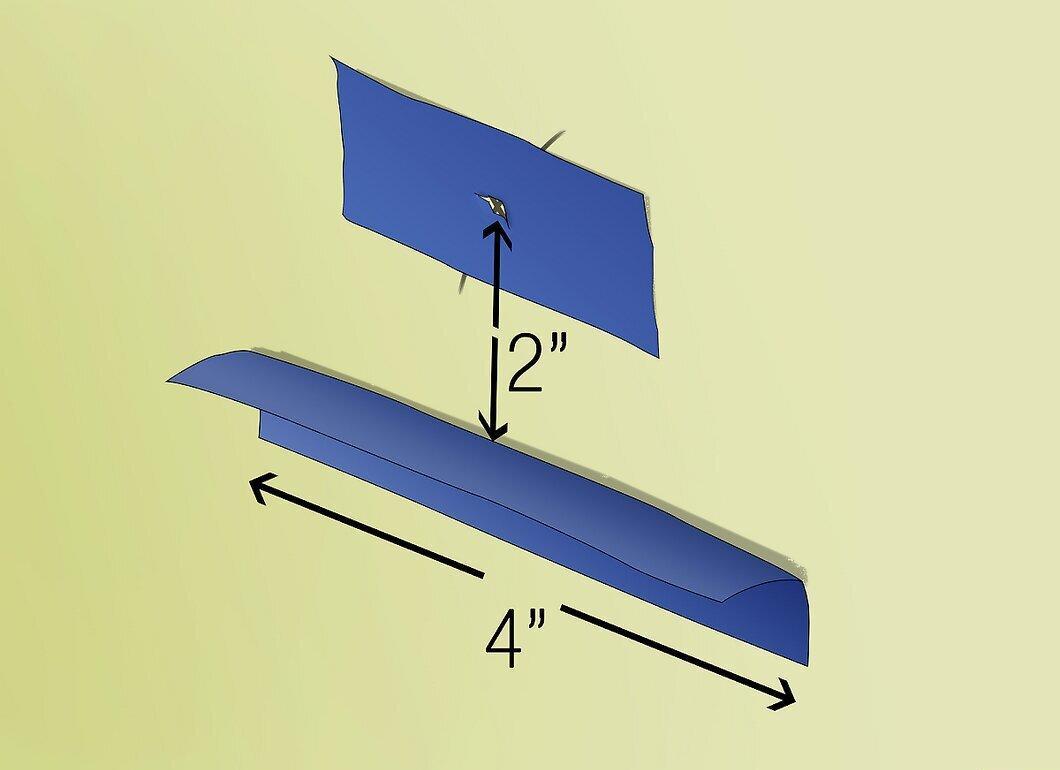
Tear off a longer piece of tape and fold it in half (sticky side out). Stick it to the wall below the mark.
- The second half of the tape should be perpendicular to the wall, with the sticky side up. This will help minimize drywall dust and debris while drilling. While not necessary, it can significantly ease cleanup afterward.
- The width of the tape should be about 4 inches, and its end should be approximately 2 inches below where the hole will be.
Step 4: Carefully Drill the Hole.
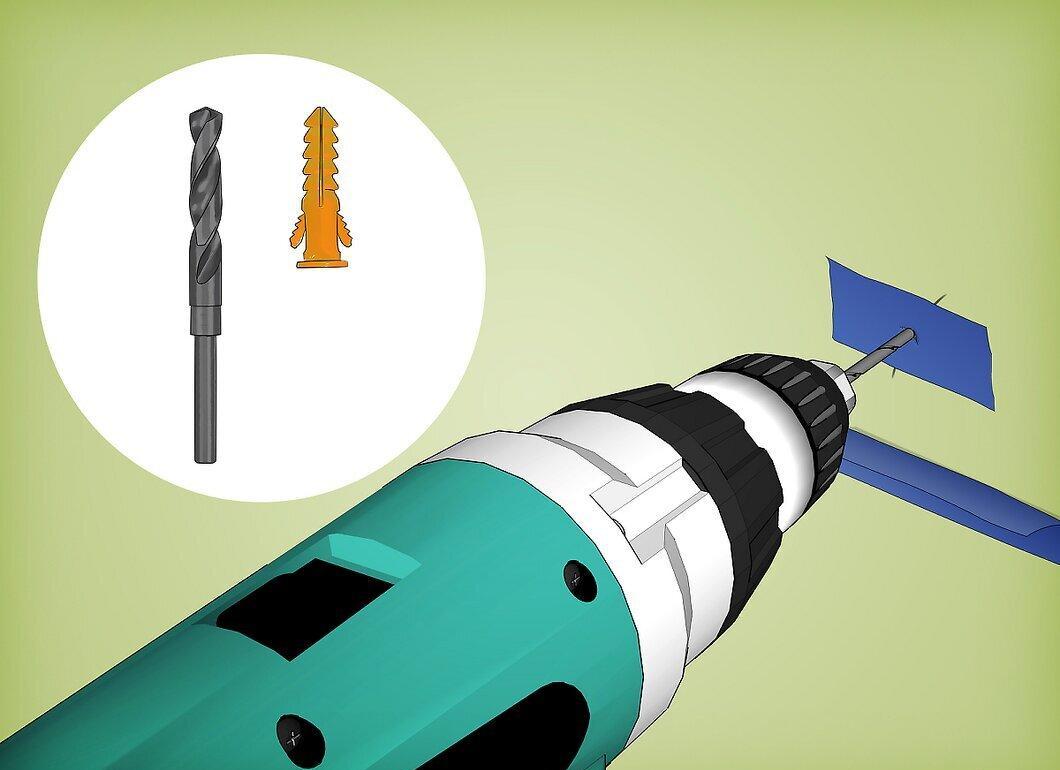
Drill the hole carefully. The diameter of the drill bit can be found on the packaging of the screws or anchors. Using the correct size drill bit, carefully drill the hole at the marked spot.
- A 5 mm drill bit is suitable for small plastic anchors.
- Use a drill bit slightly smaller than the anchor or screw, but always check the instructions on the package for the correct size.
- If the drill starts to move slower, you may have hit another layer of the wall. If this happens, stop drilling to avoid damaging the wall.
- Keep the drill straight and level; the entrance of the hole should not be larger than the drill bit's diameter.
Step 5: Insert the Anchor or Plug.
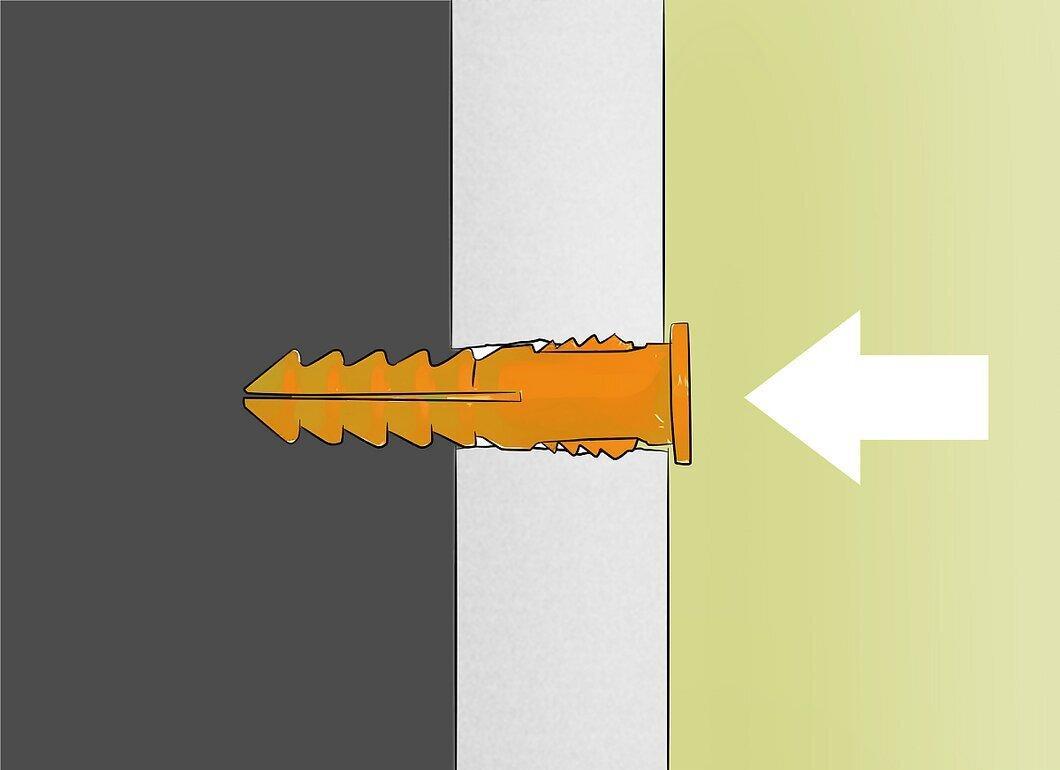
Place the plug into the hole. Use minimal force to insert it to avoid damaging the anchor and wall.
- Don’t forget to remove the tape before inserting the anchor.
- If the hole is not large enough, the plug may bend. If this happens, pull it out and enlarge the hole. The anchor should be installed tightly and evenly.
- The edge of the plug should be flush with the wall.
- Plugs and anchors expand when the screw is driven in, providing a secure hold and reducing stress on the drywall.
- Standard plastic anchors or plugs will work fine. There are also wooden and metal options available.
Step 6: Screw in the Screw.
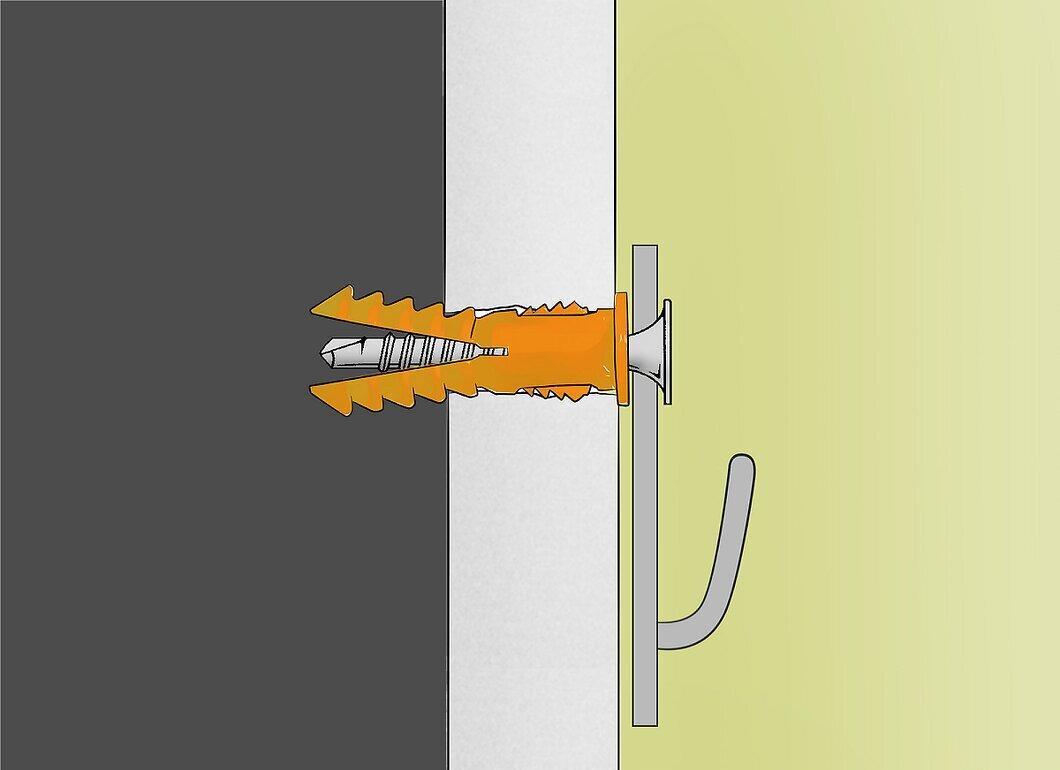
Insert the screw into the plug and tighten it with a screwdriver. Do not screw it in all the way; leave the head slightly protruding.
- You can use a drill or screwdriver if you want. Work at low speeds to avoid driving the screw too deep.
- The screw should stick out from the wall by about half an inch.
Step 7: Clean Up the Debris.
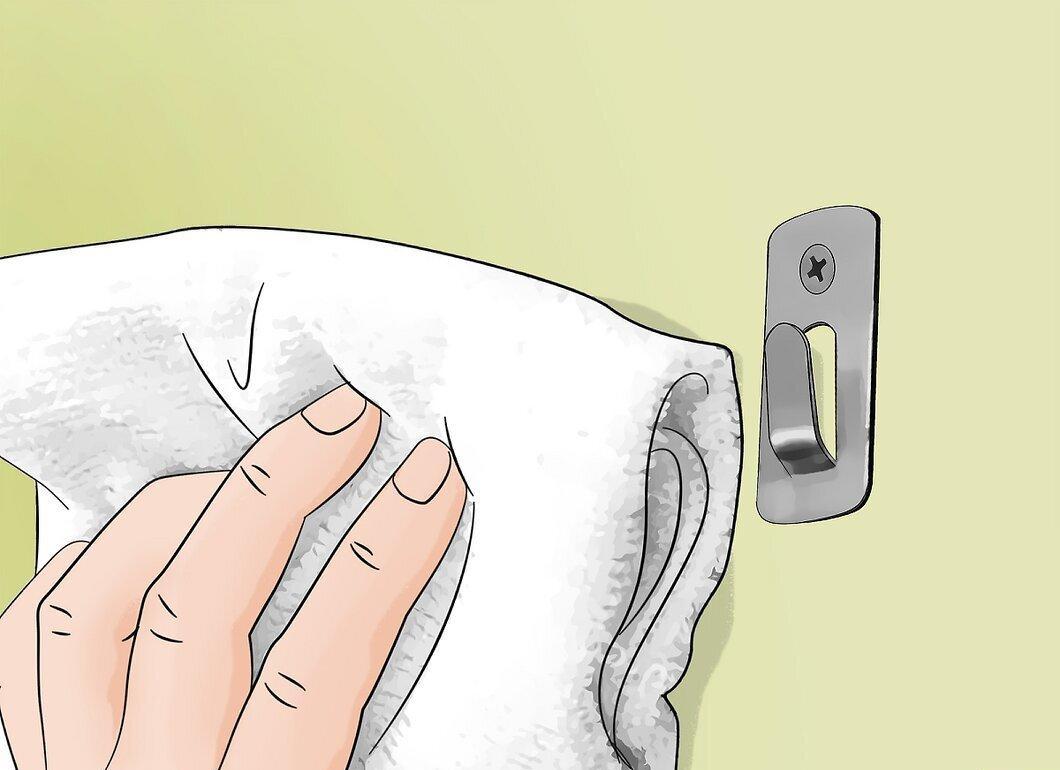
Clear your workspace. Carefully remove the tape, then sweep up any dust and debris from the floor and wall.
- Most of the drywall dust and debris should be on the tape. Fold the strip inward, sealing the debris inside.
- Wipe the walls with a dry cloth and sweep or vacuum the floor.
Step 8: Hang the Artwork.
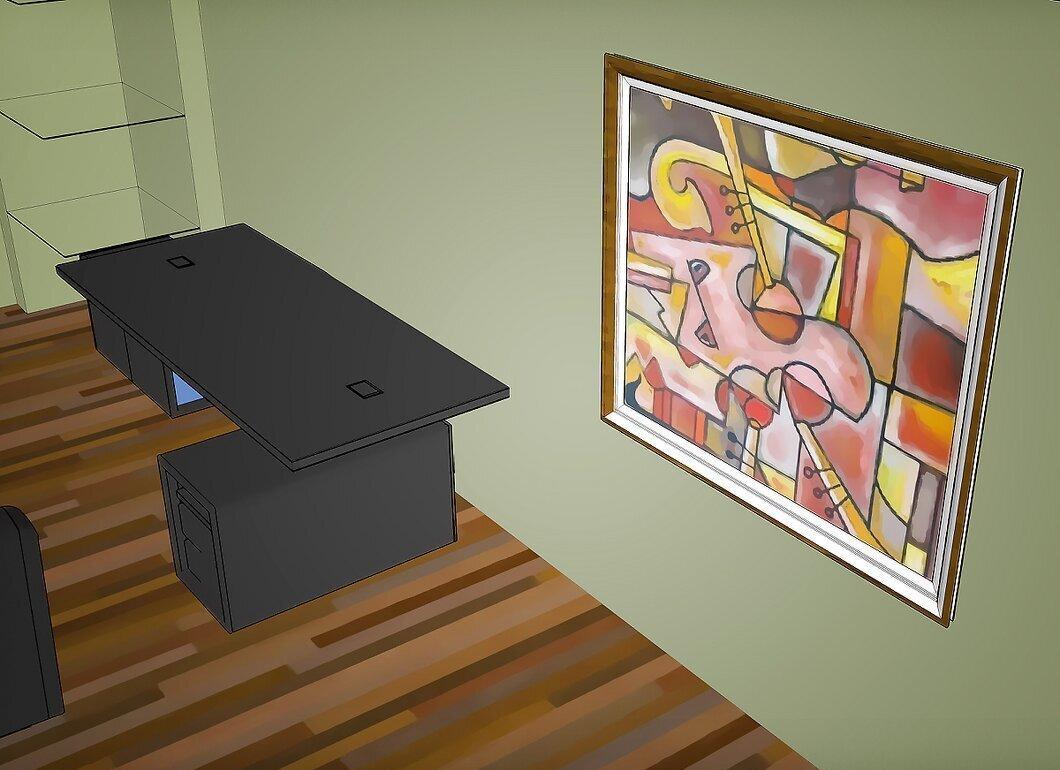
Now you can hang the artwork. The screw should be strong enough to support its weight. Secure the string or loop of the artwork onto the protruding screw.
- That's all!


