
You can easily turn nearly any large flat surface made of wood or other materials into a table by adding legs. Use either the surface-mount method or T-nuts for attachment.
Attaching Legs with Surface Plates
Step 1. Buy Table Legs.
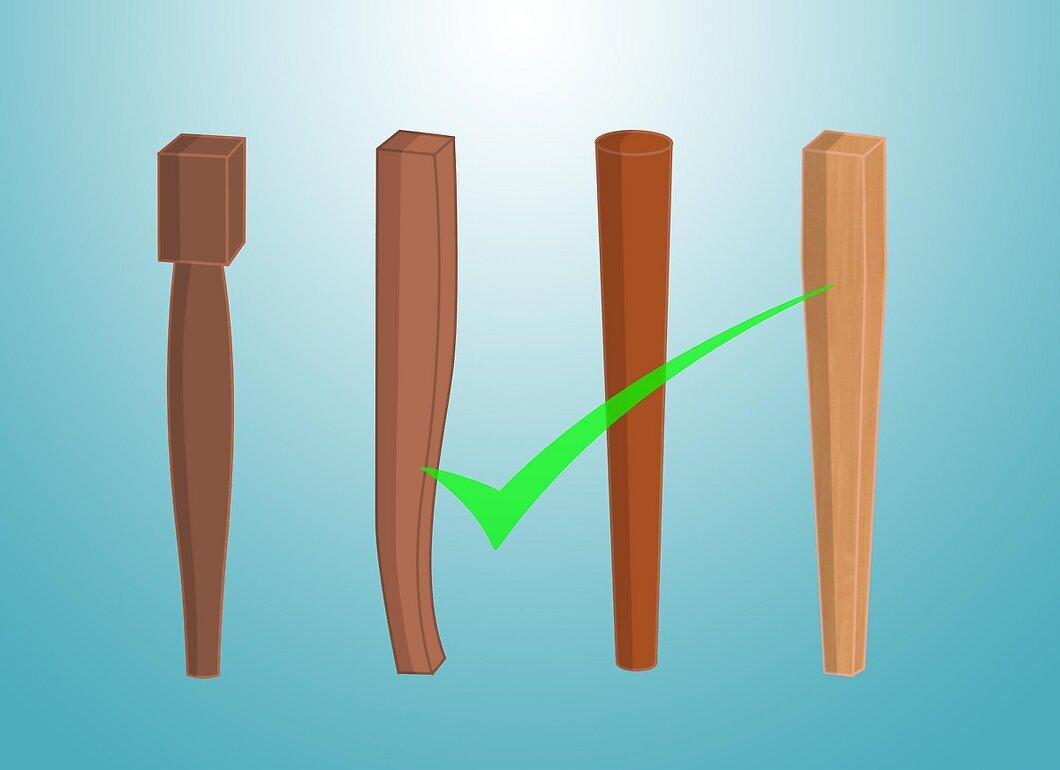
Visit your local home goods store and choose suitable table legs. This method works perfectly for attaching legs to pre-existing furniture.
Step 2. Choose Legs with Pre-Installed Bolts.
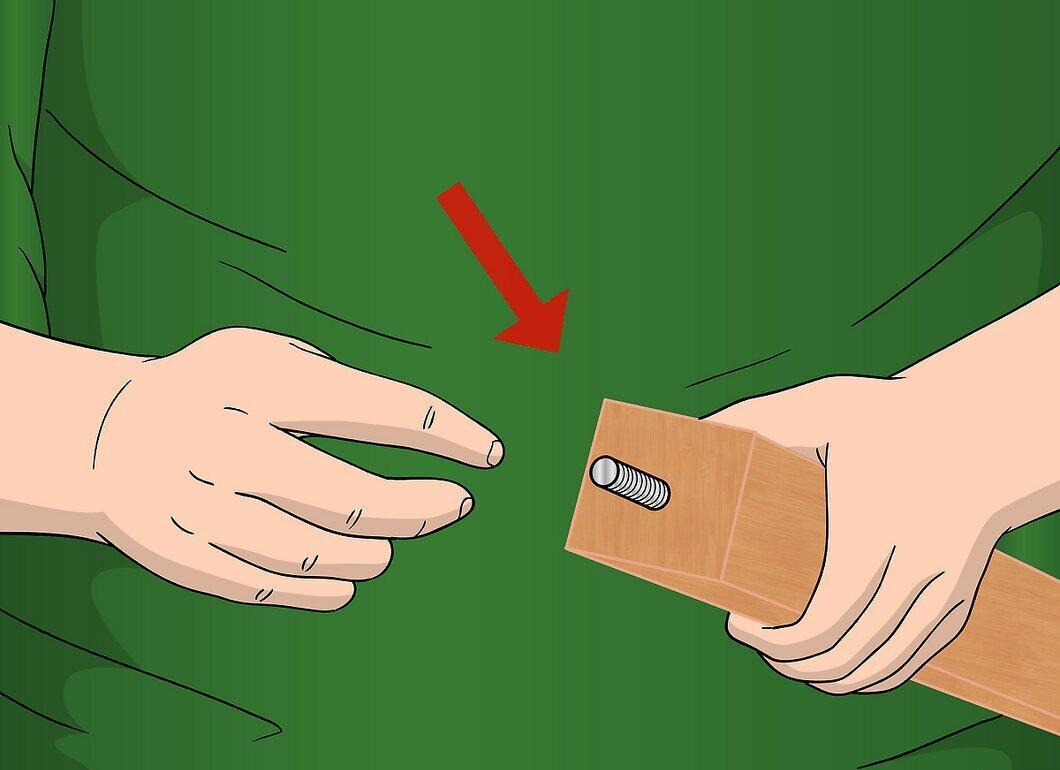
If possible, opt for legs that come with pre-installed bolts. This will simplify the process significantly. Otherwise, purchase bolts with brackets and eyelets for larger tables, as well as threaded inserts for smaller tables.
Step 3. Purchase Leg Attachment Plates.
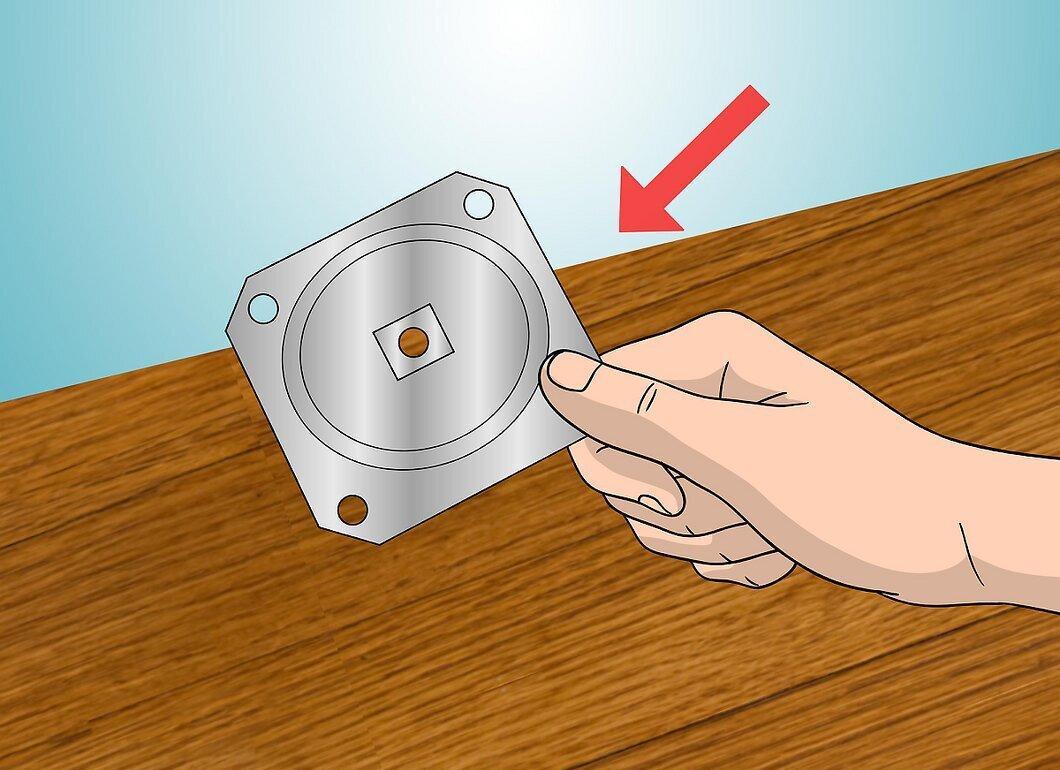
Compare the brackets and eyelet bolts with the leg plates to ensure size compatibility. Start by buying straight legs, but you may also consider angled ones.
Step 4. Install the Bracket Bolts into the Legs.
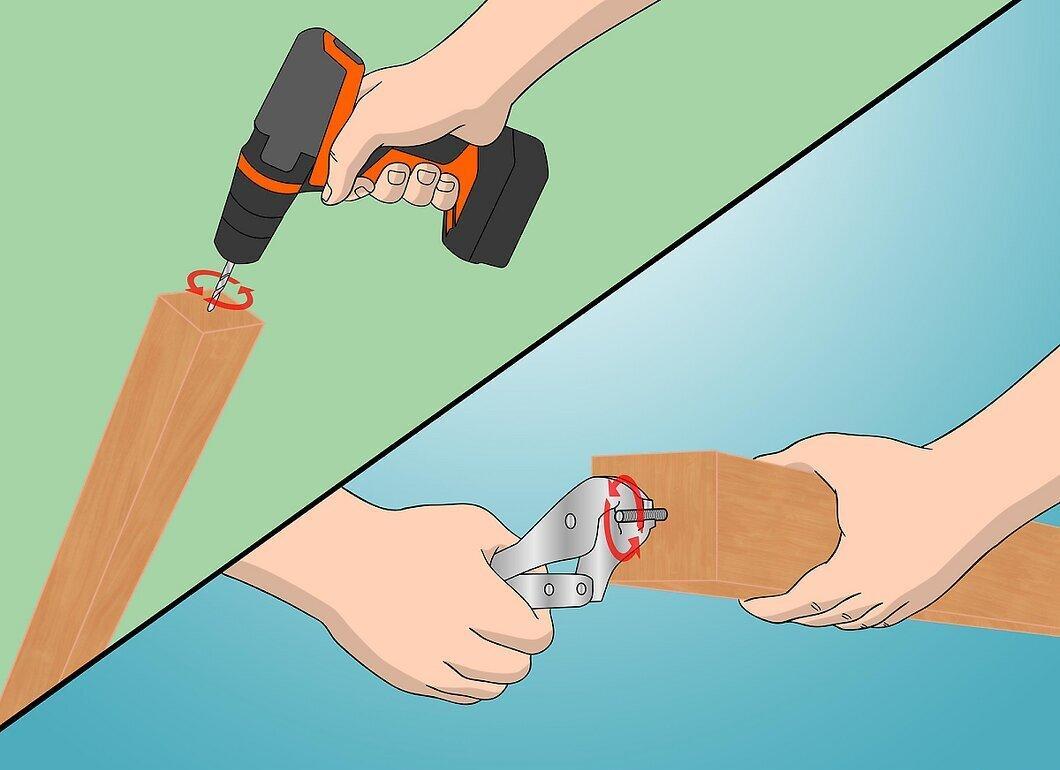
Secure the bolts inside the legs. First, mark the center of each leg with a pencil or marker, then drill a hole and carefully screw in the bracket bolt and eyelet at the top of each leg.
- Start tightening by hand, then use pliers for the final tightening.
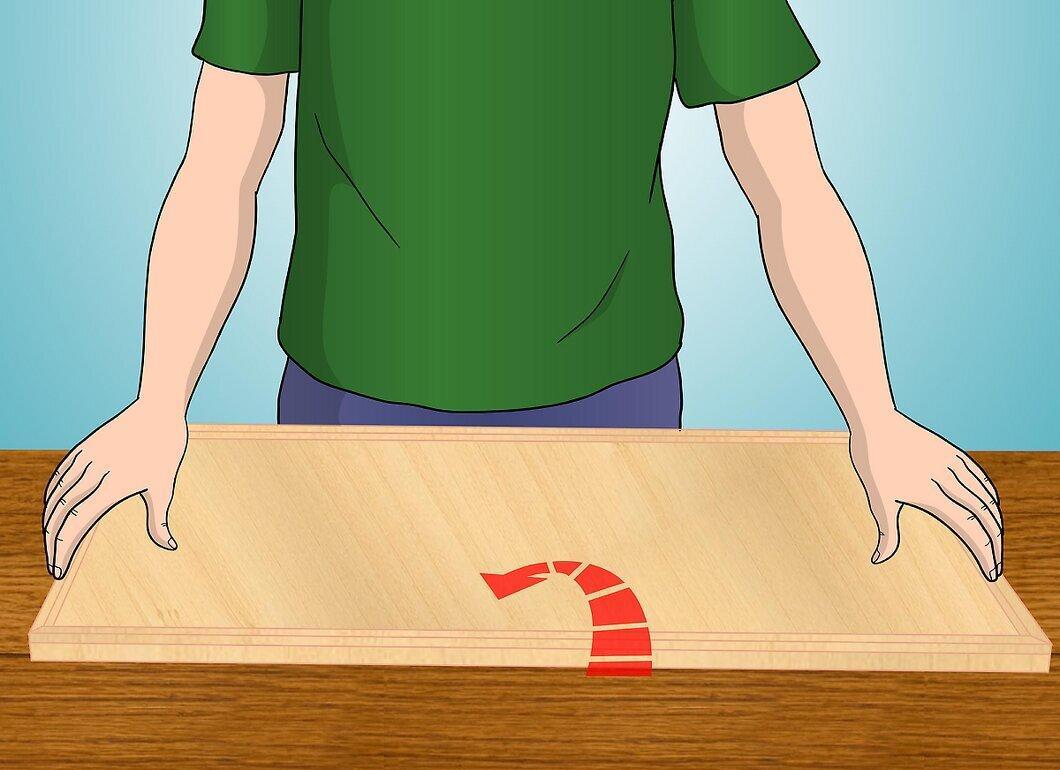
Step 5. Flip the Tabletop.
Step 6. Align the Top Side of the Table with the Opposite Side.
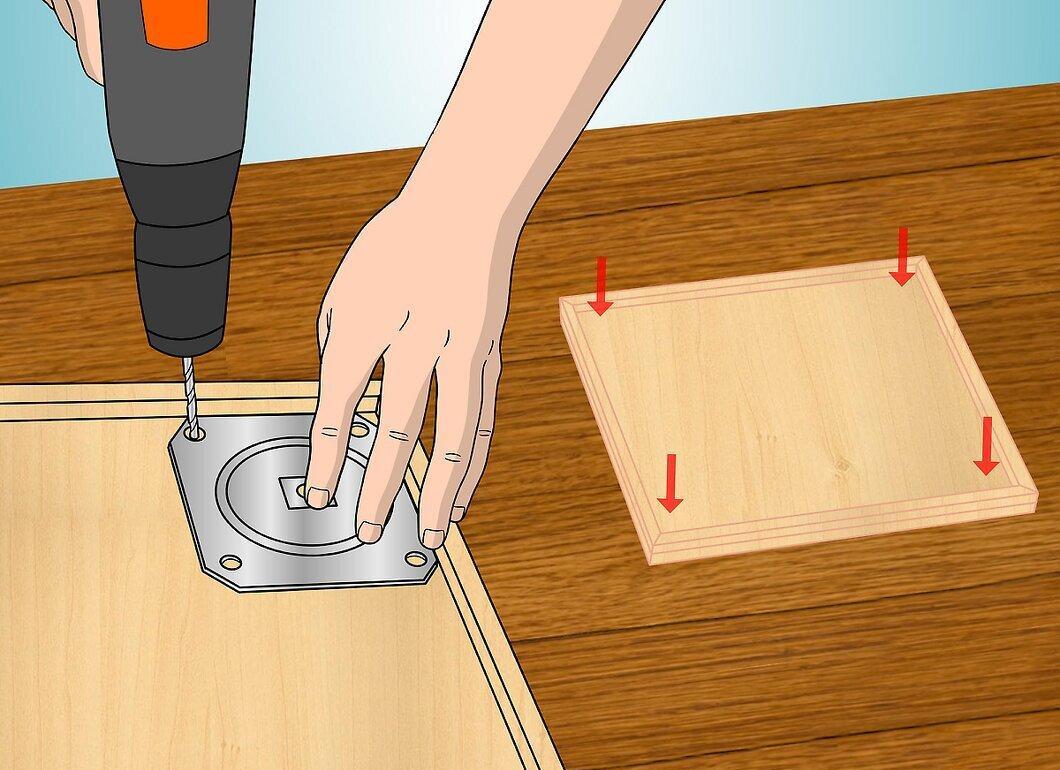
Ensure that the top side of the tabletop is aligned with the opposite side. Secure it in place or ask someone to help hold it. Fasten using four screws.
- If you bought a set, it may already contain the necessary screws.
- Repeat the process for the remaining three corners.
Step 7. Secure the Top of the Bracket Bolt in the Plate.
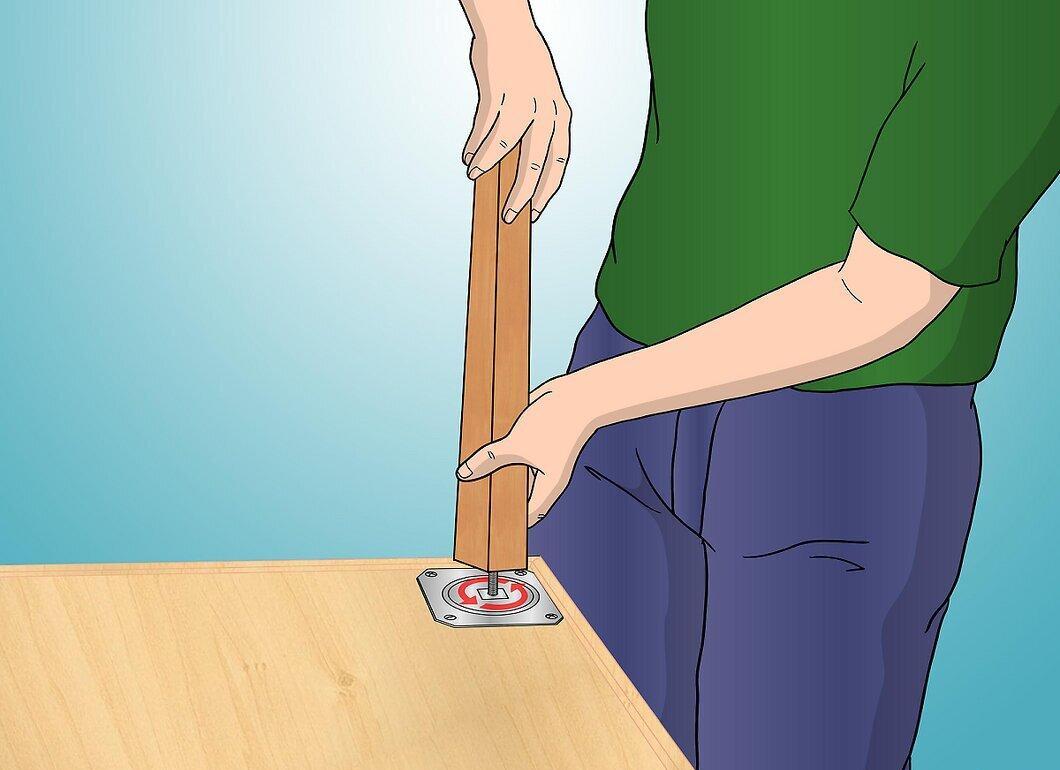
Screw the top of the bracket bolt into the plate until fully tightened. Make sure the table stands evenly on the legs.
Attaching Legs with T-Nuts
Step 1. Buy Legs, T-Nuts, and Bracket Bolts.
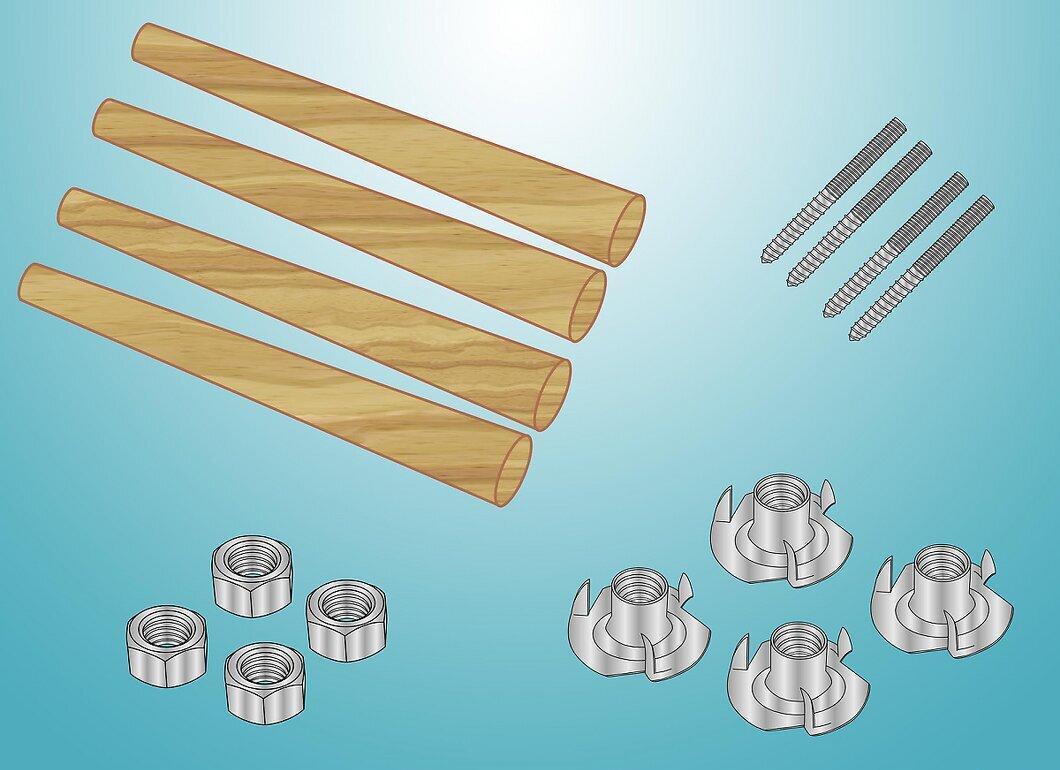
Purchase four legs, T-nuts, and bolts from a home improvement store. In large hardware stores, you can find unfinished legs and all necessary fittings.
Step 2. Drill Four Holes in the Bottom of the Tabletop.
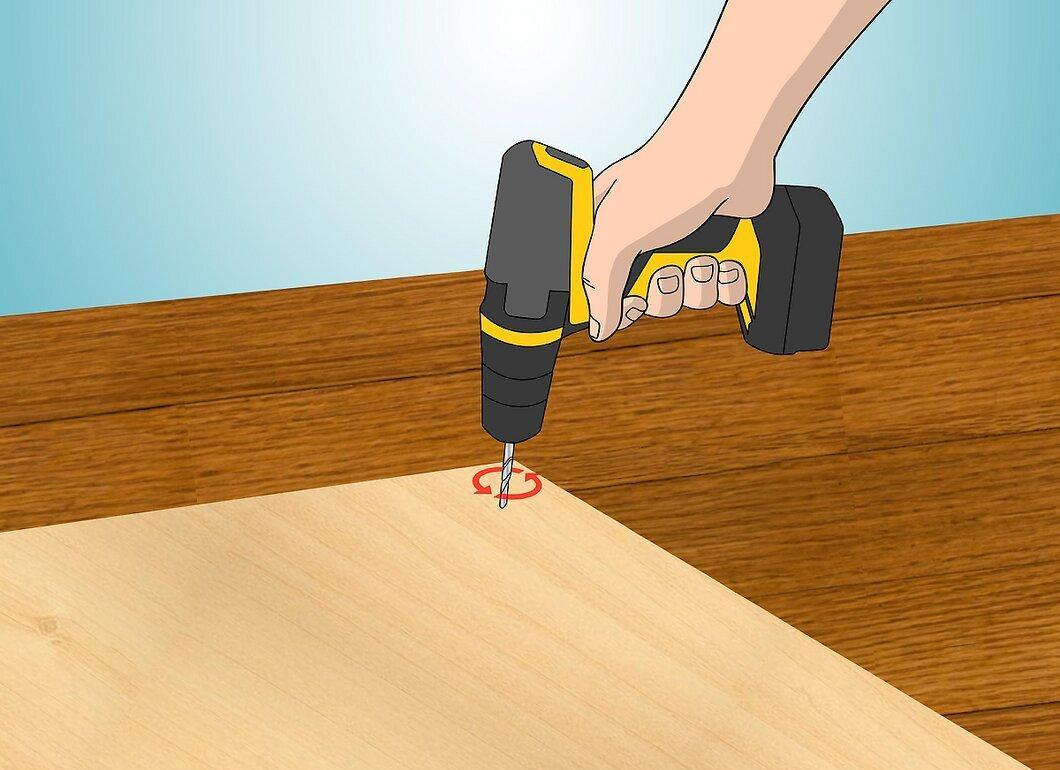
Make four holes through the bottom of the tabletop. Ensure they are spaced evenly to allow the table to stand level. This method is suitable for unfinished tables that will be covered or upholstered.
- Make sure the hole fits your T-nut.
Step 3. Insert the T-Nut into the Hole.
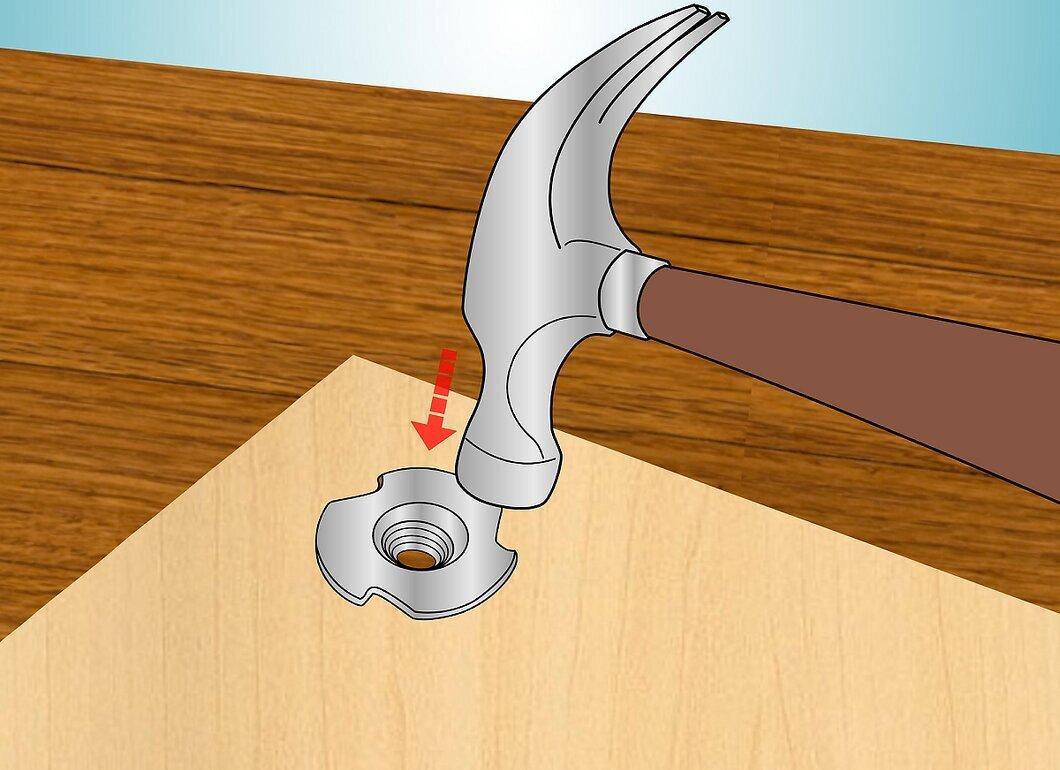
Using a hammer, gently tap the T-nut into the hole from the top until it is flush with the tabletop surface.
Step 4. Install Bolts in the Table Legs.
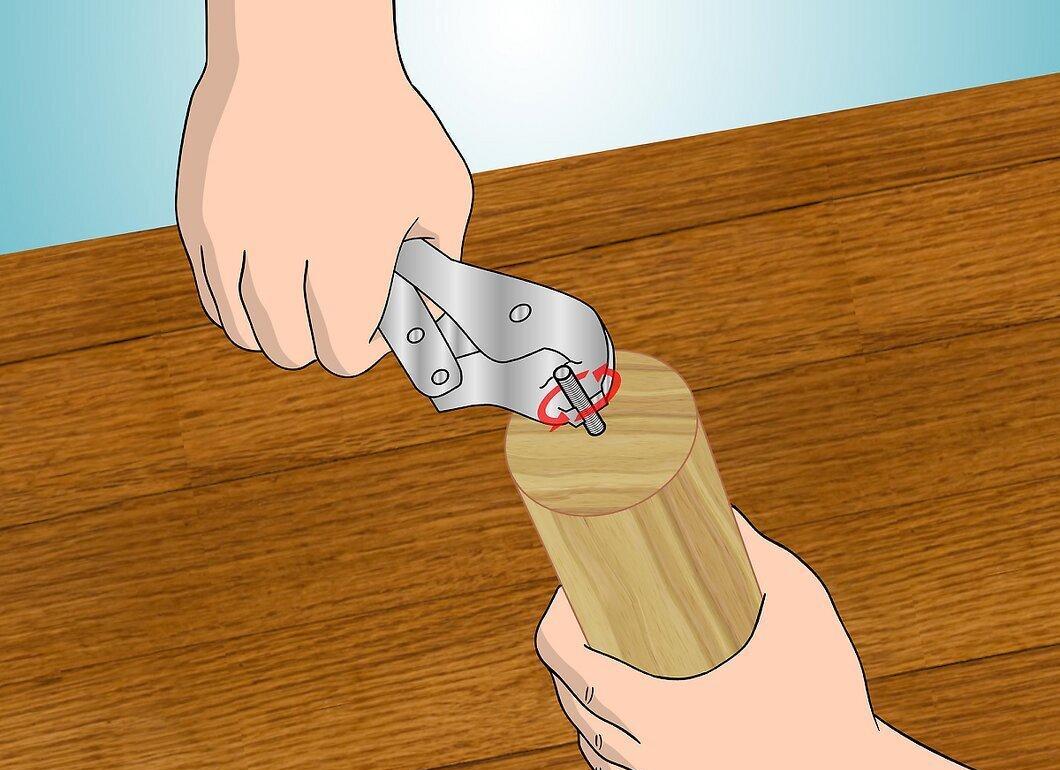
Secure four bracket bolts that match the size of the T-nut at the top of each leg. Mark the center and drill a hole, then screw in the bolt.
- Use pliers for a secure fit.
- If you bought legs with pre-installed bolts, you can skip this step.
Step 5. Secure the Legs to the Base.
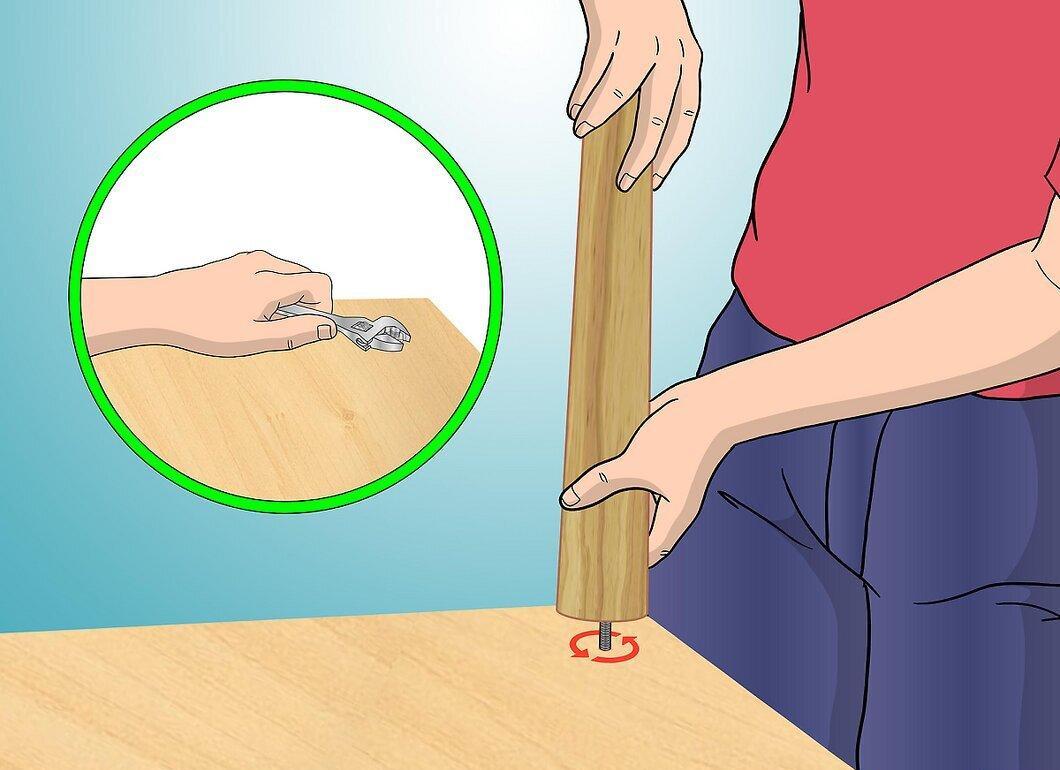
Screw the legs into the base until fully connected to the top. Then, attach the nut for secure fastening. Repeat this process with the remaining legs.
- Before finishing, check to ensure the table is level.


