
Step-by-Step Guide to Making Music on Your Computer
Introduction
Discover the essential steps to become a true computer musician.
Part 1
Step 1. Choosing a Computer

Start by selecting a computer. You’ll need a device with a powerful enough processor and at least 1GB of RAM.
Step 2. Installing a Digital Audio Workstation (DAW)
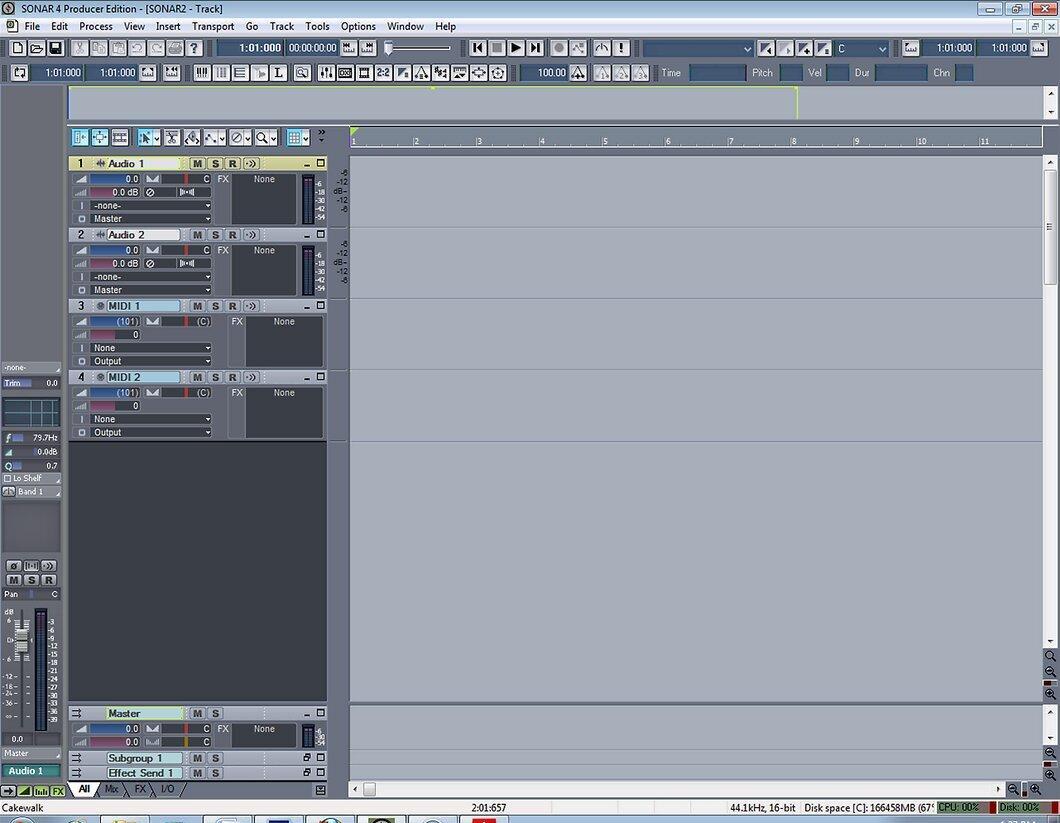
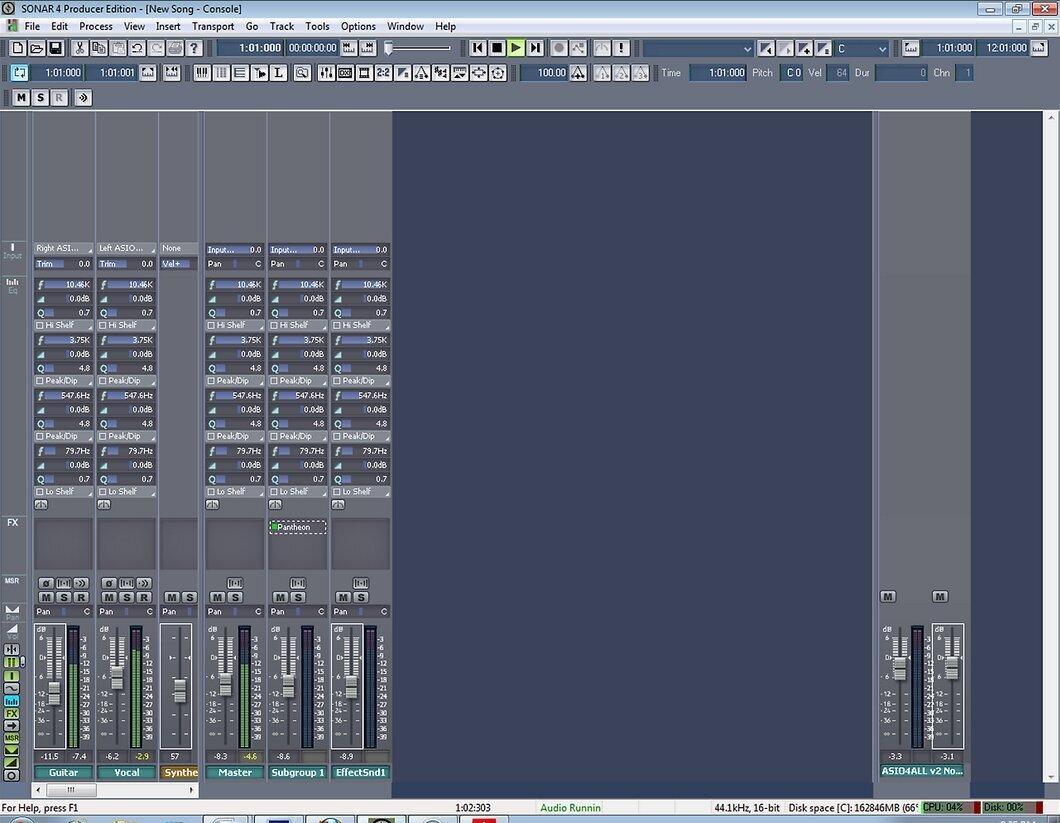
Install a Digital Audio Workstation (DAW). If you're using a Mac, you already have a great program, GarageBand. Popular DAWs also include Logic Express/Pro (Mac only), Sonar, FL Studio (PC only), Cubase, Ableton Live (for both PC and Mac), and Pro Tools (requires Digidesign or M-Audio interfaces). If your goal is to create electronic music, consider exploring Propellerhead Reason as well.
Step 3. Understanding the Audio Interface
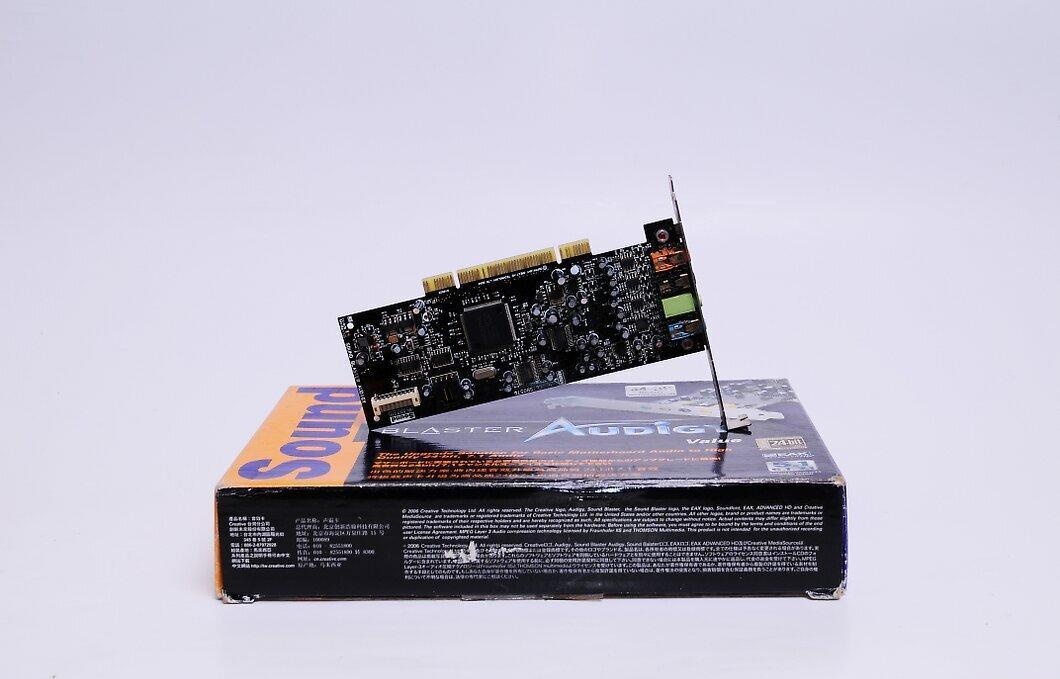
Familiarize yourself with the audio interface. It usually includes two input amplifiers that connect to corresponding digital converters, as well as two line outputs (left and right) and a headphone output. Interfaces can connect via USB, FireWire, PCI, and other ports. When purchasing an interface, you often receive a light version of Cubase, Ableton Live, Sonar, or Pro Tools, which solves the DAW issue for PC users. Popular brands include Apogee (Mac only), Digidesign, M-Audio, Tascam, Presonus, Edirol, and Yamaha.
Step 4. Starting to Record
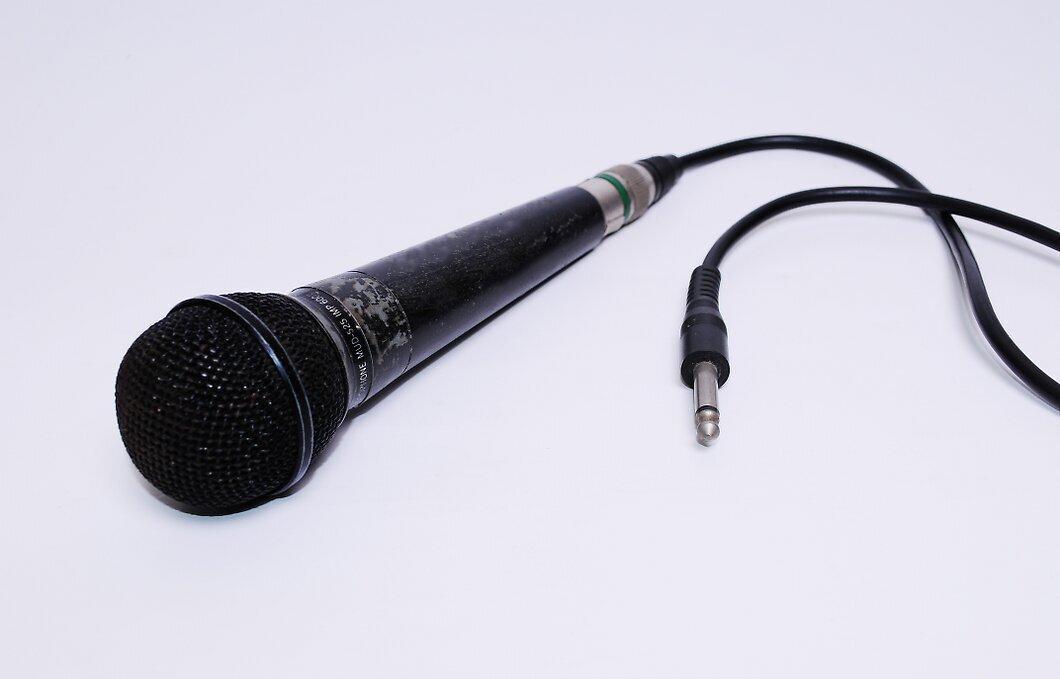
Let’s get recording. There are two main methods of recording on a computer. The first is recording through a microphone (condenser, dynamic, or ribbon) and an amplifier, which is usually included in the interface. Simply connect the microphone to the XLR input of your interface and activate phantom power (+48 V) for the condenser mic, adjusting the gain so that it doesn’t overload the DAW (at 0db level). If you want to use an external amplifier, ensure it is not connected to the interface, and that phantom power is connected to it or the interface. The second method is using direct inputs (or instrument inputs on most interfaces), which are commonly used for recording guitar, synthesizers, drums, and other instruments.
Step 5. Exploring Synthesizers
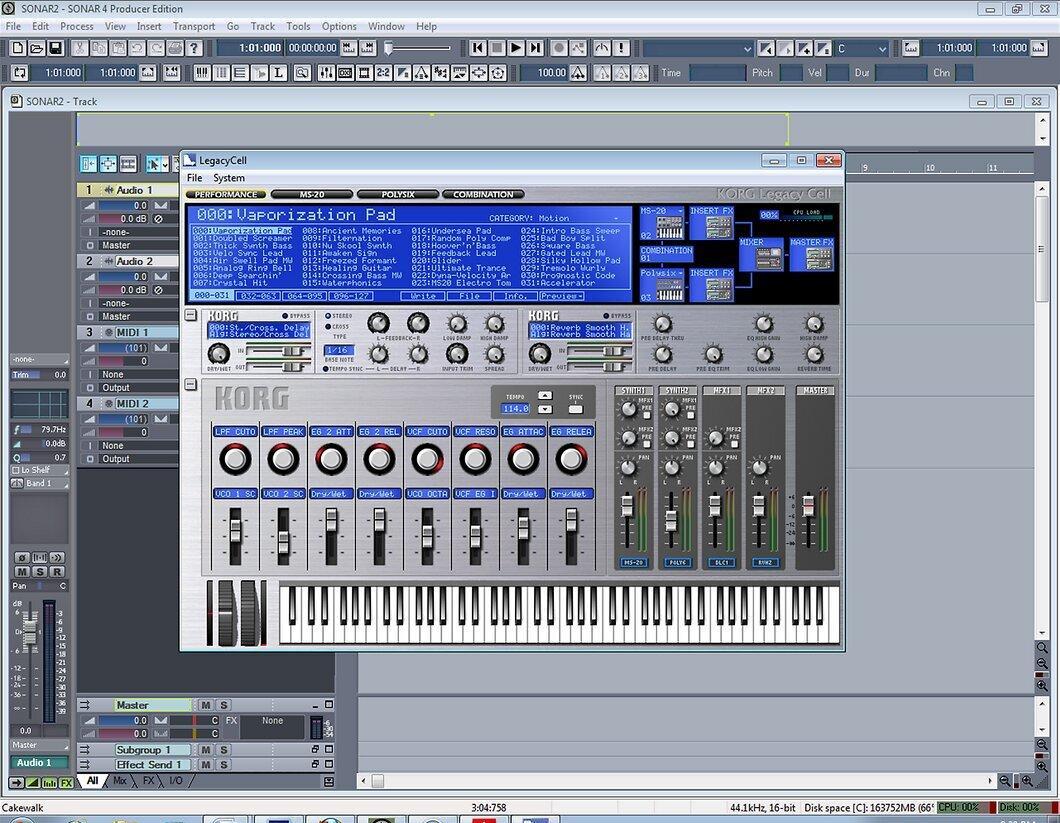
Learn about synthesizers. There are three main types of synthesizers: analog, digital, and software. Synthesizers are used to create waves or samples in music recordings. Different types of waves create different sounds. The most common waves are square, sawtooth, sine, and pulse. You can combine waves to create new sounds. Some synthesizers allow you to mix different waves and create unique sounds. Additionally, there are tools that modify the sound of the synthesizer, such as filters that include cutoffs and resonance, as well as low-pass and high-pass (LP and HP) filters. Filters typically have their own ADHR (attack, decay, hold, release) modifiers.
Step 6. Managing Dynamics
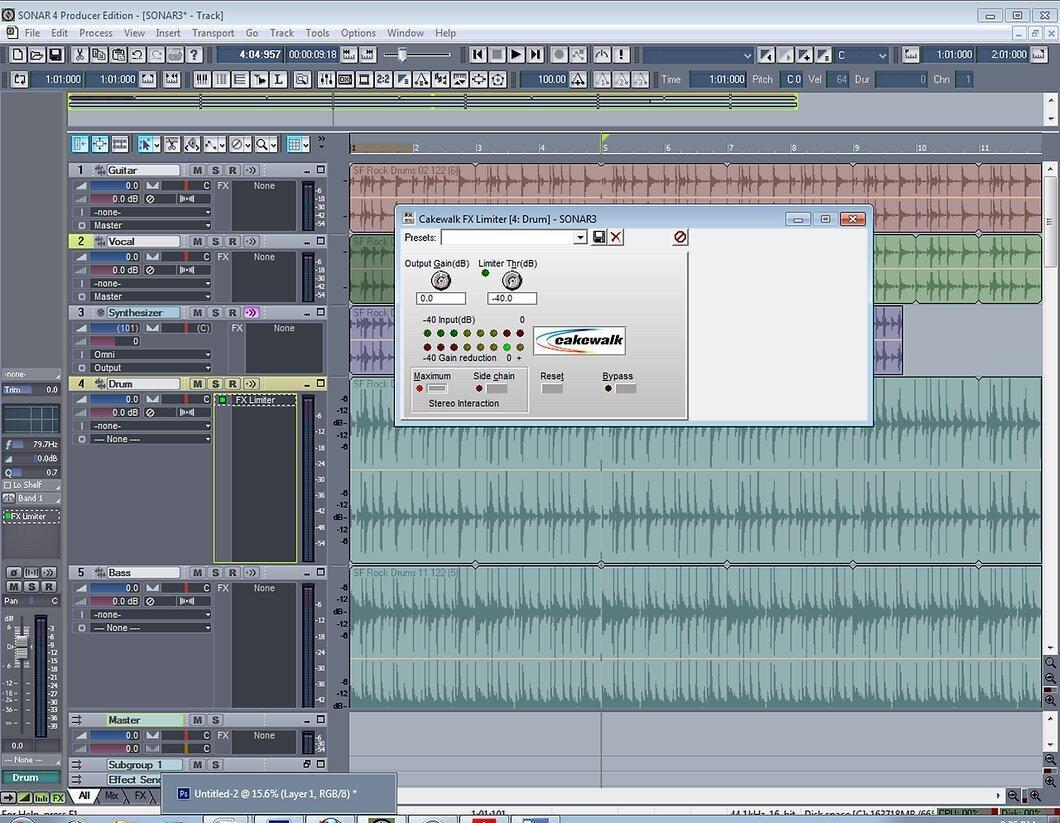
Keep an eye on sound dynamics. Compression is great for drum parts, keeping vocals at a consistent level, and making guitar and synthesizer sounds more cohesive. A limiter helps prevent clipping of tracks, while a maximizer ensures a loud sound.
Step 7. Adding Effects
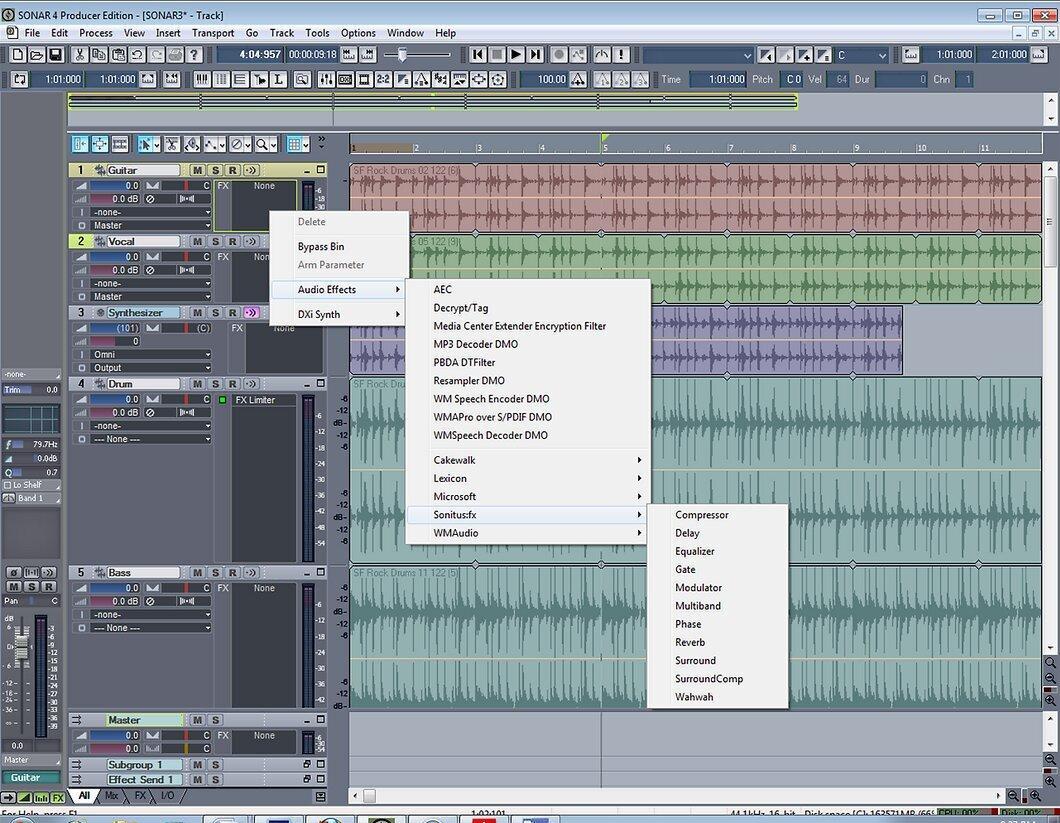
Add effects. This is an important part of the process. Reverb helps make electronic drums sound like they’re in the same room or creates a sense of distance in sounds. Delays can also add depth to the sound. Effects such as chorus and ensembles typically use spreading and settings. There are many other effects—phasers, flangers, filters, distortions, and ring modulators—that can be applied to your track.
Step 8. Mixing Your Composition
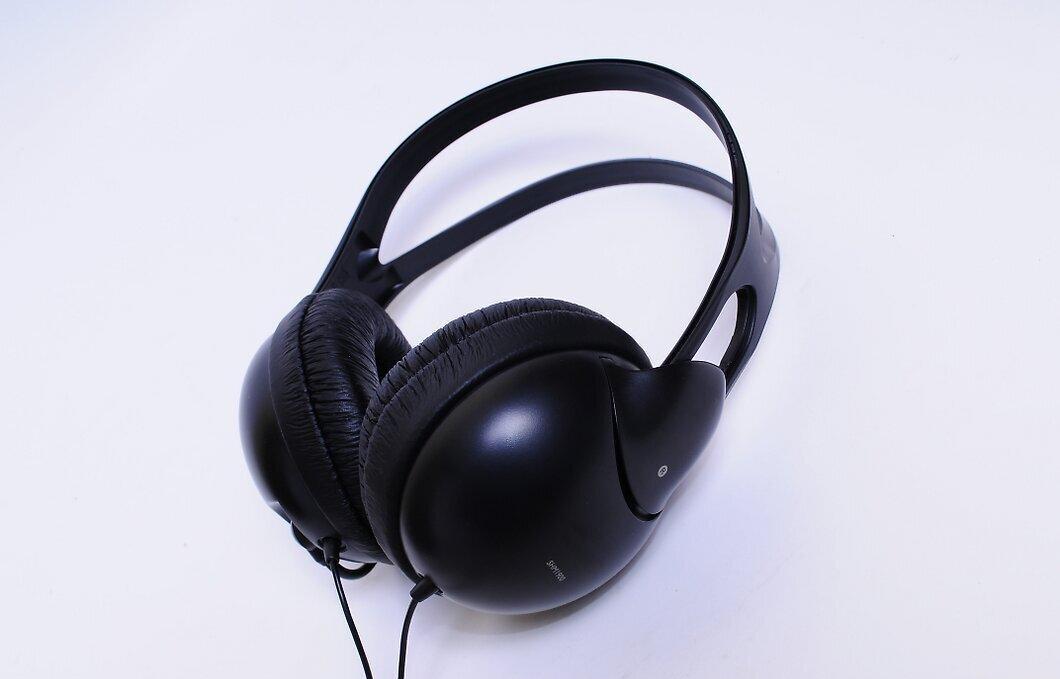
Mix your song. For this, you’ll need quality headphones (with a flat frequency response) and studio monitors (if you can afford them). Ensure that a limiter is set on the channel that does not exceed 0db. Start adding drums to reach 0db, and then add bass if needed. After that, the process will be easier.
Step 9. Sound Placement
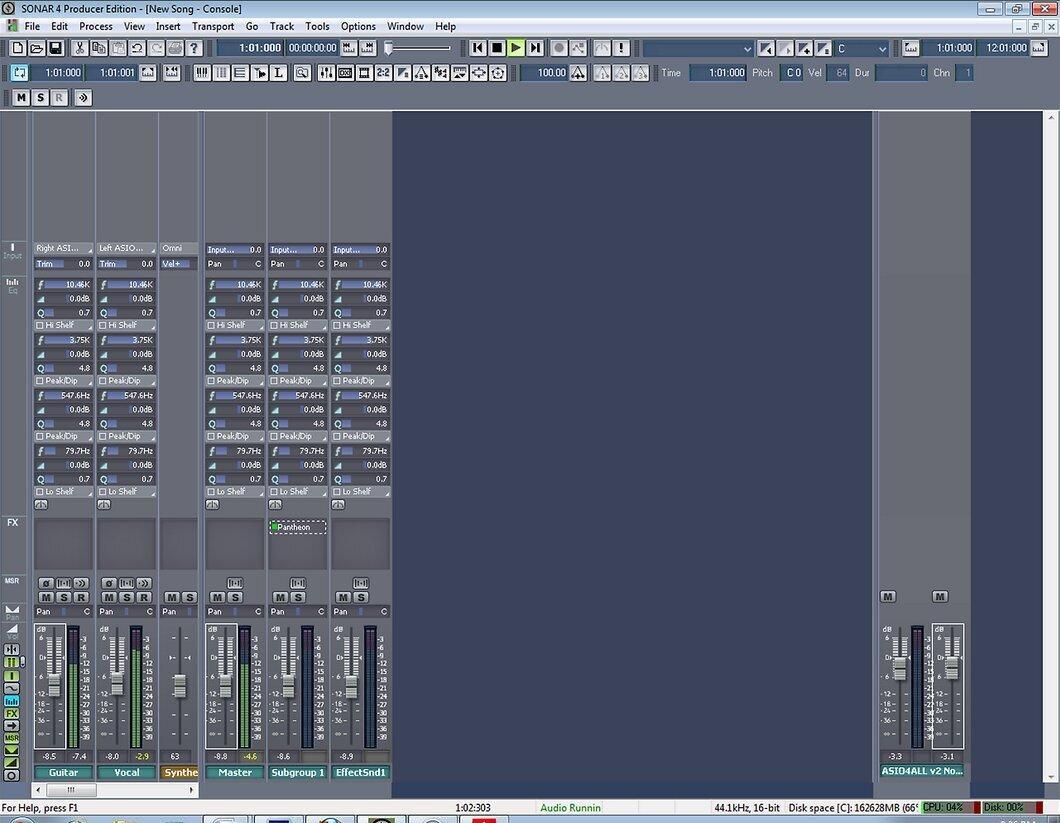
Try to place sounds off-center. Drums, snare, bass, vocals, and possibly a guitar or synthesizer solo should be in the center. To create a wider sound, use the chorus effect by activating unison on the synthesizer or setting delays on the left or right channels, adding multiple samples.
Step 10. Continuous Practice
Practice tirelessly. It will take time to achieve the sound you desire. There’s no such thing as a perfect mix, so always strive to create the best result.


