
Over time, pop-up plastic sprinklers can become stuck in the raised position, making them vulnerable to lawnmowers. If the sprinkler head breaks or gets cut off, it can cause a water fountain, lead to higher water bills, and potentially ruin your lawn. Replacing a sprinkler isn't too complicated; just follow our simple steps to keep your yard in great shape.
Part 1
Step 1. Cut out the section of grass above the sprinkler head using a serrated knife or a small shovel with a sharp edge to create a hole about 6 inches in diameter.
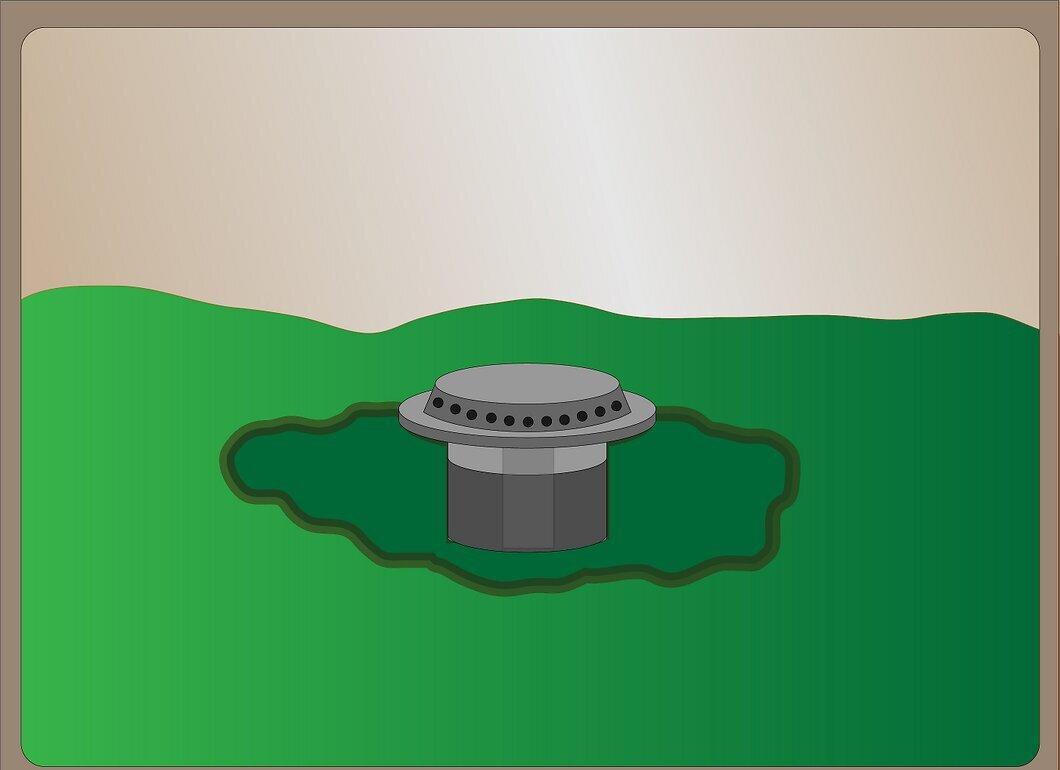
Cut out the grass to access the sprinkler head. Be cautious not to damage any water lines by digging too deep. Keep in mind that if you have a sprinkler with a diameter of 6 inches or more, the pipes are likely connected through a side inlet that sits about 2 inches deep. This is crucial to avoid damaging the tubing.
Step 2. Using a hand trowel or a small shovel (about 3 inches), lift out a chunk of soil with grass and set it aside for later use.
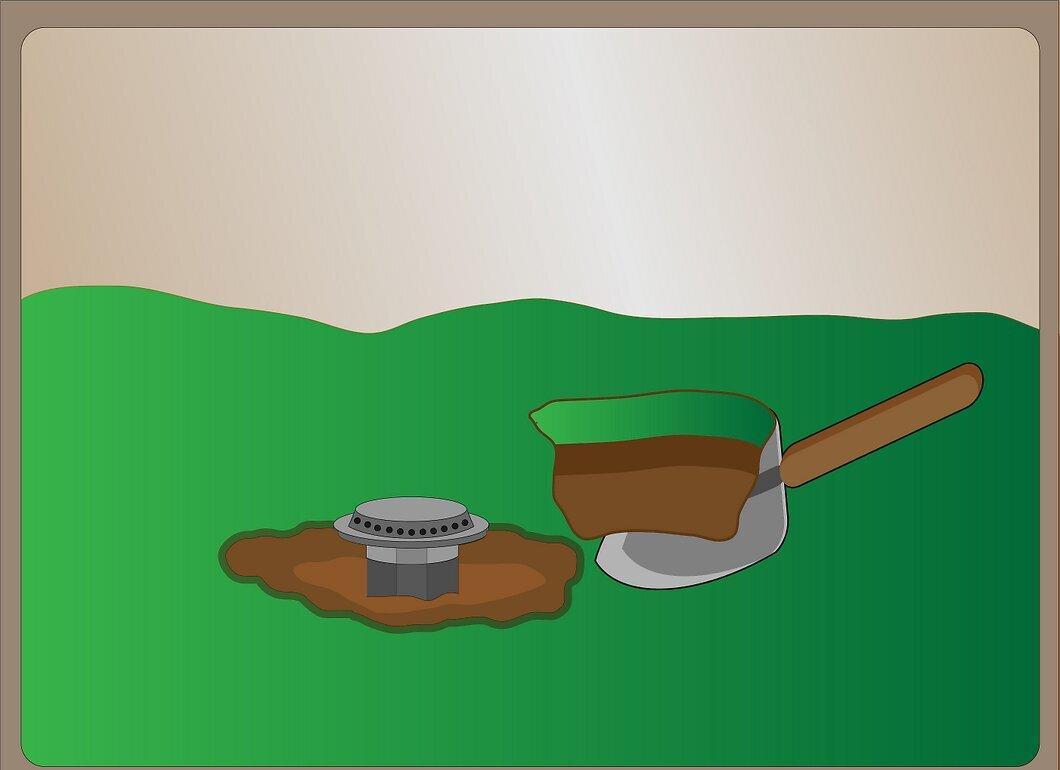
Step 3. Carefully clear the dirt away from the sprinkler head.
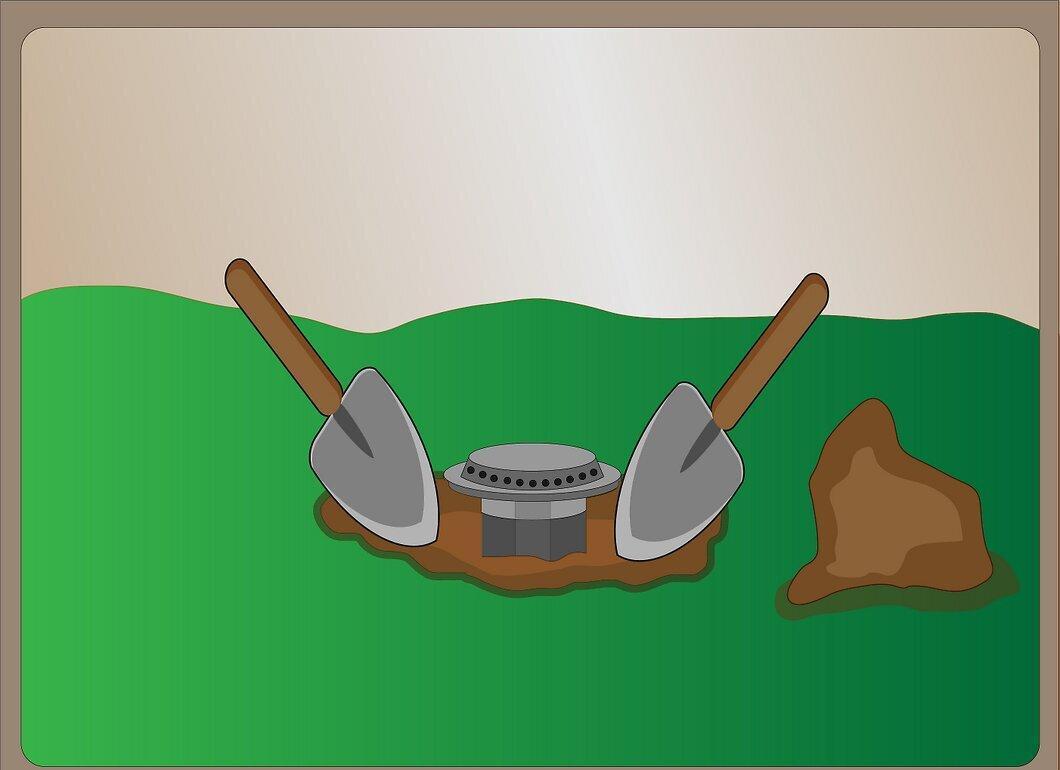
Gently remove the soil around the sprinkler head and pile it up, as you will need it to fill the hole later. Continue digging until you reach the water line, which is typically found 6 to 8 inches beneath the grass.
Step 4. Once you reach the riser, which is a short vertical pipe connected to the water line, unscrew the old sprinkler body and remove it.
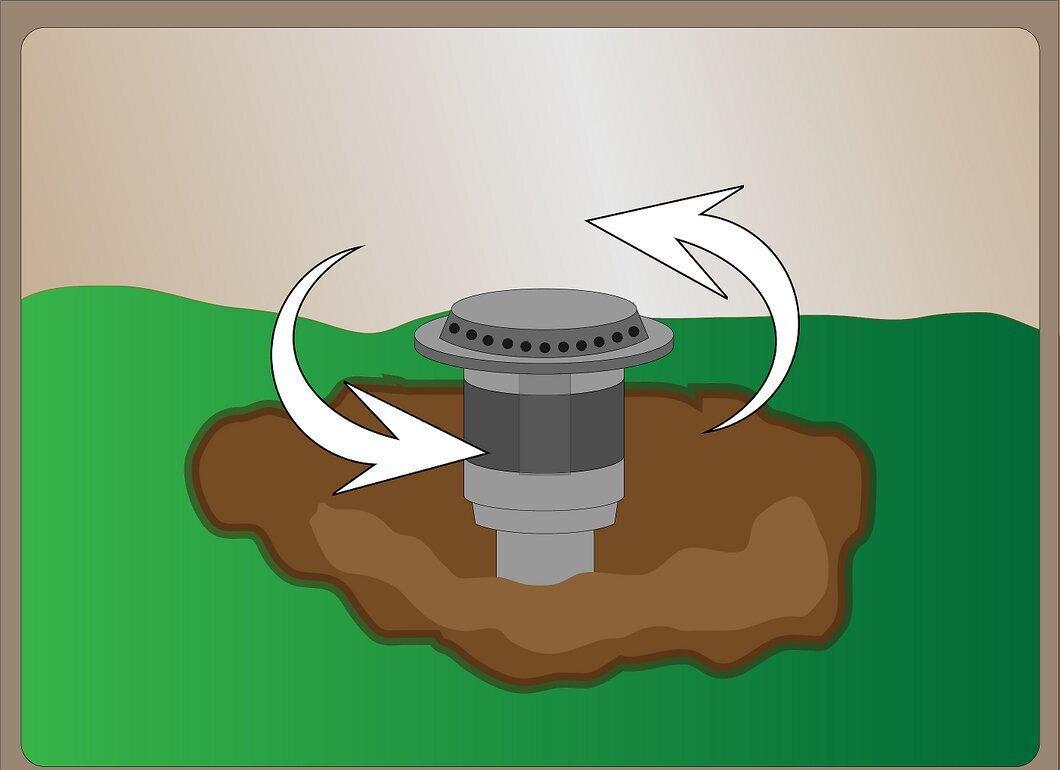
After clearing the space around the riser, unscrew the old sprinkler. Be careful not to let dirt fall into the open riser — you can use a small piece of cloth to cover it. Sometimes, the riser may remain attached to the water line; just gently unscrew it, ensuring not to damage the threads. If necessary, use a sharp knife to assist in loosening the riser.
Step 5. Take the old sprinkler body with you to the store and select a new one of the same model and size.
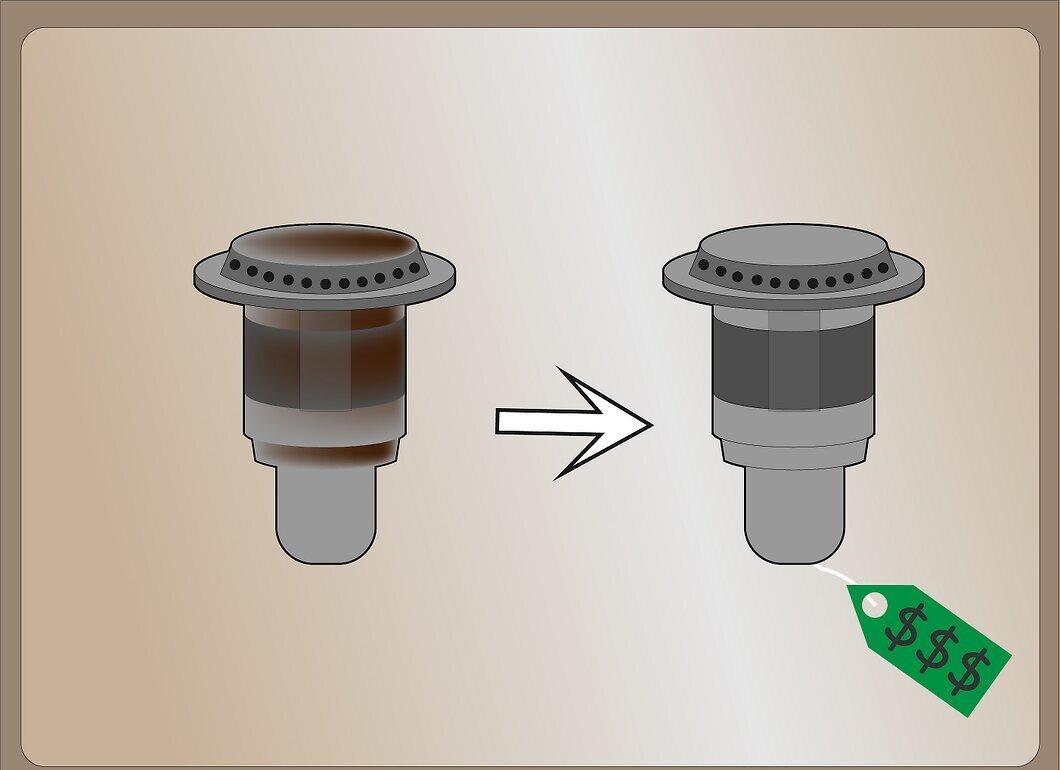
To avoid issues, it’s best to purchase an exact match of the old sprinkler. If that’s not possible, ensure the new sprinkler meets two criteria: (1) the female connection at the bottom has the same diameter, and (2) it is the same length. Note that different brands may have different sizes, and if you choose one that’s too long, it will stick up above the level of the grass. It’s also advisable to select a model with an orange cap, which makes it easier to clean debris after installation.
Step 6. Wrap some Teflon tape around the threads of the riser before installing the new sprinkler body.
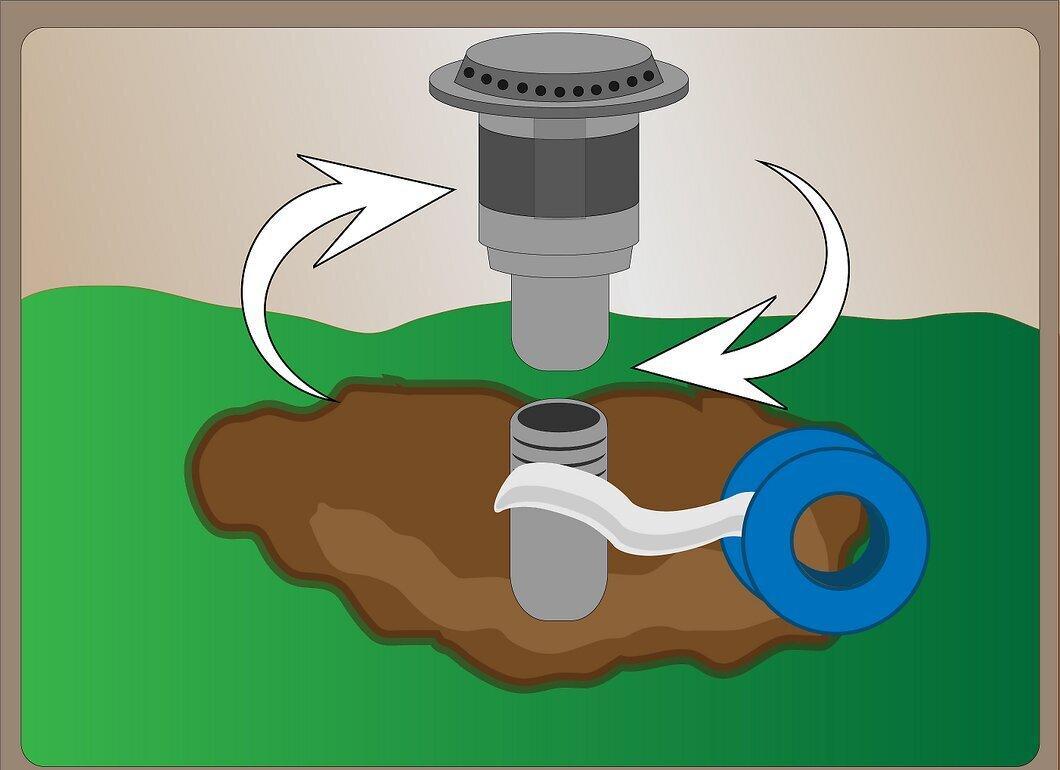
Make sure the thin layer of Teflon tape is evenly distributed around the threads of the riser. Then, hand-tighten the new sprinkler onto it.
Step 7. Turn on the water briefly to flush out any debris from the pipes.
Step 8. Disconnect the sprinklers and, using the cap ring, tighten the riser; then remove the cap, install the filter, and attach the nozzle.
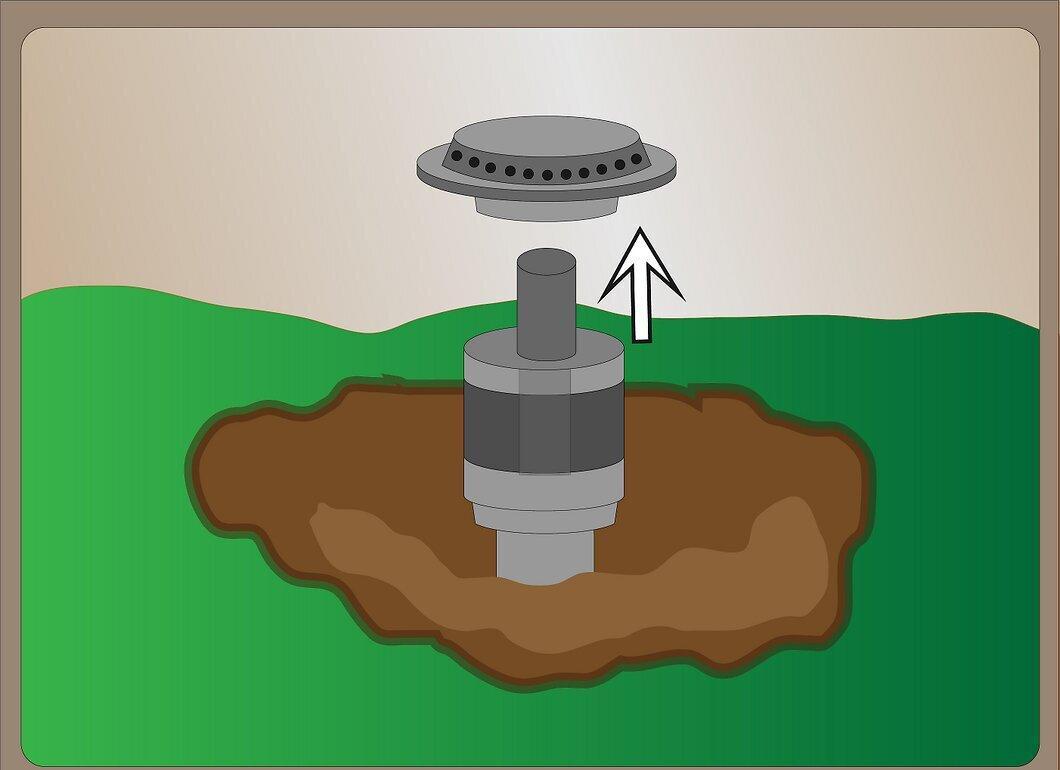
Step 9. Rotate the nozzle to set it to the correct angle for watering the lawn, not the neighboring areas.
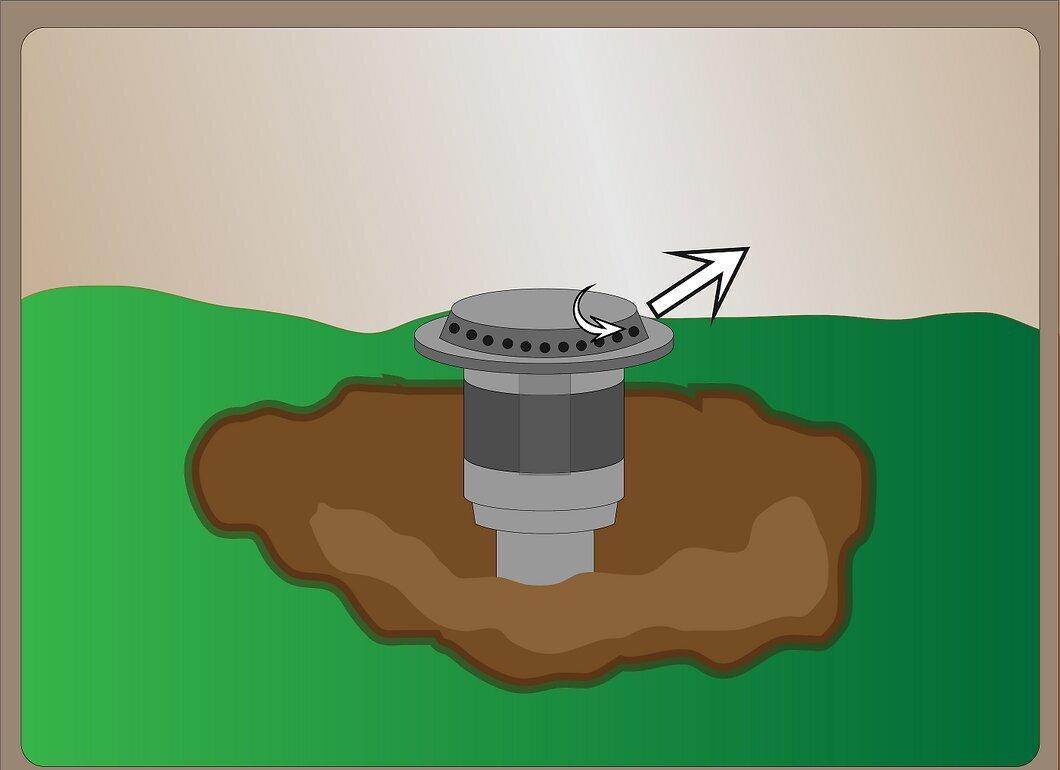
- Before filling in the hole, check the sprinkler to ensure there are no leaks around the riser. If there are, tighten it or add more Teflon tape.
Step 10. Return the soil back into the hole, packing it tightly around the sprinkler body.
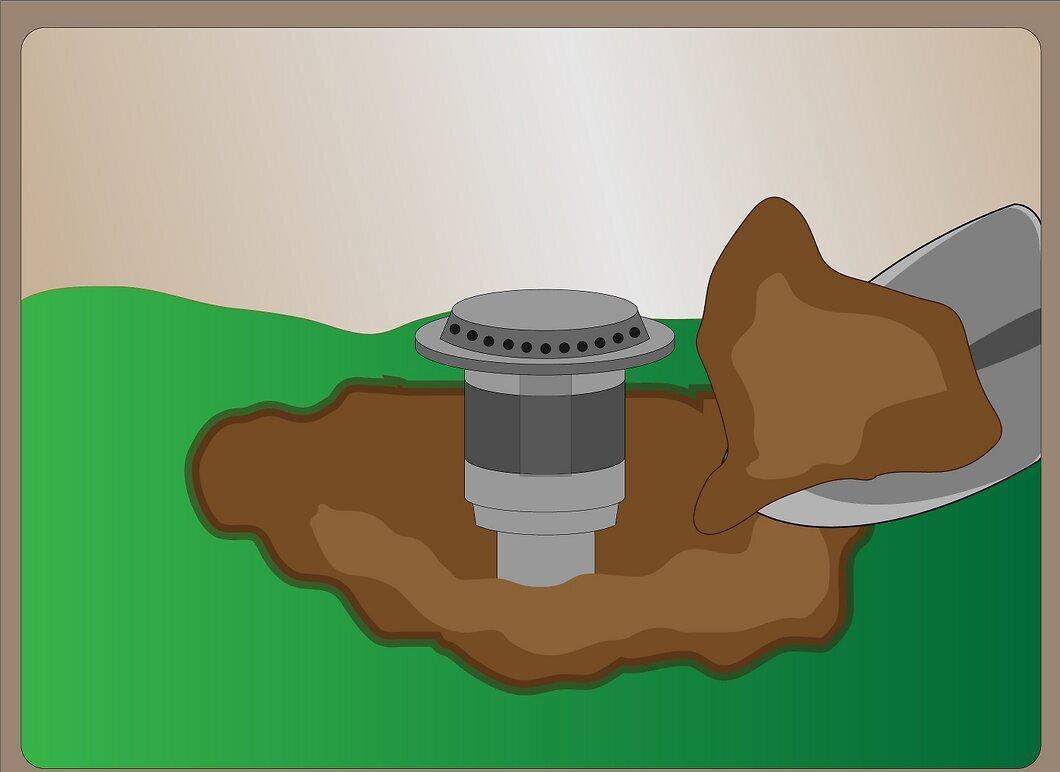
Step 11. Replace the grass and soil, gently packing it around the sprinkler head.
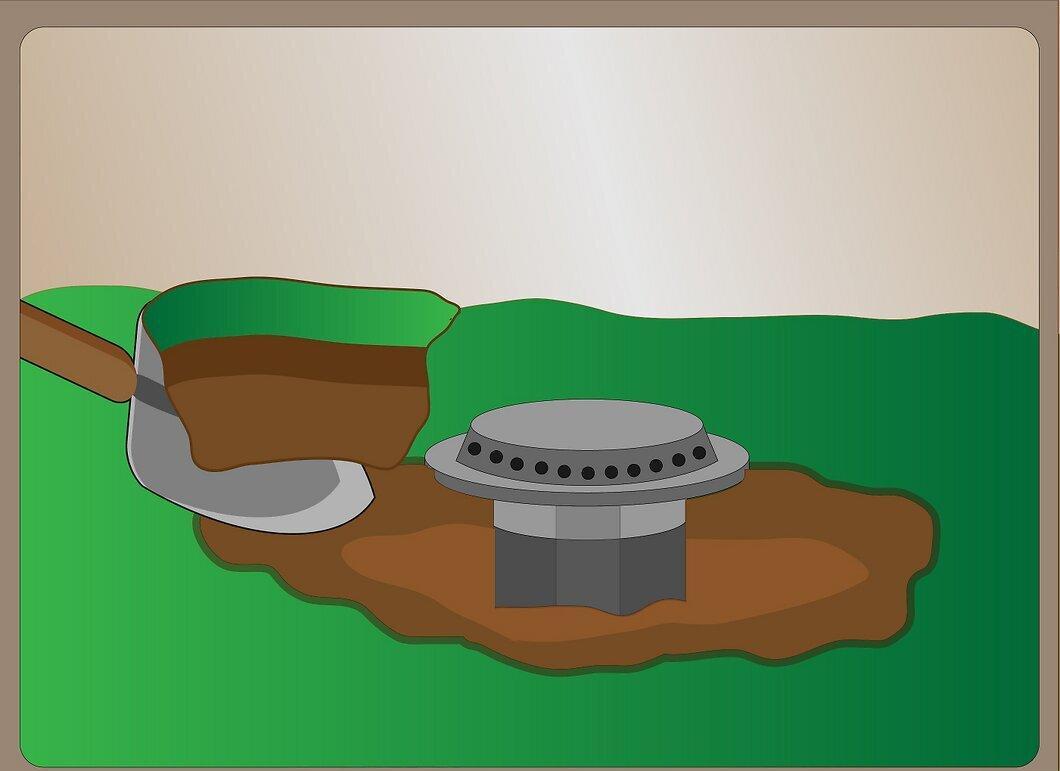
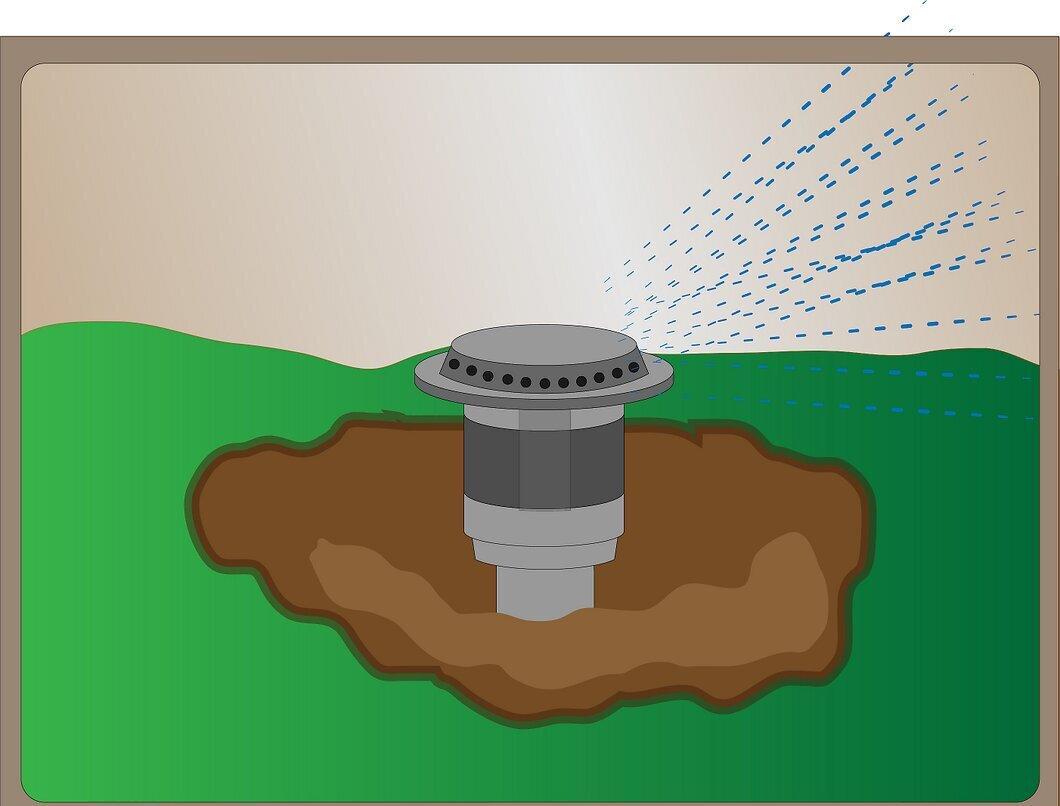
Step 12. Turn on the sprinklers to ensure they are working correctly and spraying water in the right spots.
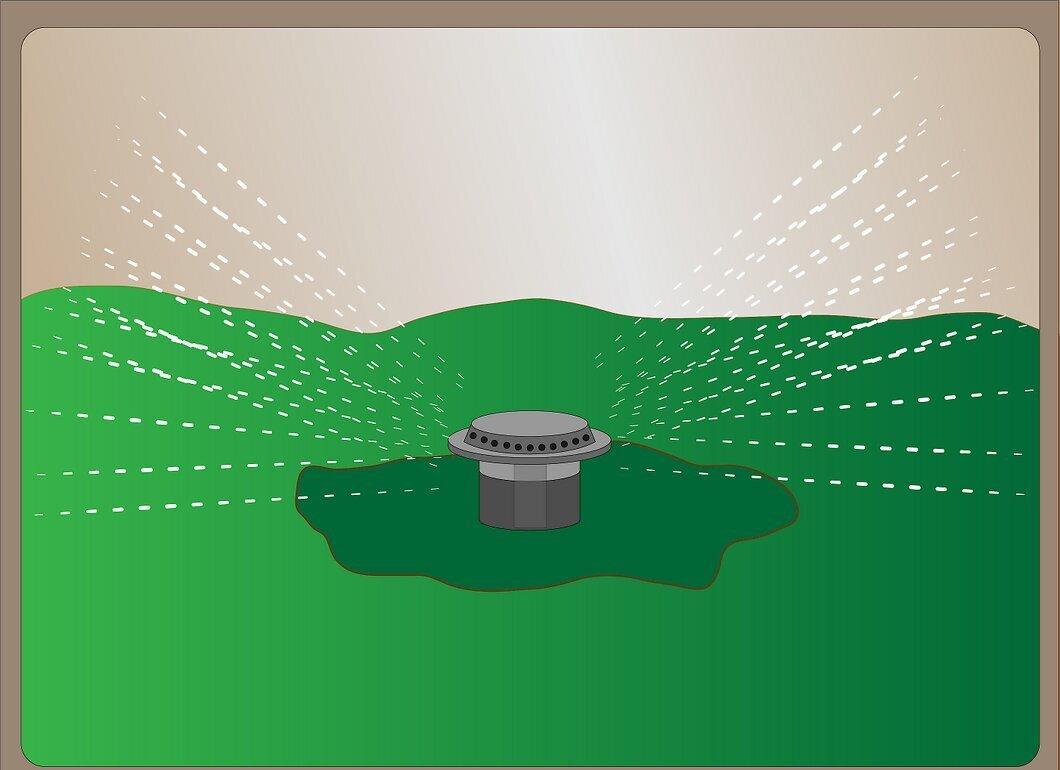
Turn on the sprinklers and check that they are spraying water correctly. You may need to slightly adjust the nozzle for optimal settings.


