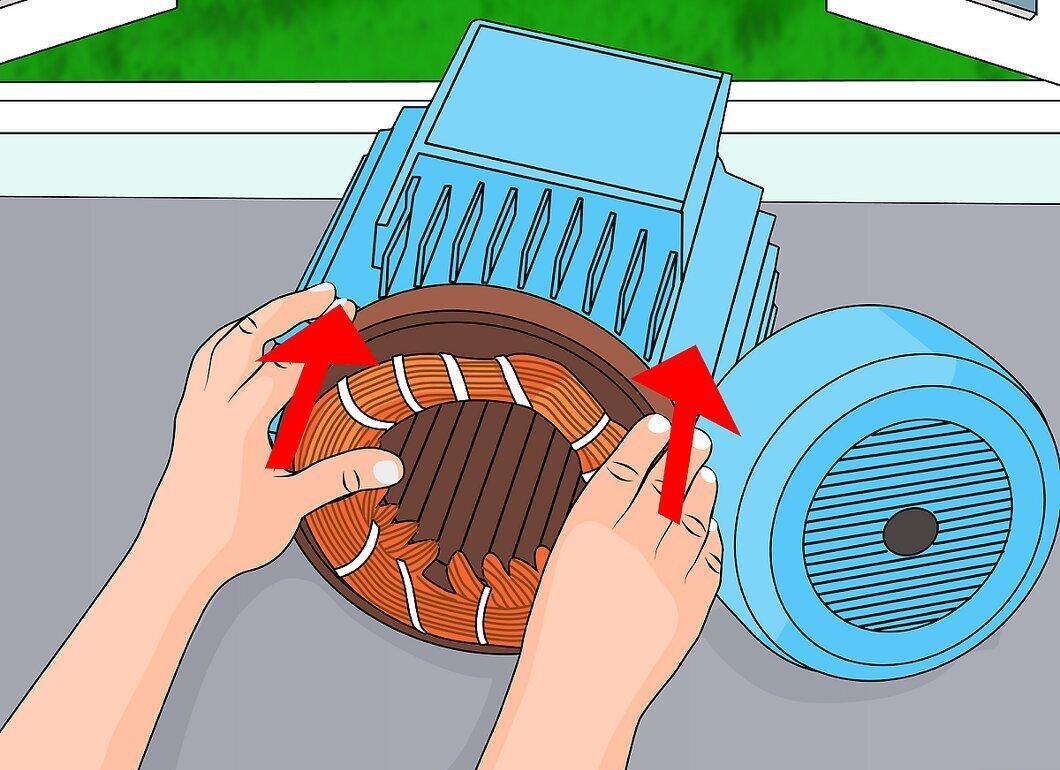
Electric motors are fairly simple mechanisms, but rewinding a direct current winding requires high precision and should only be performed by qualified professionals in mechanics and electrical engineering. Improper handling or mistakes can lead to motor failure, resulting in the need to either purchase a new one or send it to a service center for repairs. Given the variety of motor types and windings, such caution is essential. If you're unfamiliar with the terminology, it's best not to attempt the repair — once the original windings are removed, there’s no turning back.
Part 1
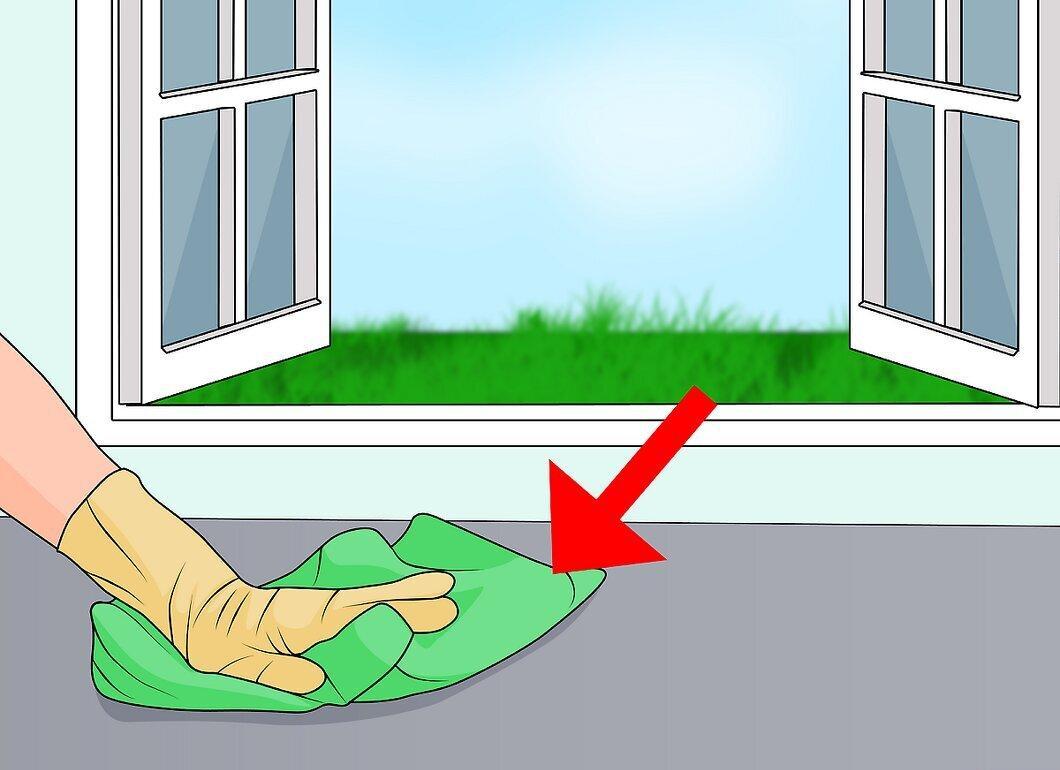
Step 1. Prepare your workspace by cleaning it of dirt and dust.
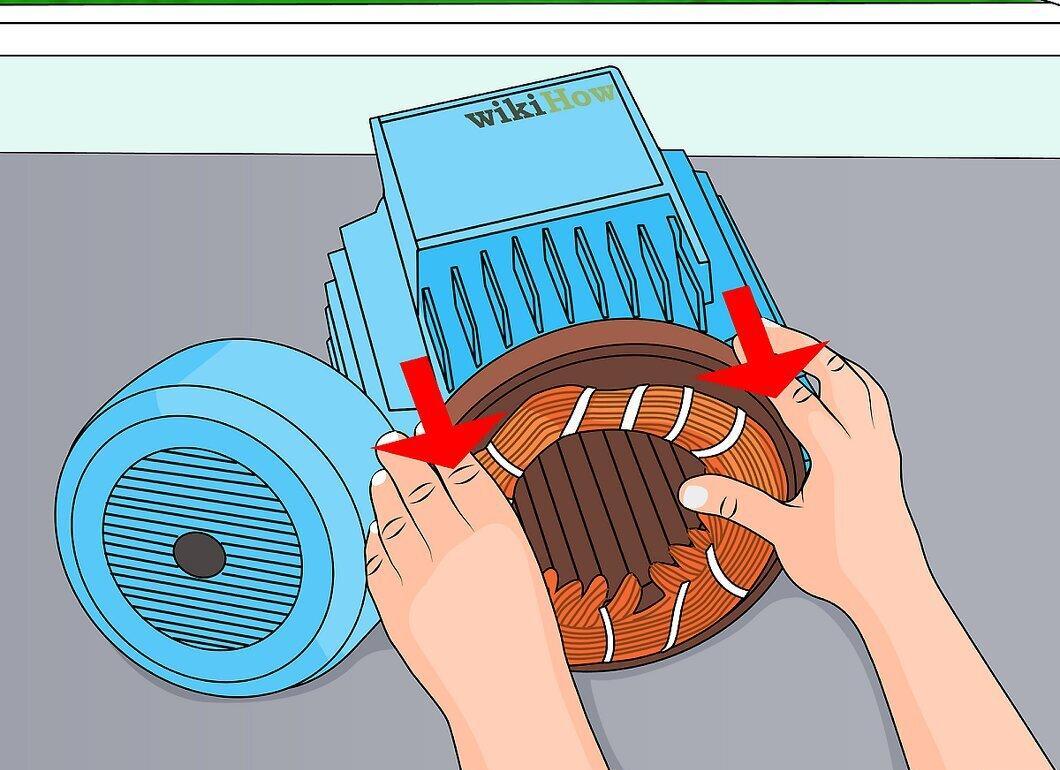
Step 2. Open the motor casing to access the stator and windings.
Step 3. Document the current configuration by taking notes or photos.
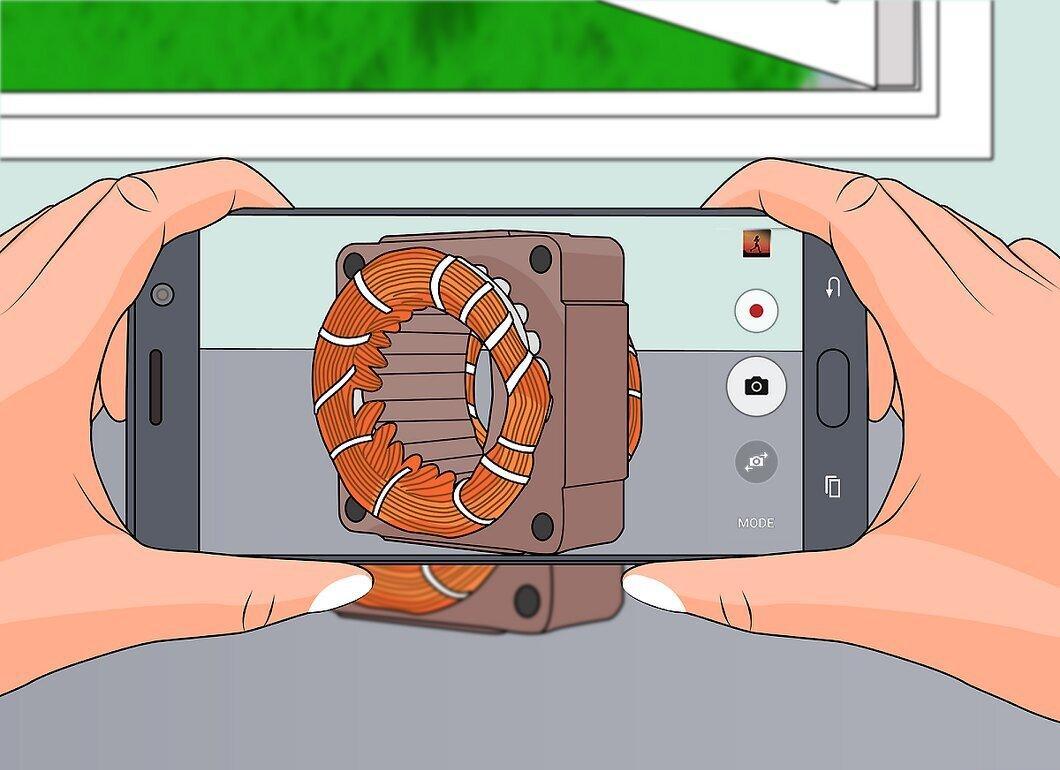
Don’t forget to document the current layout: take notes or snap photos. You might even record a video of the disassembly process to accurately reproduce the original order of the windings and connections.
Step 4. Disconnect the wire from the brush holder terminals.
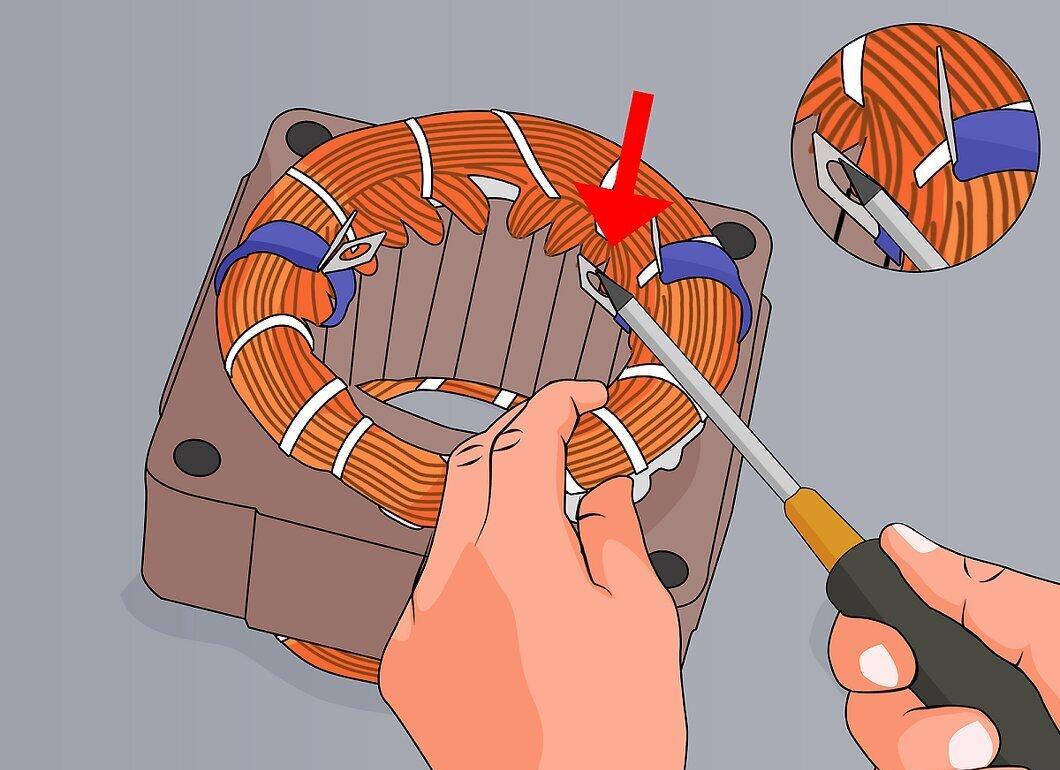
Gently pull the wire from the brush holder terminals, bending them slightly. Ensure the wire is completely removed before cutting the windings.
Step 5. Cut the windings away from the rotor and stator.
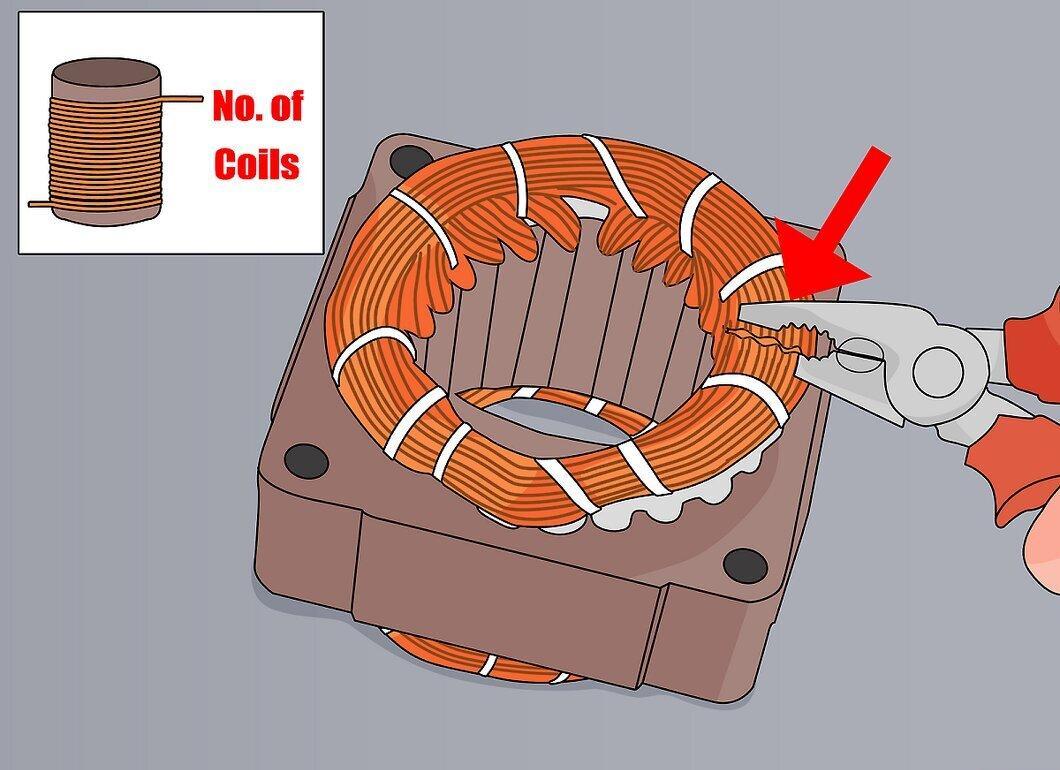
Cut the windings at the top of the coils where they connect to the rotor or stator. Take note of the number of turns in each coil to restore the motor to its original form.
Step 6. Inspect the insulation connecting the stator and laminated steel before rewinding.
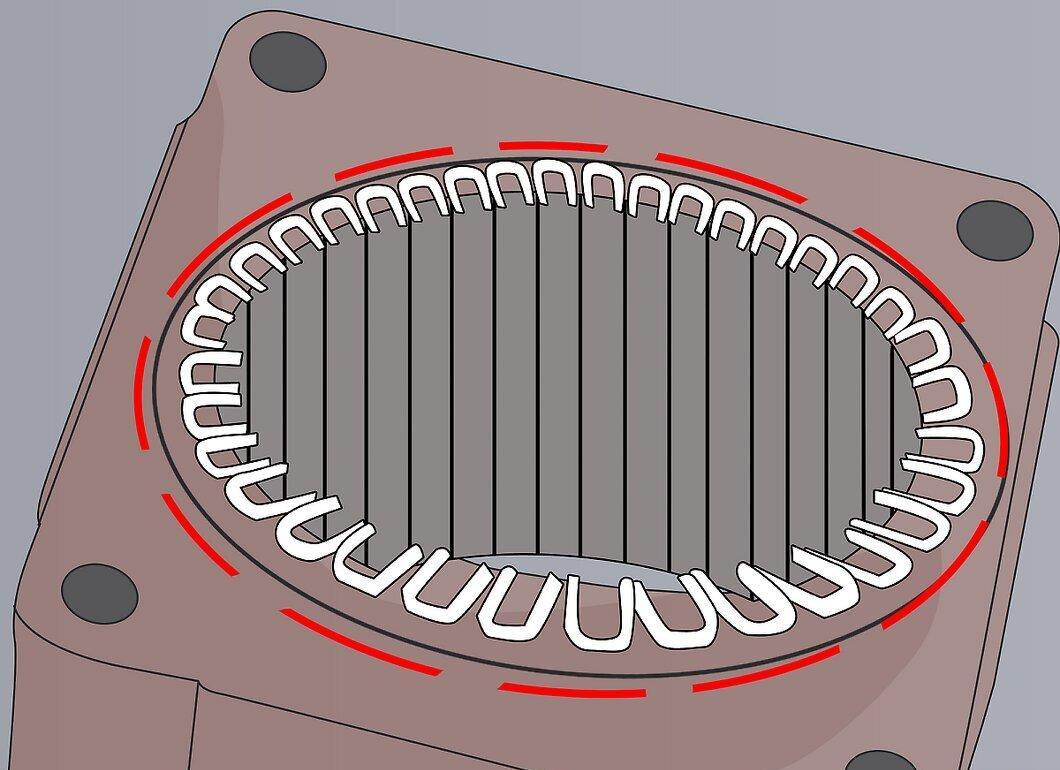
Make sure the insulation is intact before starting the rewinding process. If it's damaged, replace it with a similar material or use electrical tape.
Step 7. Rewind the rotor or stator using the same gauge and type of wire as the original.
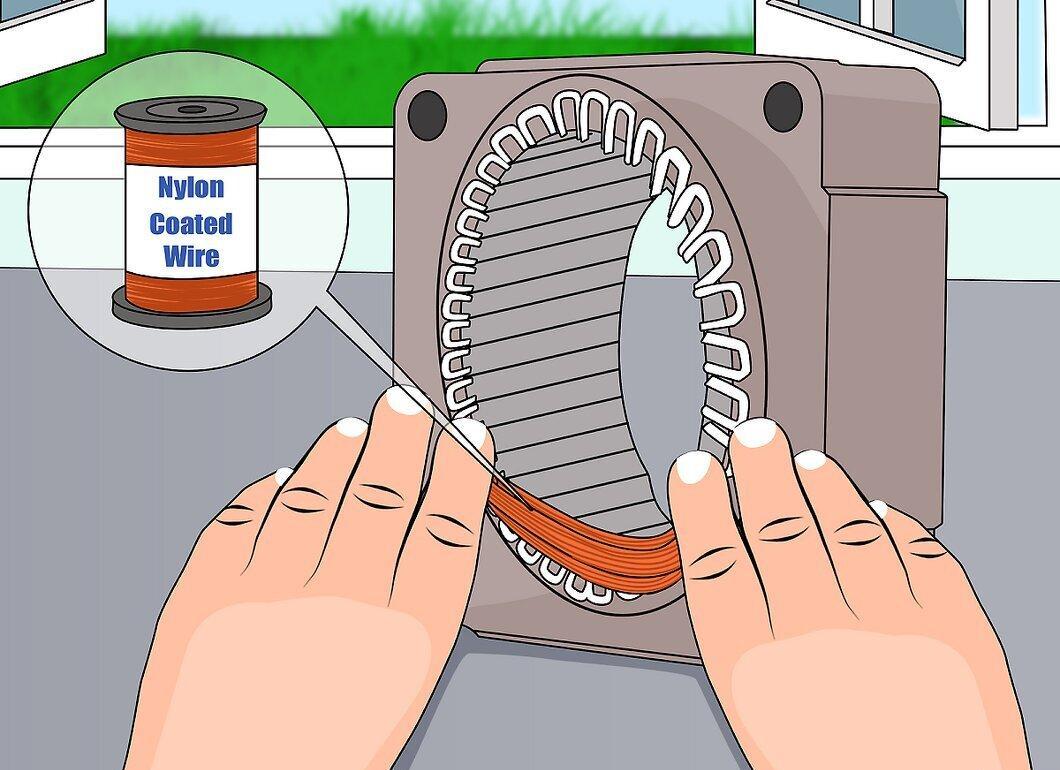
Rewind the rotor or stator using the same type and gauge of magnet wire that was originally used. If you have experience, you can upgrade the wire by replacing the old nylon one with a new polyurethane-coated version.
Step 8. Recreate the exact winding pattern and number of turns for each coil.
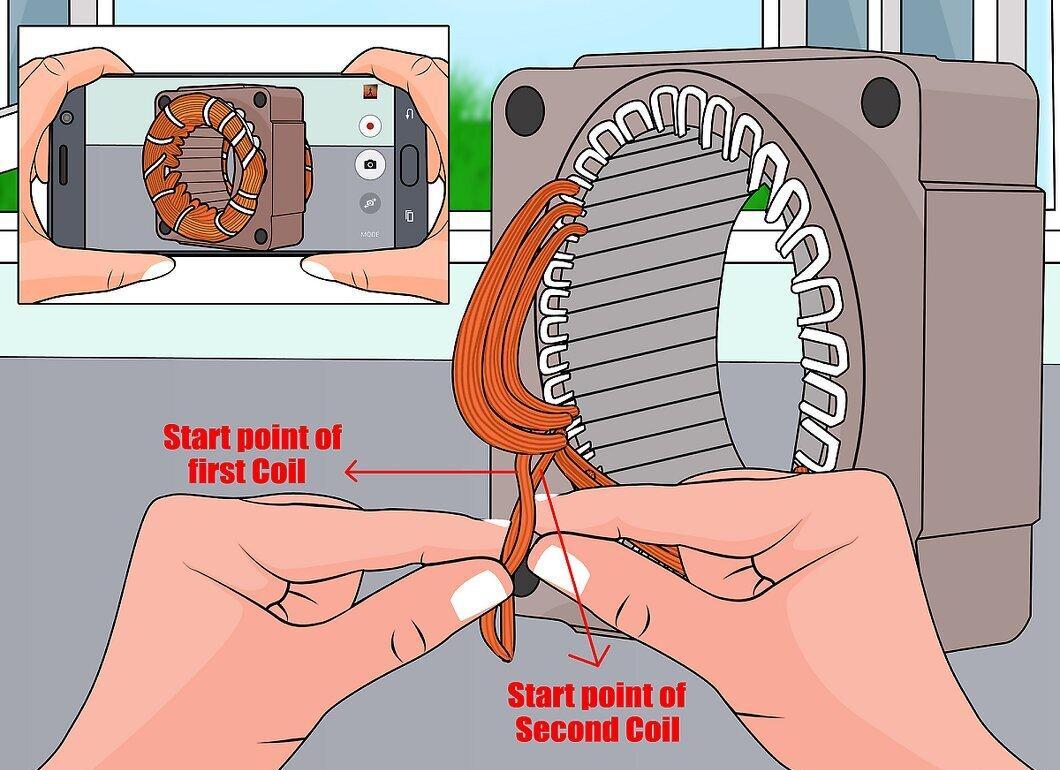
Be careful to ensure that each coil is tightly wound in place for maximum efficiency.
- When starting the first winding, leave the end loose but long enough to reach the first terminal. The next winding will connect to this spot.
- Secure the other windings so that the wire is in the correct position. Use one long wire for all windings without cutting it during the process.
- Before securing the wire, use a sharp knife or sandpaper to strip insulation from the part that will connect to the terminal. Ensure you’ve stripped enough insulation for a reliable contact.
Step 9. Connect the end of the previous winding with the wire left from the first winding to the corresponding terminal.
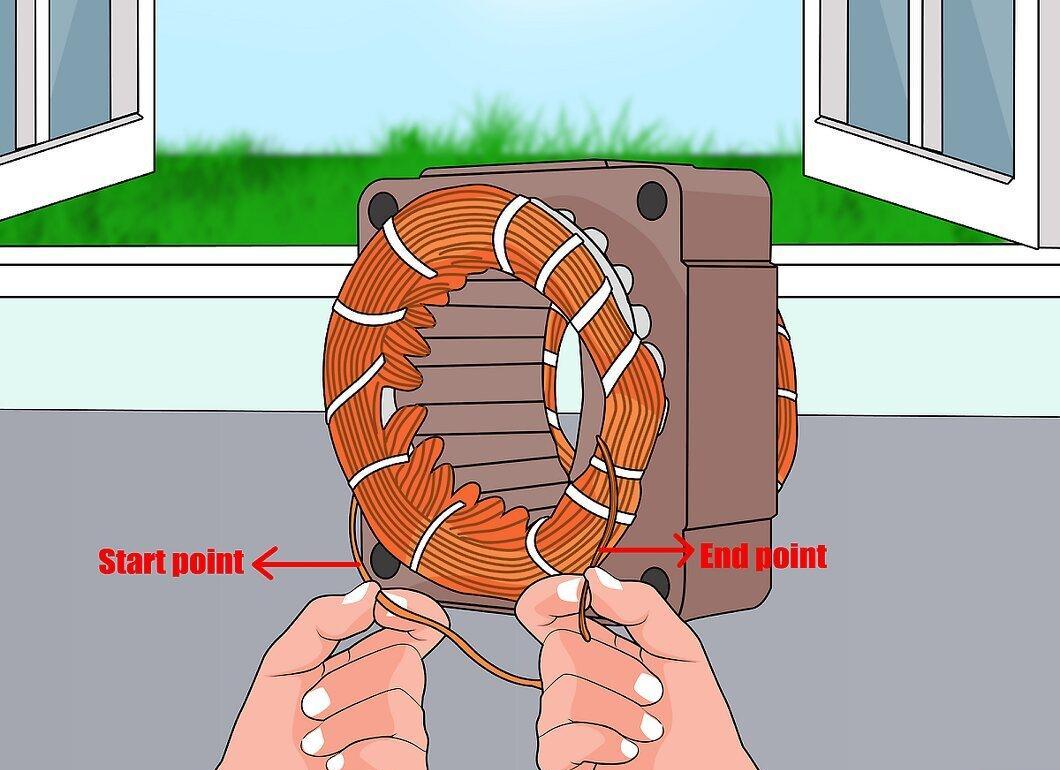
Step 10. Make sure the wires connecting the terminals do not touch each other.
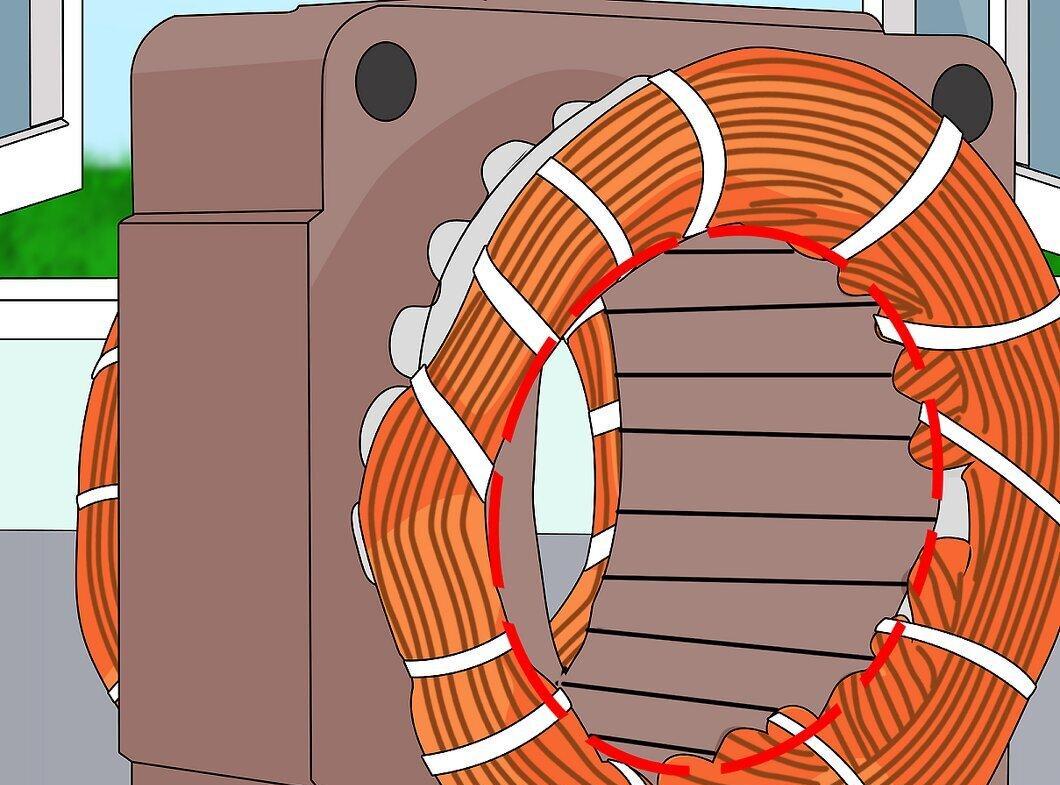
Step 11. Reassemble the motor casing.