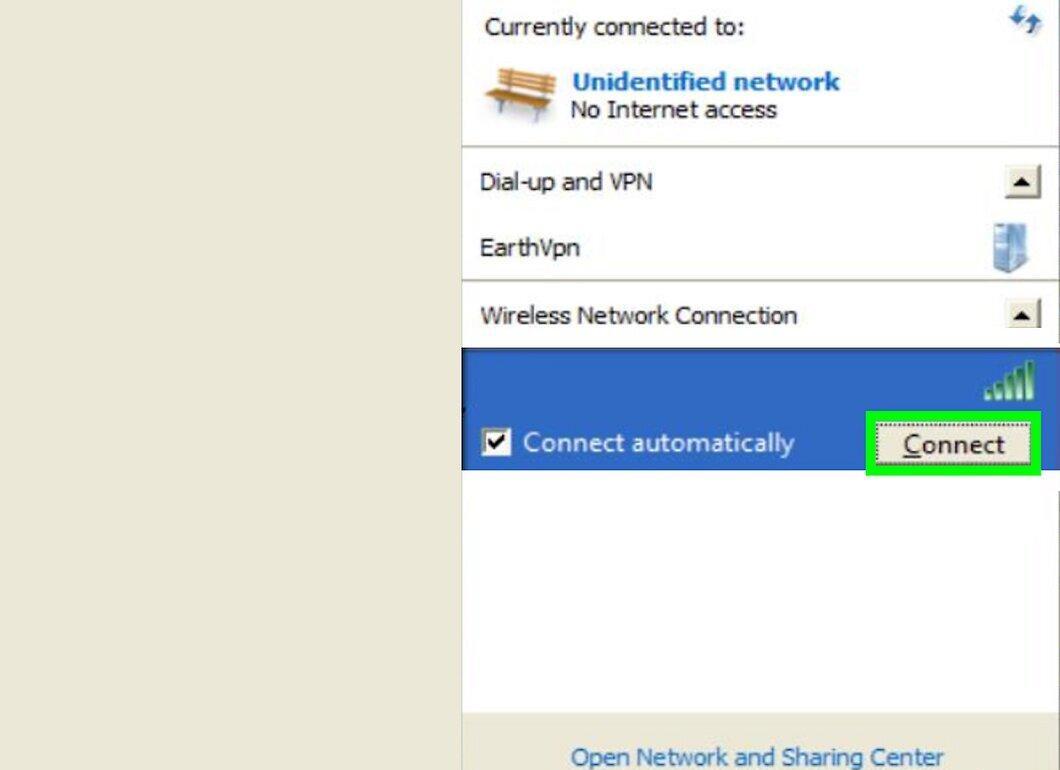
This guide will help you understand the process of setting up a wireless home network (IEEE 802.11, or WiFi) on the Windows XP operating system.
Connecting the Router
Step 1. Note that all routers are compatible with Windows XP.
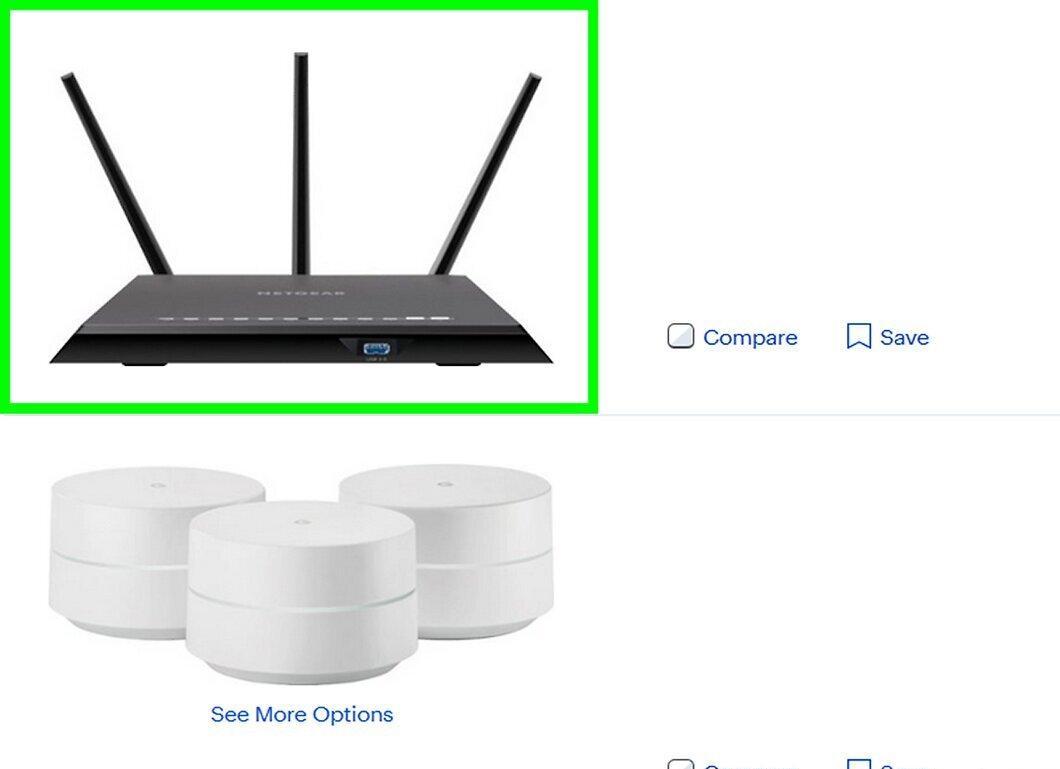
When choosing a router, keep in mind that all models support Windows XP. Wireless adapters may vary in compatibility levels. If you purchased a newer model, simply plug it in and proceed to the next step — "Identifying the Wireless Adapter."
Step 2. Connect the router to the internet socket if you want to go online.
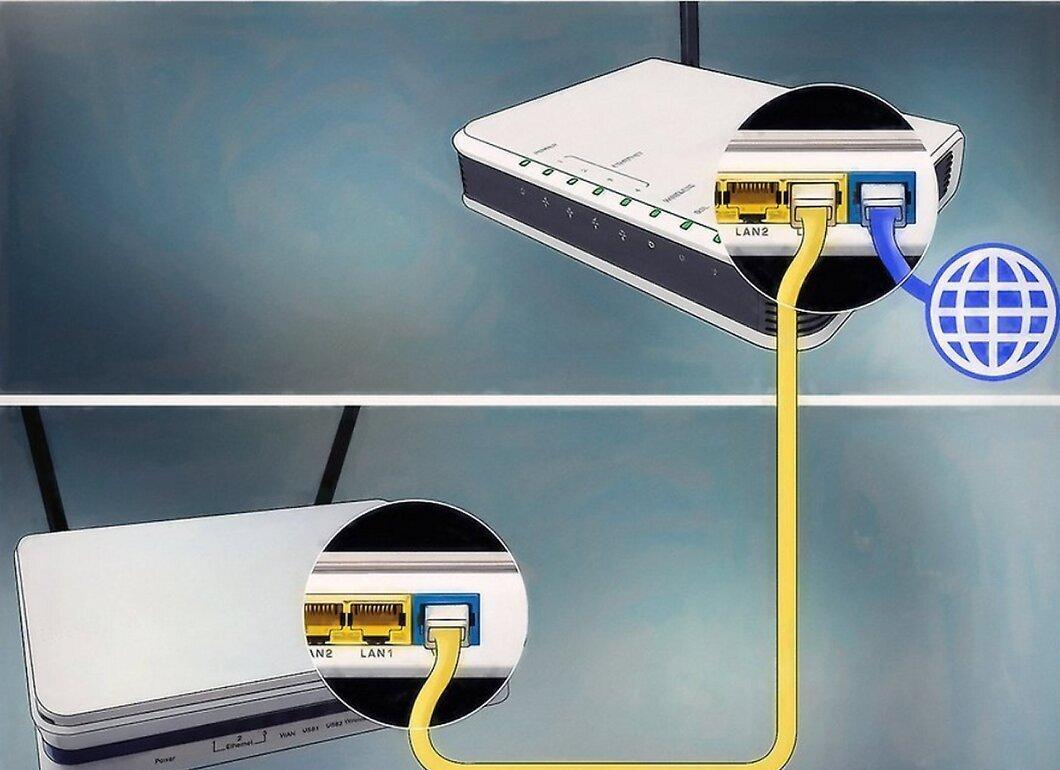
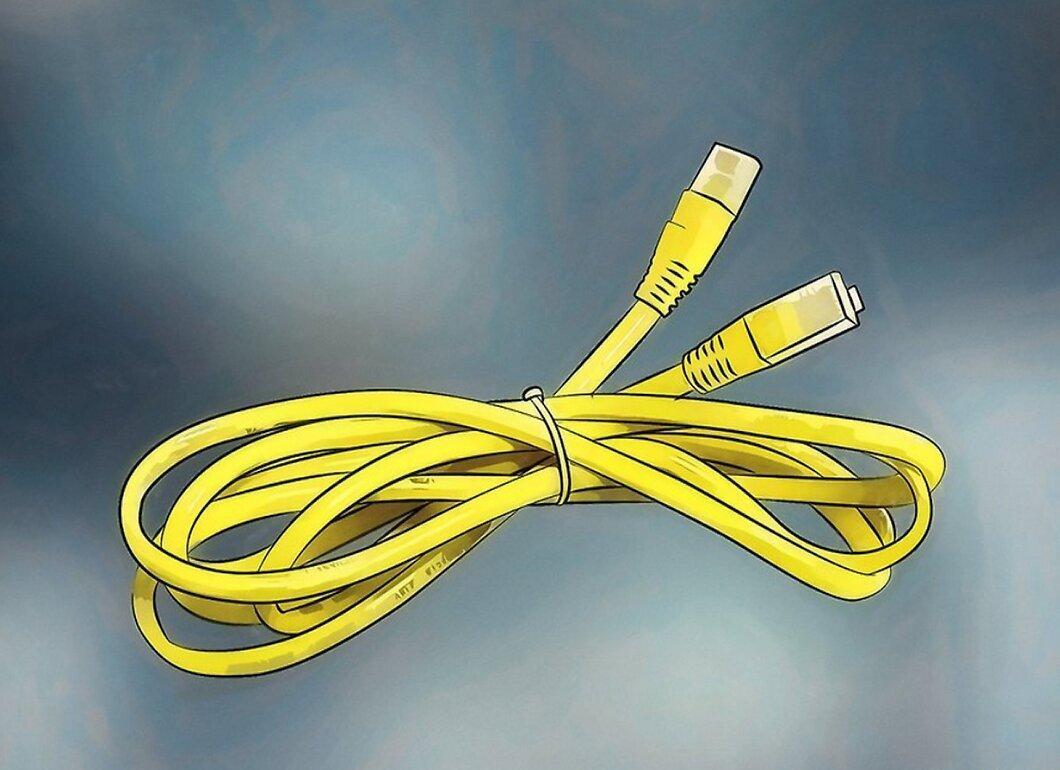
Step 3. Use an Ethernet cable to connect the router to your computer.
Step 4. Open your browser and enter "http://192.168.0.1" or any other address specified in the router's documentation.
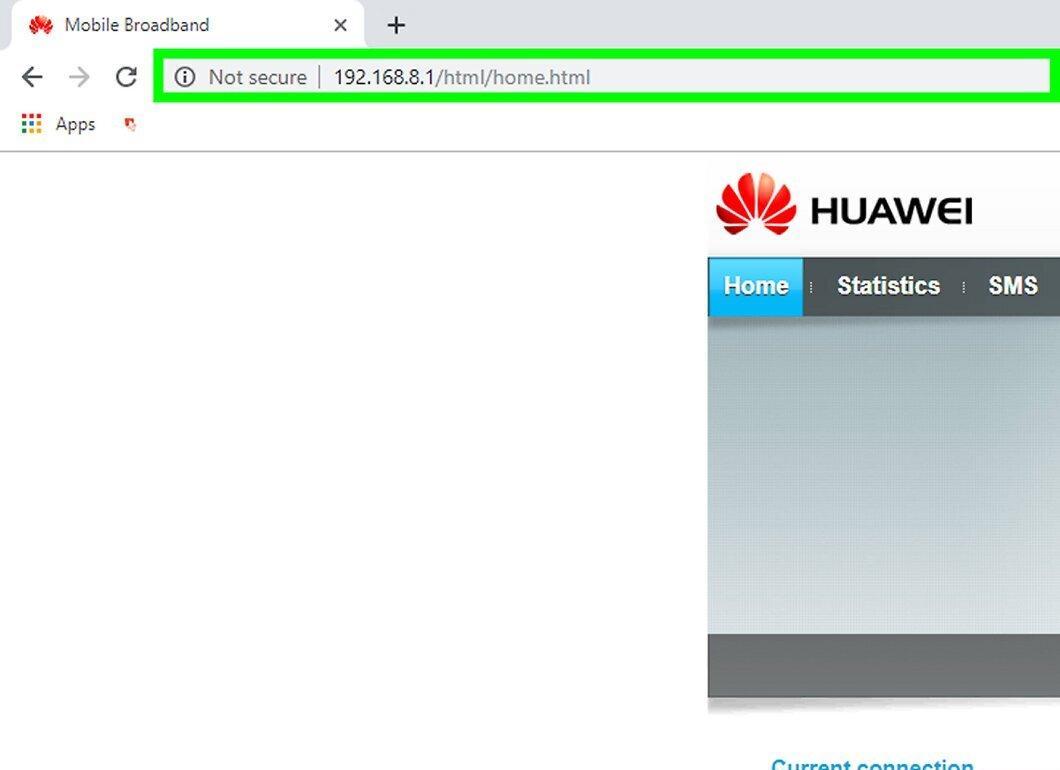
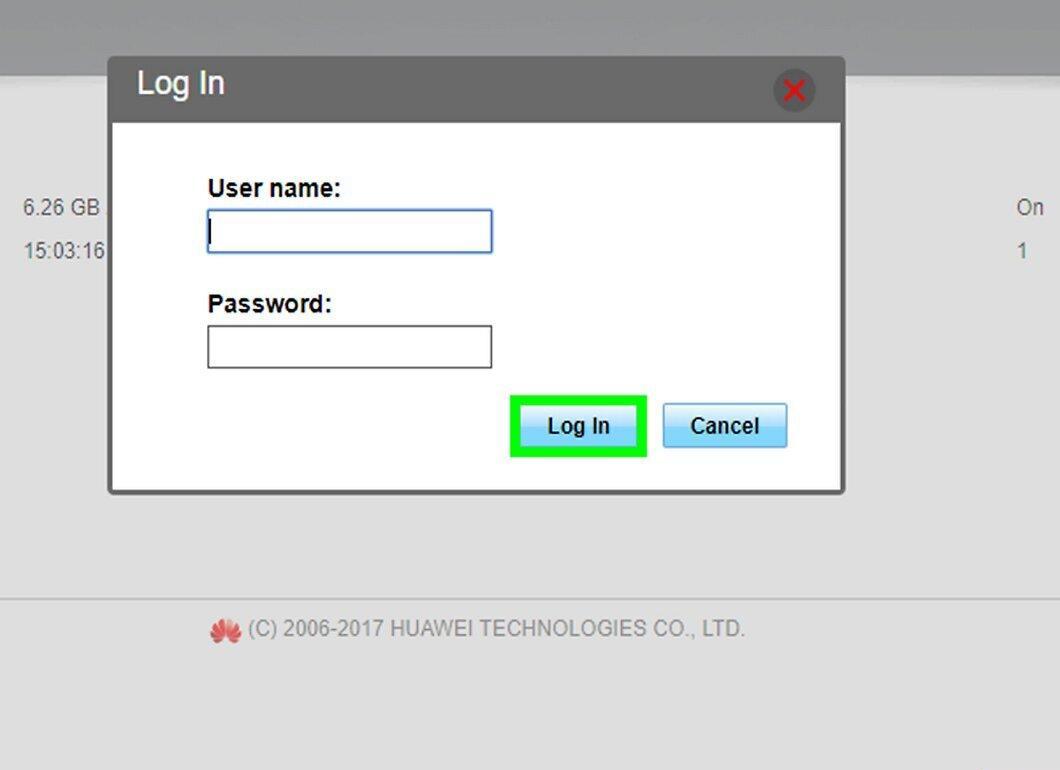
Step 5. Enter the login and password to access your router (usually "admin" and "admin") and specify your internet service provider's name.
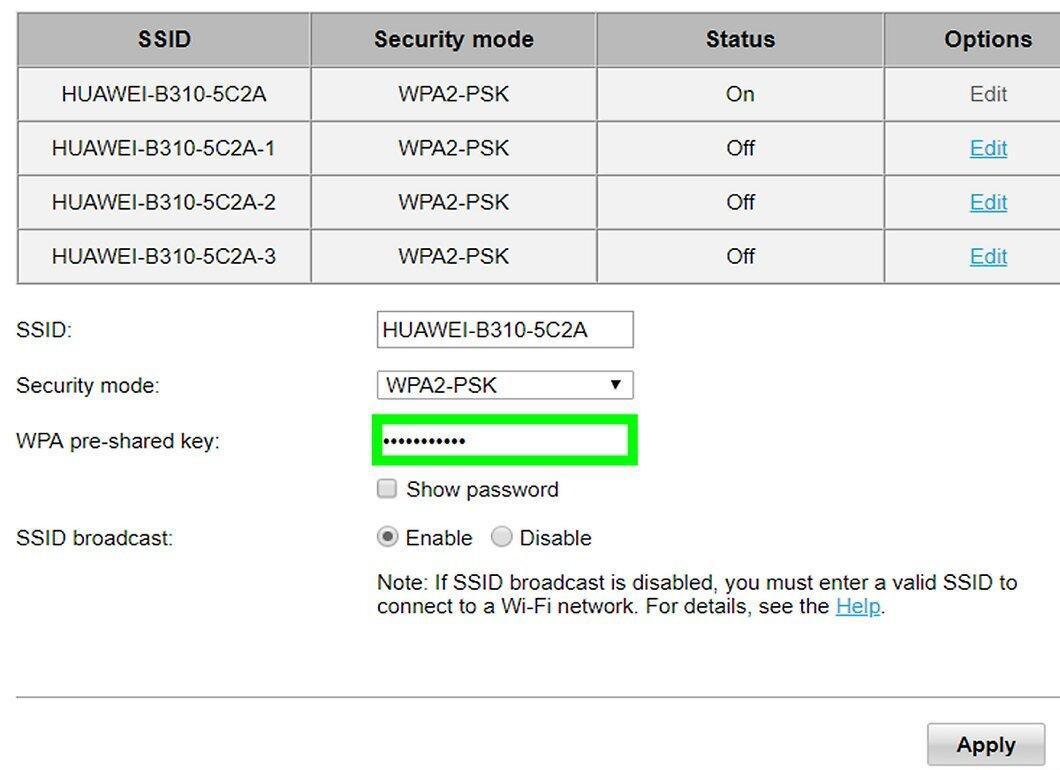
Step 6. Enable the wireless connection and choose the encryption type (WEP or WPA), then set a memorable access key.
Identifying the Wireless Adapter
Step 1. Your wireless adapter should automatically be detected in Windows XP.
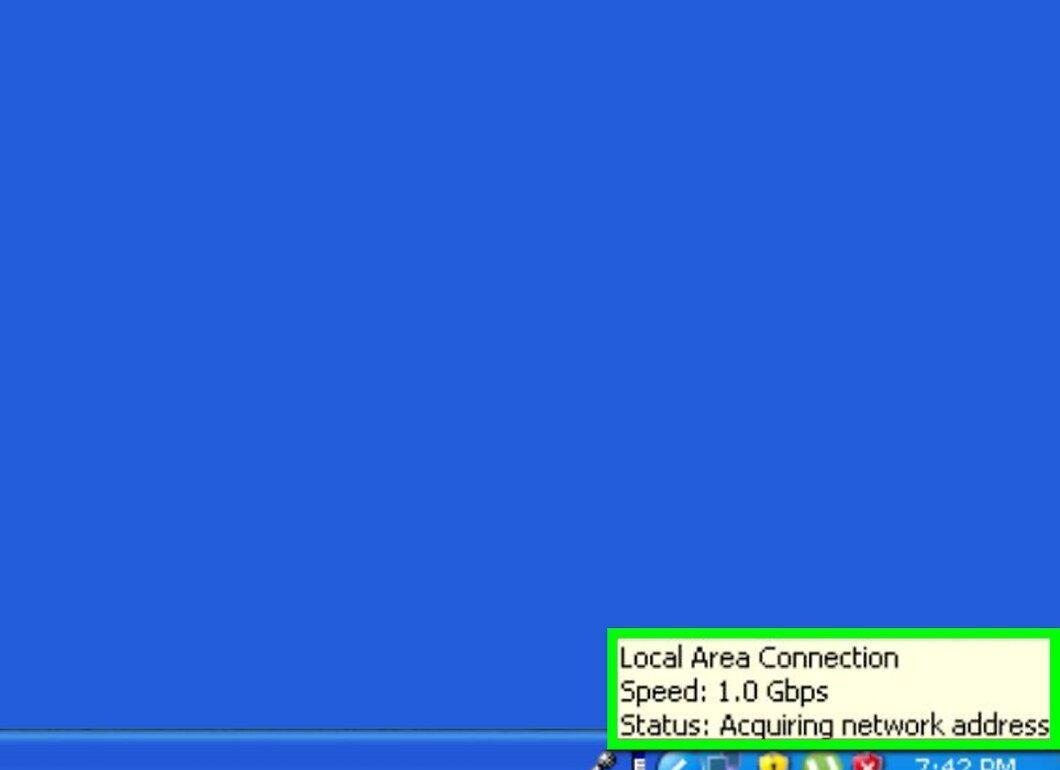
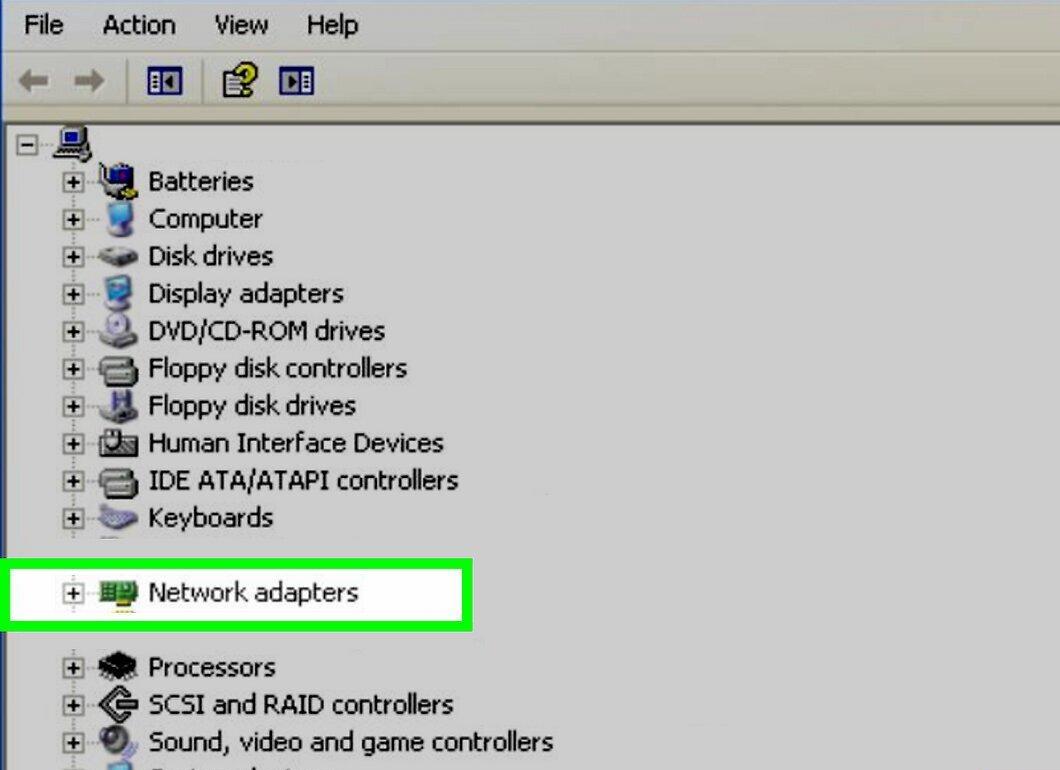
Step 2. Check for the adapter in Device Manager.
Connecting to the Network
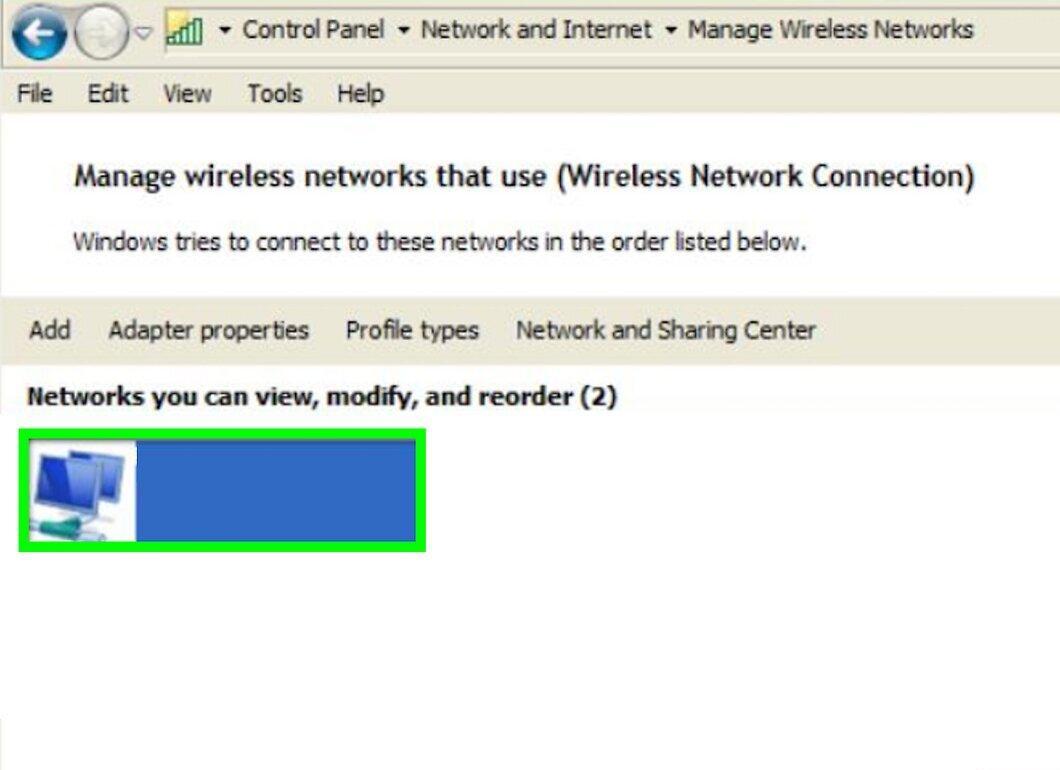
Step 1. If your connection is visible in the Wireless Connection Manager, simply select it. Otherwise, run the Connection Wizard.
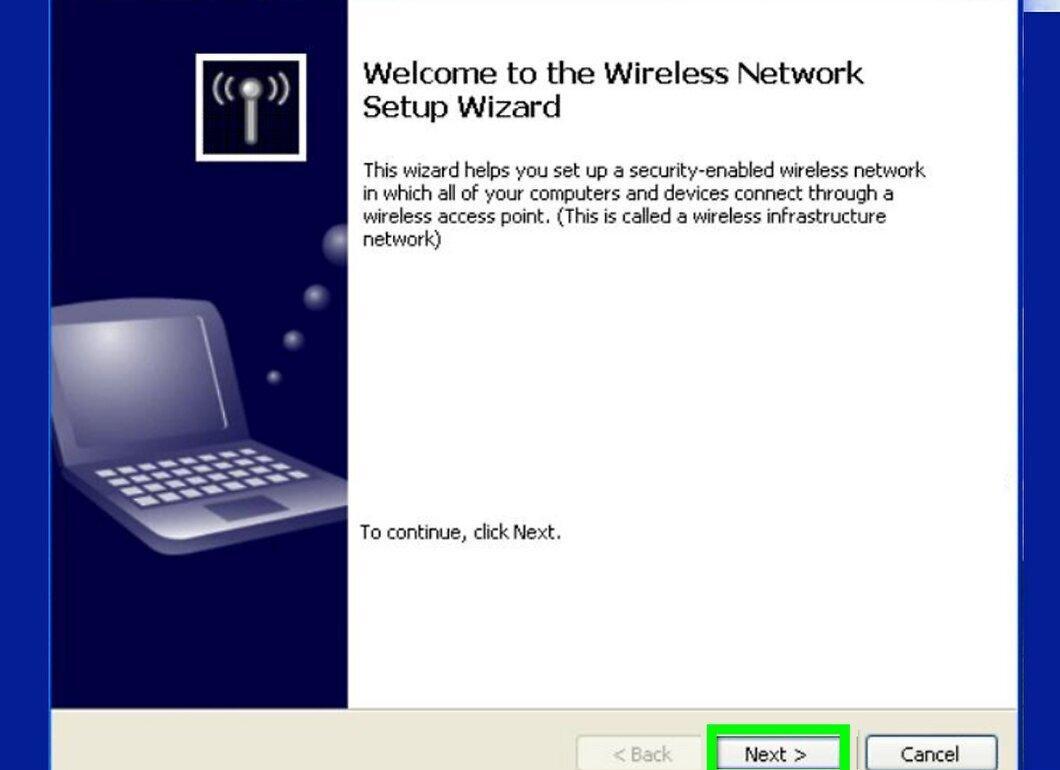
Step 2. Launch the Wireless Network Setup Wizard.
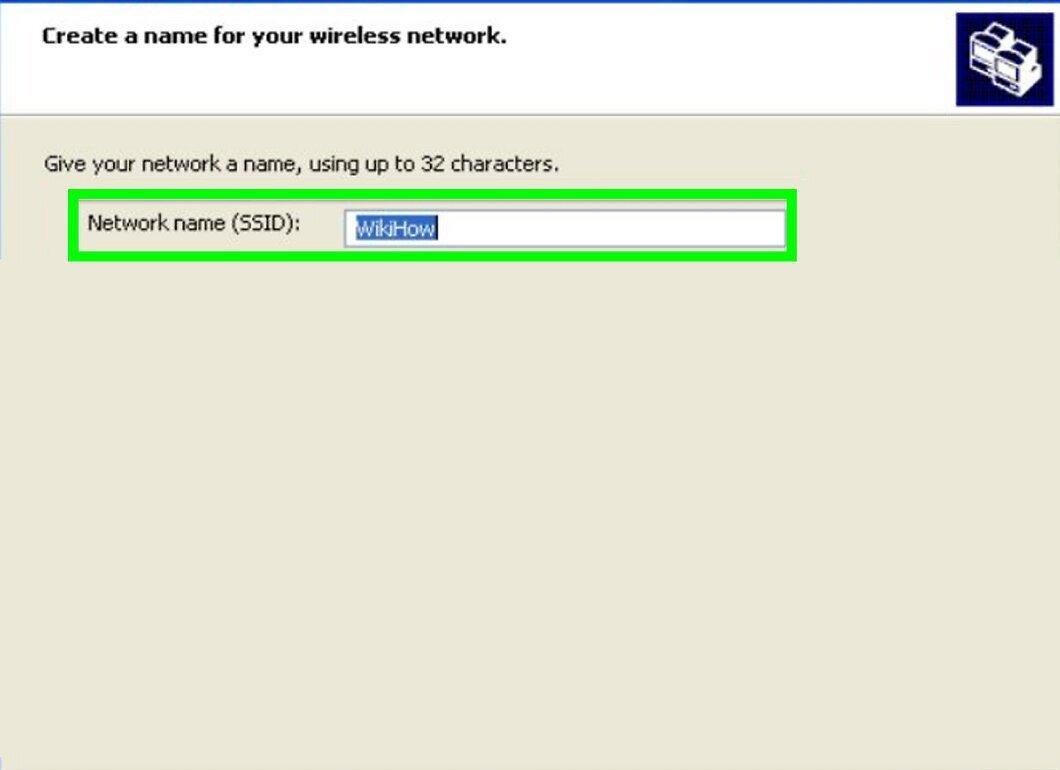
Step 3. If desired, set the SSID network name.
Step 4. Choose the encryption type (WEP or WPA) and enter the access key.
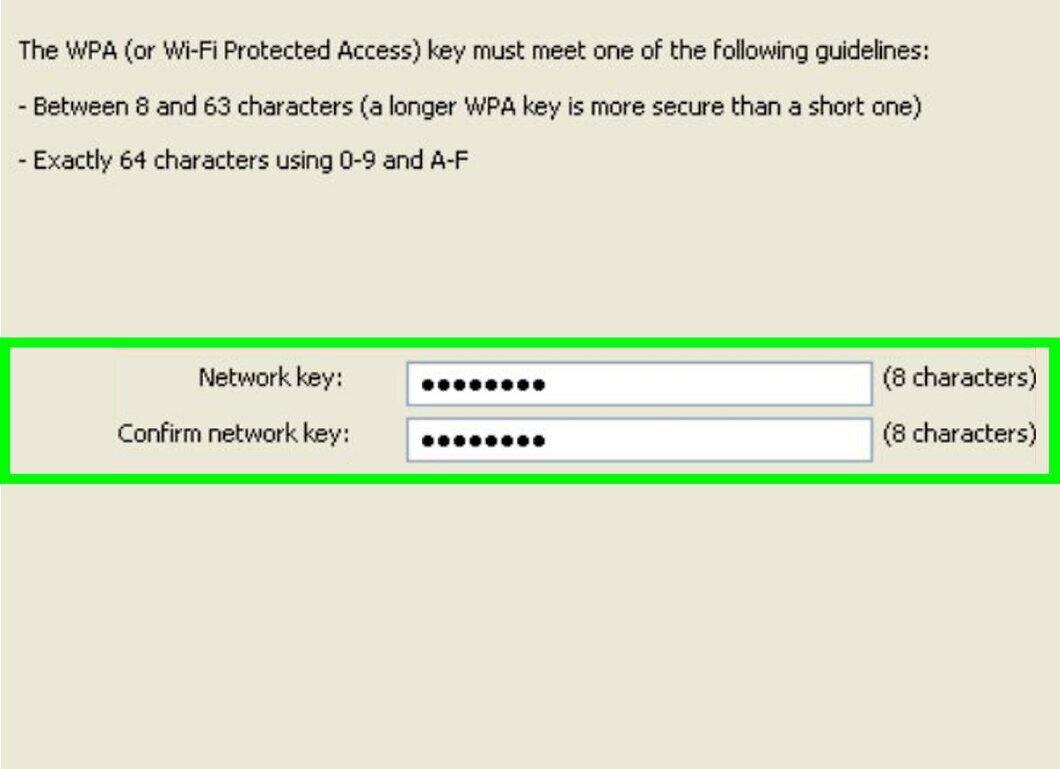
Step 5. Save or apply the changes.
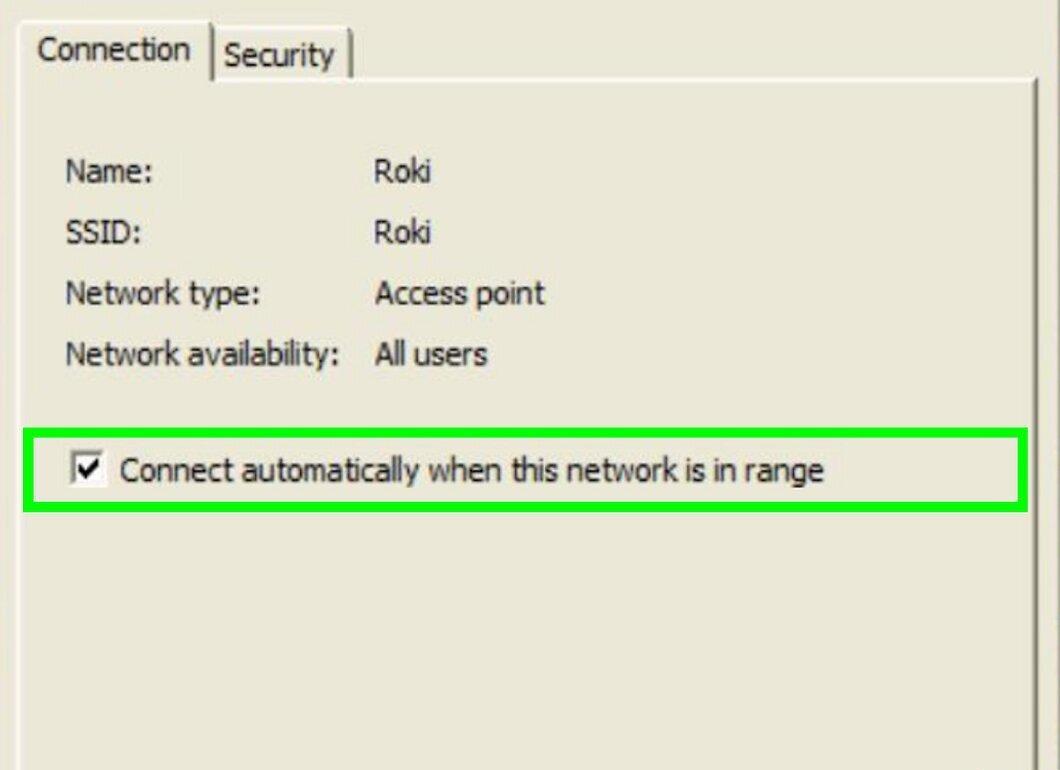
Step 6. Connect to the network.