
The Easiest Way to Convert Files to PDF Format
In this article, we'll show you how to easily convert text documents, images, Microsoft Office files, and XPS files to PDF format. This can be done on computers running Windows or Mac OS X using built-in features.
Converting to PDF on Windows
Step 1. Know which files can be converted to PDF
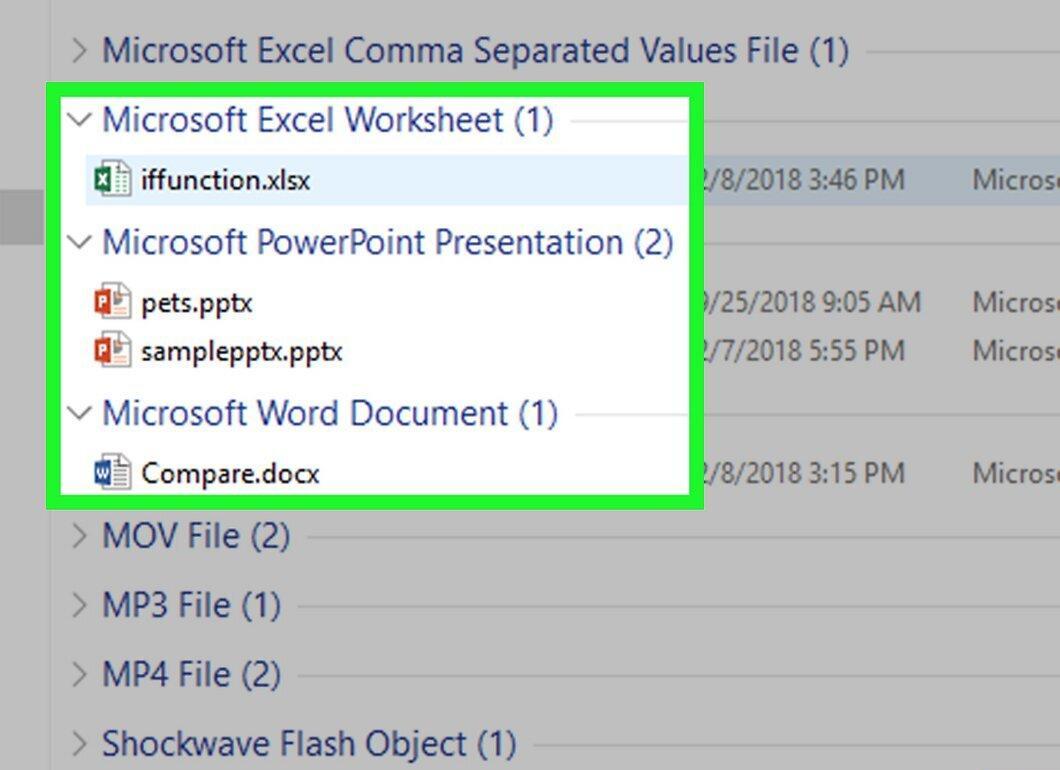
It's important to know which files you can convert to PDF. Here's a partial list of file types that can be transformed:
- text files (.txt);
- Microsoft Office documents (.docx, .xlsx, .pptx, etc.);
- images (.jpg, .png, .bmp, and others);
- XPS documents (.xps).
Step 2. Open the file you want to convert
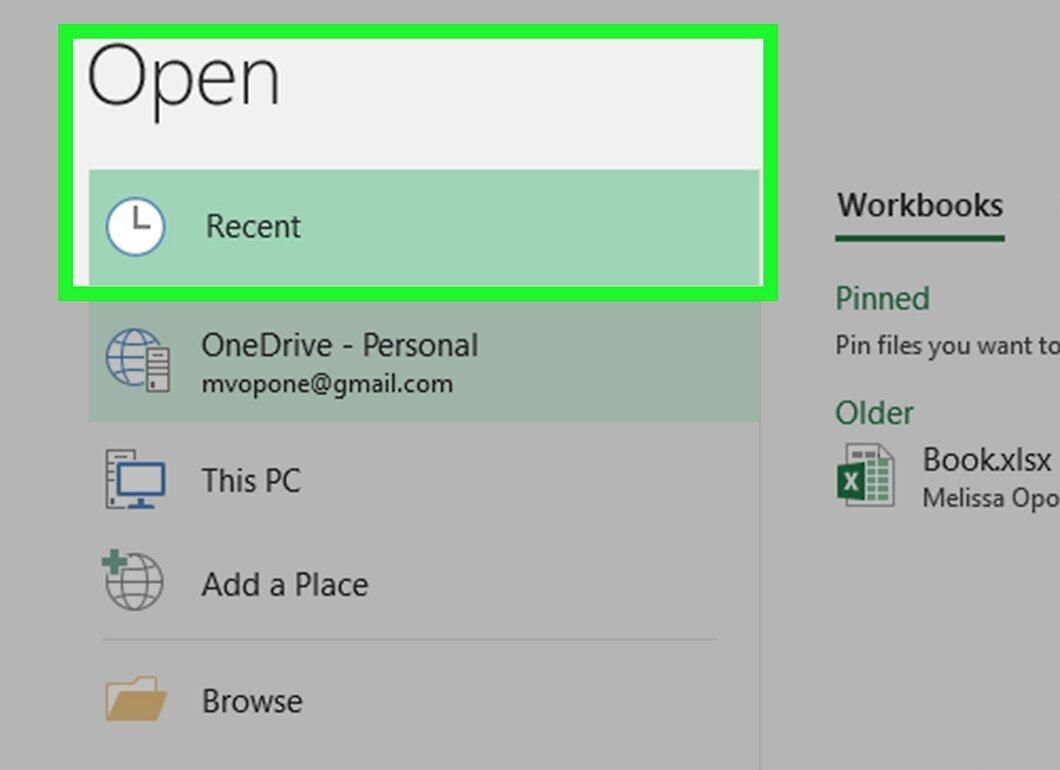
Locate the file you wish to convert and double-click on it.
- If you want to combine multiple images into one PDF, select all the desired images (holding down the Ctrl key while clicking on each), then right-click on one of the selected images and choose “Print.” After that, skip to the next step.
- To convert an HTML document to PDF, open it in Notepad: right-click and select “Edit.”
Step 3. Open the Print menu
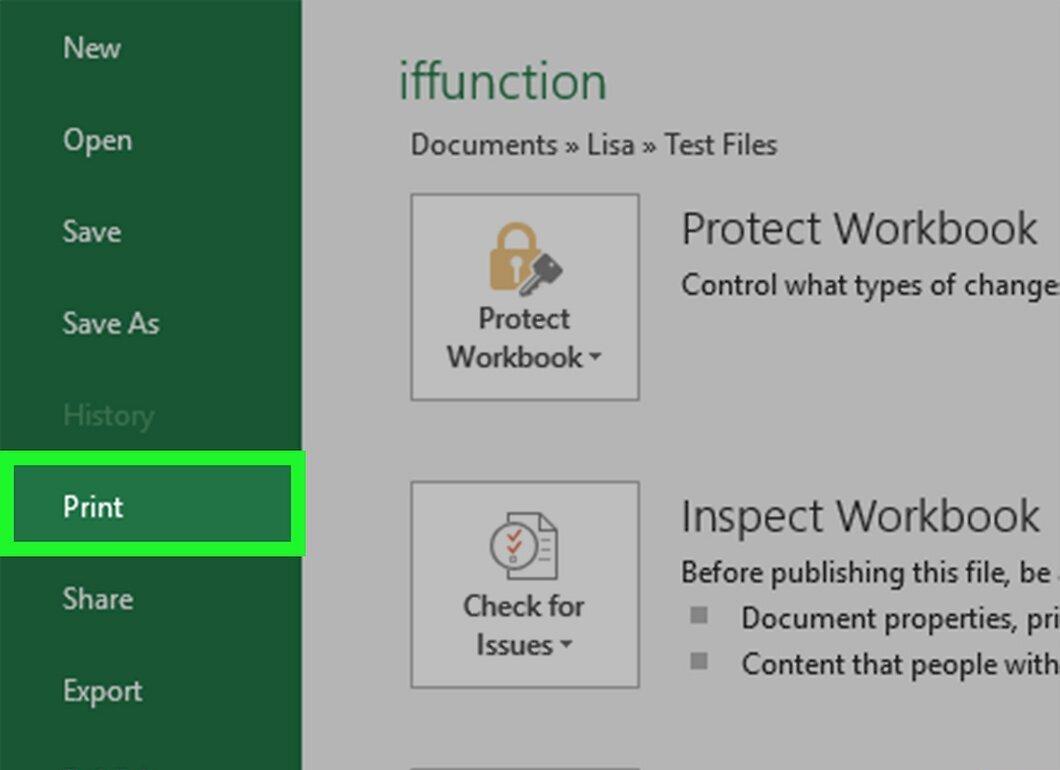
To open the Print menu, press Ctrl and P simultaneously or select “File” > “Print.”
- Don’t worry if you don’t have a printer — printing on paper is not necessary.
Step 4. Select the active printer
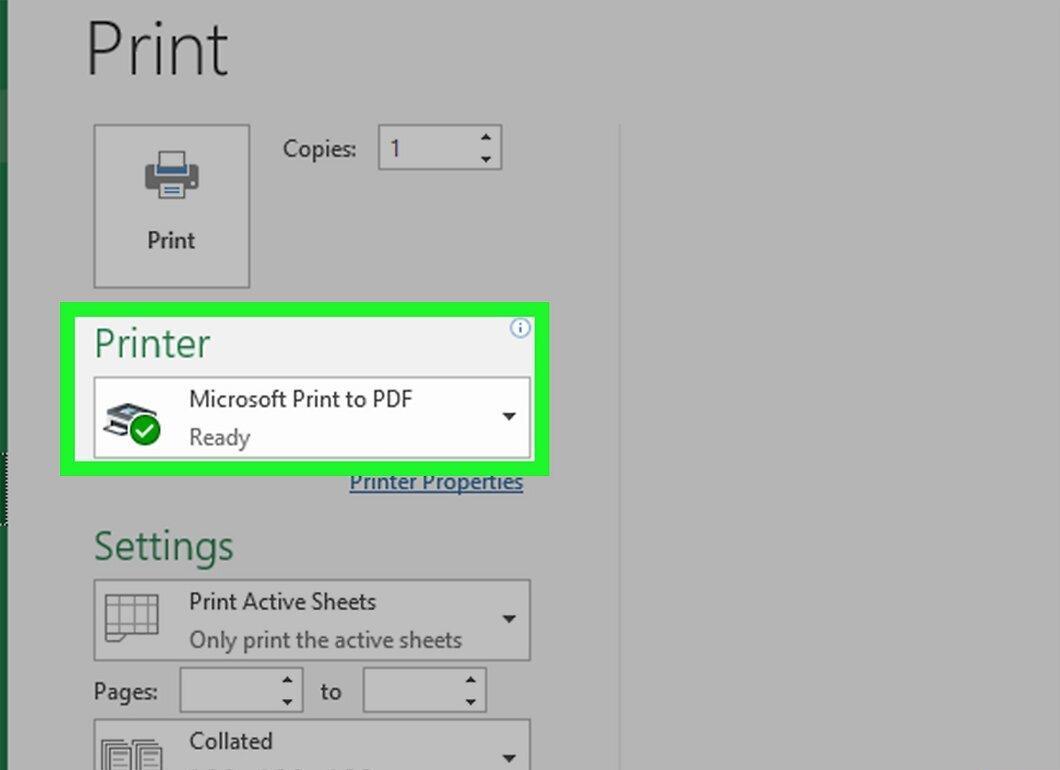
Click on the name of the active printer at the top of the menu under “Printer” or “Printers.” A list will open.
- If you are working with a text or XPS document, you can skip this step.
Step 5. Choose the “Print to PDF” option
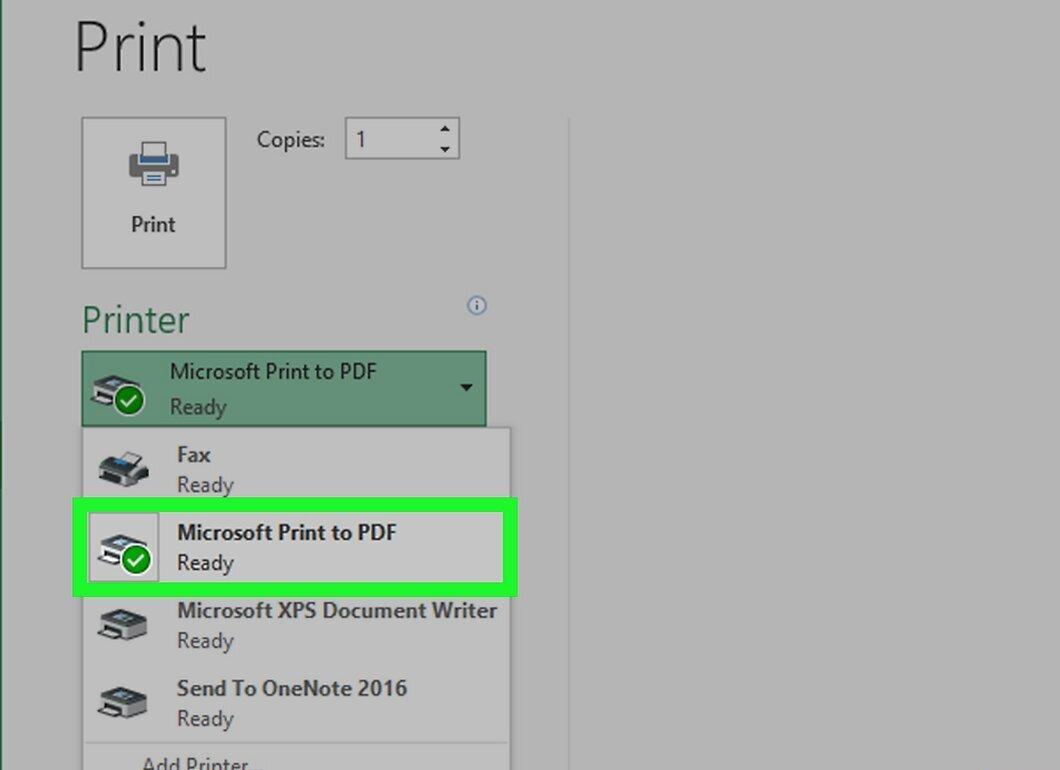
Select the “Print to PDF” (Microsoft) option. This feature will allow you to create a PDF document.
- If you are converting a text document or XPS, simply select “Print to PDF” at the top of the window.
Step 6. Click “Print”
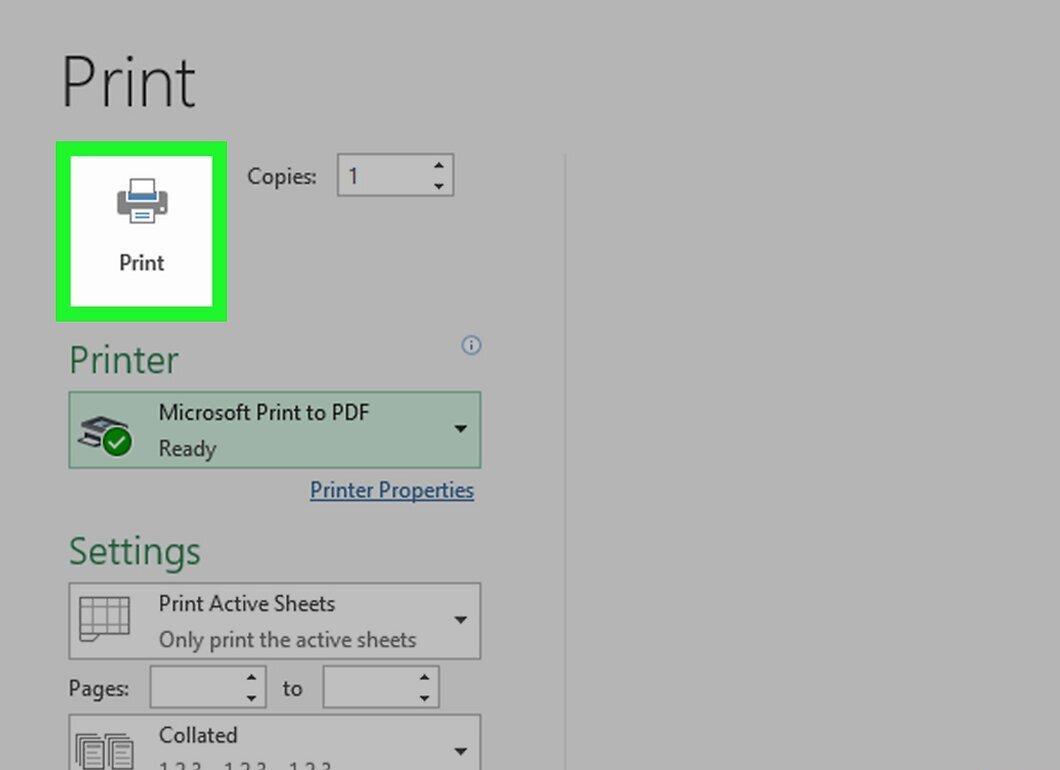
Click the “Print” button located at the bottom of the window. In Microsoft Office, this button is at the top.
Step 7. Enter a name for the document
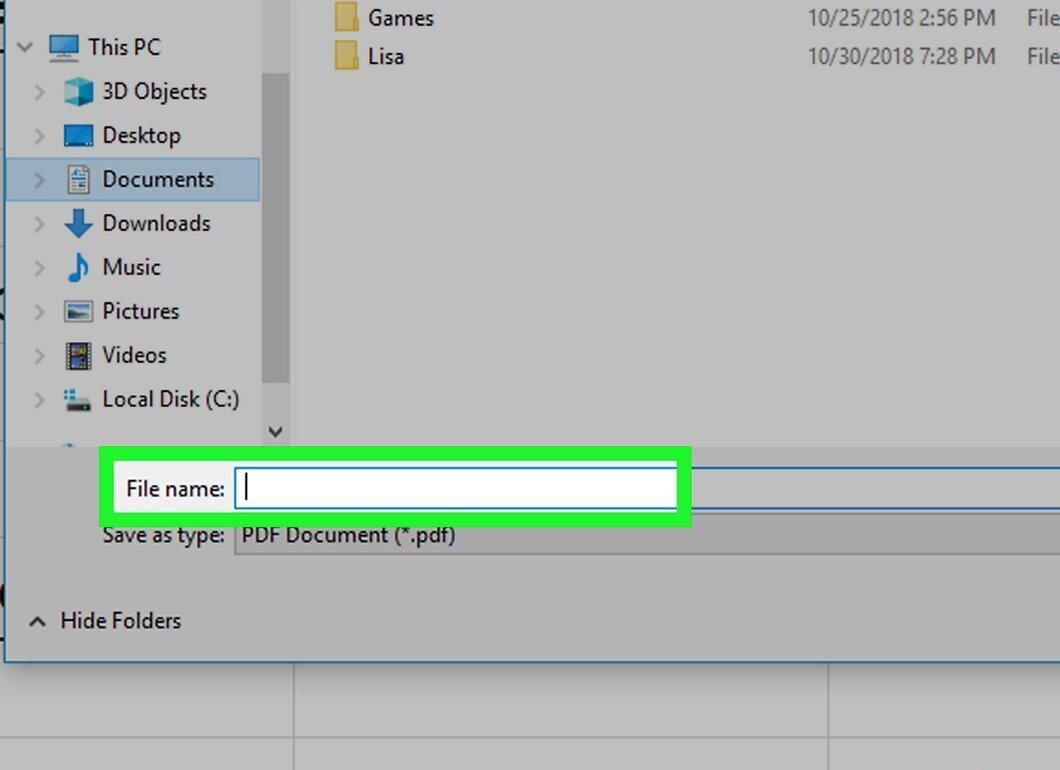
Fill in the “File Name” field with the name of your PDF document.
- You can use the same name as the original file and save the PDF in the same folder.
Step 8. Specify a folder for saving
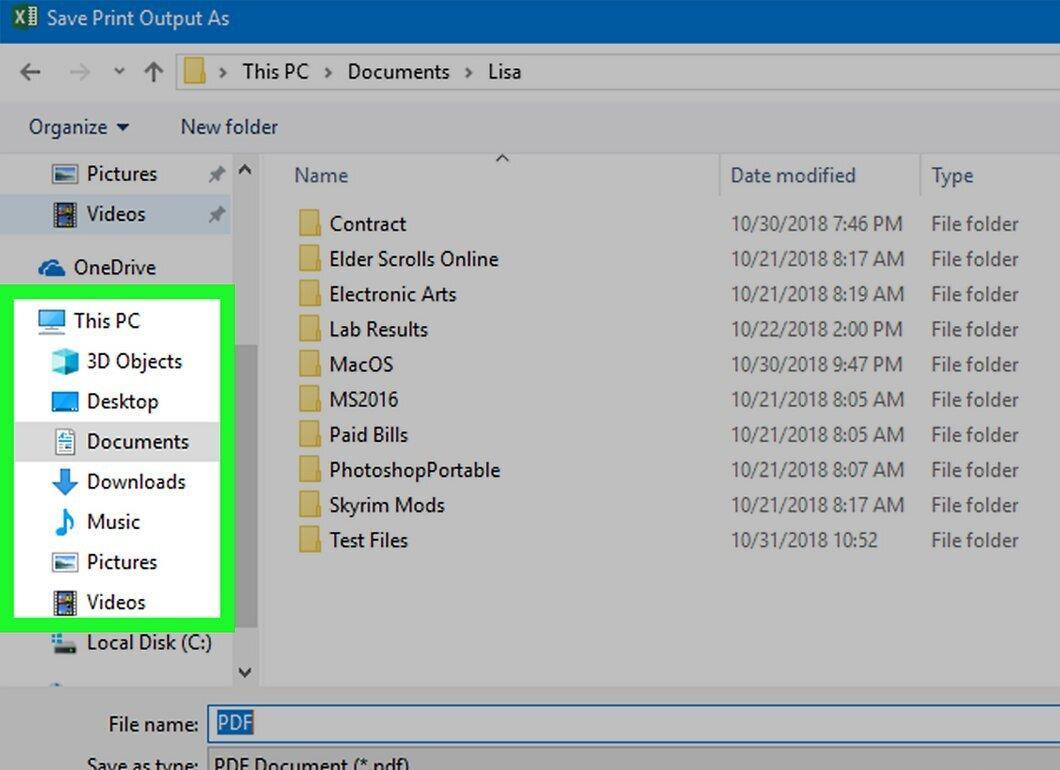
Choose the folder where you want to save the new PDF. Just click on the desired folder on the left side of the window.
- For example, to save the file on the desktop, click on “Desktop” in the left panel.
Step 9. Click “Save”
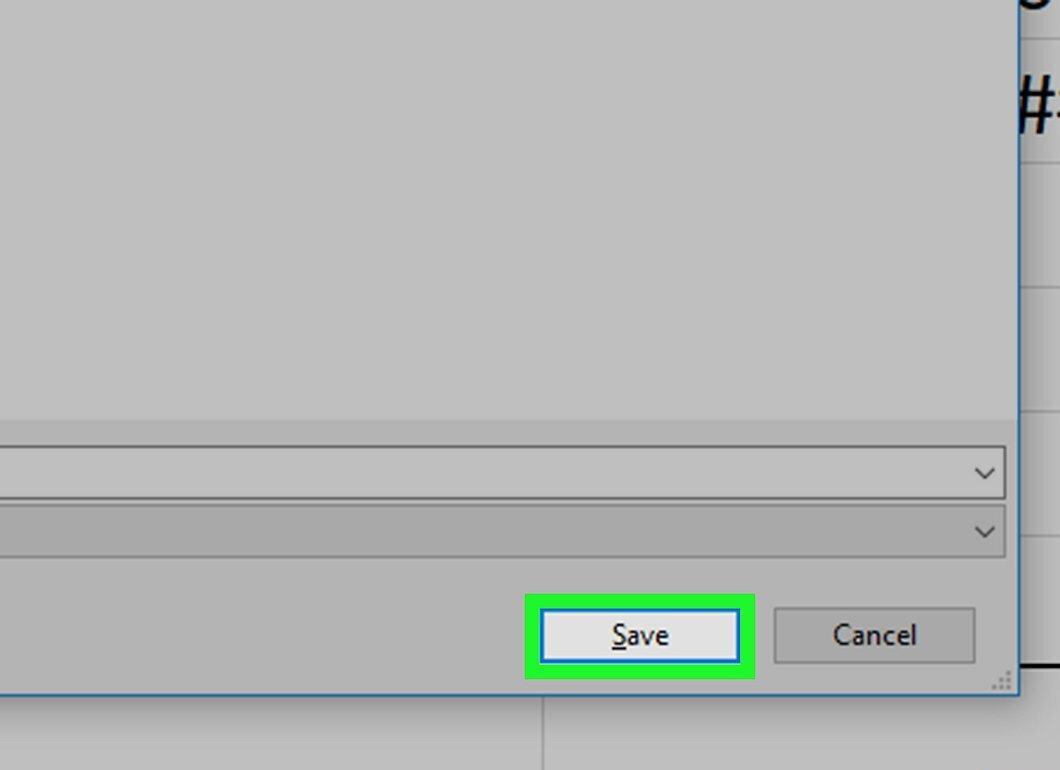
Click the “Save” button at the bottom of the window. Your file will be converted into a PDF document, which you can find in the selected folder.
Converting Using Preview on Mac OS X
Step 1. Know which files can be converted to PDF using Preview
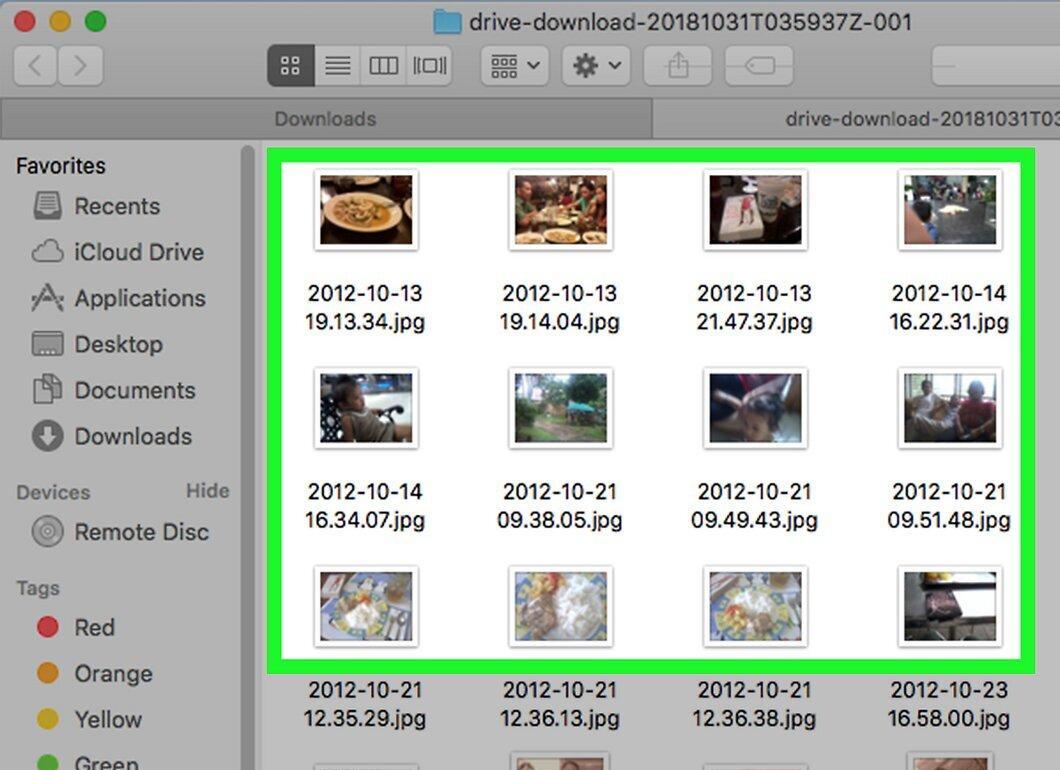
Using Preview, you can convert the following file types to PDF:
- TIFF files;
- images (.jpg, .png, .bmp, etc.).
Step 2. Select the file to convert
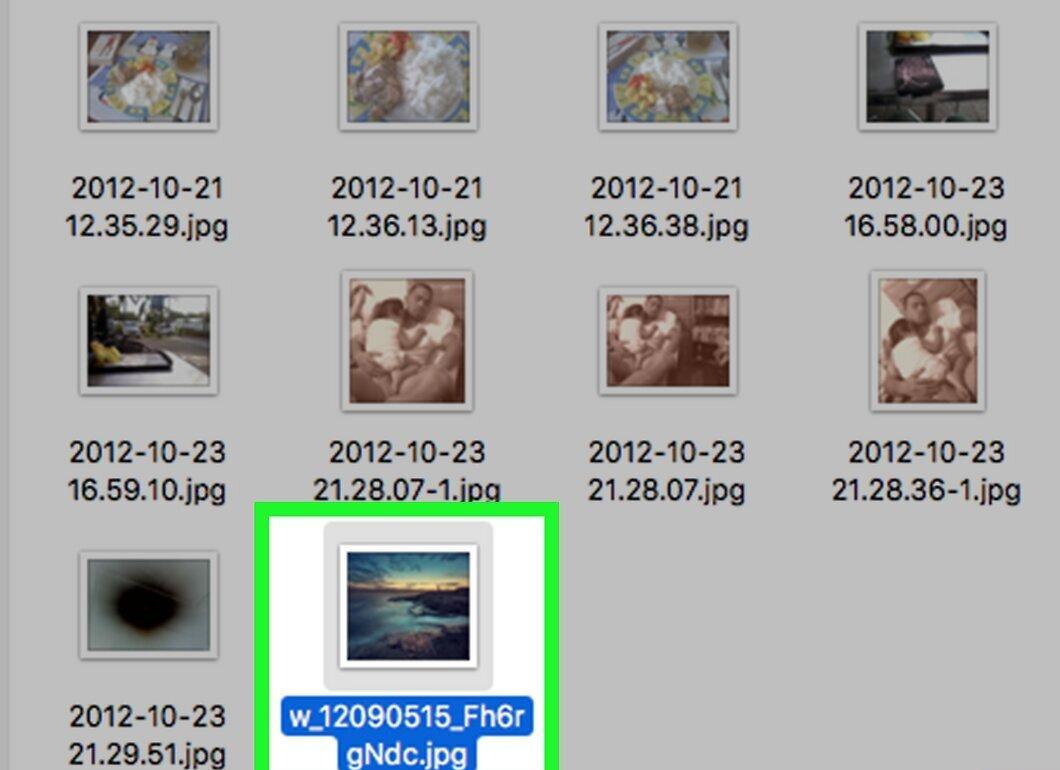
Locate the file you want to convert and click on it.
- To select multiple photos, hold down the ⌘ Command key and choose each desired image.
Step 3. Open the File menu
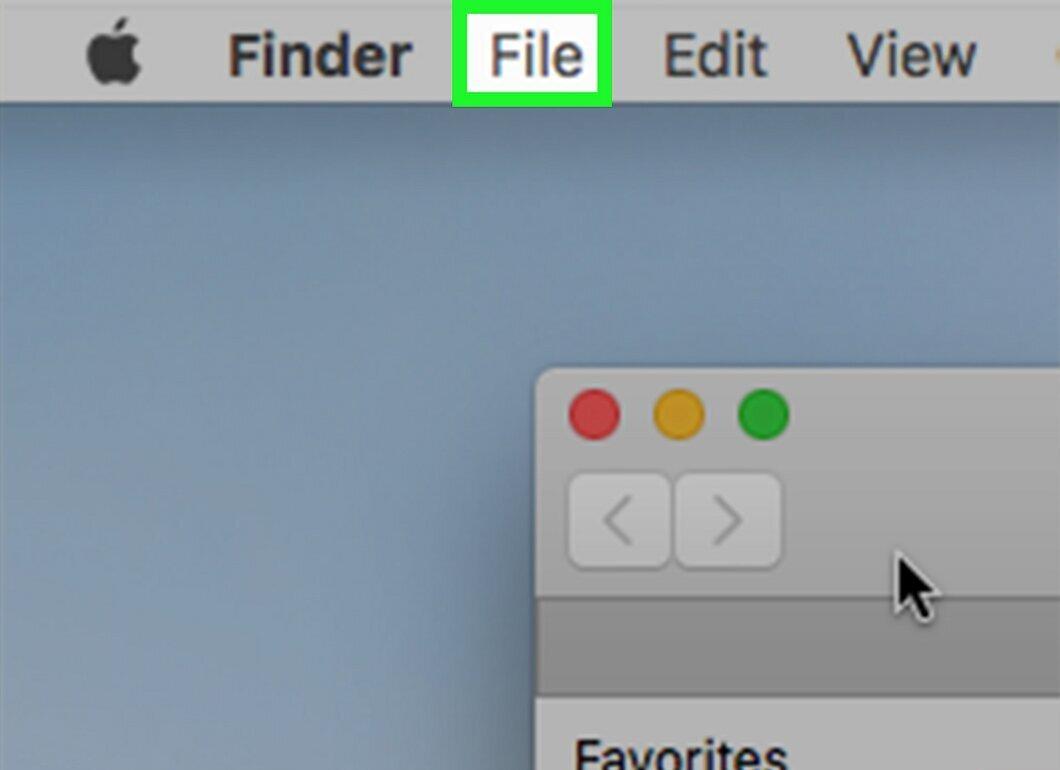
Click on “File” in the upper left corner of the screen to open the menu.
Step 4. Select “Open With”
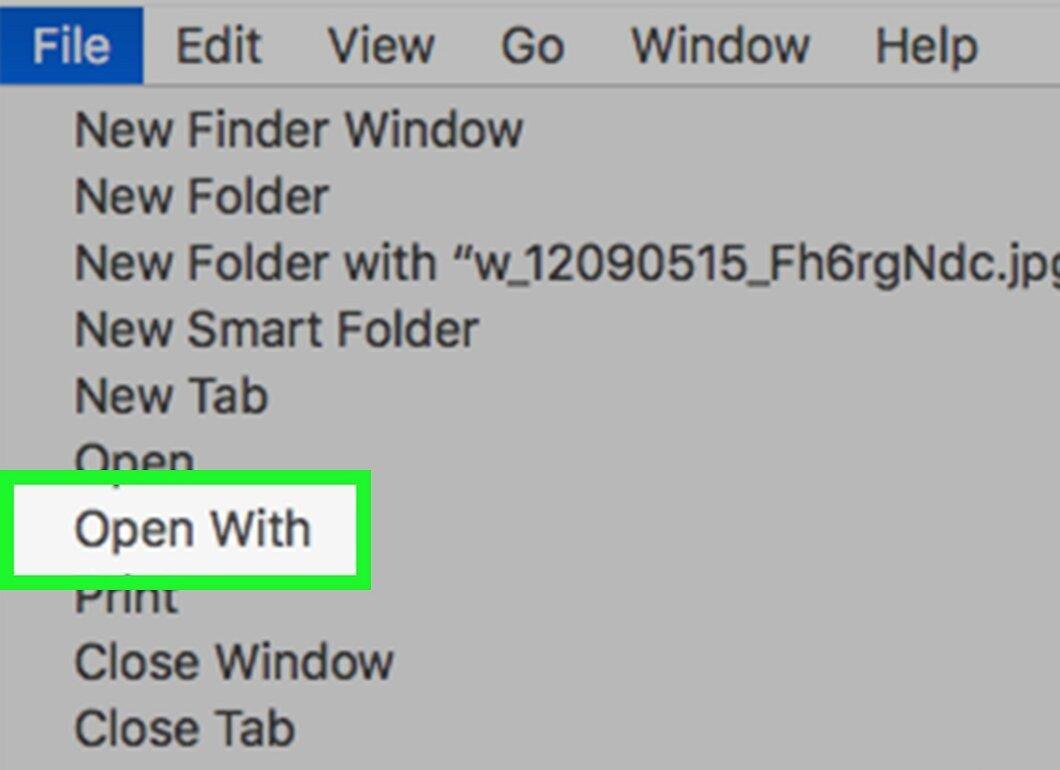
In this menu, select the “Open With” option. A dropdown menu will appear.
Step 5. Choose “Preview”
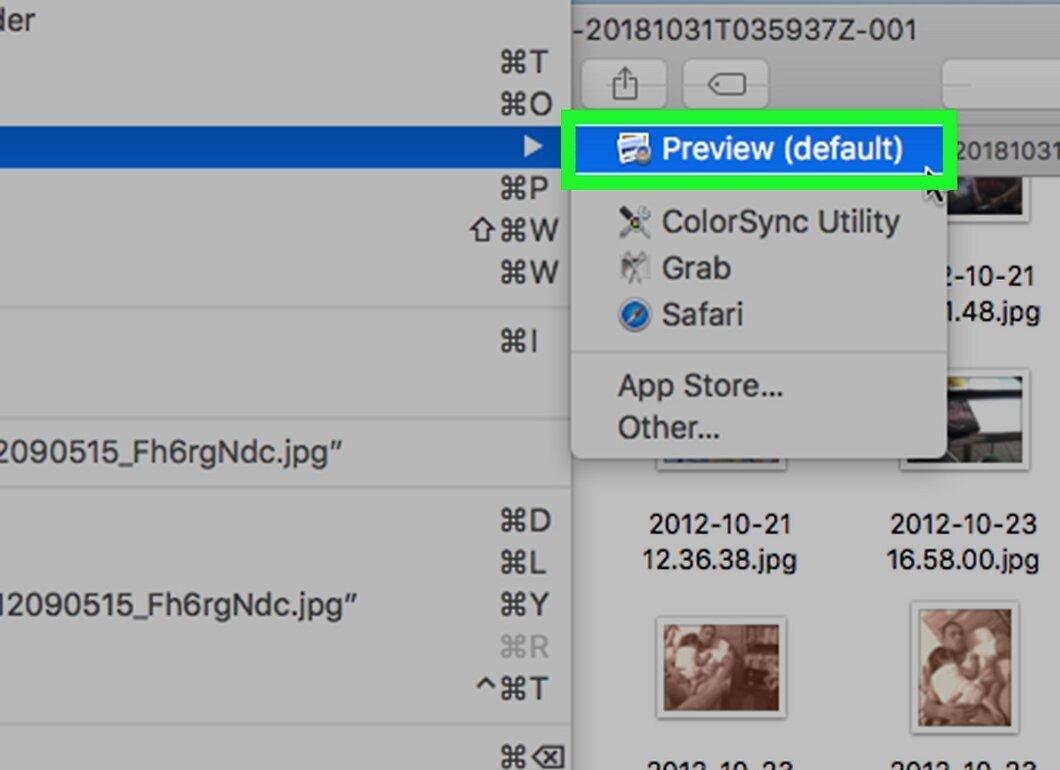
Select the “Preview” application from the menu. The file will open in this program.
Step 6. Open the File menu again

Reopen the File menu.
Step 7. Click “Export as PDF”

Choose the “Export as PDF” option from the menu. A new window will appear.
Step 8. Enter a name for the document
Type a name for the PDF document in the “Name” field.
Step 9. Specify a folder for saving

Select the folder where you want to save your PDF by clicking on the “Where” field and choosing the desired folder from the list.
Step 10. Click “Save”

Click the “Save” button at the bottom of the window. Your file will be converted to PDF, which you can find in the specified folder.
Converting via the File Menu on Mac OS X
Step 1. Know which files can be converted to PDF via the File menu
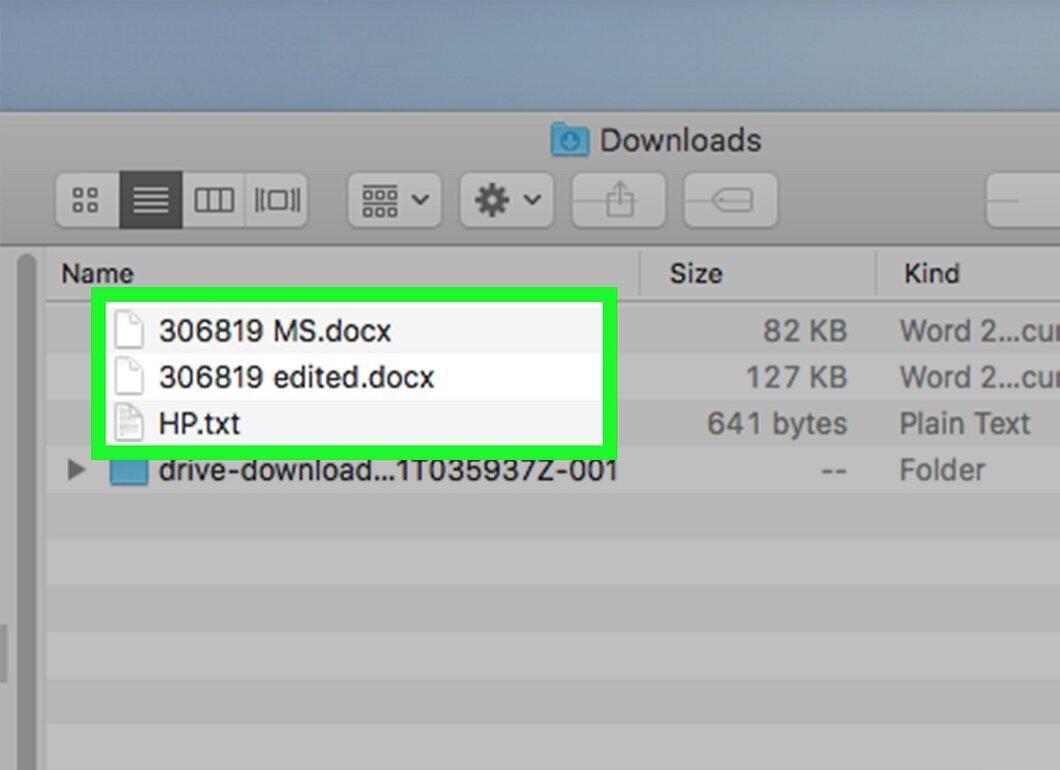
Using the File menu, you can convert the following documents to PDF:
- text files (.txt);
- Microsoft Office documents (.docx, .xlsx, .pptx, etc.);
- Apple documents (for example, from Numbers, Pages, etc.).
Step 2. Open the document
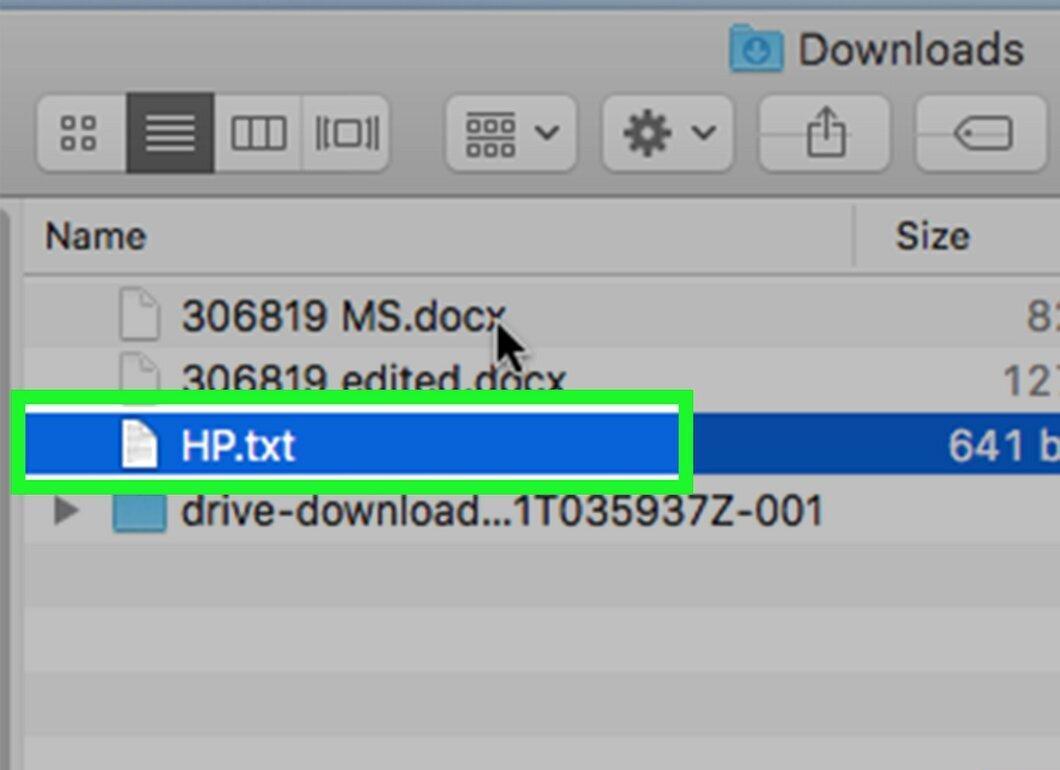
Double-click on the document you want to convert to open it in the appropriate program.
Step 3. Open the File menu
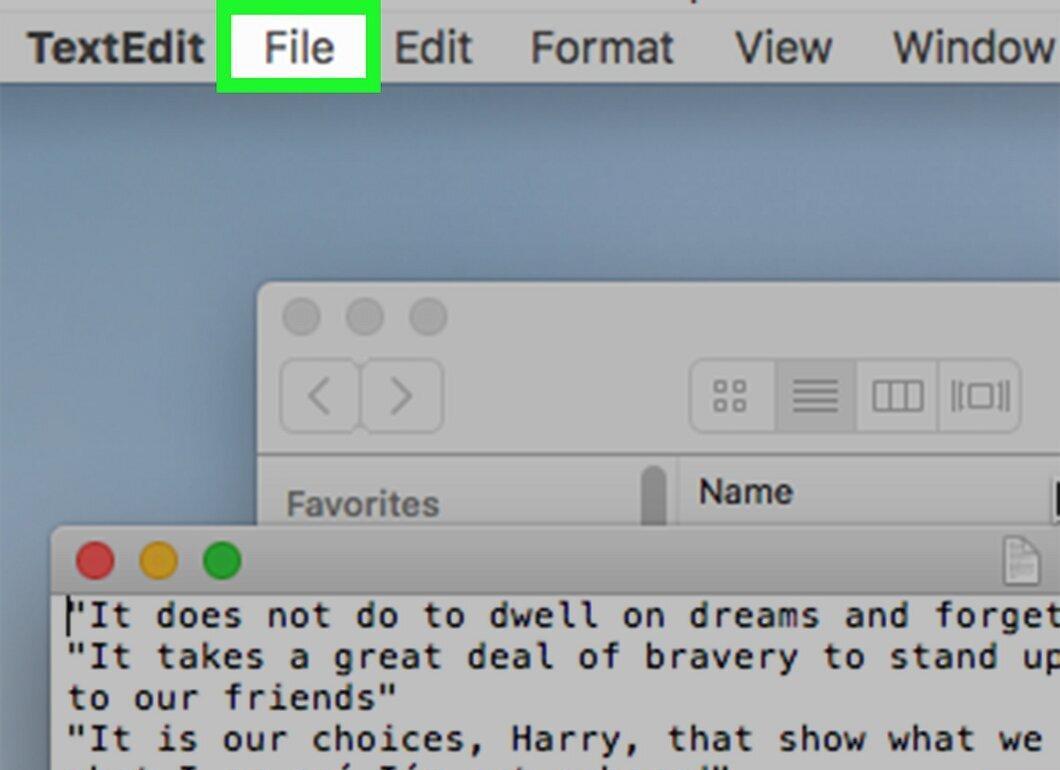
Click on the “File” menu in the upper left corner of the screen.
Step 4. Select “Print”

Choose the “Print” option from the File menu. The Print window will open.
- Don’t worry if you don’t have a printer — printing on paper is not required.
Step 5. Select “PDF”

In the lower left corner of the window, click on “PDF.” A menu will open.
Step 6. Choose “Save as PDF”

Select “Save as PDF” from the menu.
Step 7. Enter a name for the document

Type a name for the PDF document in the appropriate field.
Step 8. Choose a folder for saving

Select the desired folder for saving by clicking on the “Where” field and choosing a folder from the list.
Step 9. Click “Print”

Click the “Print” button to complete the process. Your file will be converted to PDF, which you can find in the specified folder.


