
Do you often find yourself trying to play Windows Media Player files in iTunes? Want to convert your audio files to MP3 format? If that's the case, we have some helpful recommendations for you.
Online Converters: Simple and Free
Step 1. Find an Online Converter
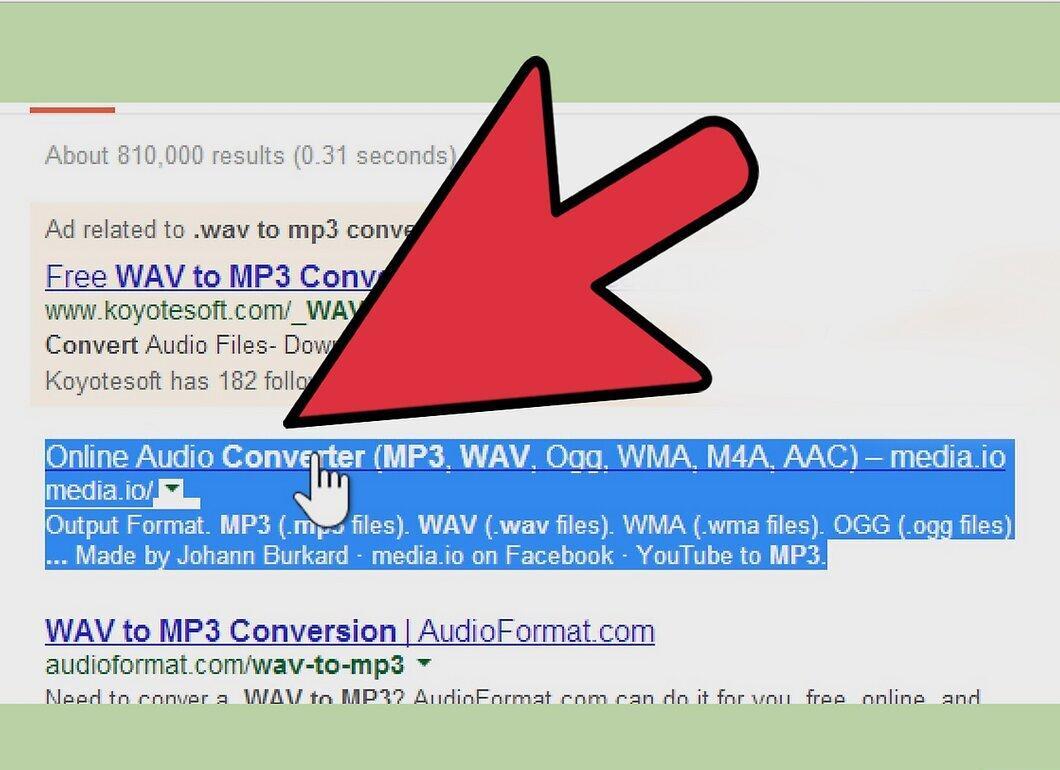
Start by searching for a free online converter. Just type "convert WAV to MP3" in the search bar and choose a service that offers assistance without any payment.
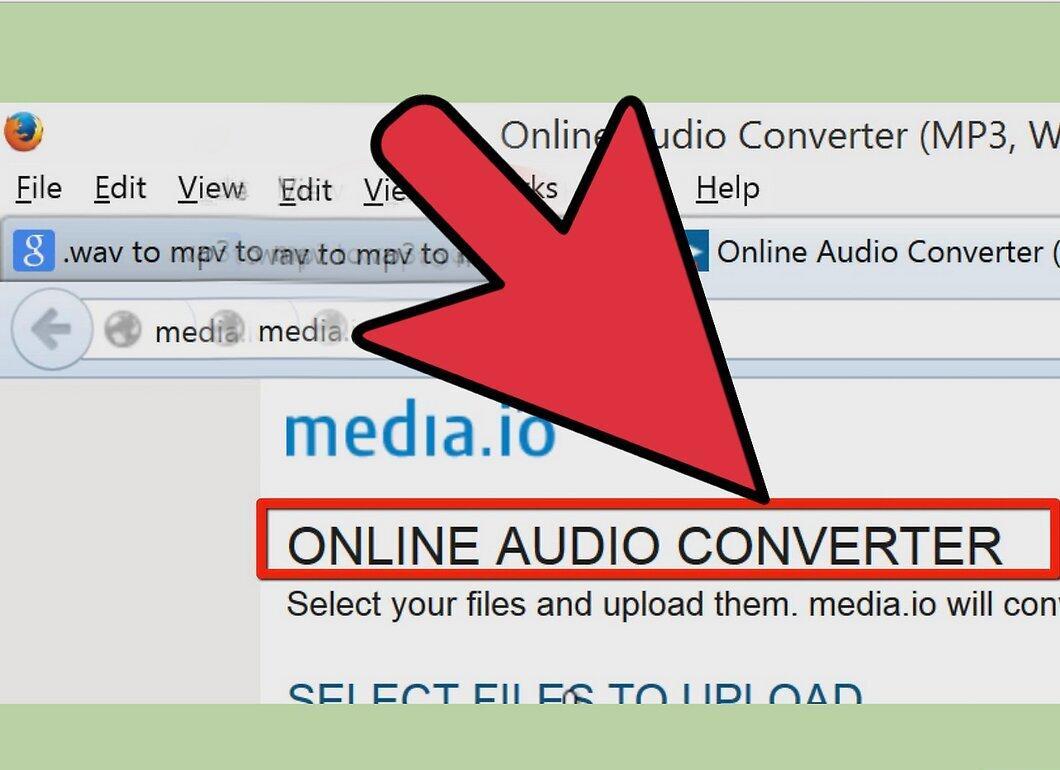
Step 2. Go to the Conversion Page
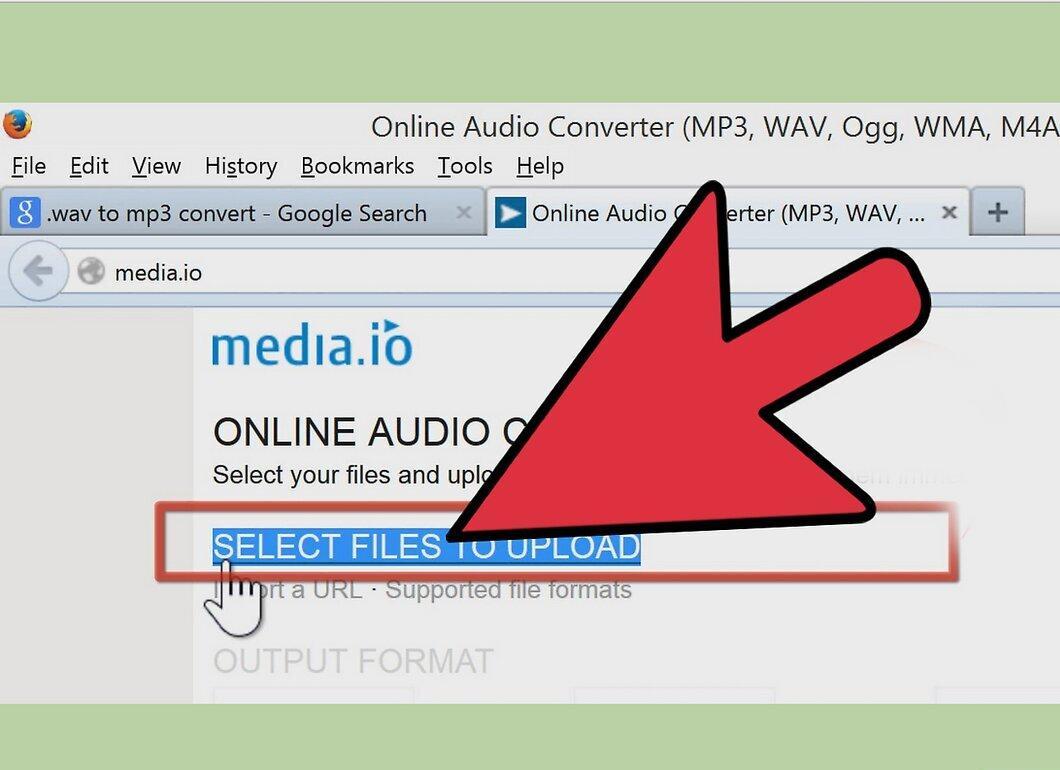
Step 3. Upload the WAV File for Conversion
Step 4. Choose the Desired Format
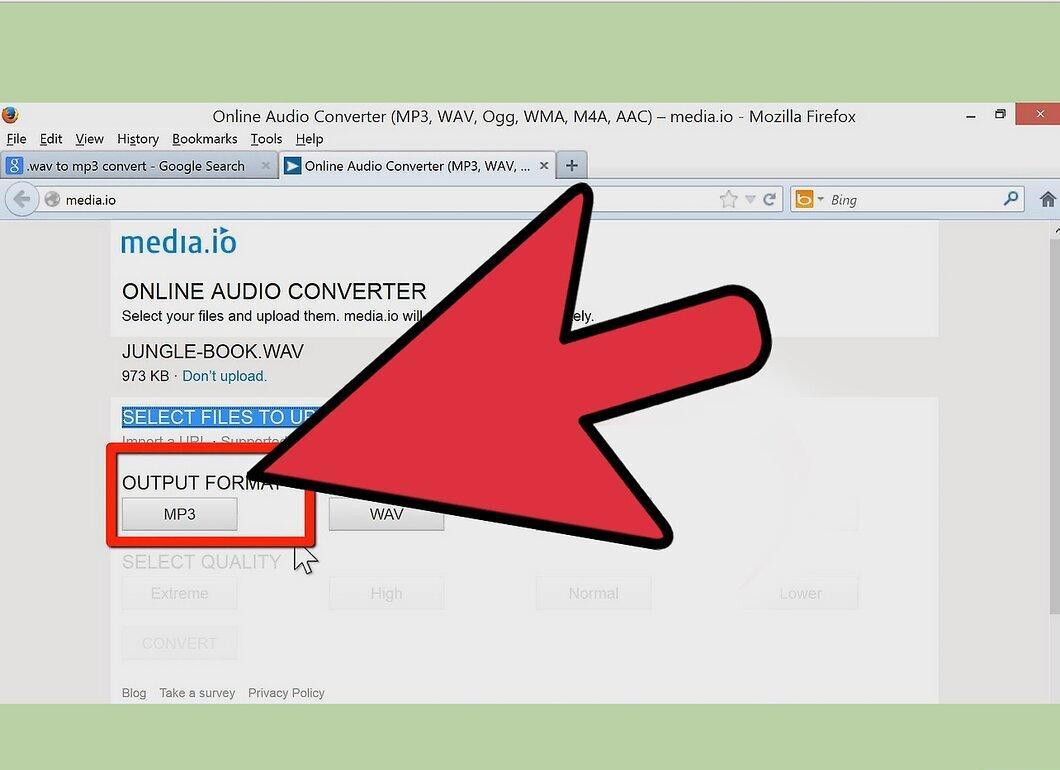
Select the format you want to convert the file into (this can be important). Some services may ask for the format of the final file.
Step 5. Provide an Email Address for File Delivery
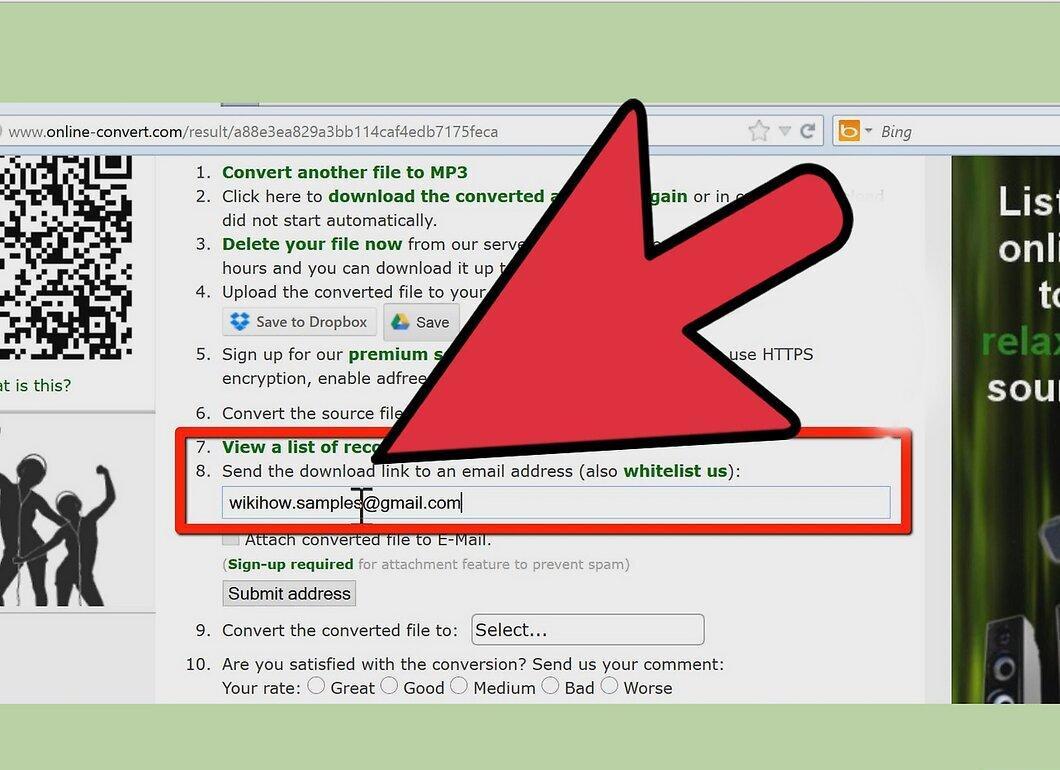
Enter the email address where the finished file will be sent. Sometimes, you can download it directly from the site, but other times you need to provide an email to receive a link.
- If you're concerned about spam, it's better to create a separate email account for such cases (for downloading software, receiving files, etc.).
Step 6. Click the "Convert" Button
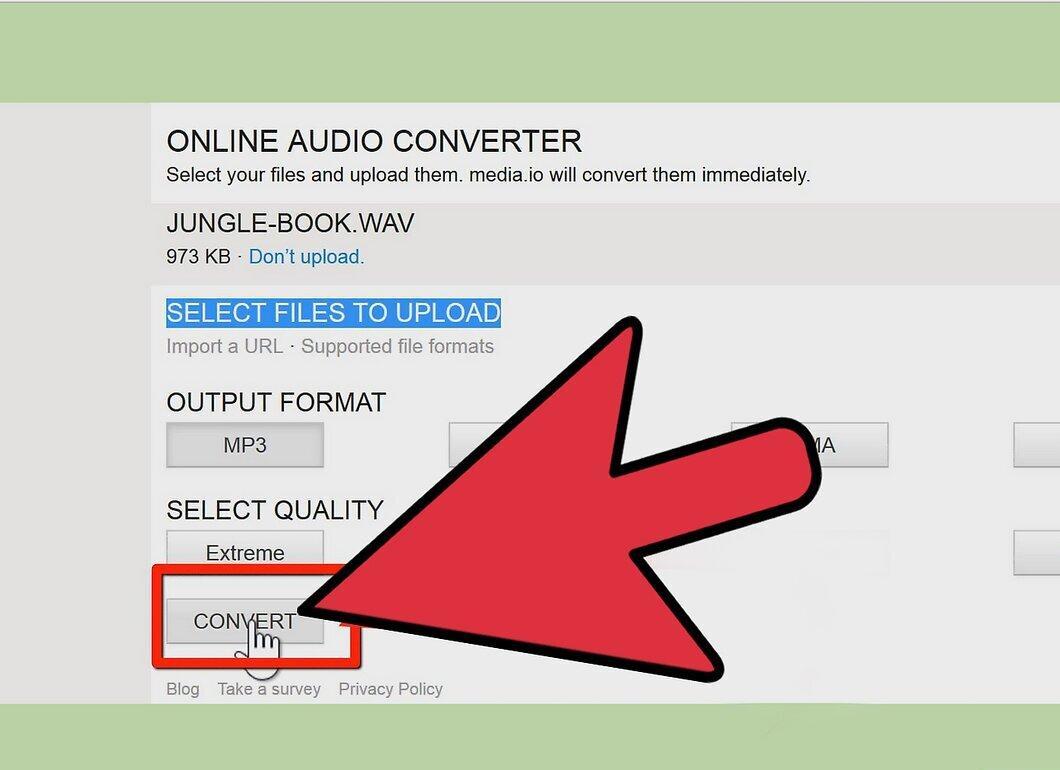
Find the "Convert" button on the site. The file will be sent to your email and may be compressed to reduce size.
Using iTunes for Conversion
Step 1. Launch iTunes
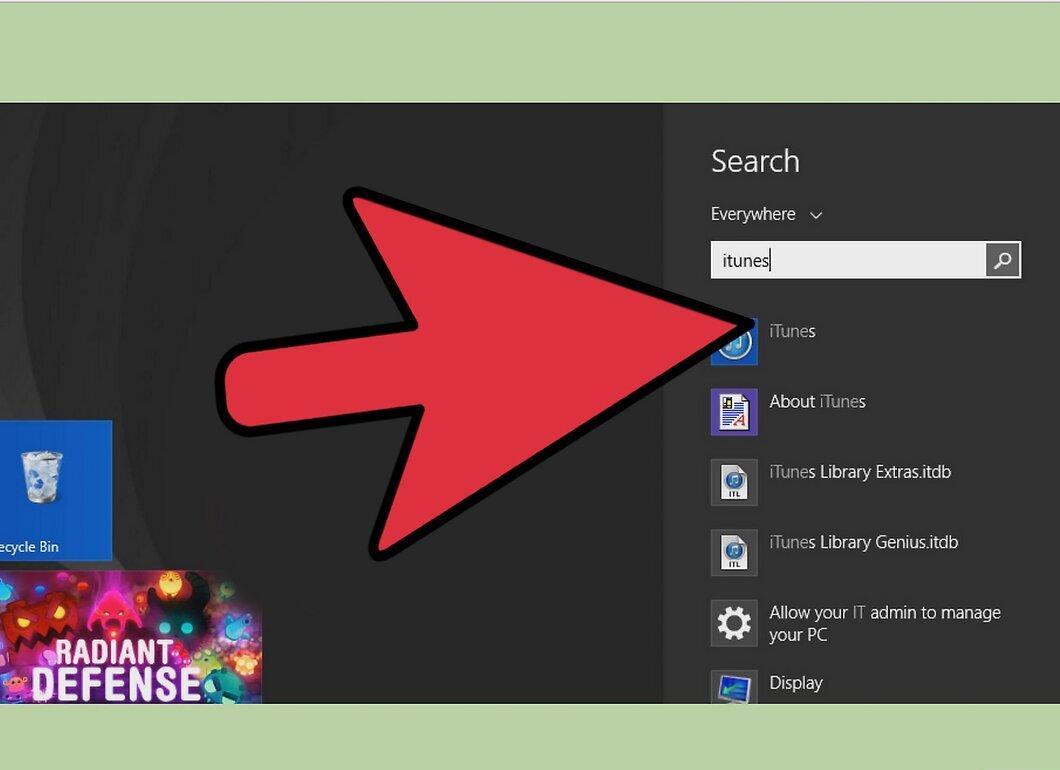
Step 2. Go to Import Settings
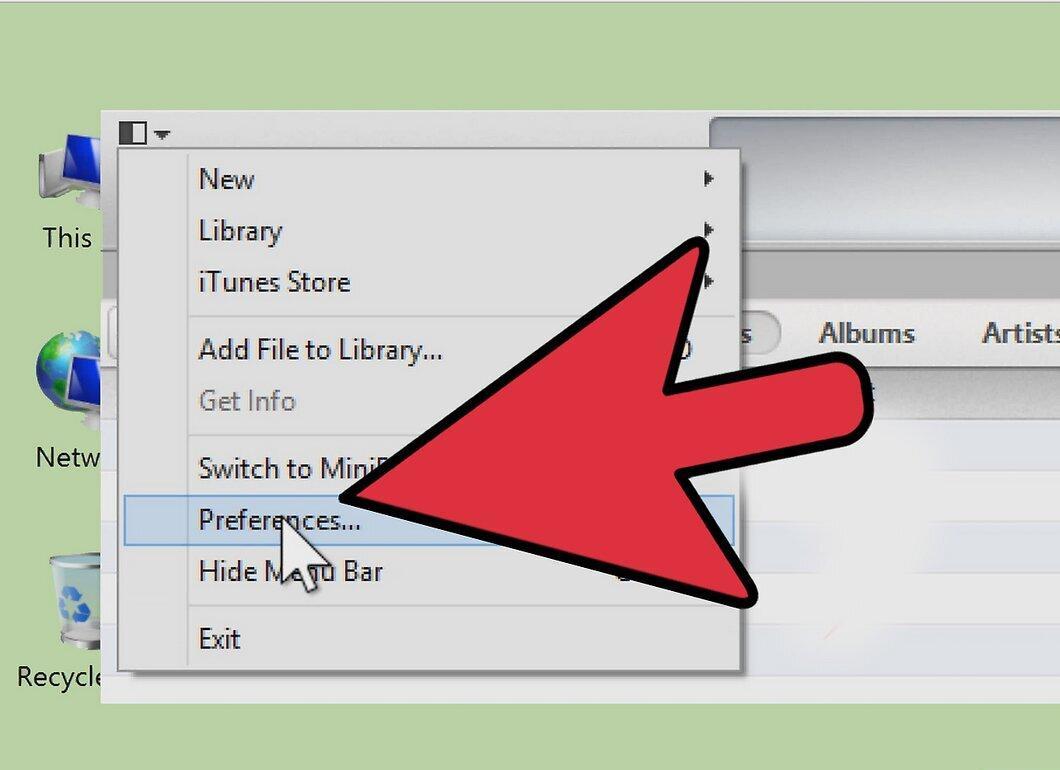
- If you're using iTunes 7 or earlier, you'll need to open the "Advanced" tab and find "Import Settings."
- For iTunes 8 and later, "Import Settings" is located in the "General" tab.
Step 3. Set the MP3 Encoder
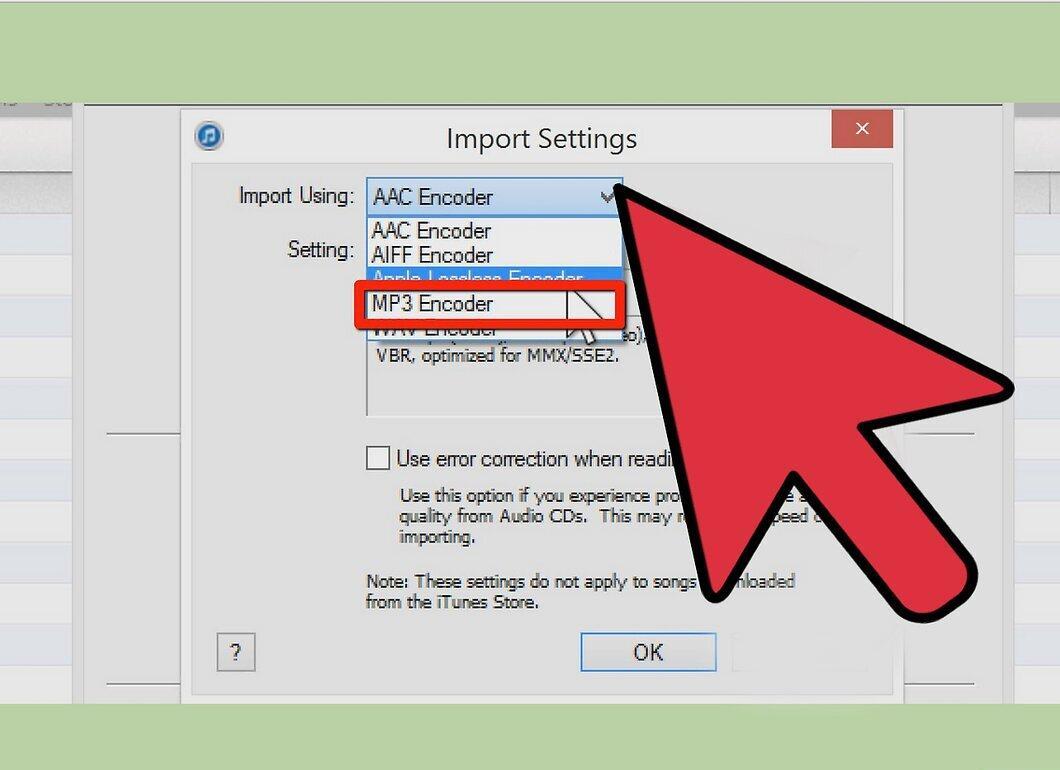
Step 4. Adjust the Settings
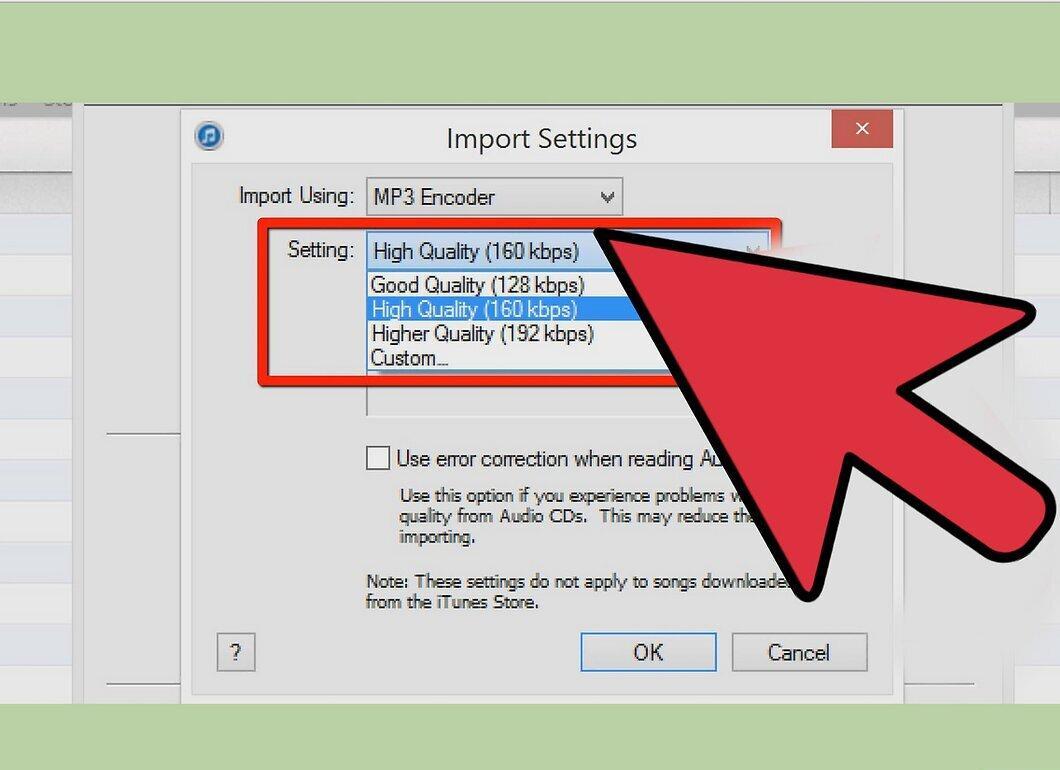
Choose your settings. In the "Setting" menu, select the quality: 128 kbps, 160 kbps, or 192 kbps.
- If you want, you can set your own parameters by choosing "Custom" and entering the bitrate, sample rate, and channels. In most cases, choose "Stereo."
Step 5. Close the Import Settings Window
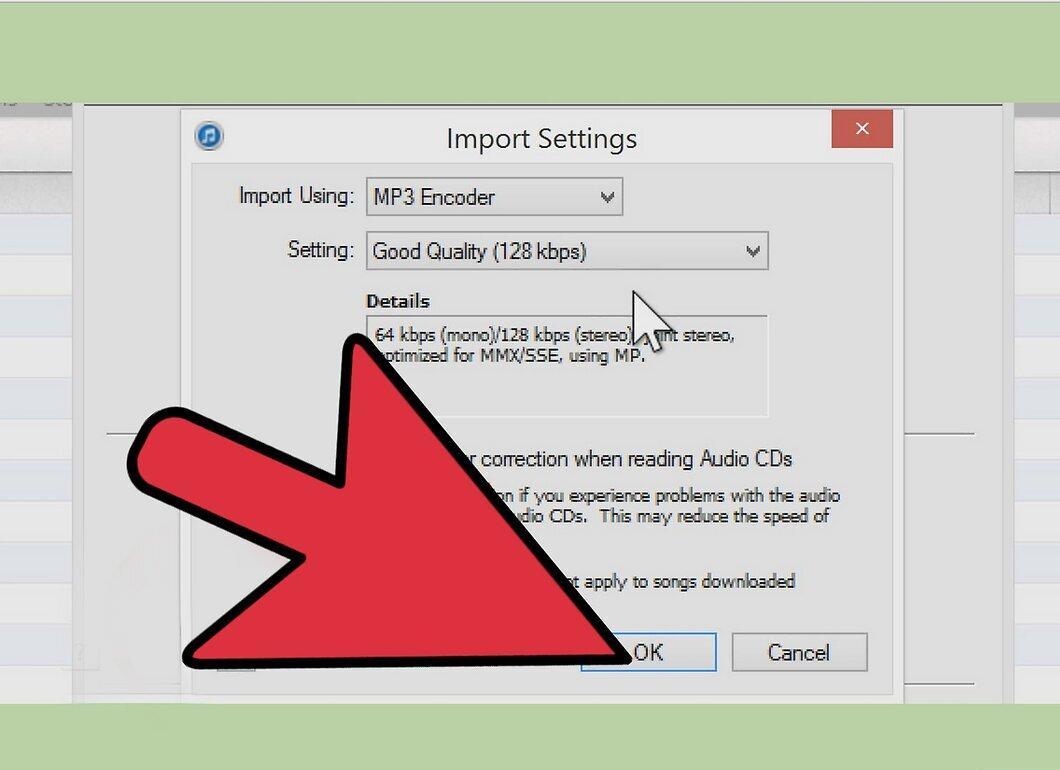
Step 6. Close the Settings Window
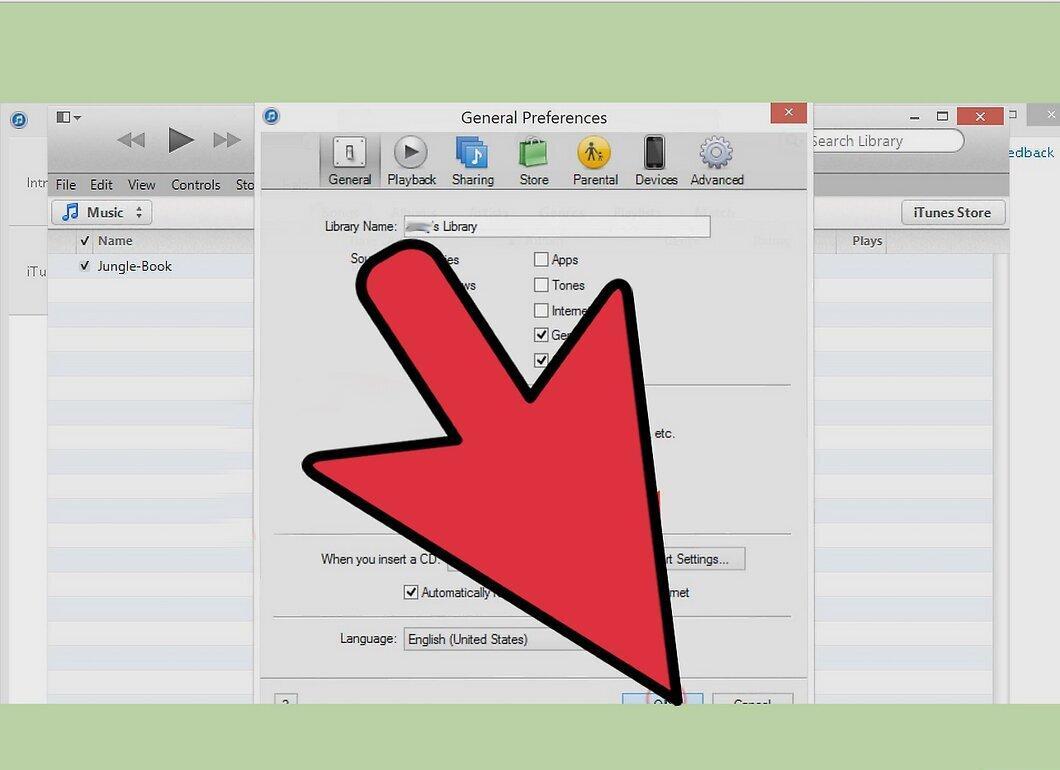
Step 7. Select WAV Files
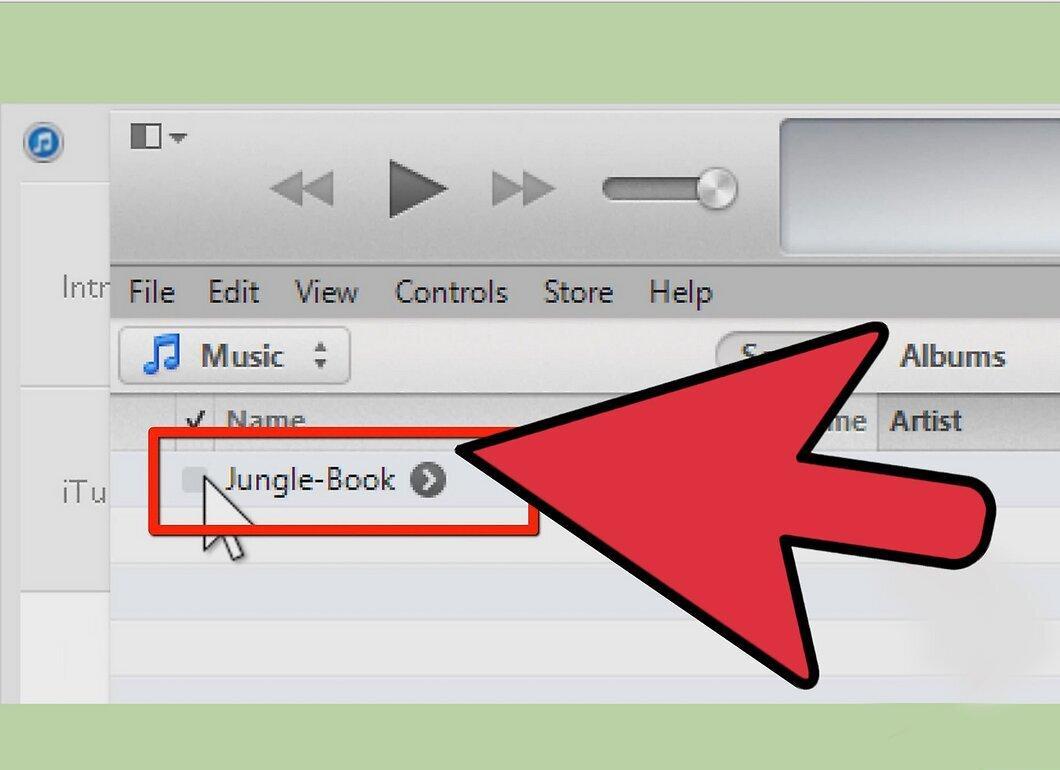
Step 8. Convert to MP3
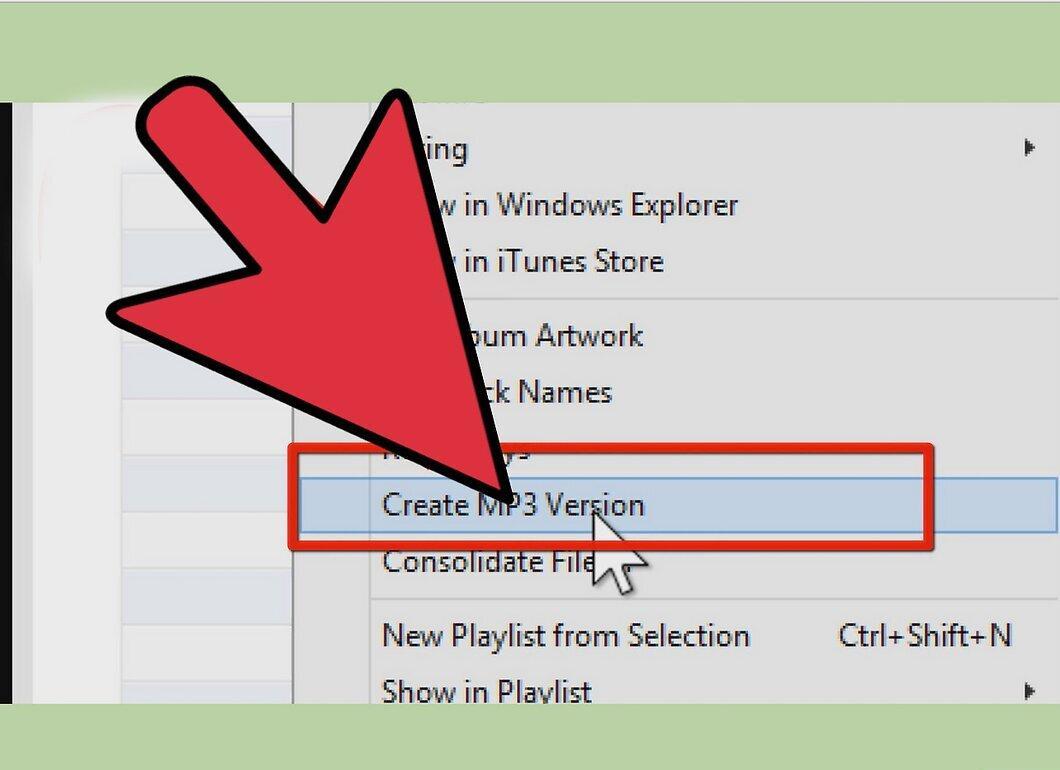
Convert the file to MP3 format. Depending on your version of iTunes, do it as follows:
- Select the file, go to the "Advanced" tab, and choose "Create MP3 Version."
- Right-click the file and select "Create MP3 Version."
Using Audacity for Conversion
Step 1. Install Lame MP3 Encoder
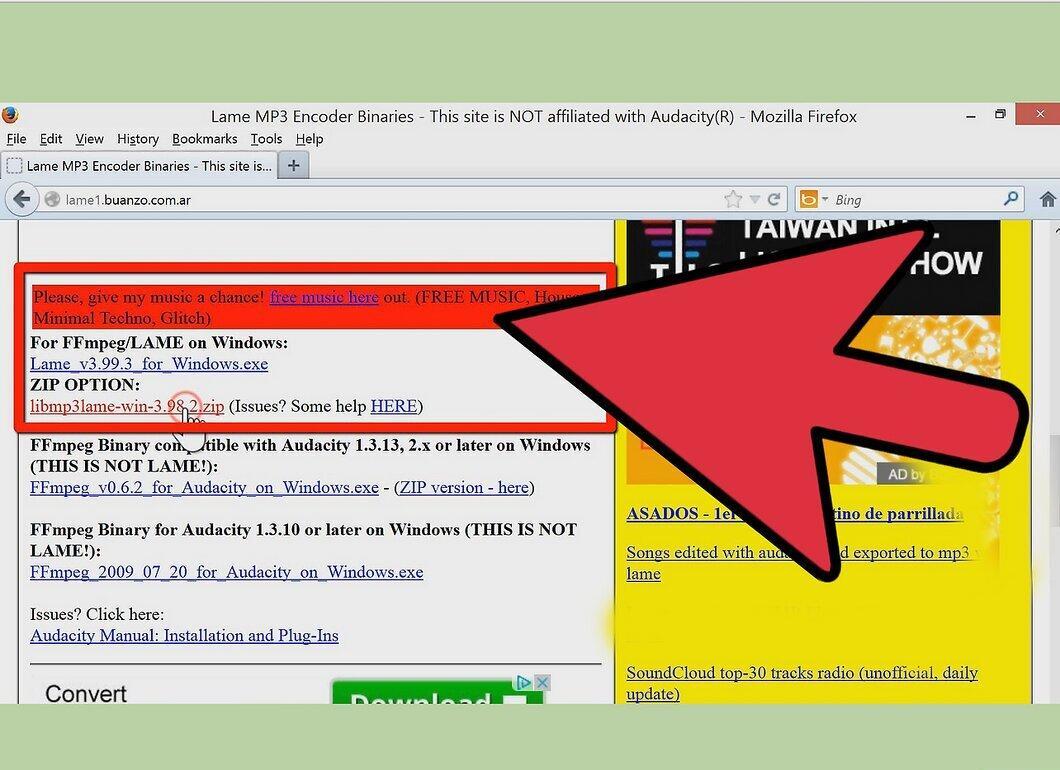
First, download the Lame MP3 Encoder.
Step 2. Unzip the Encoder and Remember Its Path
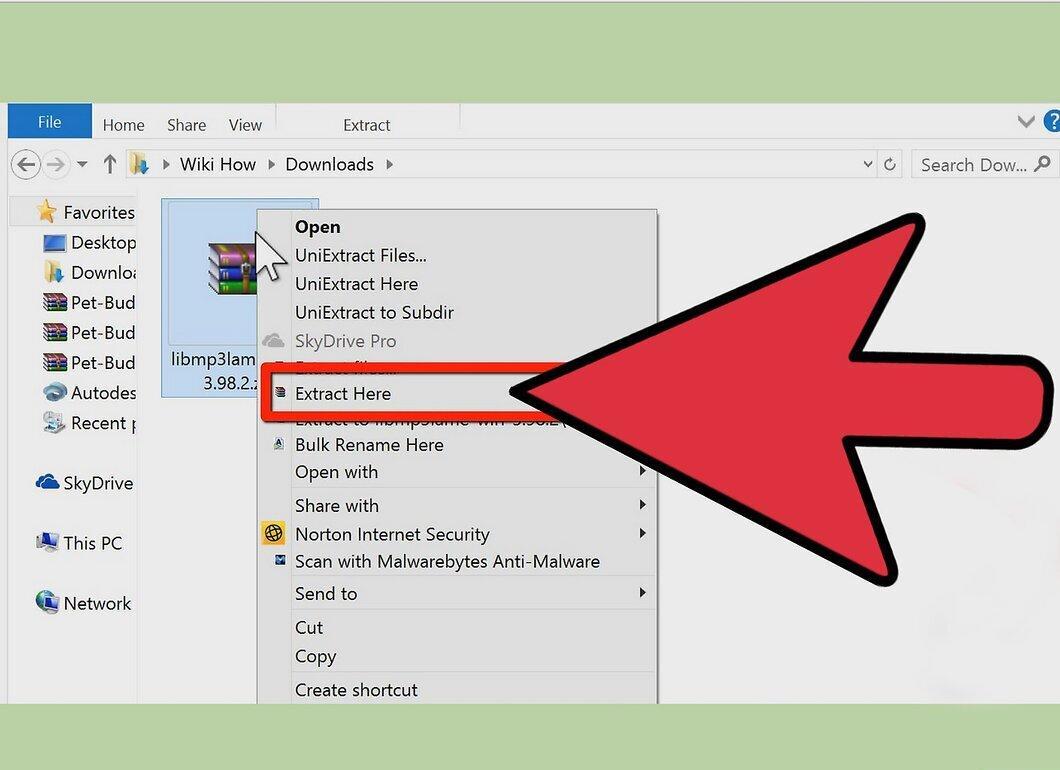
Step 3. Install Audacity and Launch It
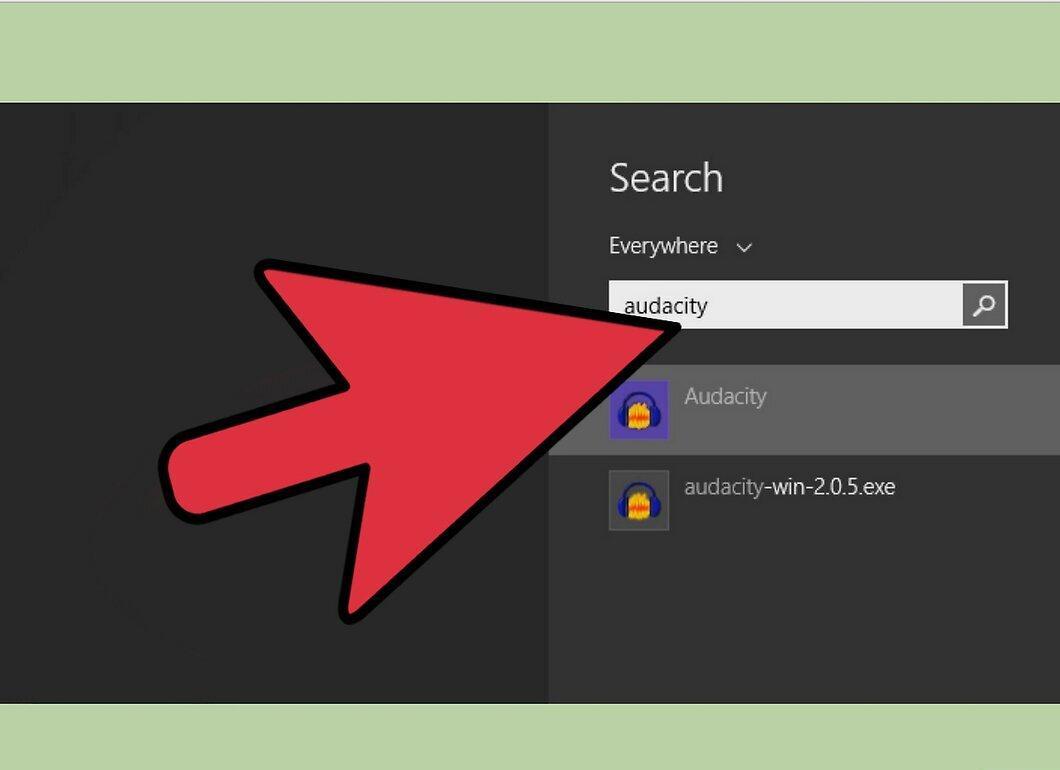
Download and open Audacity.
Step 4. Open the File
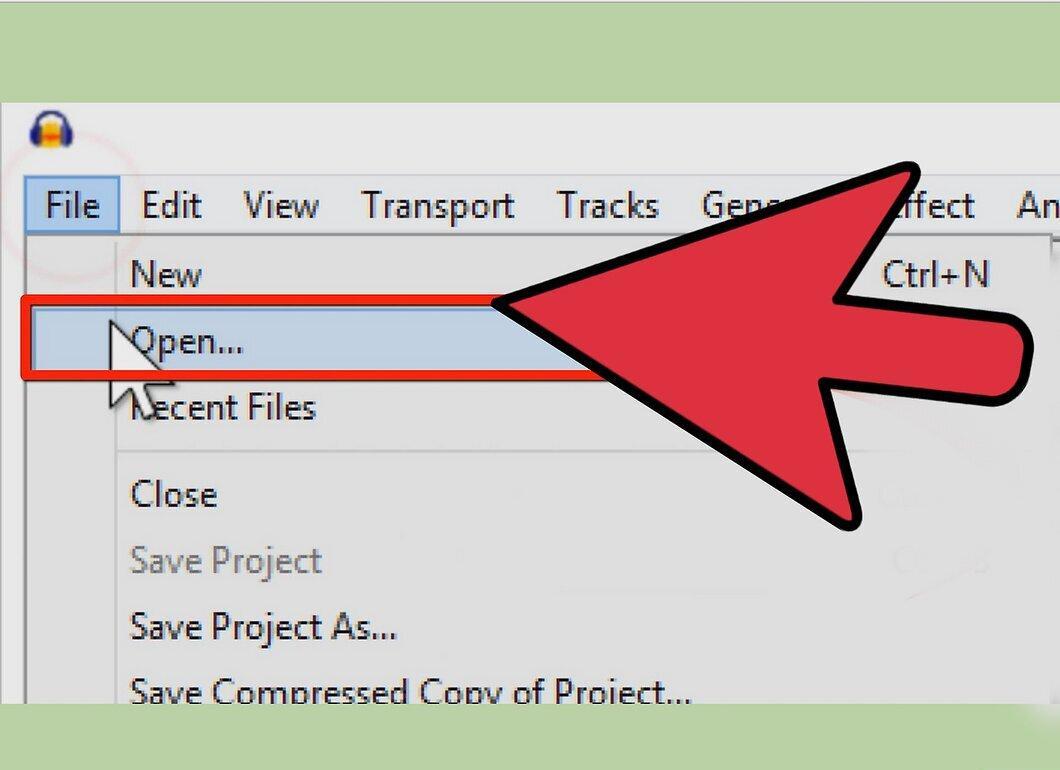
Step 5. Locate the Required WAV File on Your Computer
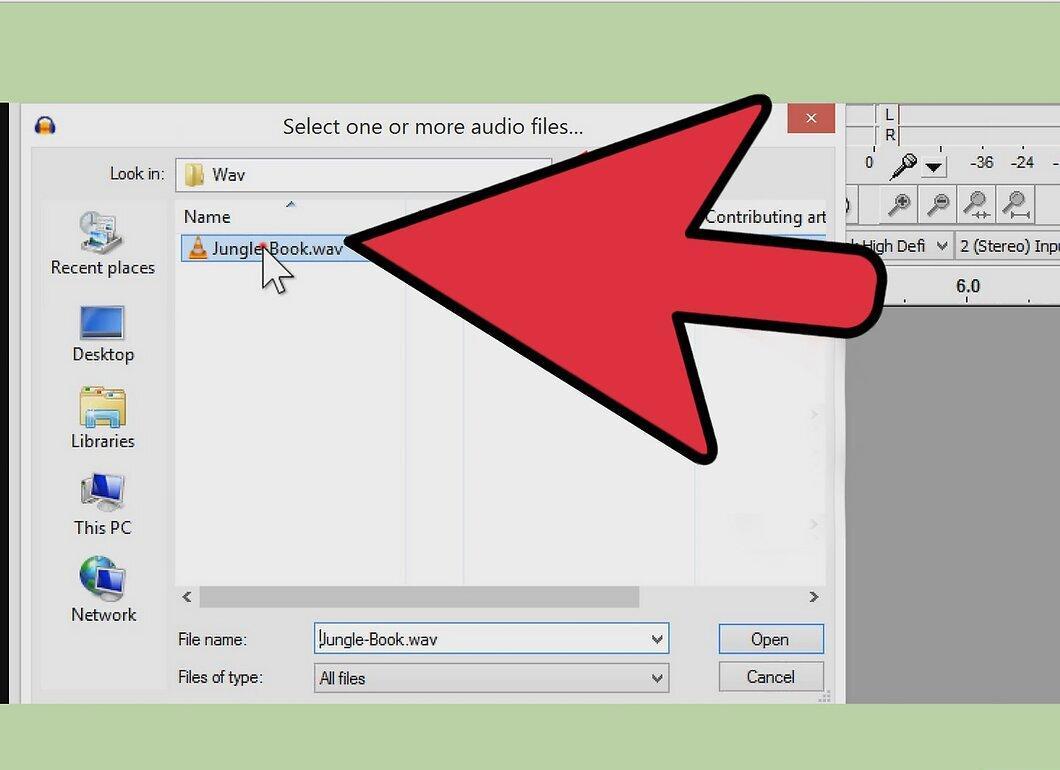
Find the required WAV file on your hard drive. The waveform of the selected file will be displayed on the main screen.
Step 6. Export the File to MP3
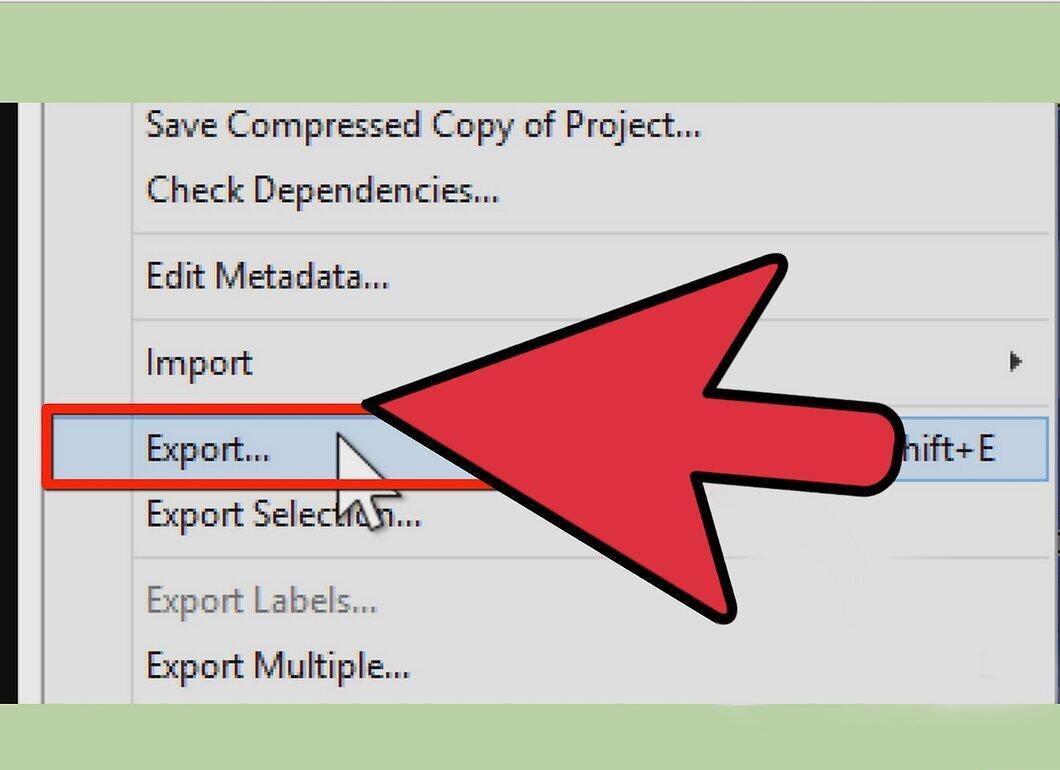
Step 7. Specify the Location of the File
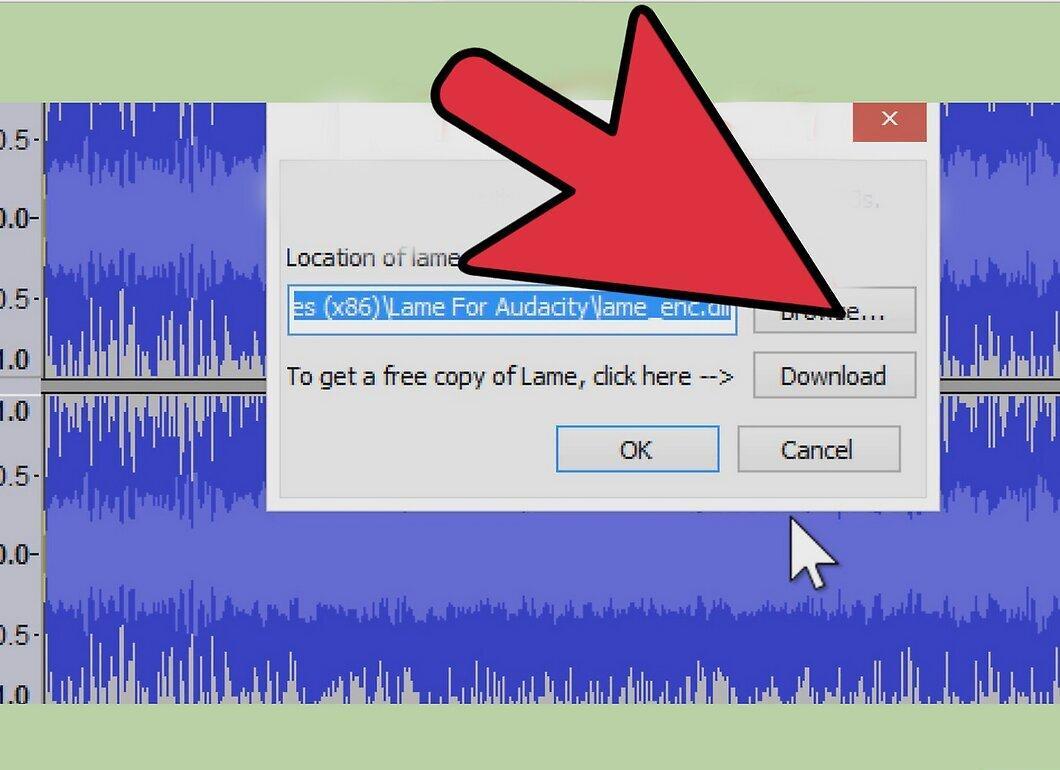
A prompt will appear asking for the location of the special file. Specify the path to the unzipped folder. The file will be named lame_enc.dll (for Windows) or libmp3lame.so (for Mac). This prompt will appear only once when you first use the "Export as MP3" function.
Step 8. Choose Where to Save the MP3 File
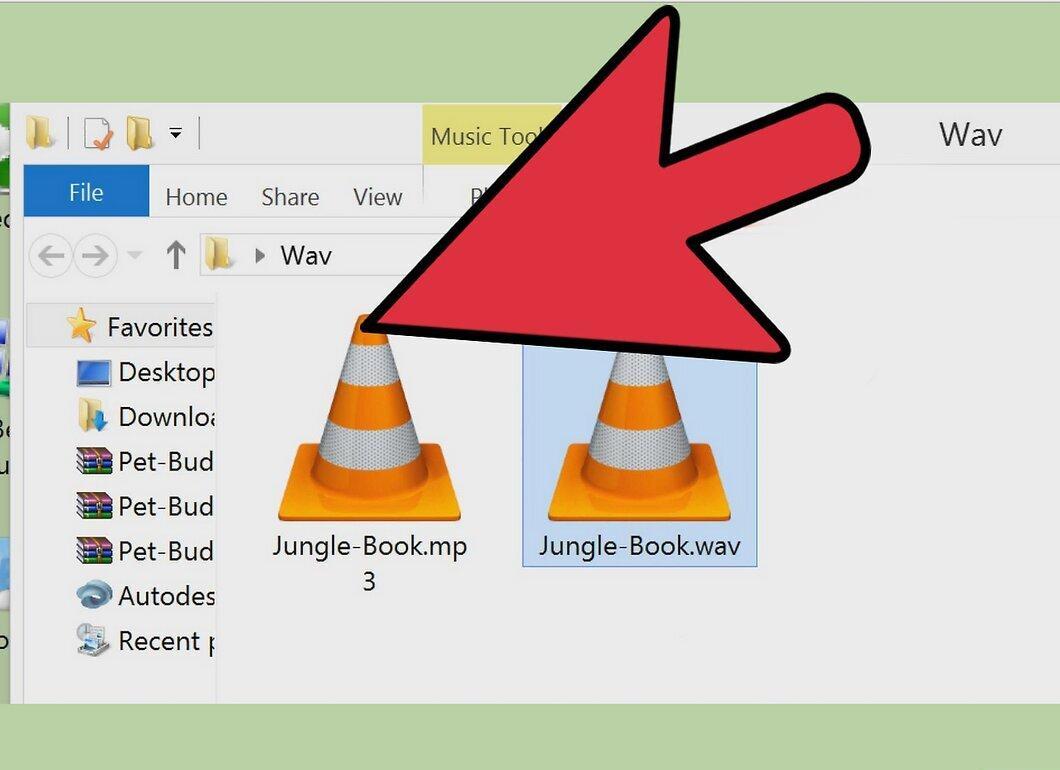
Choose where you want to save the MP3 file and, if necessary, enter a new name for it. If you plan to use the file in iTunes, it's best to save it in the iTunes music folder.


